Mineral Point, Wisconsin Photos (10 Nov 2018)

Below are some photos taken in Mineral Point on 10 Nov 2018. Here I’m sharing the 1920×1080 size versions of the photos for people use as desktop wallpaper or enjoy in other ways. They also make for fun tablet or smartphone wallpaper. If you’d like to use any of these for commercial purposes, if you’d like the originals, or have any questions about this collection of photos, feel free to contact me. Thanks!

20120224fr-greg-signature

Camera and Settings Used

I was using a Canon 6D Mark II camera. For the photos that seem to have more saturation, I had selected the Vivid or Intense options available in the CA camera setting. See page 102 of the instruction manual for further details about these features. I was using the 24-105mm USM lens that came with the camera. Although I didn’t have a tripod, the Canon Image Stabilization (second generation) seemed to work well enough.

I was able to use the automatic mode for most of the photos. The camera’s choice of aperture, speed, ISO, and focal point were acceptable. Sometimes I’d switch to manual focus and at times used Aperture Priority when I wanted more control over the shot. Learn more about Aperture Priority on page 238 of the Canon 6D II instruction manual.

Mineral Point Photos

Here’s the gallery of Mineral Point photos. However over any photo for the caption or click any image for a larger gallery view with more details. Enjoy!

Iowa City Photos – 2 Nov 2018 – Canon 6D Mark II

Below are some photos taken in the Iowa City area during the week ending on 2 Nov 2018. Here I’m sharing the 1920×1080 size versions of the photos for people use as desktop wallpaper, presentation backgrounds, or enjoy in other ways. They also make for fun tablet or smartphone wallpaper. If you’d like to use any of these for commercial purposes, if you’d like the originals, or have any questions about this collection of photos, feel free to contact me. Thanks!

20120224fr-greg-signature

Equipment Used

I was using a Canon 6D Mark II camera. For the photos that seem to have more saturation, I had selected the Vivid or Intense options available in the CA camera setting. See page 102 of the instruction manual for further details about these features. I was using the 24-105mm USM lens that came with the camera. Although I didn’t have a tripod, the Canon Image Stabilization (second generation) seemed to work well enough.

Camera Settings

I was able to use the automatic mode for most of the photos. The camera’s choice of aperture, speed, ISO, and focal point were acceptable. Sometimes I’d switch to manual focus and at times used Aperture Priority when I wanted more control over the shot. Learn more about Aperture Priority on page 238 of the Canon 6D II instruction manual.

The Intense color setting can result in photos that seem too dark. However, using Intense that then later using software to increase the exposure will result in photos that are less washed out than if the photo had been taken without these color enhancement options. The Vivid setting is a less saturated option, but sometimes isn’t enough.

About Blurry and Abstract Images

In addition to traditionally composed photos where the subject and context are easily identified, I usually take some abstract photos as well. So, some of the photos in this collection were intentionally made blurry using manual focus to create an abstract image that could be used as a background. The in-focus version is also provided to show the subject used for the blurry photo. There are also some photos that are taken in such a way that the context is not provided, thus making the image difficult to identify. This is done intentionally.

Iowa City Area Photos

Here’s the gallery. Click any image for a larger gallery view. Enjoy!

Iowa City Photos – 27 Oct 2017 – Canon 6D Mark II

Below are some photos taken along bike trails on the west-side of Iowa City on 27 Oct 2018. Here I’m sharing the 1920×1080 size versions of the photos for people use as desktop wallpaper, presentation backgrounds, or enjoy in other ways. They also make for fun tablet or smartphone wallpaper. If you’d like to use any of these for commercial purposes, if you’d like the originals, or have any questions about this collection of photos, feel free to contact me. Thanks!

20120224fr-greg-signature

Equipment Used

I was using a Canon 6D Mark II camera. For the photos that seem to have more saturation, I had selected the Vivid or Intense options available in the CA camera setting. See page 102 of the instruction manual for further details about these features. I was using the 24-105mm USM lens that came with the camera. Although I didn’t have a tripod, the Canon Image Stabilization (second generation) seemed to work well enough.

Camera Settings

I was able to use the automatic mode for most of the photos. The camera’s choice of aperture, speed, ISO, and focal point were acceptable. Sometimes I’d switch to manual focus and at times used Aperture Priority when I wanted more control over the shot. Learn more about Aperture Priority on page 238 of the Canon 6D II instruction manual.

The Intense color setting can result in photos that seem too dark. However, using Intense that then later using software to increase the exposure will result in photos that are less washed out than if the photo had been taken without these color enhancement options. The Vivid setting is a less saturated option, but sometimes isn’t enough.

About Blurry and Abstract Images

In addition to traditionally composed photos where the subject and context are easily identified, I usually take some abstract photos as well. So, some of the photos in this collection were intentionally made blurry using manual focus to create an abstract image that could be used as a background. The in-focus version is also provided to show the subject used for the blurry photo. There are also some photos that are taken in such a way that the context is not provided, thus making the image difficult to identify. This is done intentionally.

Iowa City Area Photos

Here’s the gallery. Click any image for a larger gallery view. Enjoy!

Kent Park Photos

Below are some photos taken in the Kent Park area on 21 Oct 2018. These are 12 photos selected. Here I’m sharing the 1920×1080 size versions of the photos for people use as desktop wallpaper or enjoy in other ways. They also make for fun tablet or smartphone wallpaper. If you’d like to use any of these for commercial purposes, if you’d like the originals, or have any questions about this collection of photos, feel free to contact me. Thanks!

20120224fr-greg-signature

Camera and Settings Used

I was using a Canon 6D Mark II camera. For the photos that seem to have more saturation, I had selected the Vivid or Intense options available in the CA camera setting. See page 102 of the instruction manual for further details about these features. I was using the 24-105mm USM lens that came with the camera. Although I didn’t have a tripod, the Canon Image Stabilization (second generation) seemed to work well enough.

I was able to use the automatic mode for most of the photos. The camera’s choice of aperture, speed, ISO, and focal point were acceptable. Sometimes I’d switch to manual focus and at times used Aperture Priority when I wanted more control over the shot. Learn more about Aperture Priority on page 238 of the Canon 6D II instruction manual.

The Intense color setting can result in photos that seem too dark. However, using Intense that then later using software to increase the exposure will result in photos that are less washed out than if the photo had been taken without these color enhancement options. The Vivid setting is a less saturated option, but sometimes isn’t enough.

You’ll notice several similar photos showing a grove of trees. These photos were taken using slightly different framing of the shot, and also different exposure levels. It’s interesting to see how the mood of the photo changes depending on the settings.

Kent Park Area Photos

Here’s the gallery of Kent Park photos. Click any image for a larger gallery view. Enjoy!

Lake Tahoe Photos – Oct 2018 – iPhone X

Below are some photos taken in the Lake Tahoe area while visiting there in early October 2018. This group of photos were all taken with the 2017 model iPhone X. In another post I’ve shared some photos taken with a Canon 6D Mark II full-frame DSLR camera.

For some photos, the iPhone X produces a broader dynamic range than the 6D, so bright and dark aspects of an image are better rendered because smartphones have additional software to produce high dynamic range photos.

If you’d like to use any of these for commercial purposes, if you’d like the originals, or have any questions about this collection of photos, feel free to contact me. Thanks!

20120224fr-greg-signature

Locations Visited

During this trip, we mostly stayed in the South Lake Tahoe area. The higher altitude phots with a view of Fallen Leaf Lake and Lake Tahoe are from a hike up Mount Tallac which is an ascent of about 3,290 from the trailhead to reach the 9,739 ft peak. We only climbed about 1,400 feet and turned back so we could get some sunset photos near the lake. Because of the steep ascent I burned about 2,000 calories round-trip on that hike according to my Apple Watch.

The Echo Lakes Trail at about 7,000 feet was another nice hike. At these higher altitudes the air is very crisp, dry, and fresh which is invigorating and energizing. Heading south from Tahoe, we found some nice trails and views along Highways 88, 89, and 50.

Tahoe Area Photos

Here’s the gallery. Enjoy!


Lake Tahoe Photos – Oct 2018 – Canon 6D Mark II

Below are some photos taken in the Lake Tahoe area while visiting there in early October 2018. These are 218 photos selected from about 1,400 total. Here I’m sharing the 1920×1080 size versions of the photos for people use as desktop wallpaper or enjoy in other ways. They also make for fun tablet or smartphone wallpaper. If you’d like to use any of these for commercial purposes, if you’d like the originals, or have any questions about this collection of photos, feel free to contact me. Thanks!

For additional photos, see my iPhone X Tahoe Photos gallery from the same trip.

20120224fr-greg-signature

Locations Visited

During this trip, we mostly stayed in the South Lake Tahoe area. The higher altitude phots with a view of Fallen Leaf Lake and Lake Tahoe are from a hike up Mount Tallac which is an ascent of about 3,290 from the trailhead to reach the 9,739 ft peak. We only climbed about 1,400 feet and turned back so we could get some sunset photos near the lake. Because of the steep ascent I burned about 2,000 calories round-trip on that hike according to my Apple Watch.

The Echo Lakes Trail at about 7,000 feet was another nice hike. At these higher altitudes the air is very crisp, dry, and fresh which is invigorating and energizing. Heading south from Tahoe, we found some nice trails and views along Highways 88, 89, and 50.

Equipment Used

I was using a Canon 6D Mark II camera. For the photos that seem to have more saturation, I had selected the Vivid or Intense options available in the CA camera setting. See page 102 of the instruction manual for further details about these features. I was using the 24-105mm USM lens that came with the camera. Although I didn’t have a tripod, the Canon Image Stabilization (second generation) seemed to work well enough.

Camera Settings

I was able to use the automatic mode for most of the photos. The camera’s choice of aperture, speed, ISO, and focal point were acceptable. Sometimes I’d switch to manual focus and at times used Aperture Priority when I wanted more control over the shot. Learn more about Aperture Priority on page 238 of the Canon 6D II instruction manual.

The Intense color setting can result in photos that seem too dark. However, using Intense that then later using software to increase the exposure will result in photos that are less washed out than if the photo had been taken without these color enhancement options. The Vivid setting is a less saturated option, but sometimes isn’t enough.

About Blurry and Abstract Images

In addition to traditionally composed photos where the subject and context are easily identified, I usually take some abstract photos as well. So, some of the photos in this collection were intentionally made blurry using manual focus to create an abstract image that could be used as a background. The in-focus version is also provided to show the subject used for the blurry photo. There are also some photos that are taken in such a way that the context is not provided, thus making the image difficult to identify. This is done intentionally.

Tahoe Area Photos

Here’s the gallery. Enjoy!


Selected Photos for 1-7 April 2017

Here are some selected photos for 1-7 April 2017. Click any image for a larger gallery view which also includes information about the camera and settings used. Hover over any image for captions if available. Note: If you received this by email, you’ll need to click the post title link above to view the post and photo gallery on my website.

49 Selected Photos From 2016

Below are 49 selected photos from 2016. Click on any photo for a larger gallery view.

On December 11, I wrote about MOO business card printing, and explained how each set of cards can have as many as 50 different designs, photos, or text on the back. So, I decided to print up a set of 50 with these 49 photos plus one that says ‘tech support’ – to make a total of 50. I went back over my photos from this year, and the ones selected here seemed like a good batch to use for printing. The wider panoramic images were cropped on the cards, but shown here you can see the full-size images. These were all taken using my iPhone 6 Plus or iPhone 7 Plus.

The cards arrived yesterday and the color quality of the print is amazing. They are about as thick as three regular business cards (like a credit card). I’m looking forward to sharing these, and then printing some more. It will be fun to see which photo people choose when selecting a card. You can learn more about MOO on their website.

Buying the Right Camera

I’m often asked by people: “What camera should I buy?” or “What’s the best camera?”

The answer really depends on what kind of photos a person typically takes. Even if you get the ‘right camera’ you may need several lenses to cover all the possible scenarios.

Below I describe a few cameras that I use and which cameras seem to work well for certain kinds of photography.

Types of Photography

My own photography spans a variety of typical subjects including architecture, wildlife, flowers, landscapes, and occasional portraits. I use the photos frequently in graphic design applications and websites. For any photos that I plan to print in large formats, I would want to use a full-frame camera if possible.

My Cameras

I currently use three cameras. Most regularly is my iPhone 7 Plus since I have that with me daily. The Sony DSC-HX50V is small enough that I can keep it in my carry bag. My Canon T2i is what I use on vacations or intentional photo outings where I have the time to take advantage of its manual settings.

Today, the role of the high-end DSLR camera is to offer high quality photos that can be enlarged or cropped without losing image quality. Full-frame cameras with telephoto lenses can capture some photos that smartphones or compact cameras generally can’t. Should you get a fancy DSLR camera? Well, one way to answer that question is to take a look at the photos on this page. None were taken with a DSLR. They were taken with a smartphone and an inexpensive point-and-shoot camera.

Because I have over 30,000 photos, I often rely on the GPS feature to quickly find photos based on their mapped location. So, GPS is an important feature for me. The Cannon doesn’t have GPS, but the Sony and iPhone do.

Social Media

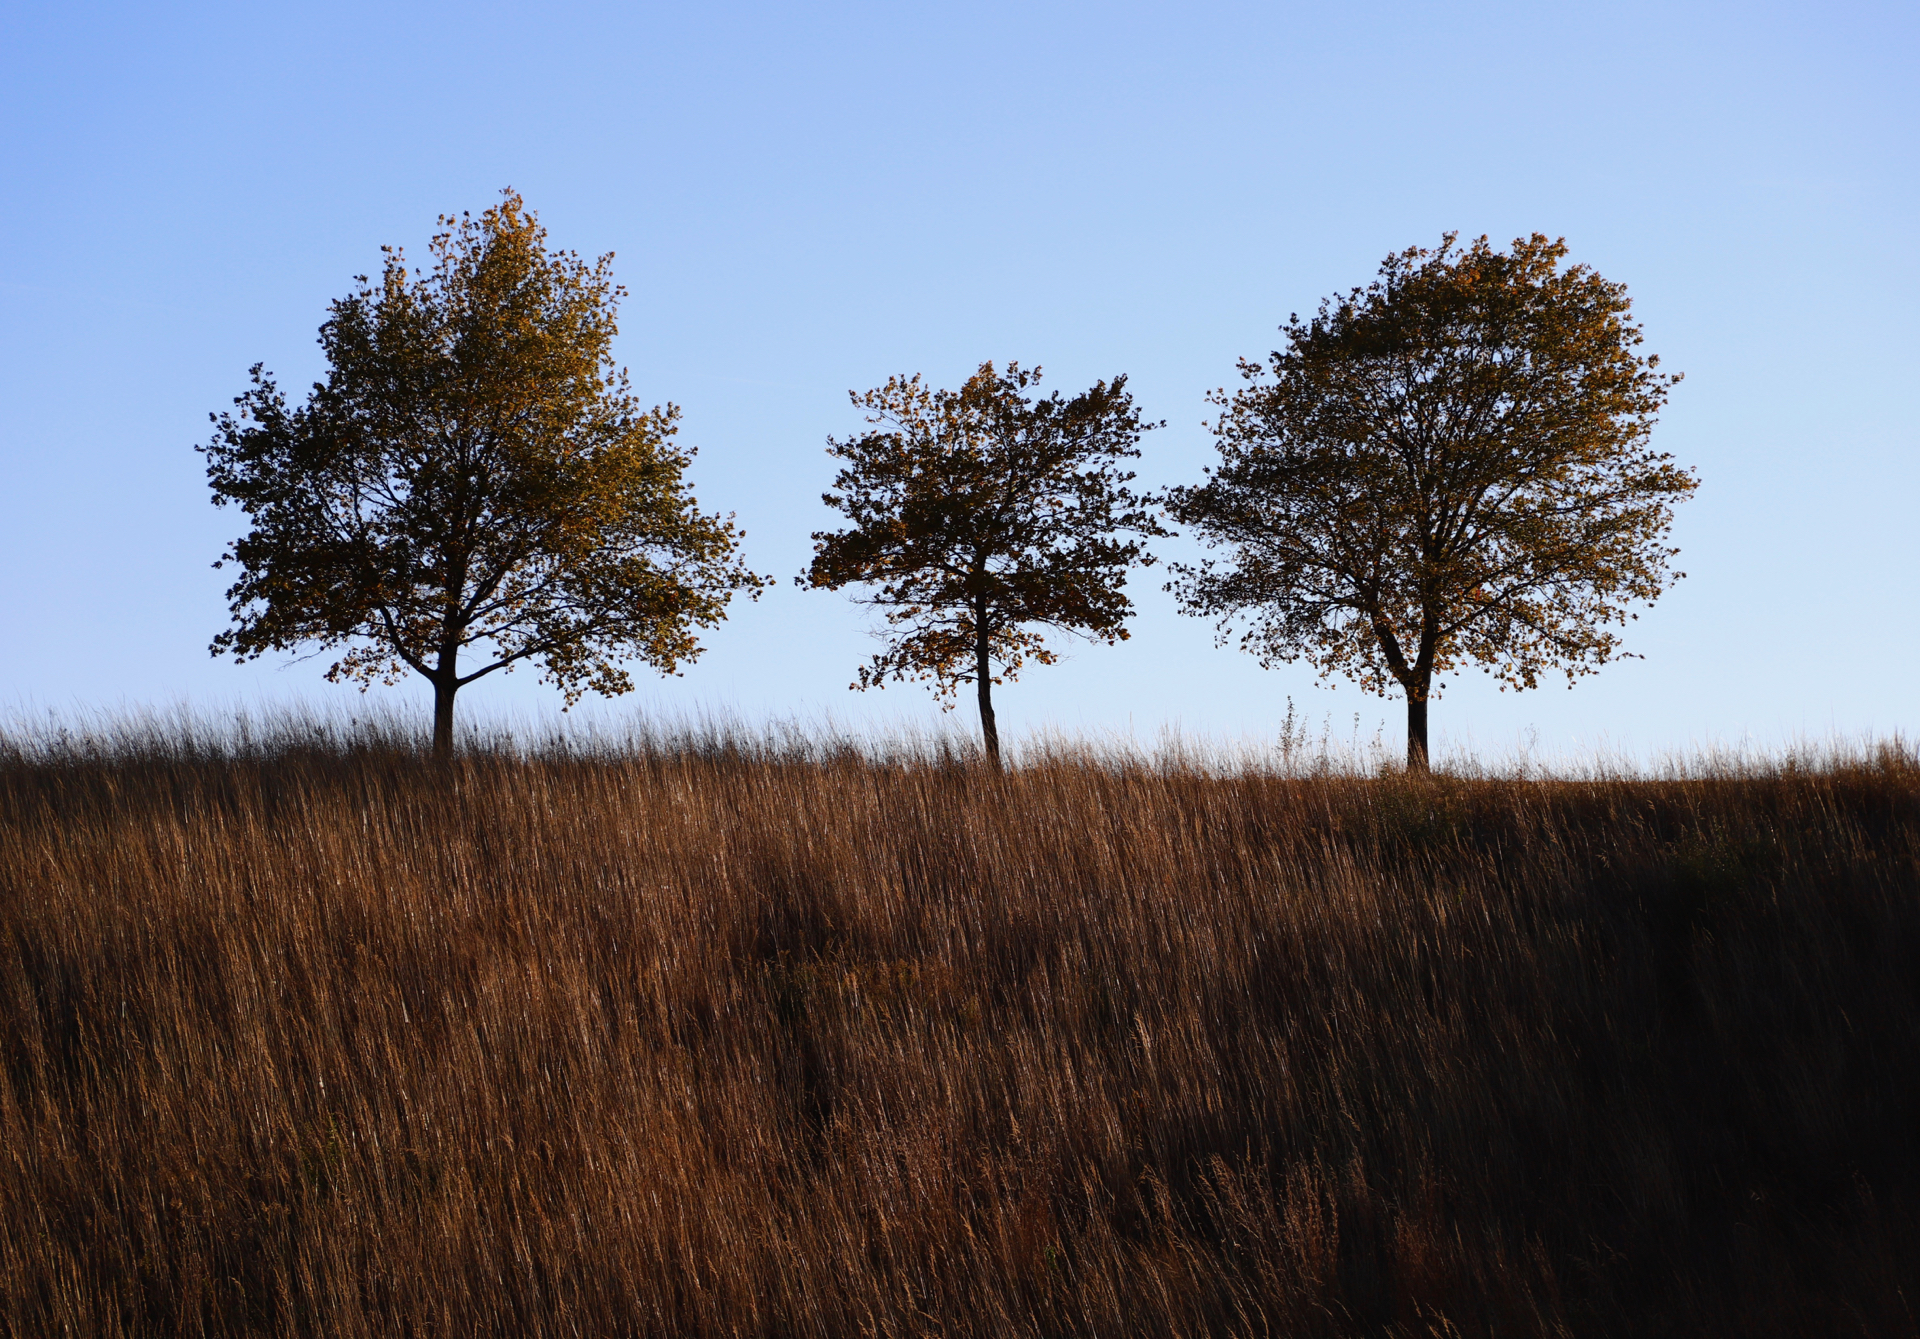
Photos that aren’t shared are like the tree falling in a forest with nobody to hear it fall. The iPhone is definitely the easiest camera for sharing on social media. With the other two cameras, I need to transfer the photos to my iPhone or computer first, then prep for sharing. So, that’s another benefit of the iPhone — life happens in real time and there’s nothing to ‘work on later’ in the proverbial free time that never seems to materialize.
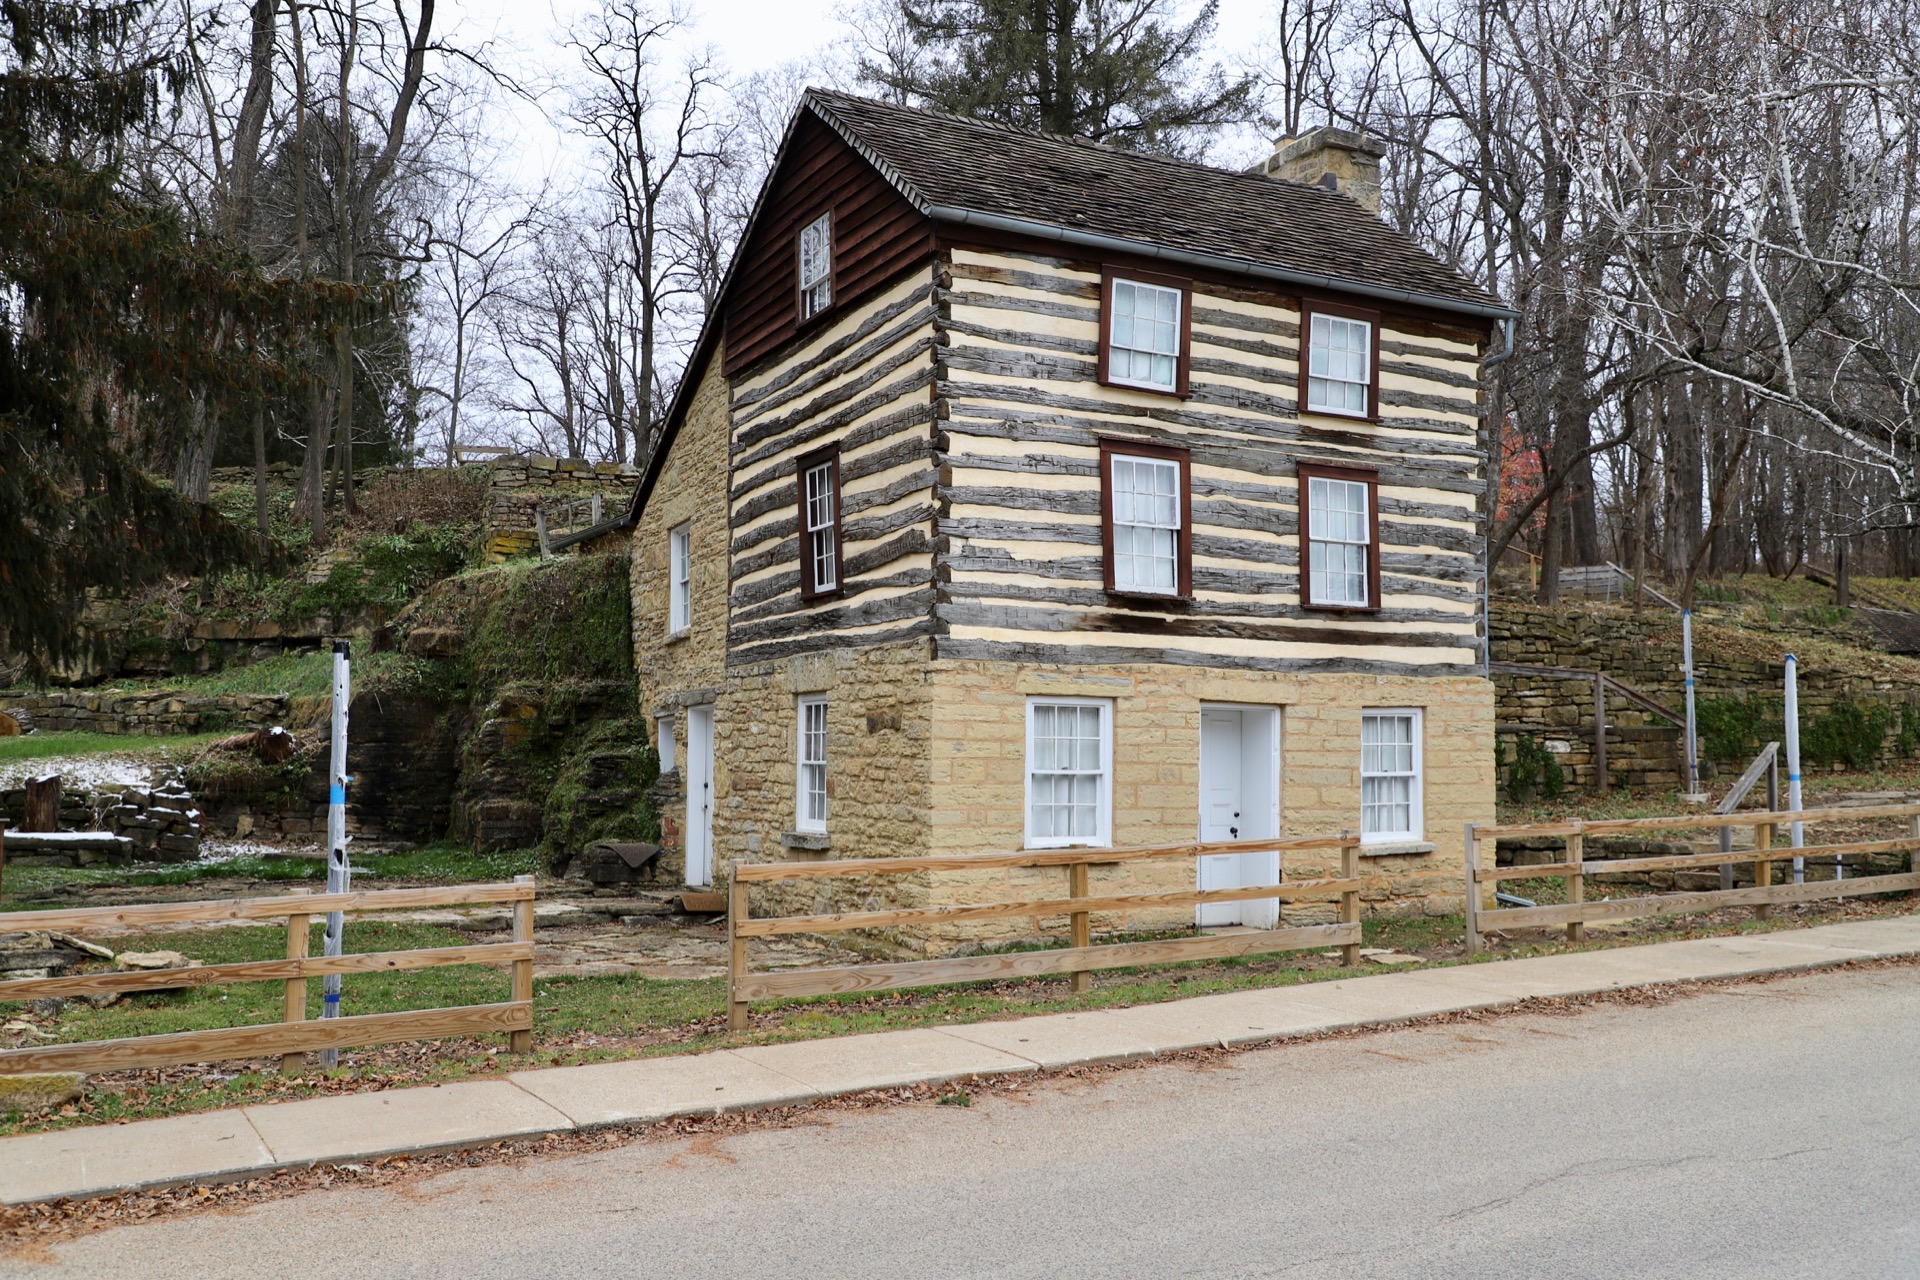
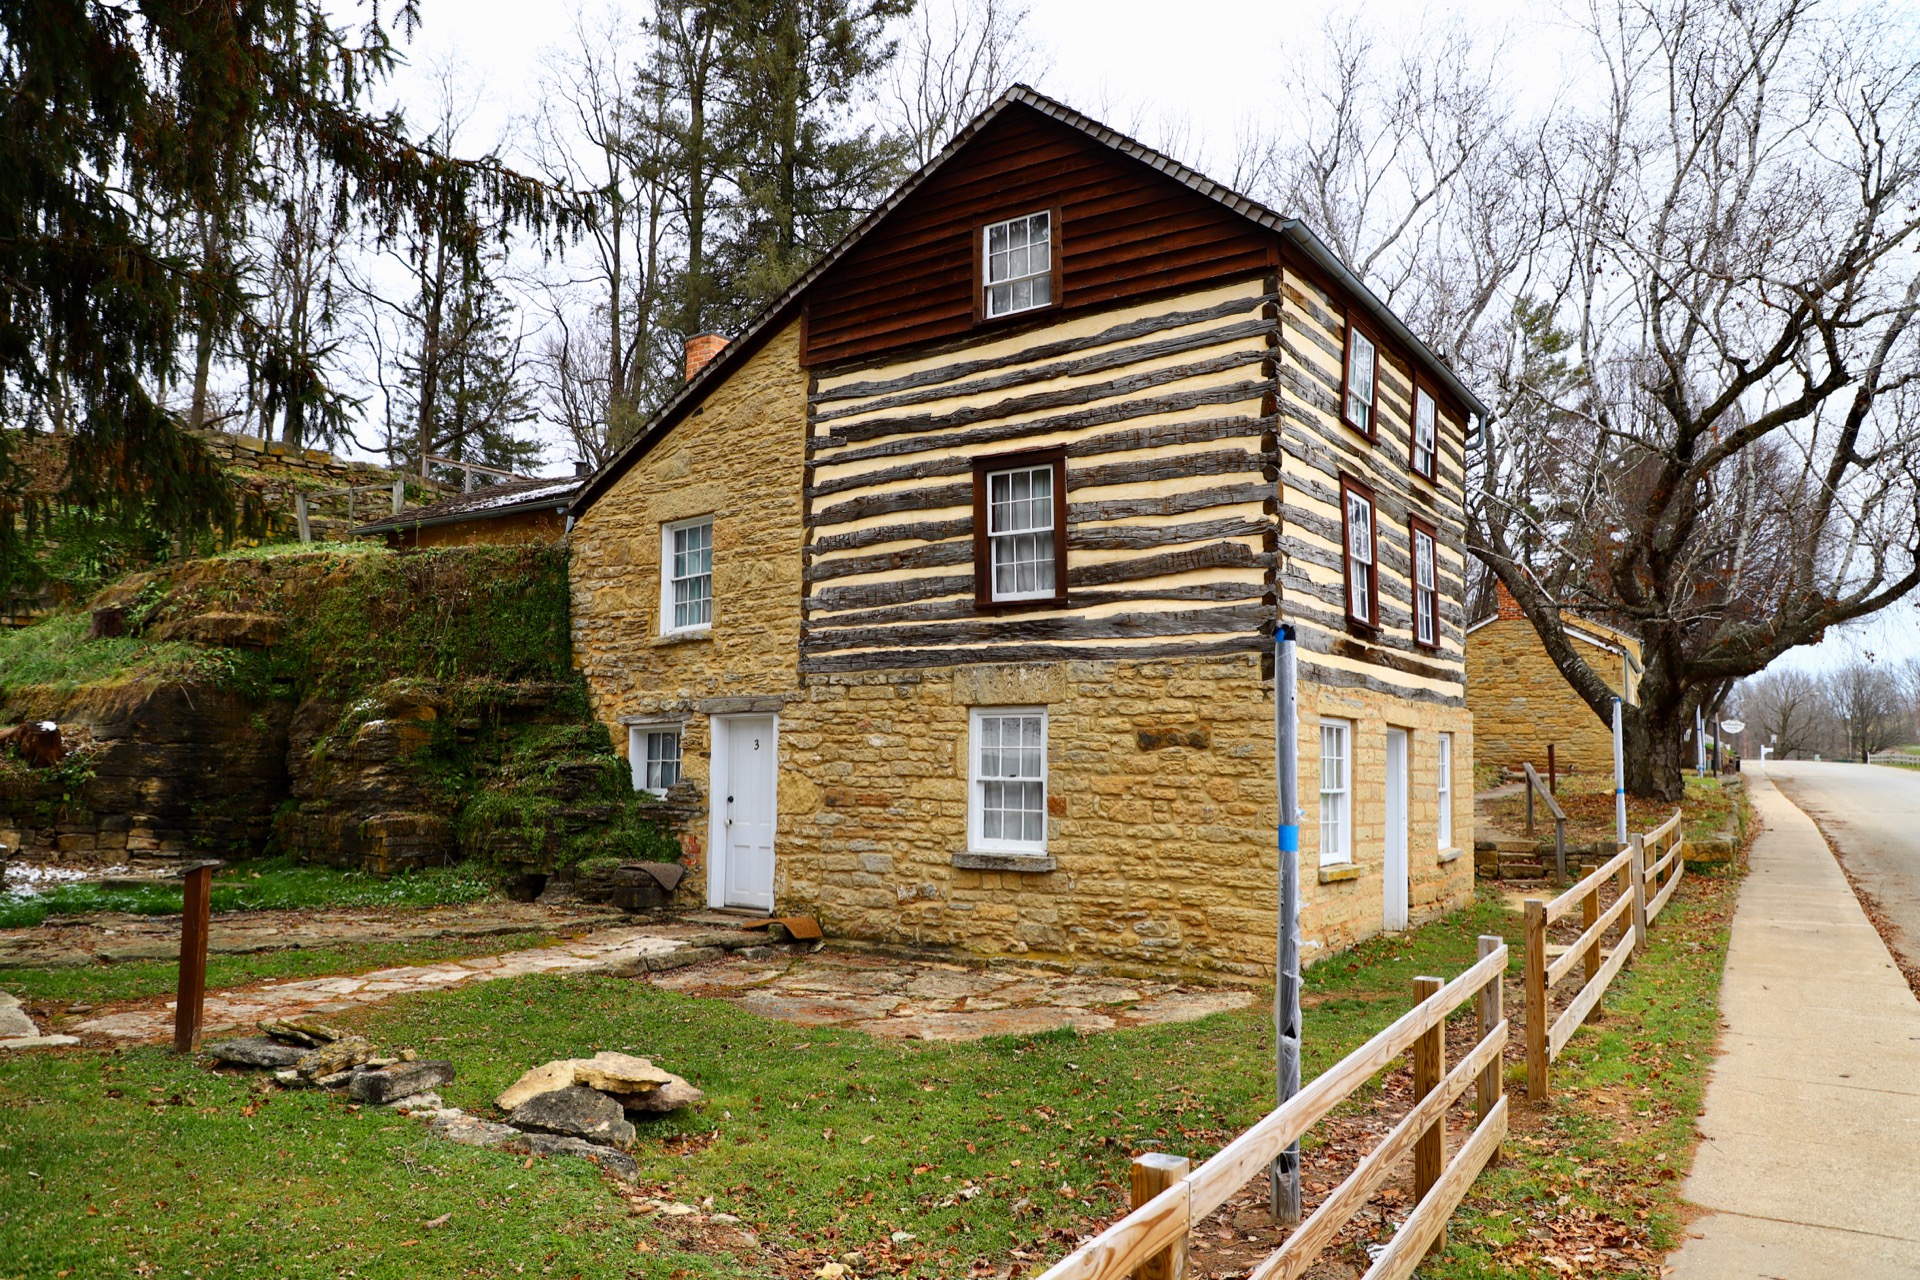
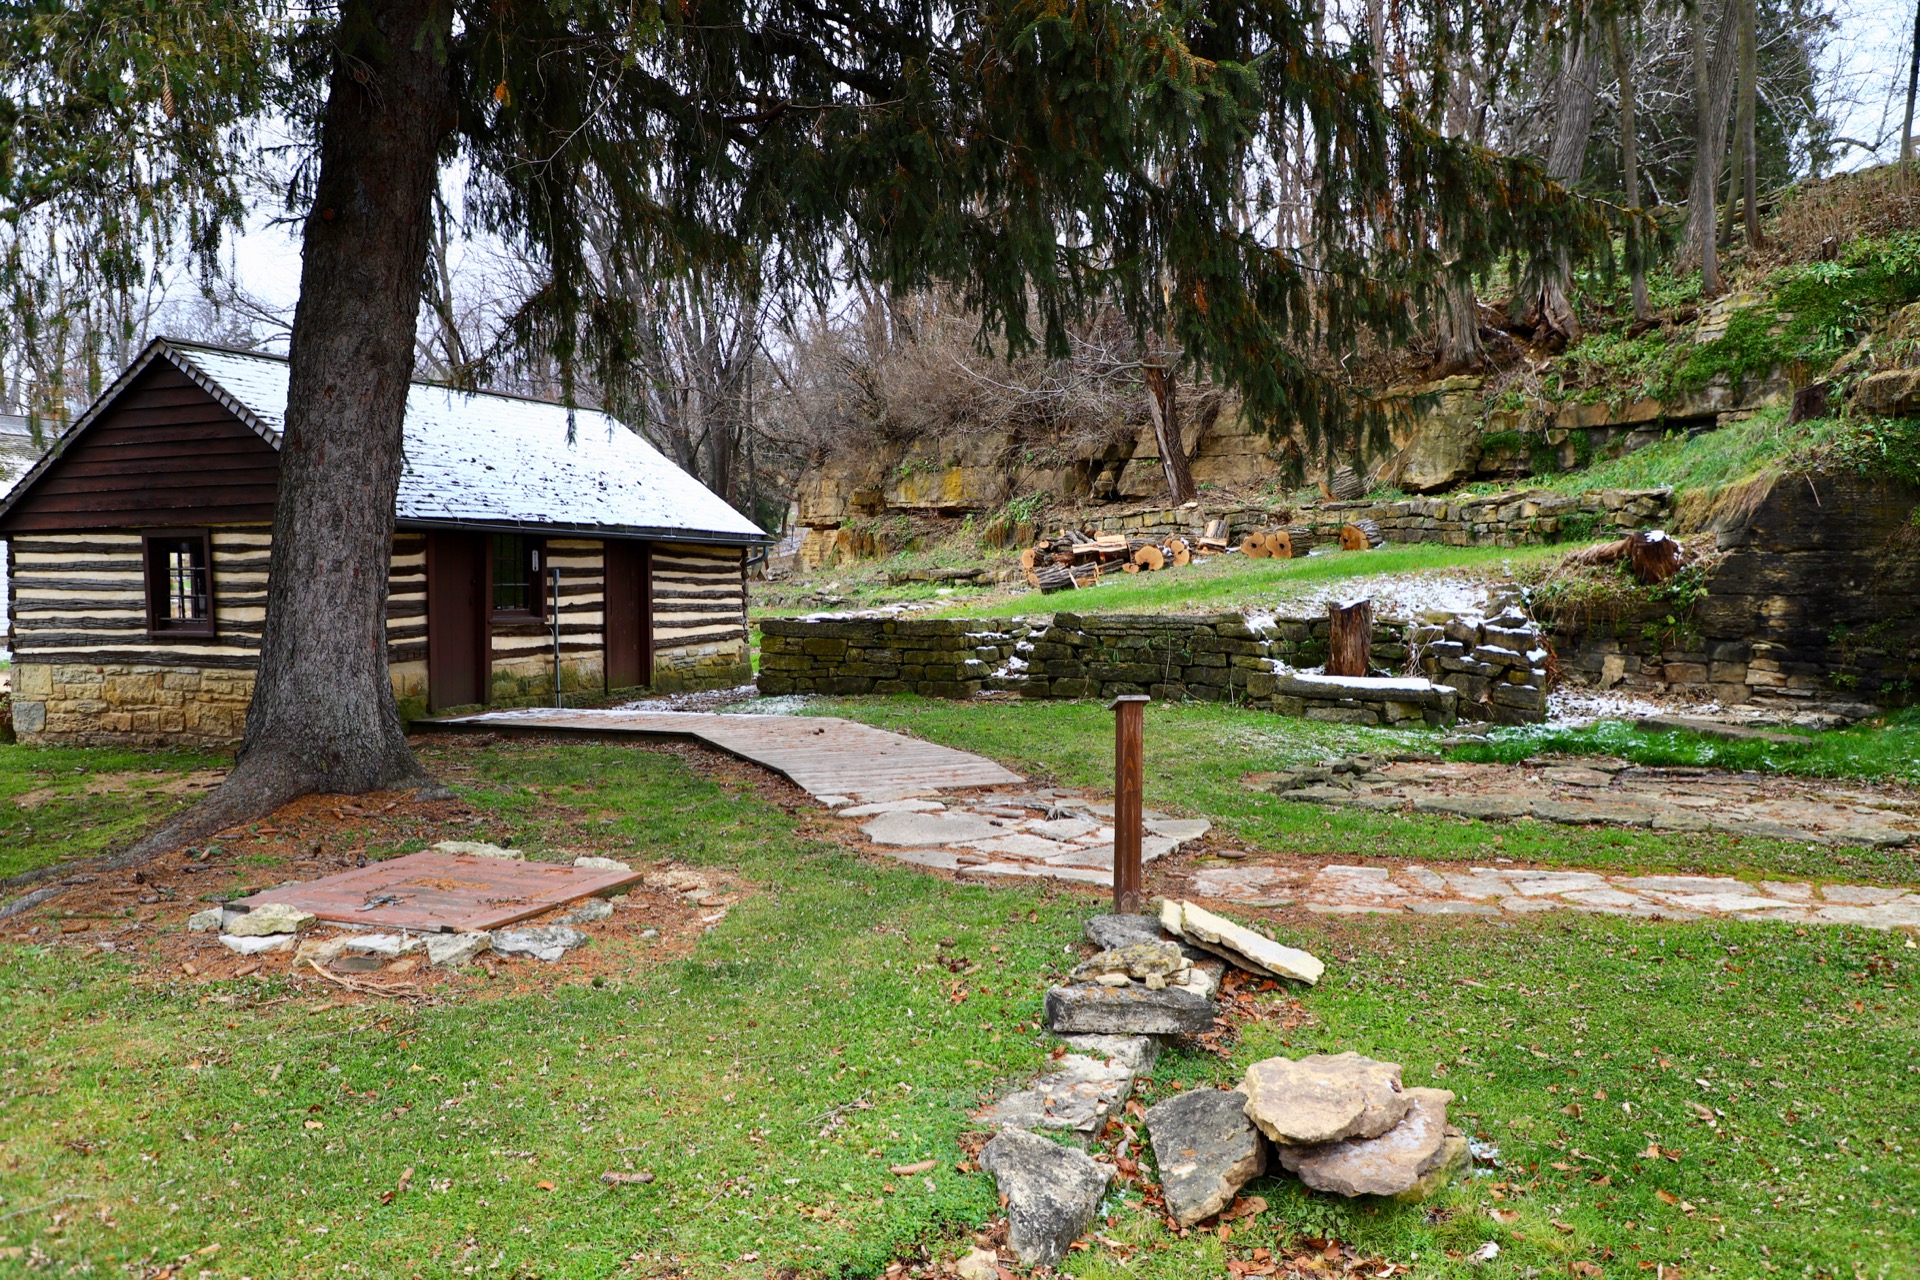
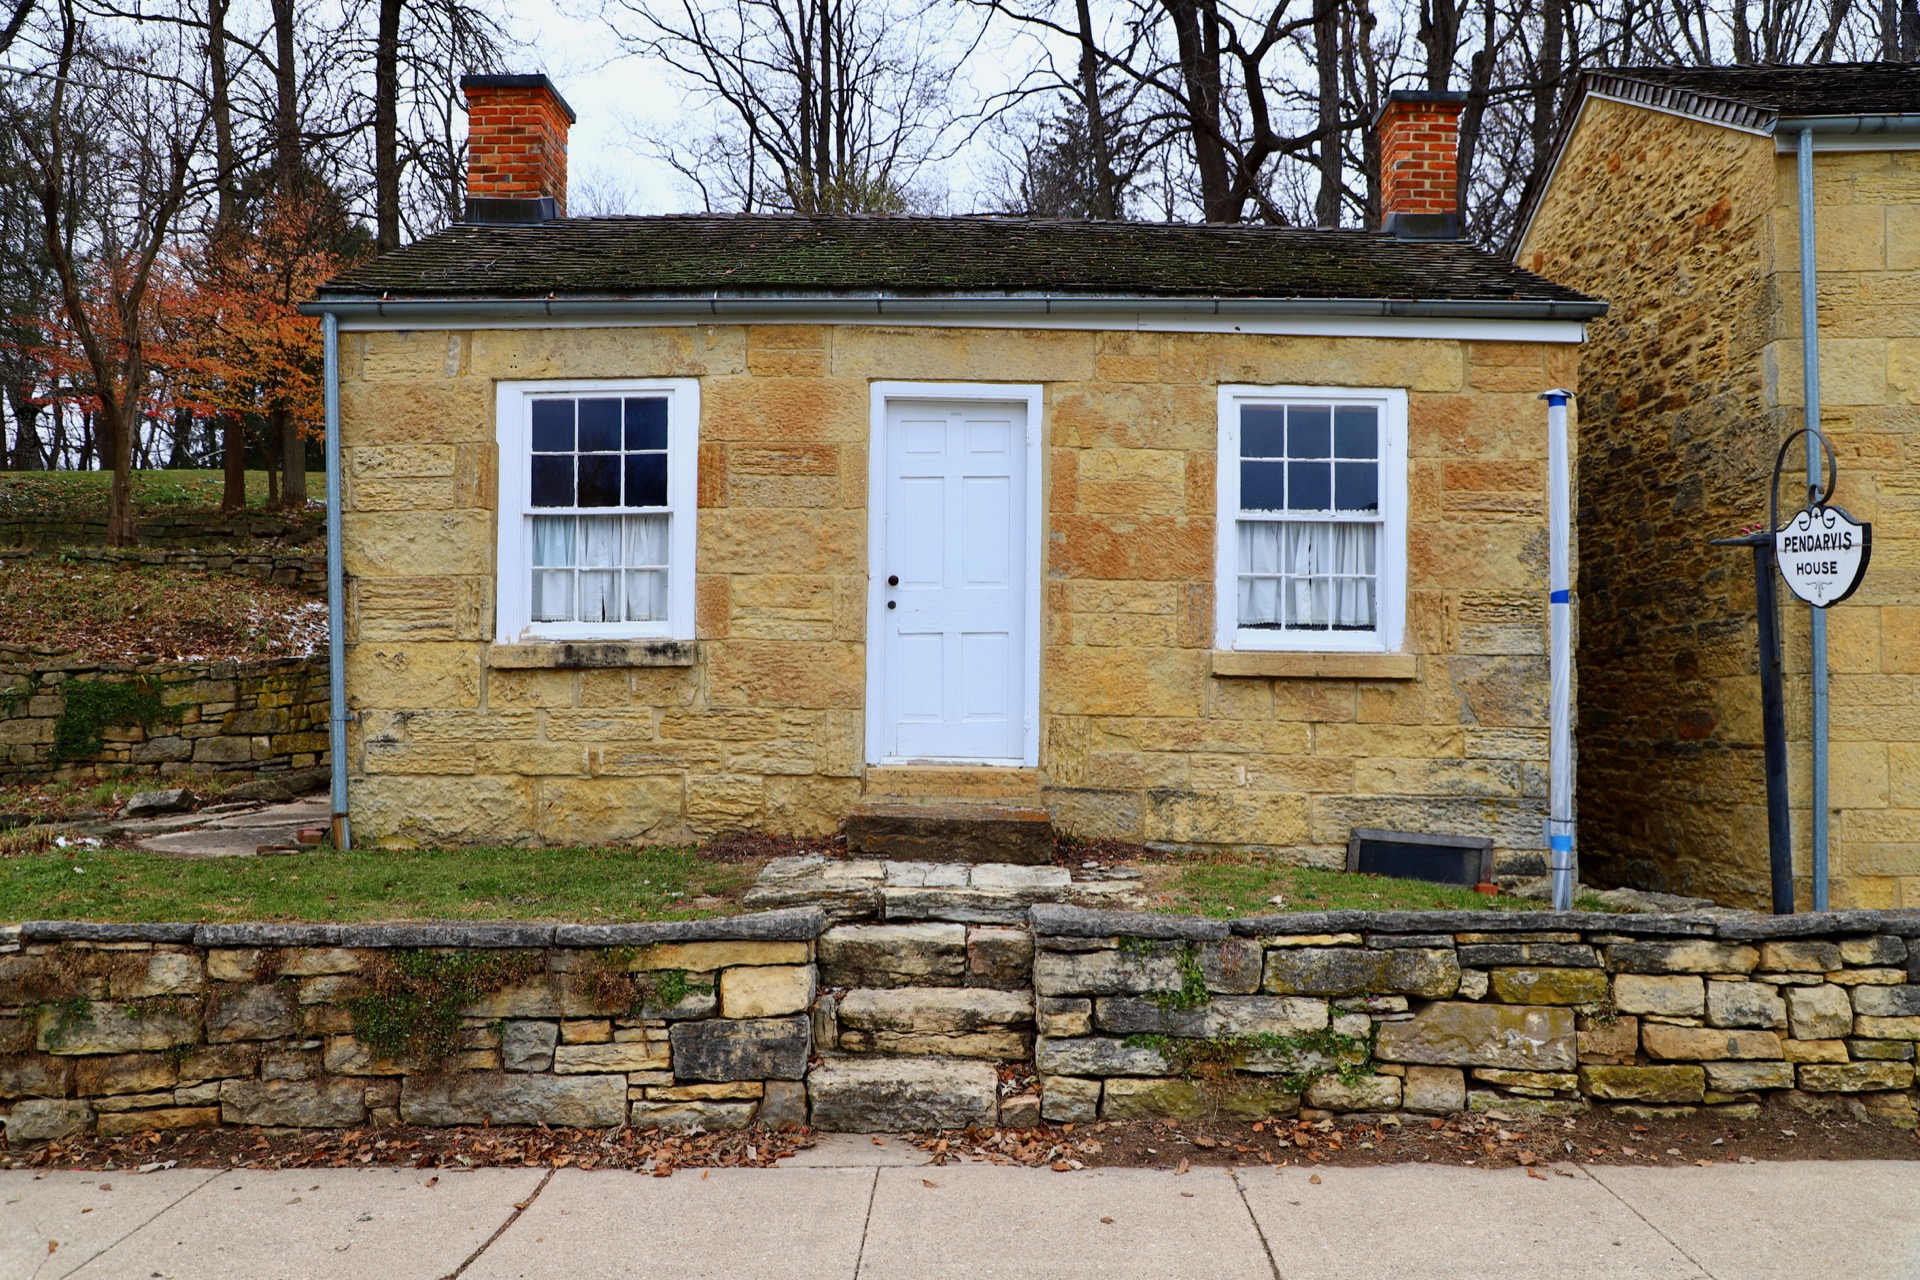
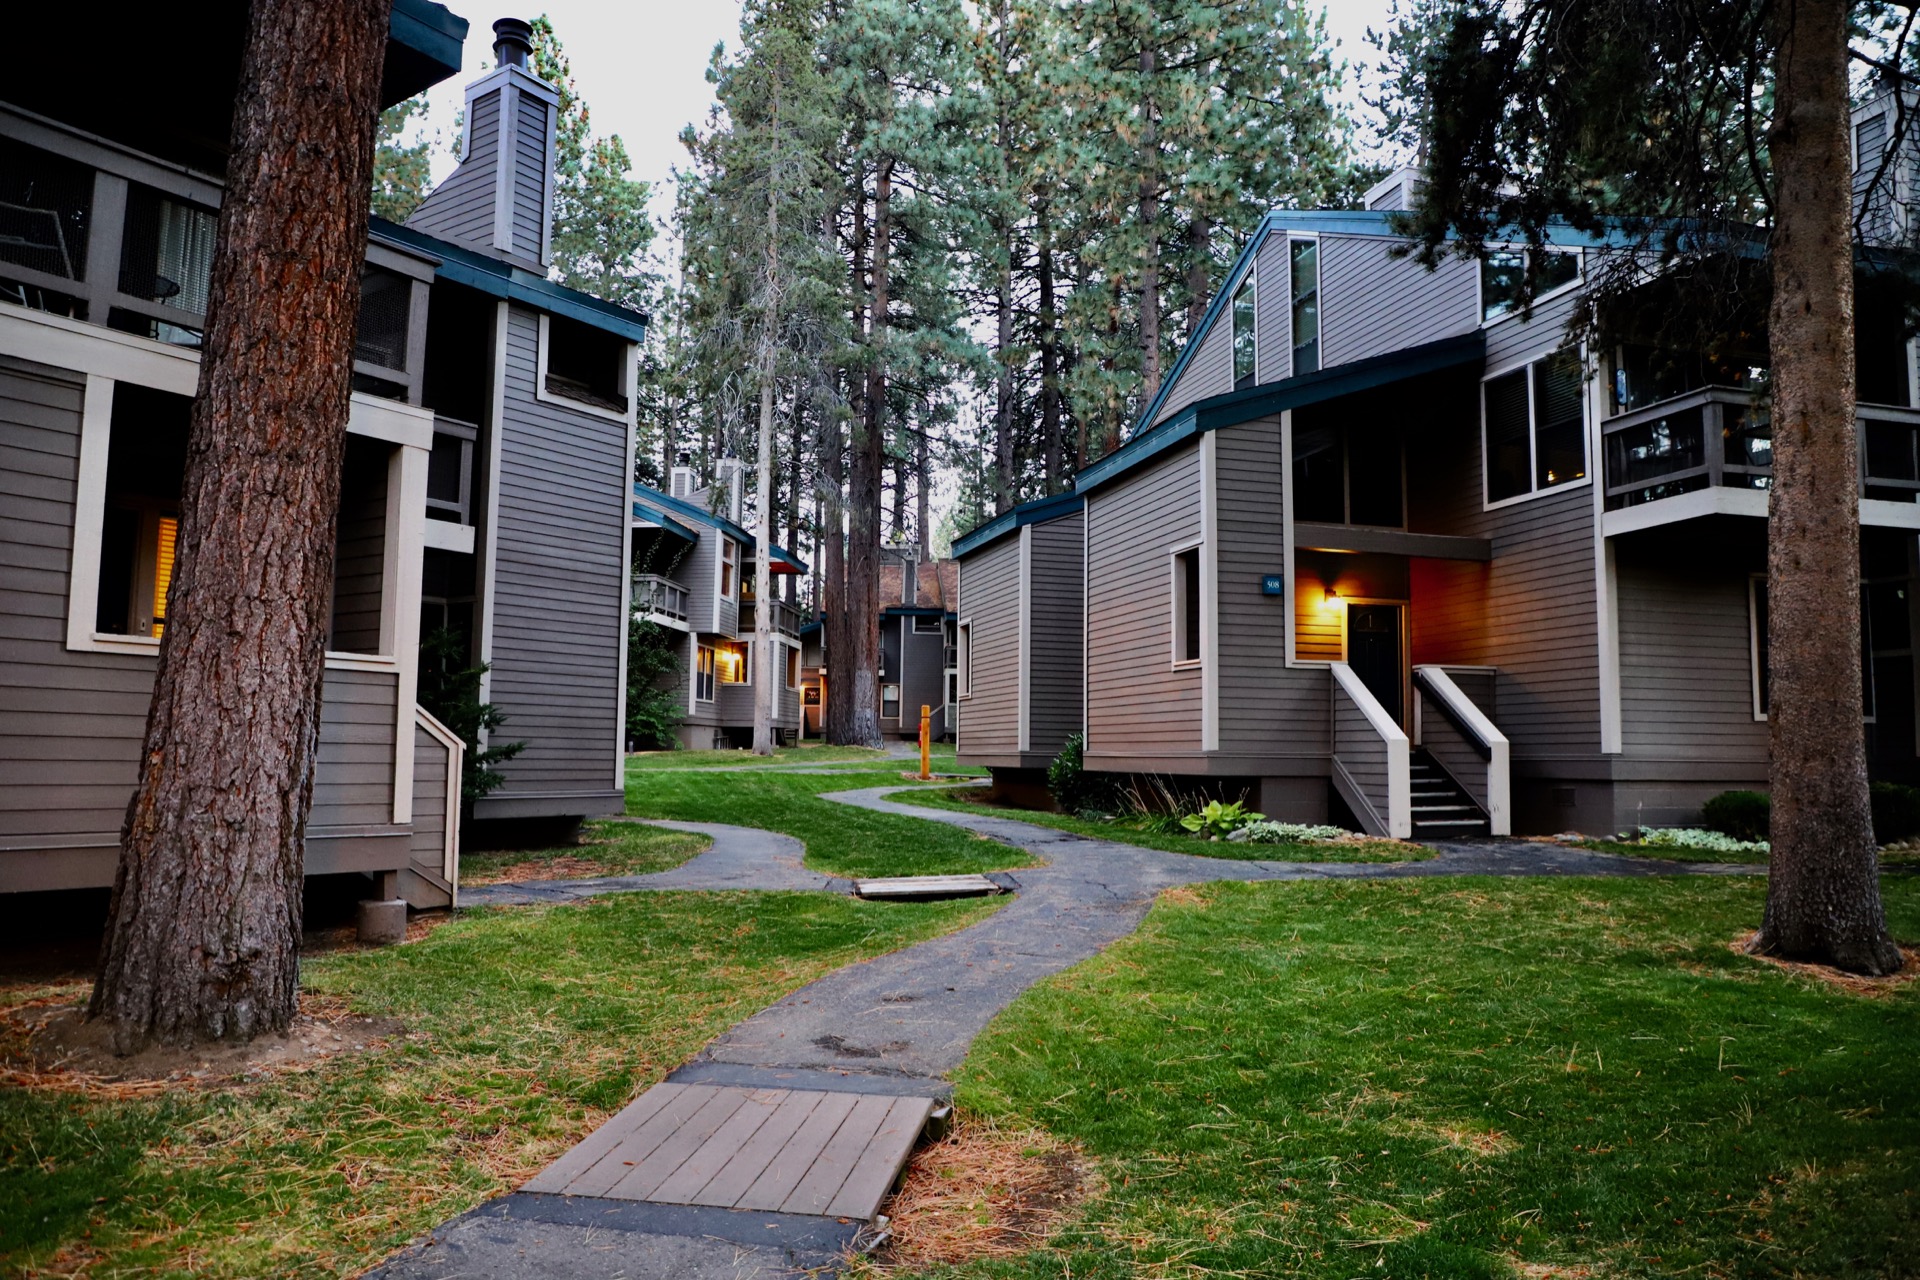
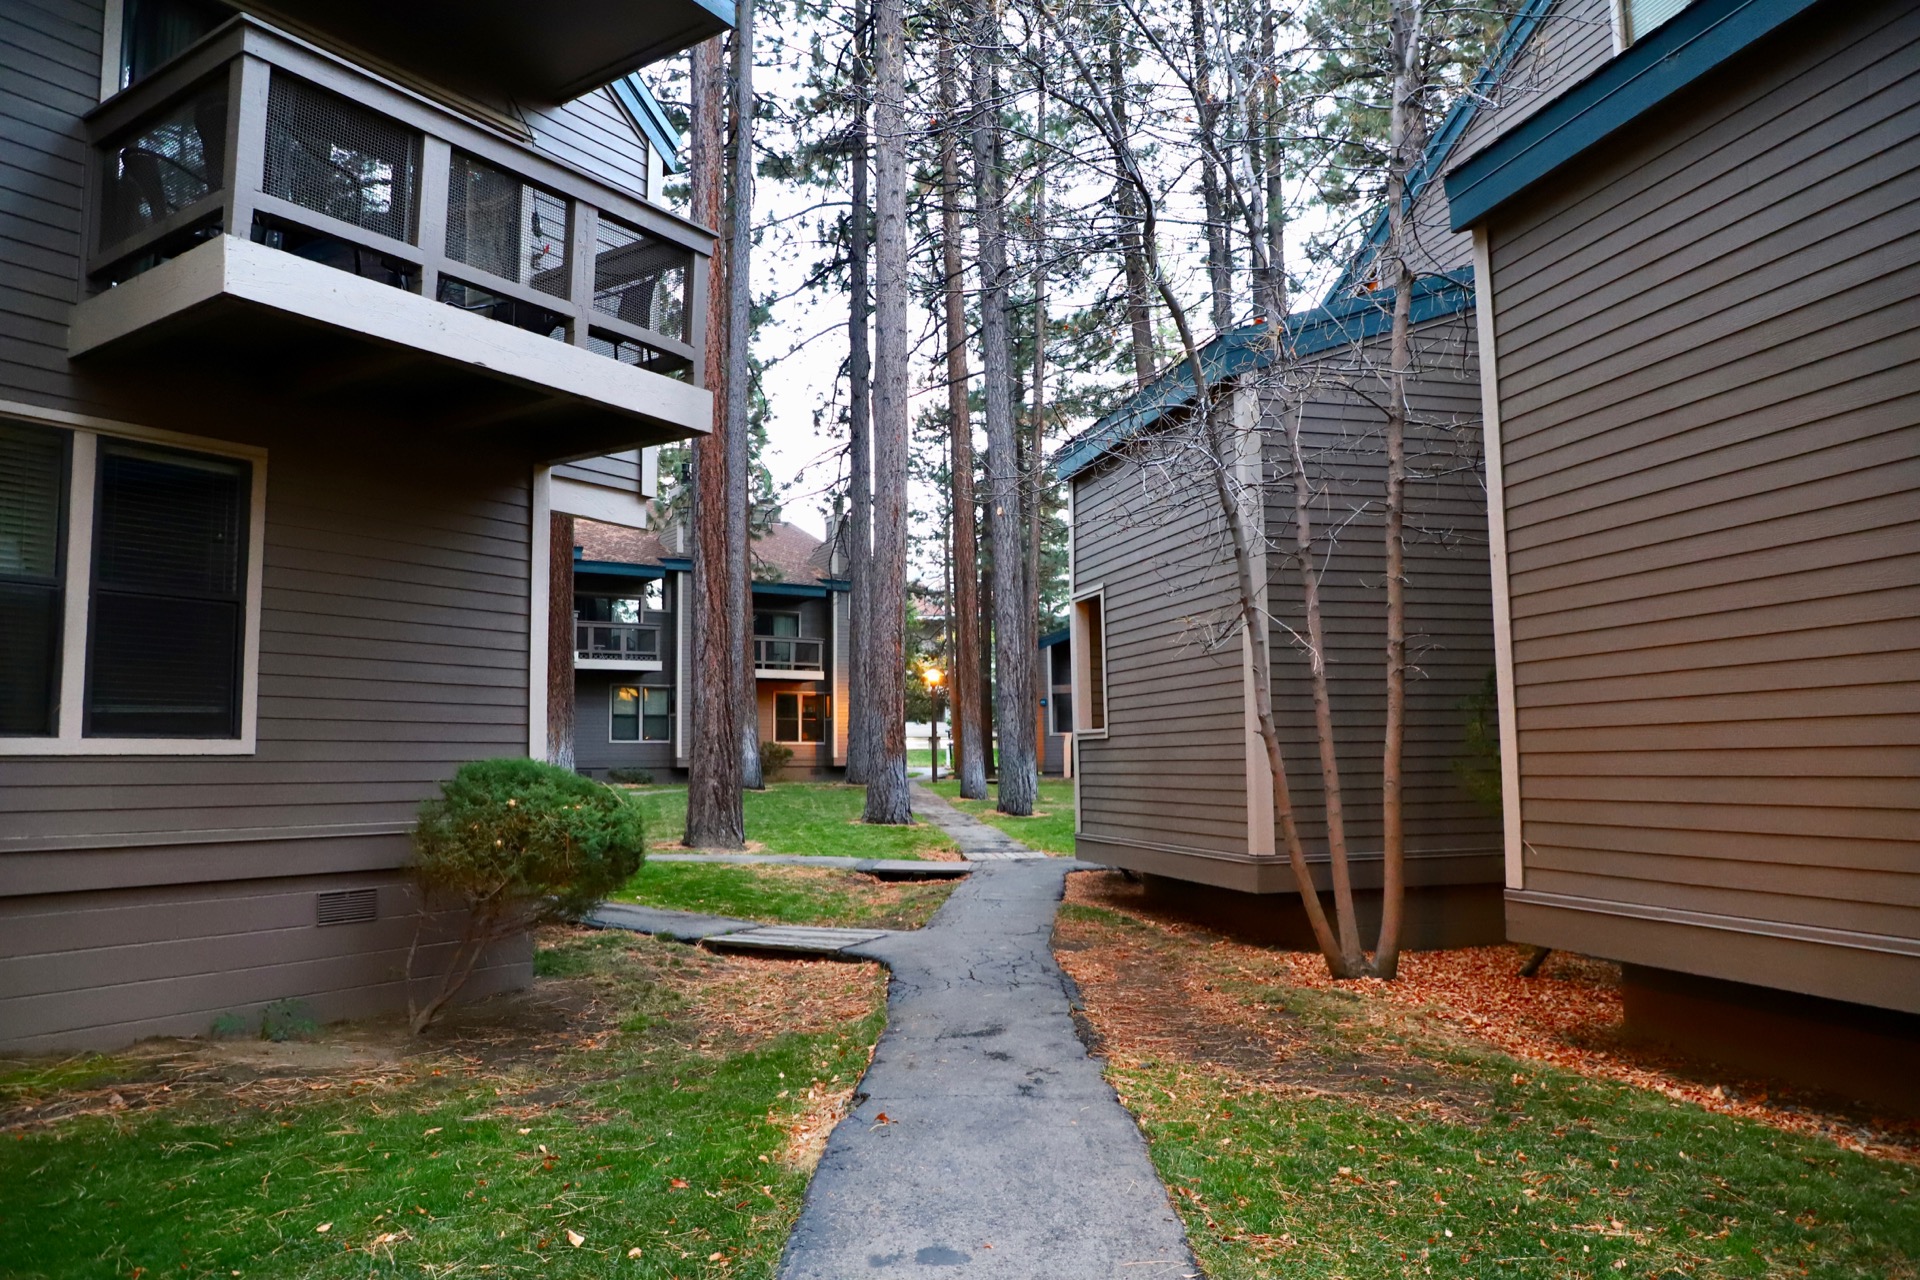
Architecture

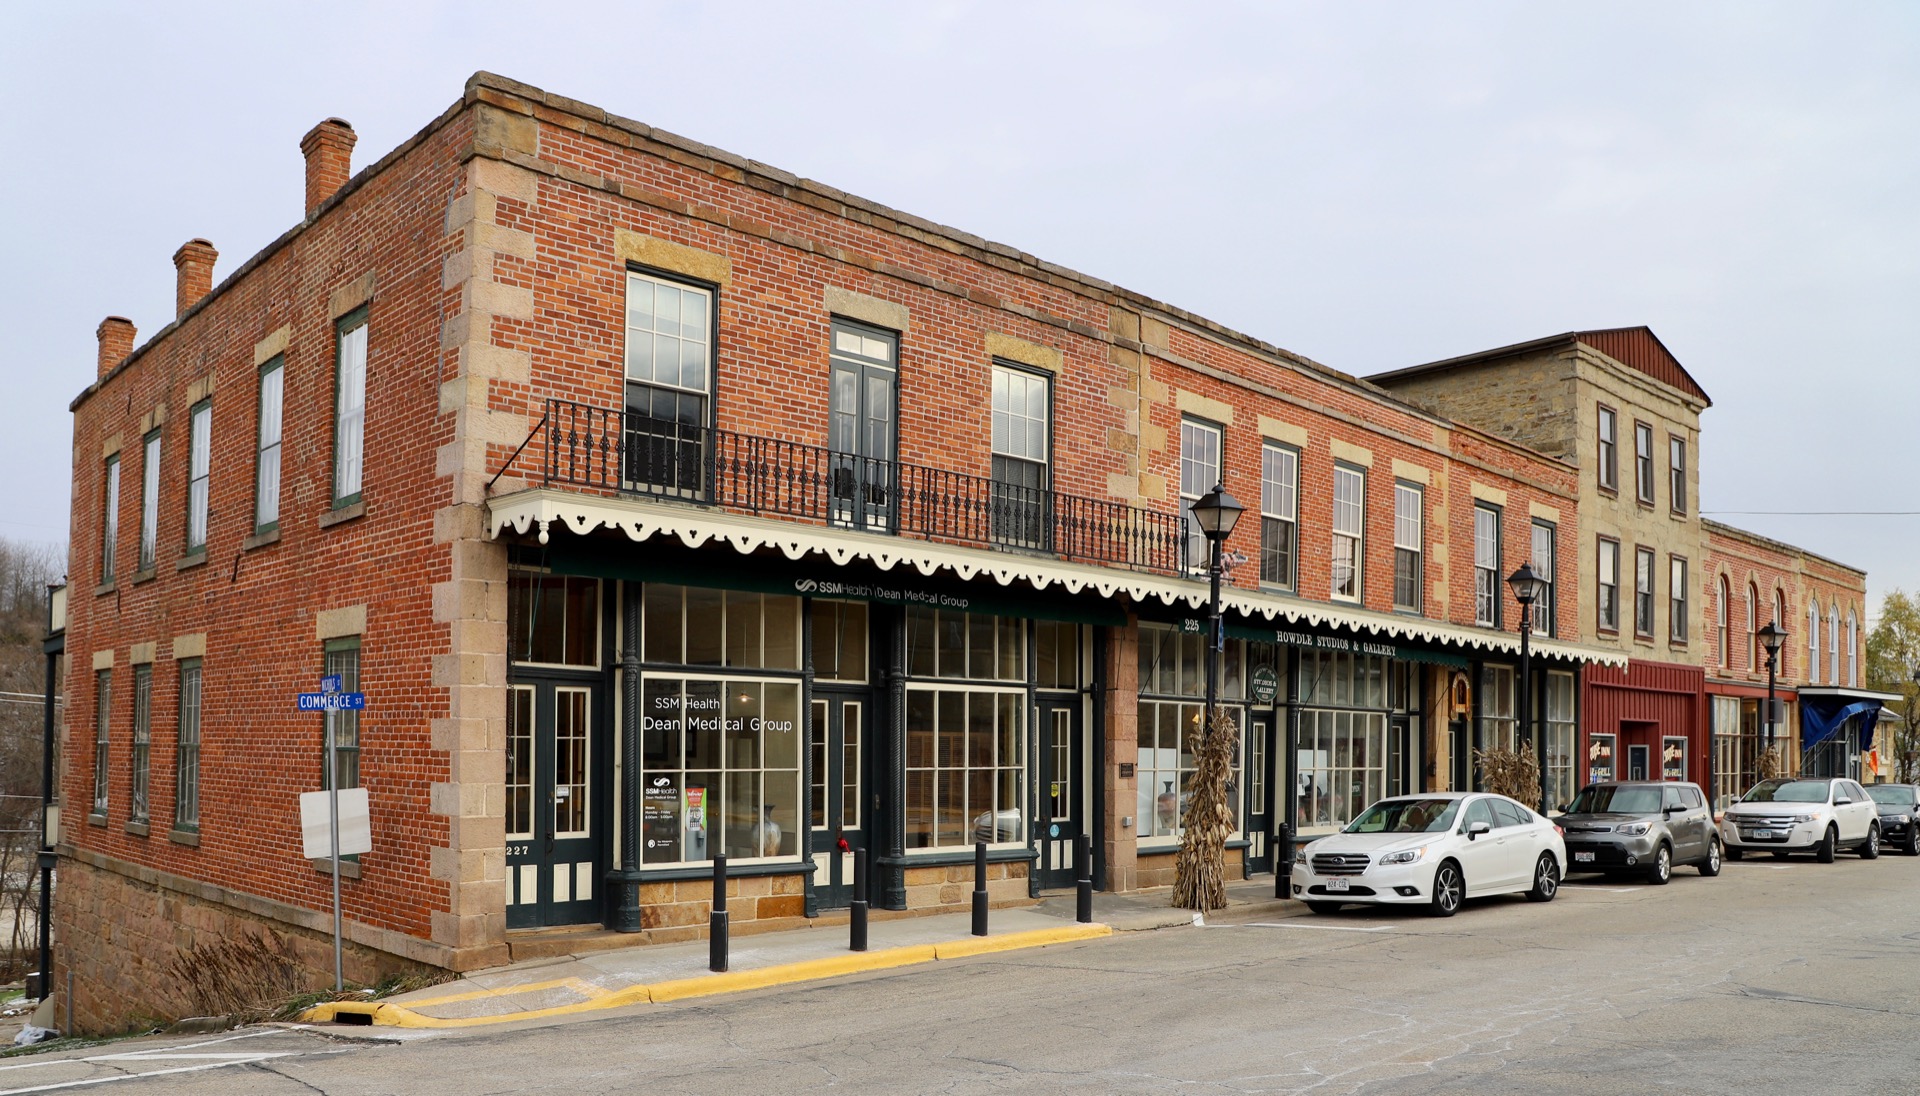
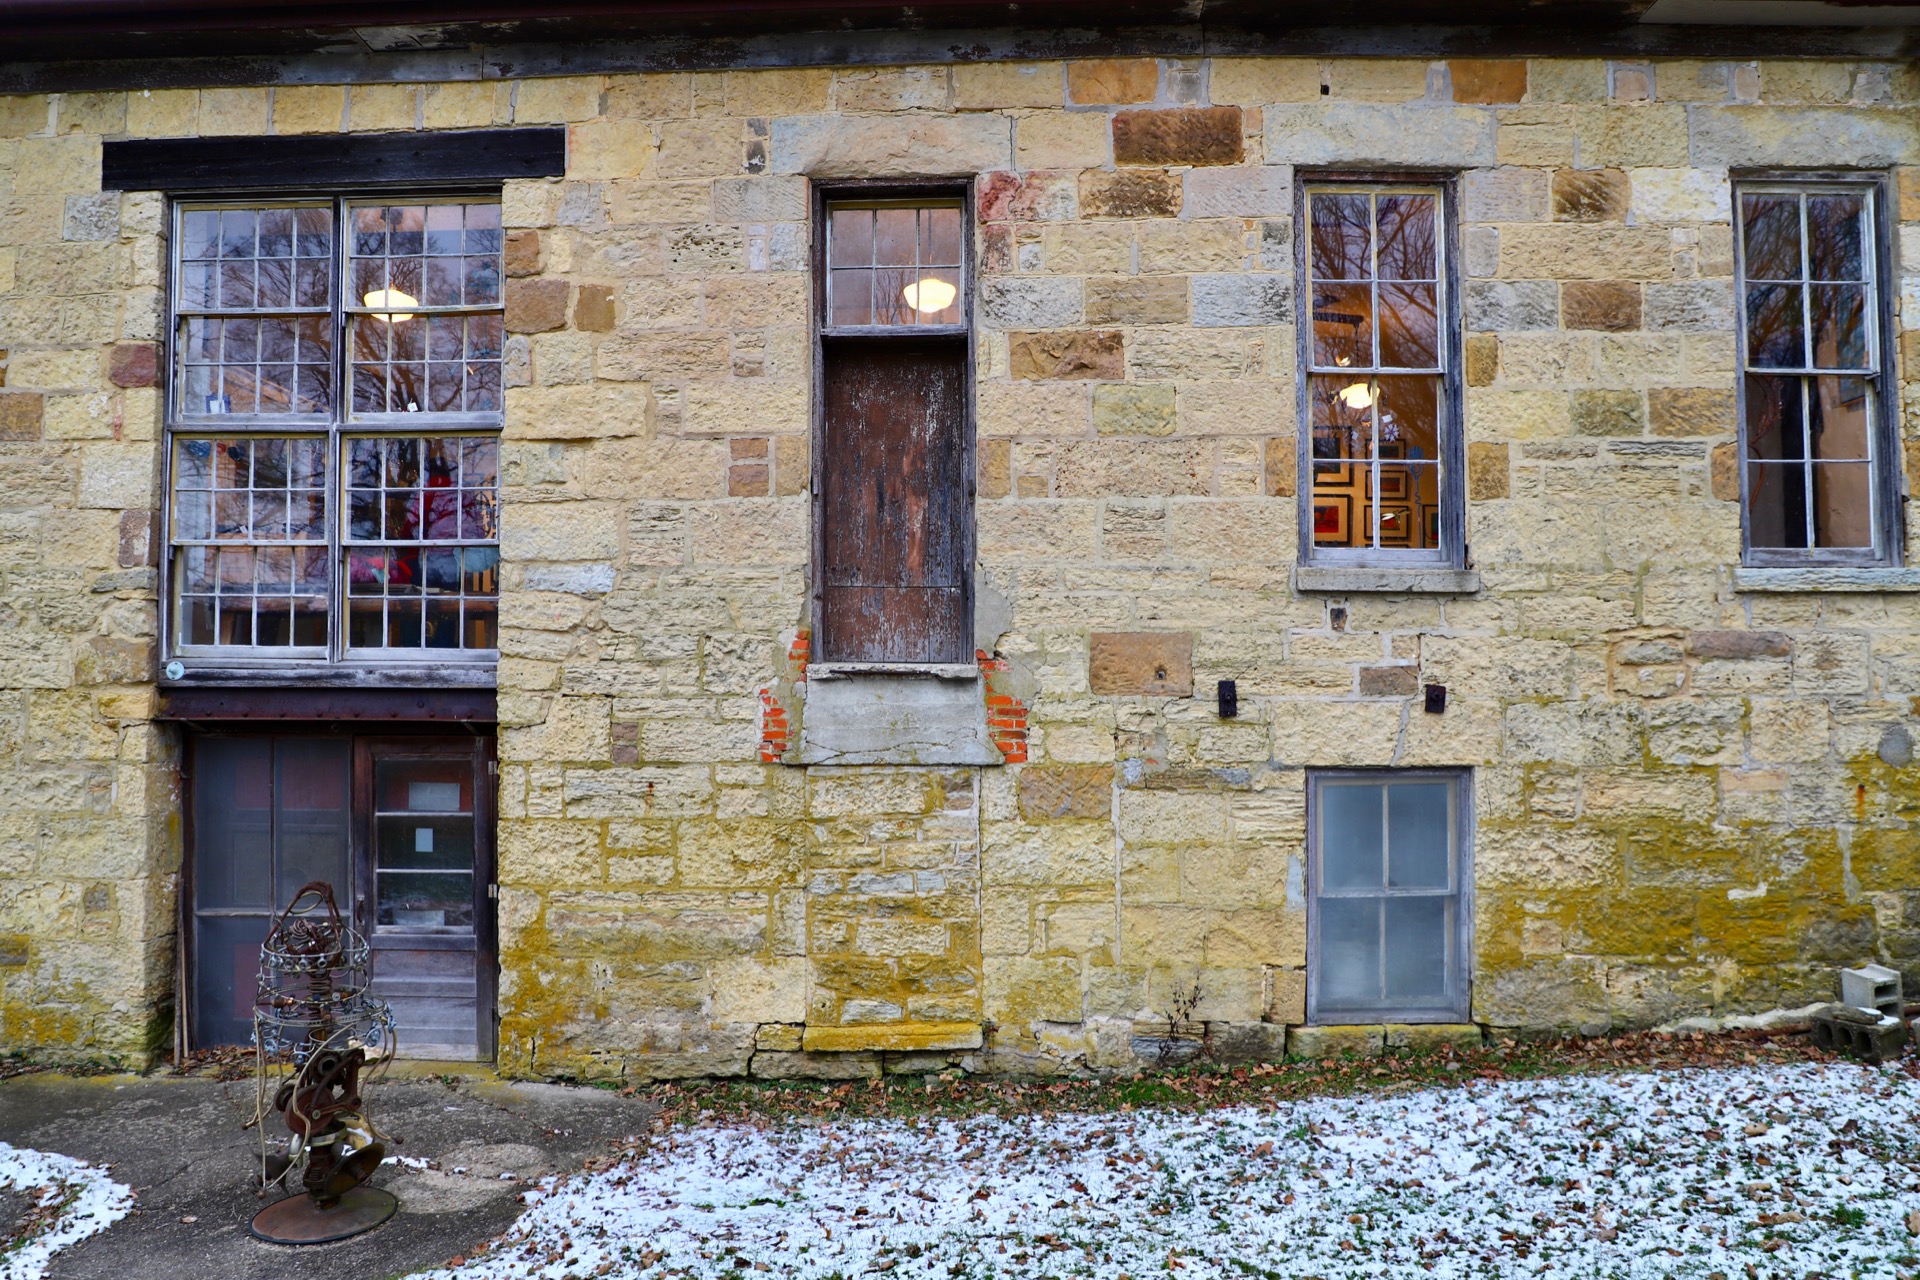
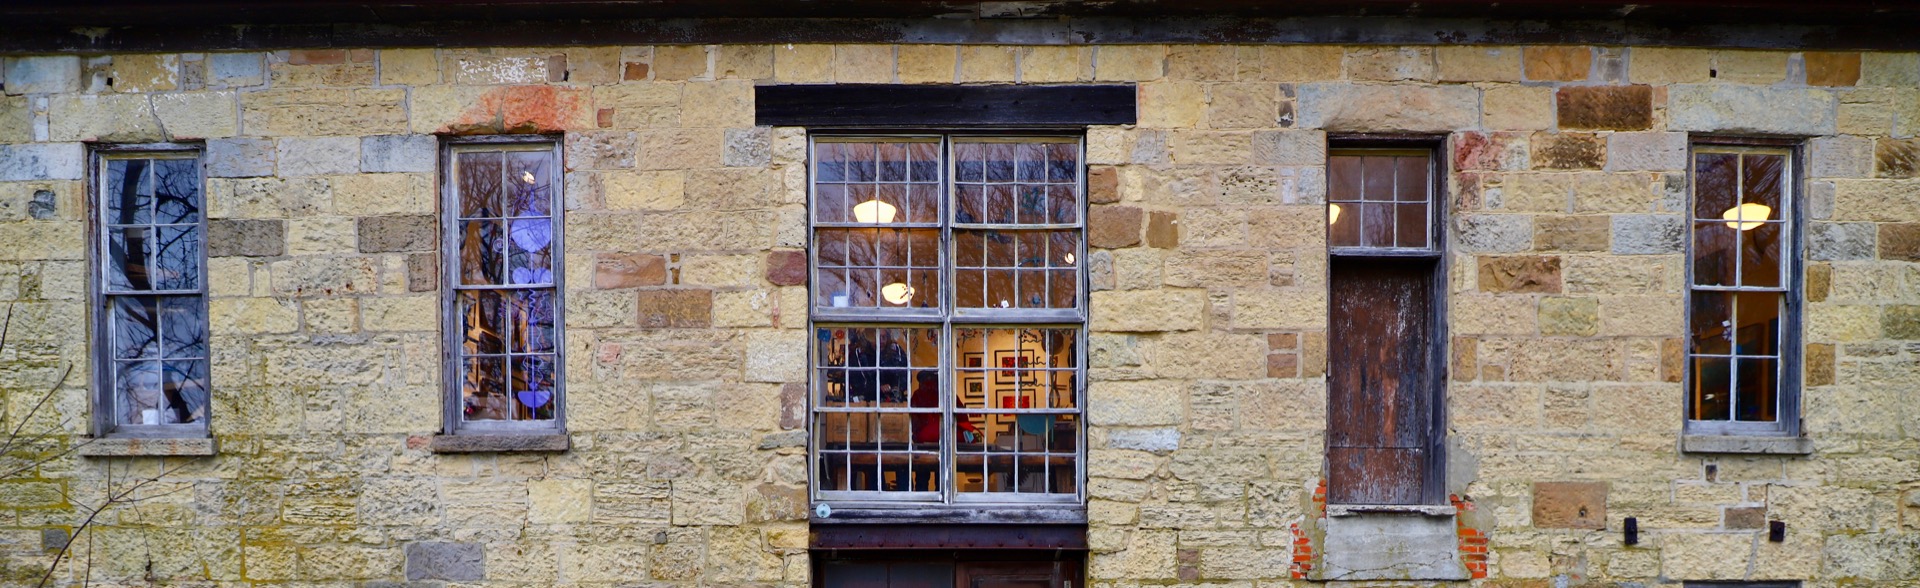
With architecture there can sometimes be challenges getting positioned for a photo. If an adjacent building or road with busy traffic prevents you from backing up far enough, you’ll need a wide angle lens or panorama mode to get the entire photo that you want. A zoom lens may be needed if you’re wanting to focus in on a certain aspect of a building. The photo below was taken with an iPhone 6 Plus using the panorama mode because an adjacent building made it impossible to back up far enough to get the entire building in the photo. If you click on the image, you can see the full image resolution which is 9820 by 2942 pixels.

20161006-university-of-iowa-advanced-technology-laboratory-uiowa-iatl-photo-taken-with-iphone-6-plus-by-greg-johnson-9820x2942-img_5218

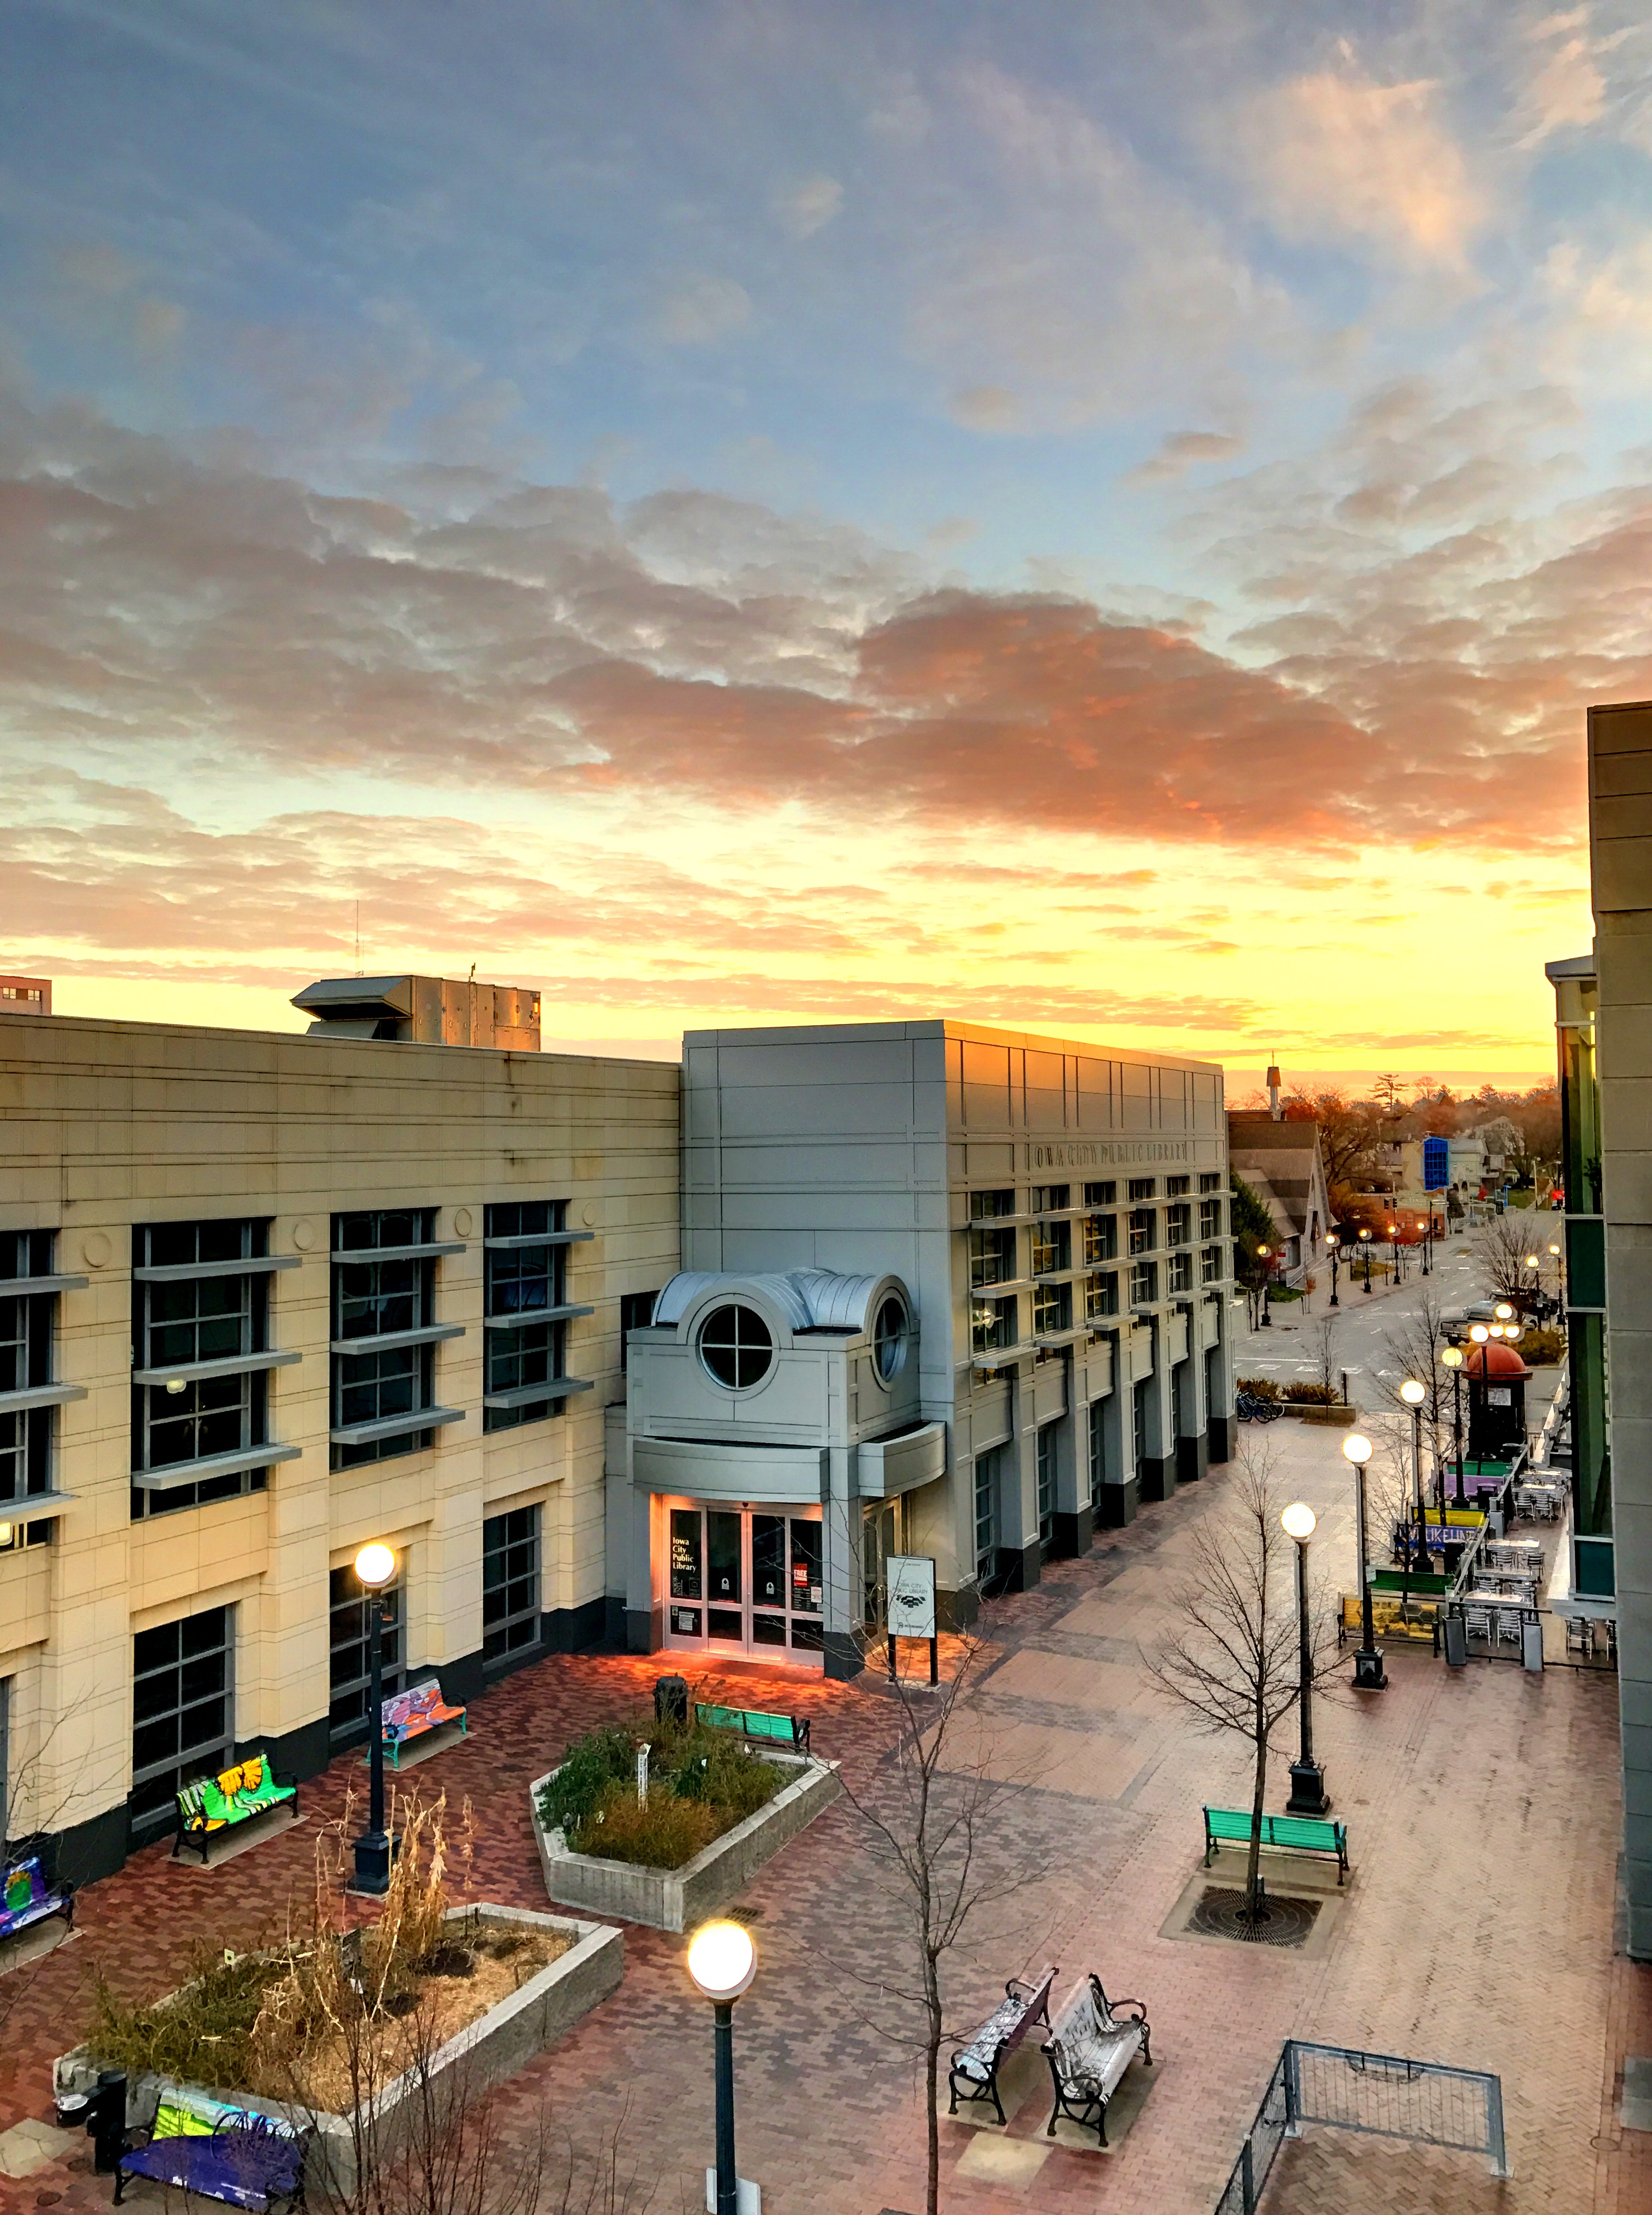
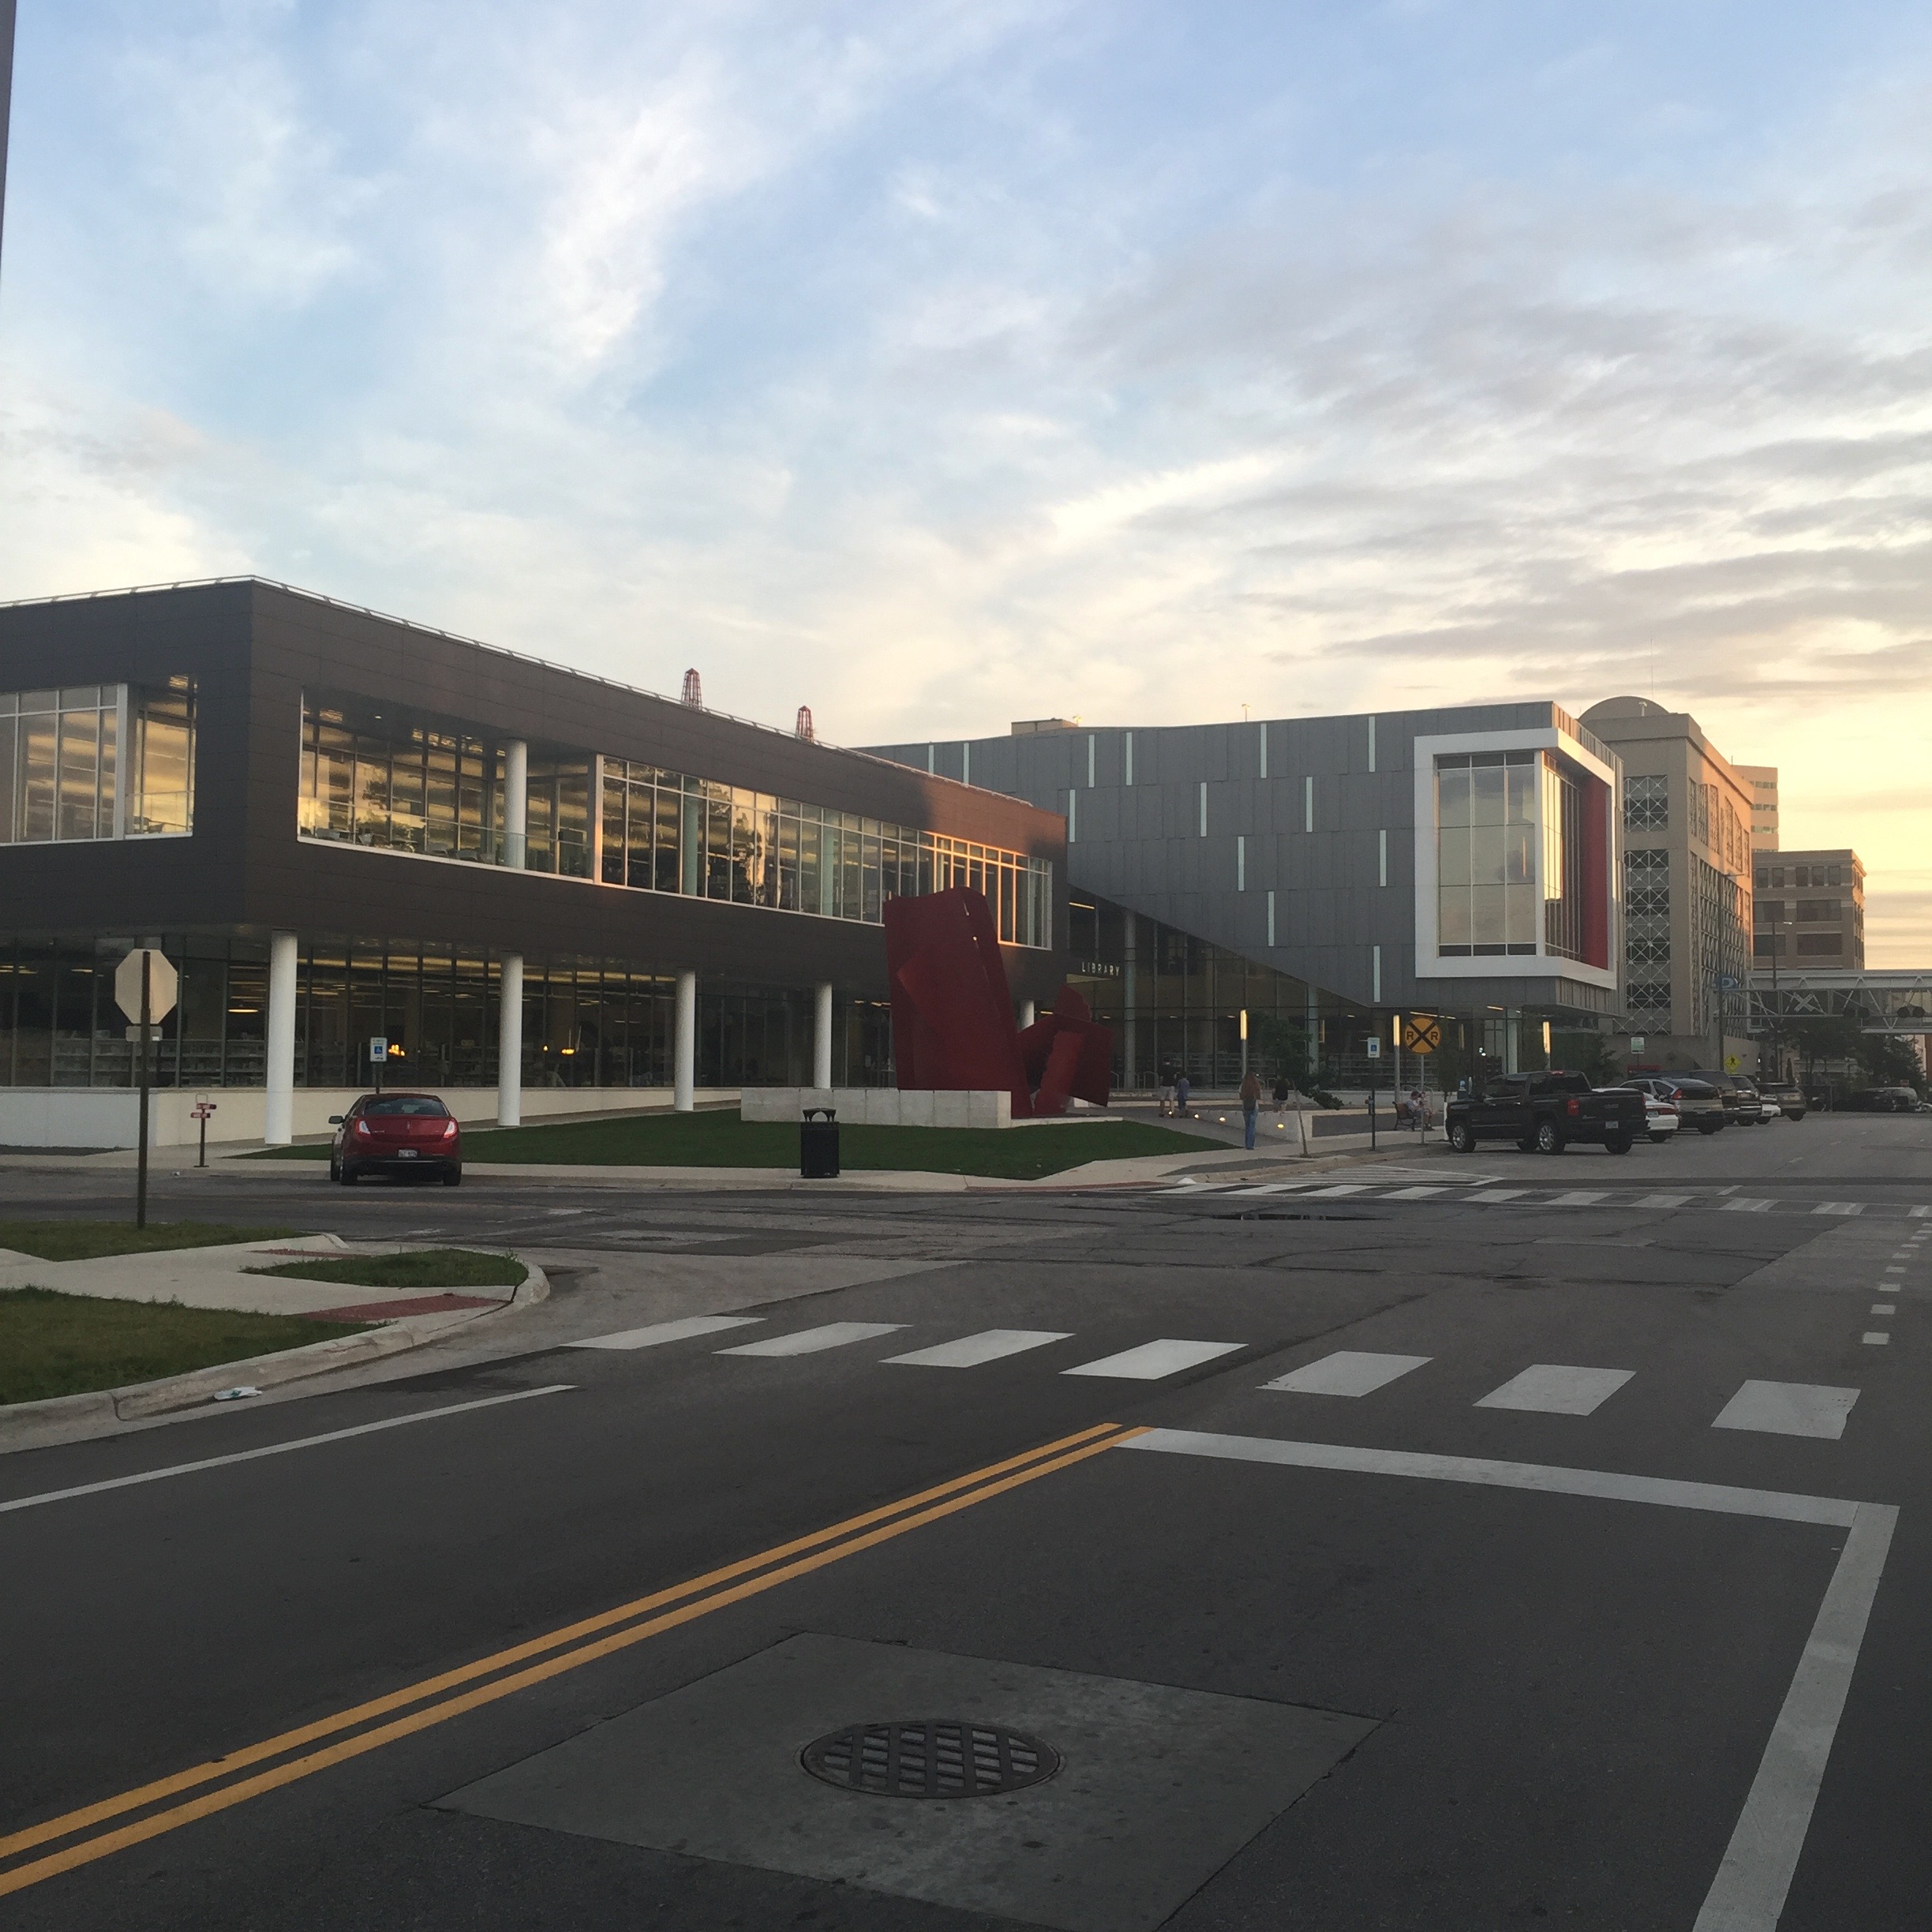
Another challenge with architectural photography is lighting. The photo below of the Cedar Rapids Public Library was taken in the evening. The iPhone 6 Plus made the correct exposure adjustments to achieve what looks like an artists rendering of the building. If you click on the image, you can see the full image resolution which is 2448 by 2448 pixels.

20160719at2016-cedar-rapids-public-library-crpl-architecture-evening-2448x2448-img_2110

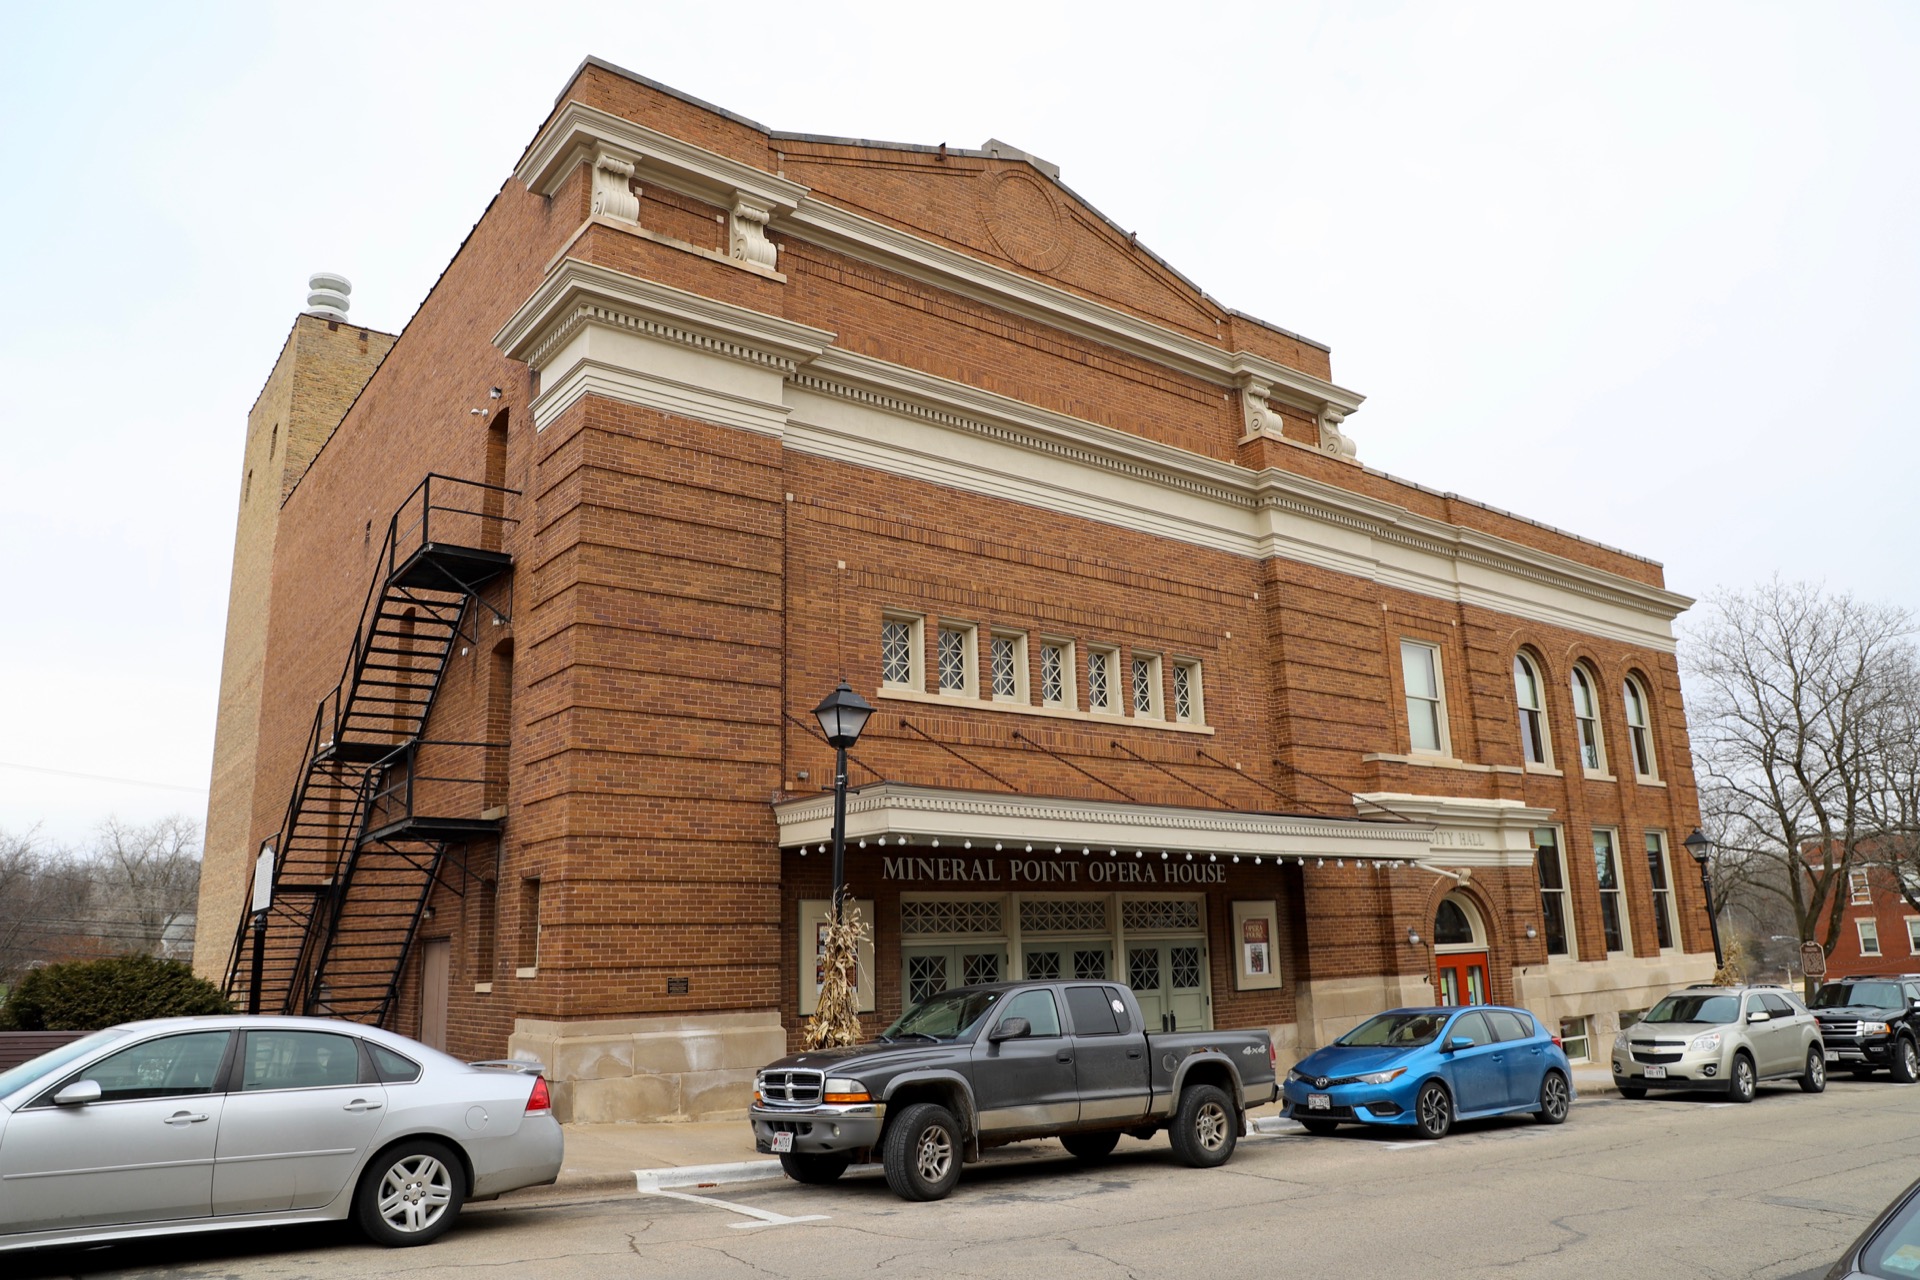
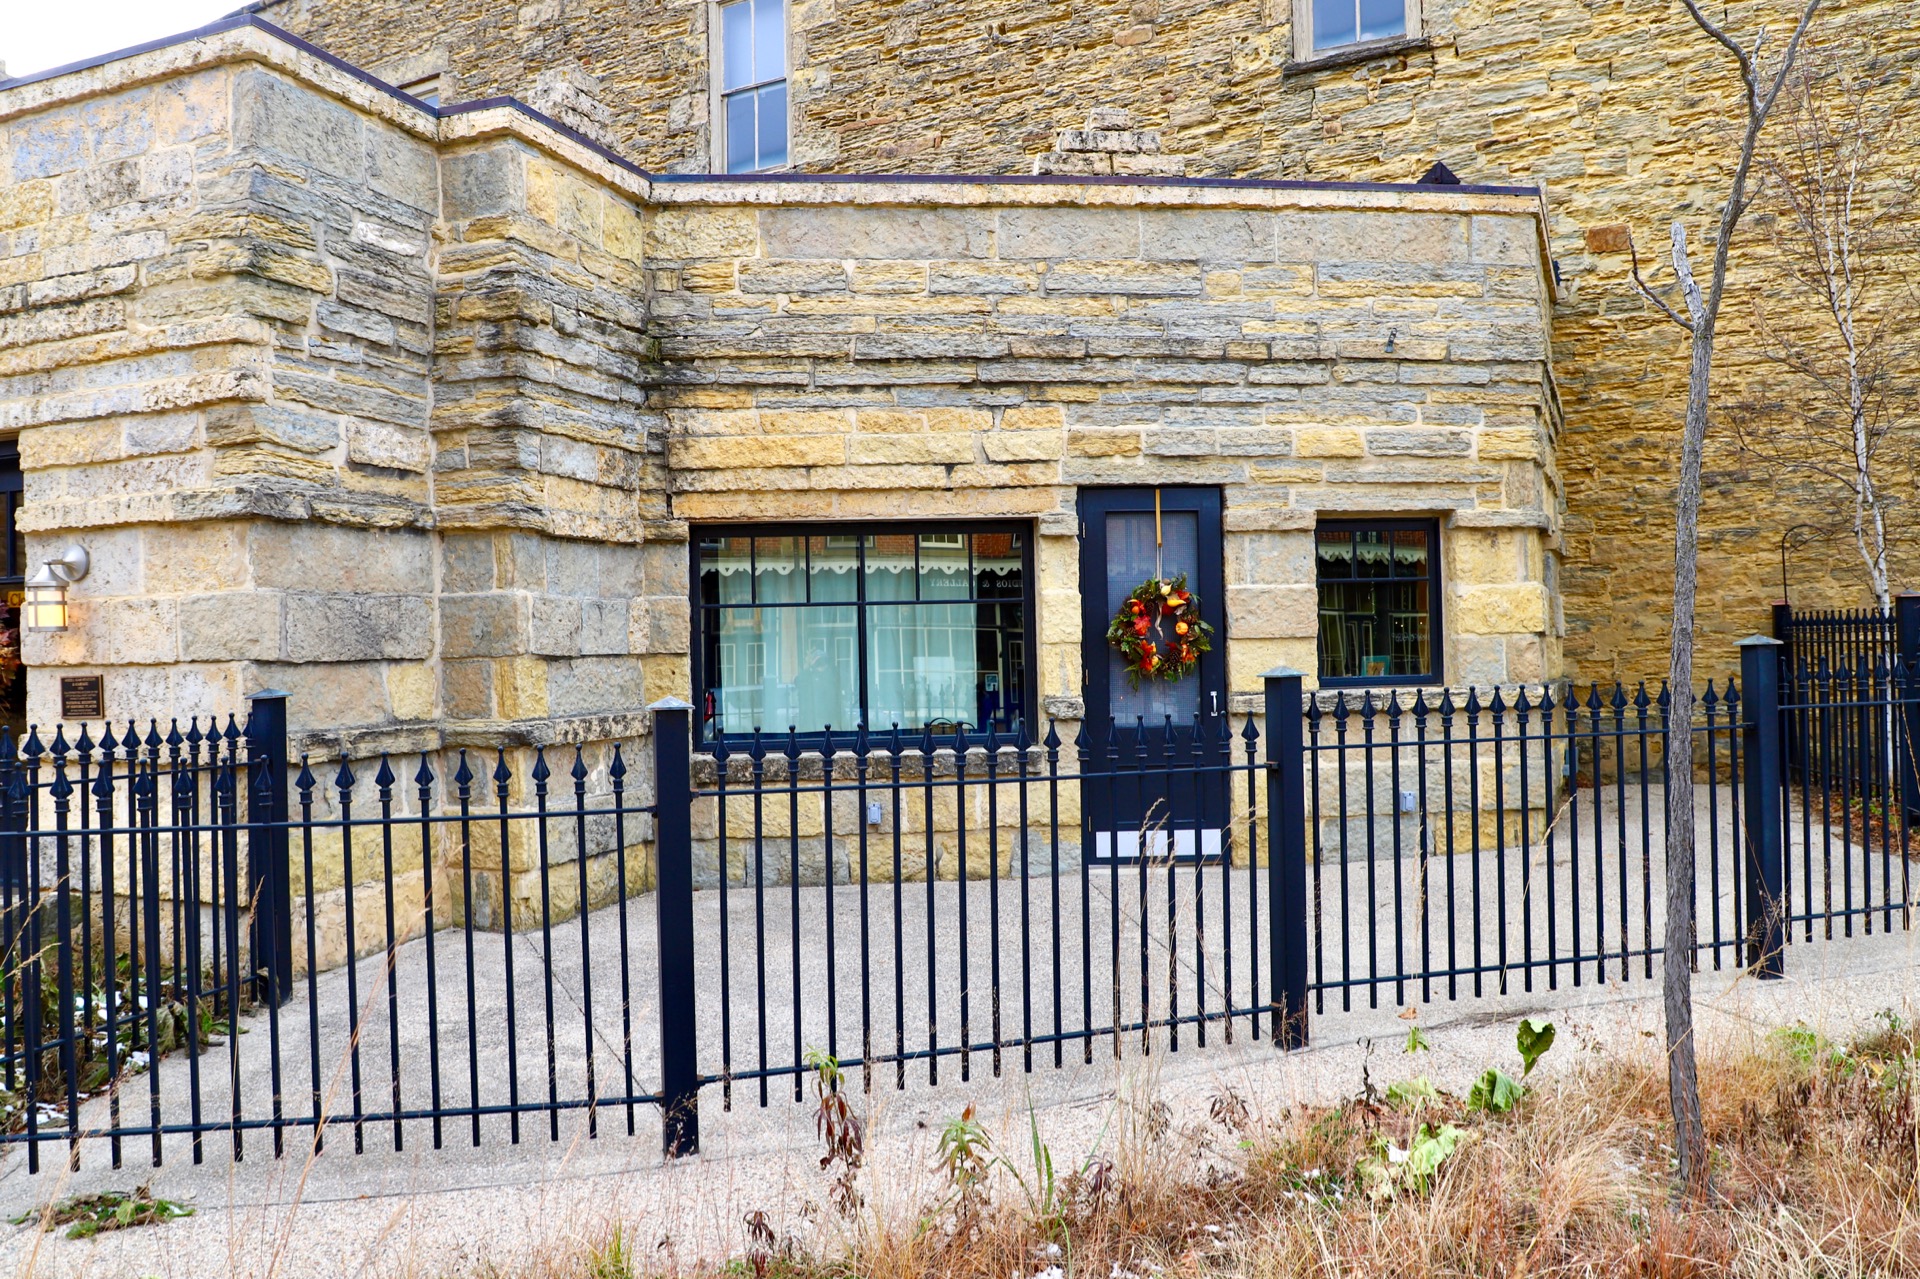
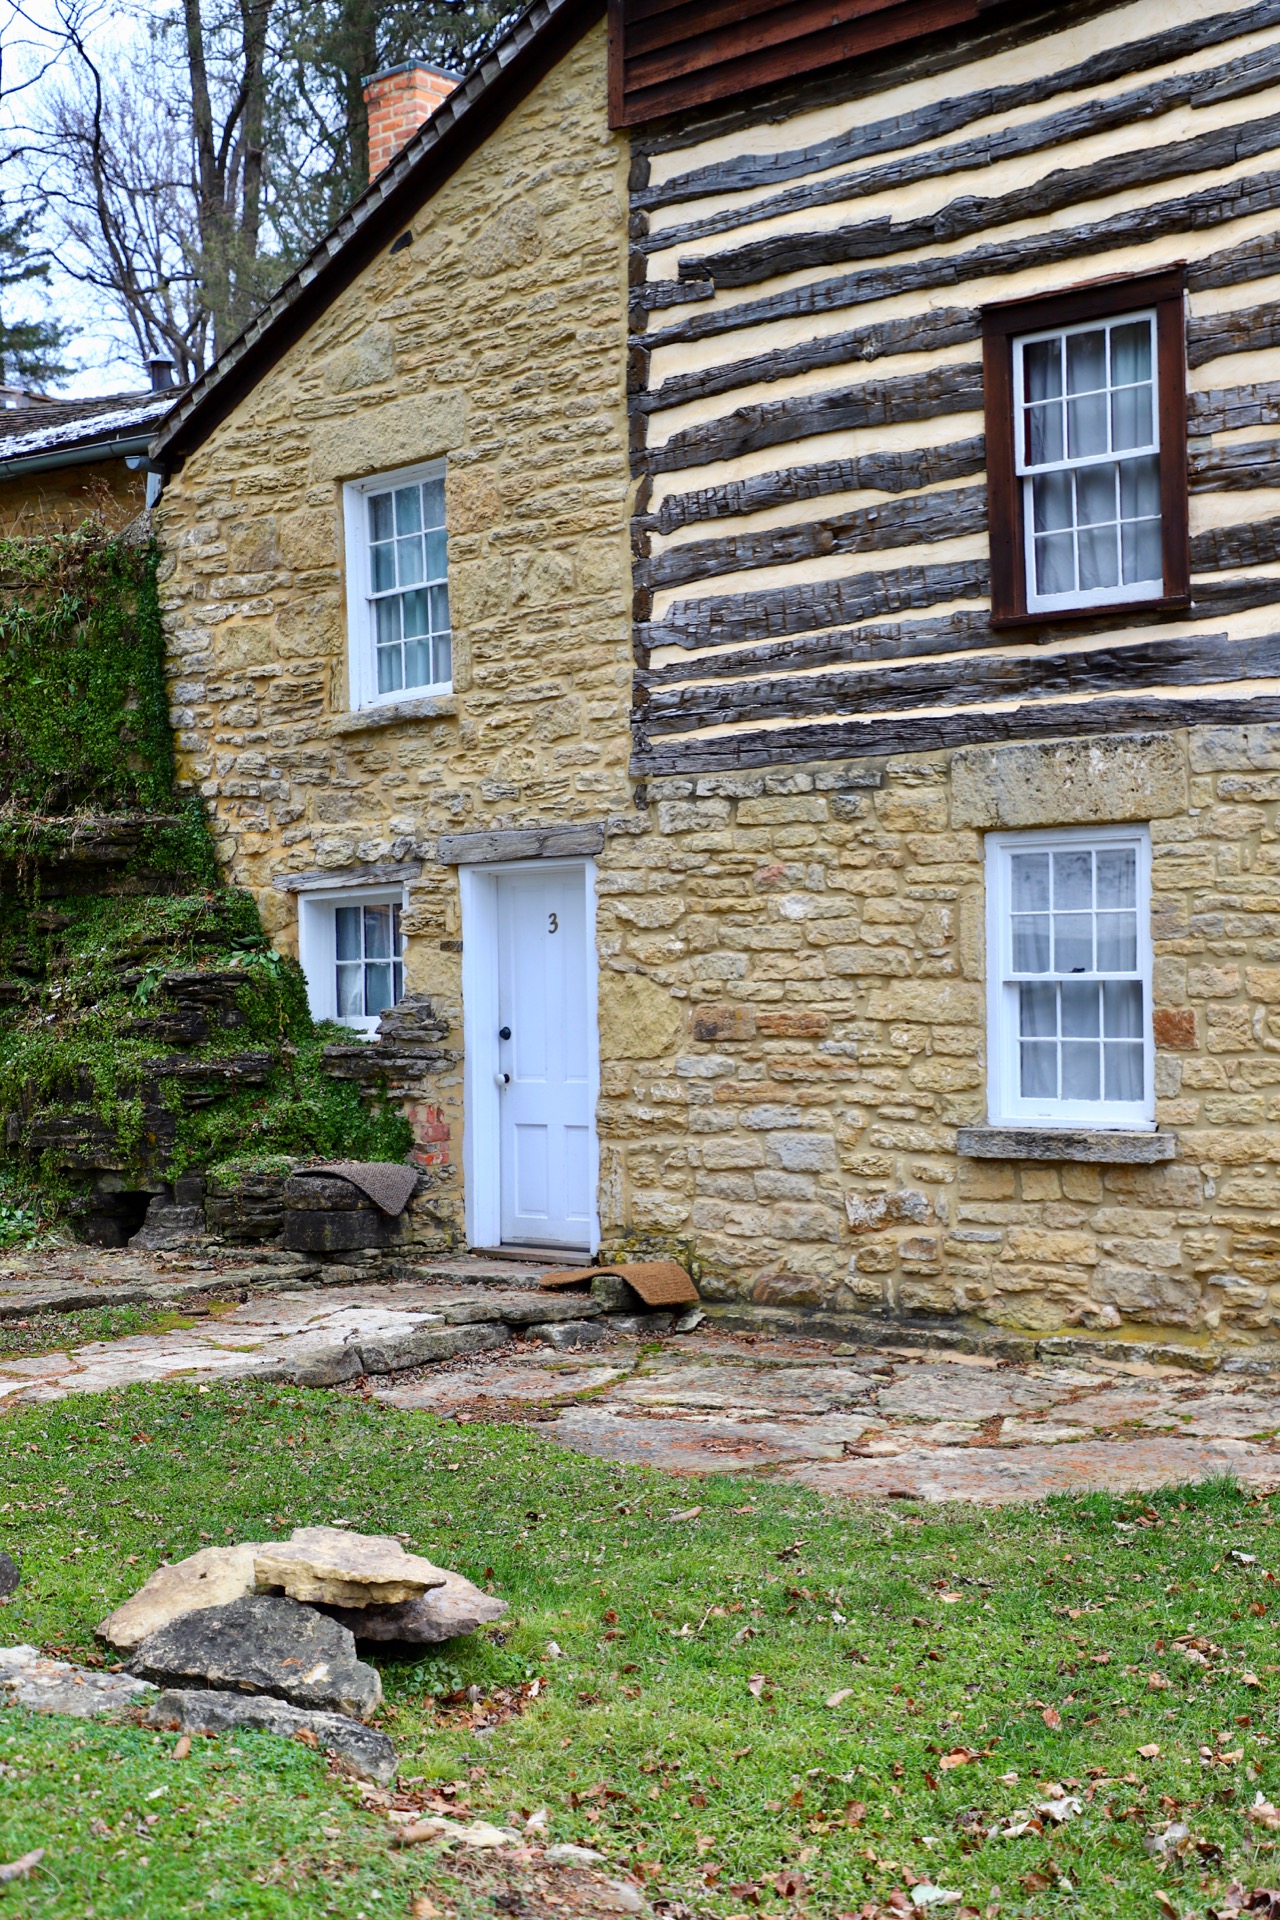
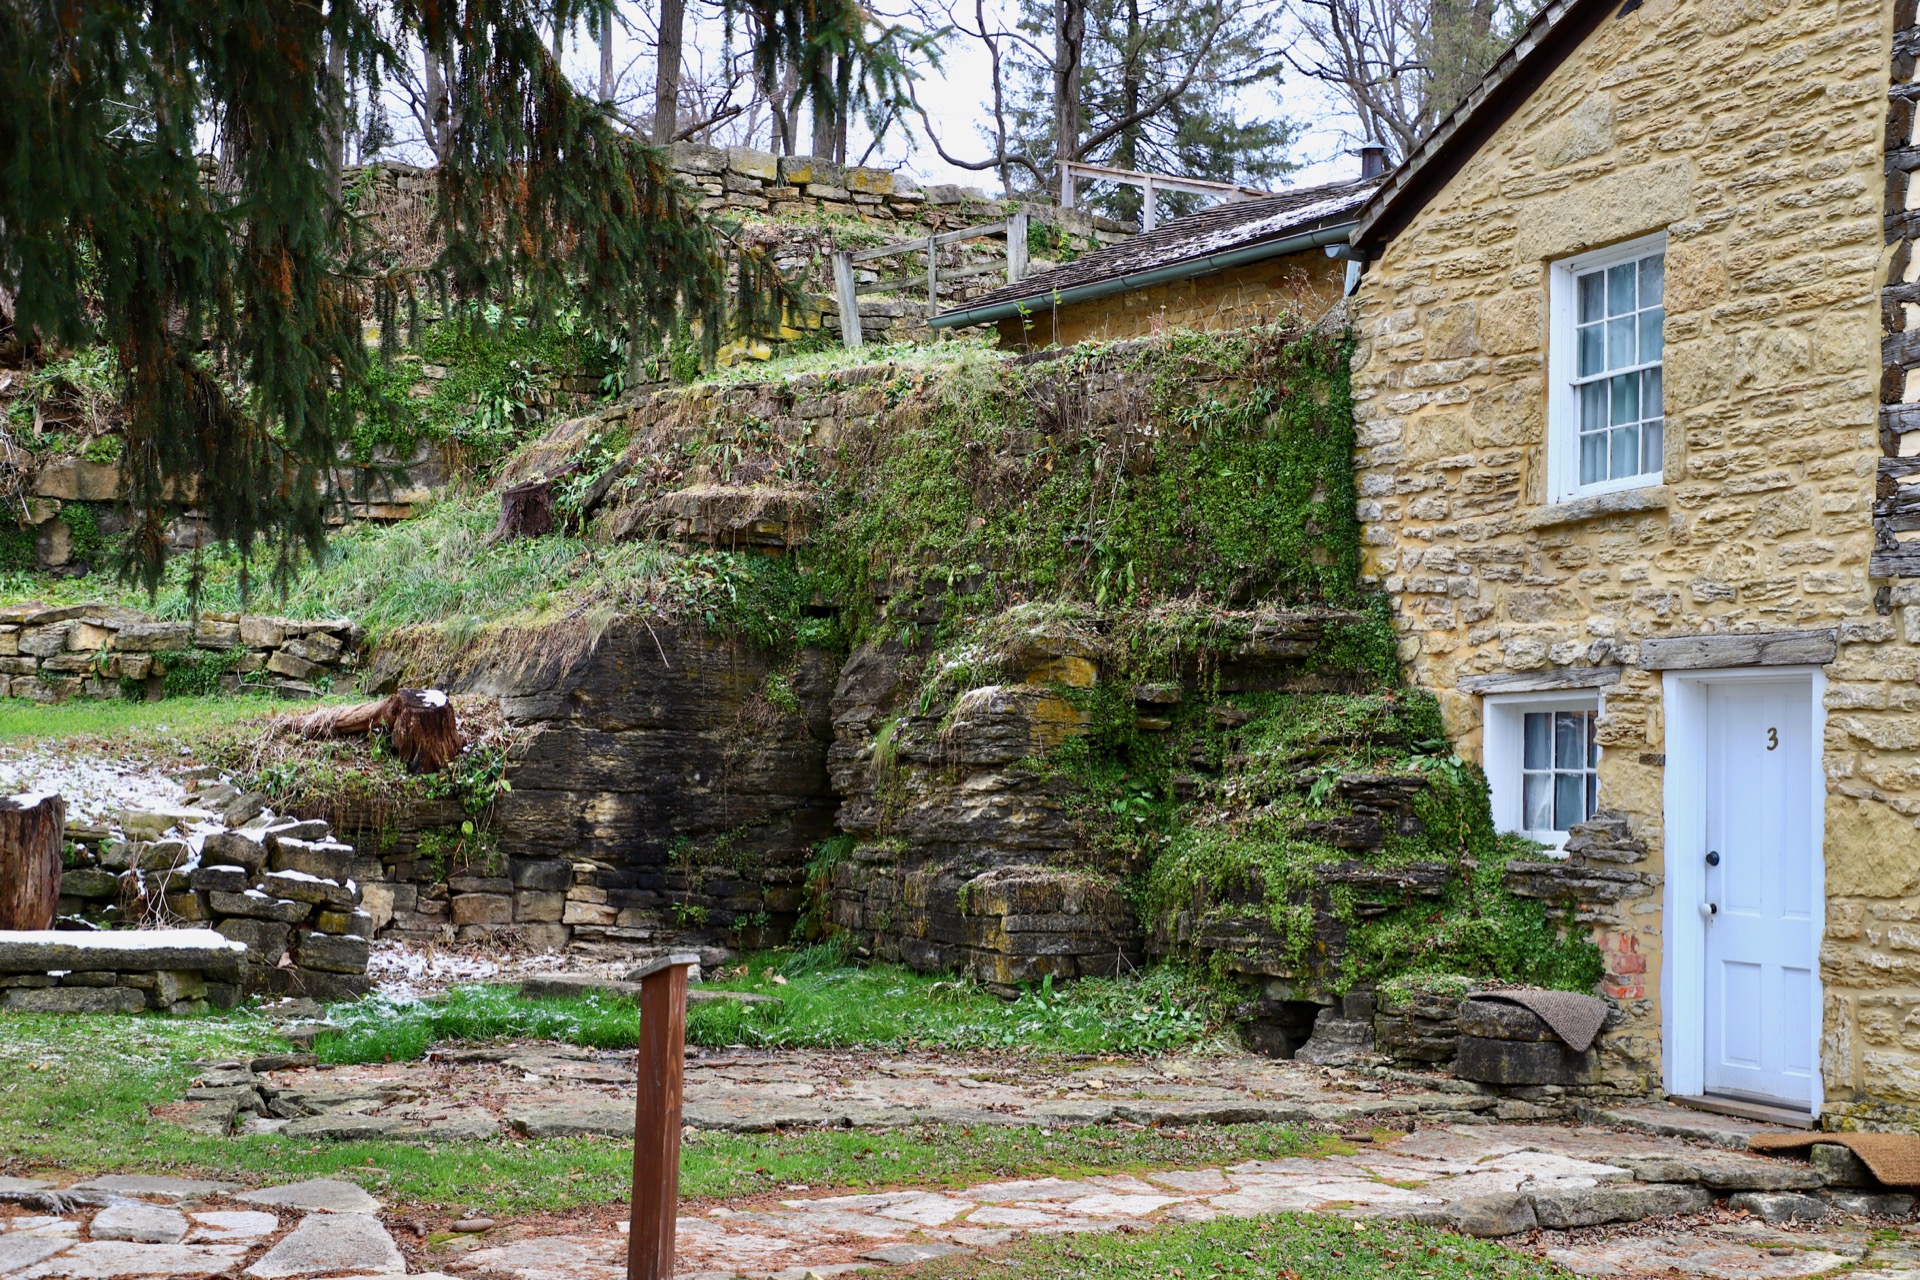
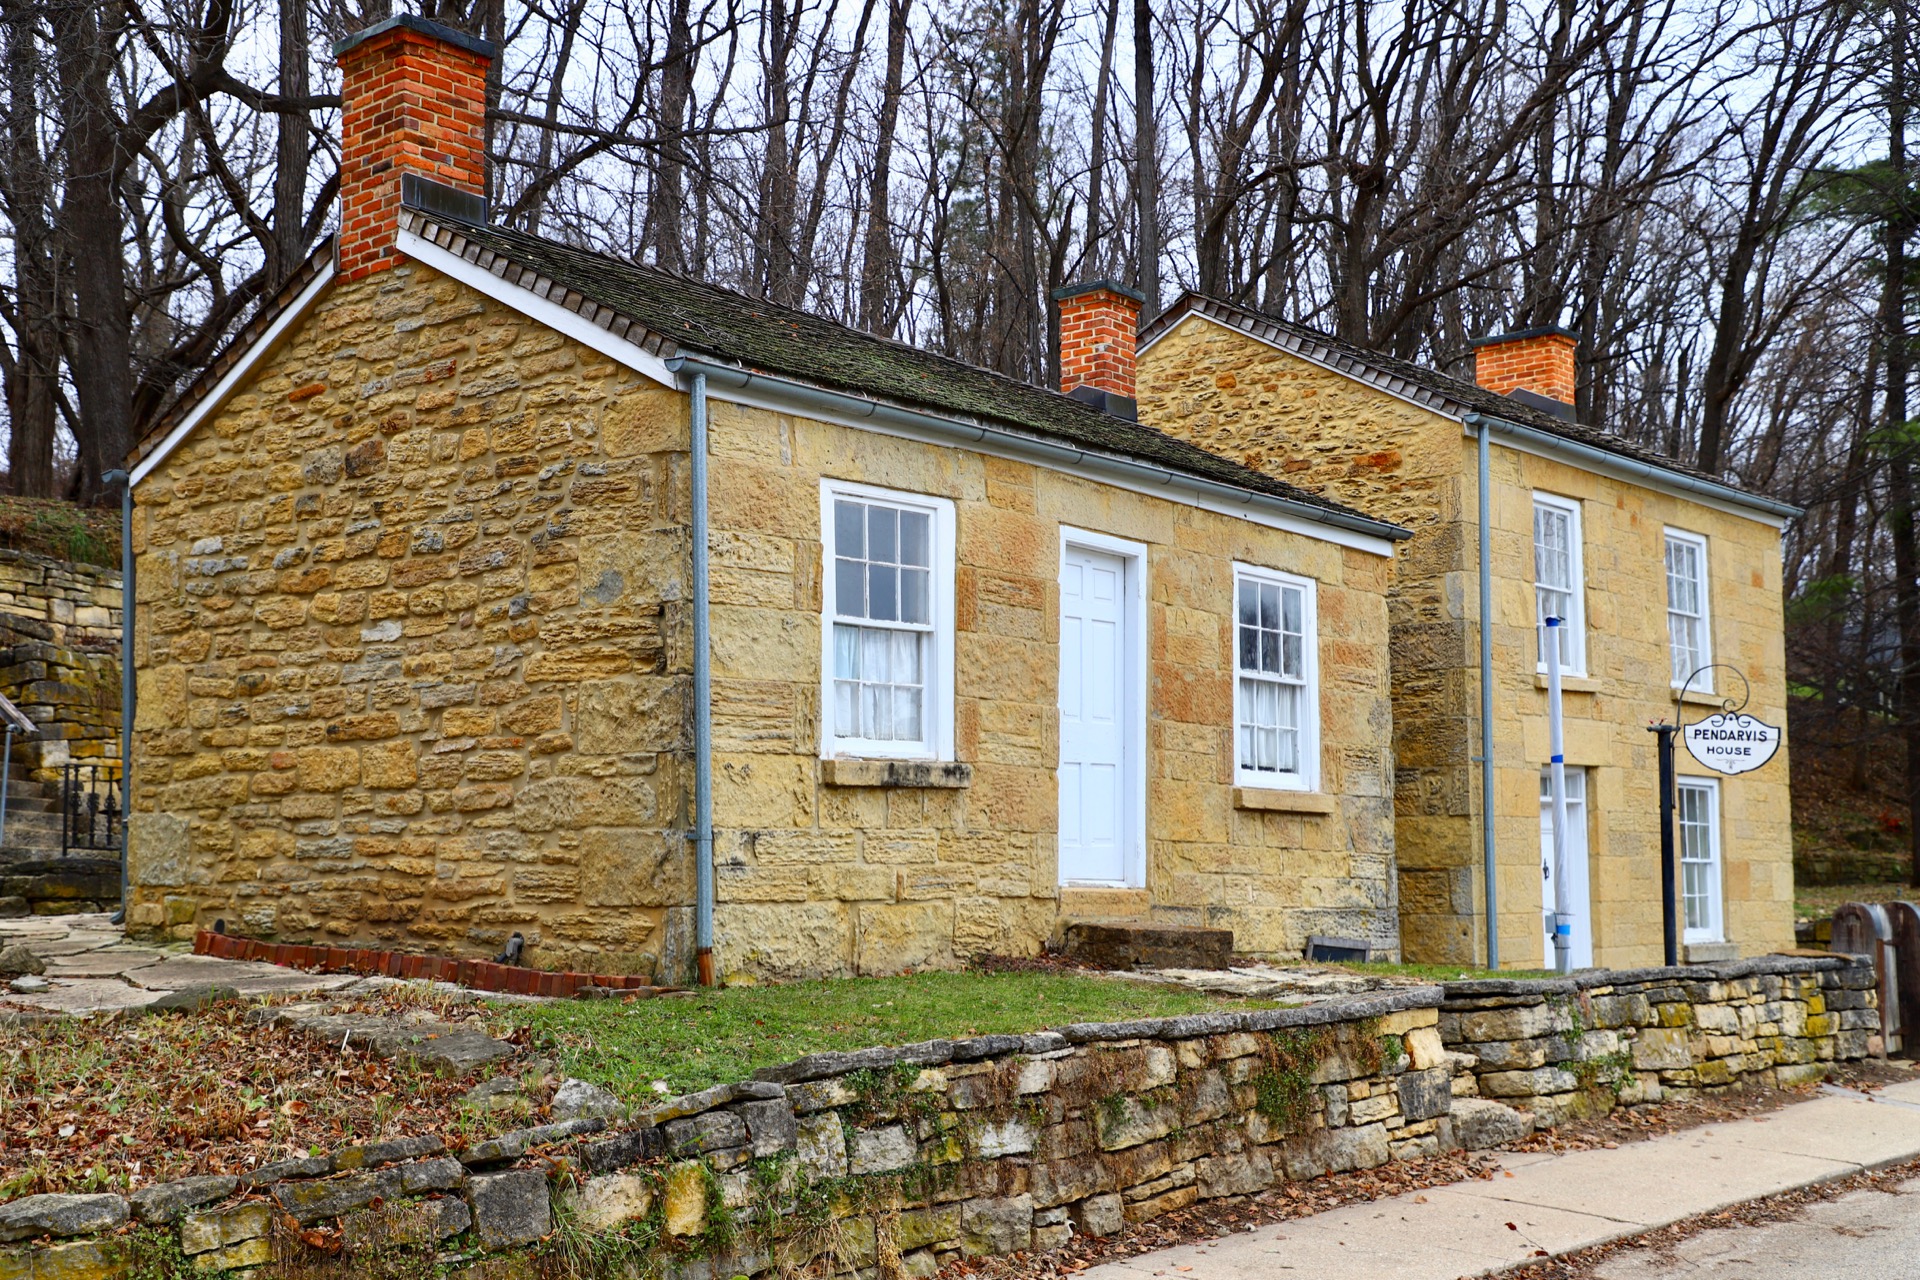
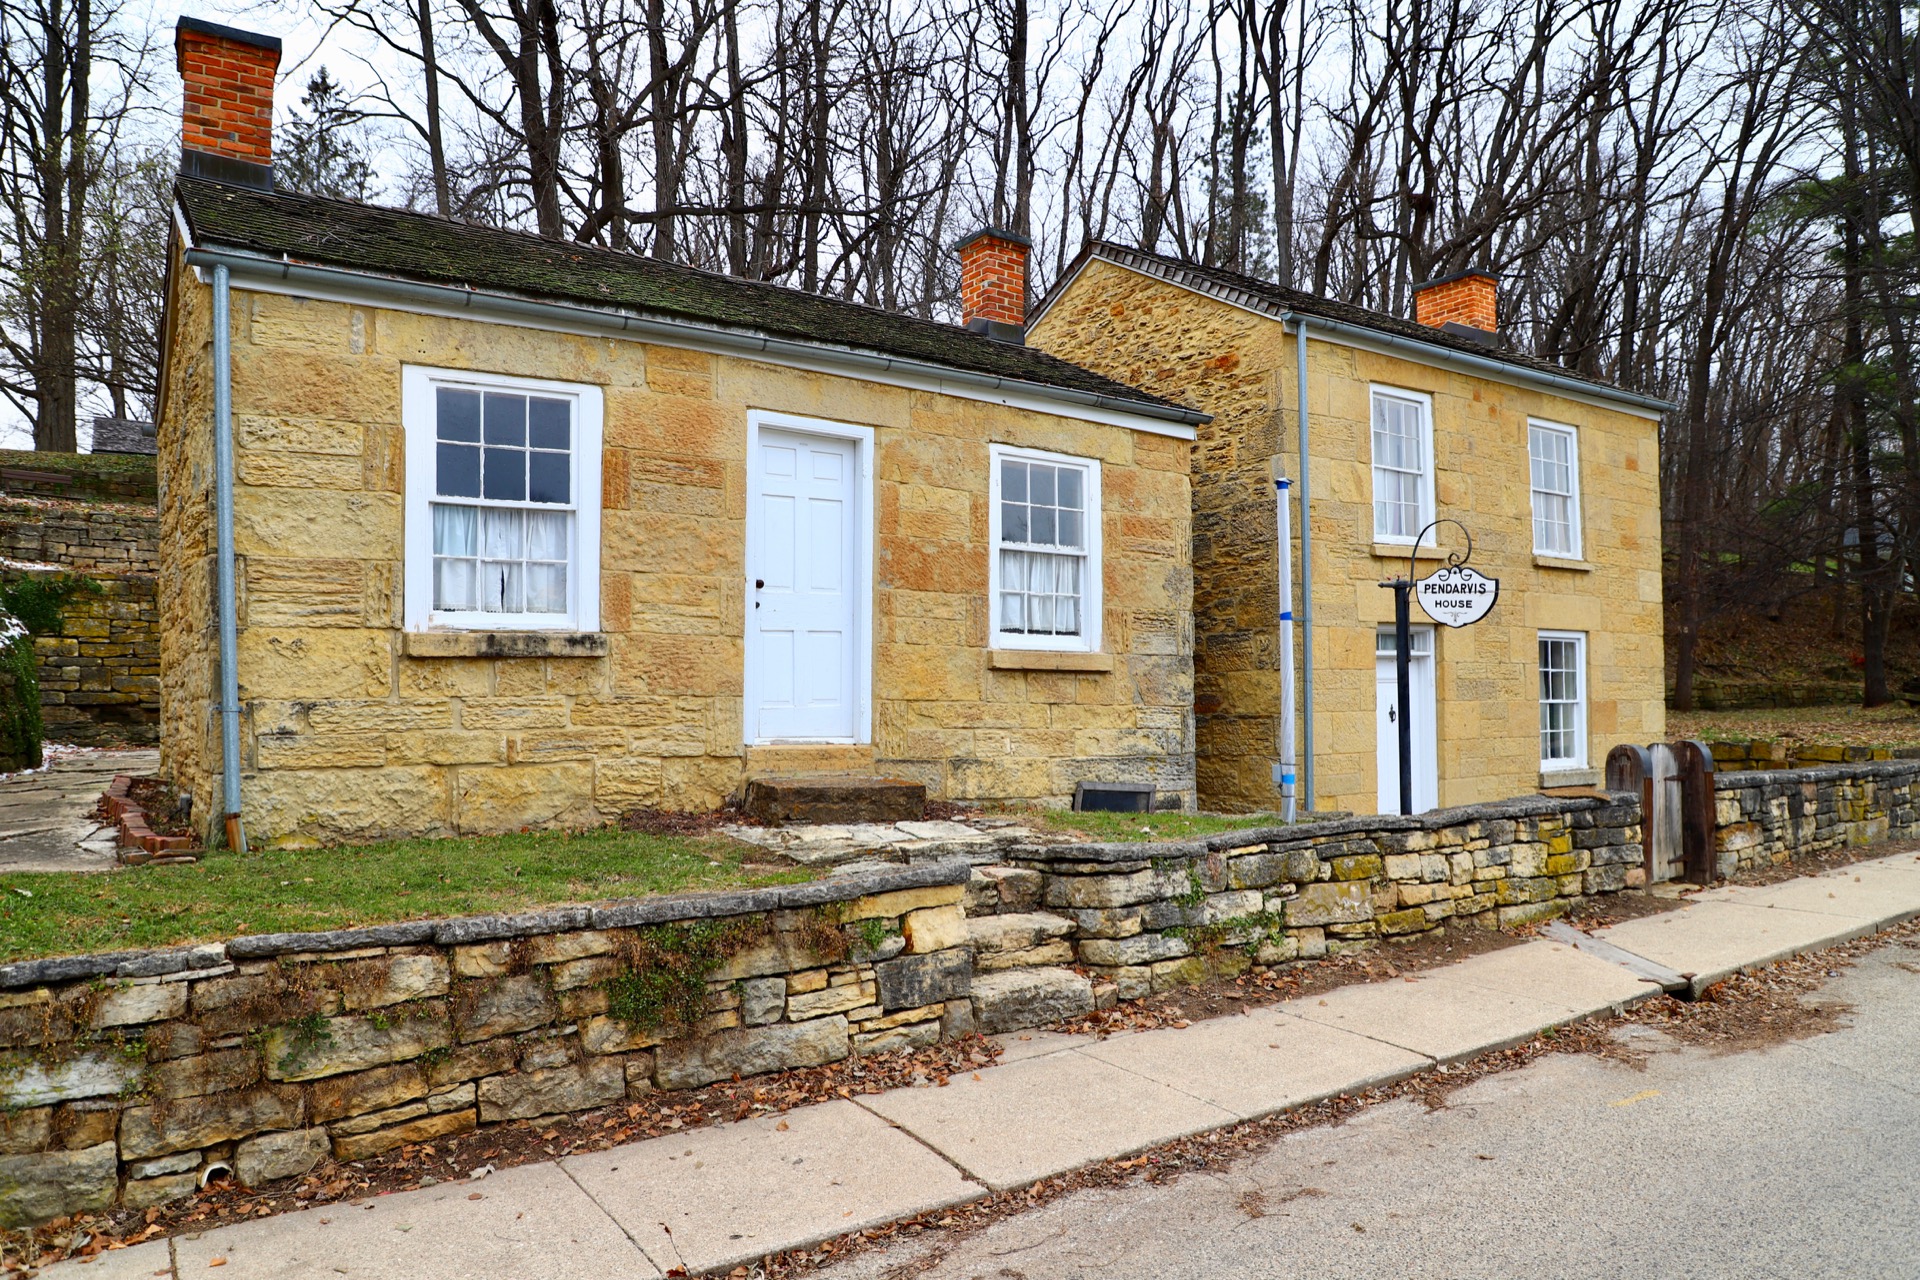
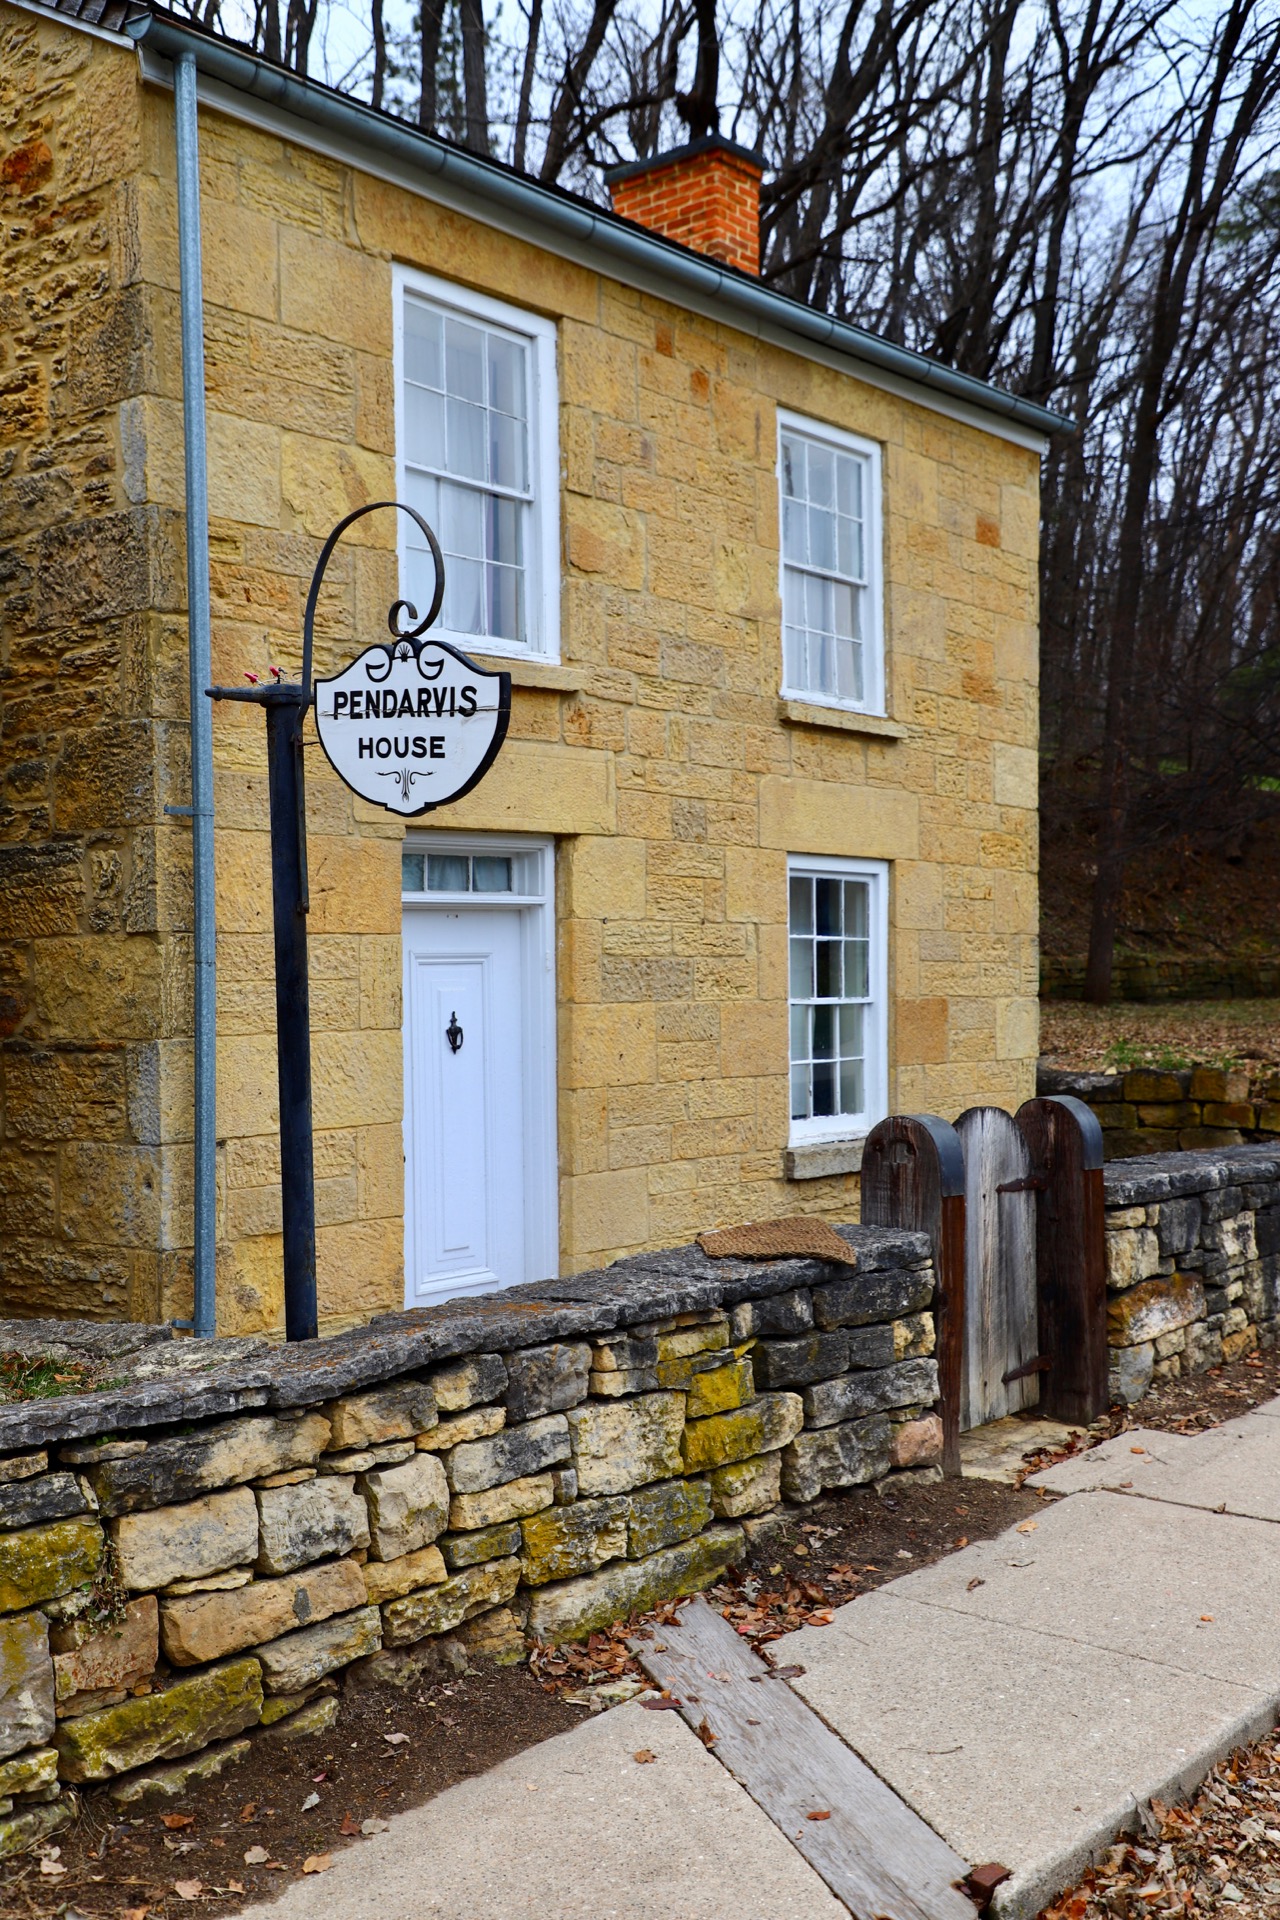
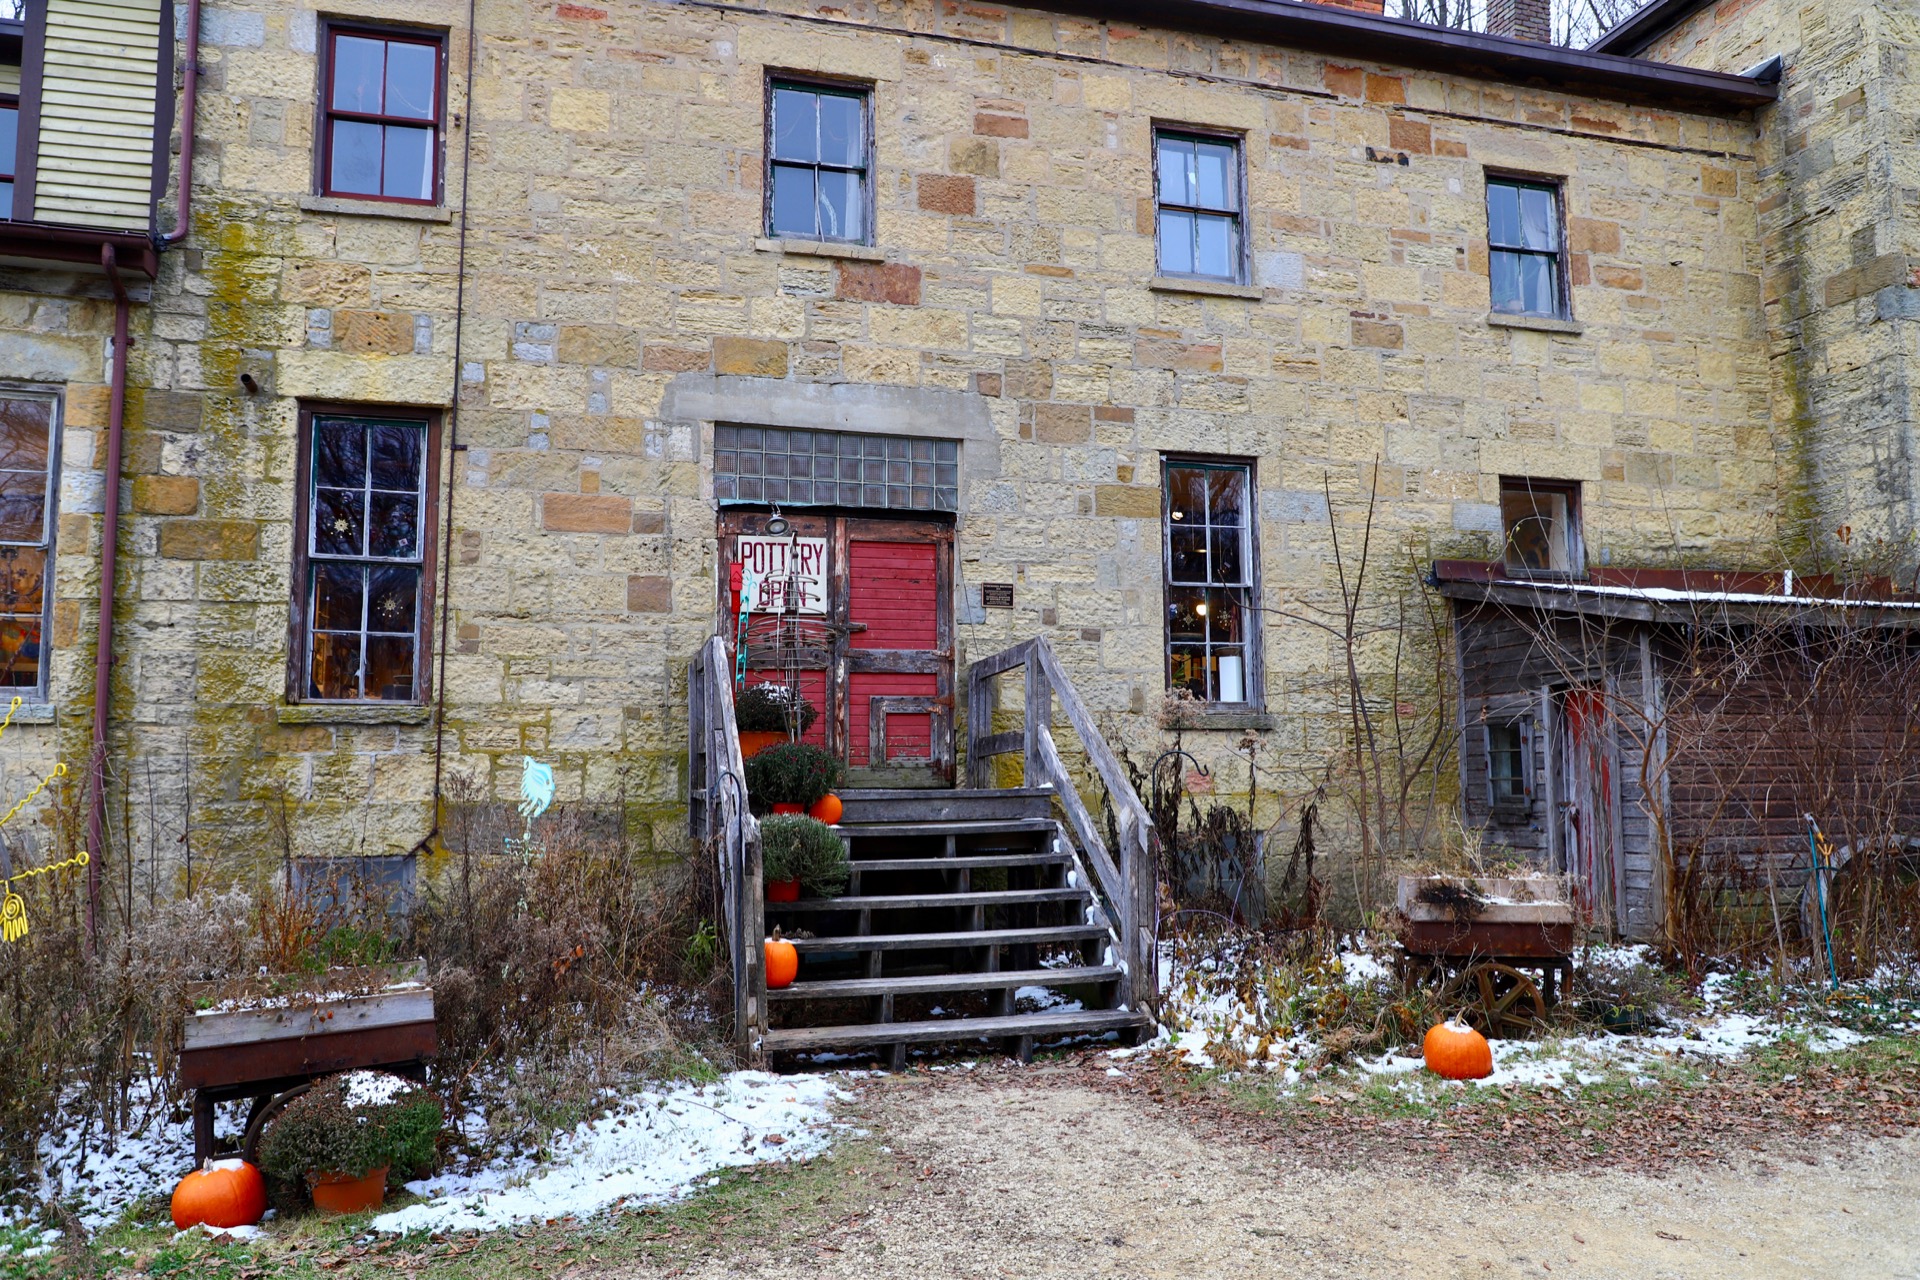
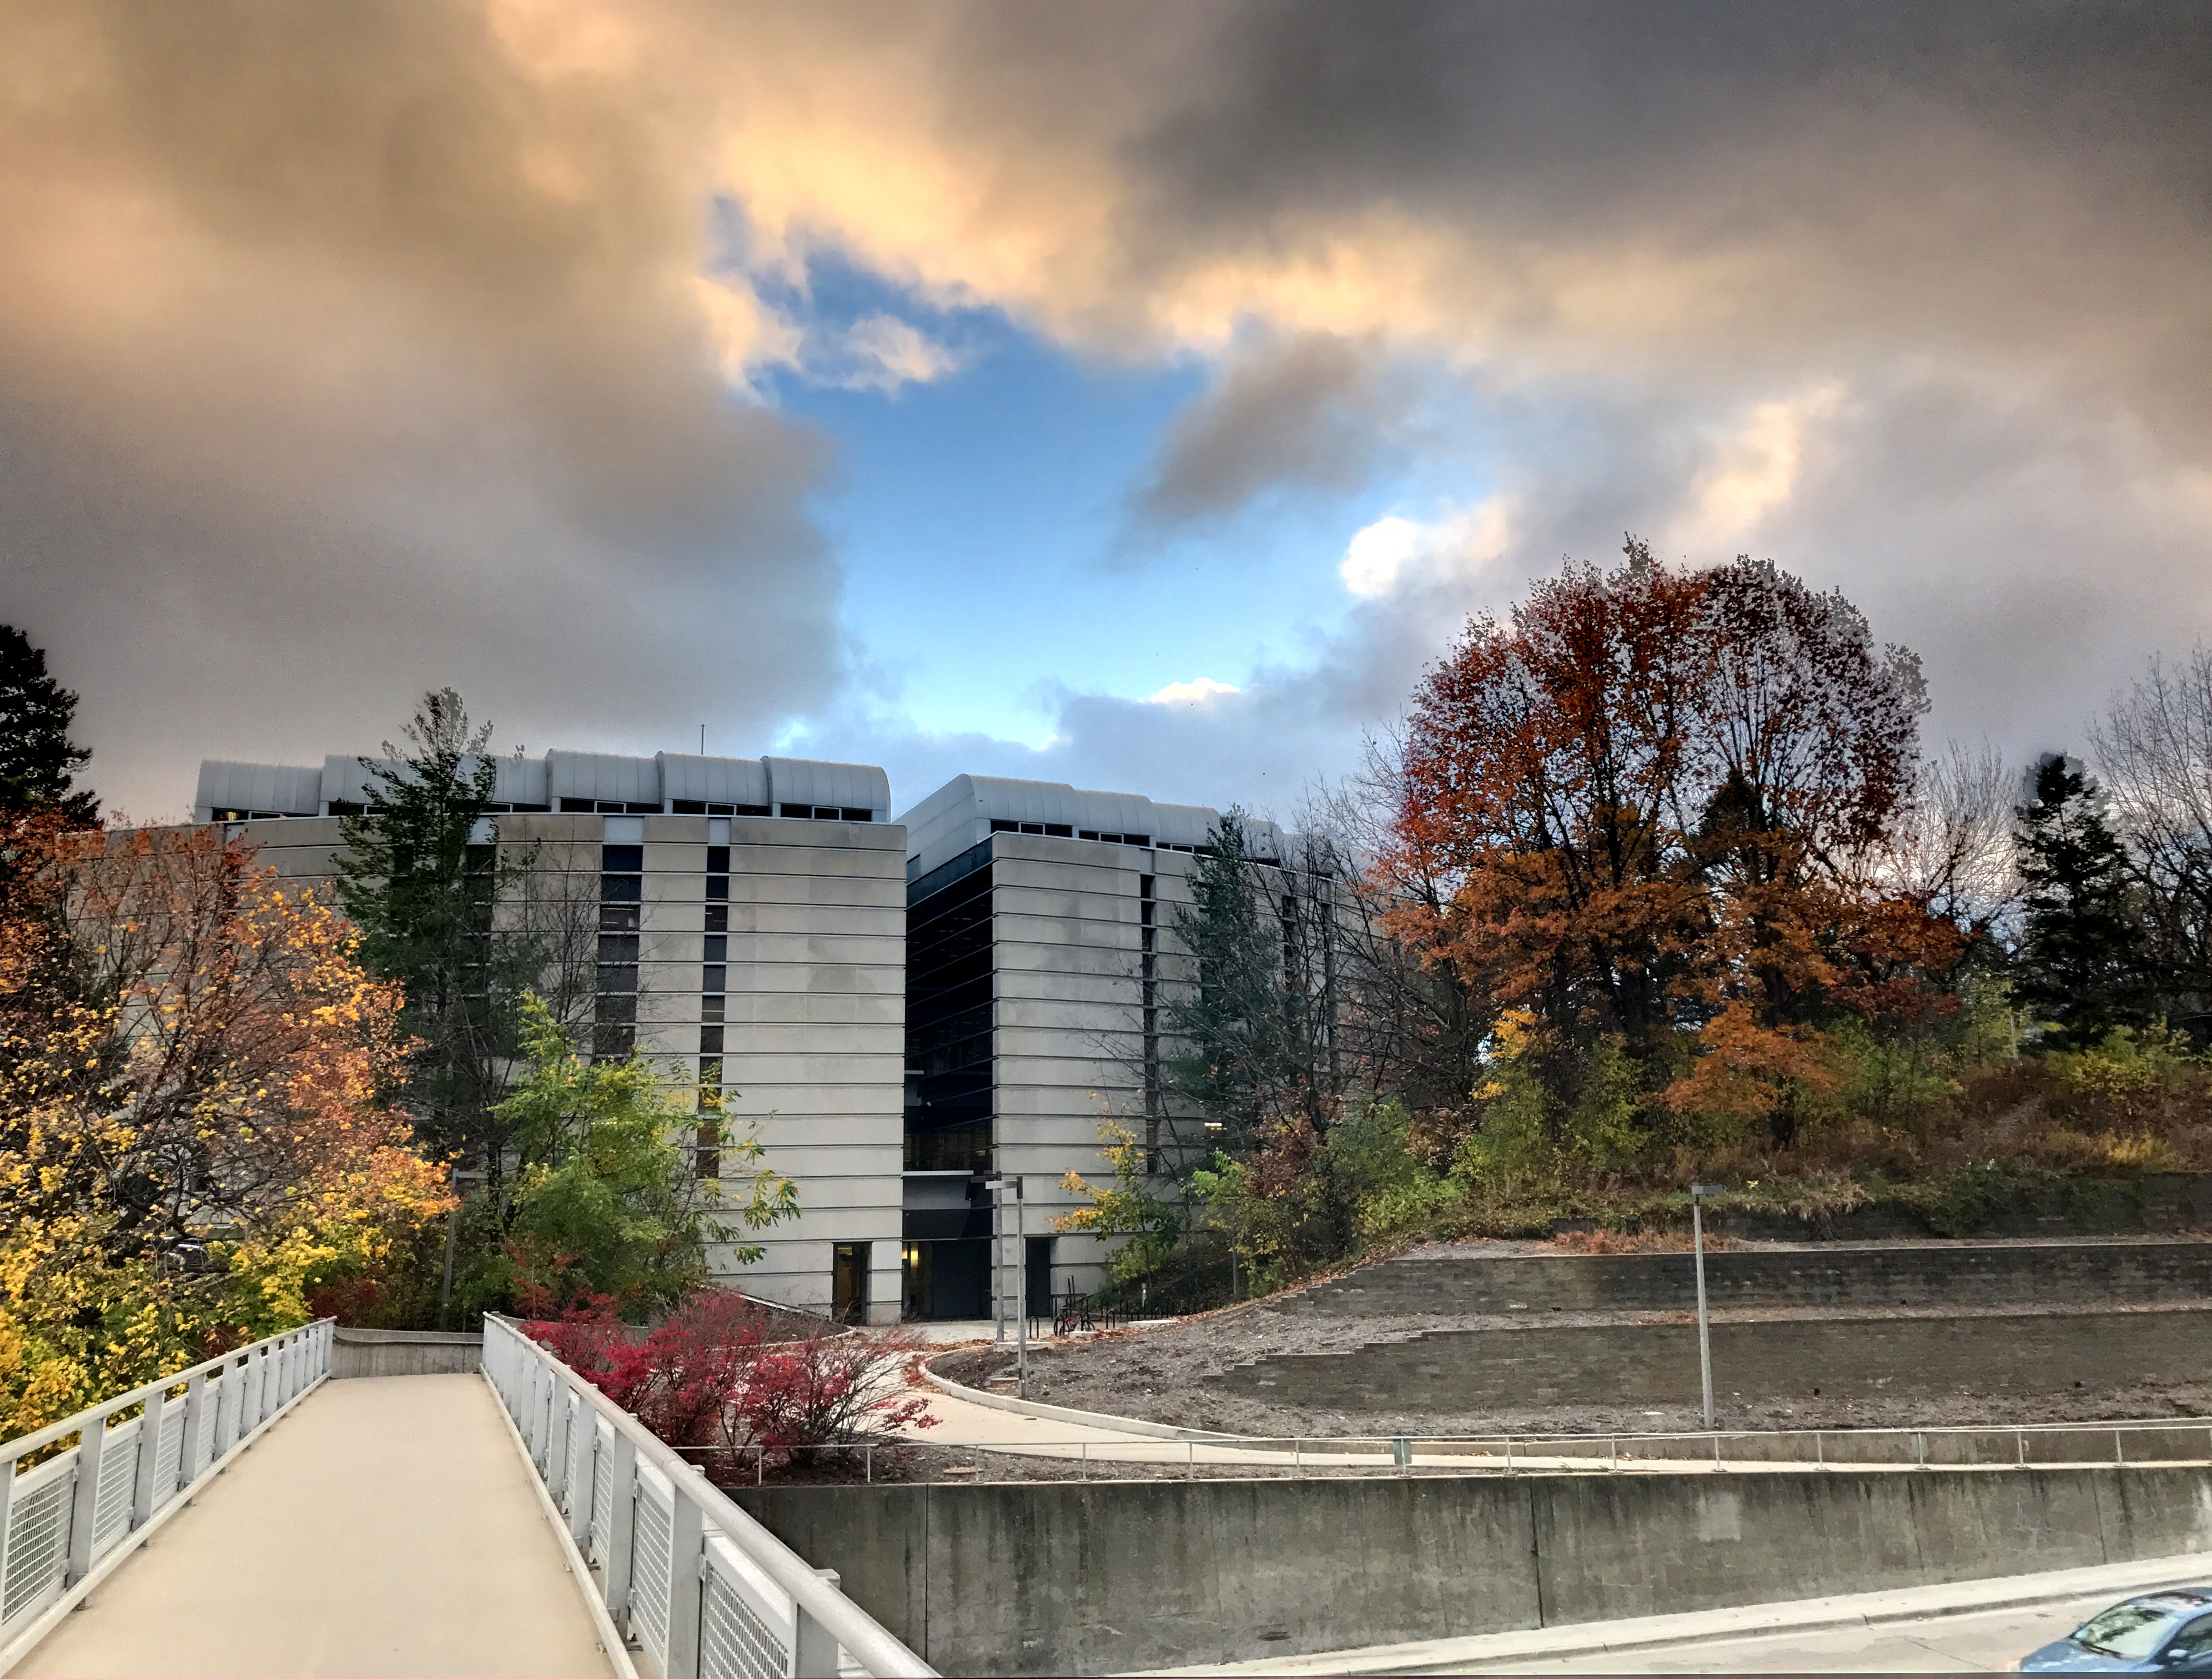
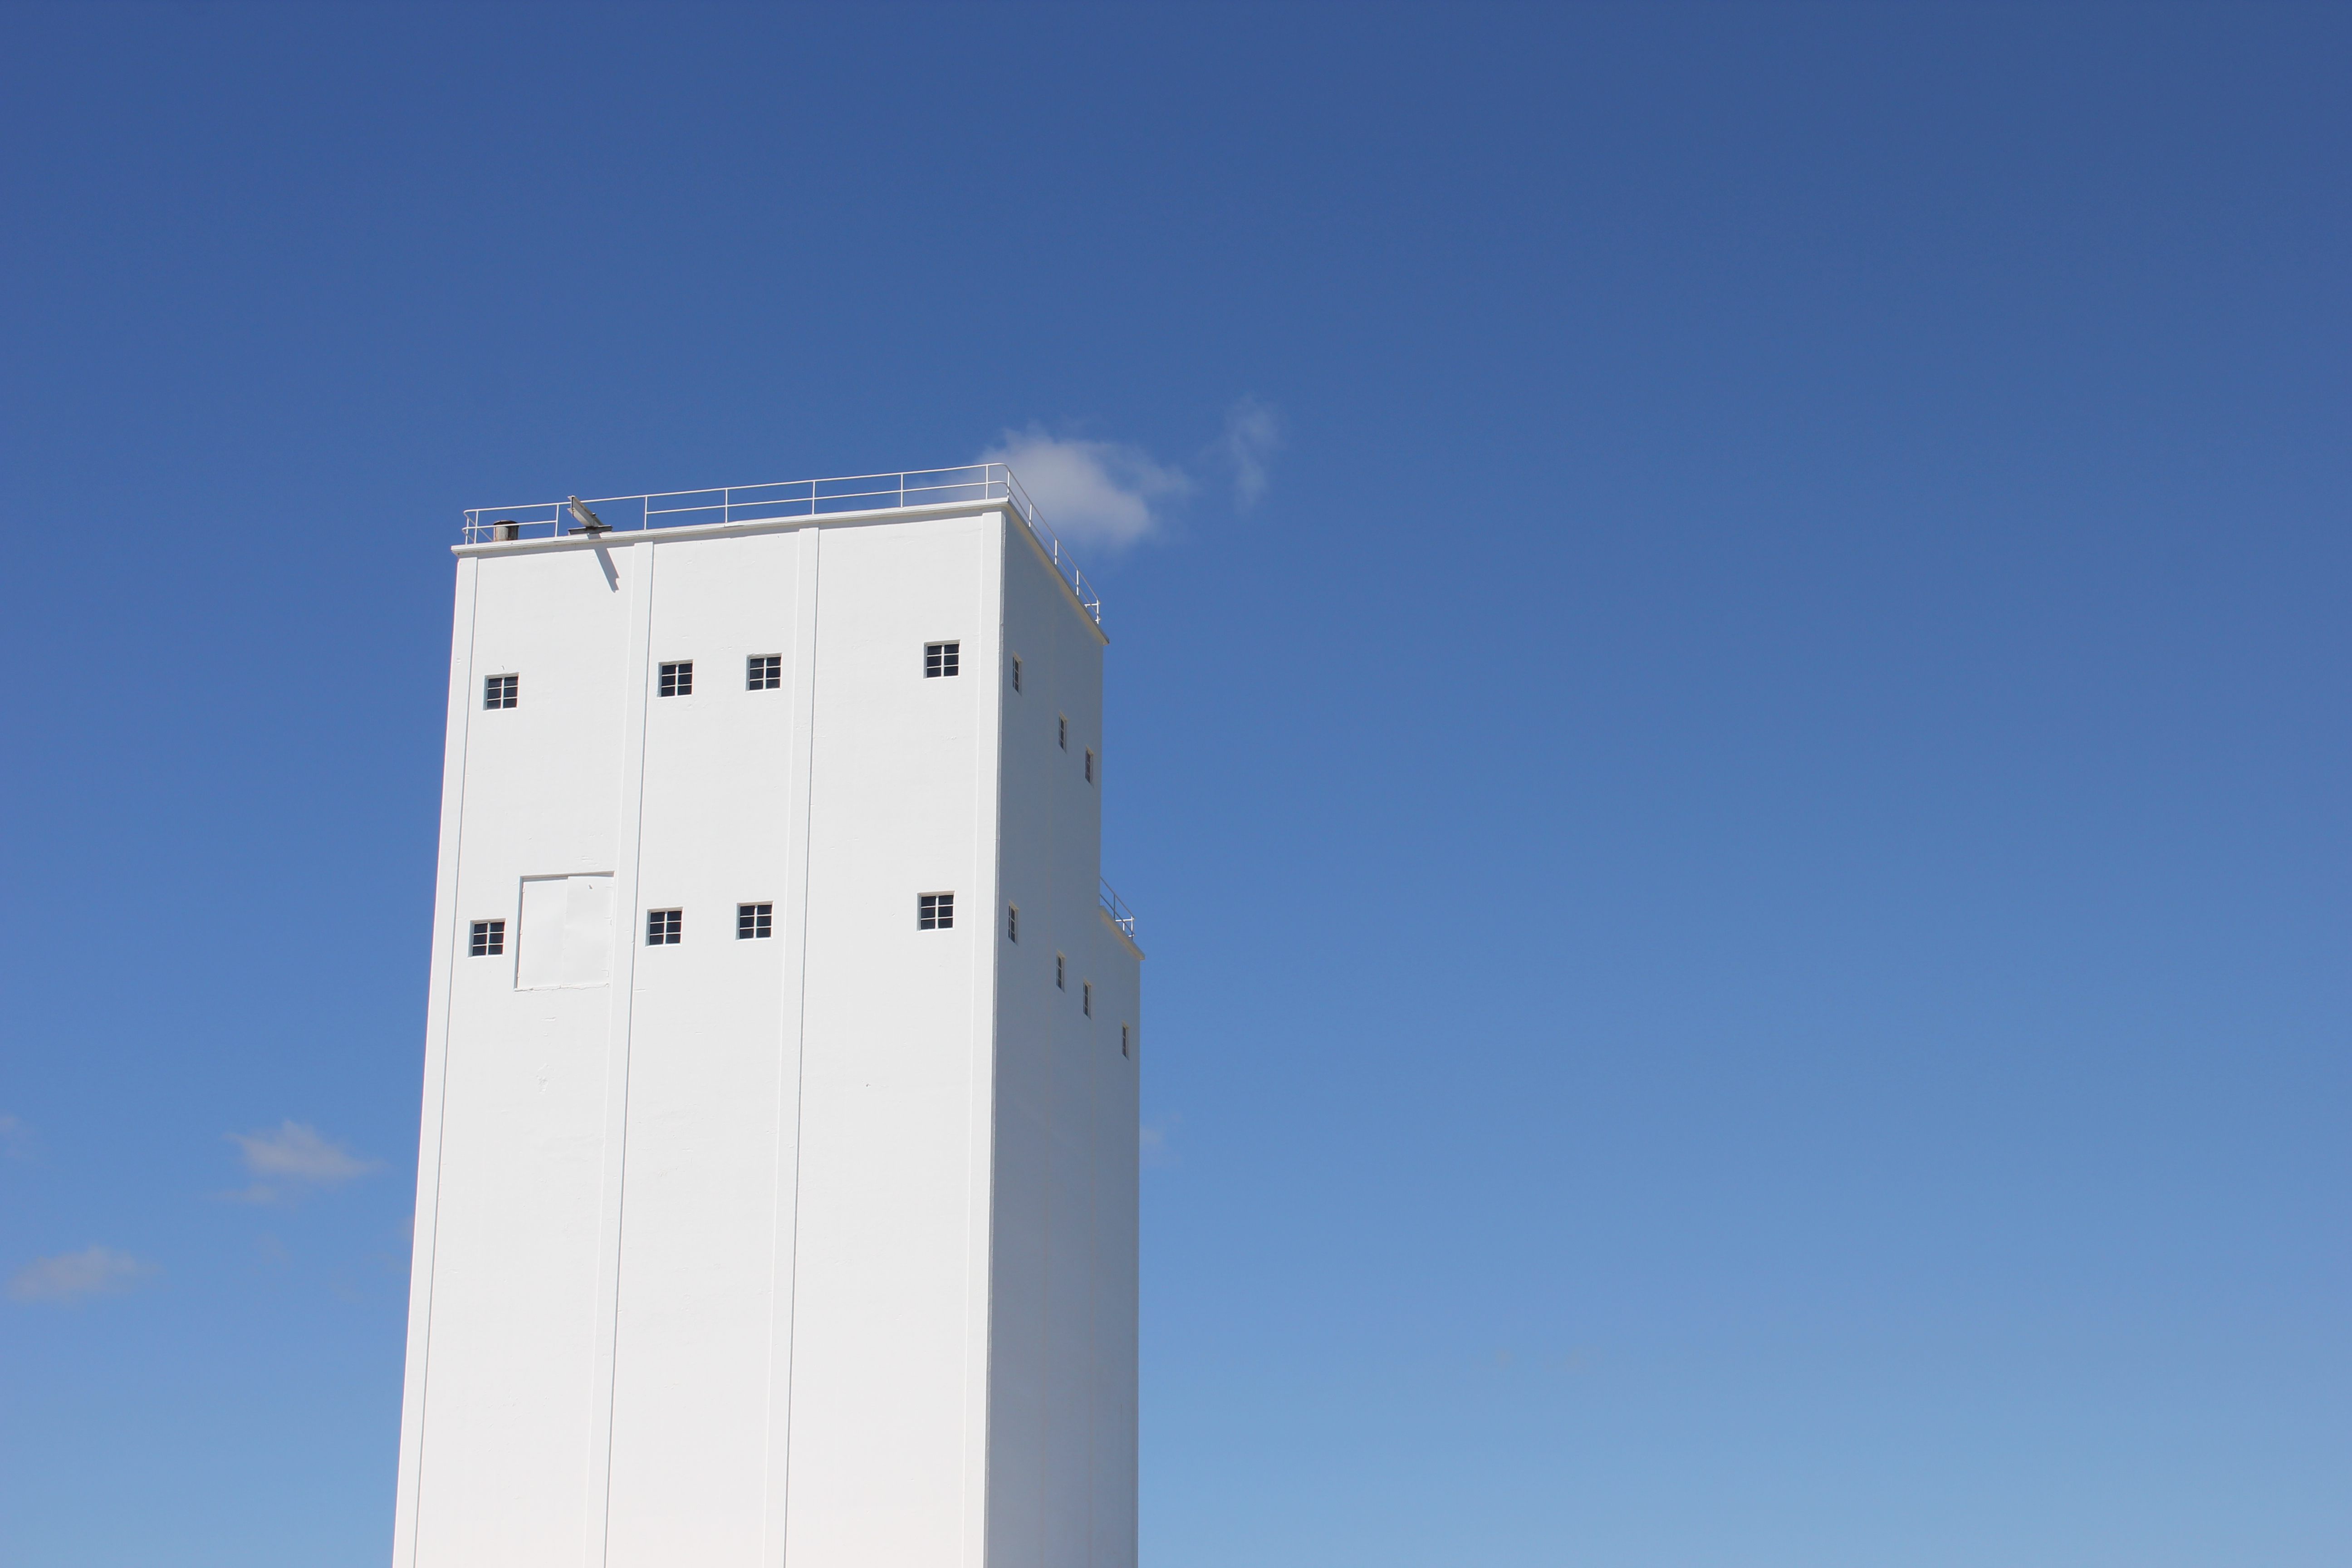
Below is an example where the aspect of the building being photographed was very high up, so a zoom lens was necessary to frame in the photo just right without requiring any cropping later. For this one I used the Sony DSC-HX50V. If you click on the image, you can see the full image resolution which is 5184 by 3888 pixels.

20130902-coralville-iowa-industry-buliding-photo-by-greg-johnson-5148x3456-img_3284

Bird and Wildlife Photography

For bird and wildlife photography, my favorite camera over the past few years has been the Sony DSC-HX50V. There are other similar cameras today. The key feature to look for is a 30X optical zoom with 60X digital capability, as well as the ability to automatically lock-in-on and track a moving subject like a small bird in a tree from 100 feet away. Good image stabilization while zoomed in is important because typically when you’re hiking, you won’t be bringing a tripod with you.

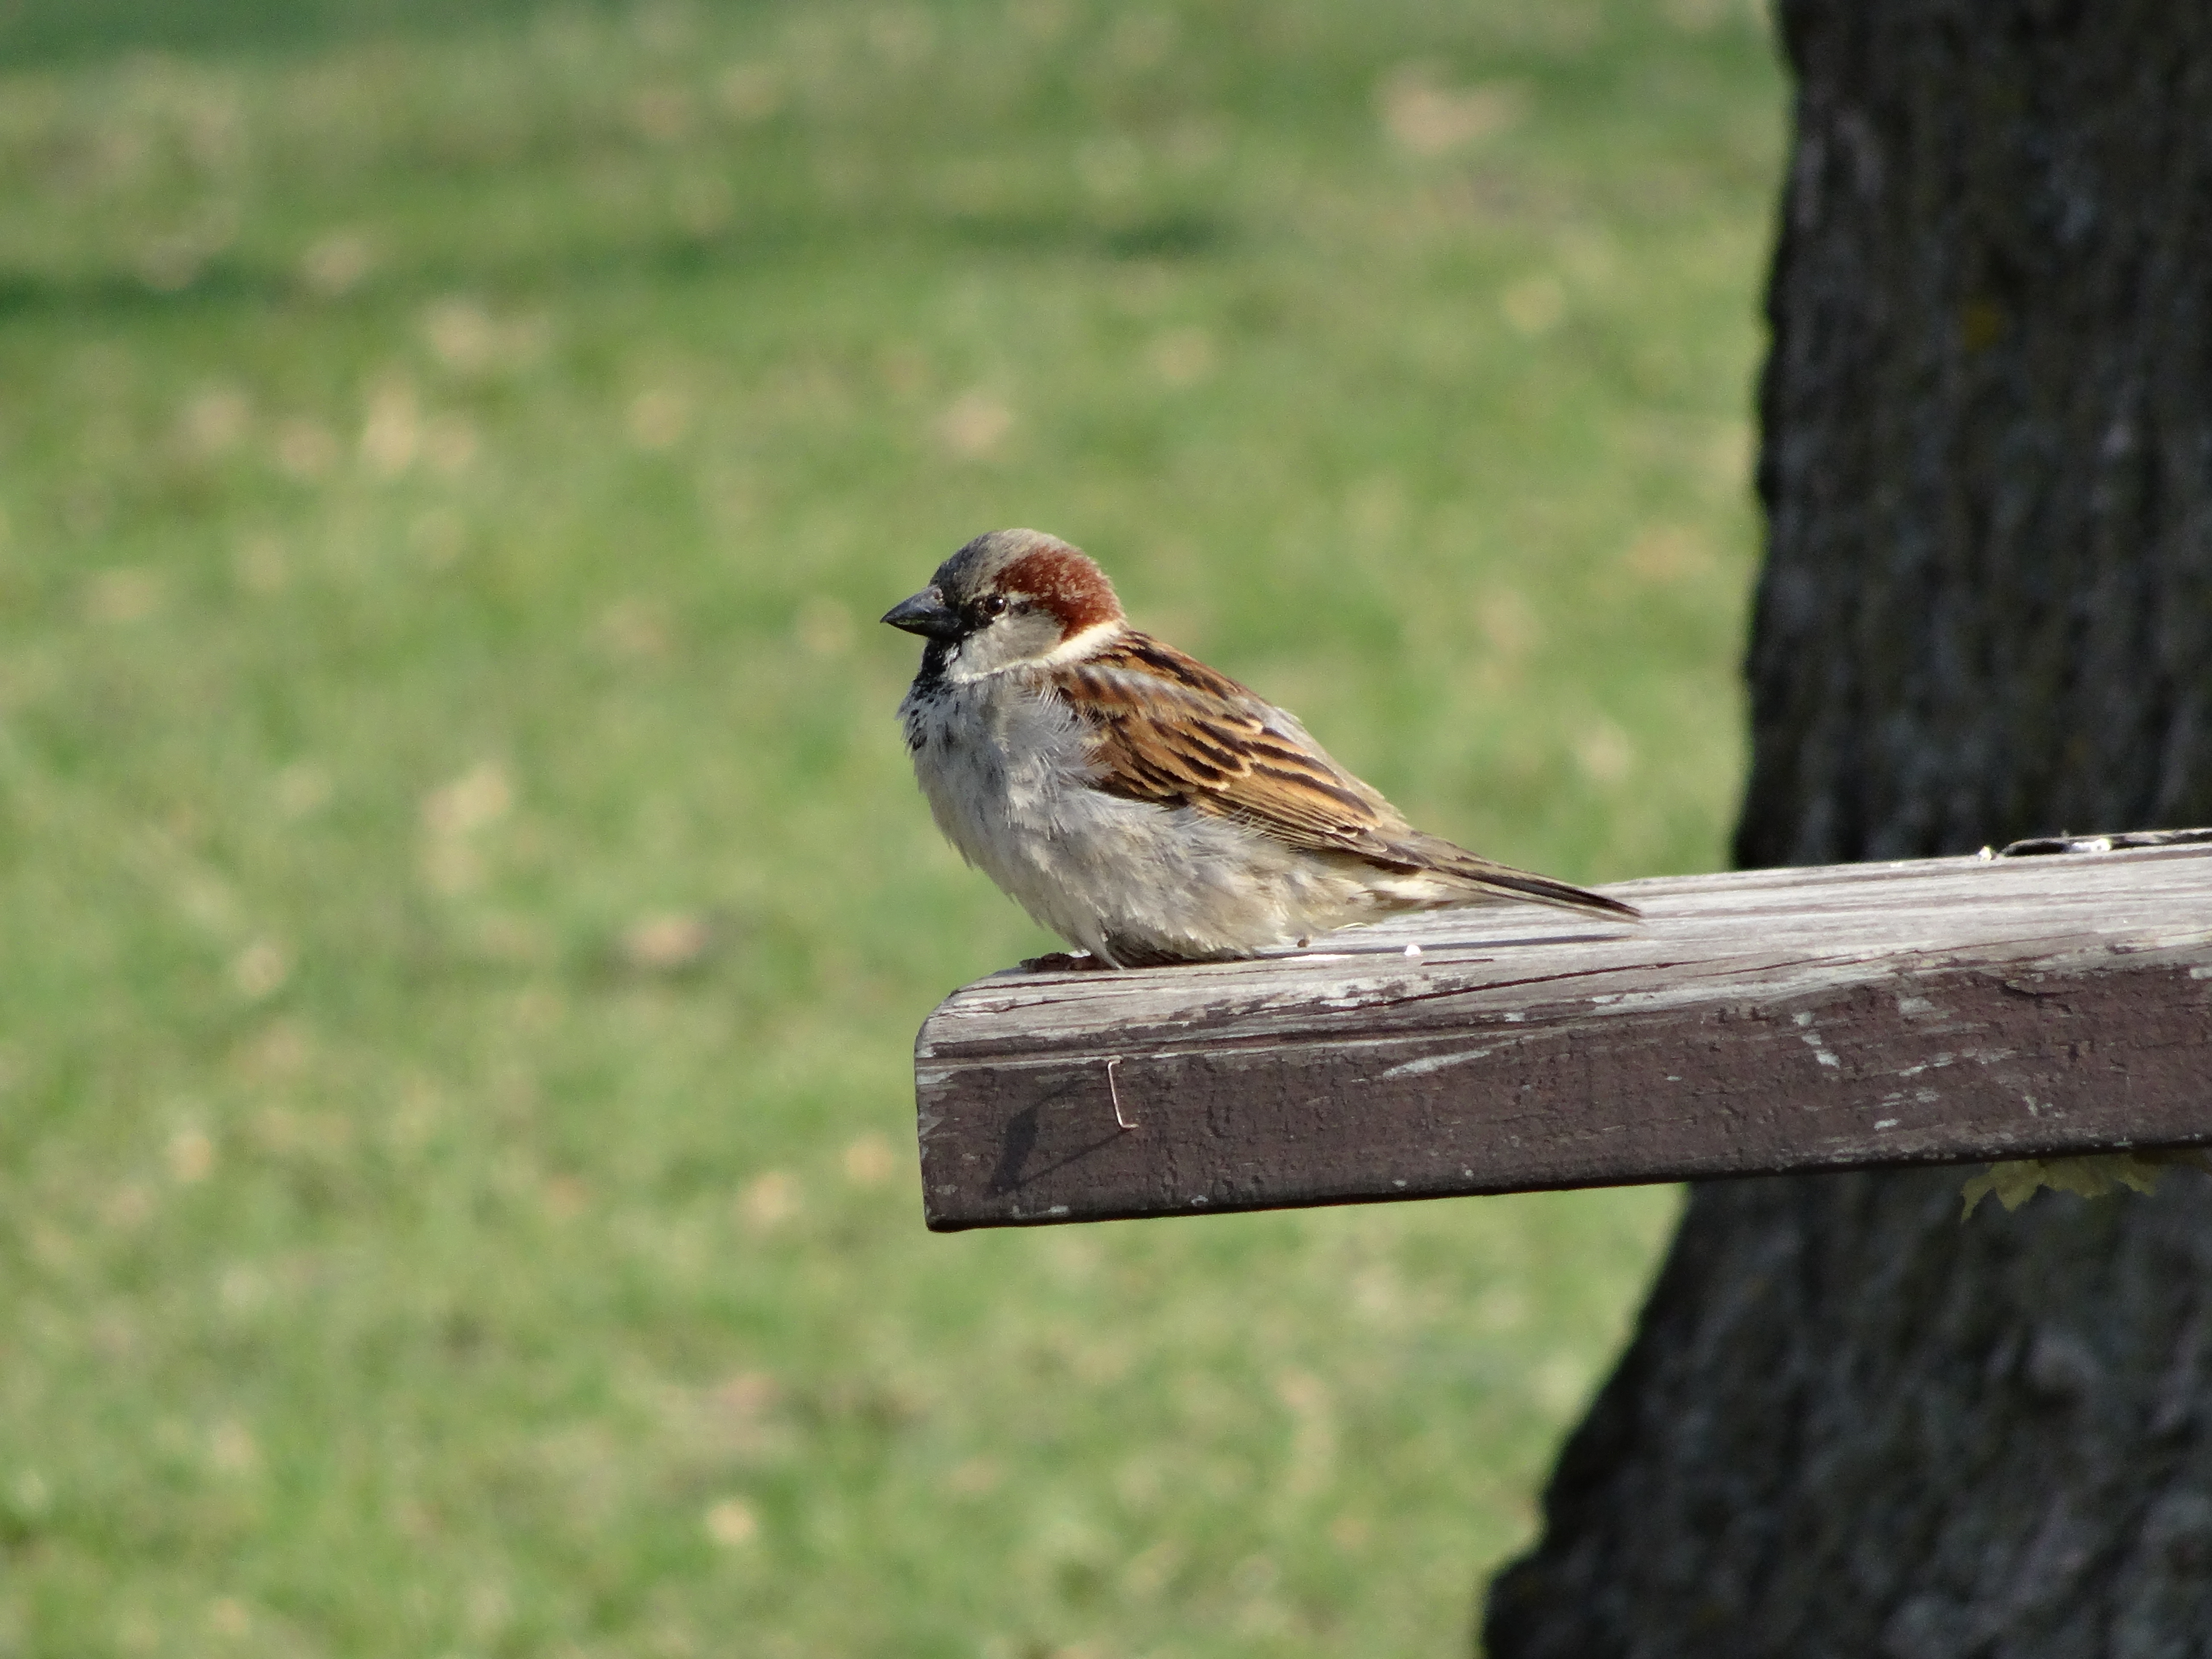
The photo below is of a bird on a picnic table bench from about 100 feet away. Notice the detail of the bird’s feathers, and the staple that’s stuck in the bench below the bird. This is exceptional resolution and quality considering the distance and that no tripod was used. If you click on the image, you can see the full image resolution which is 5184 by 3888 pixels.

20140420at0855-bird-on-bench-photo-taken-with-sony-dsc-hx50v-by-greg-johnson-5184x3888-image-dsc00099

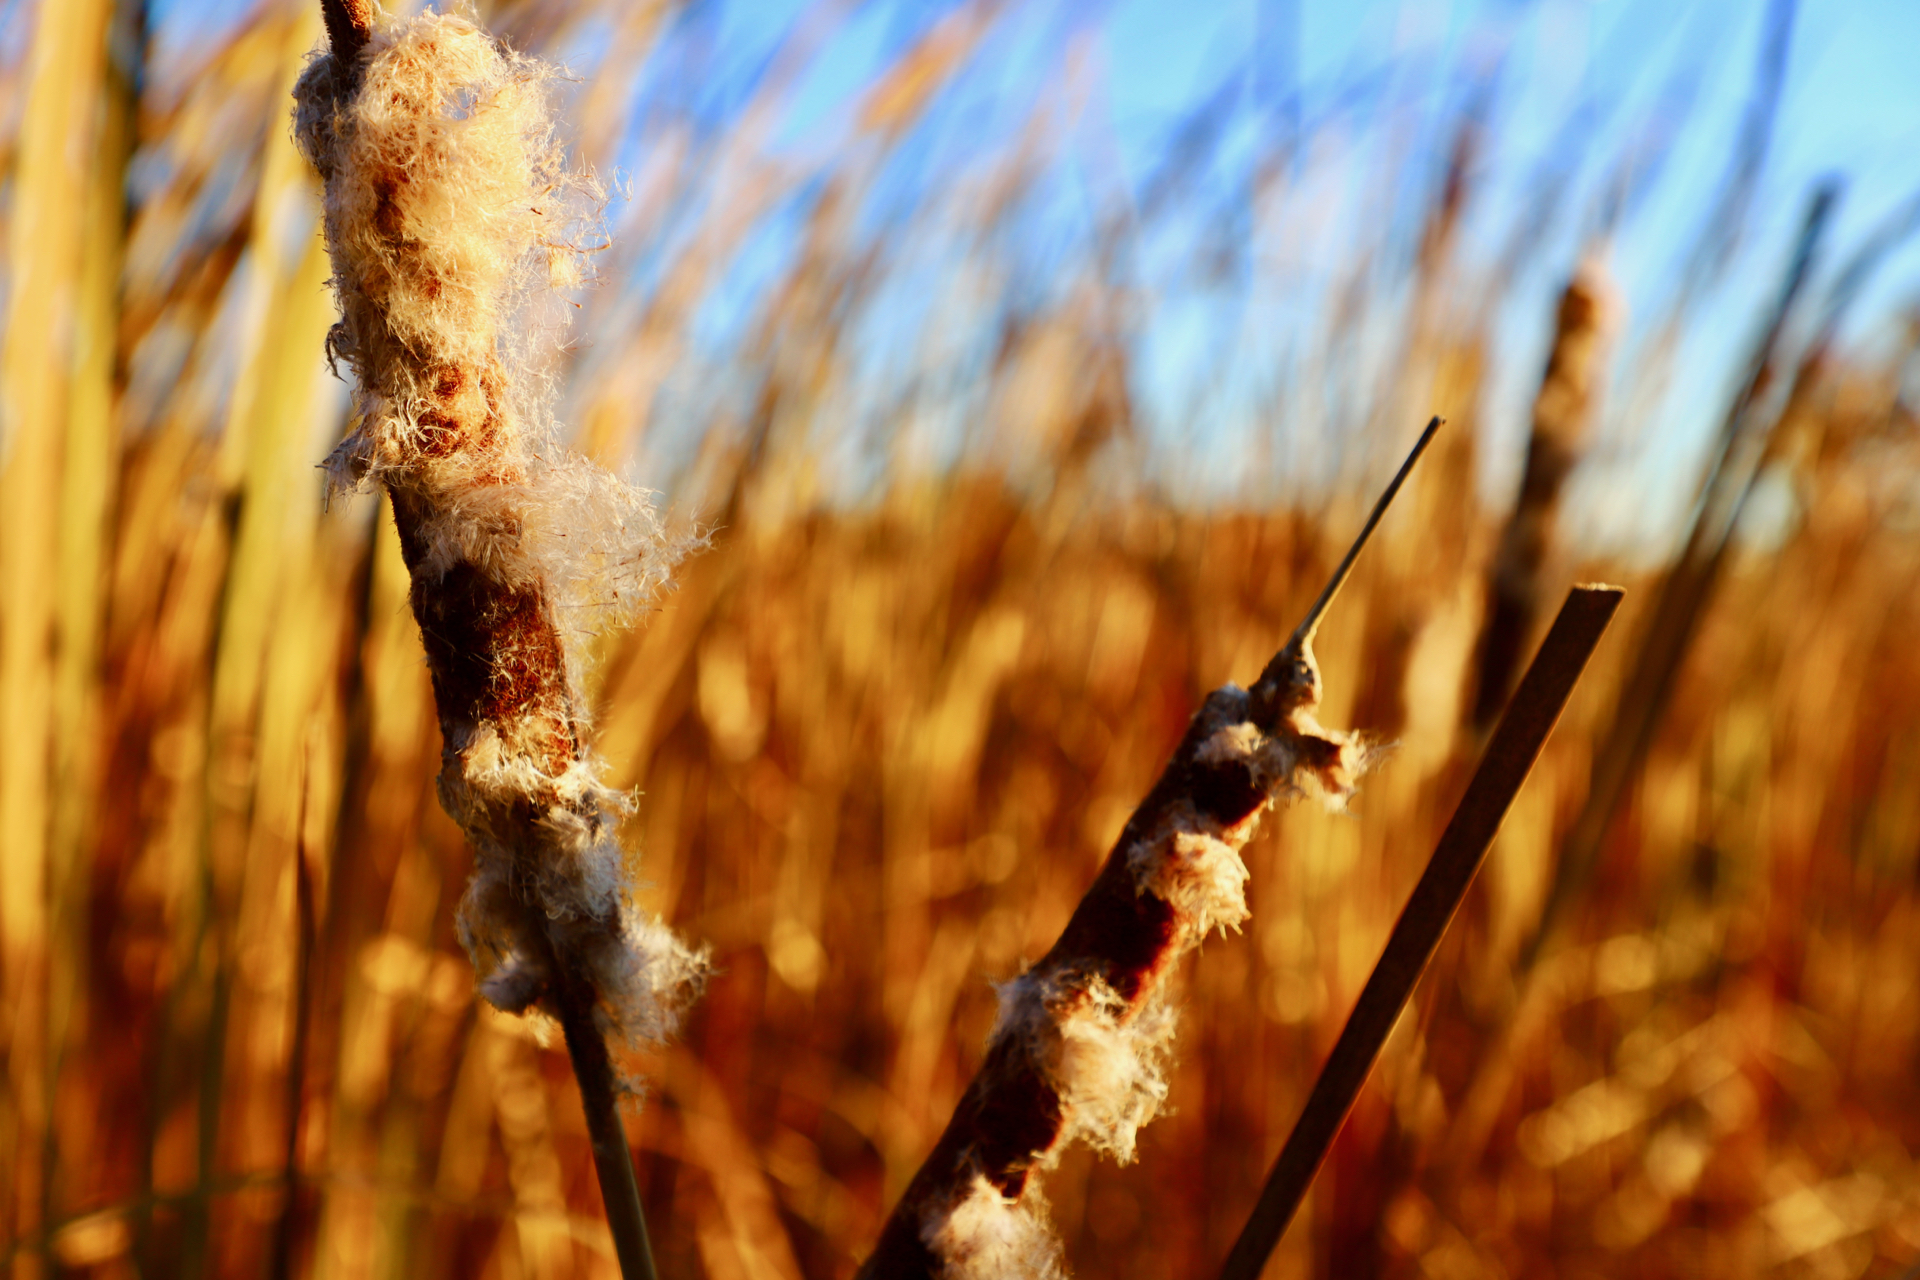
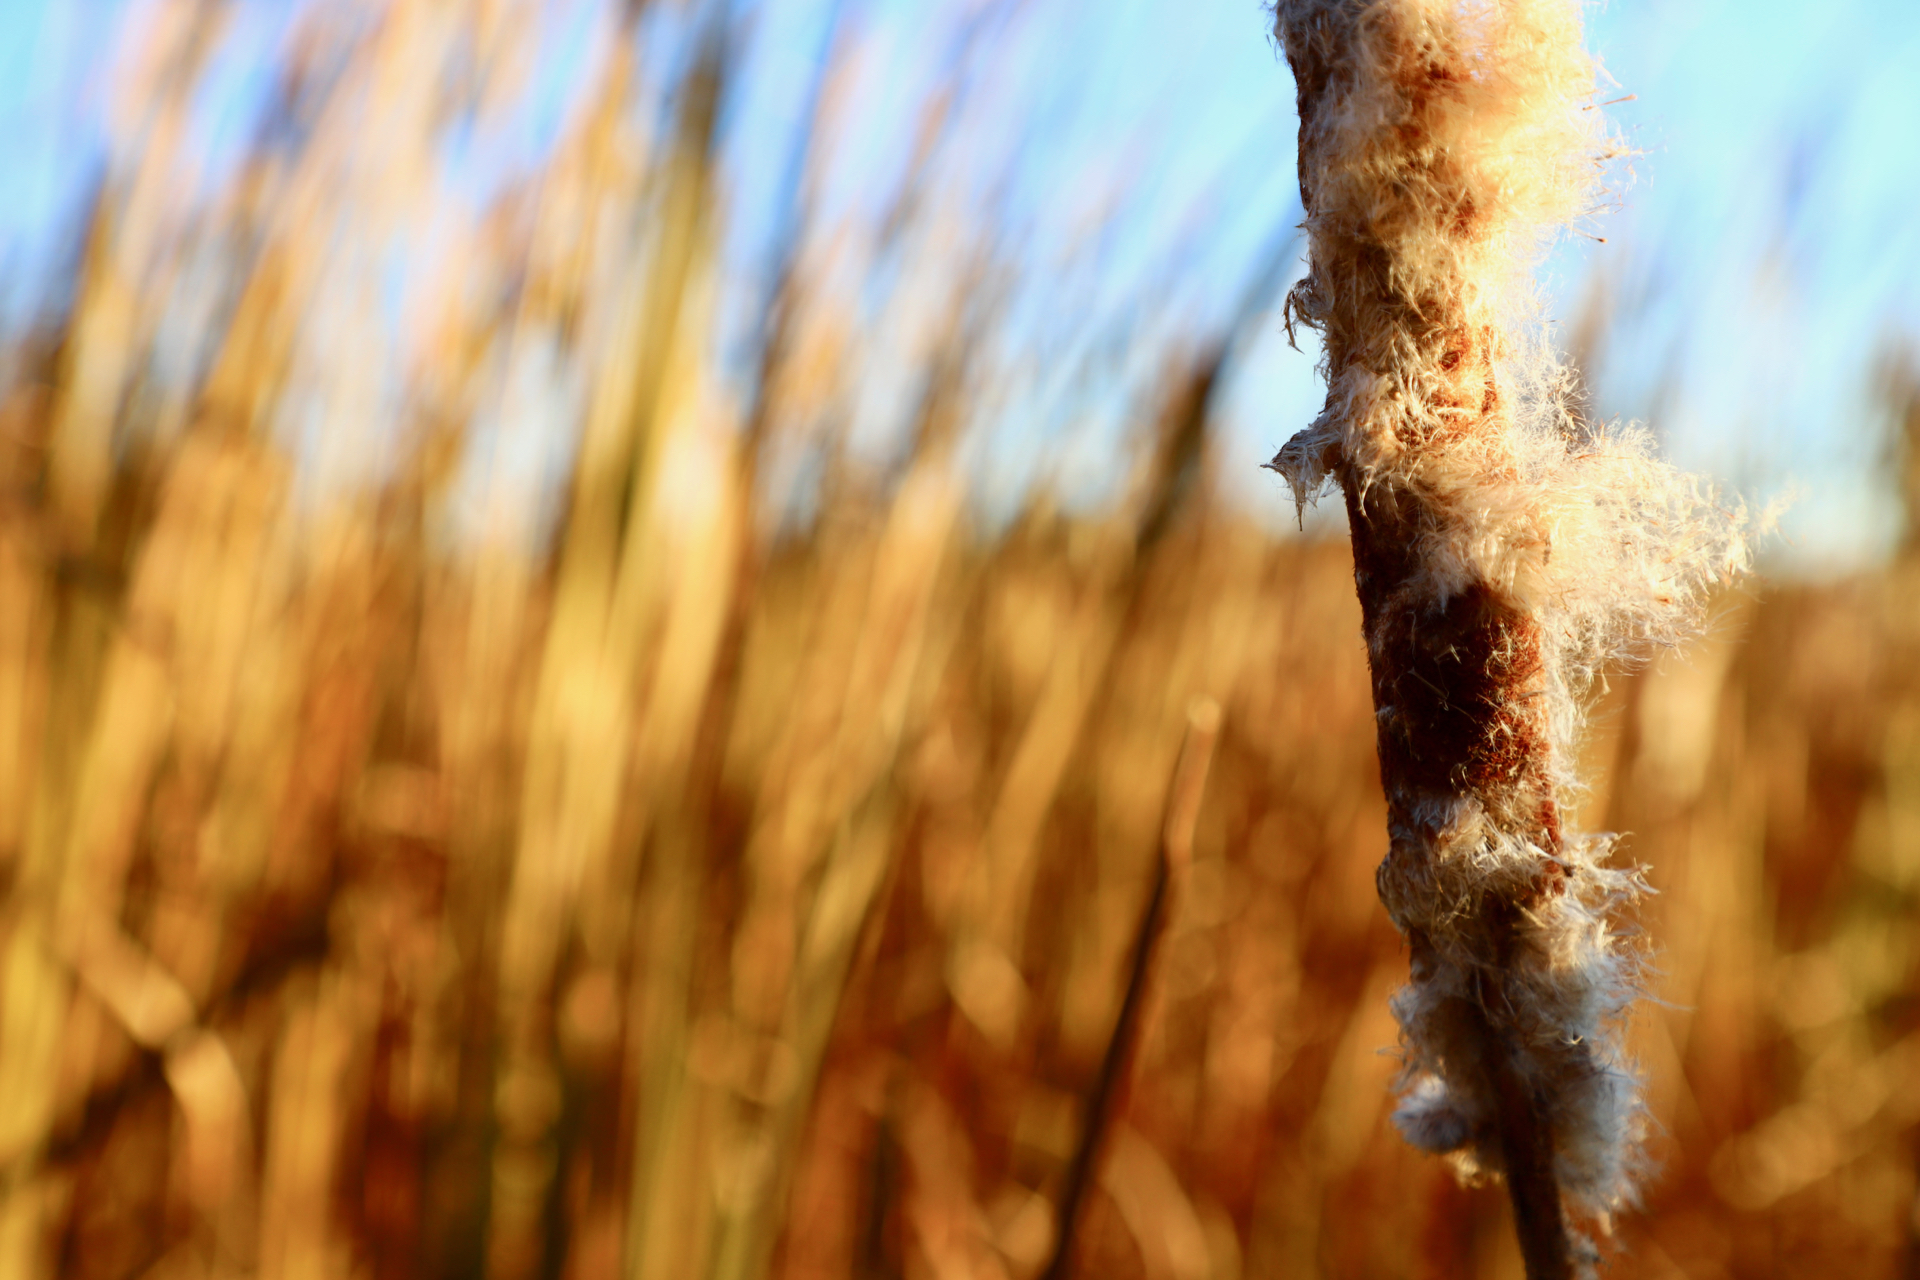
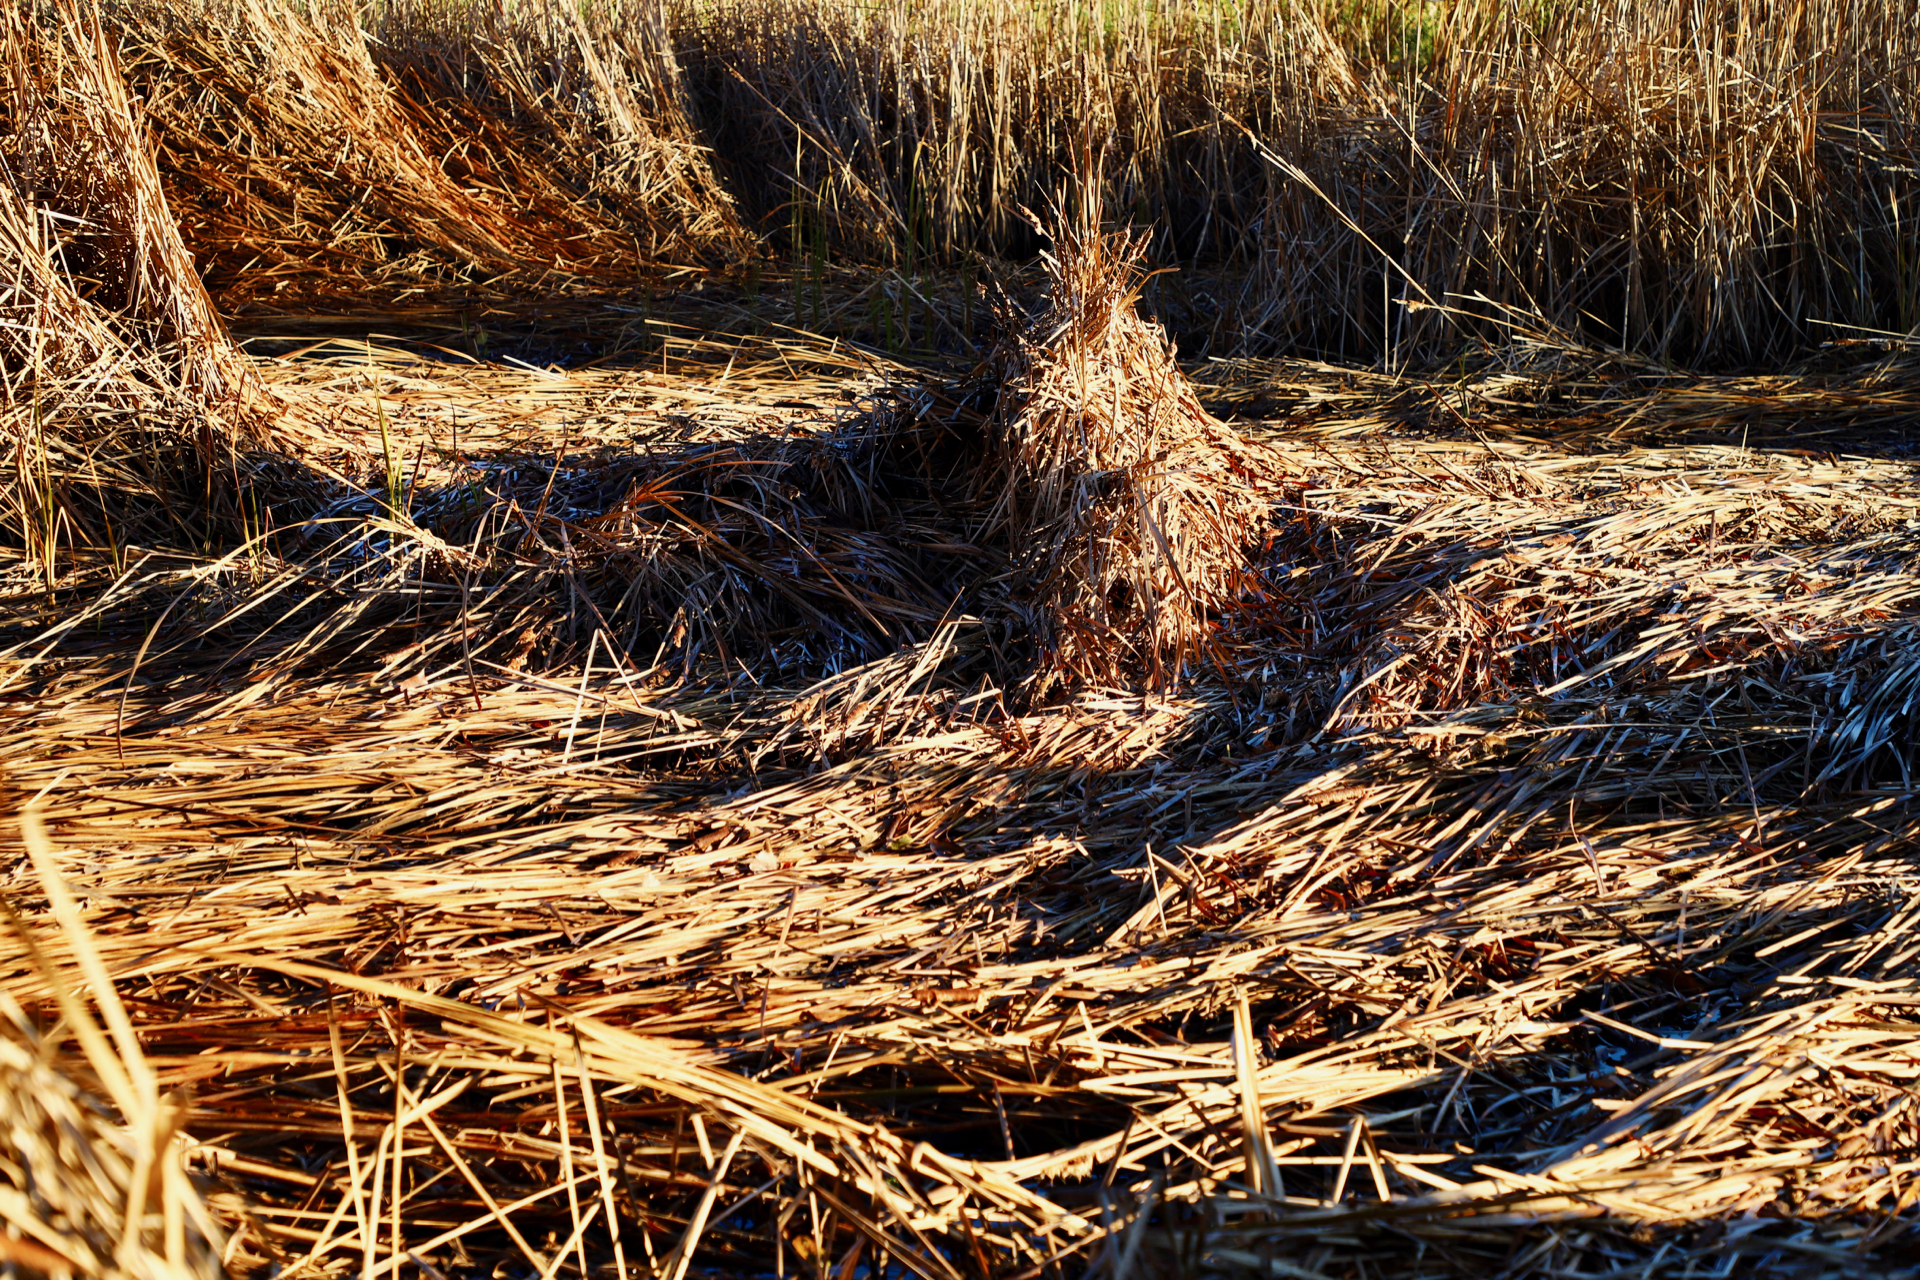
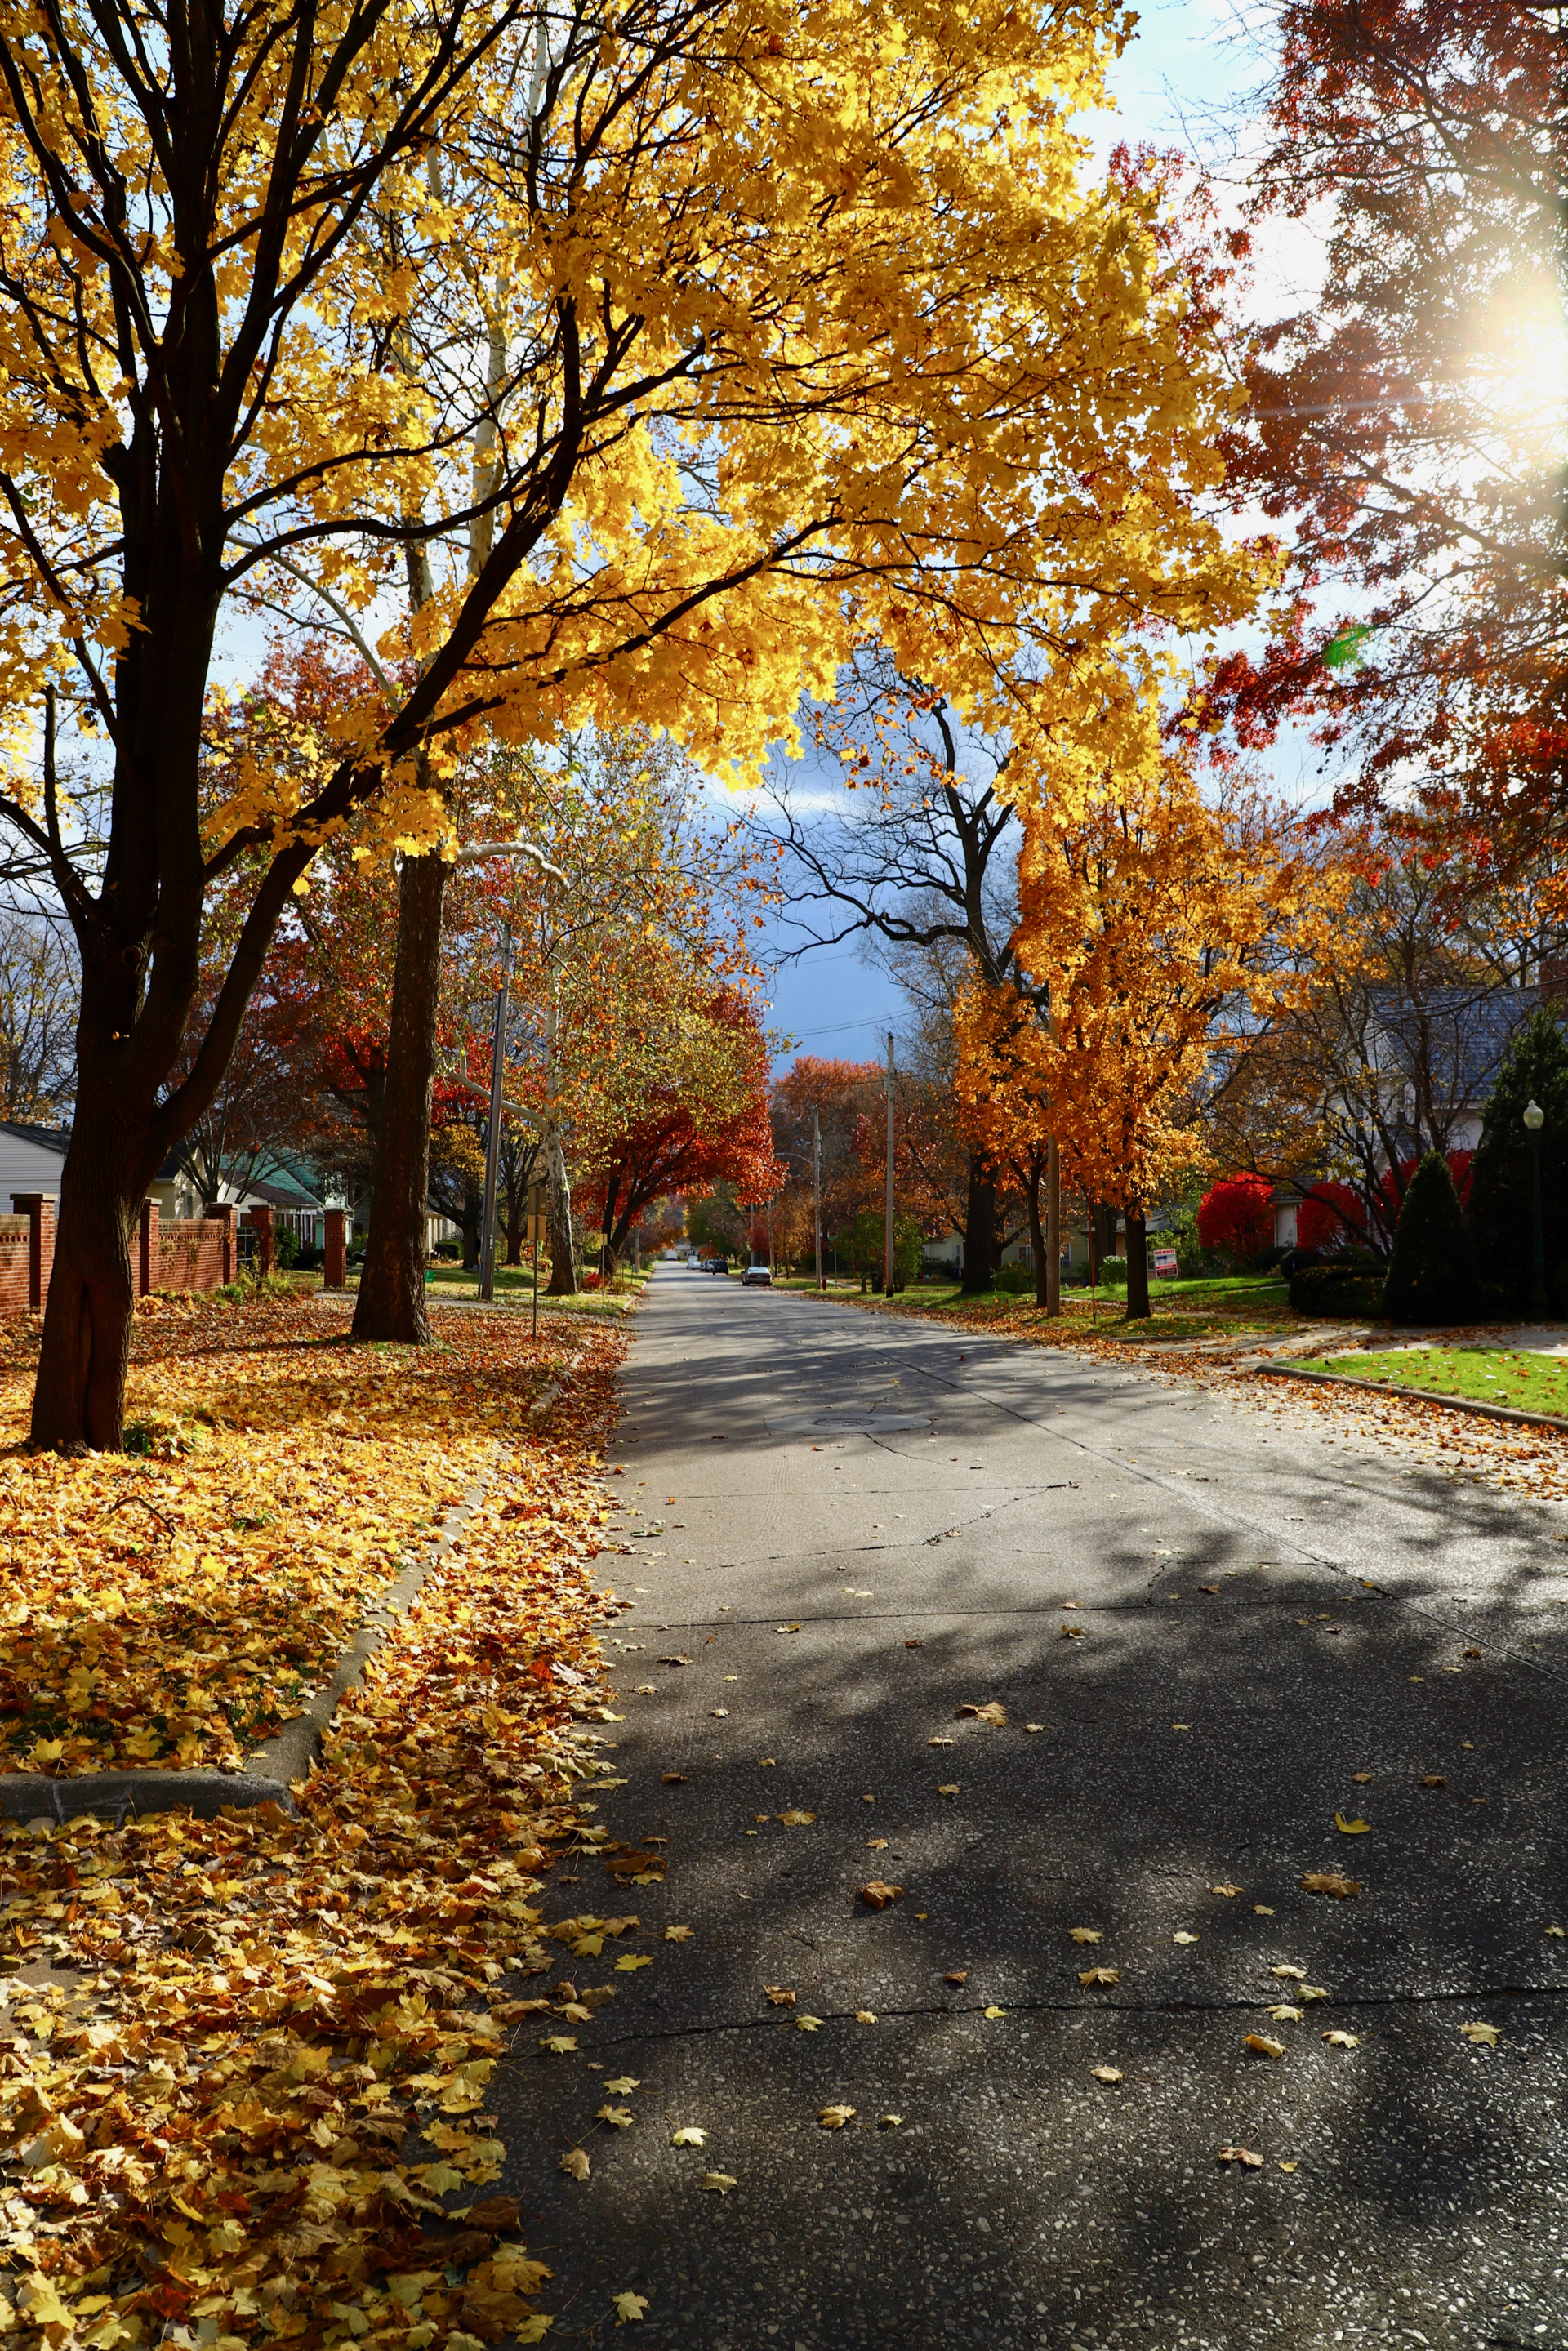
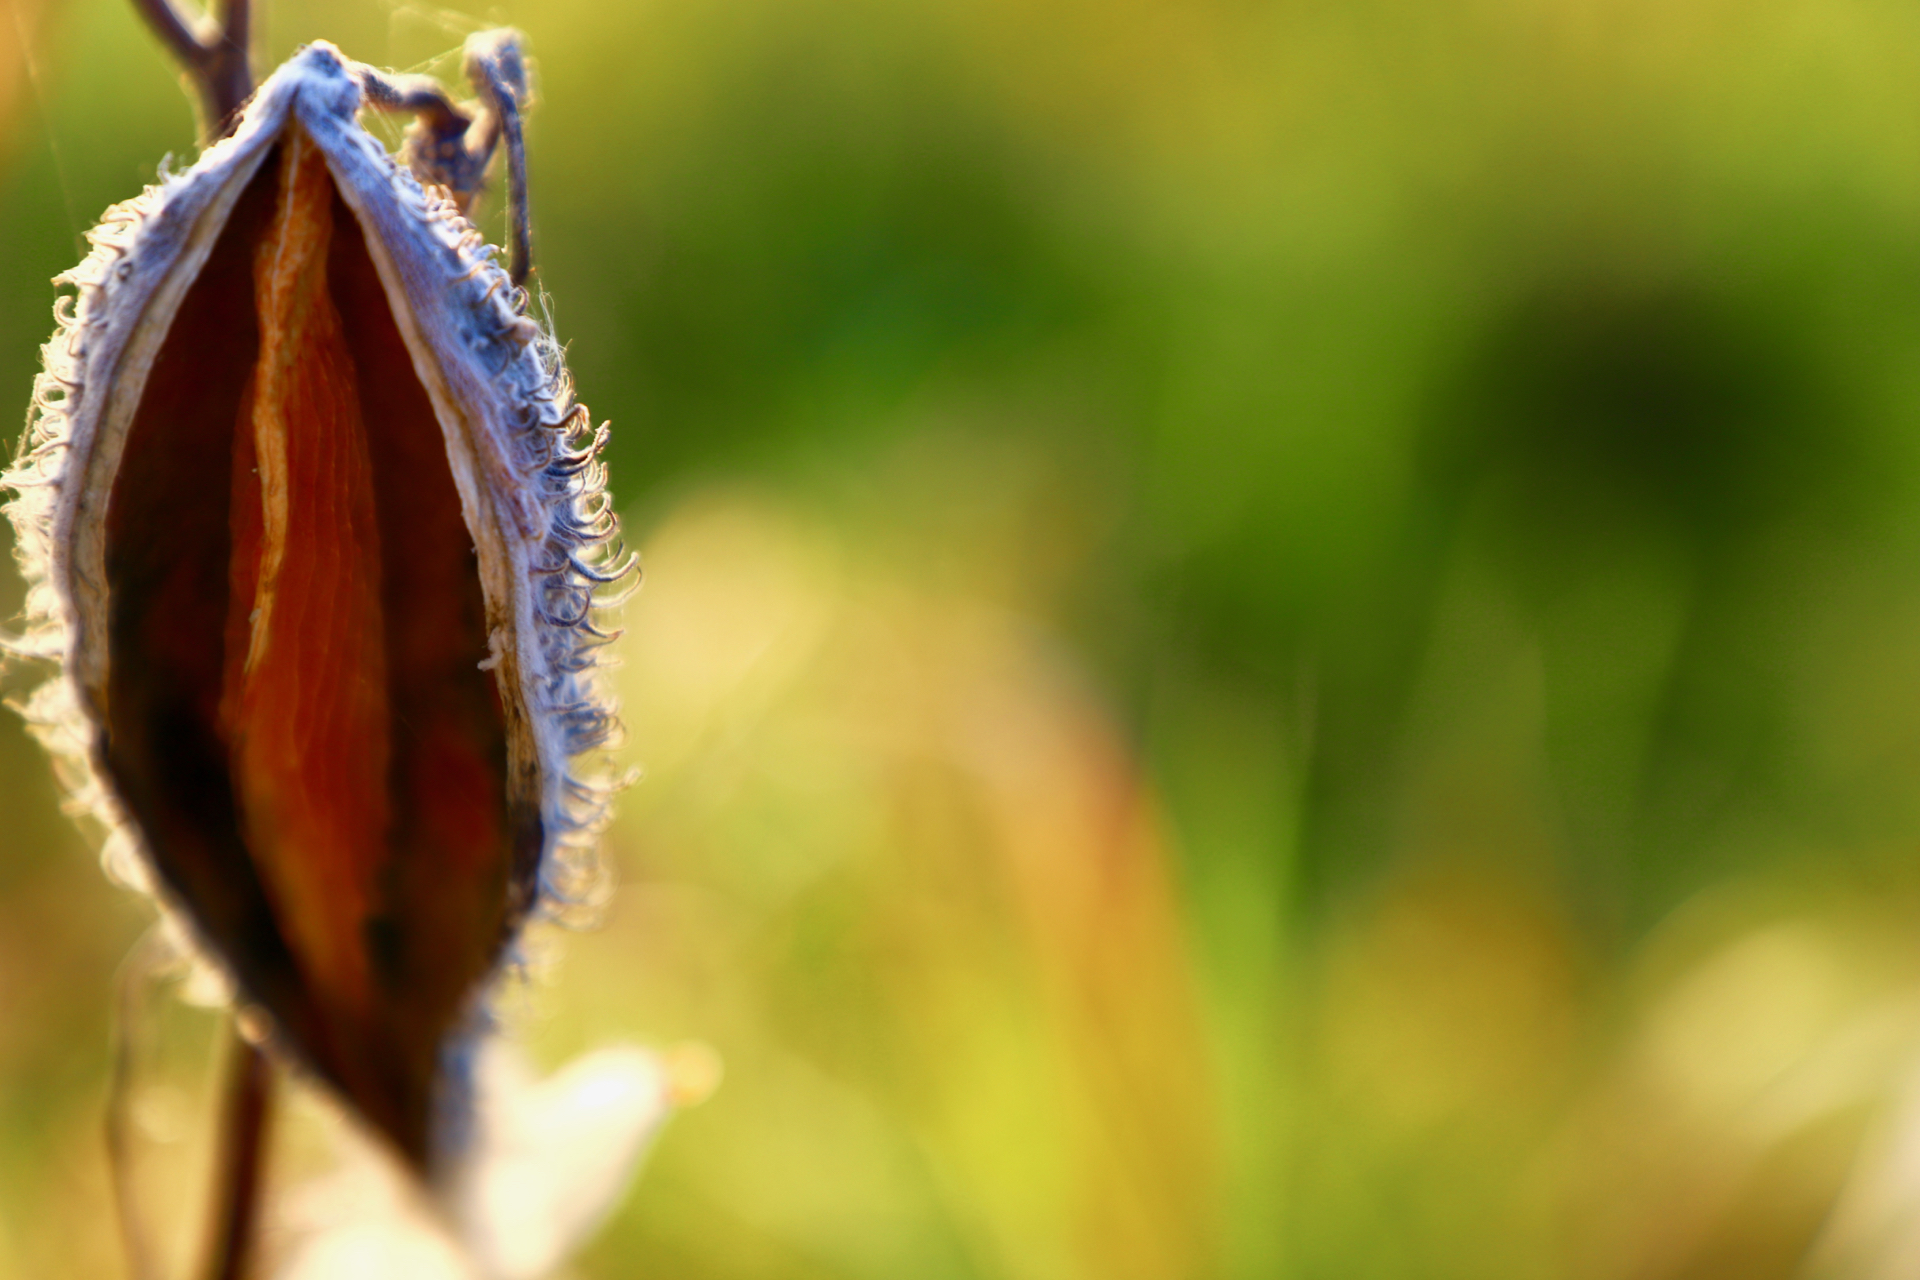
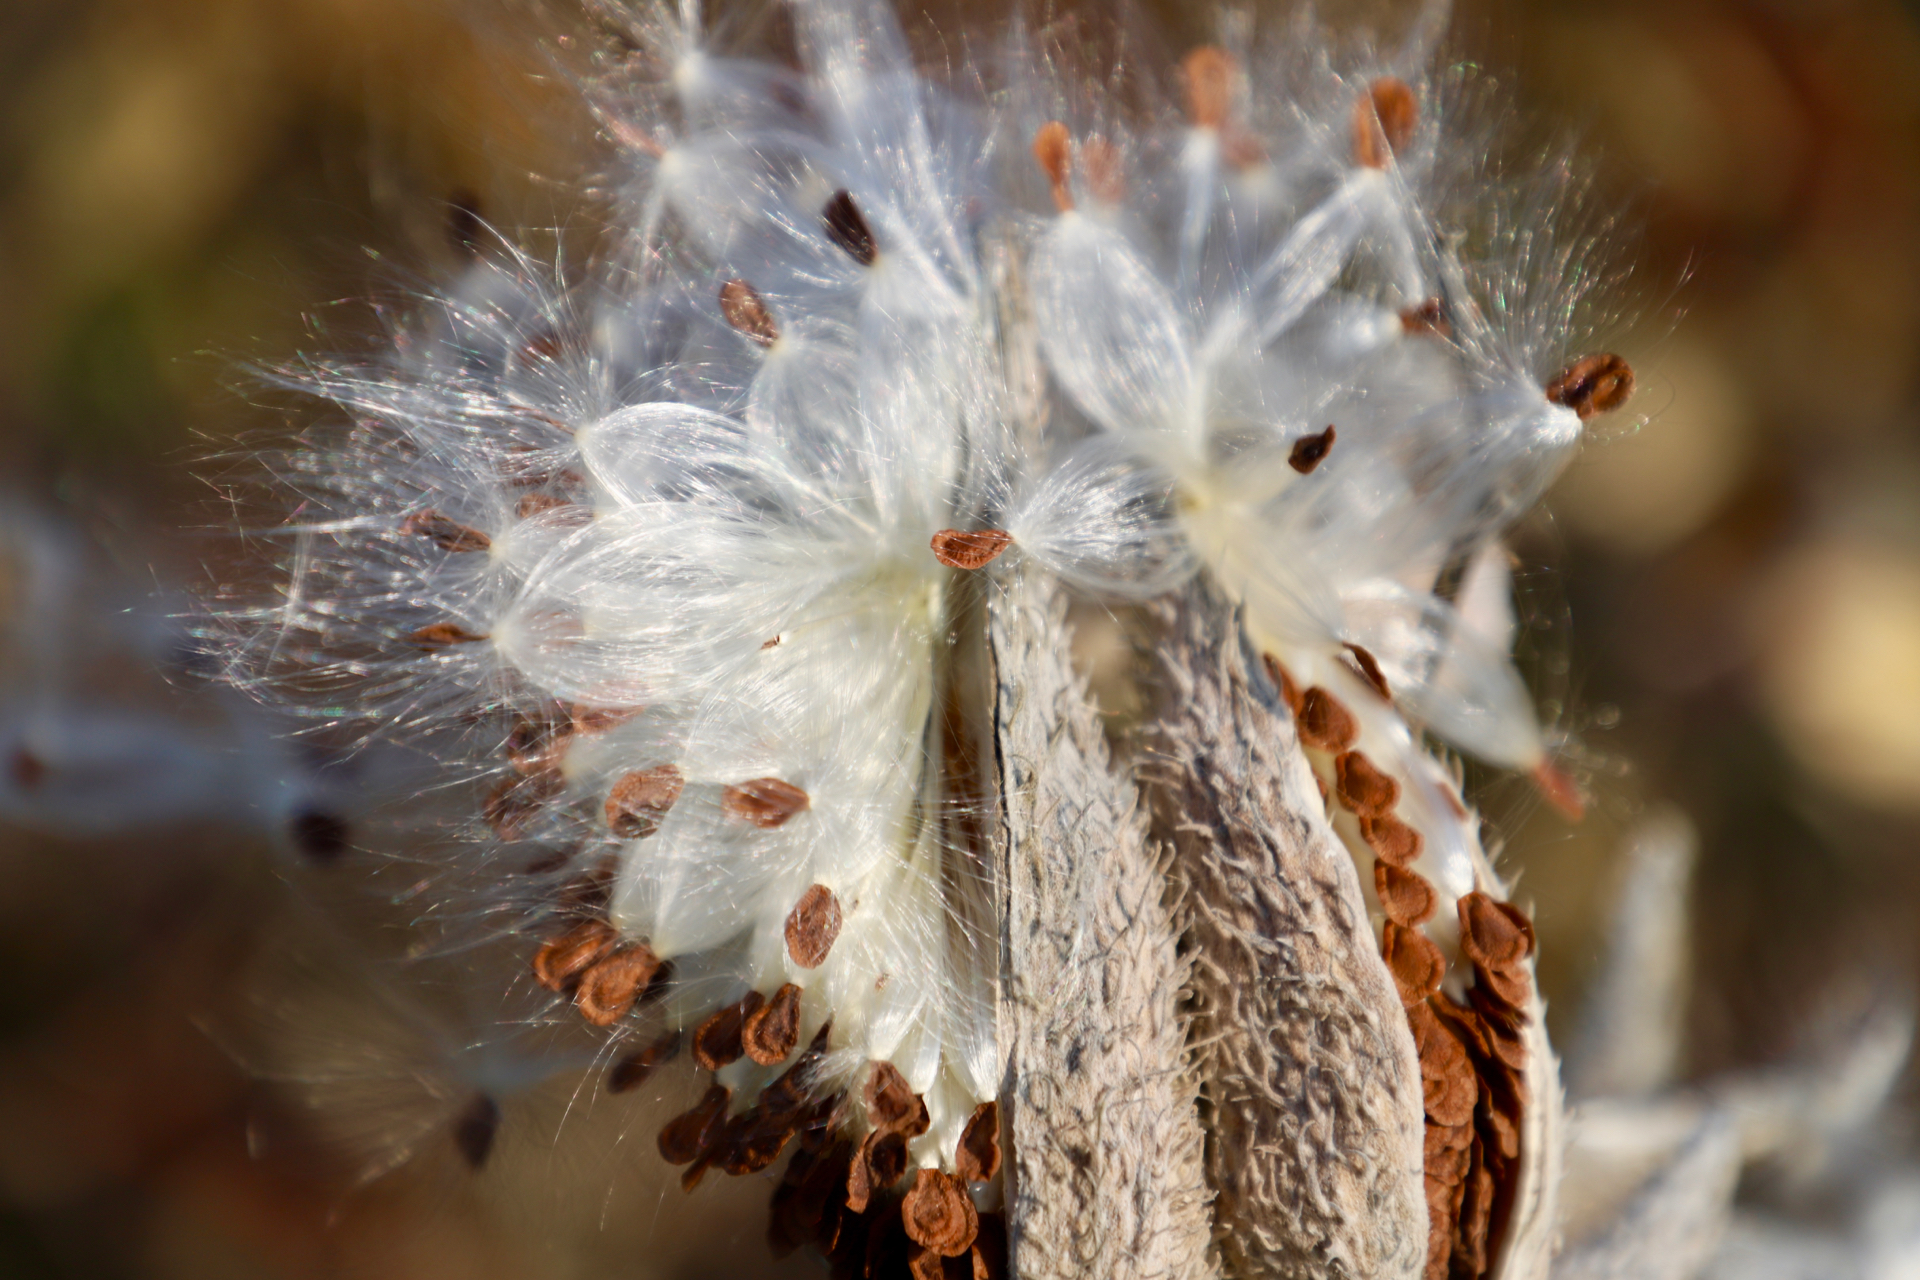
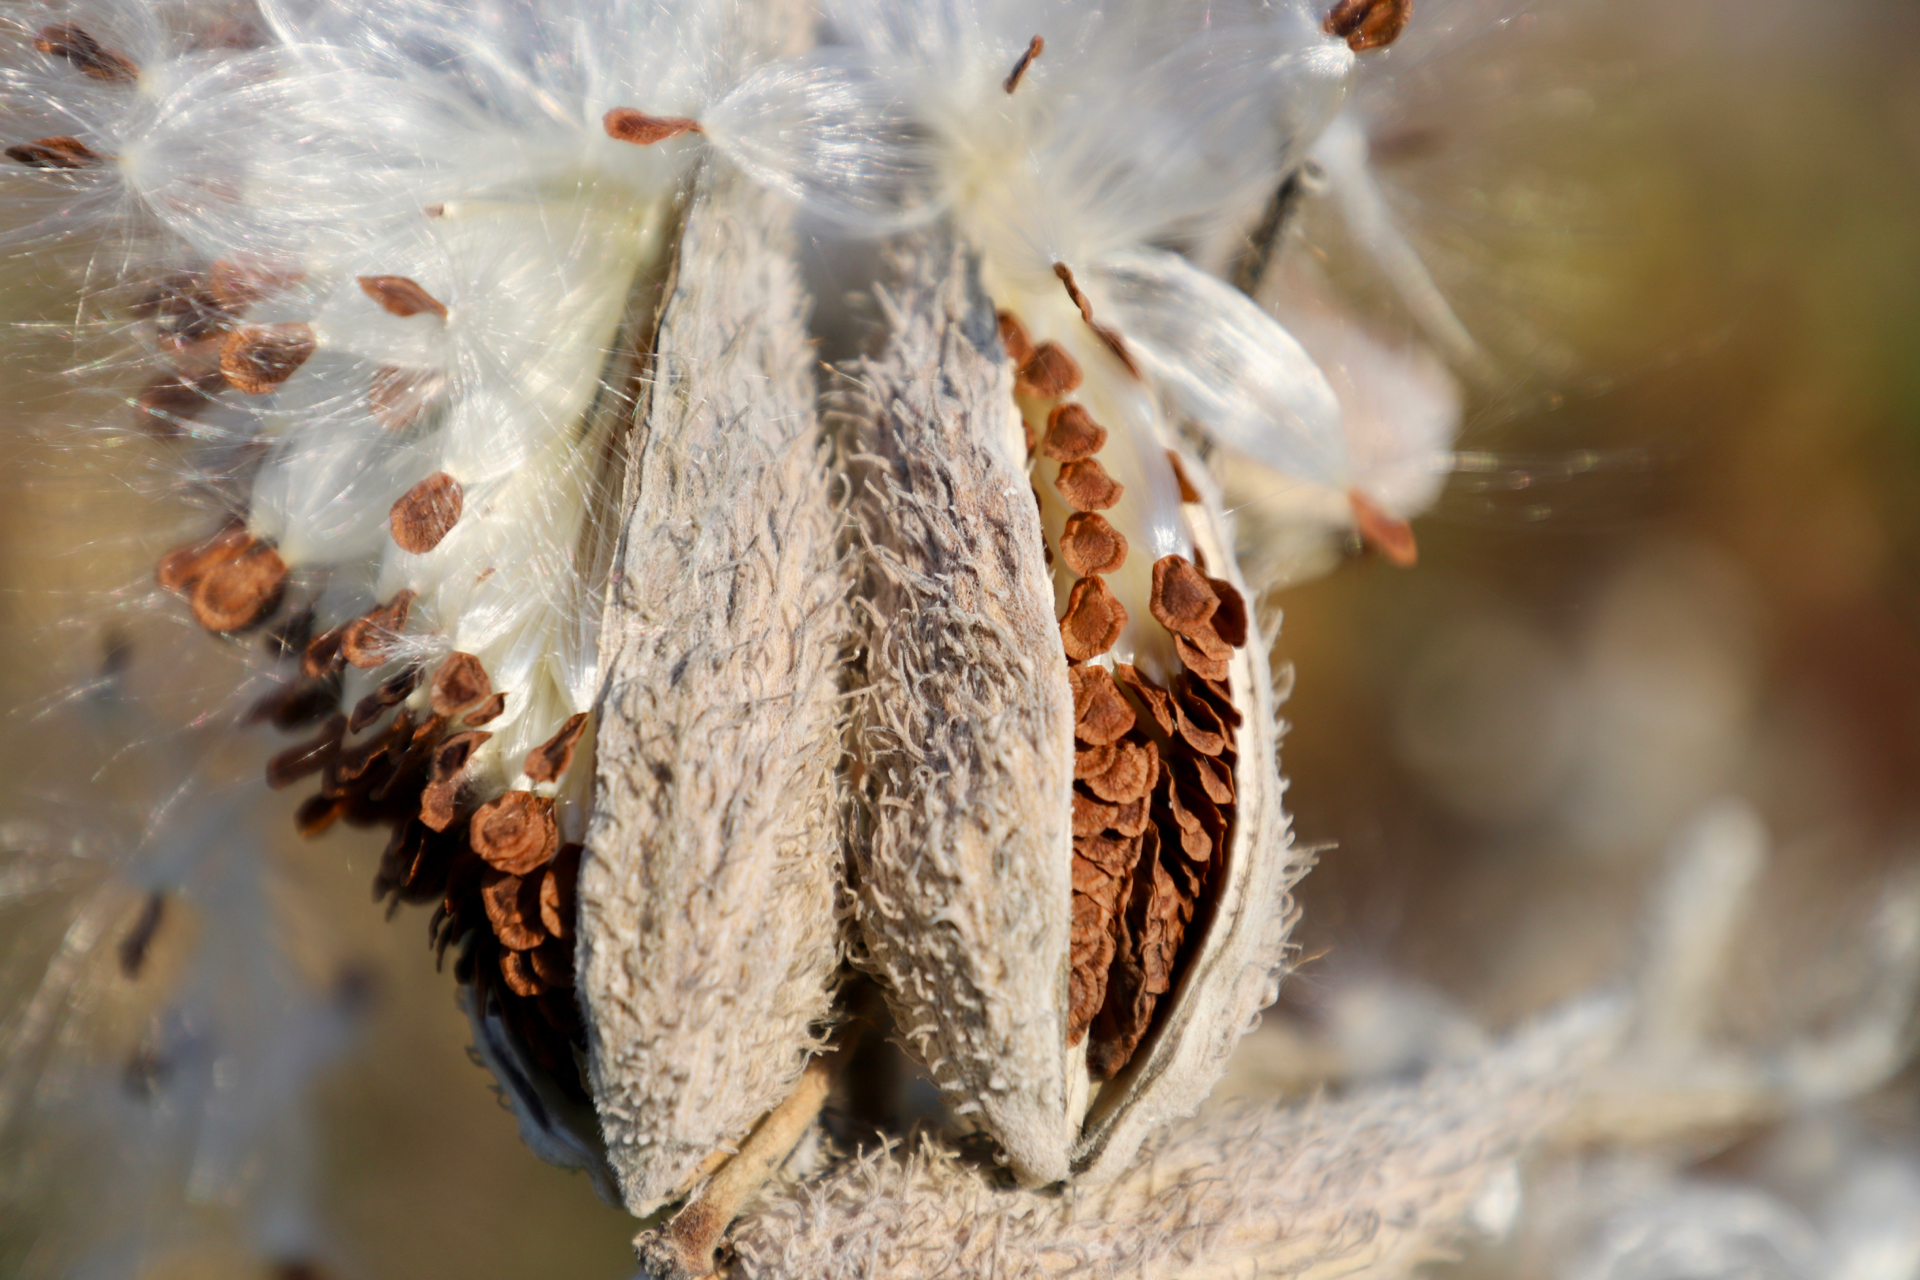
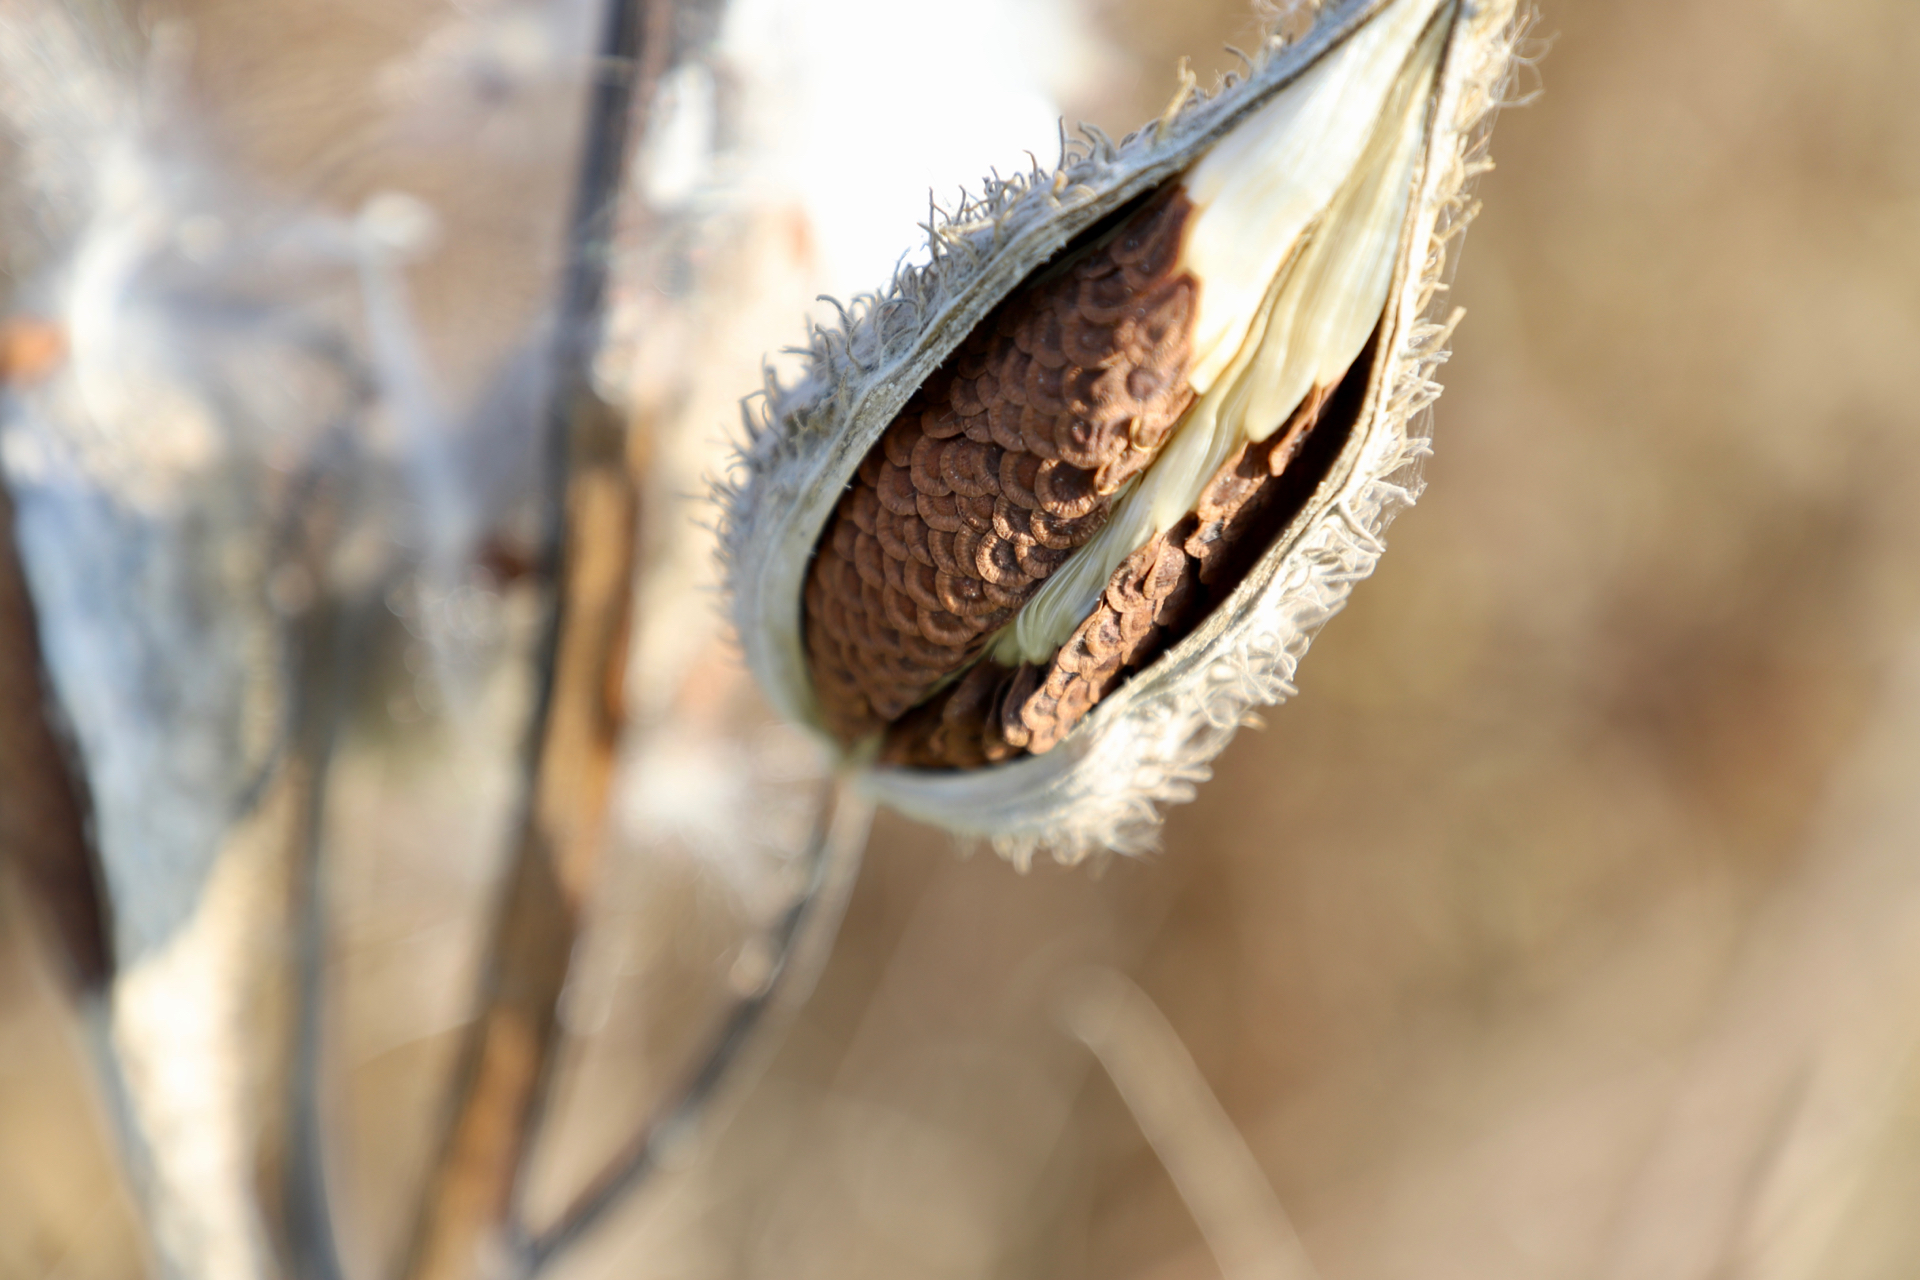
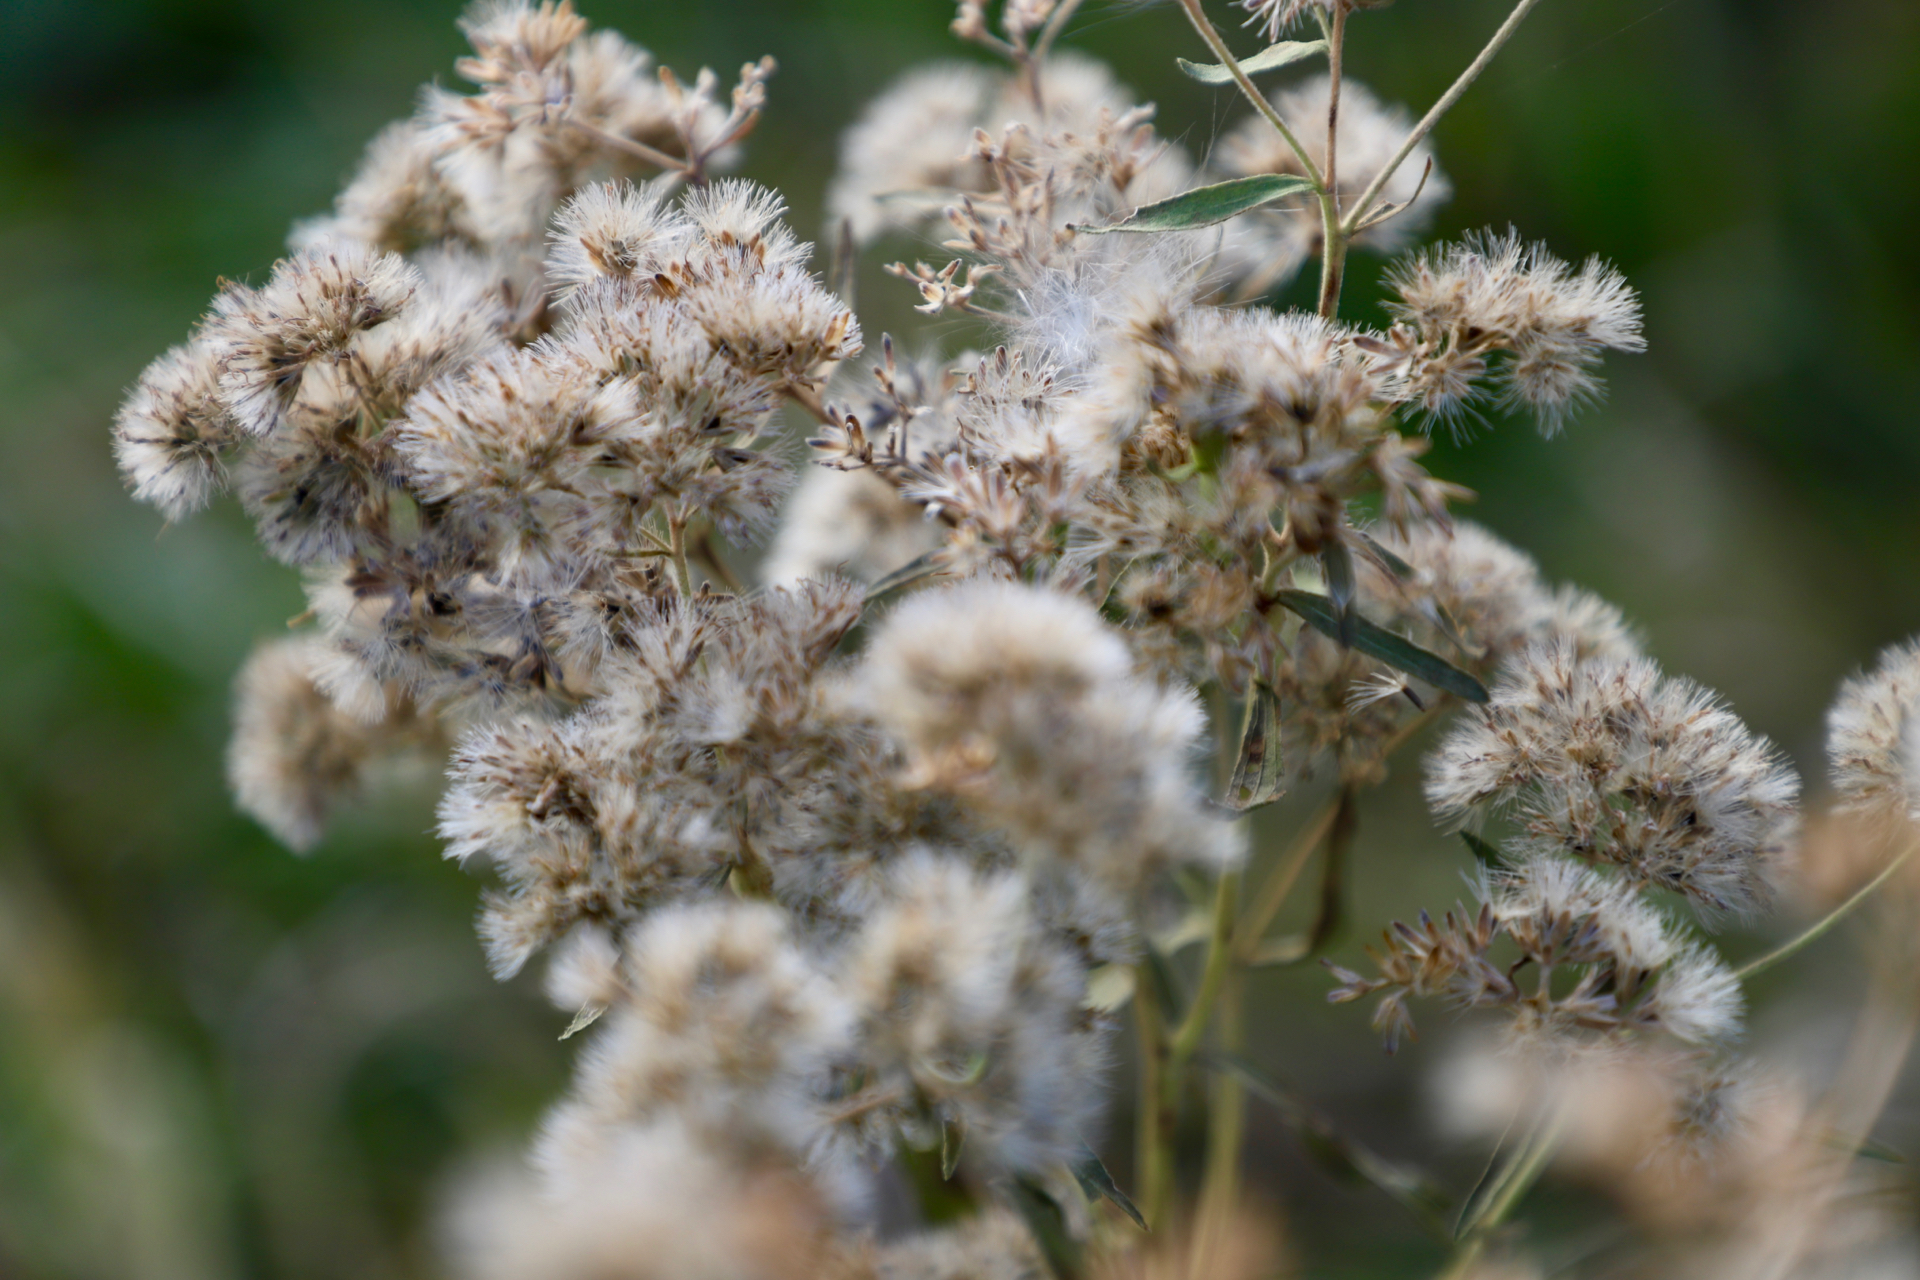
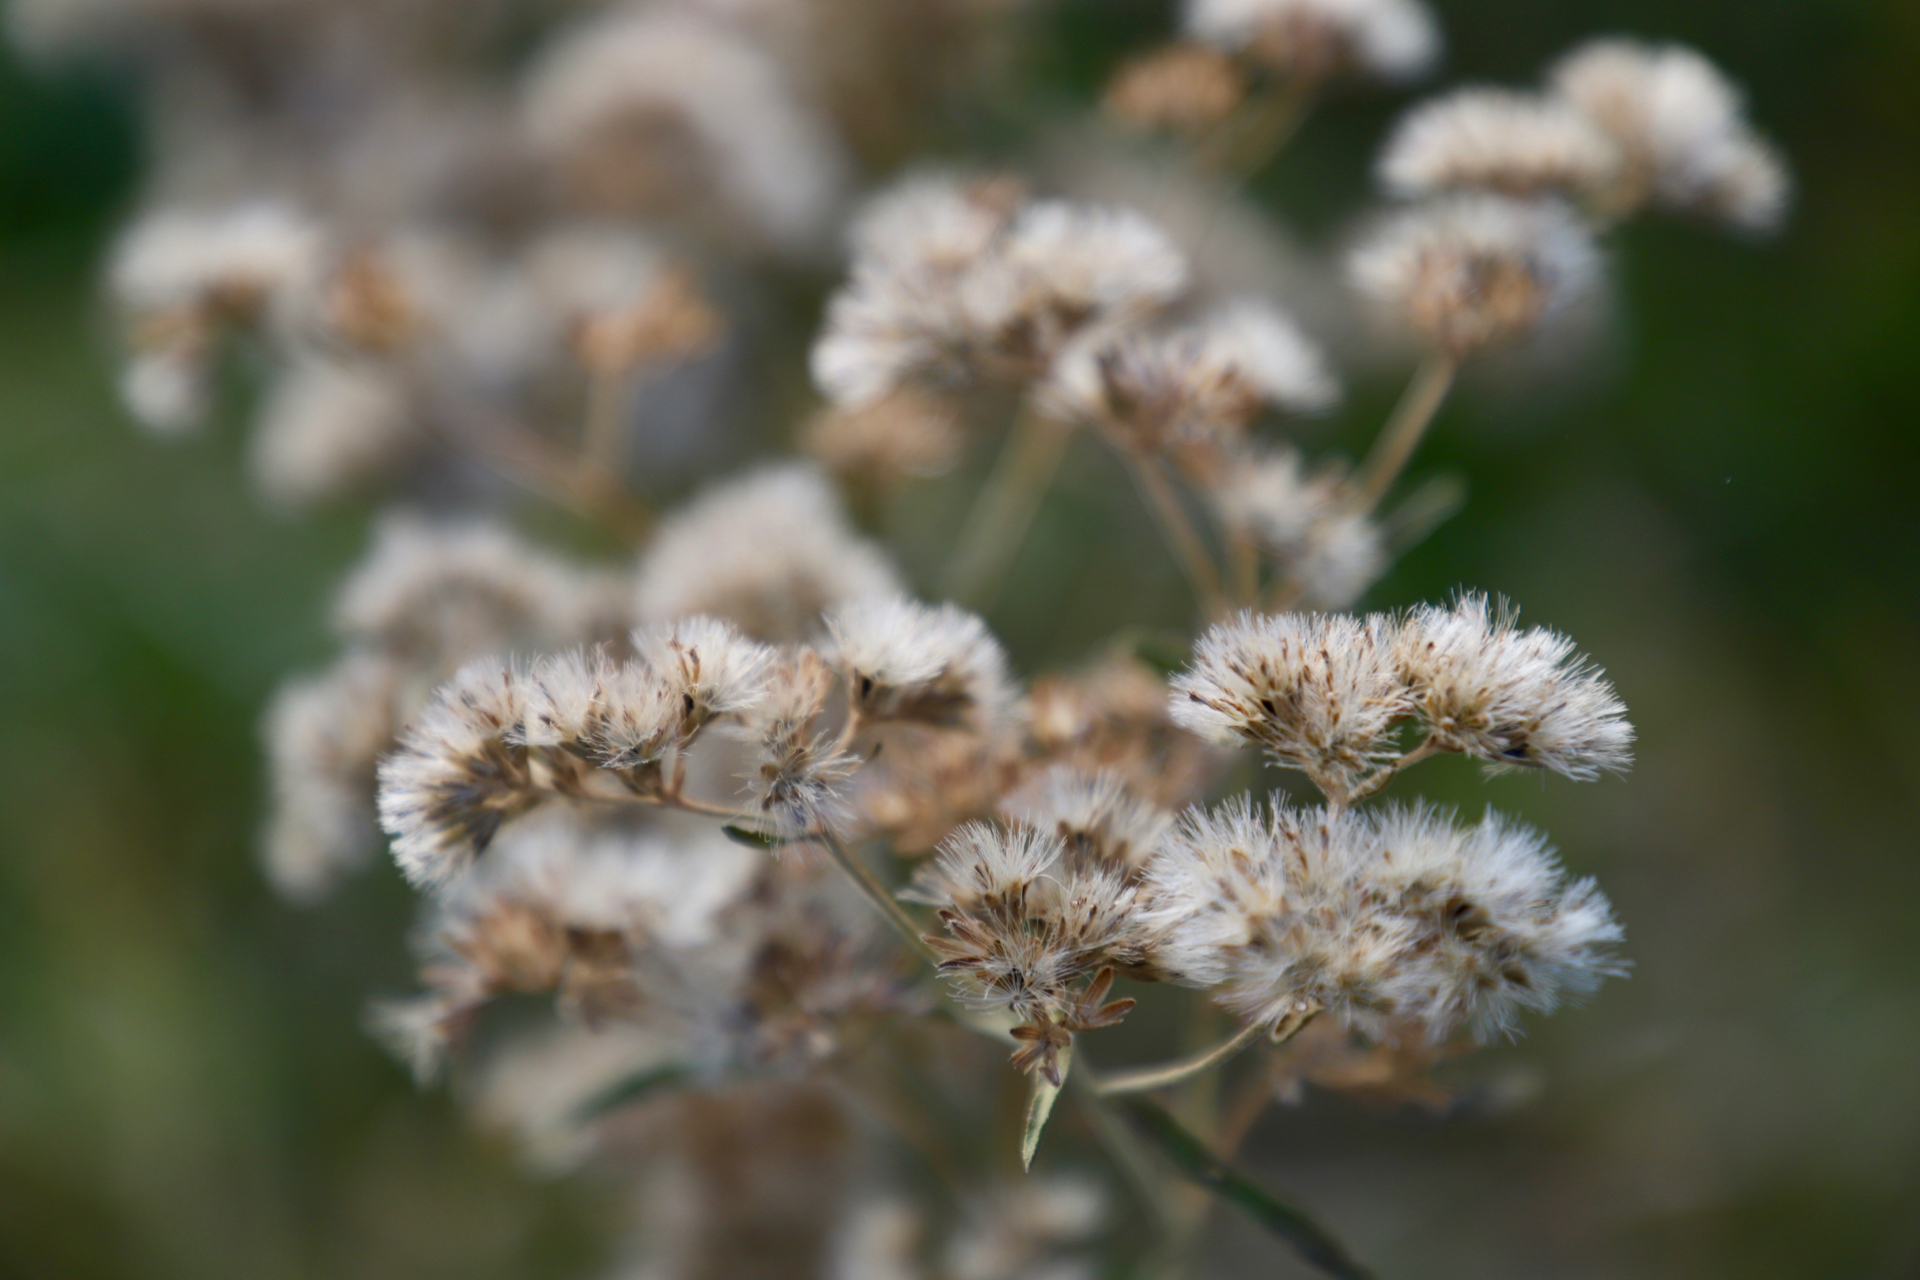
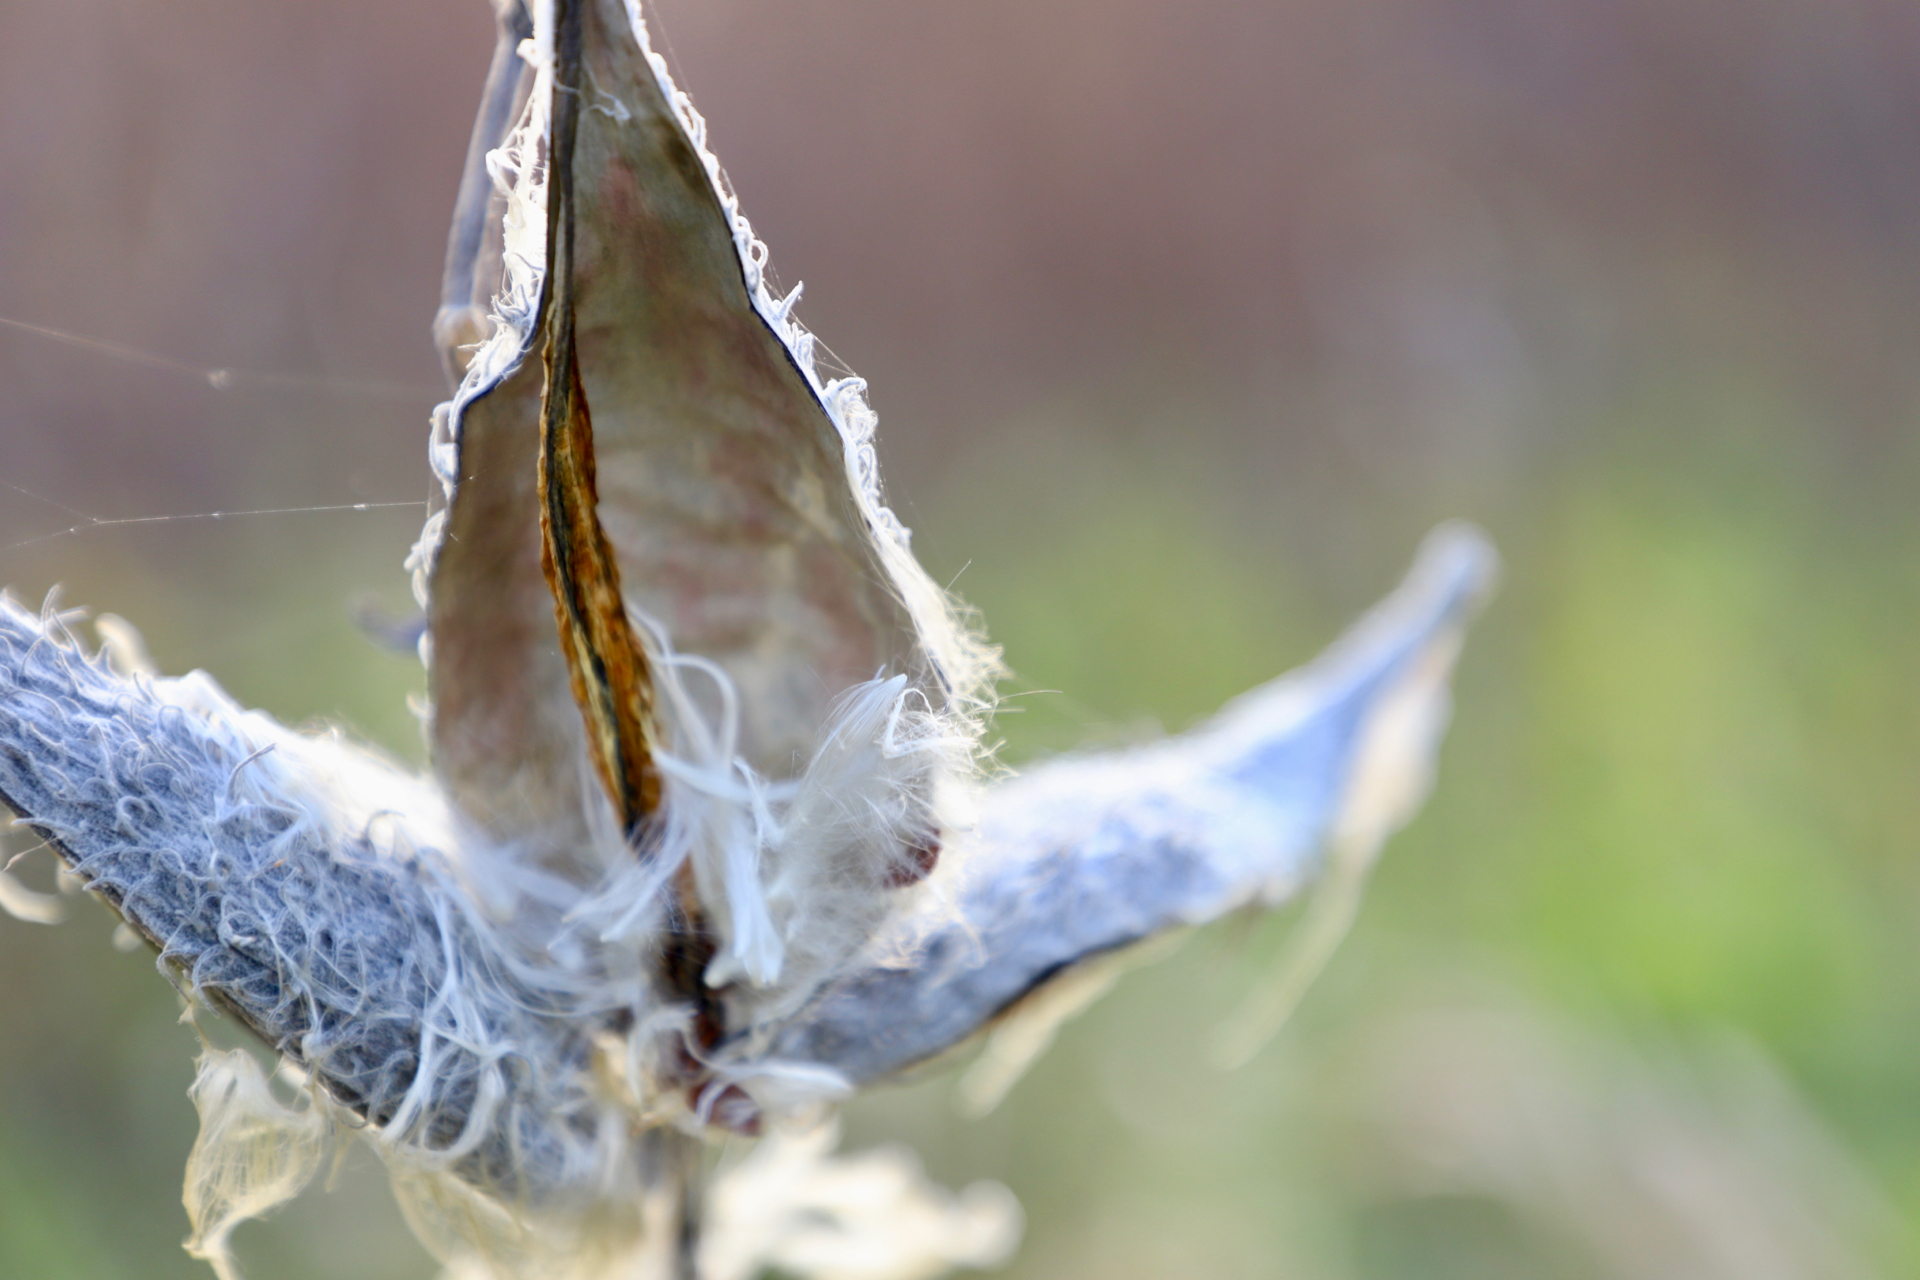
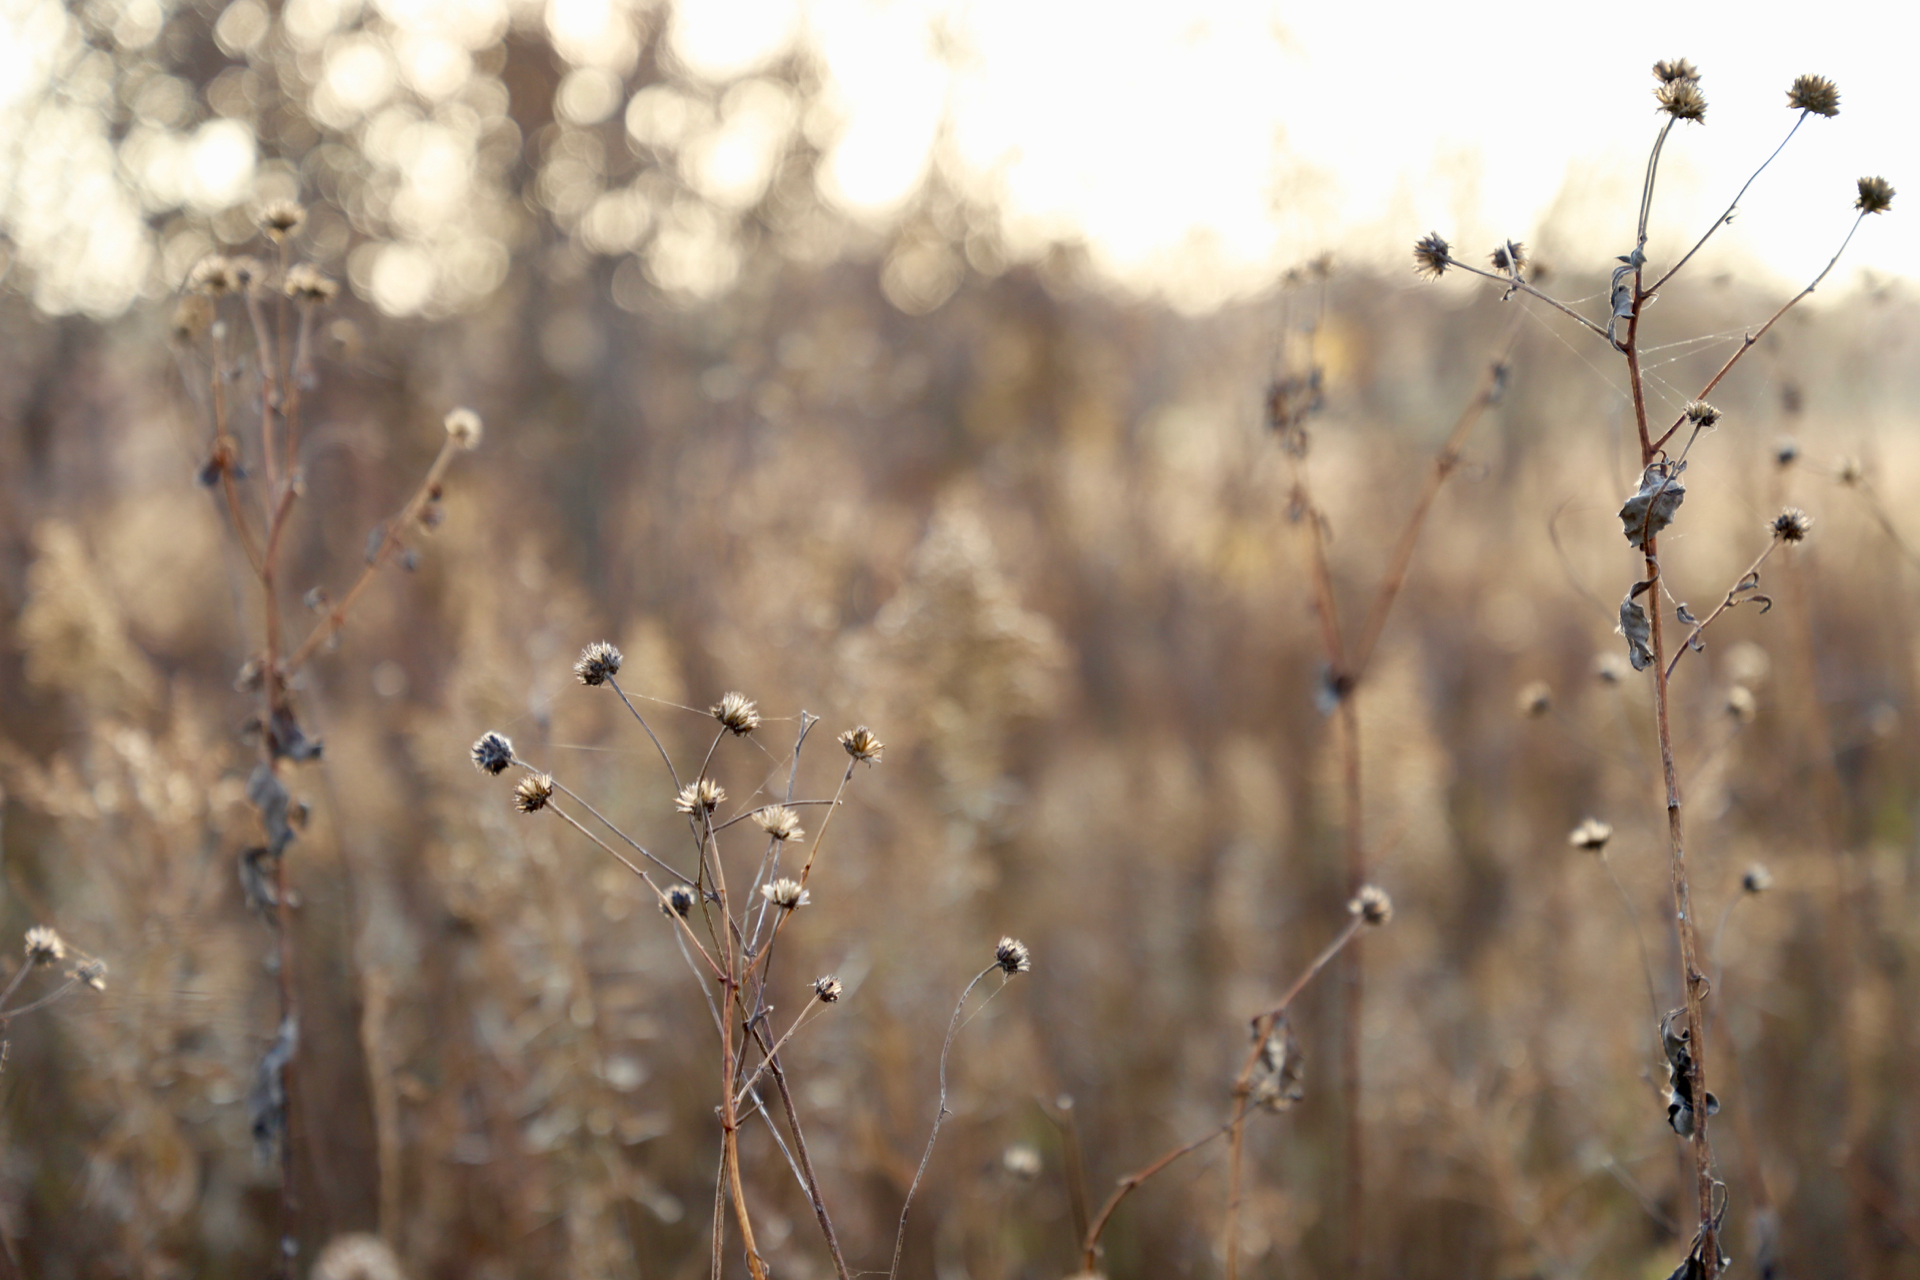
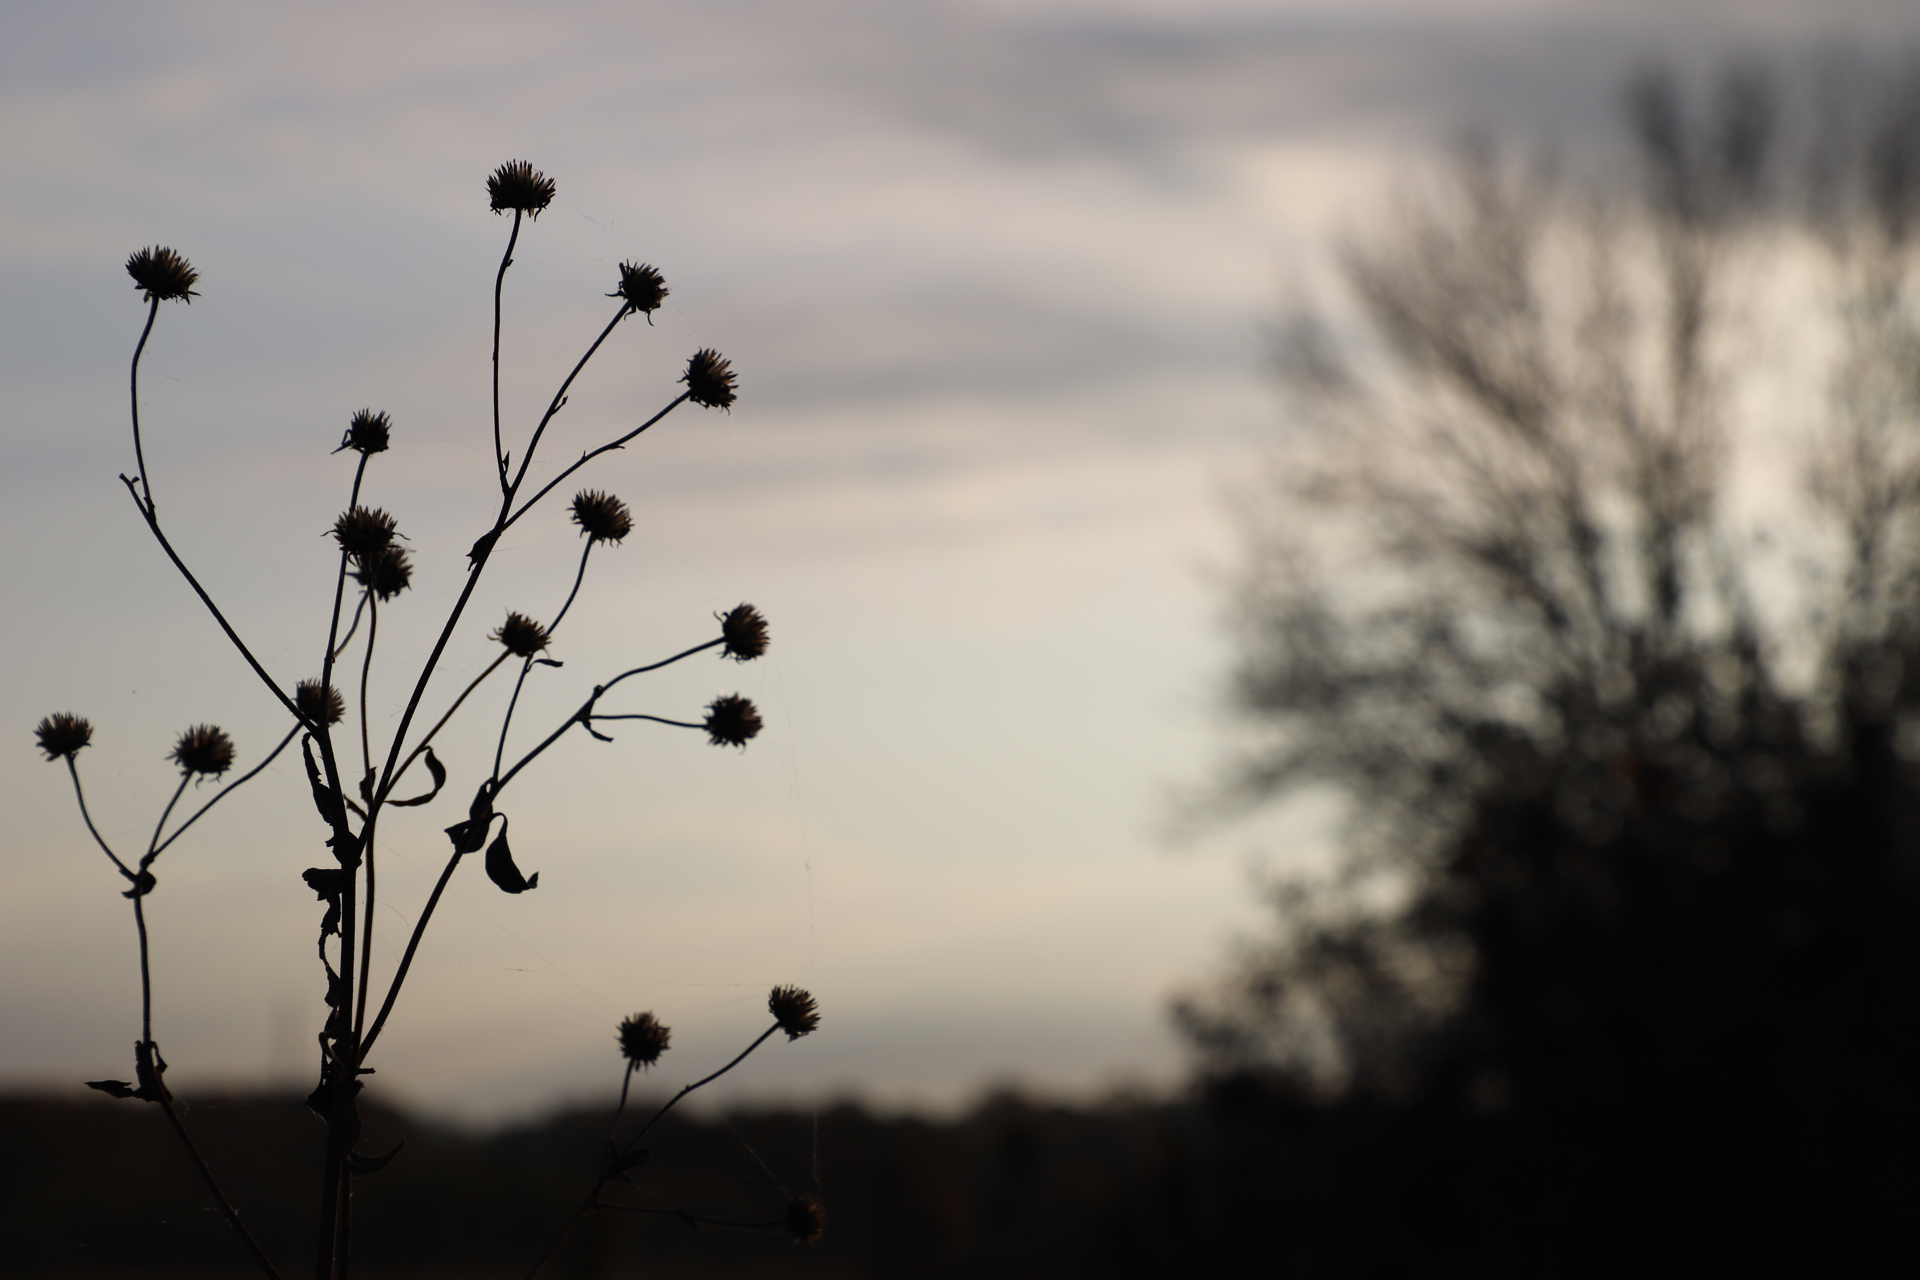
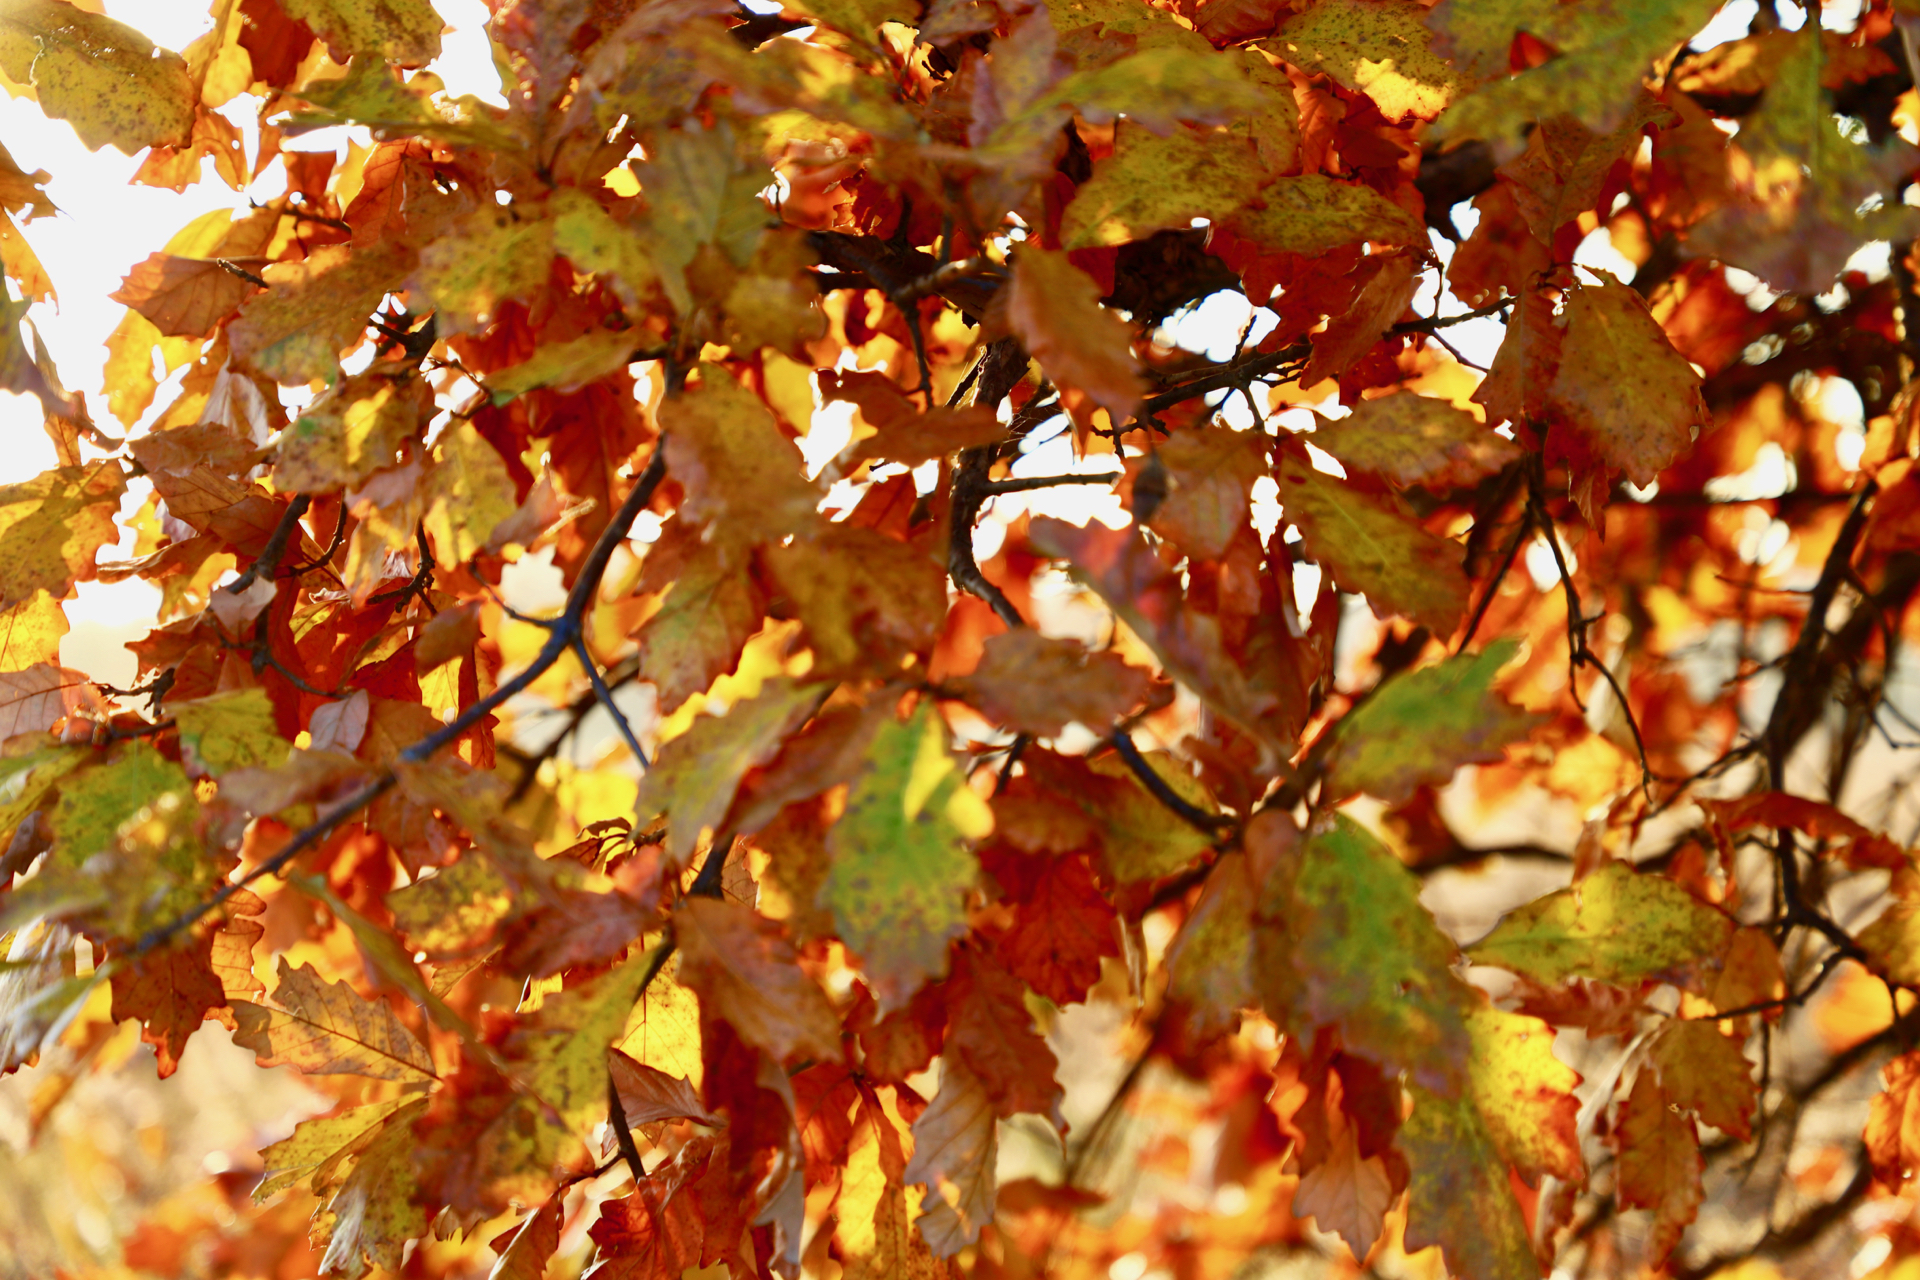
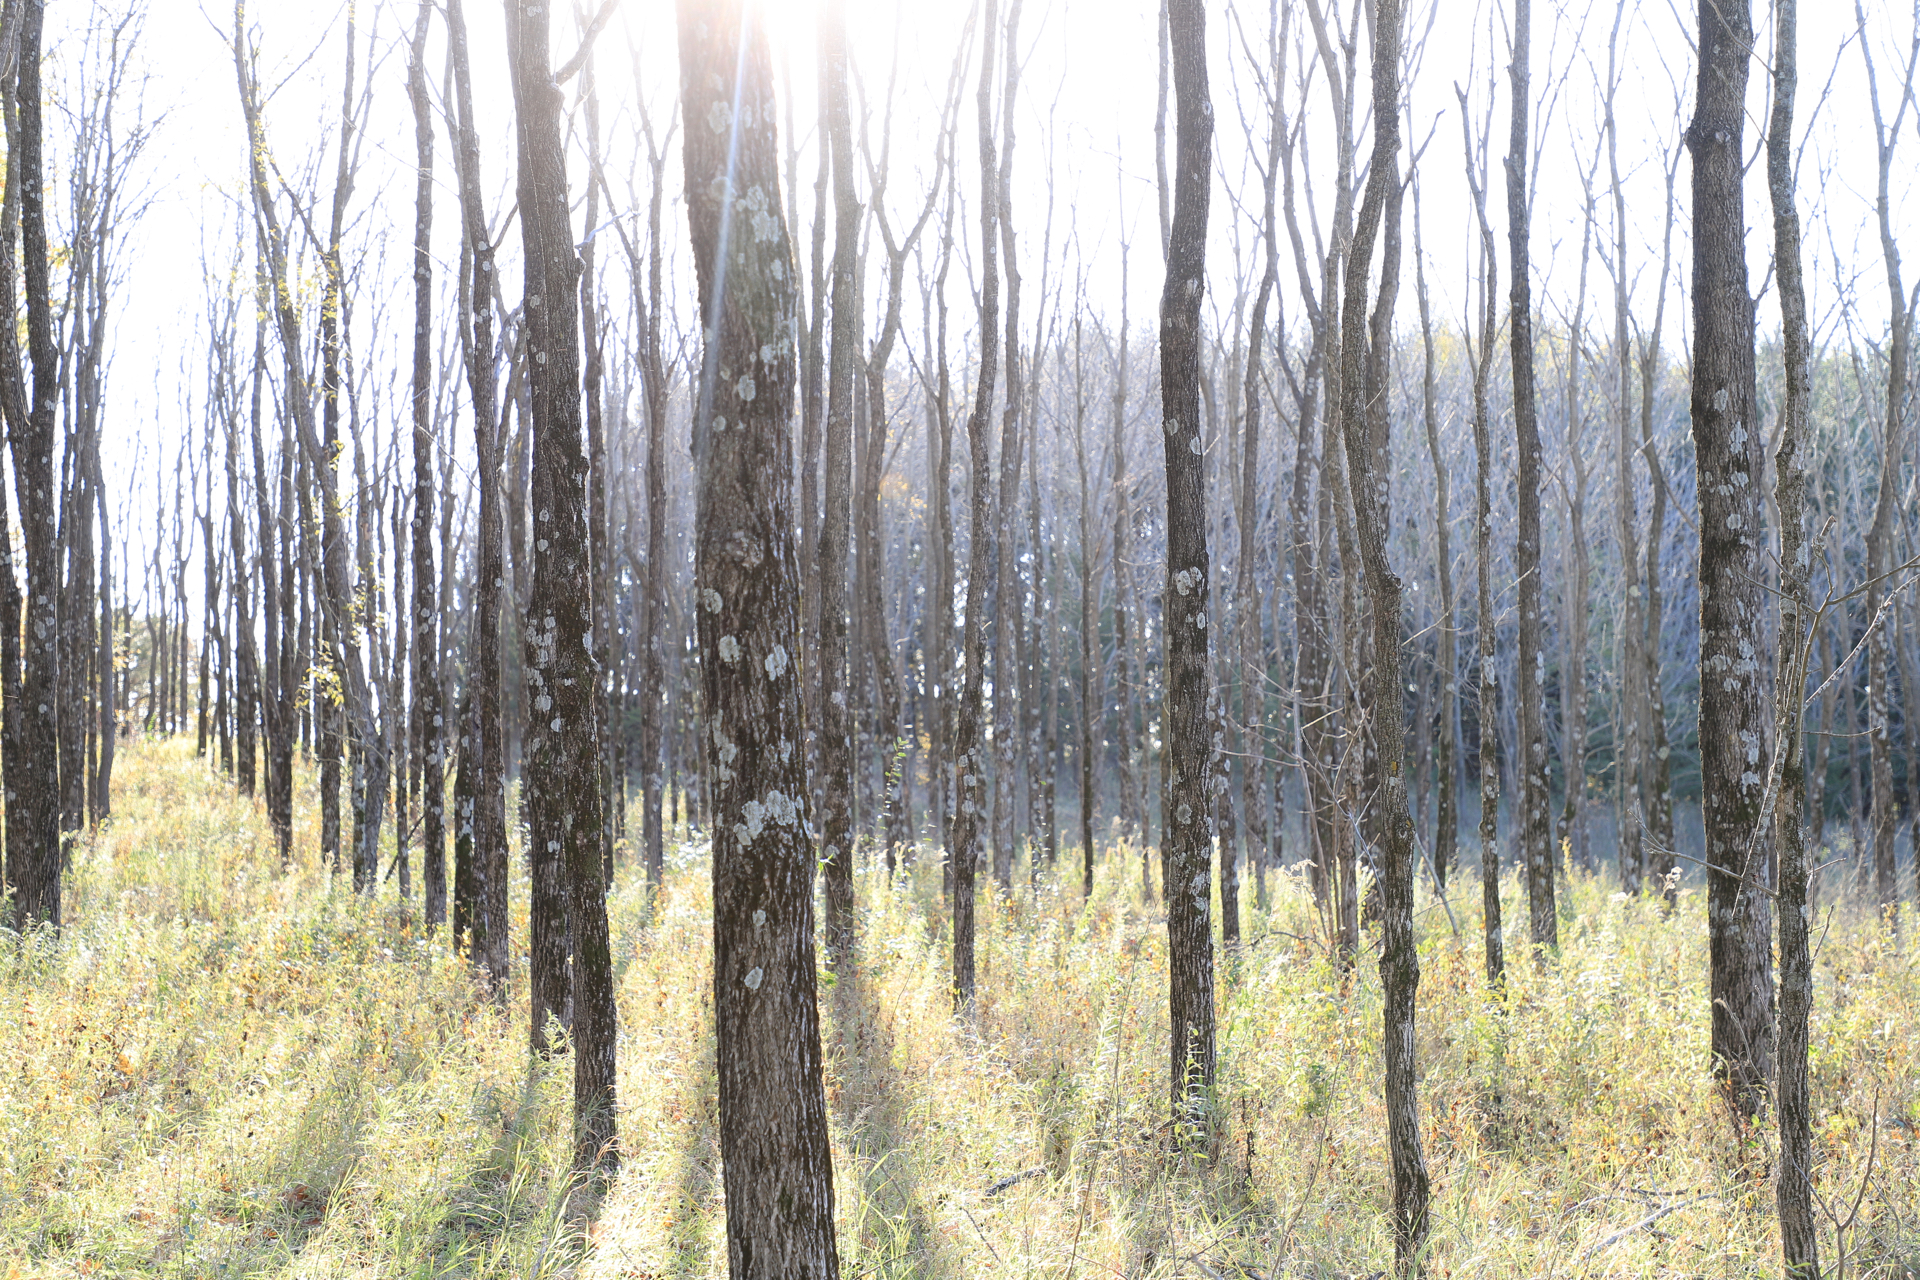
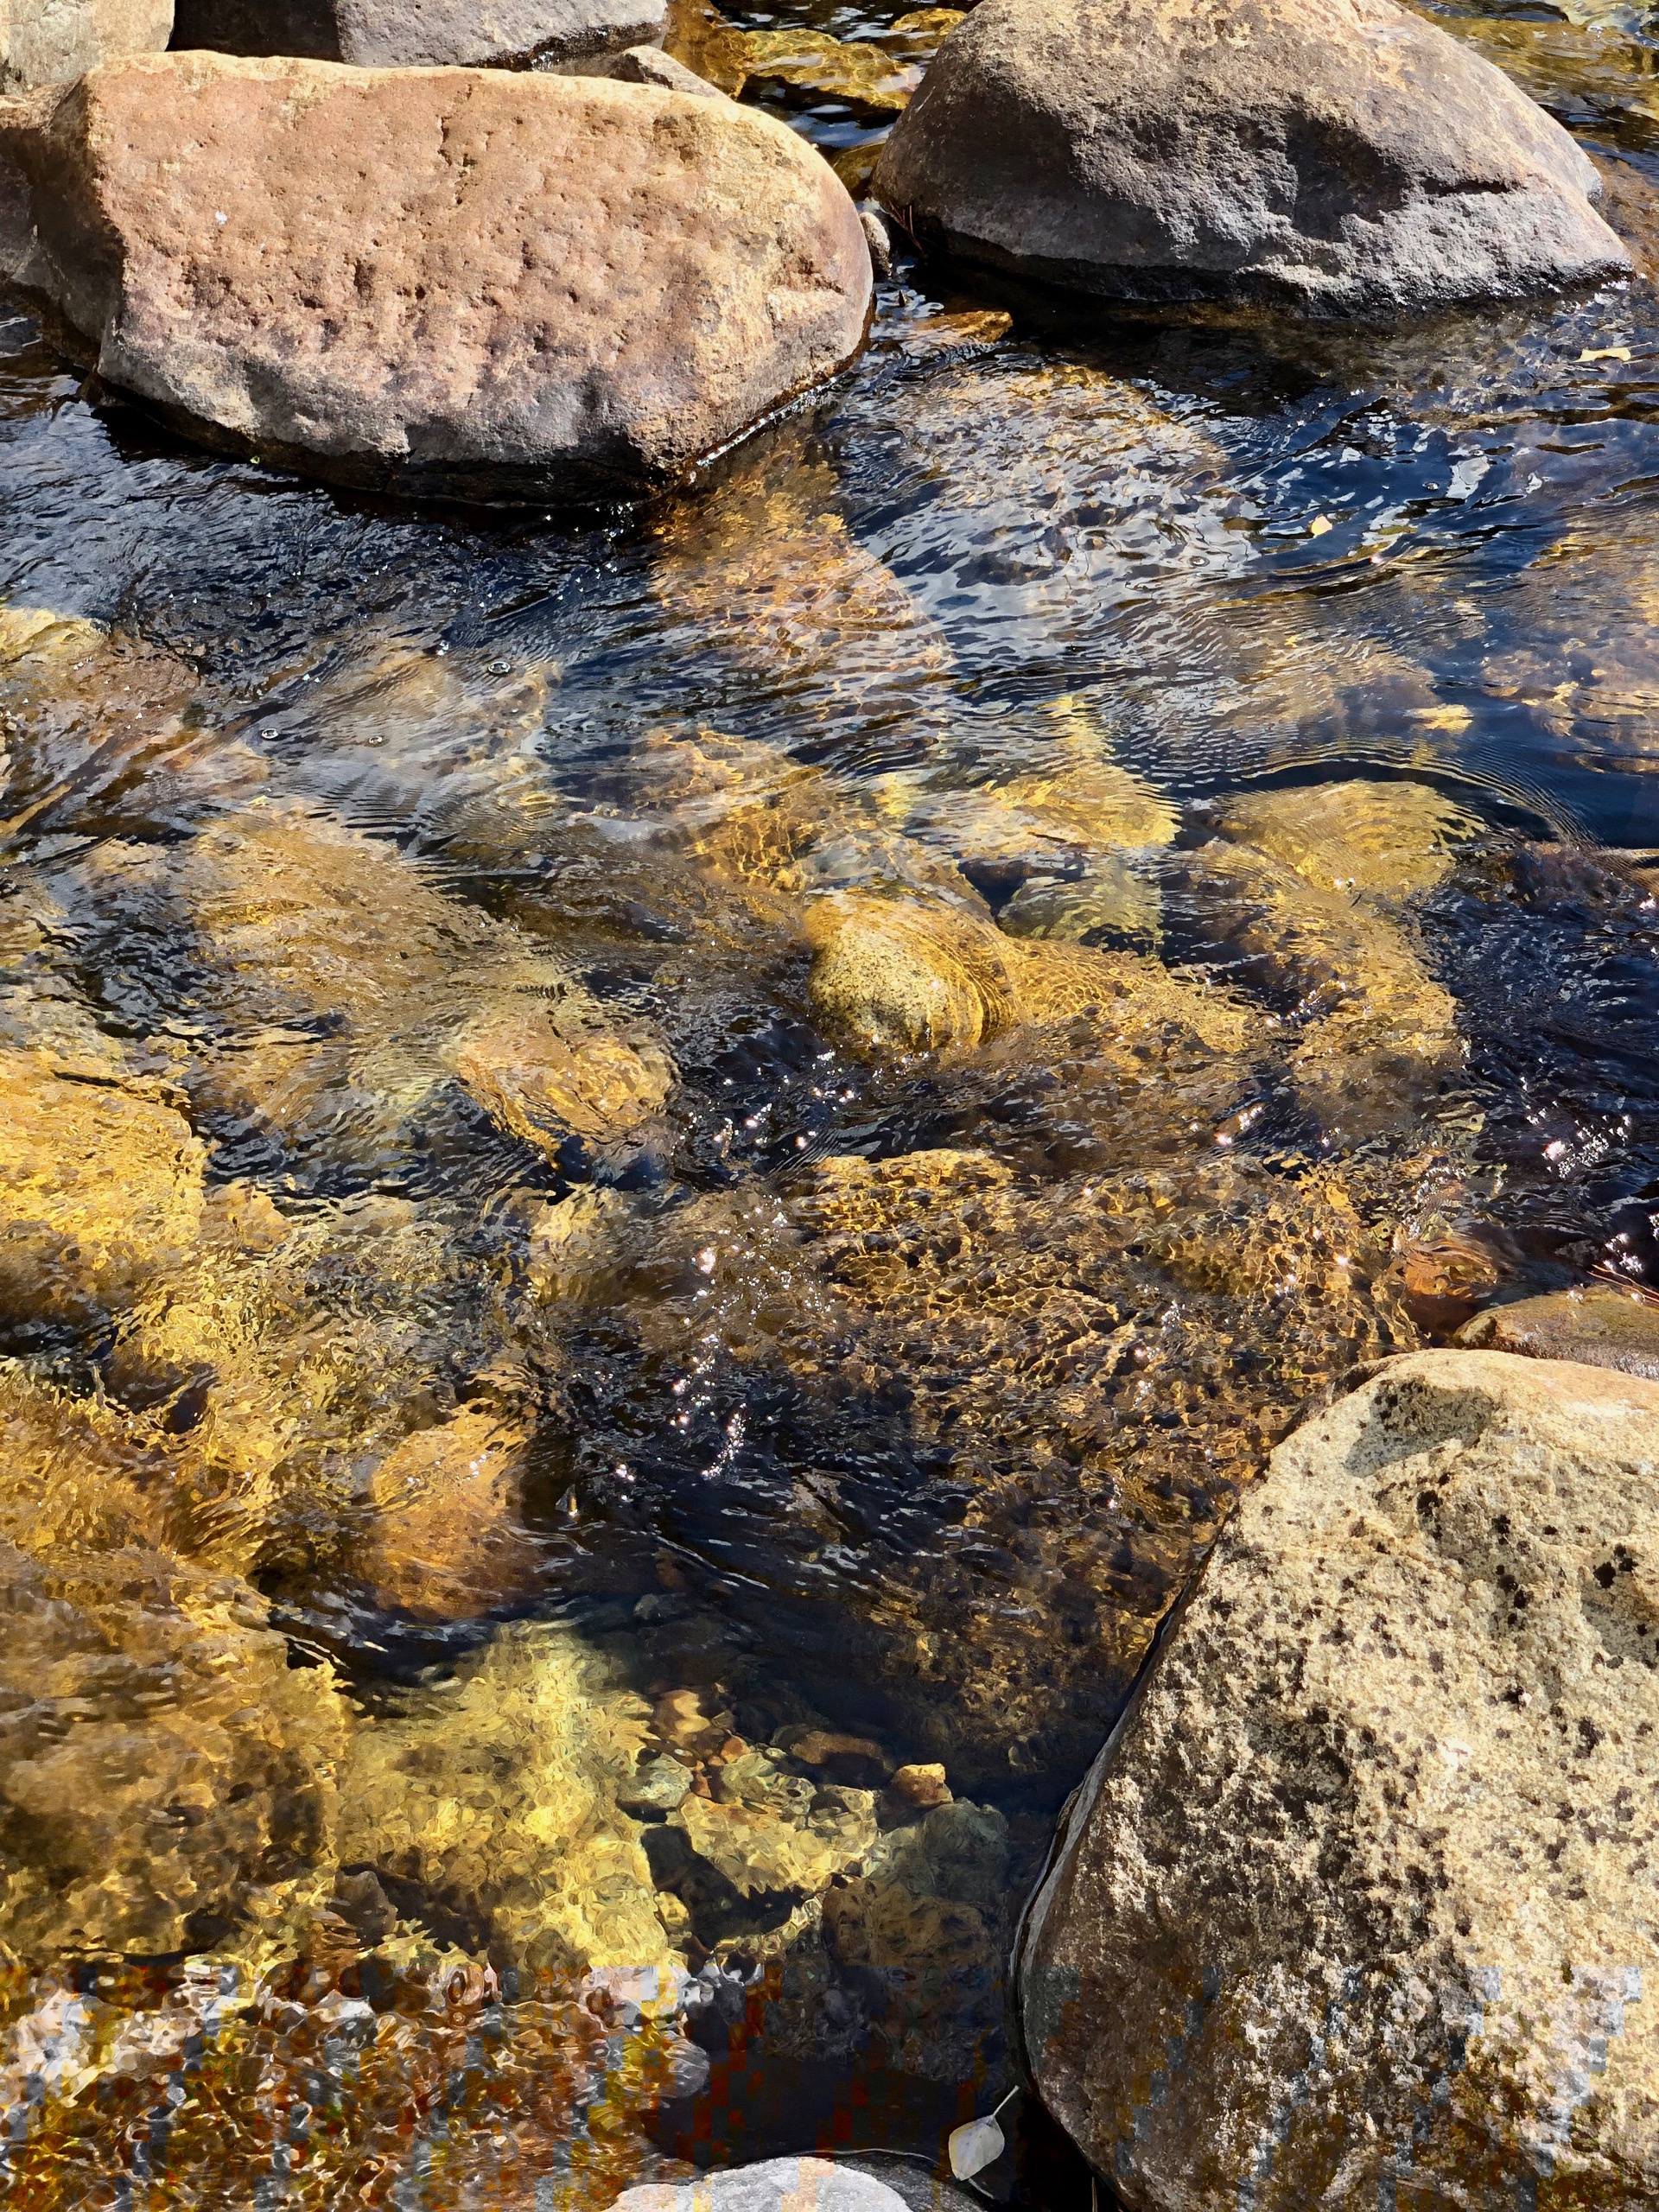
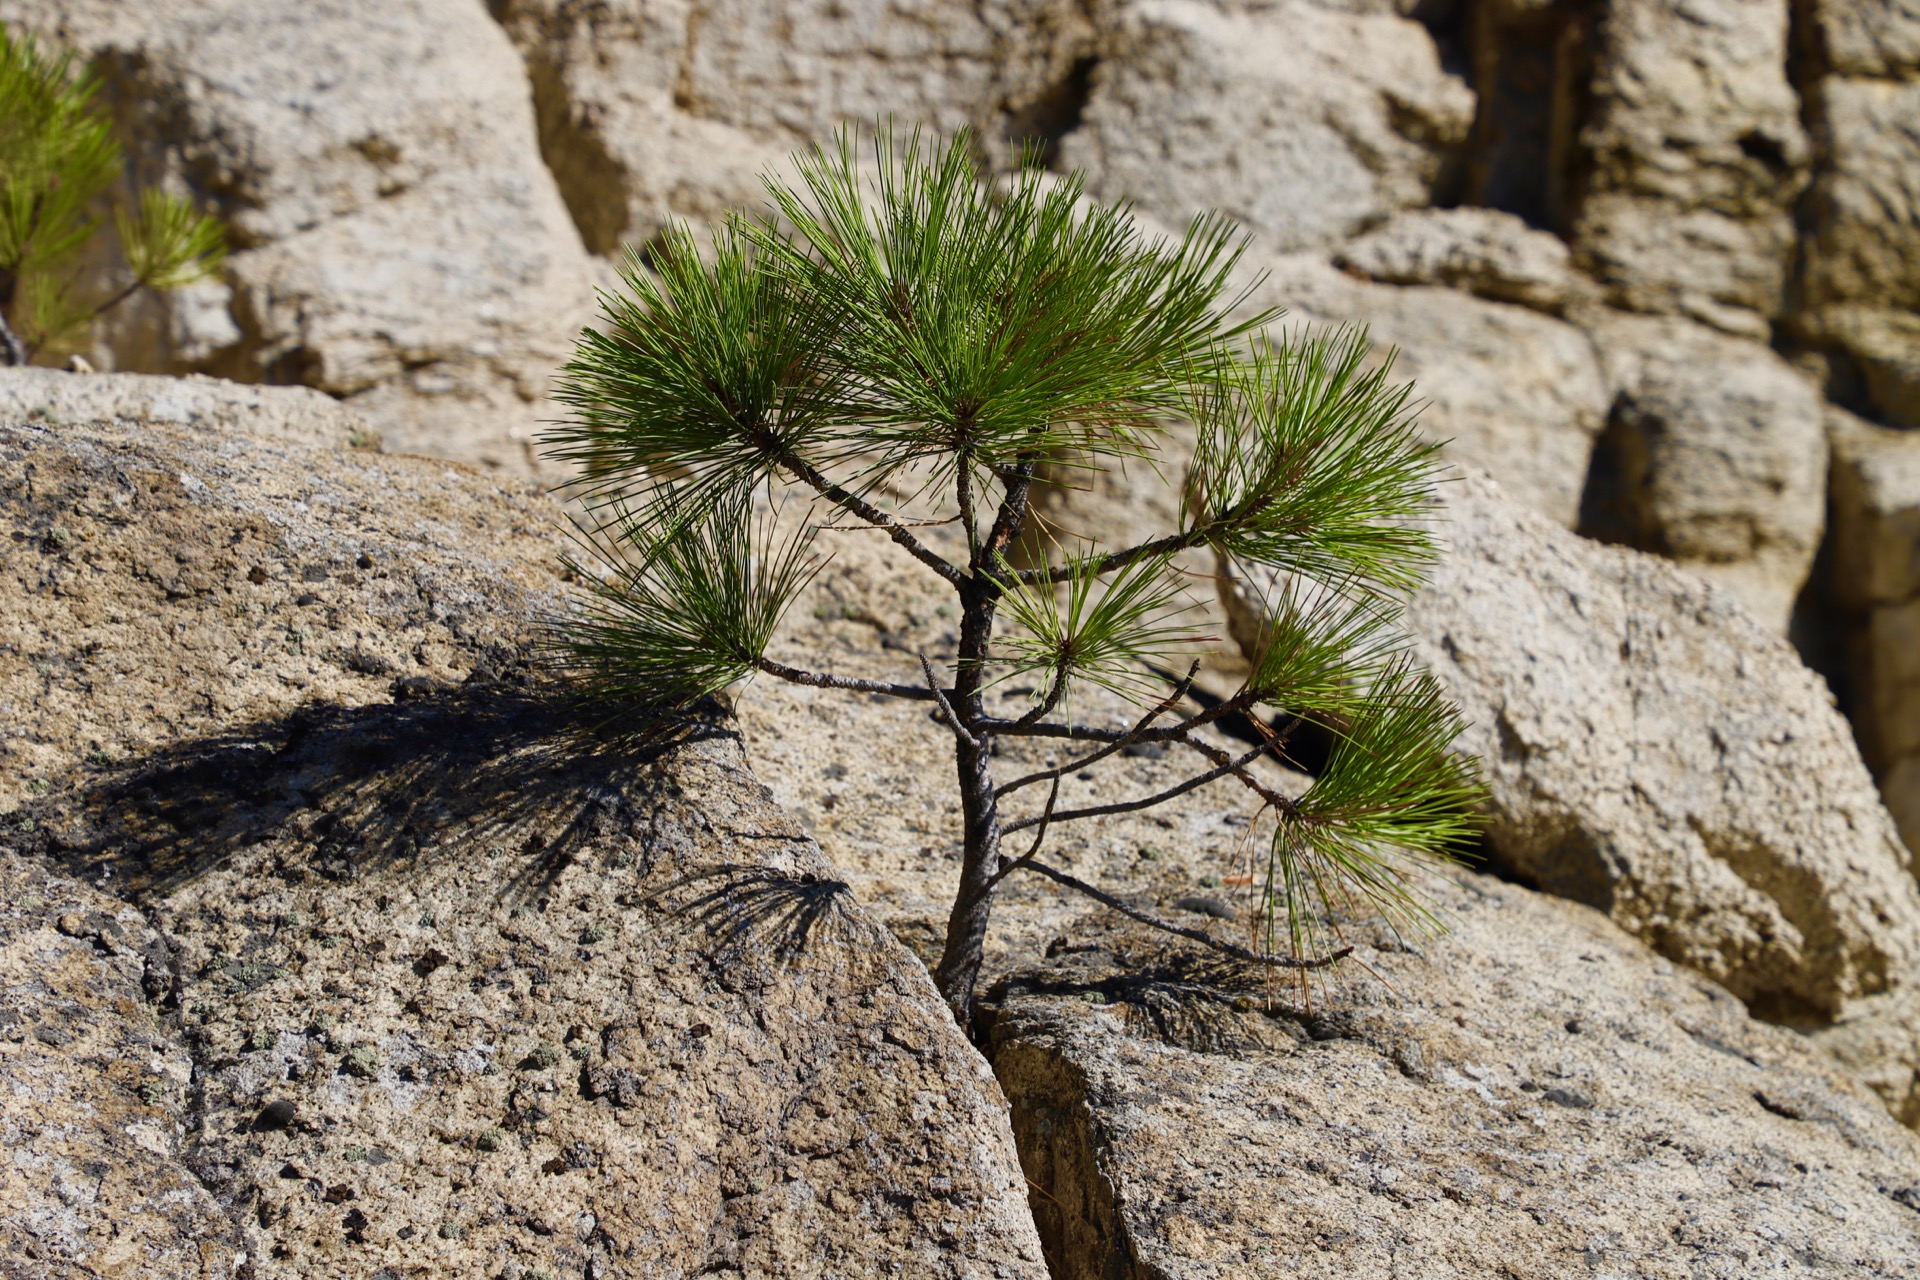
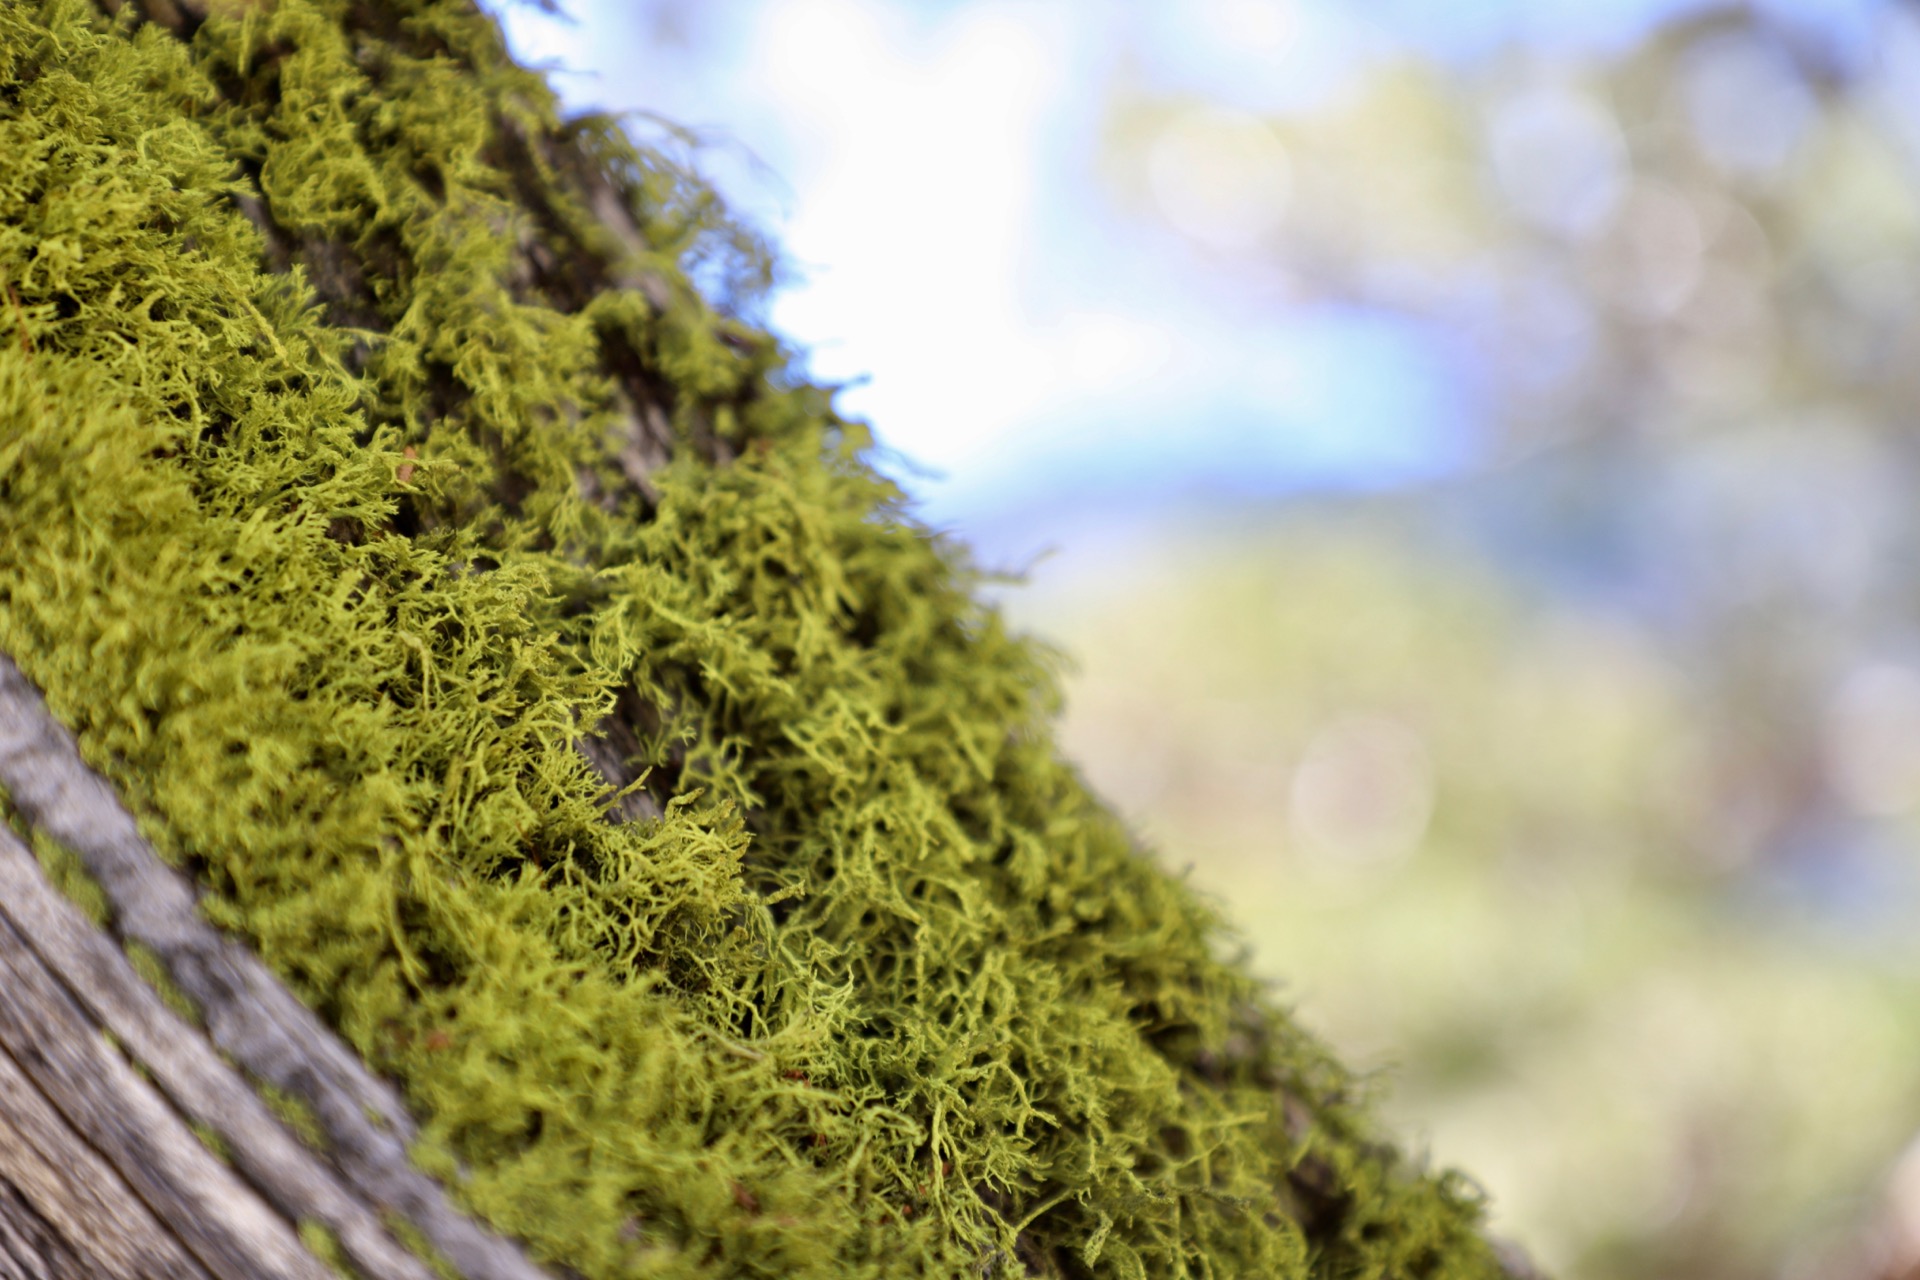
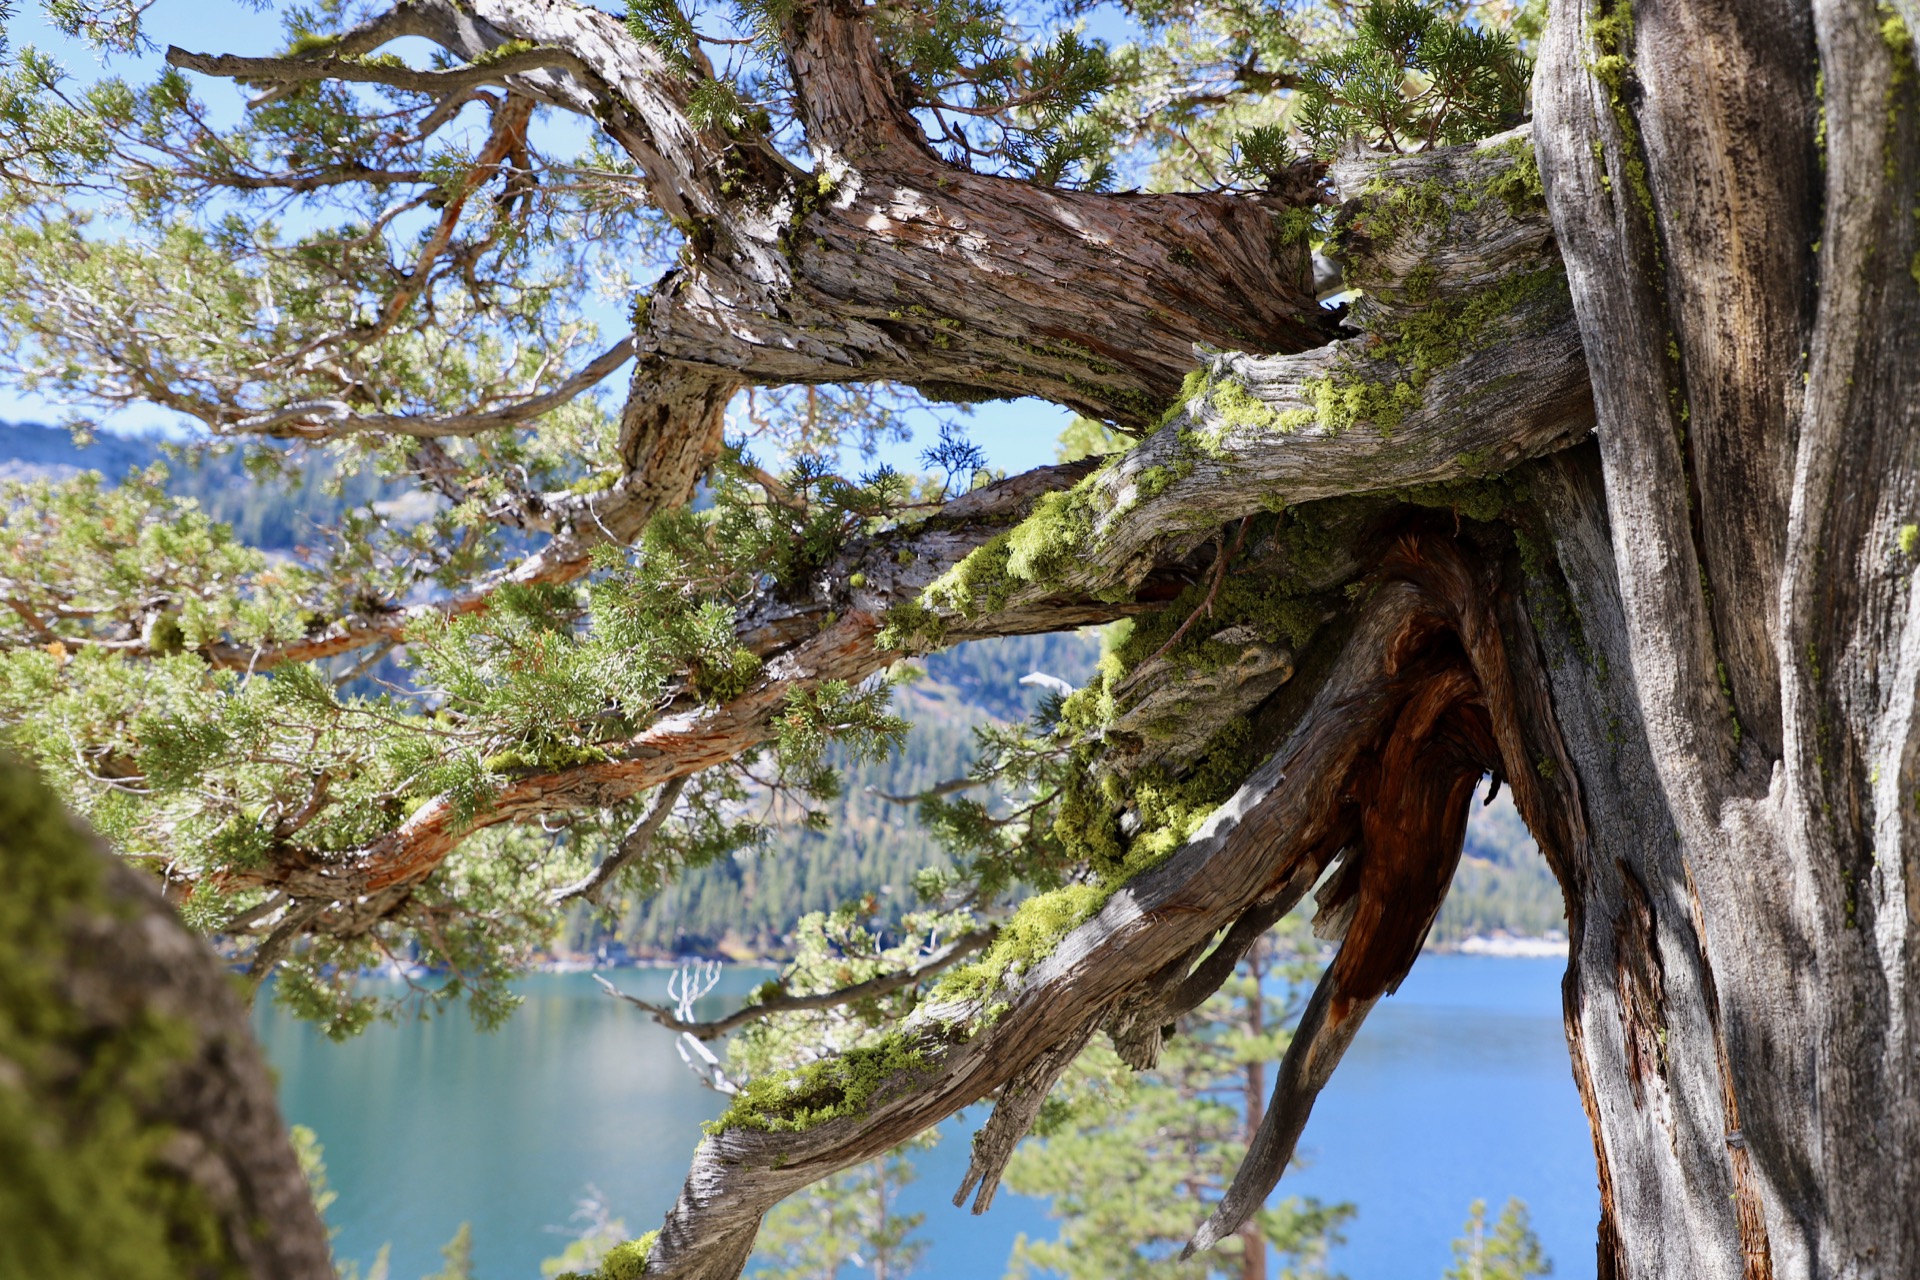
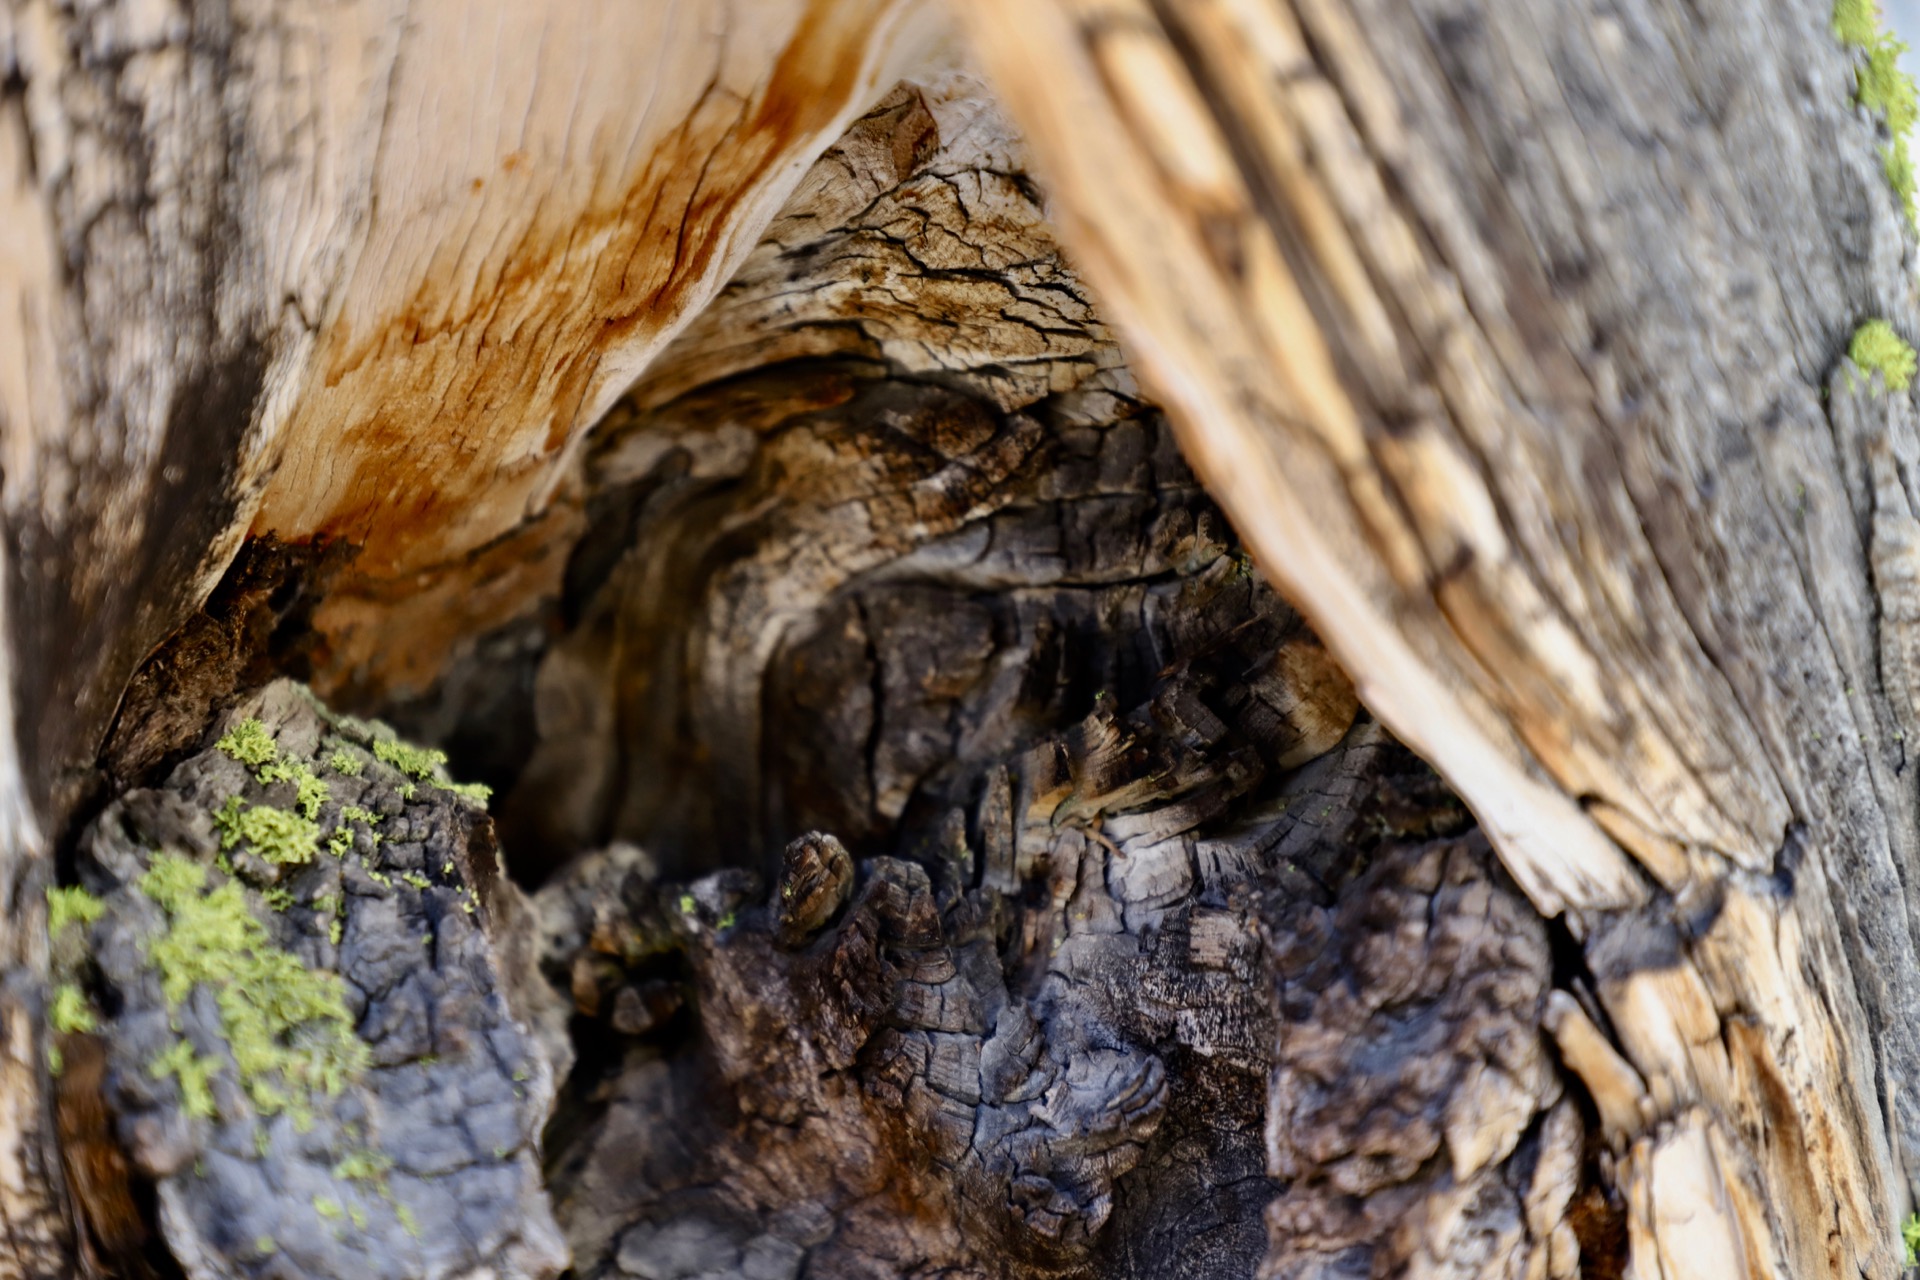
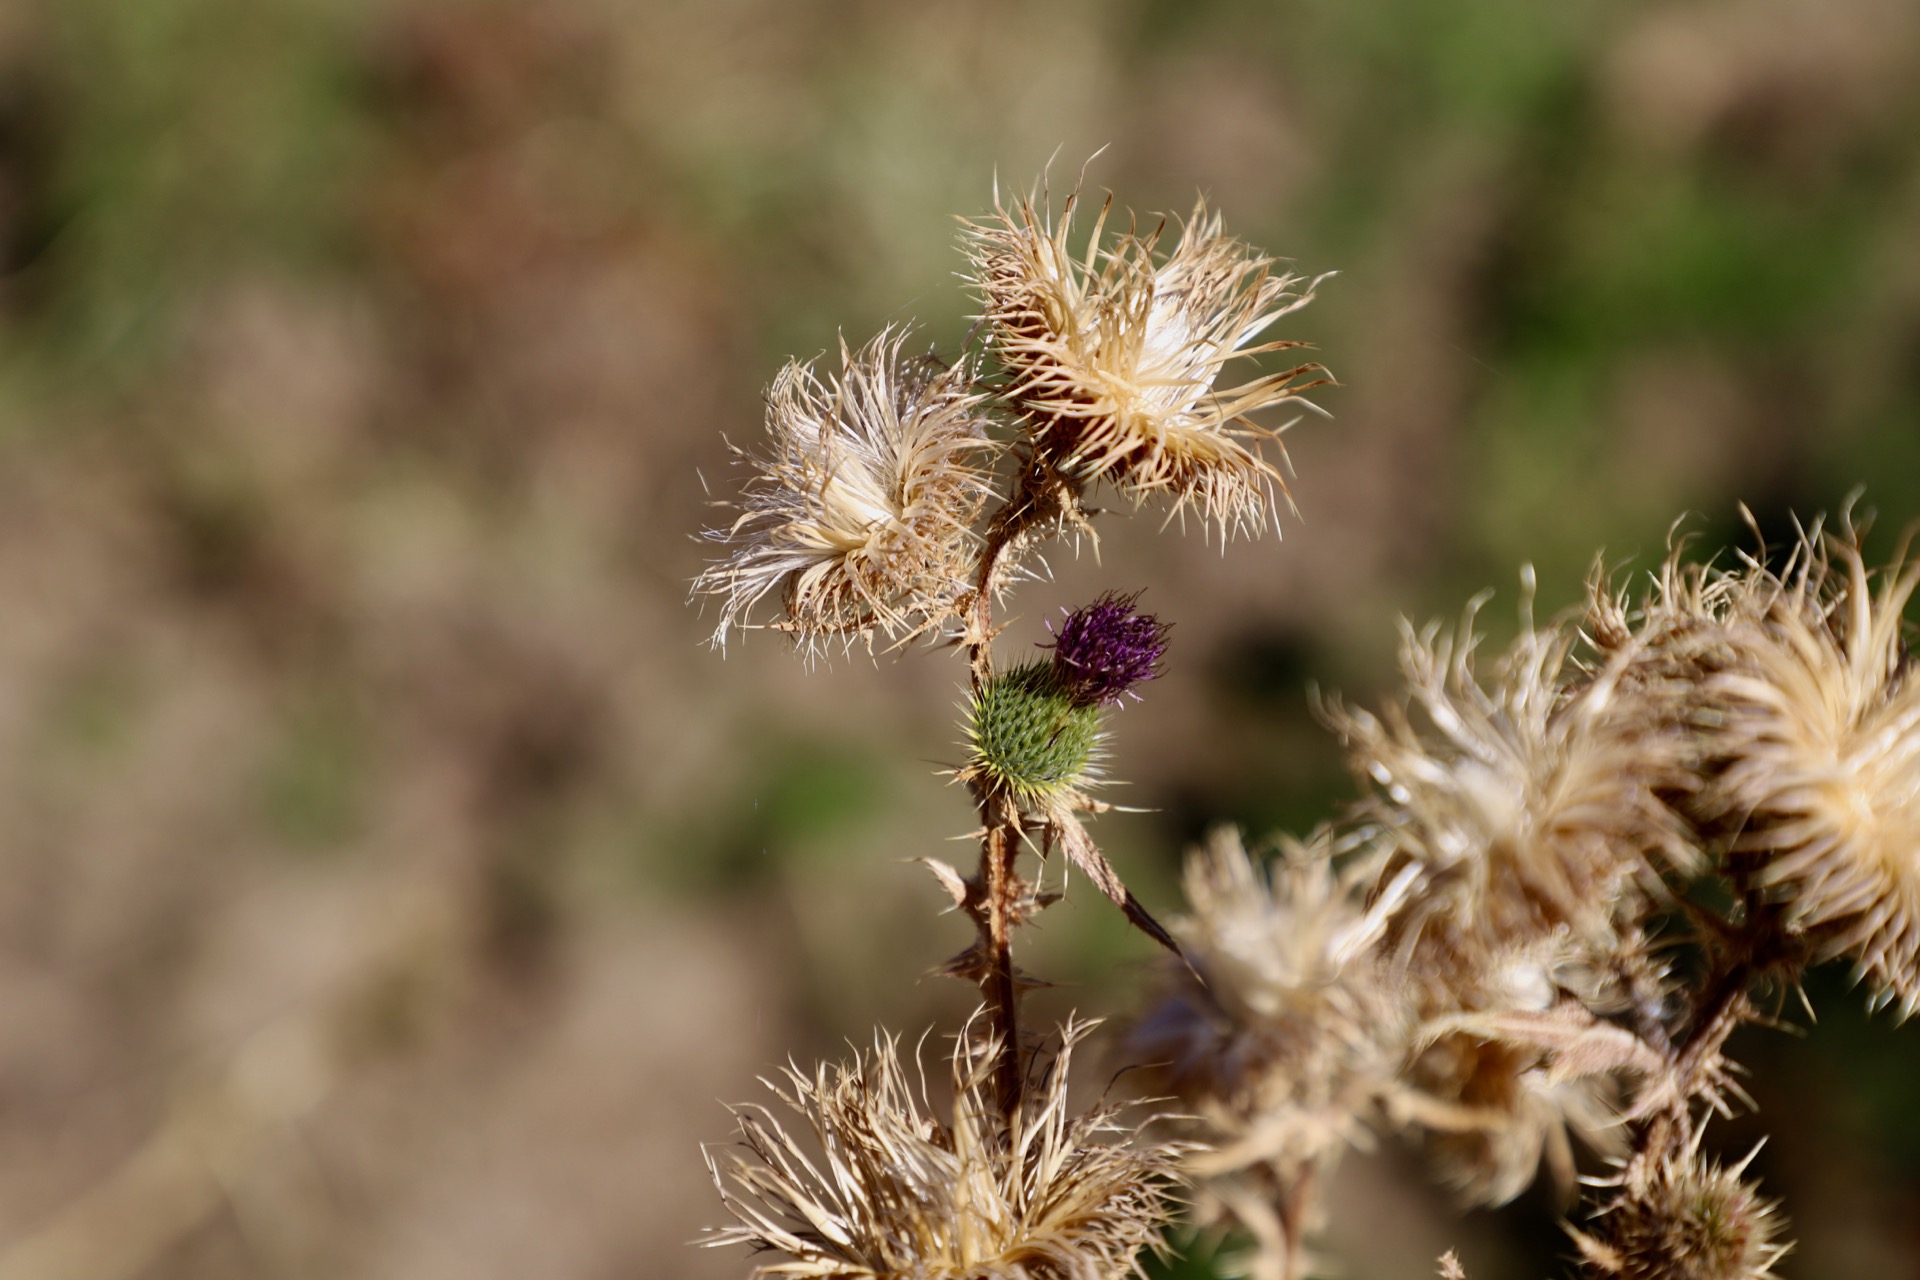
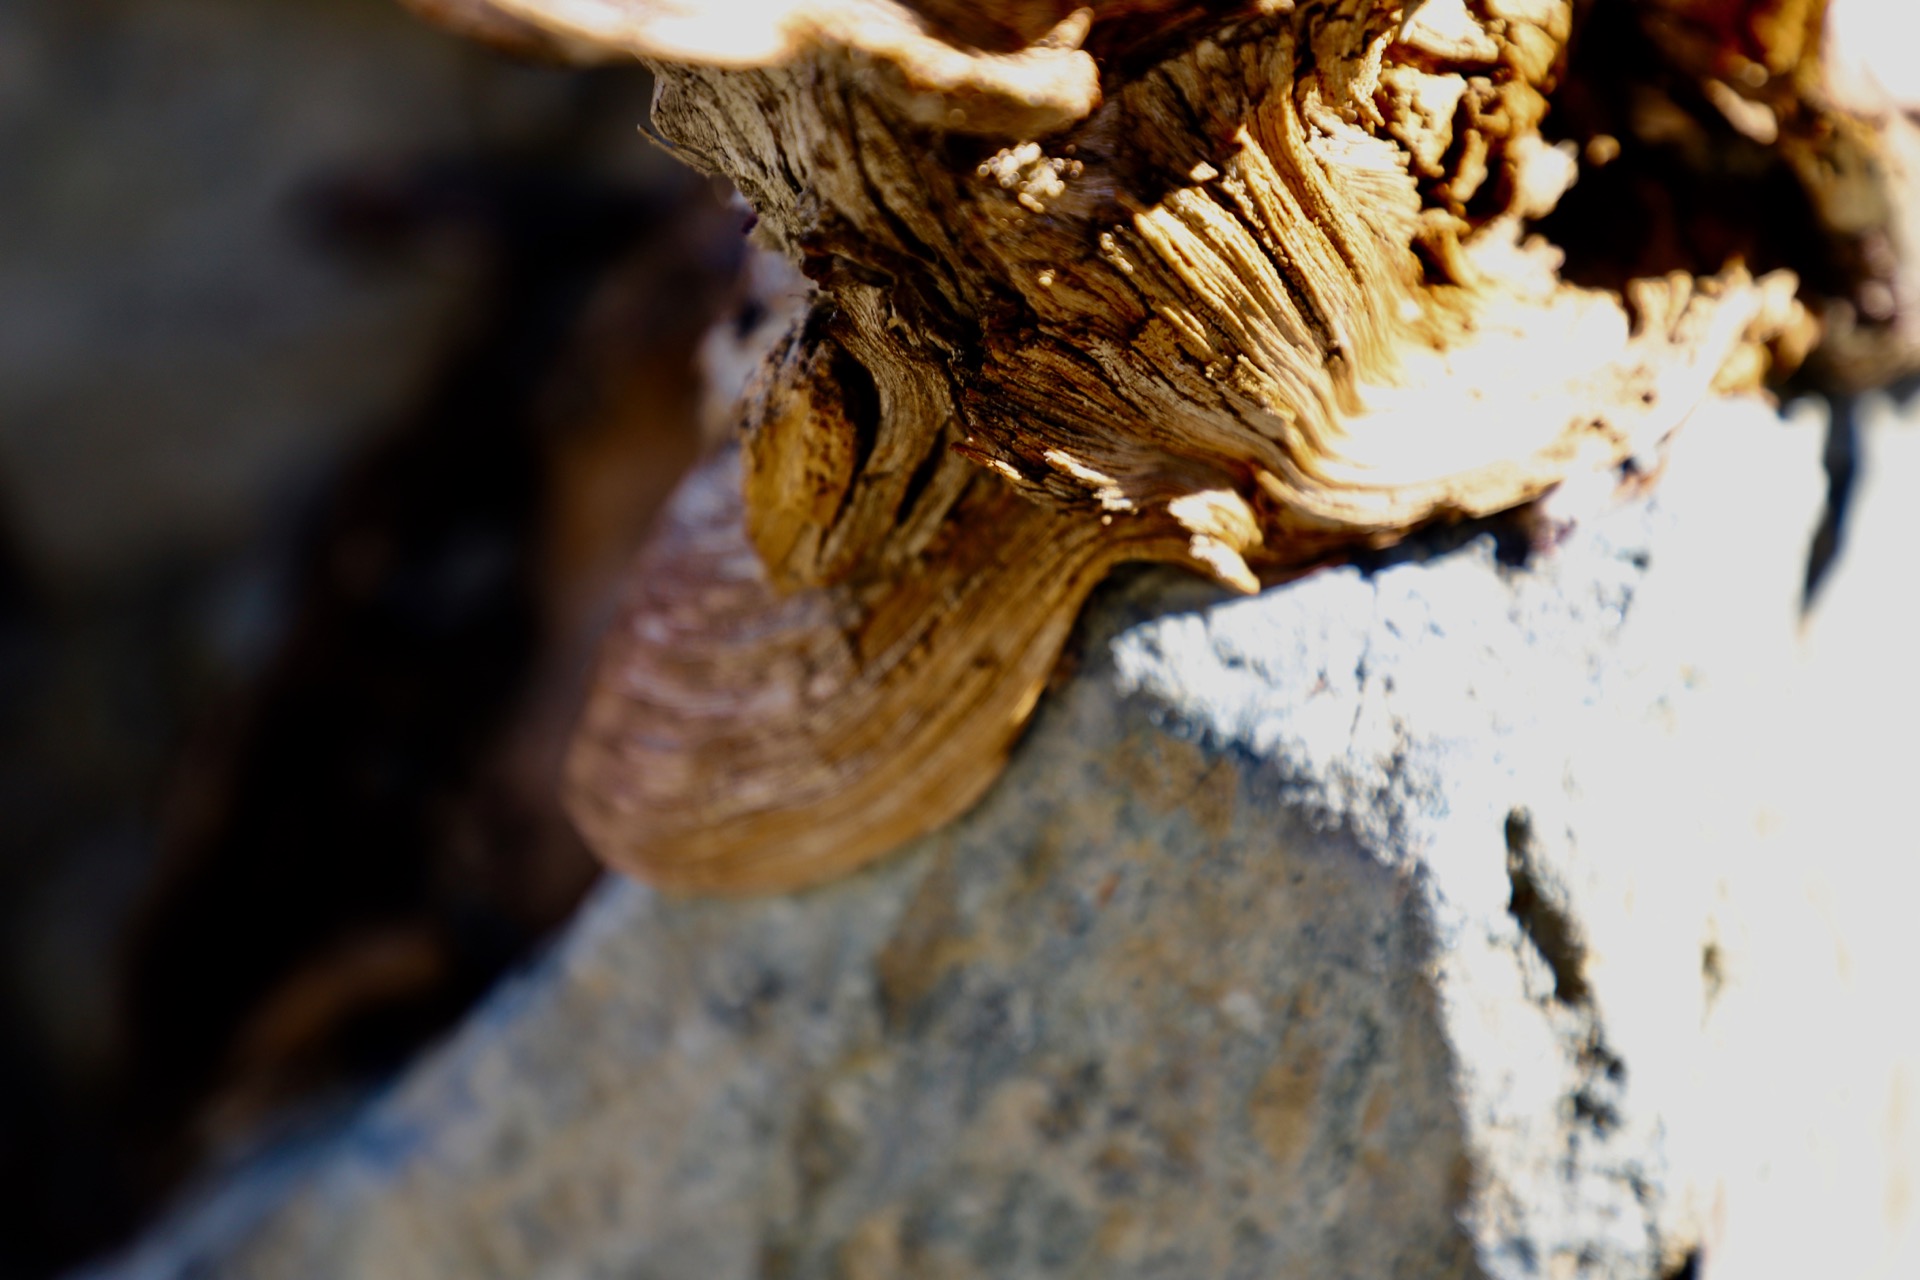
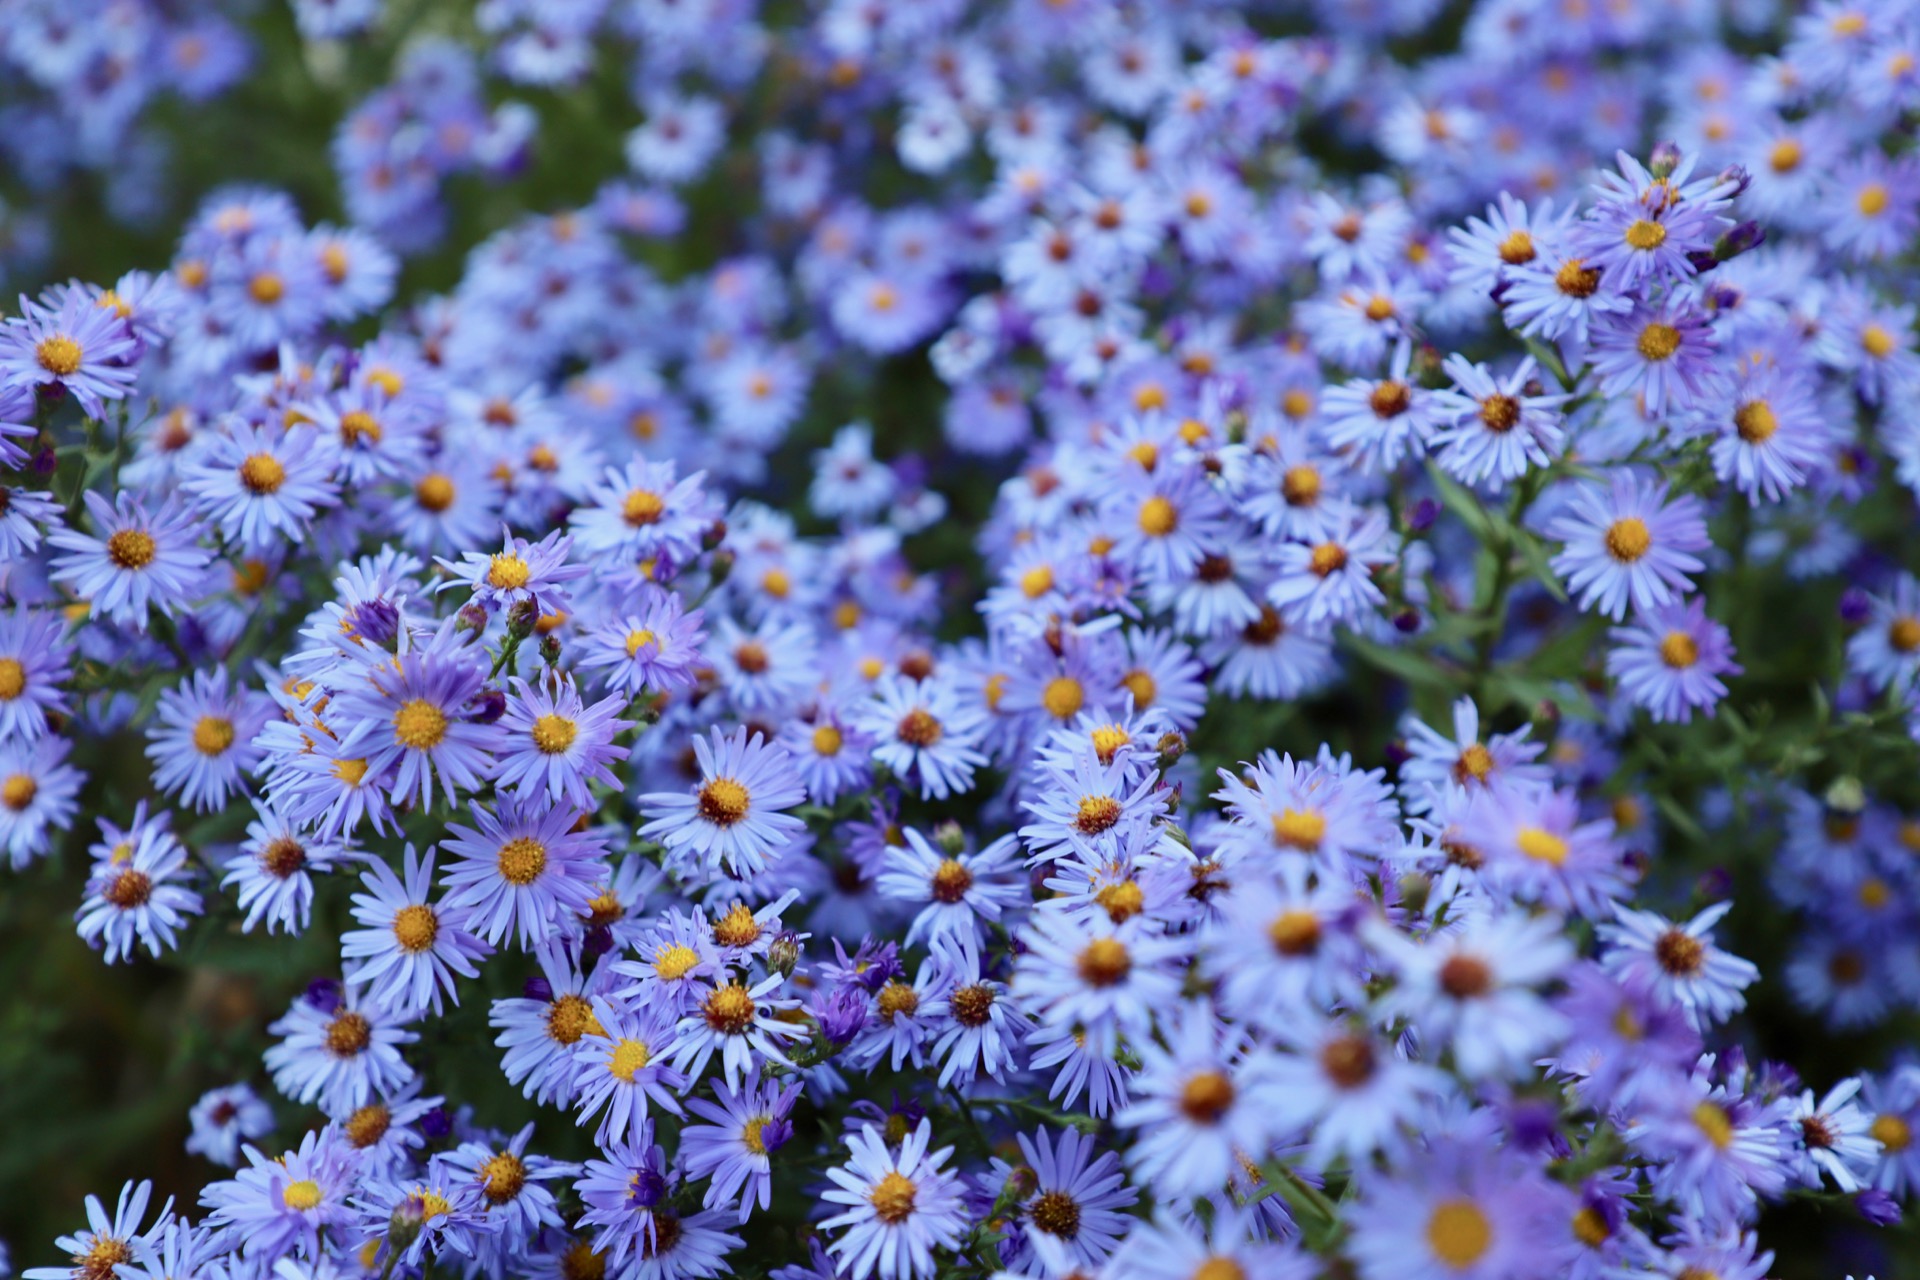
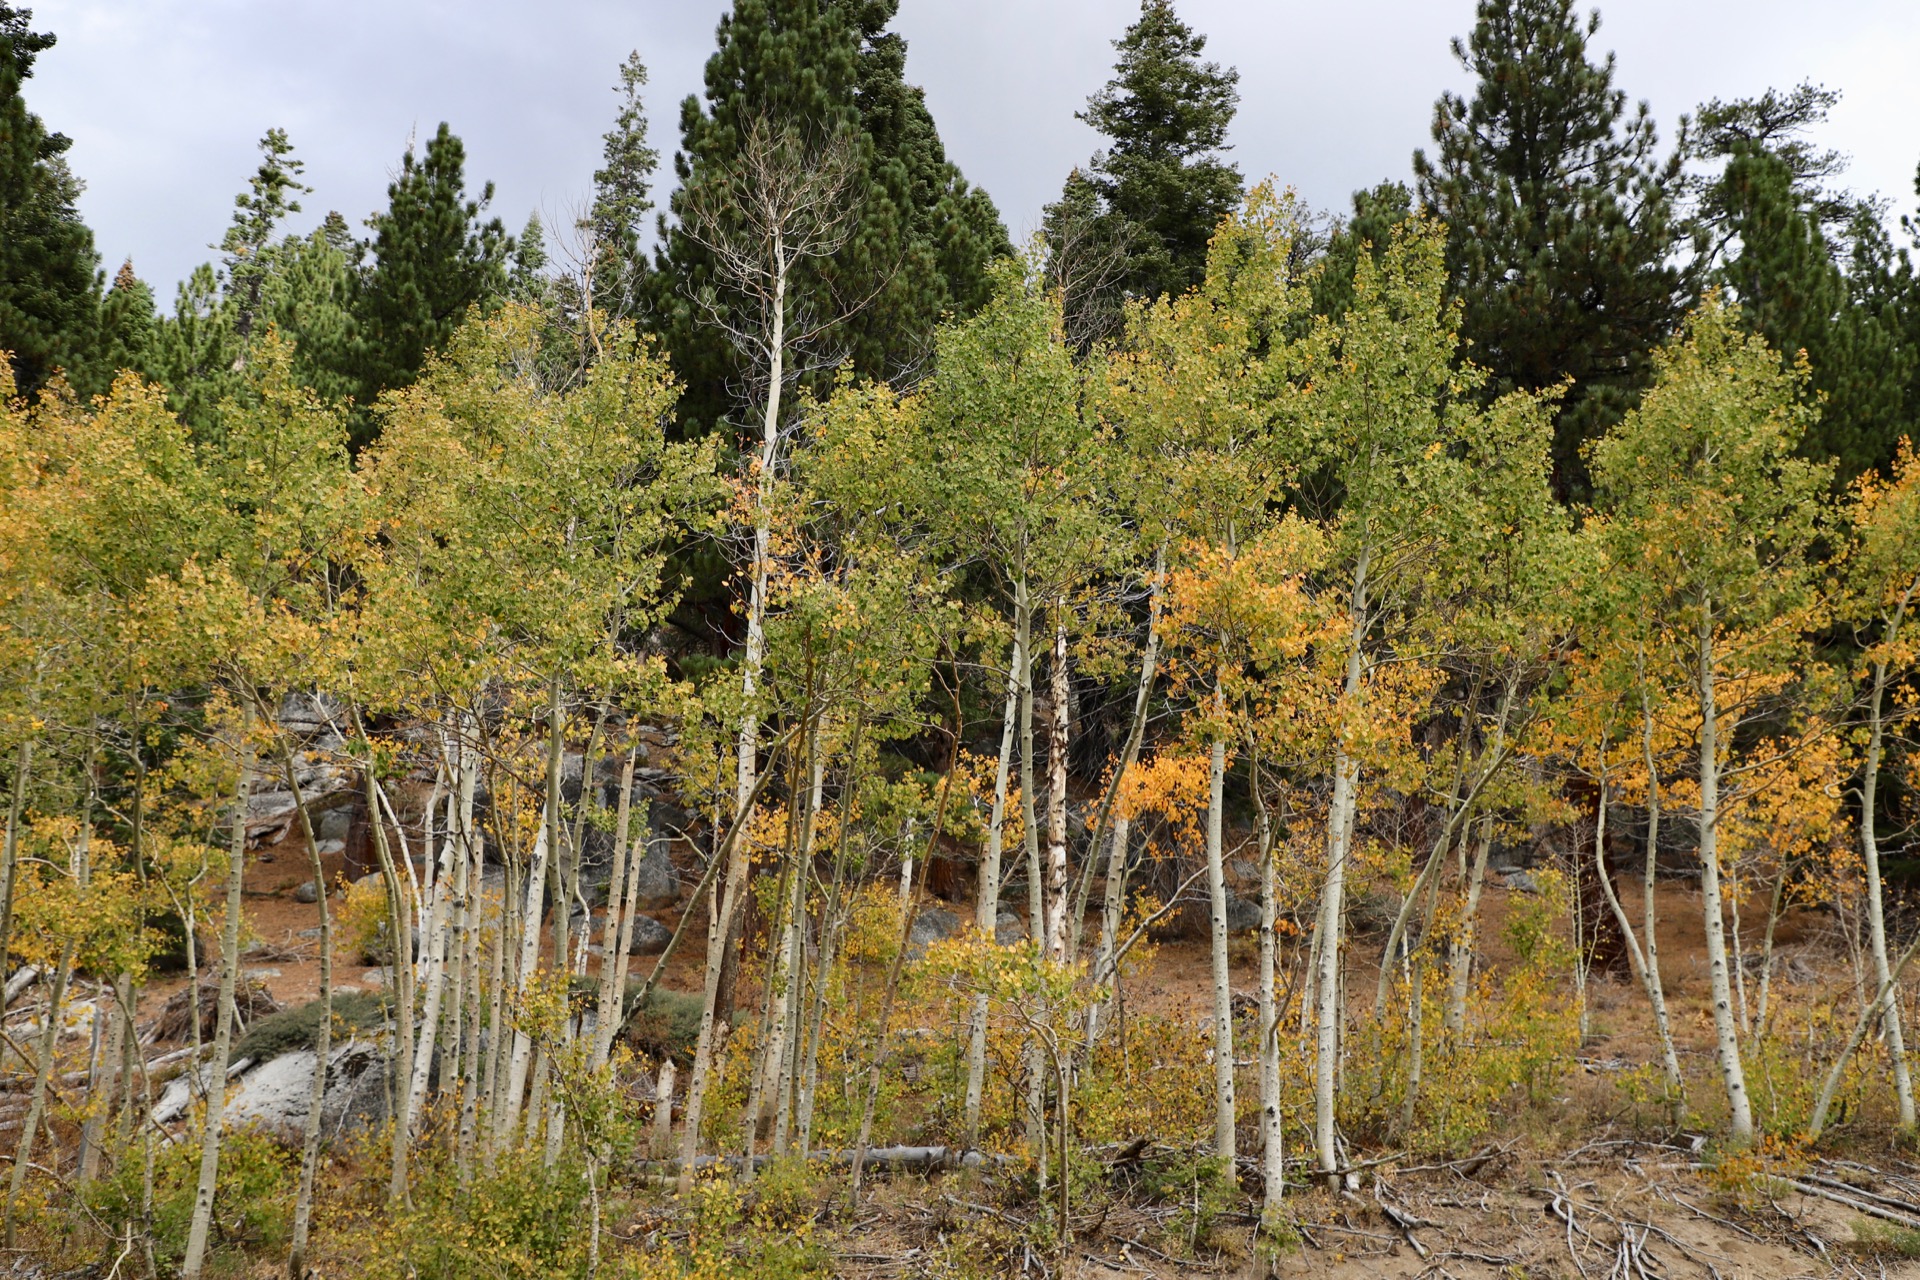
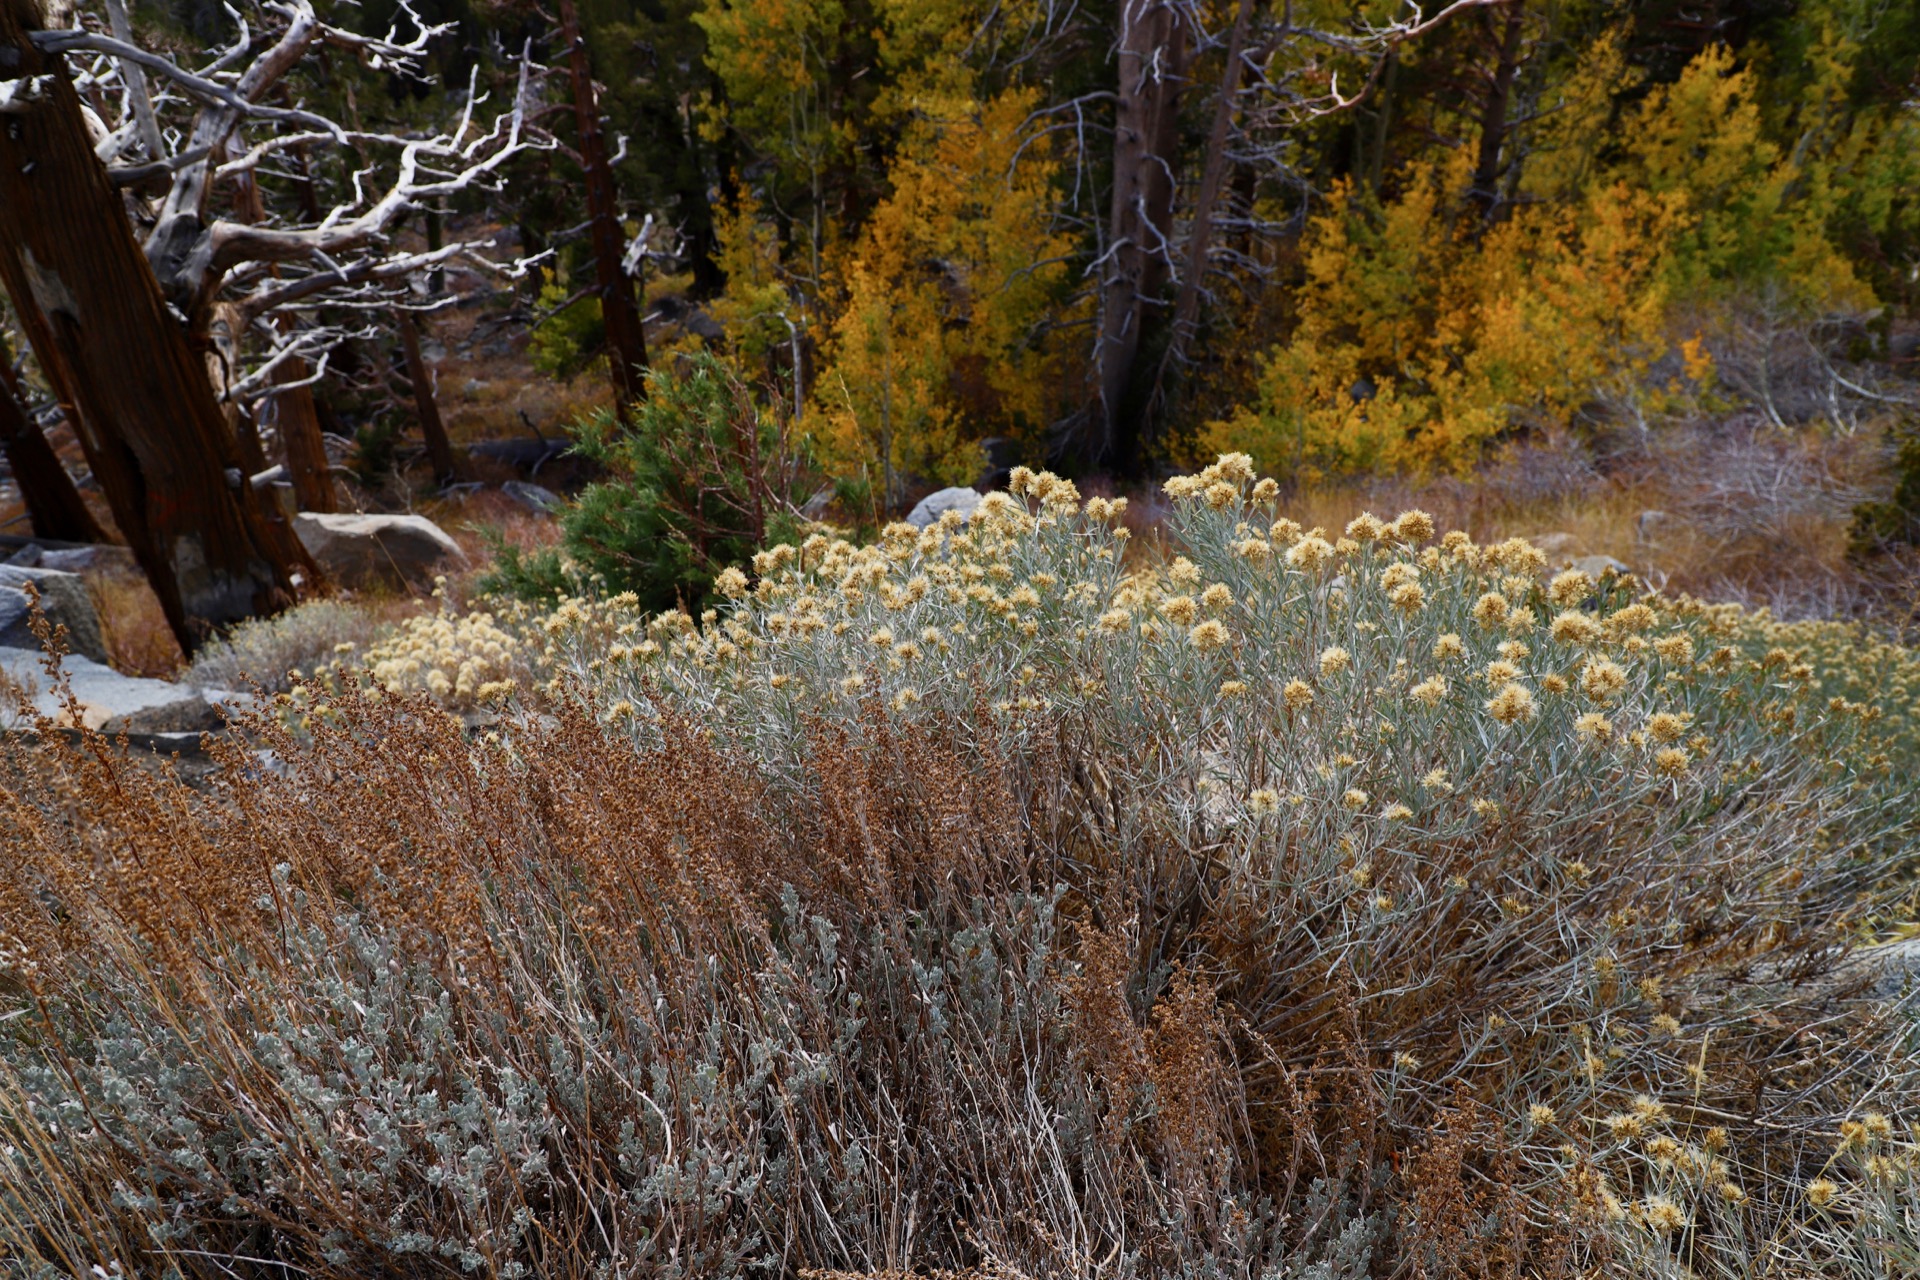
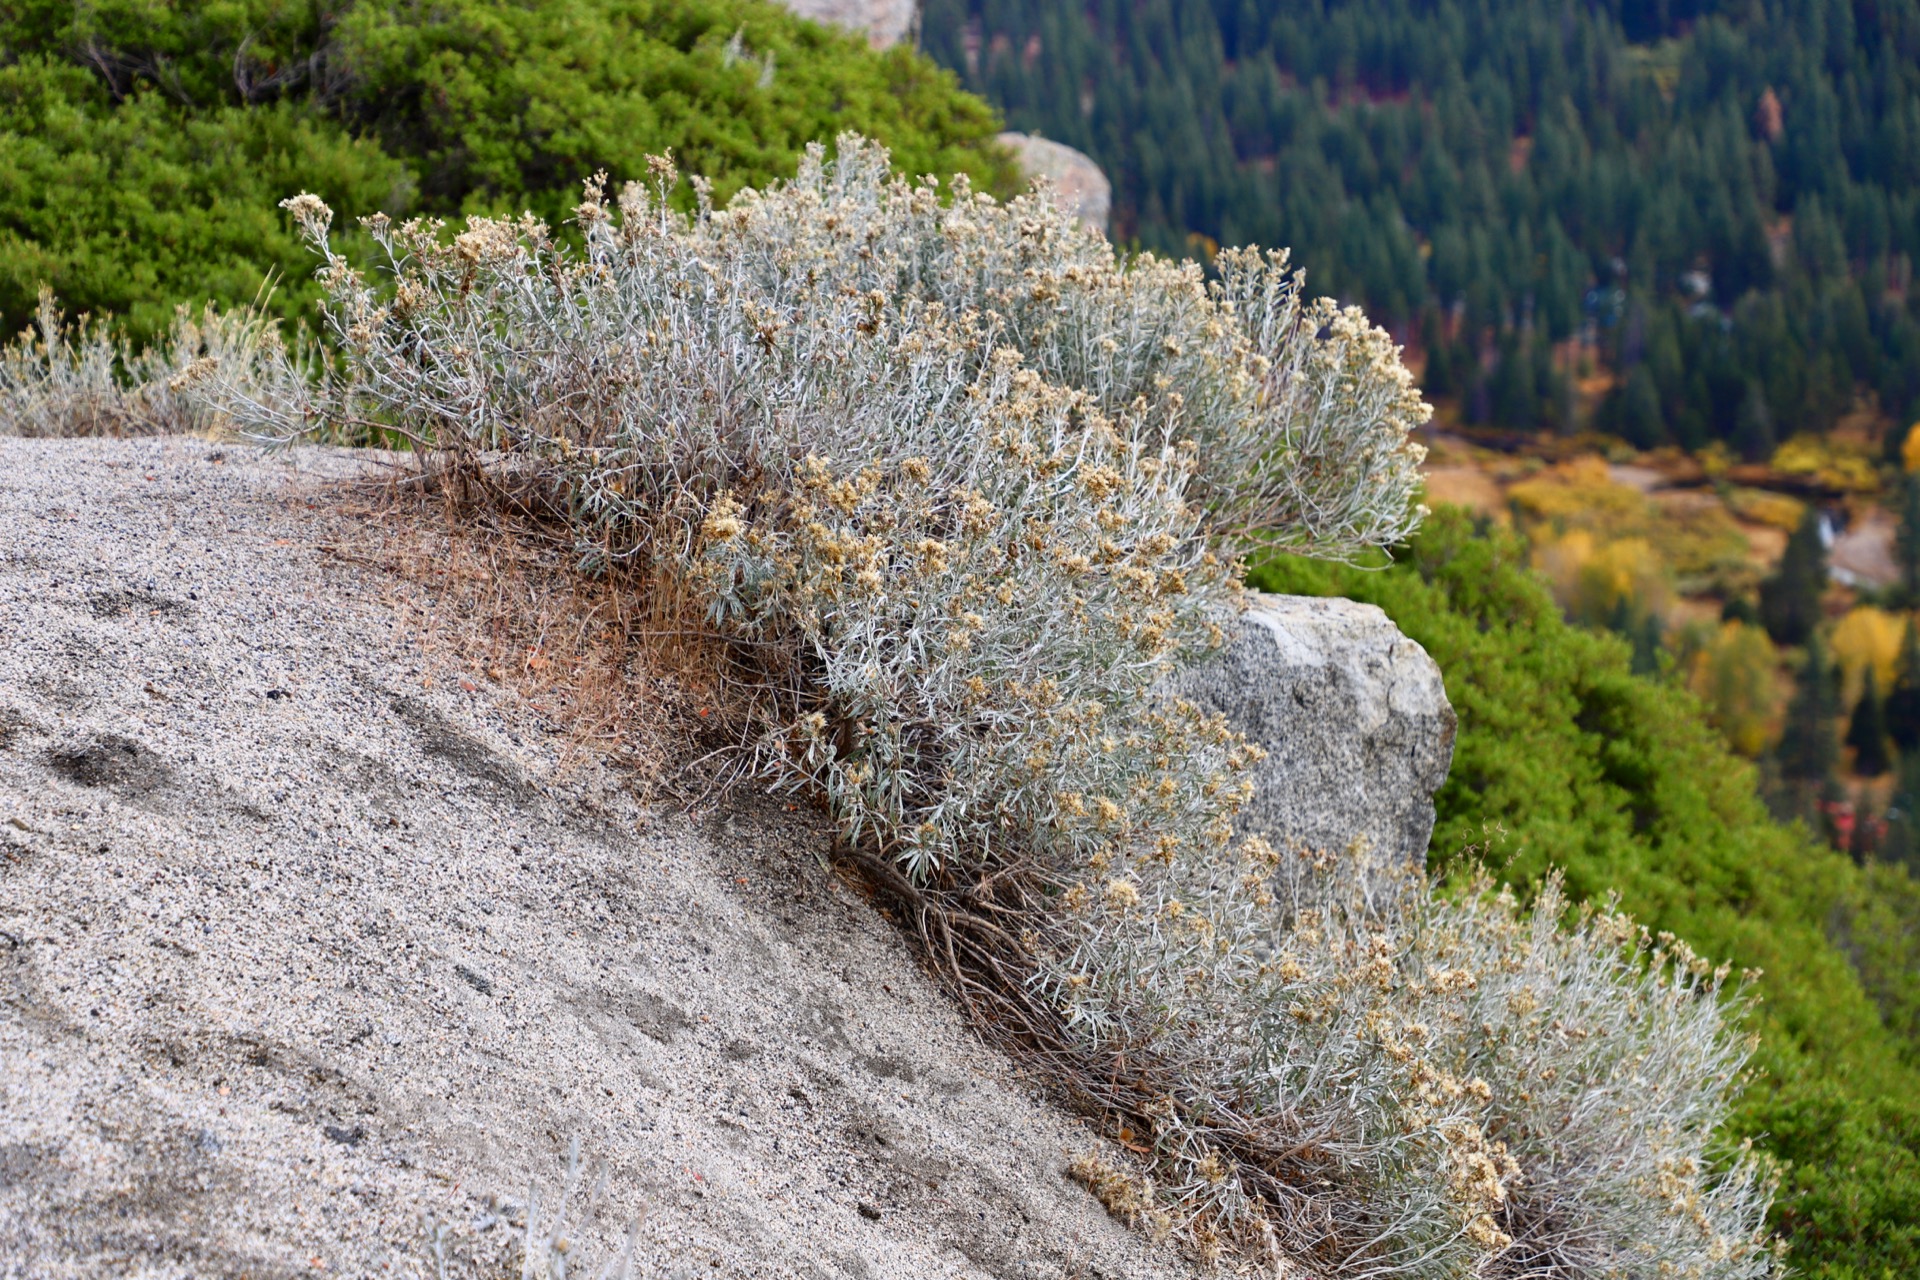
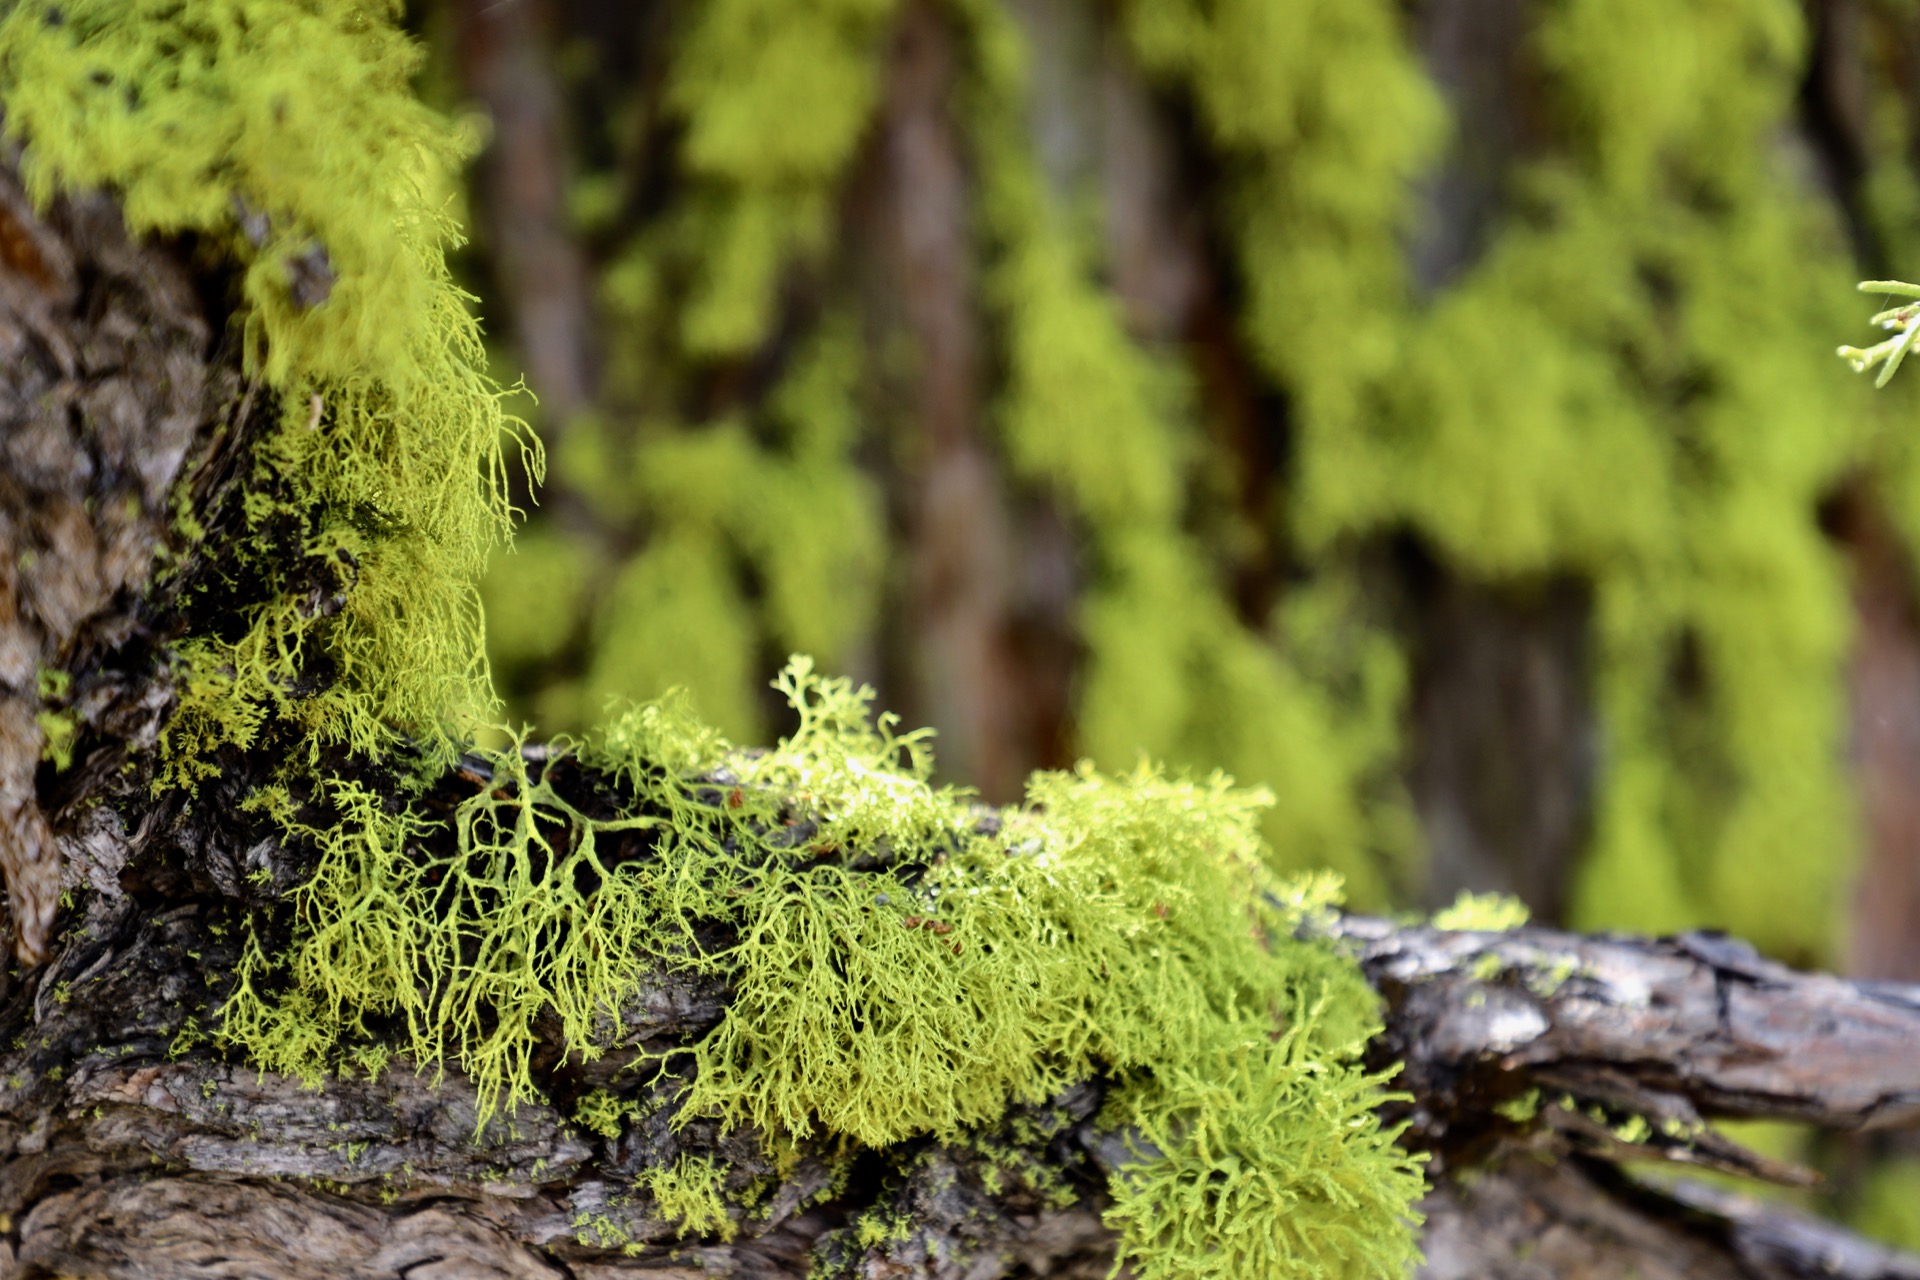
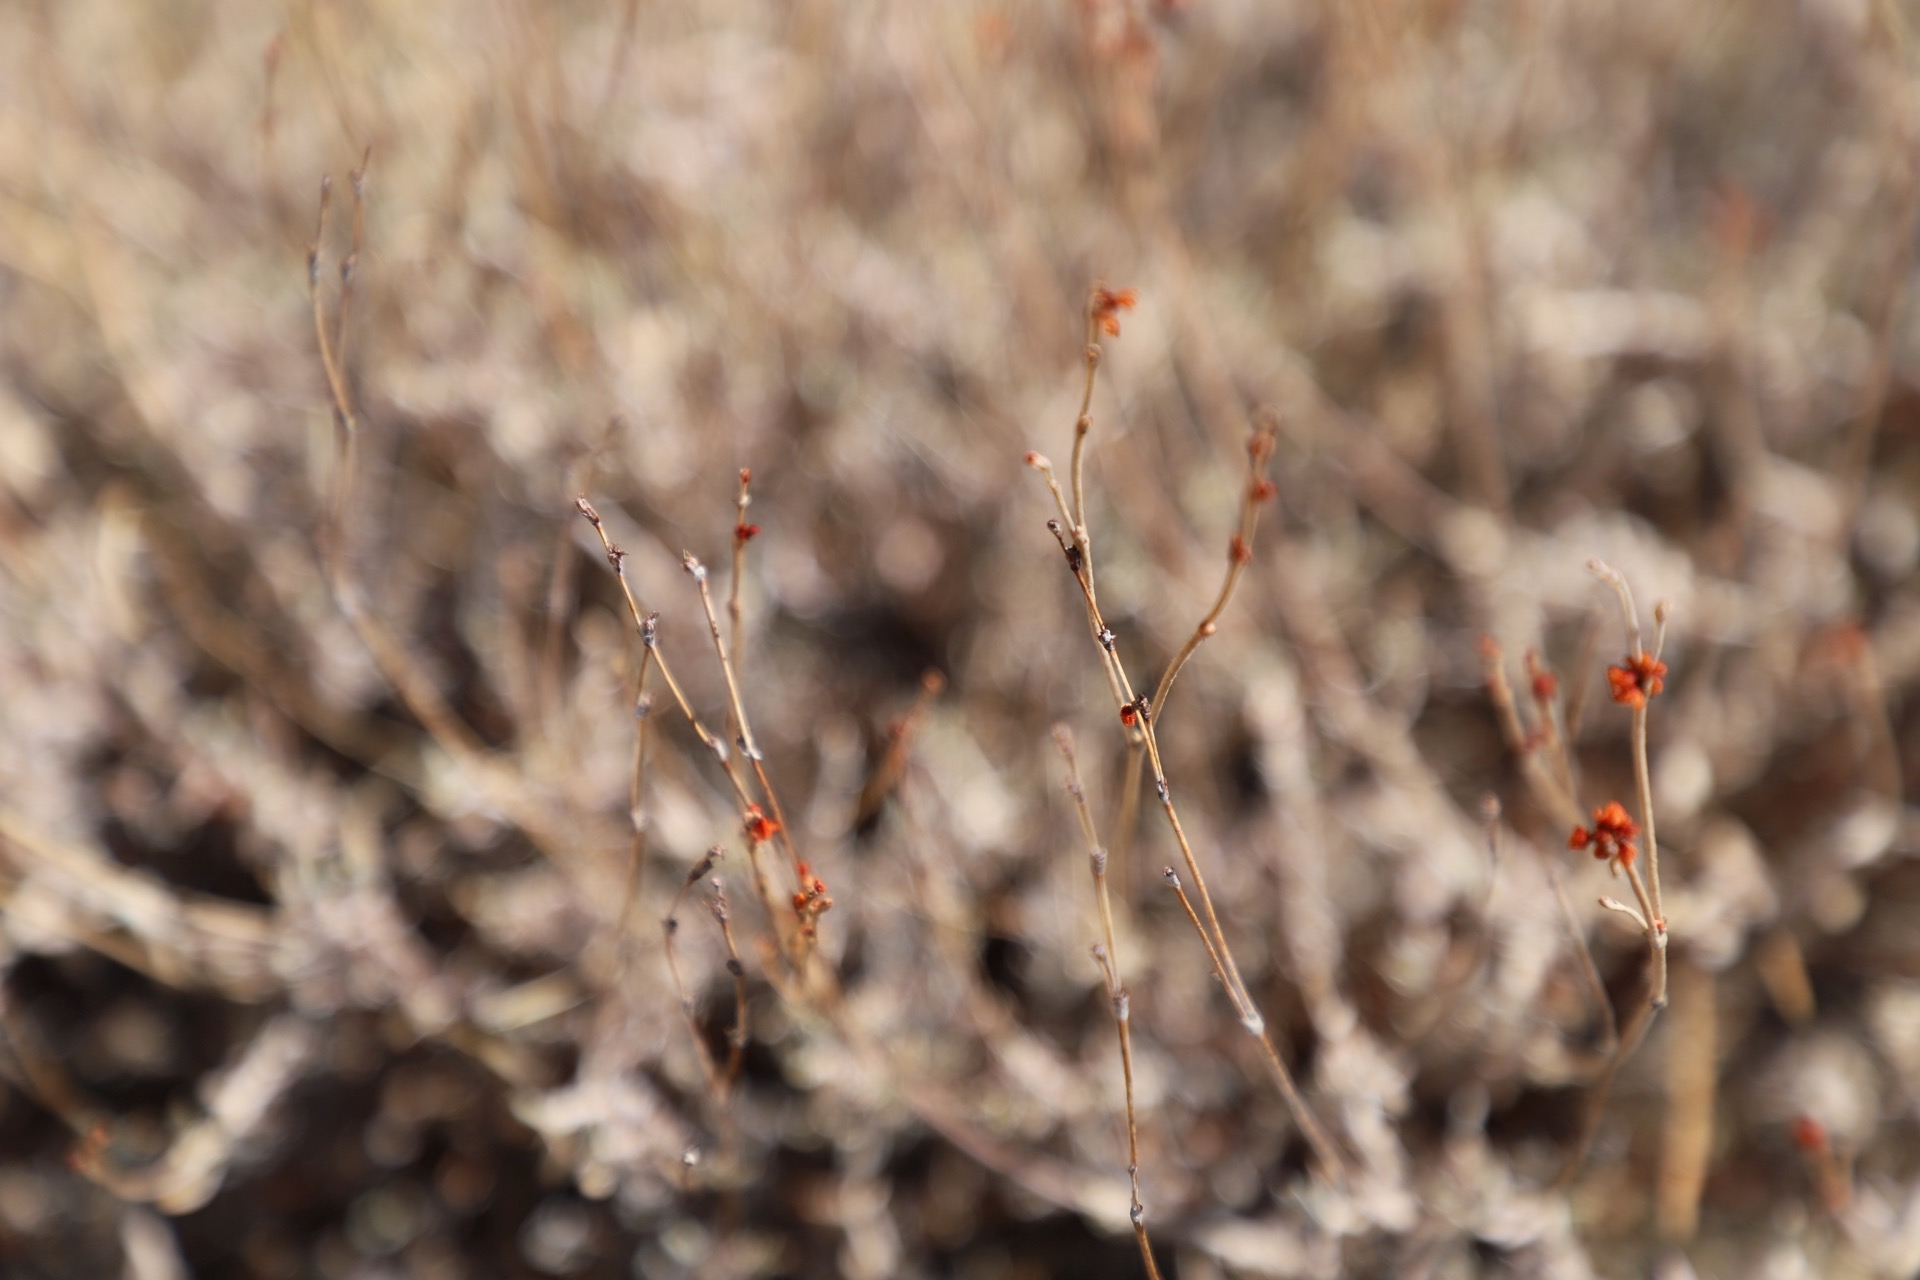
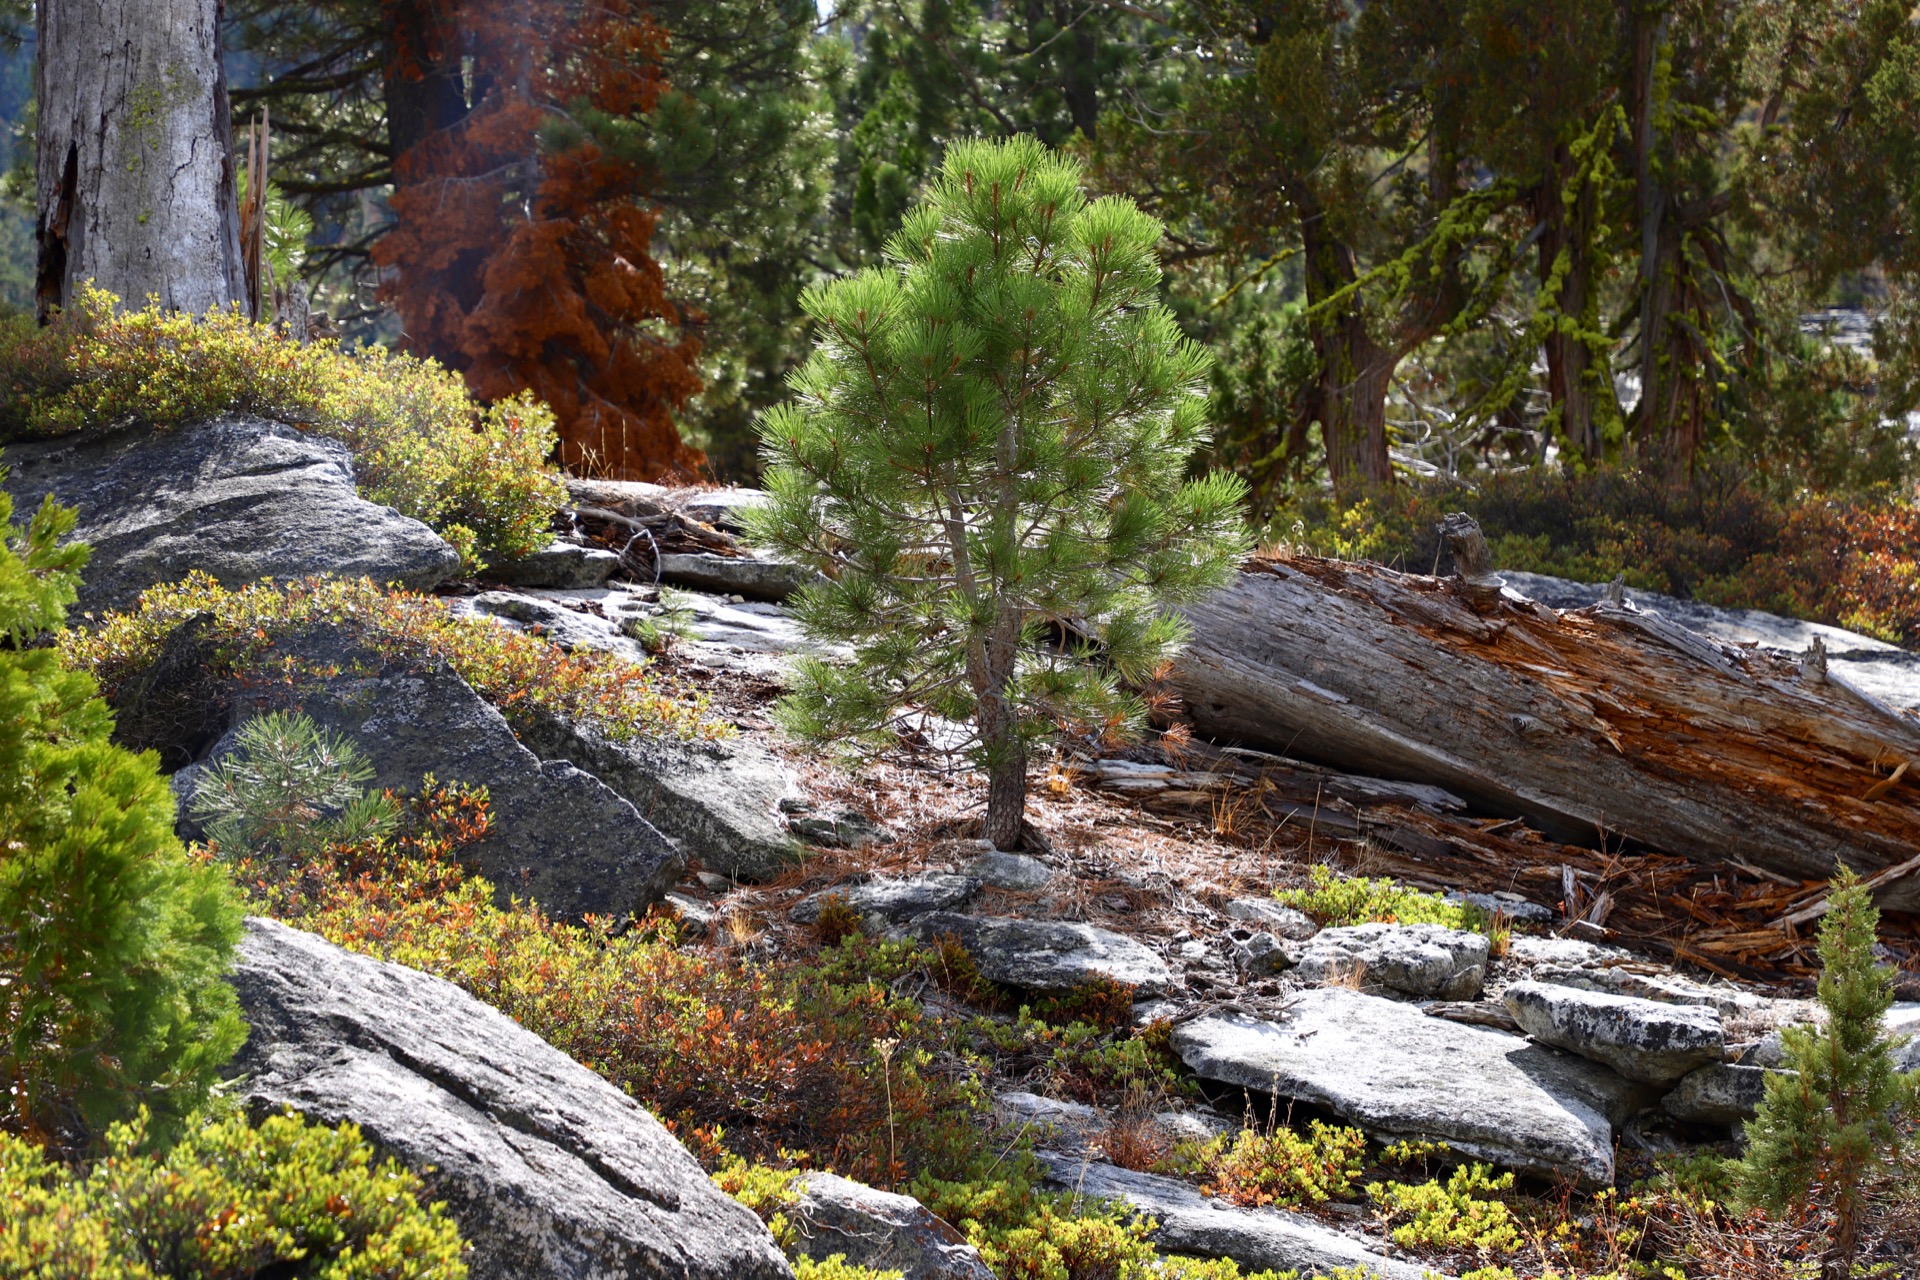
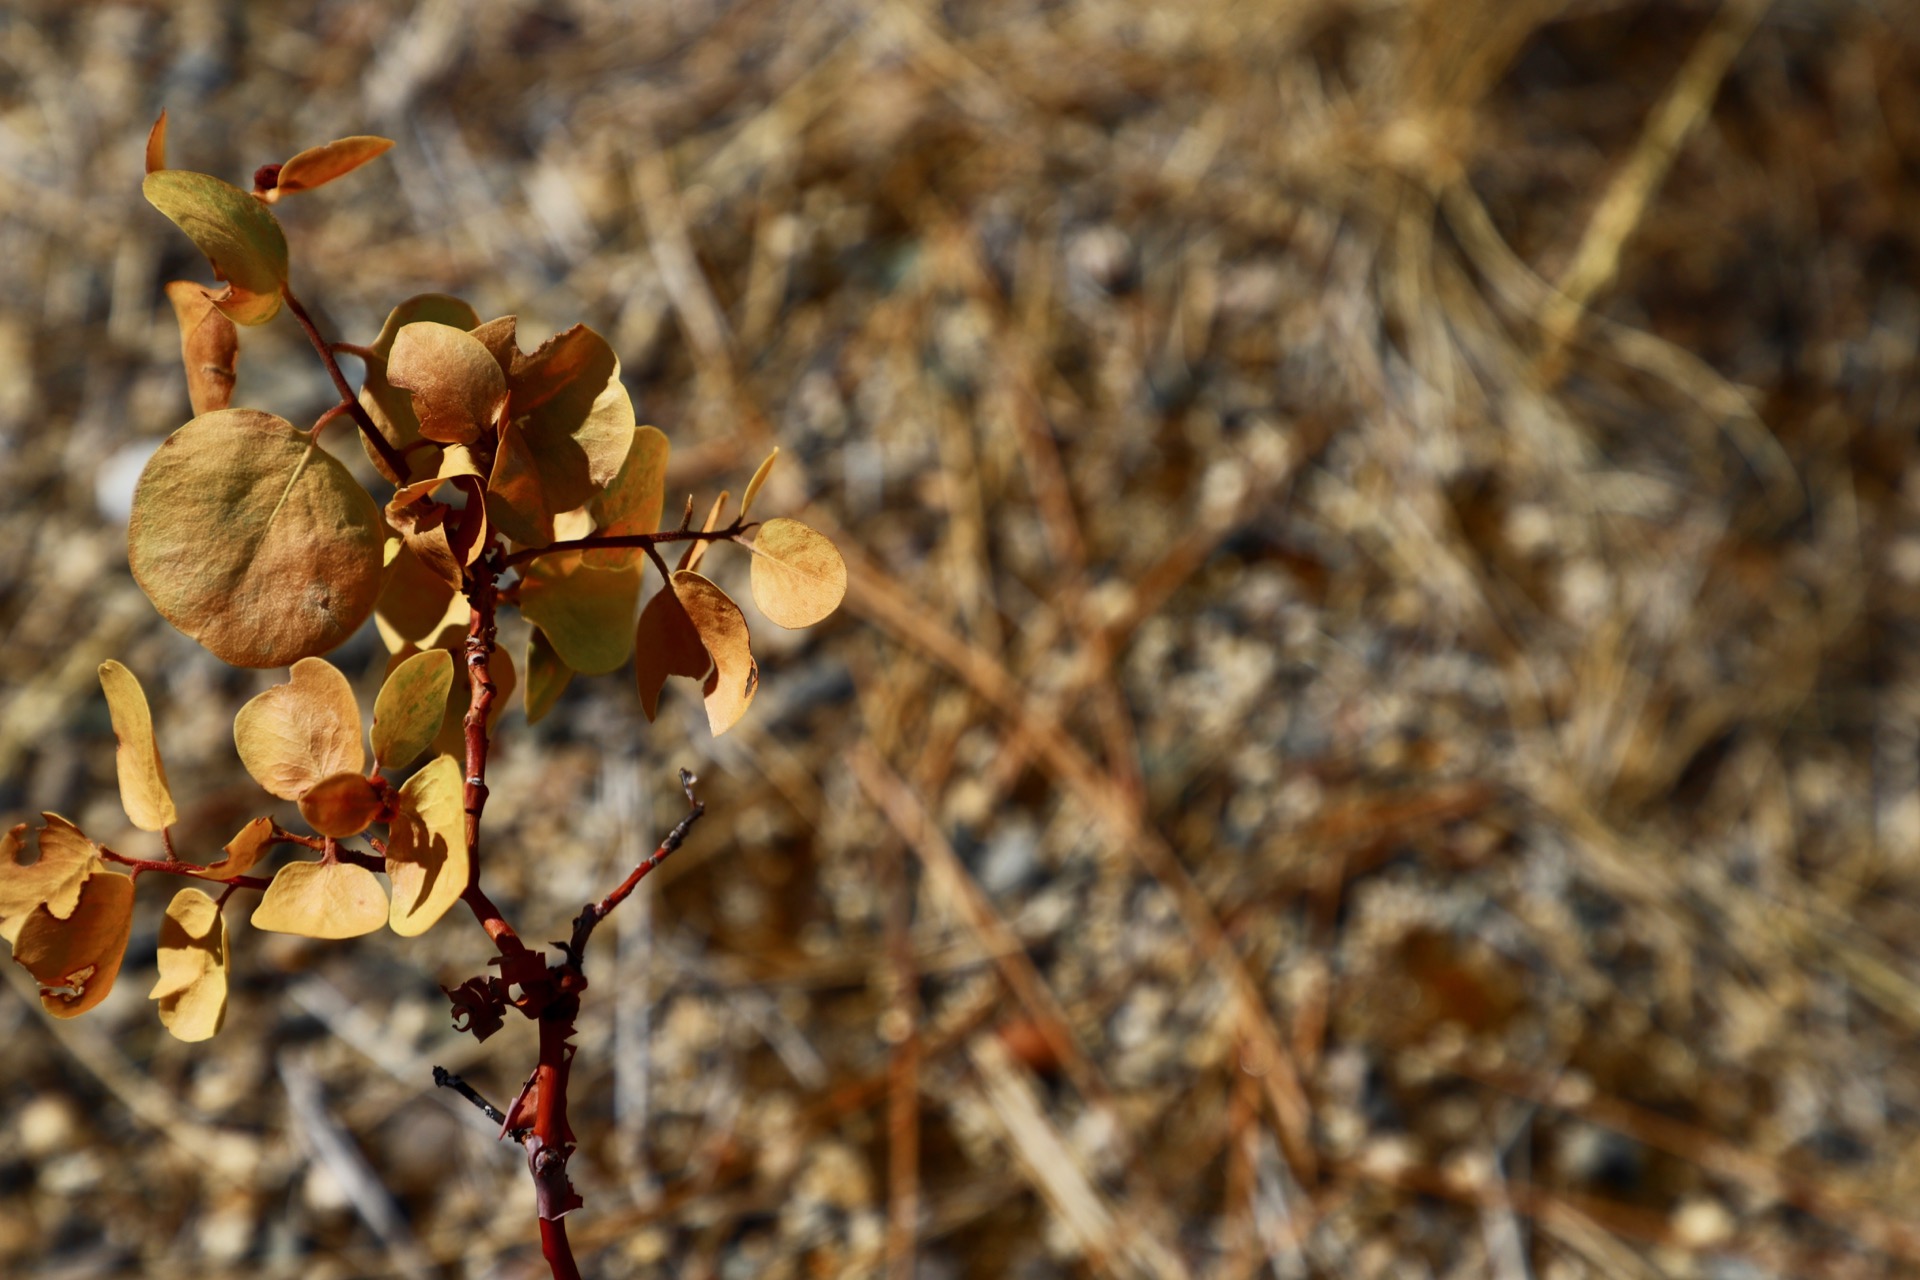
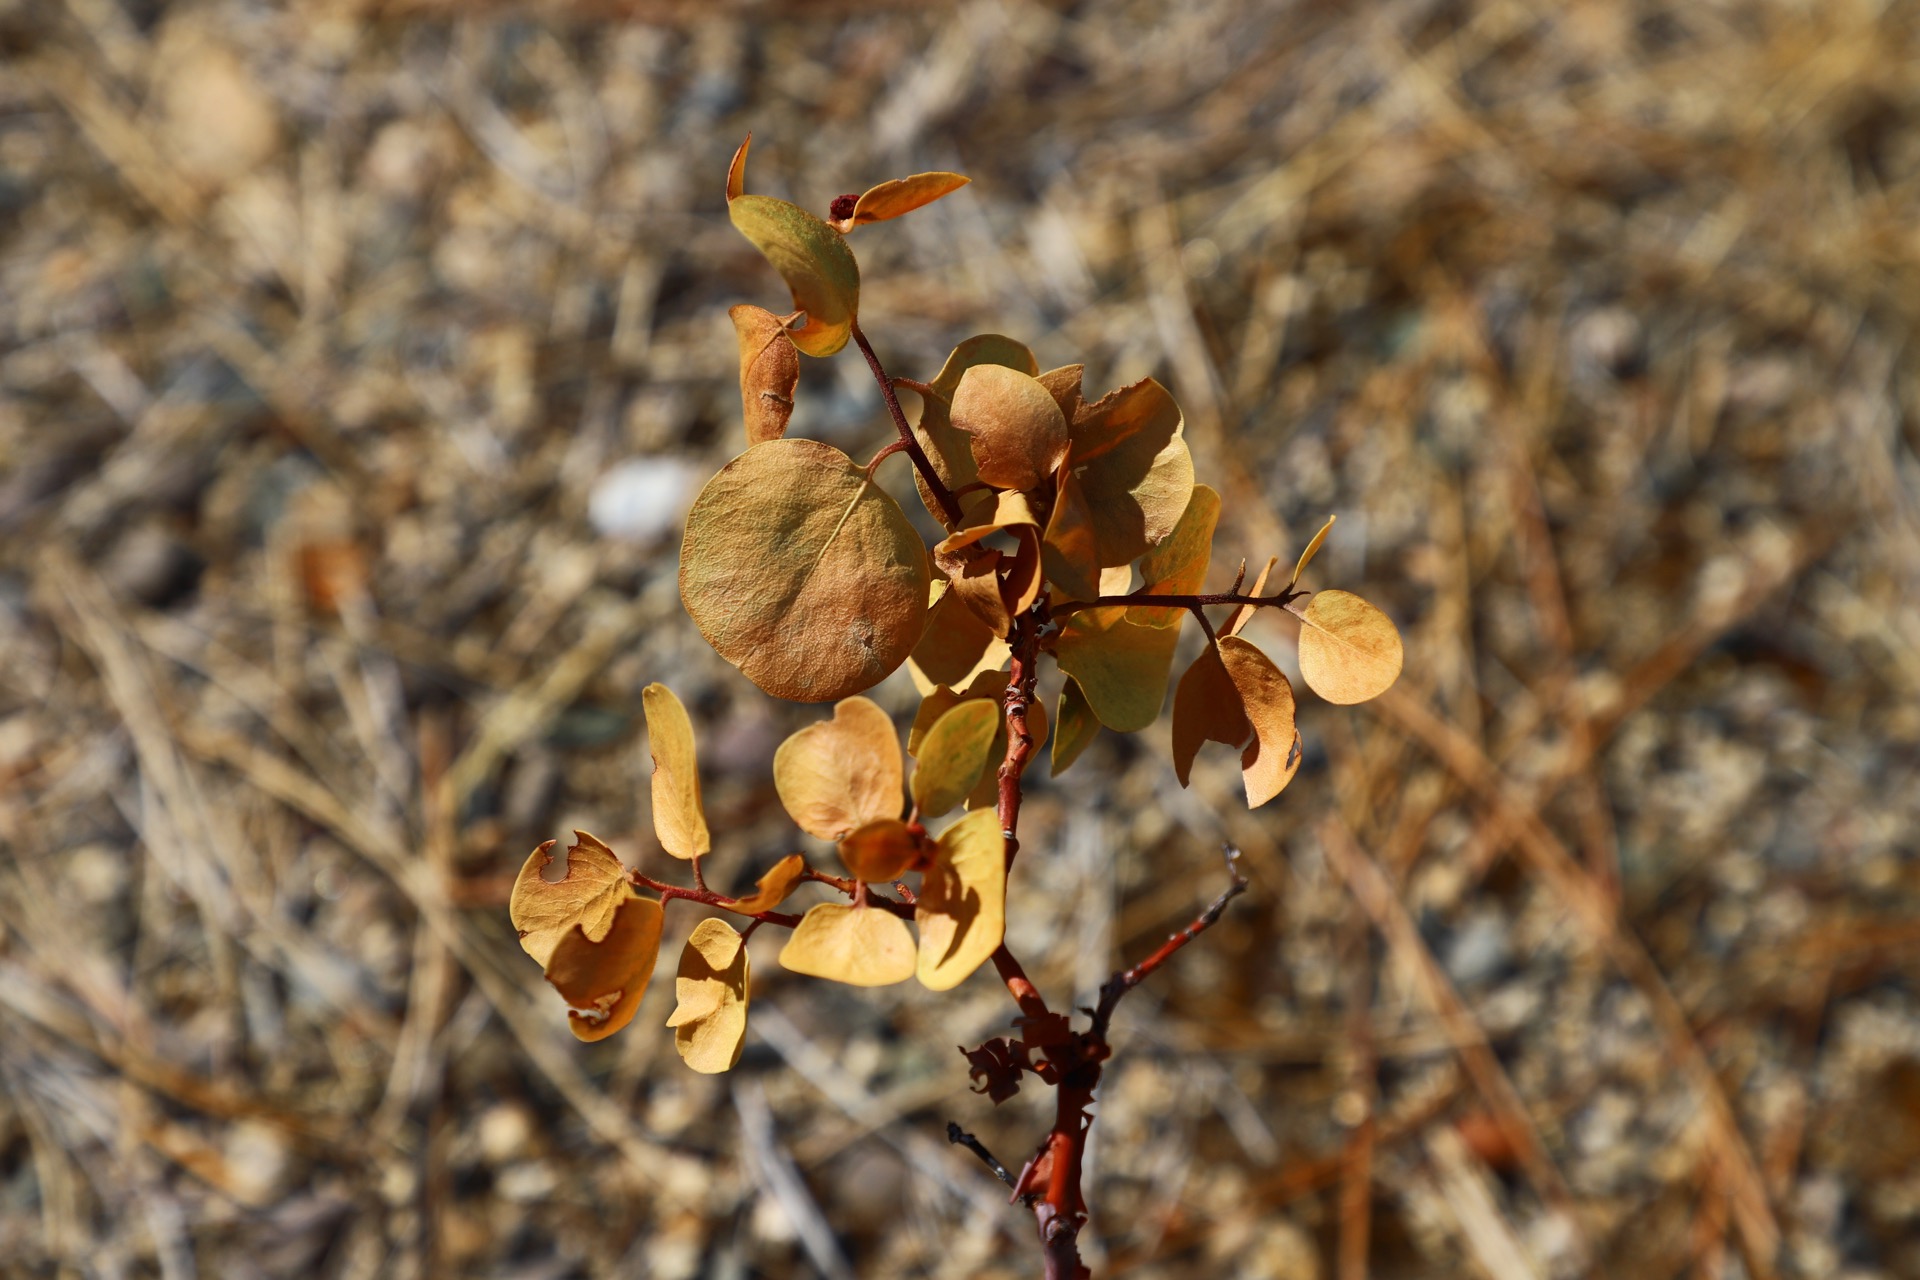
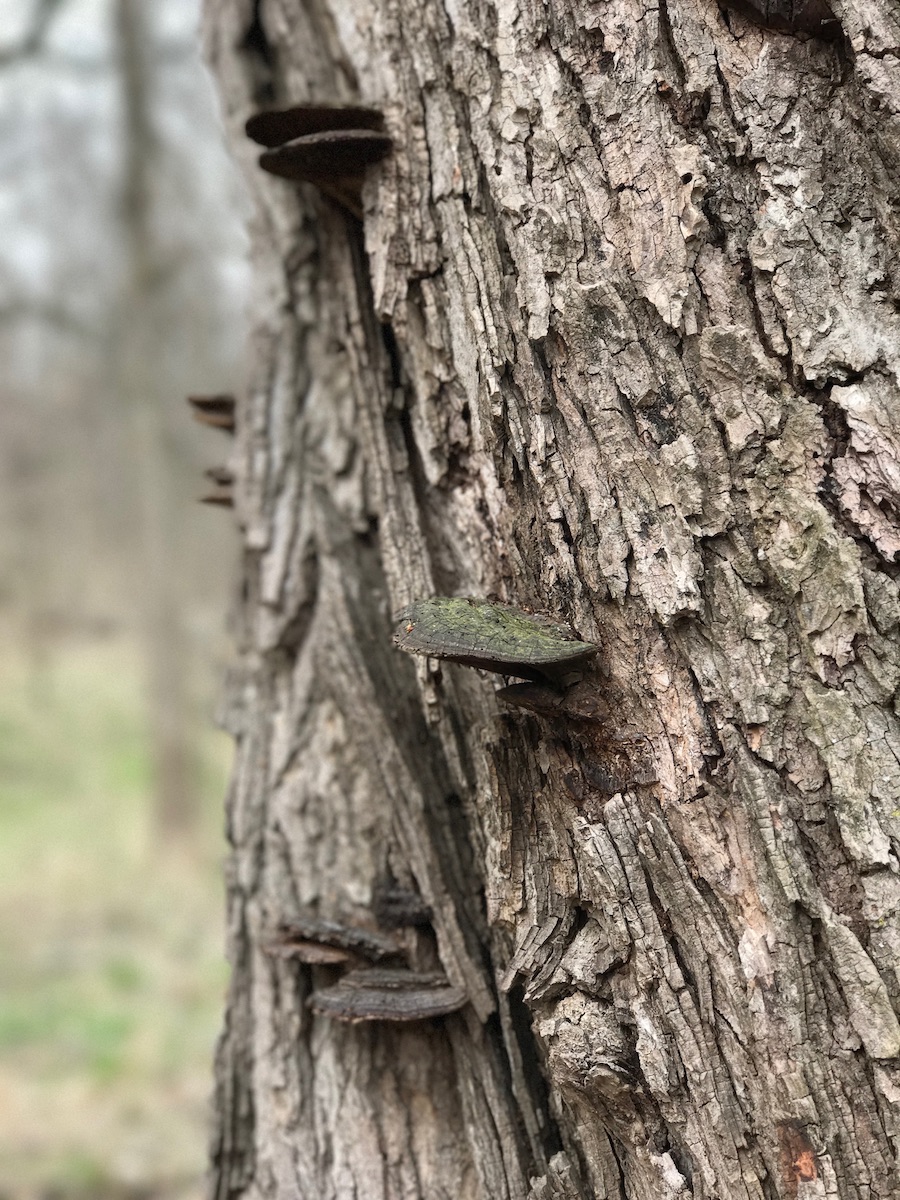
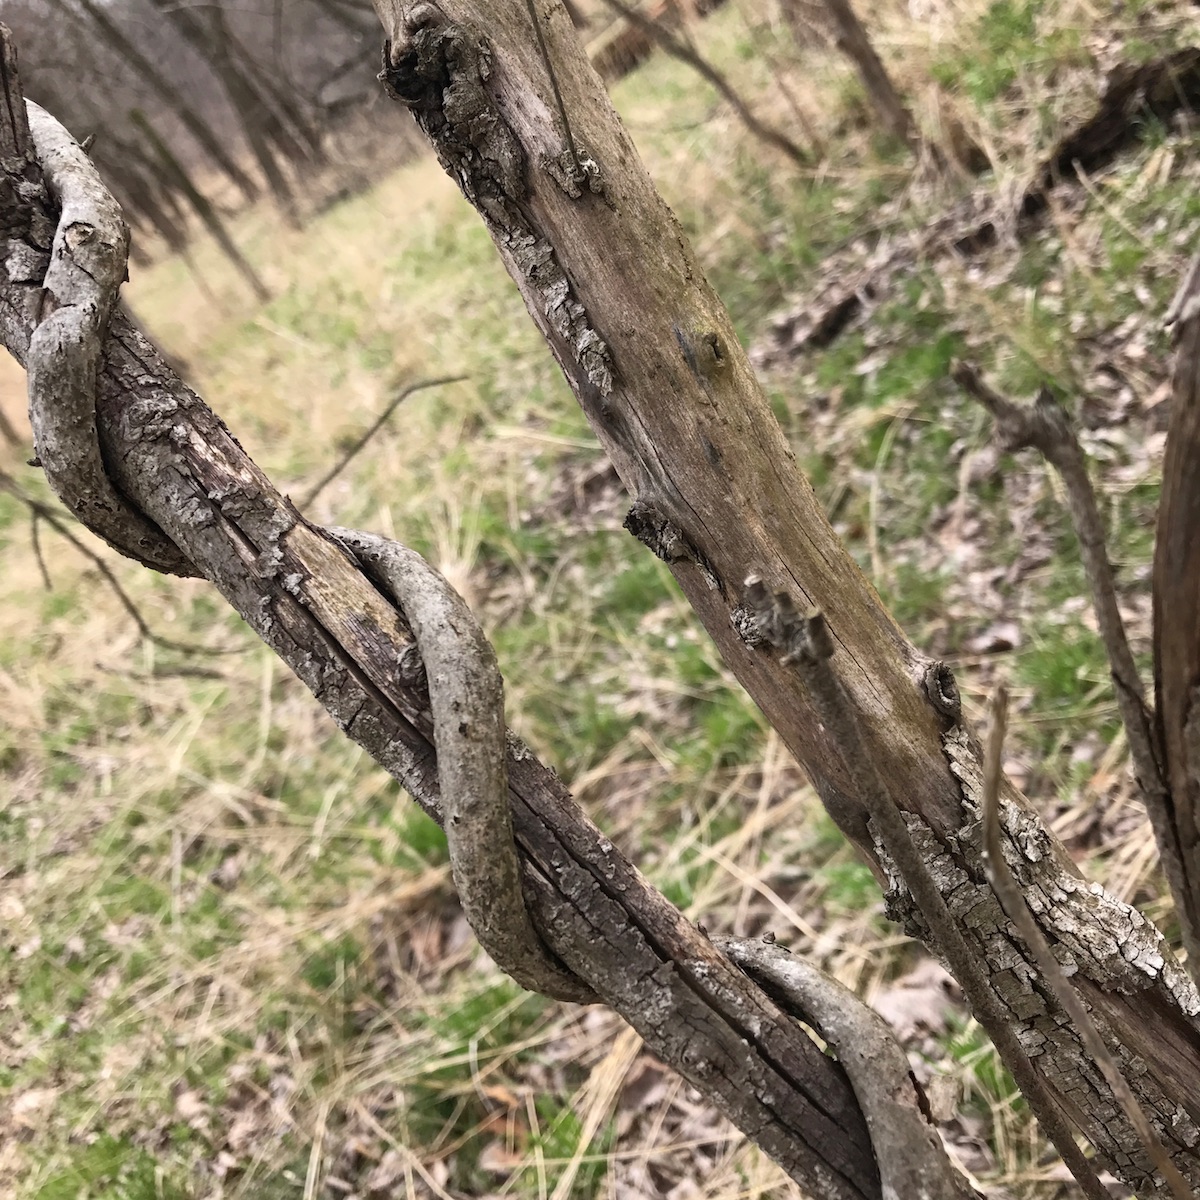
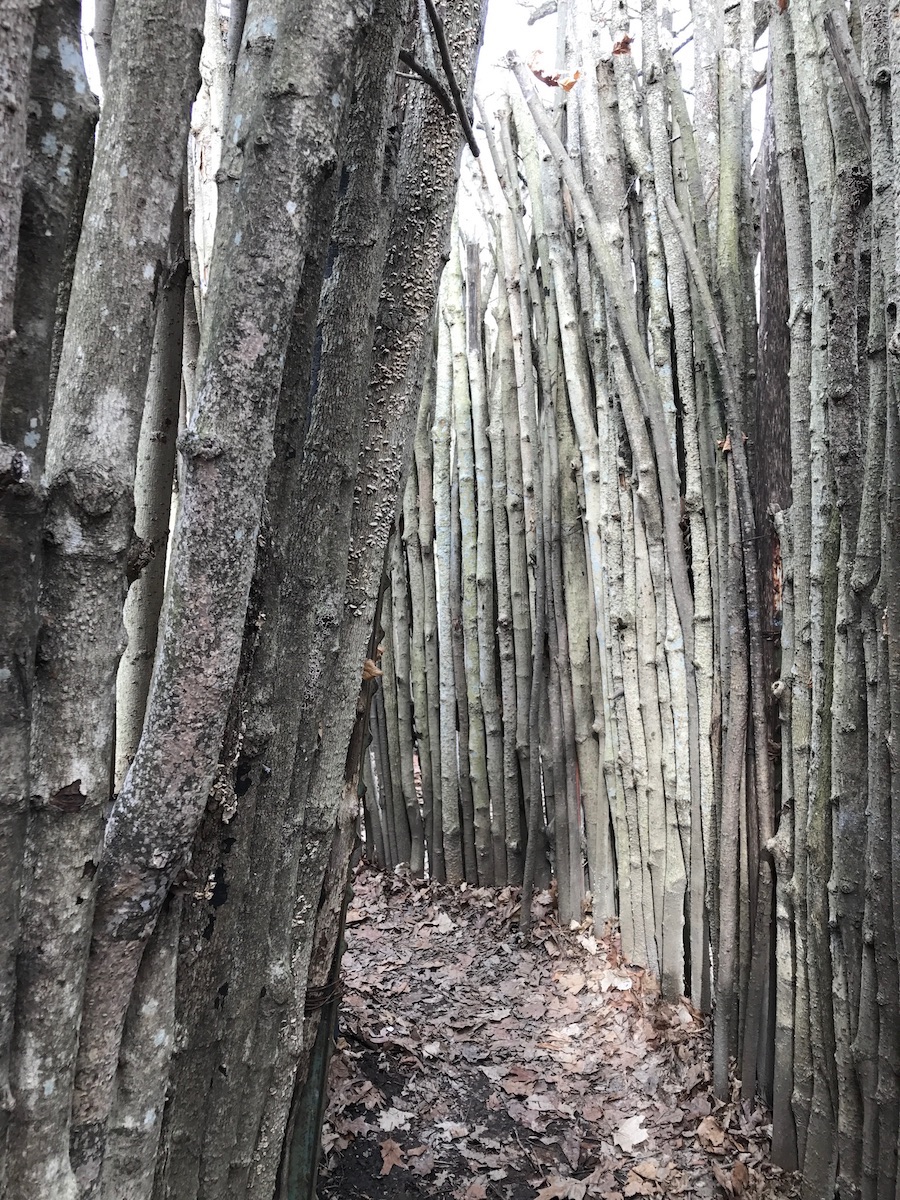
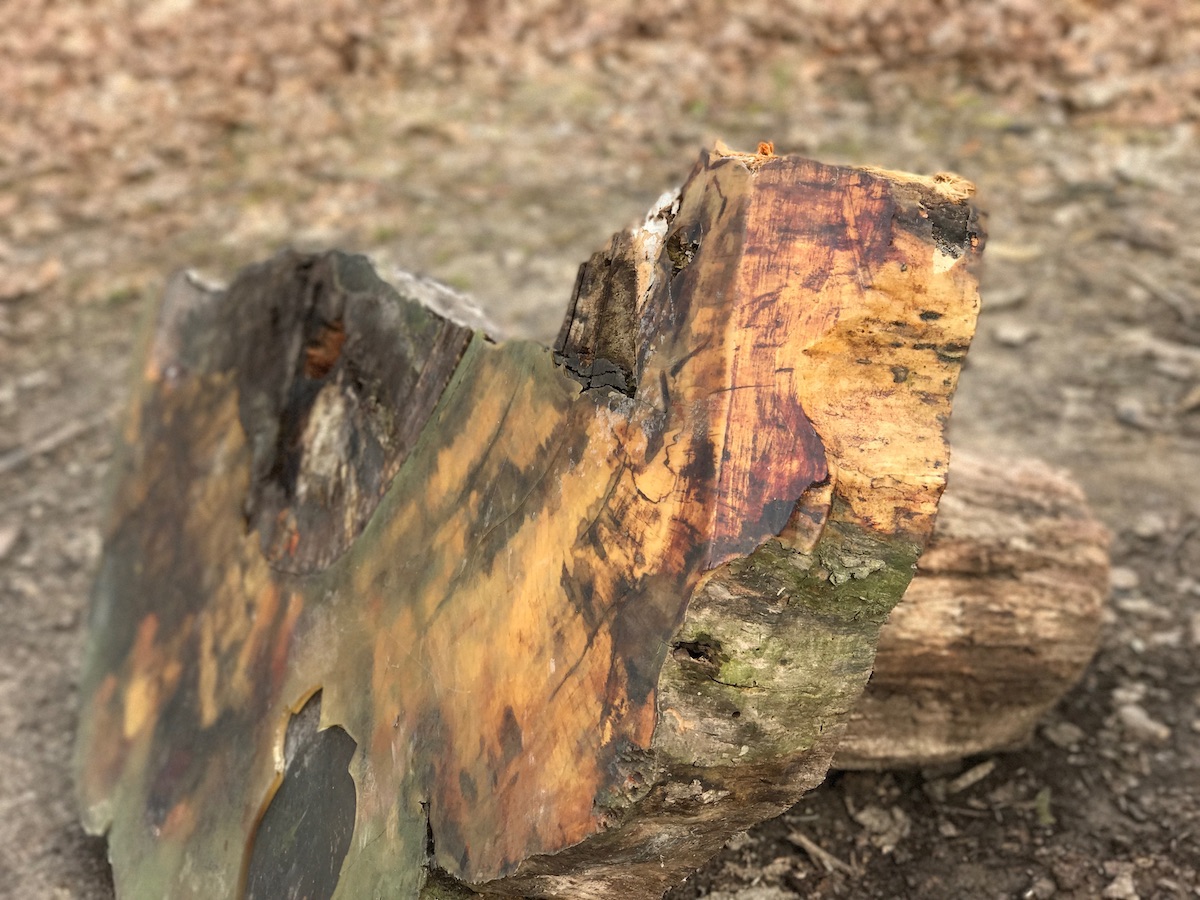
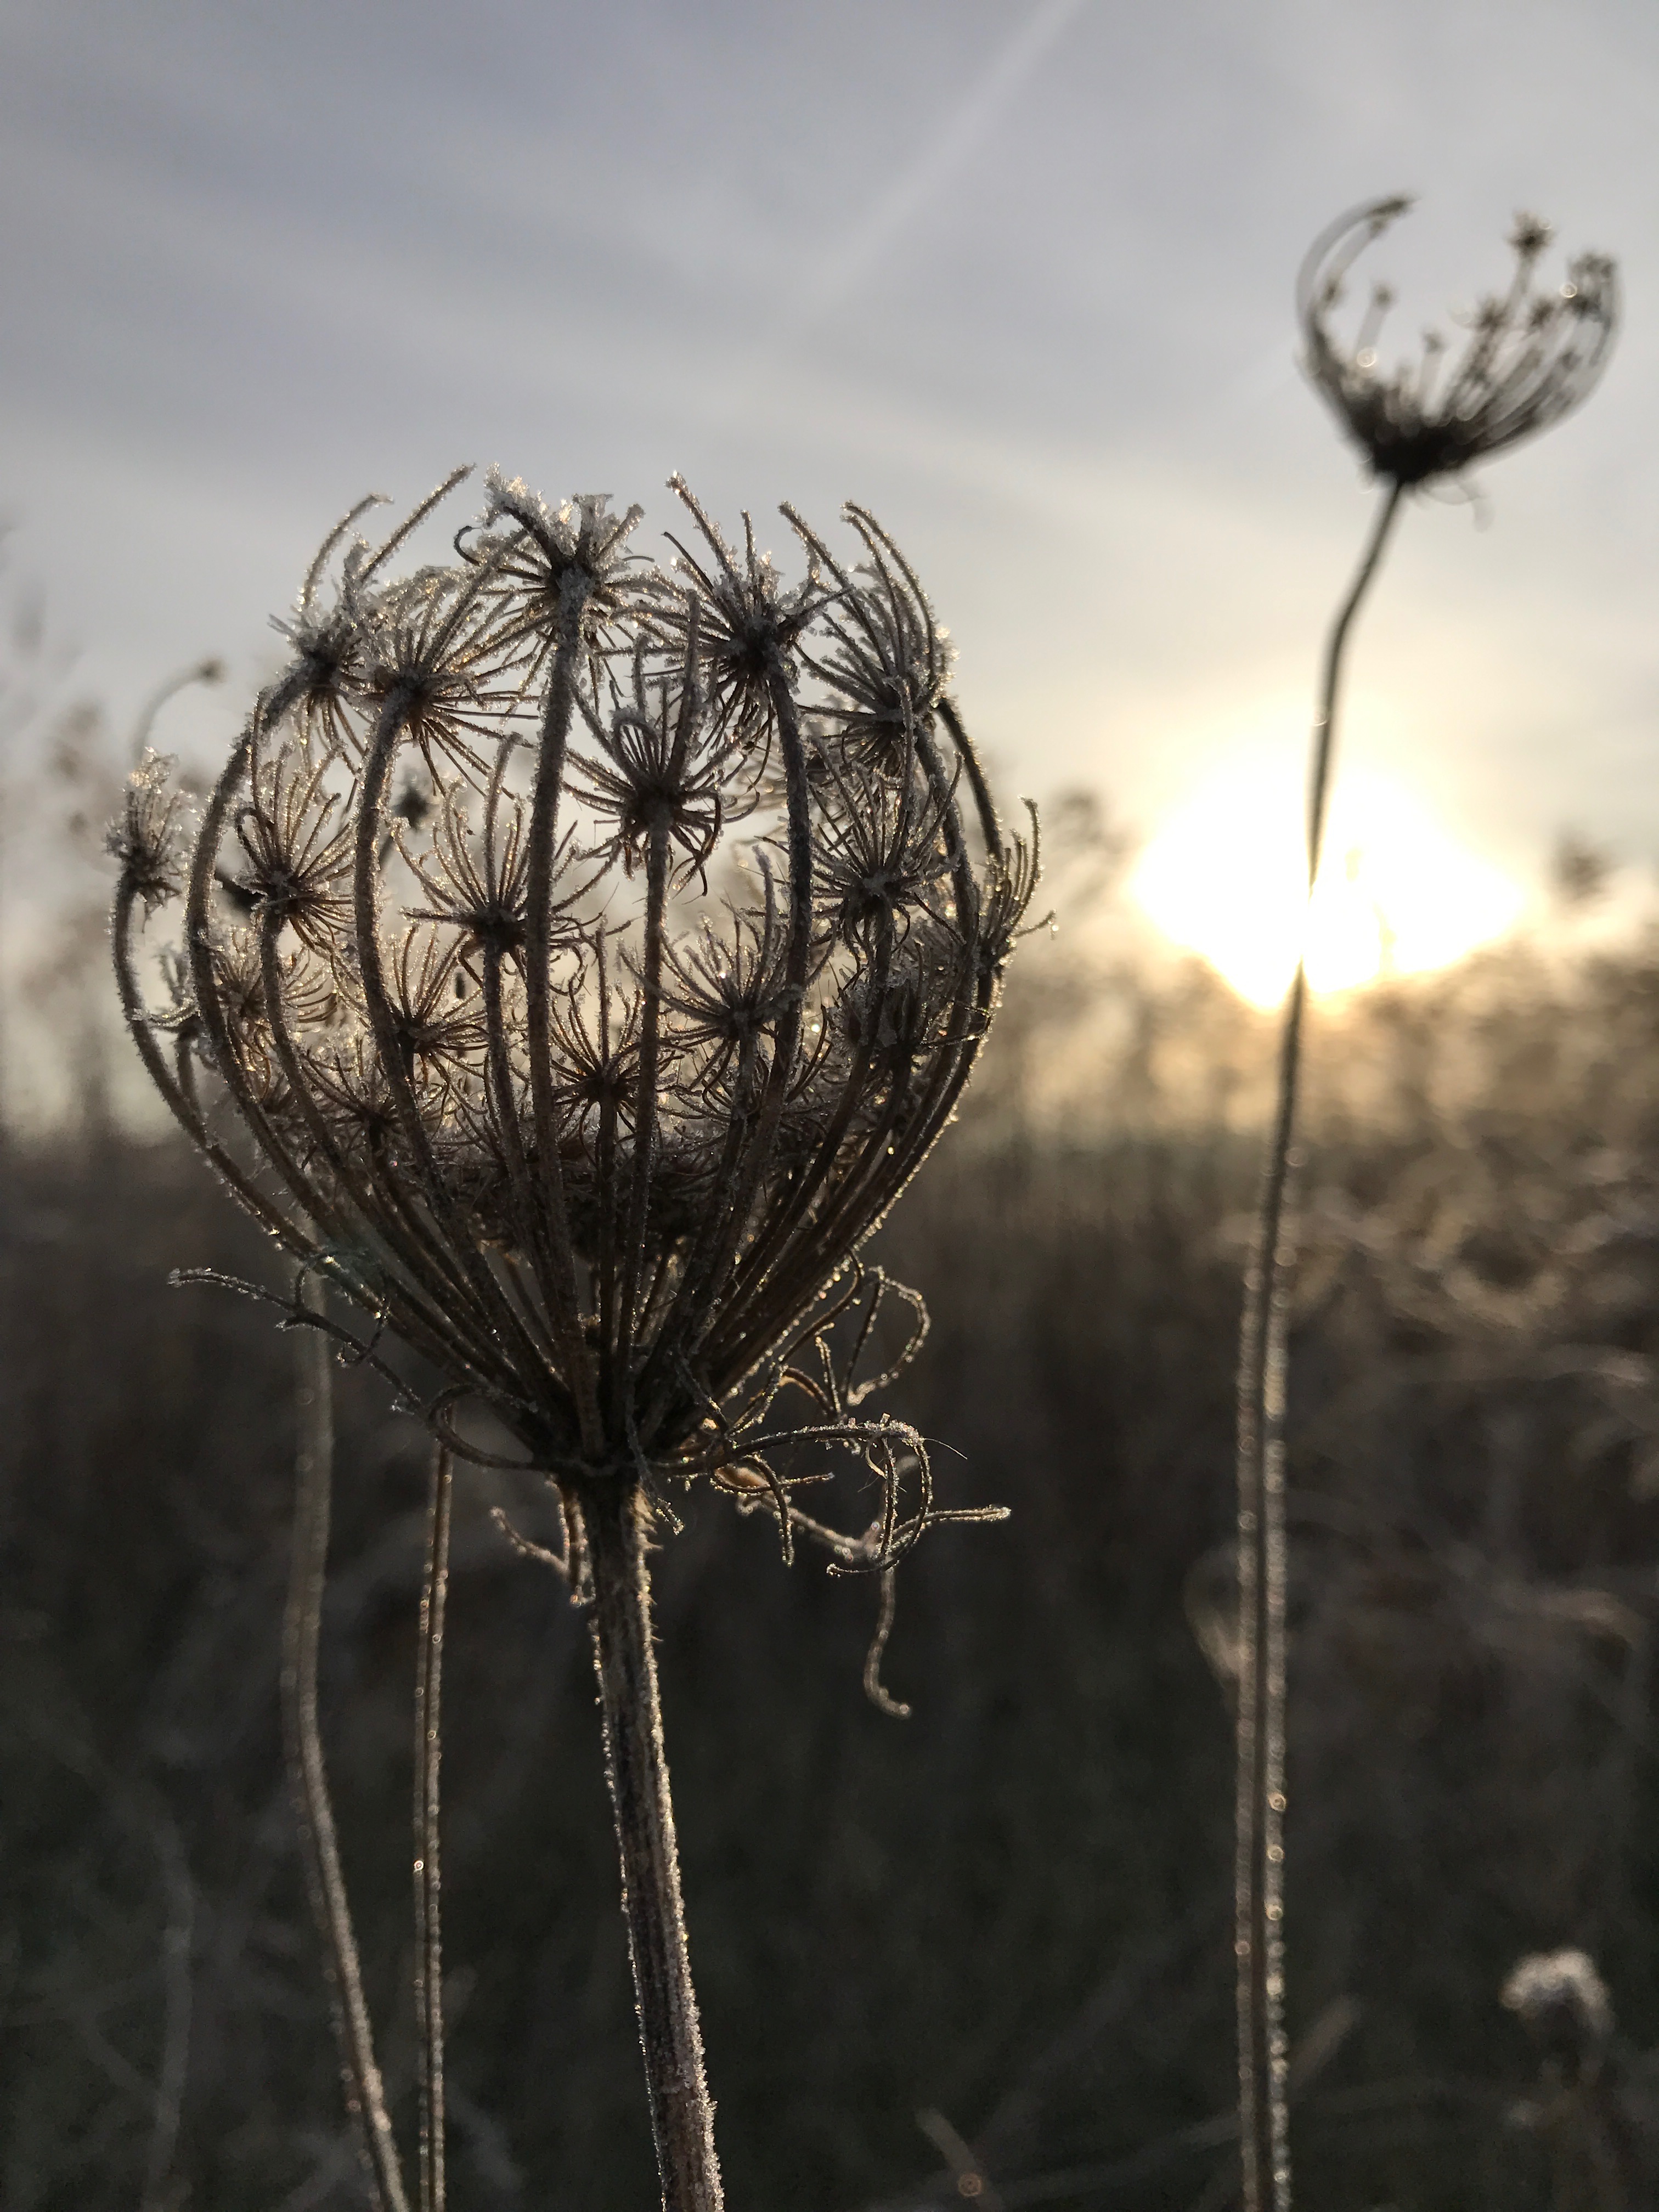
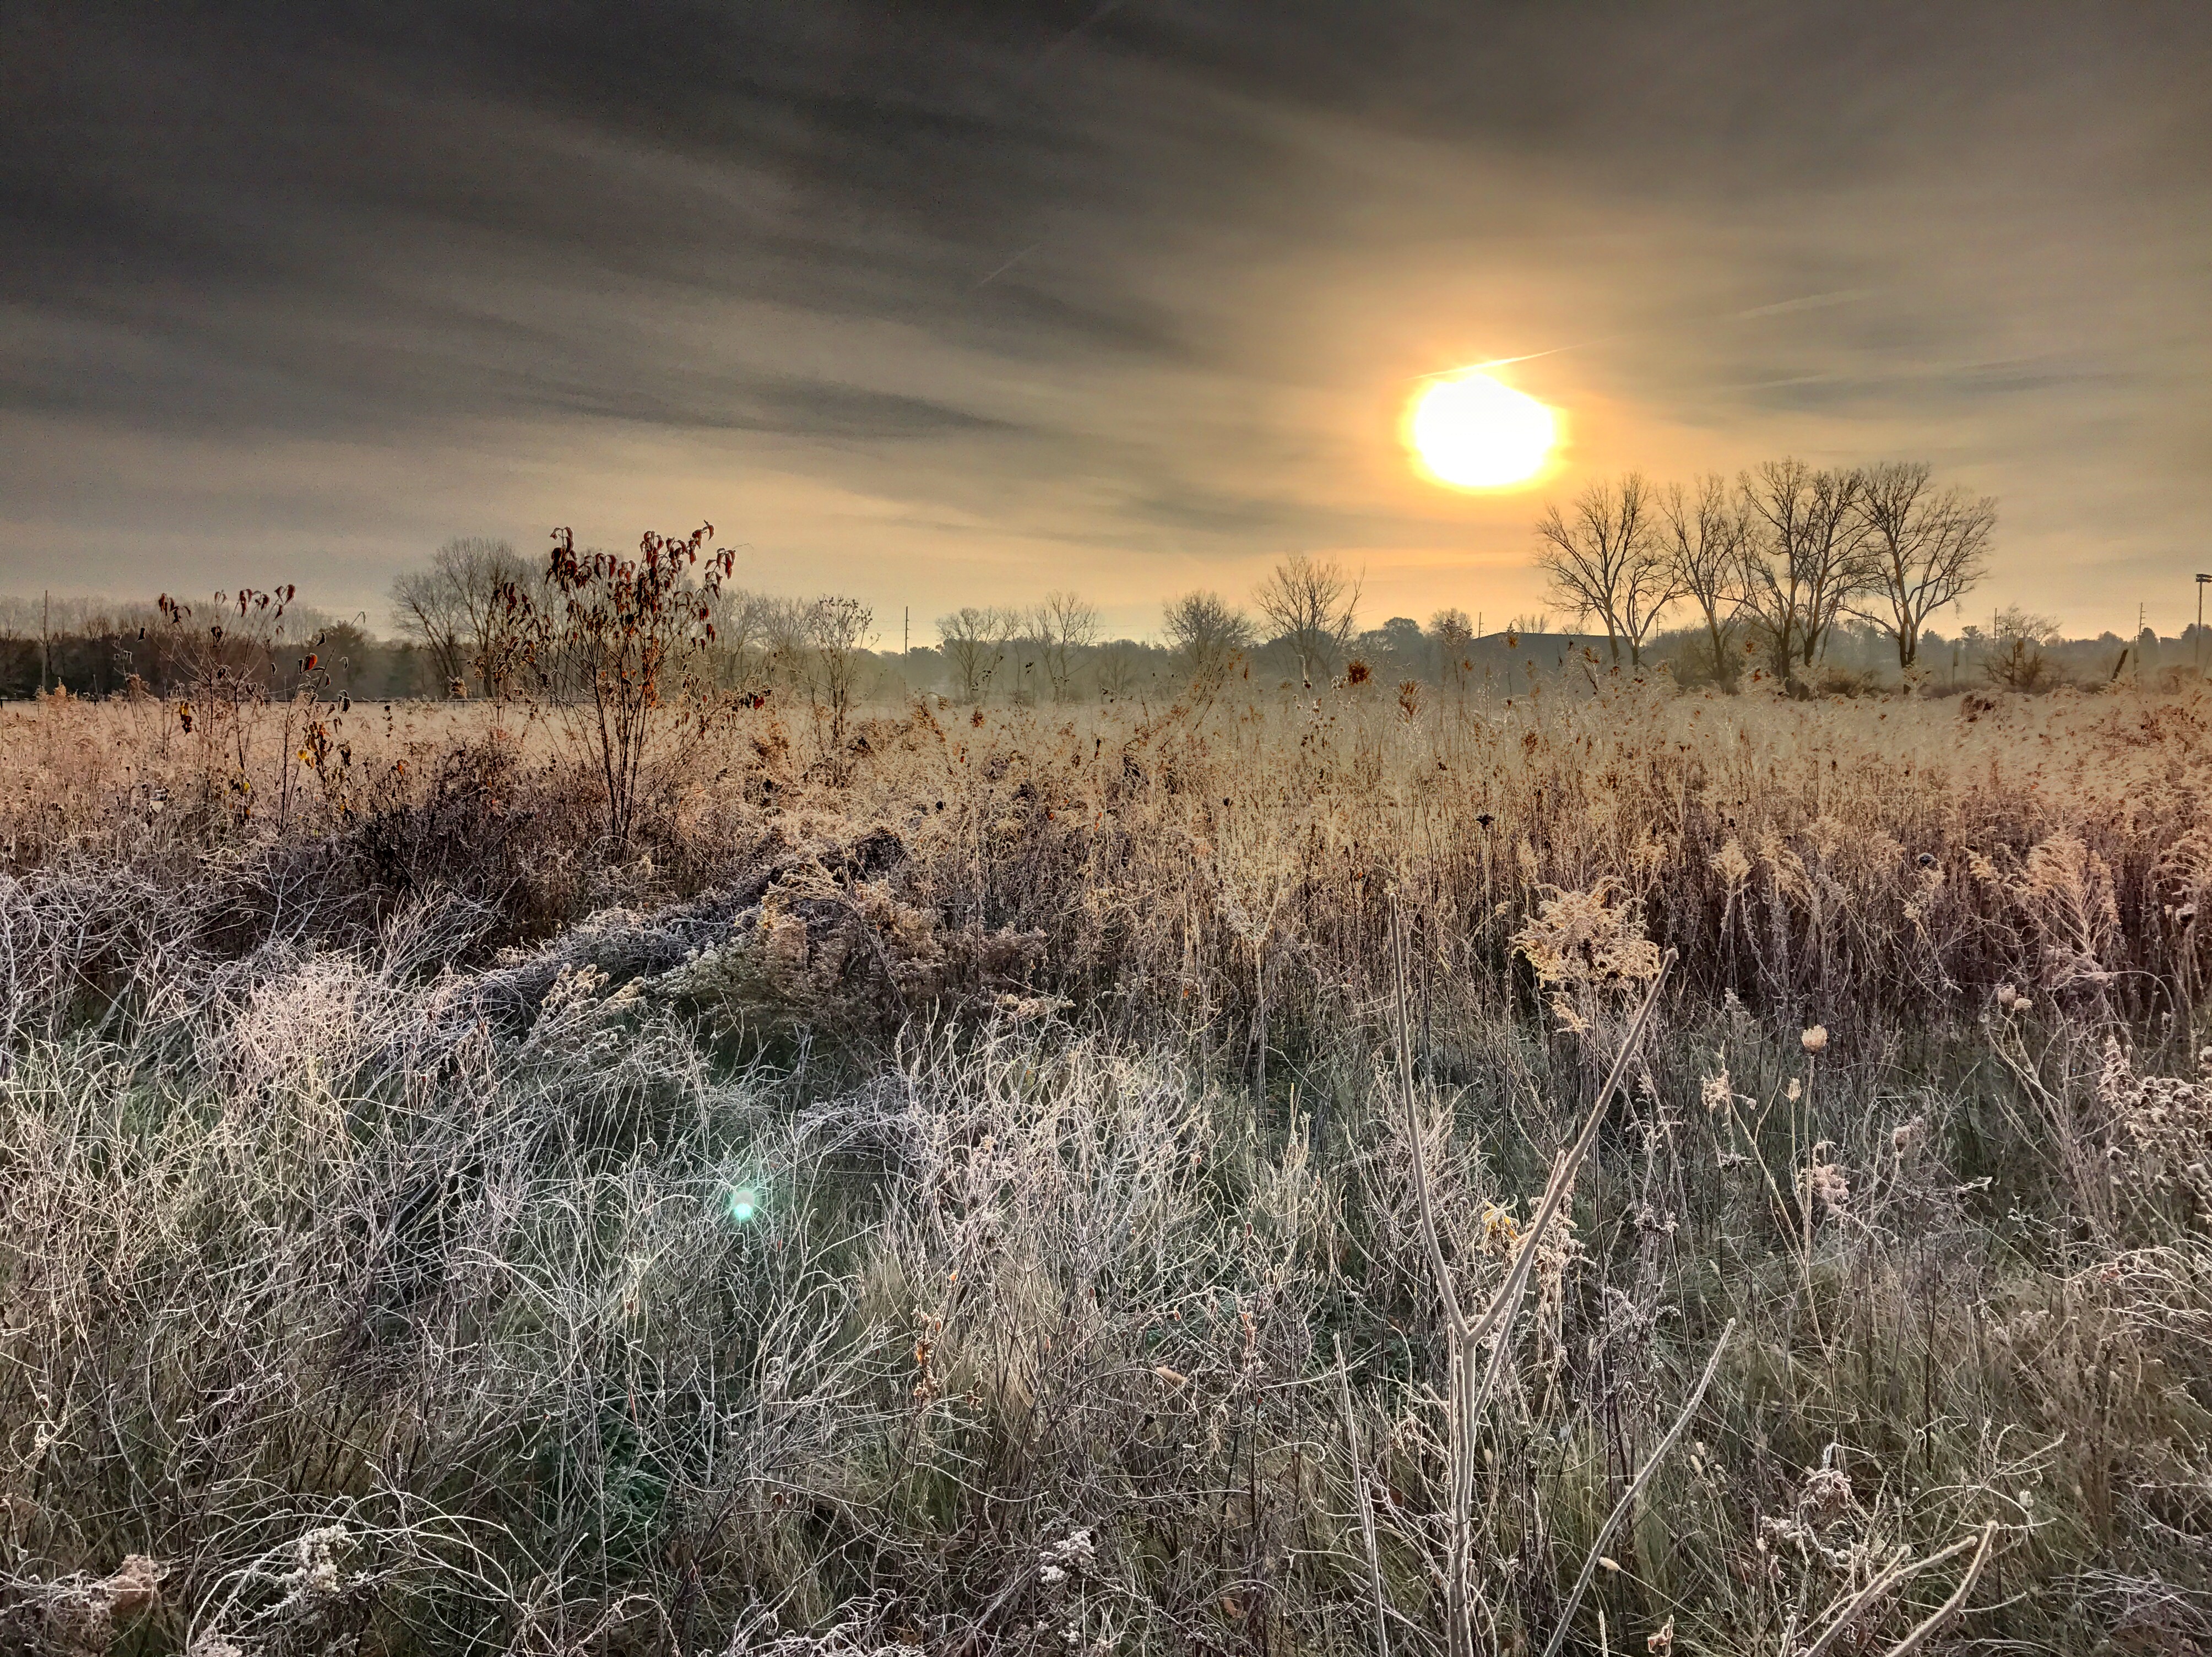
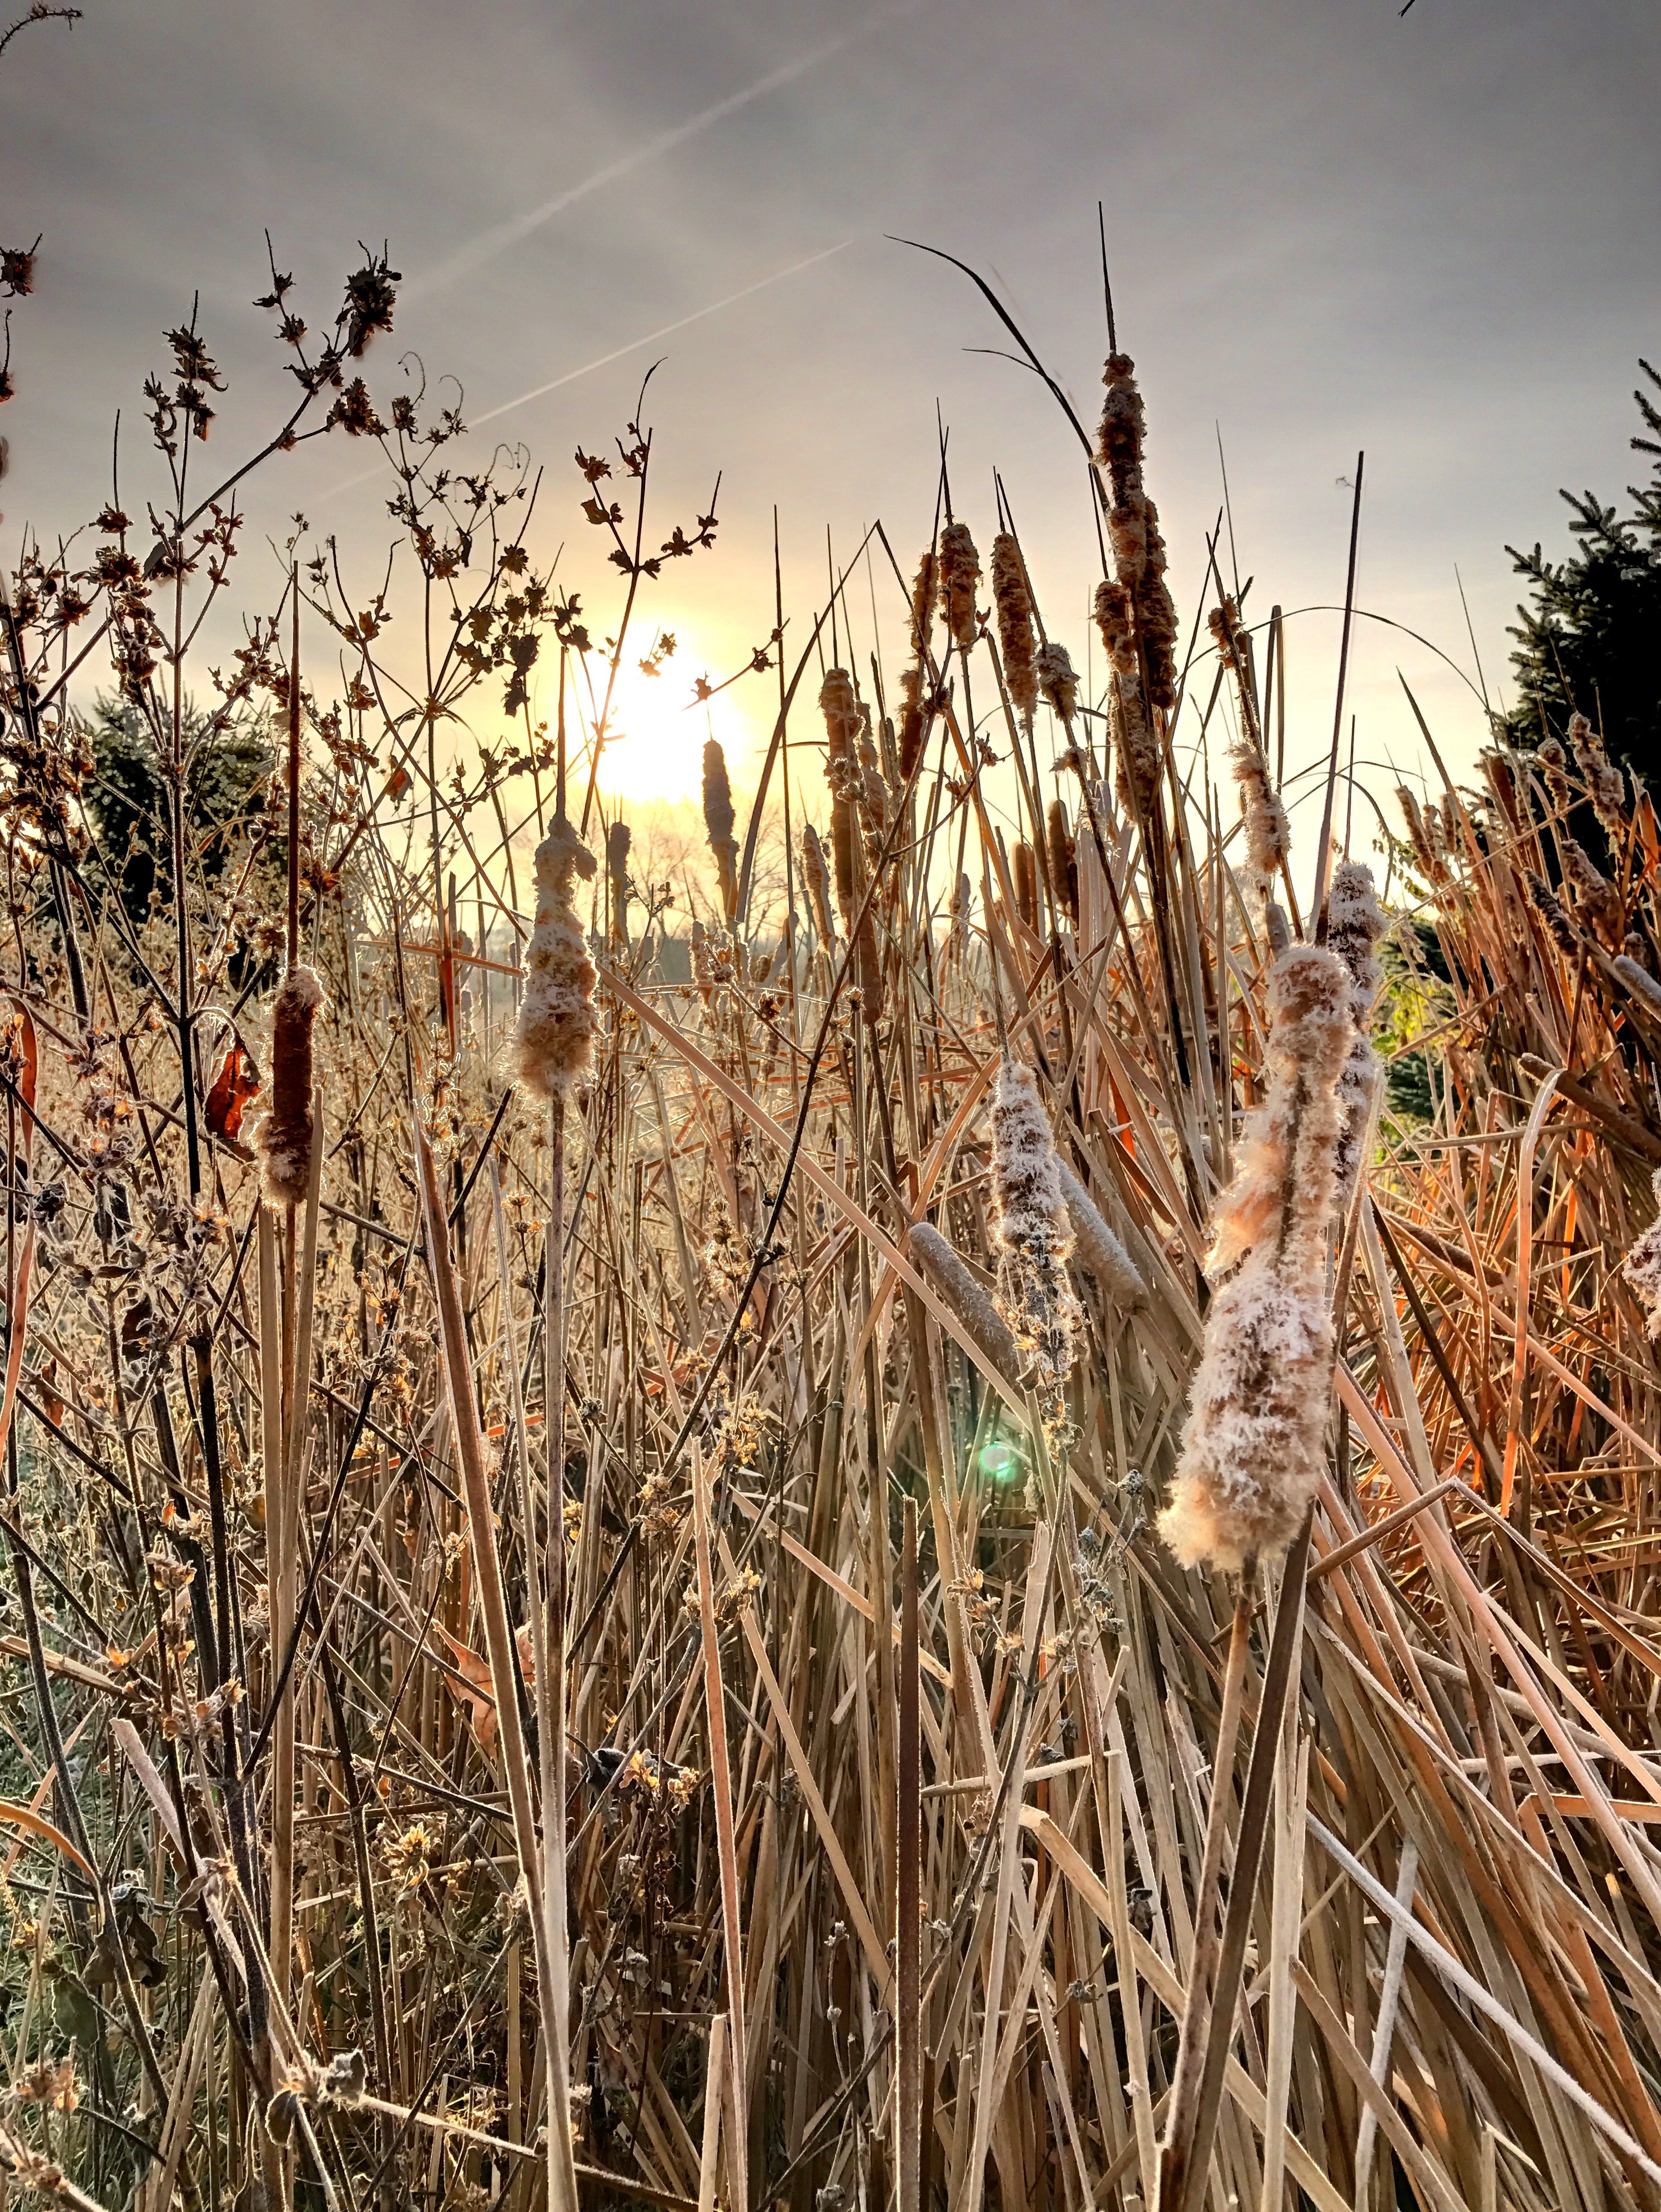
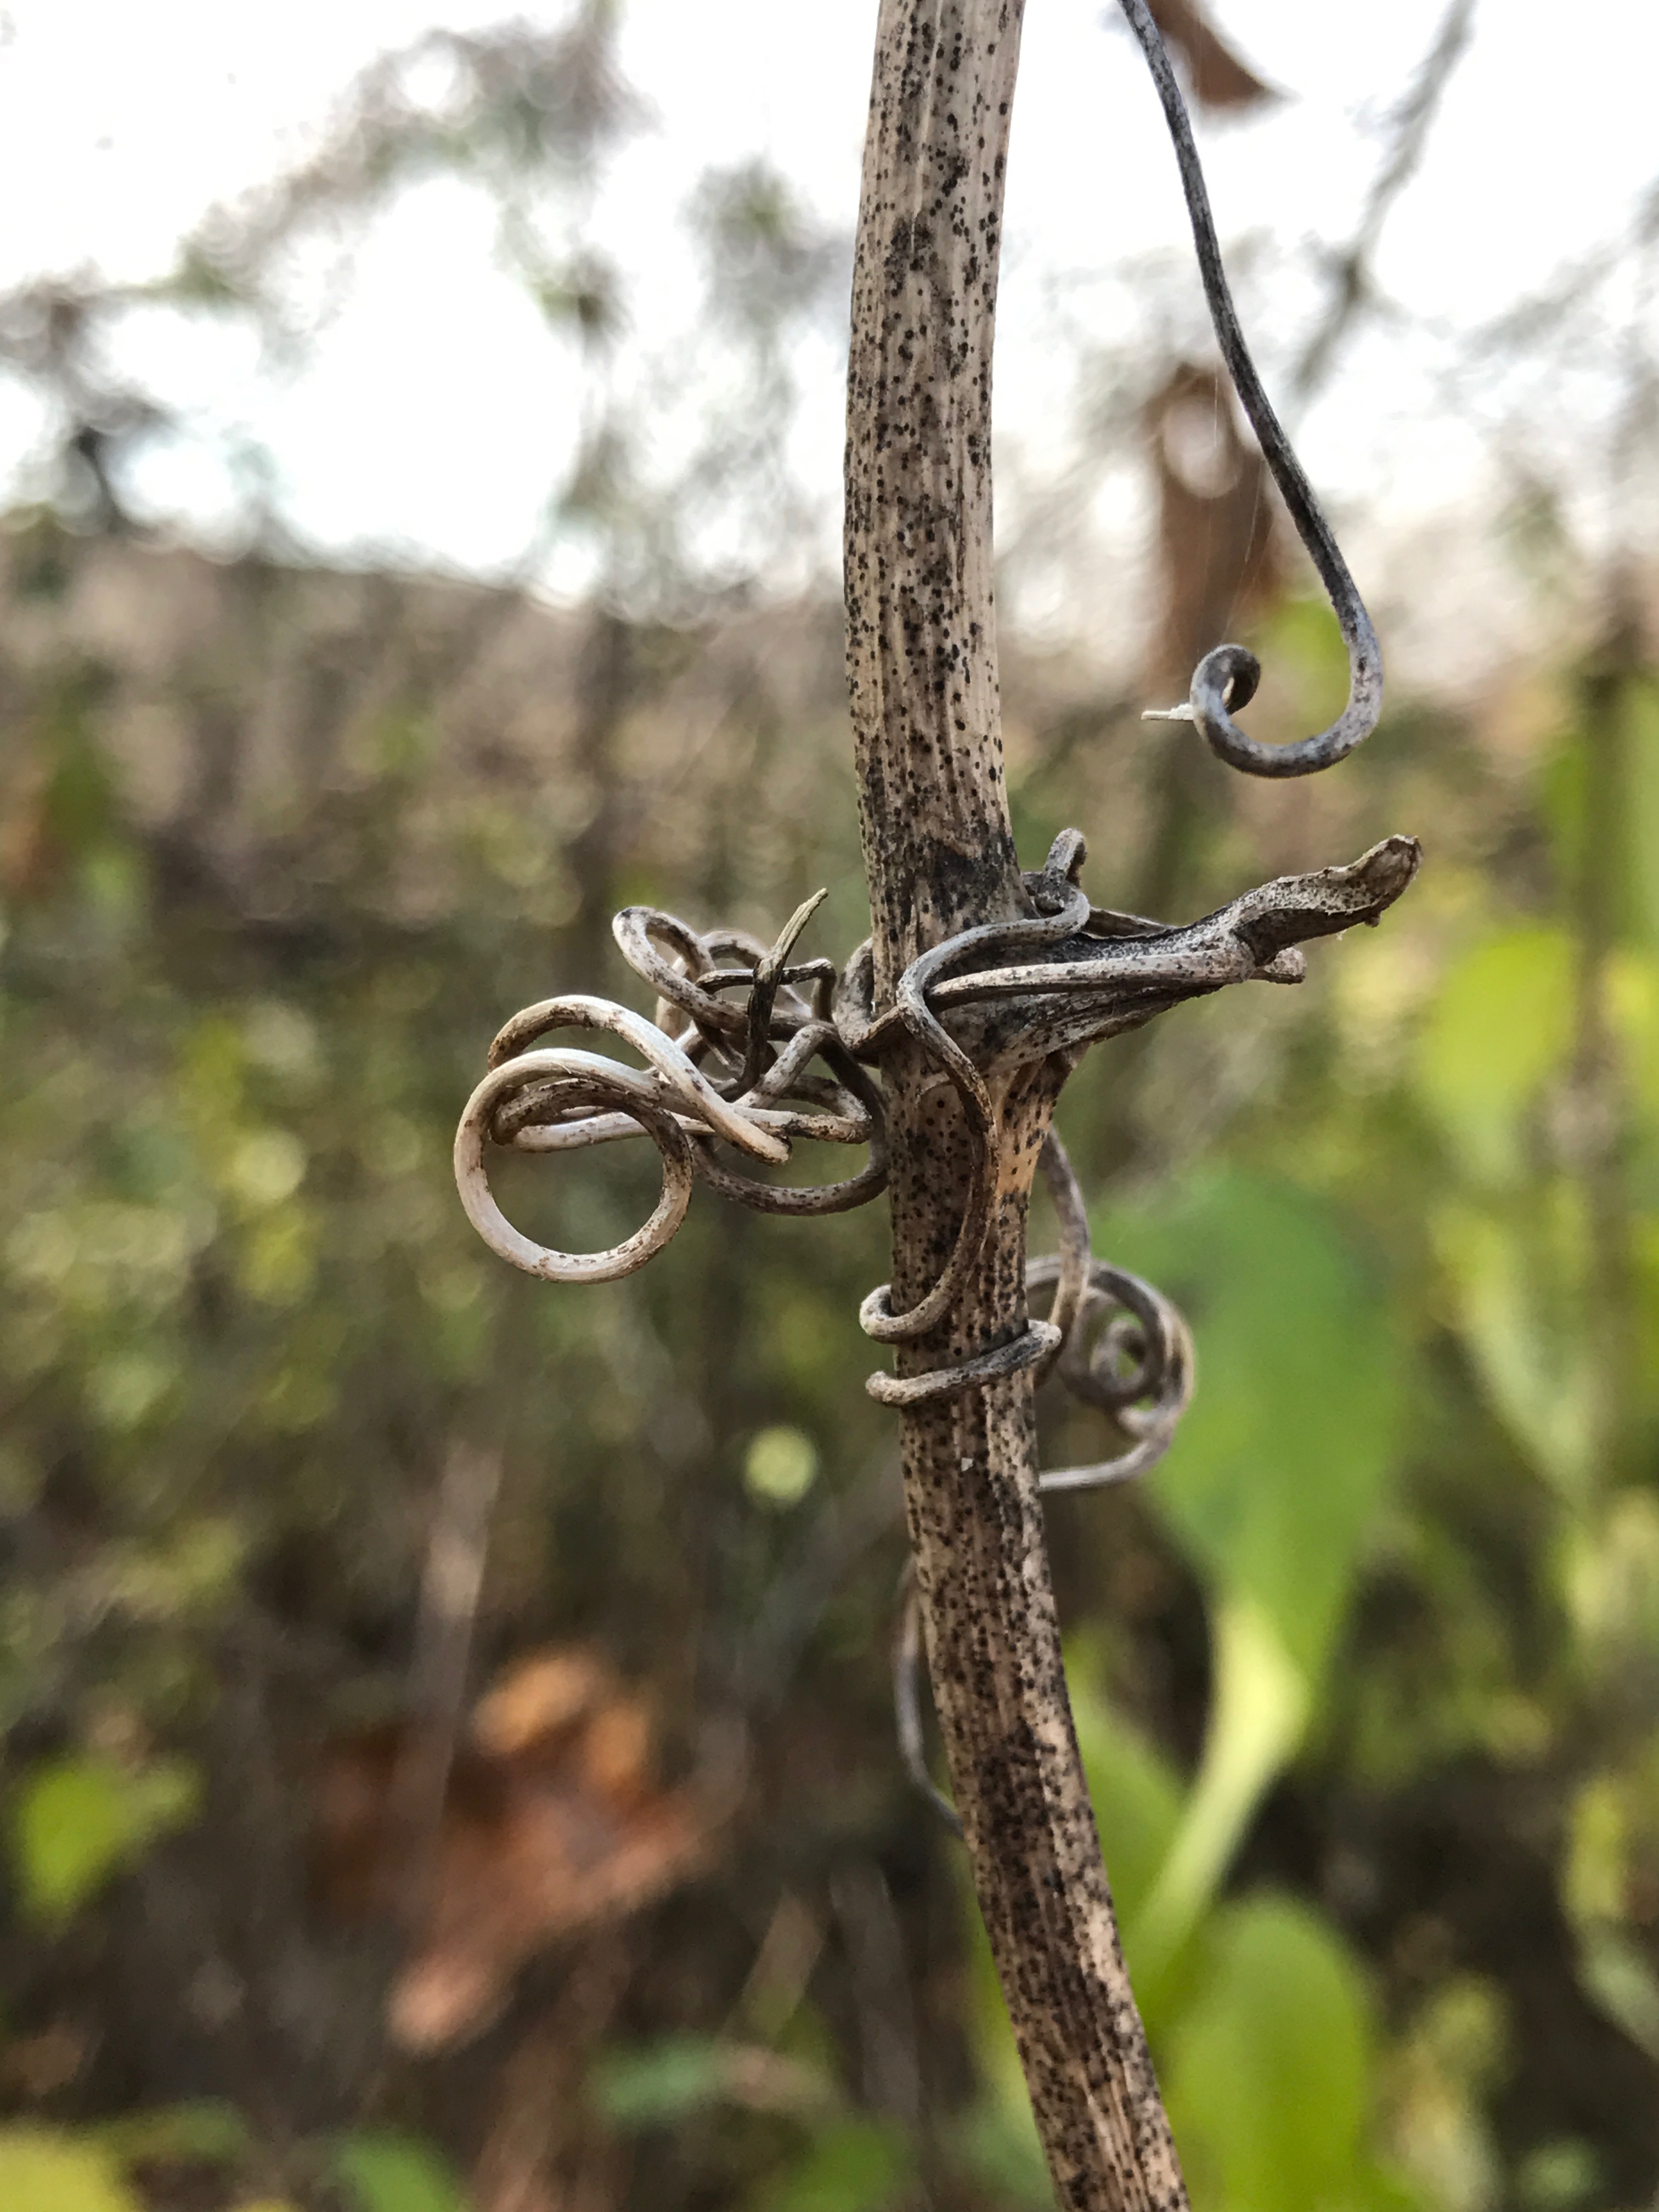
Flowers and Nature Photography

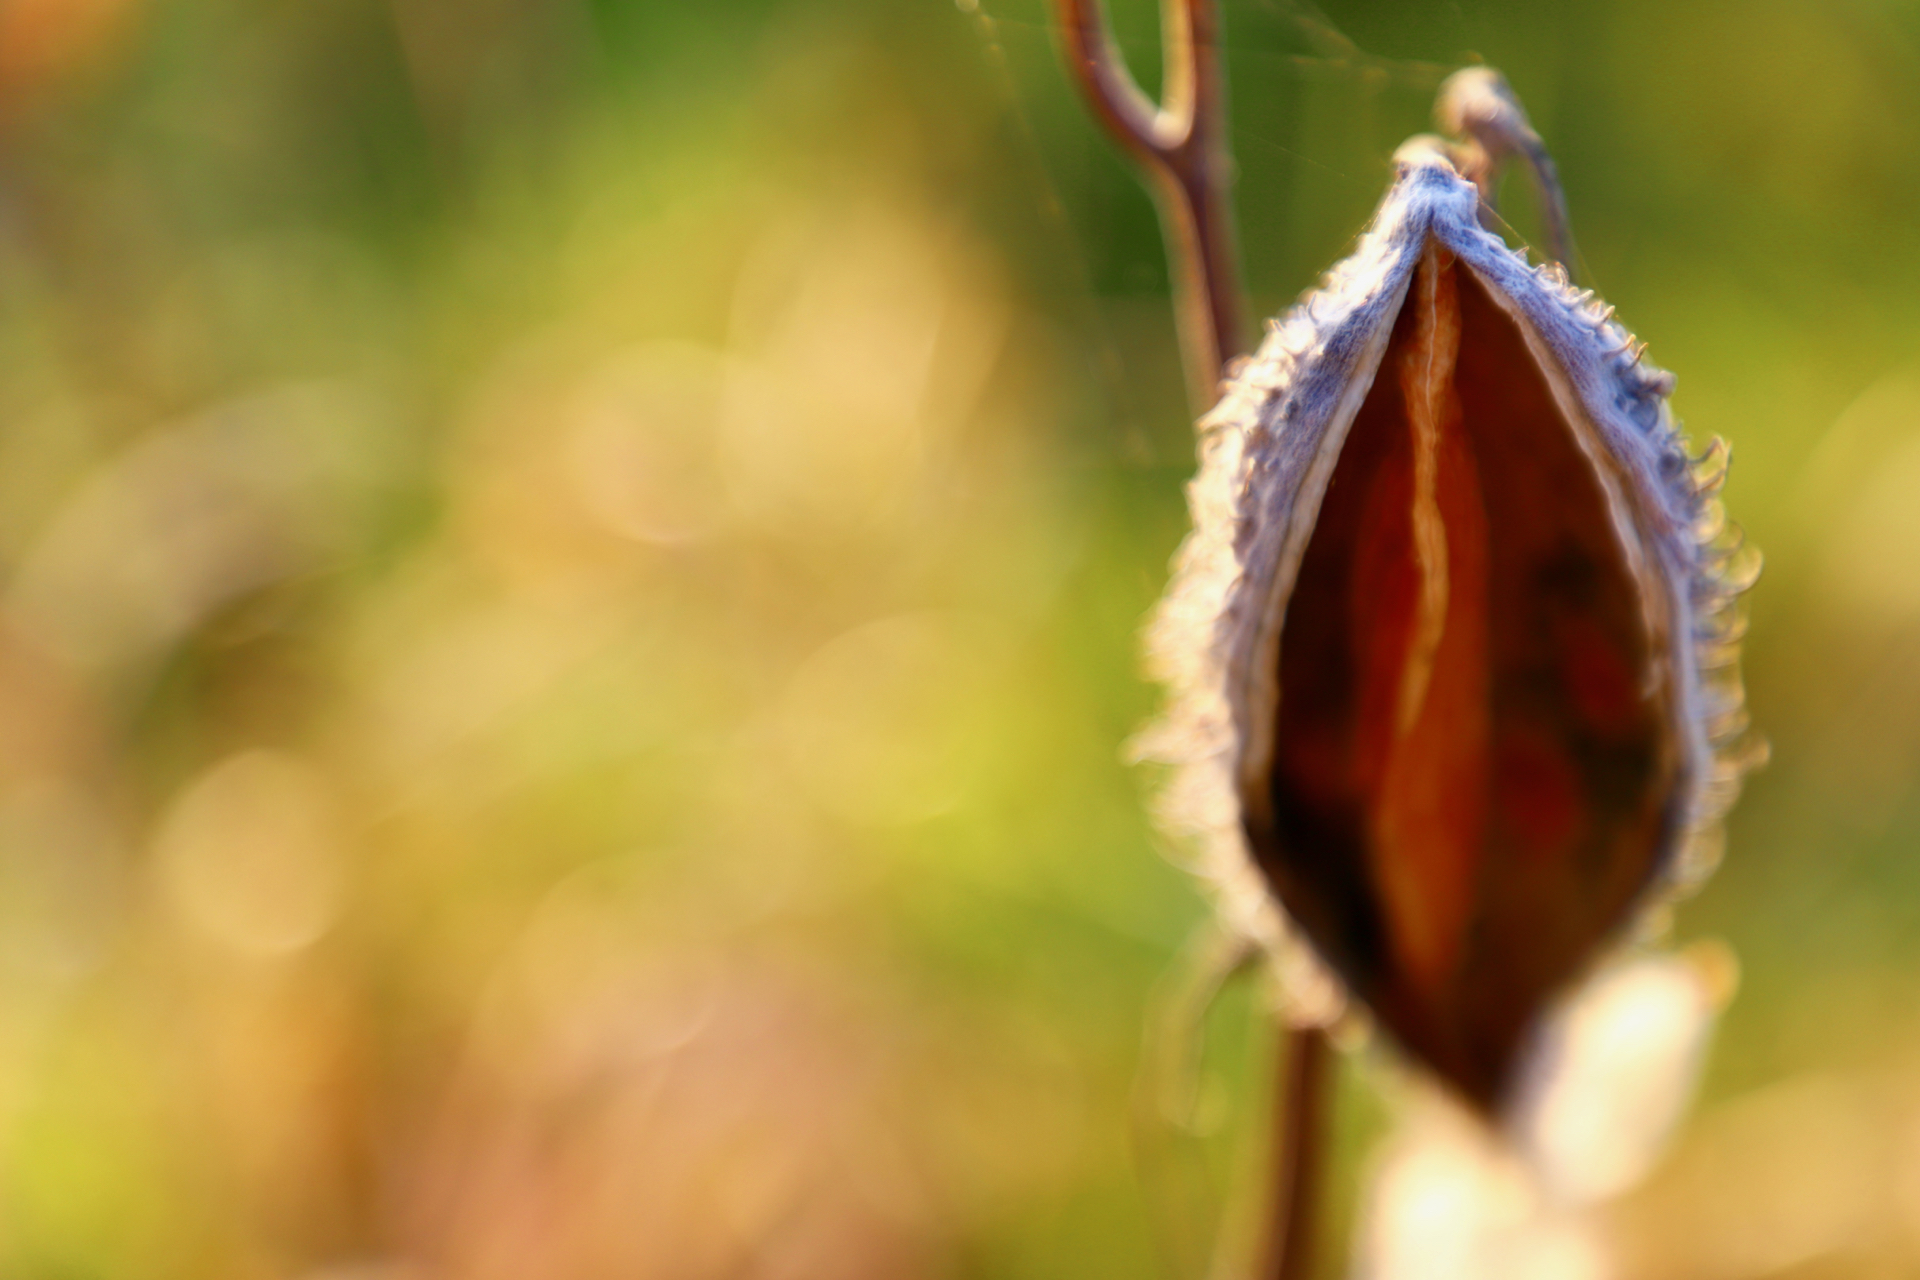
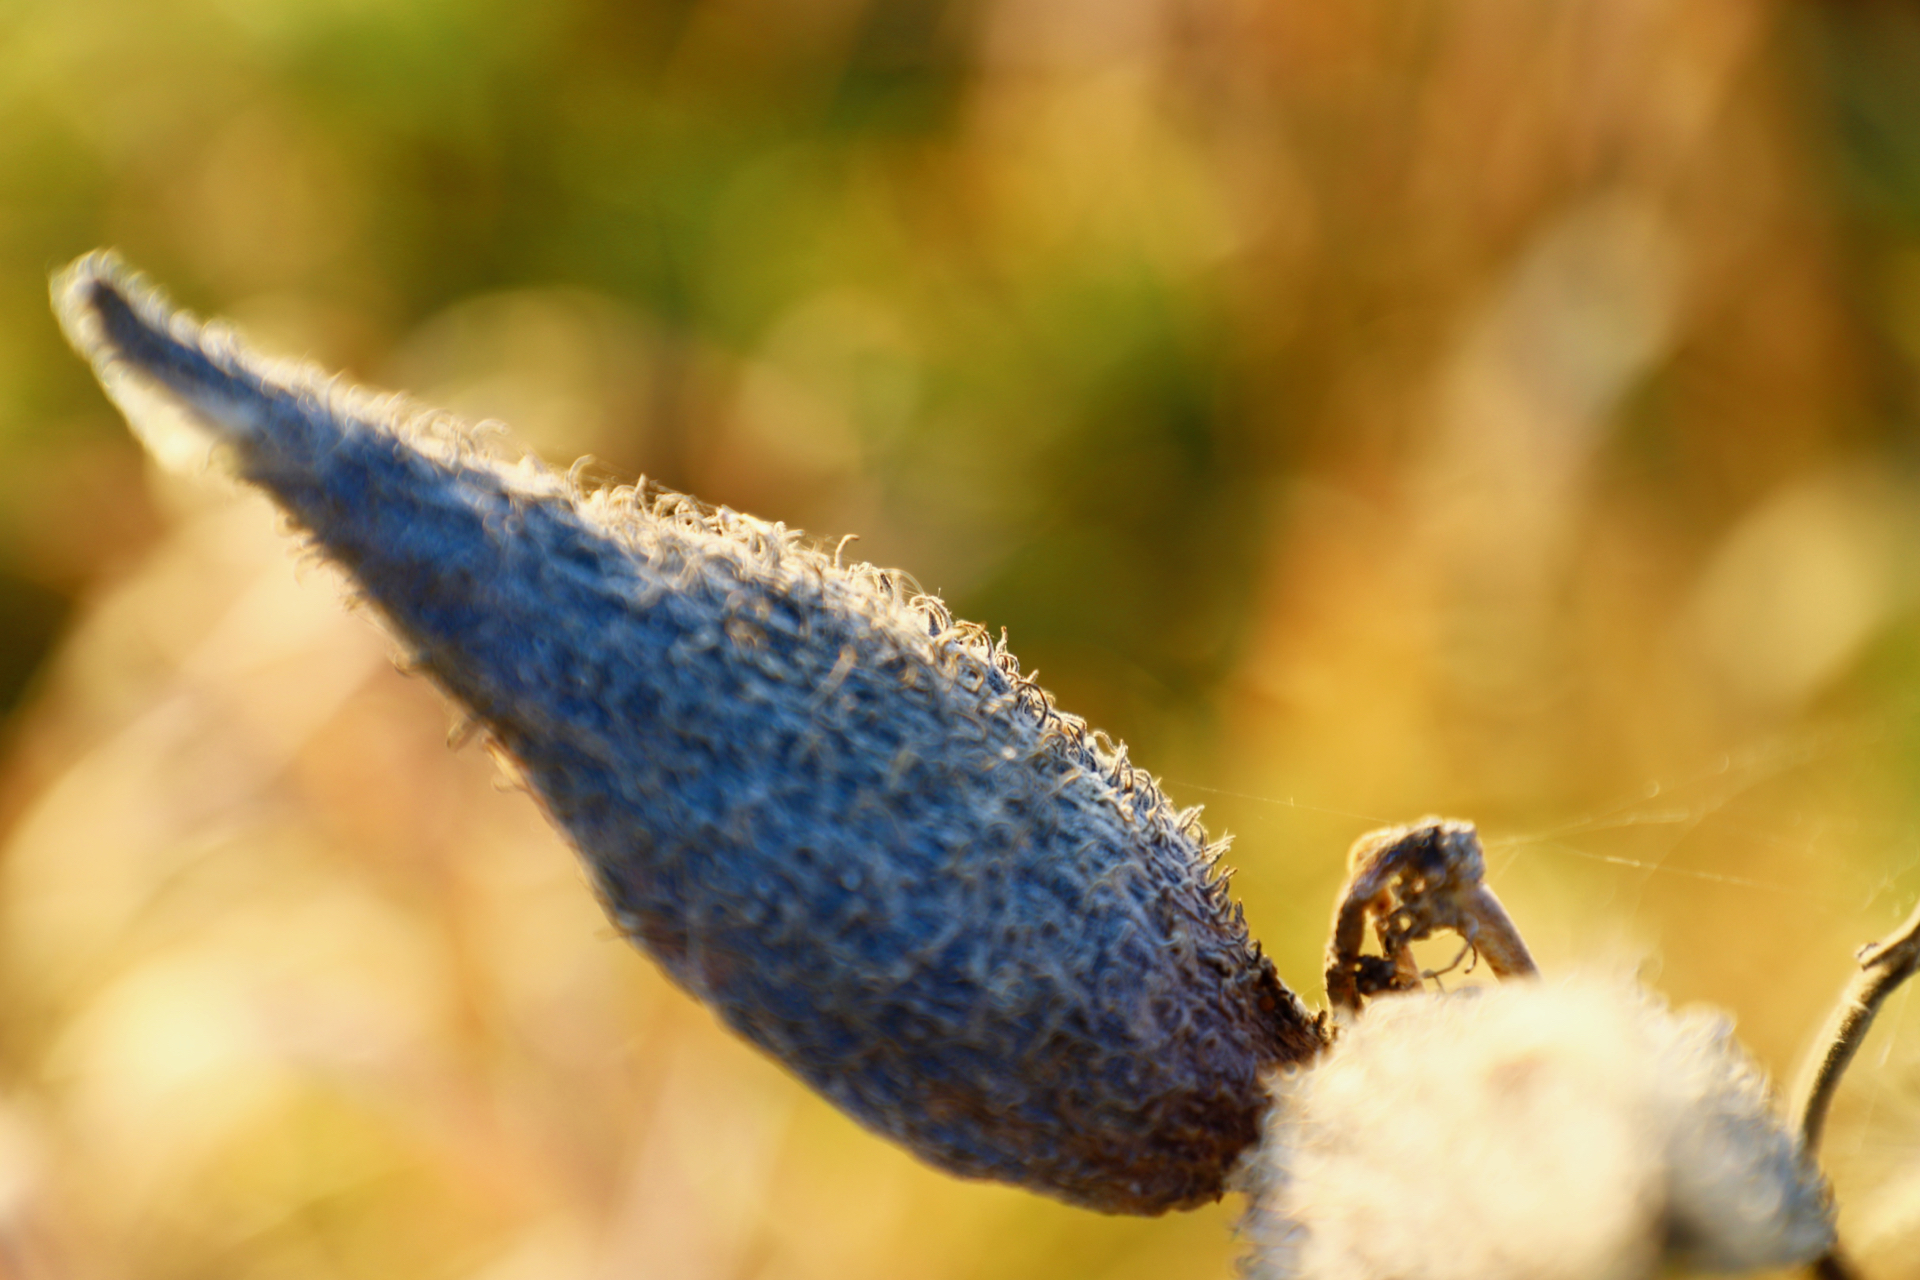
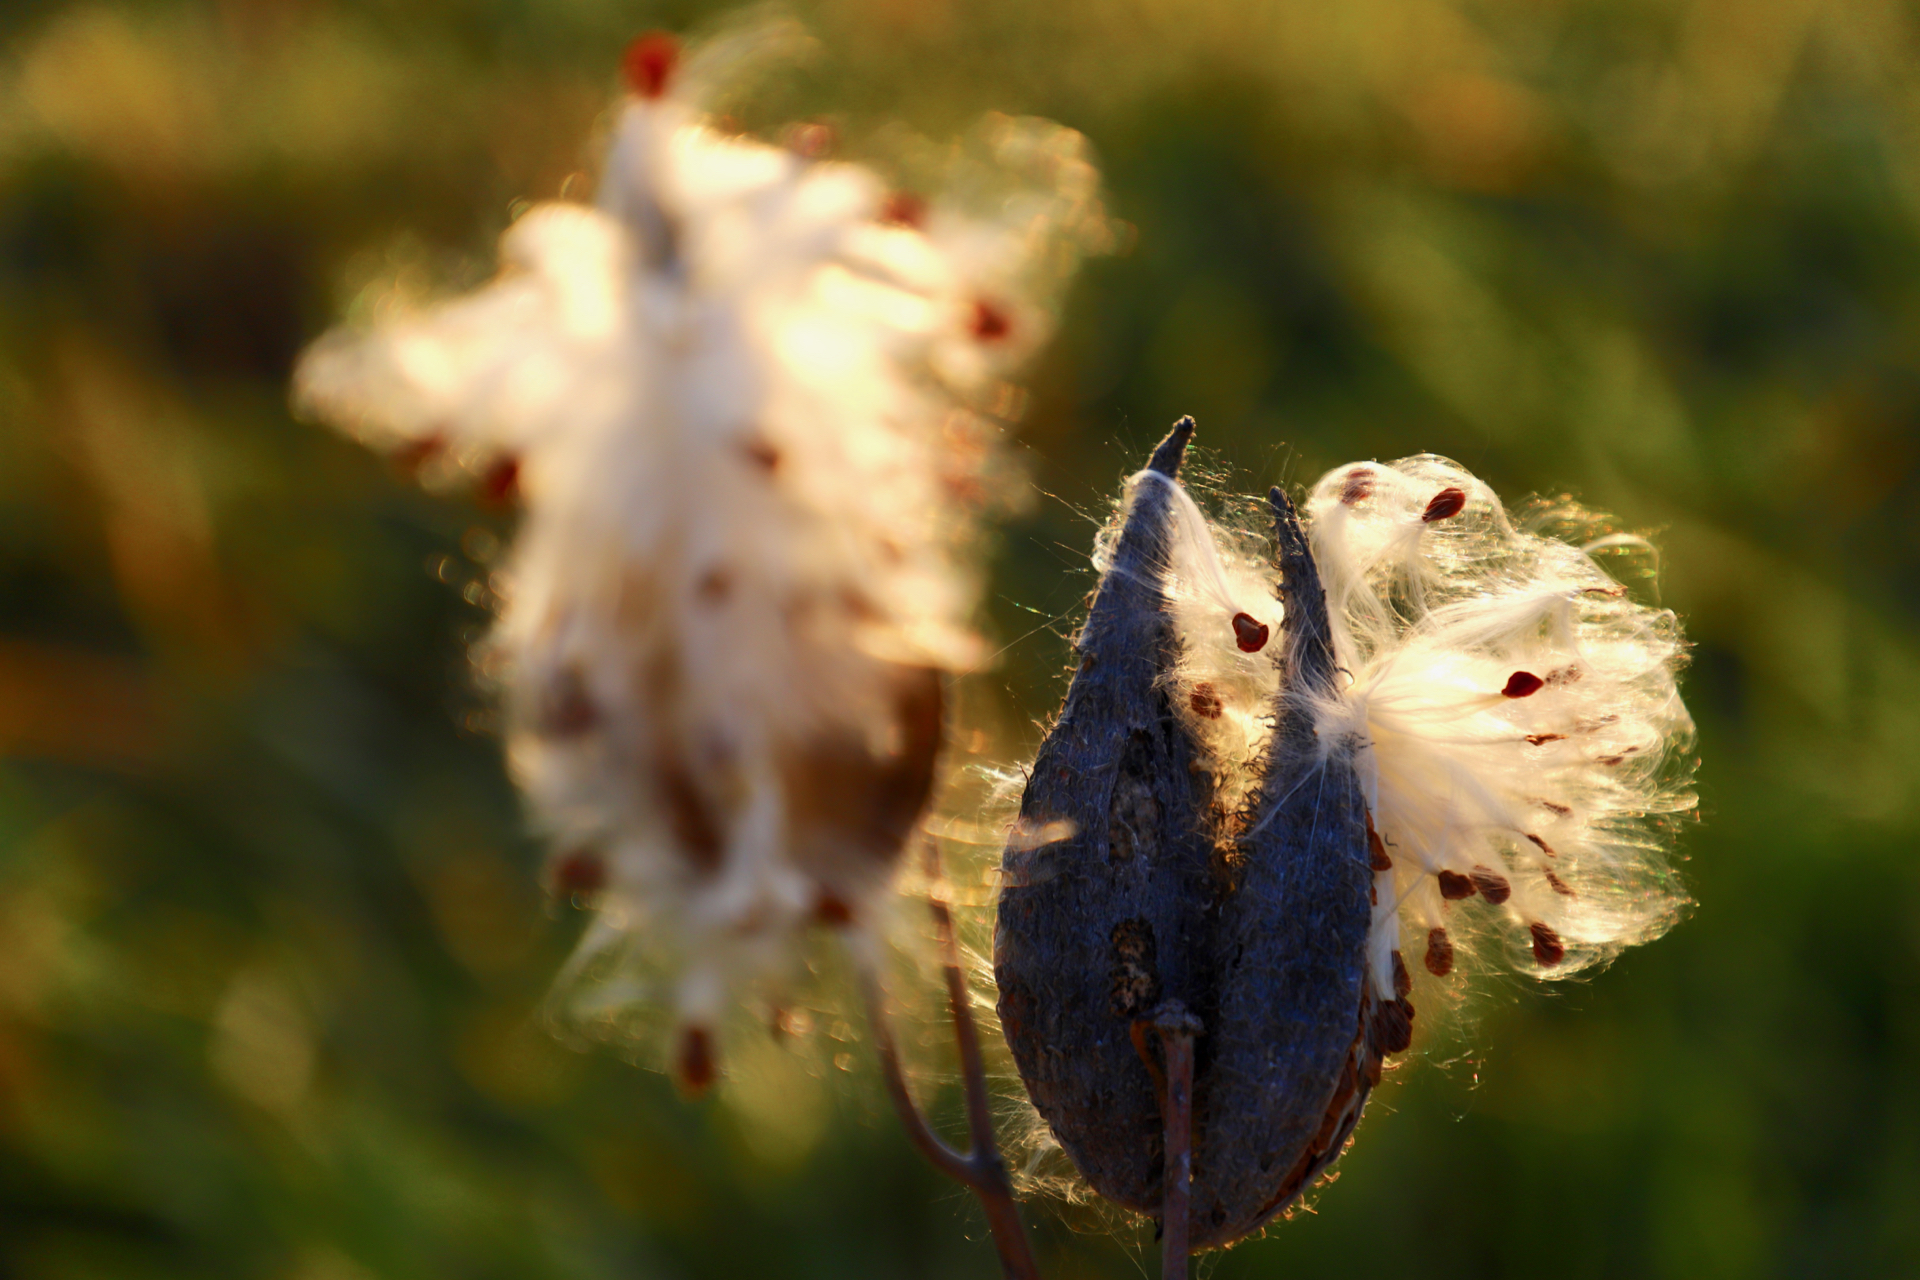
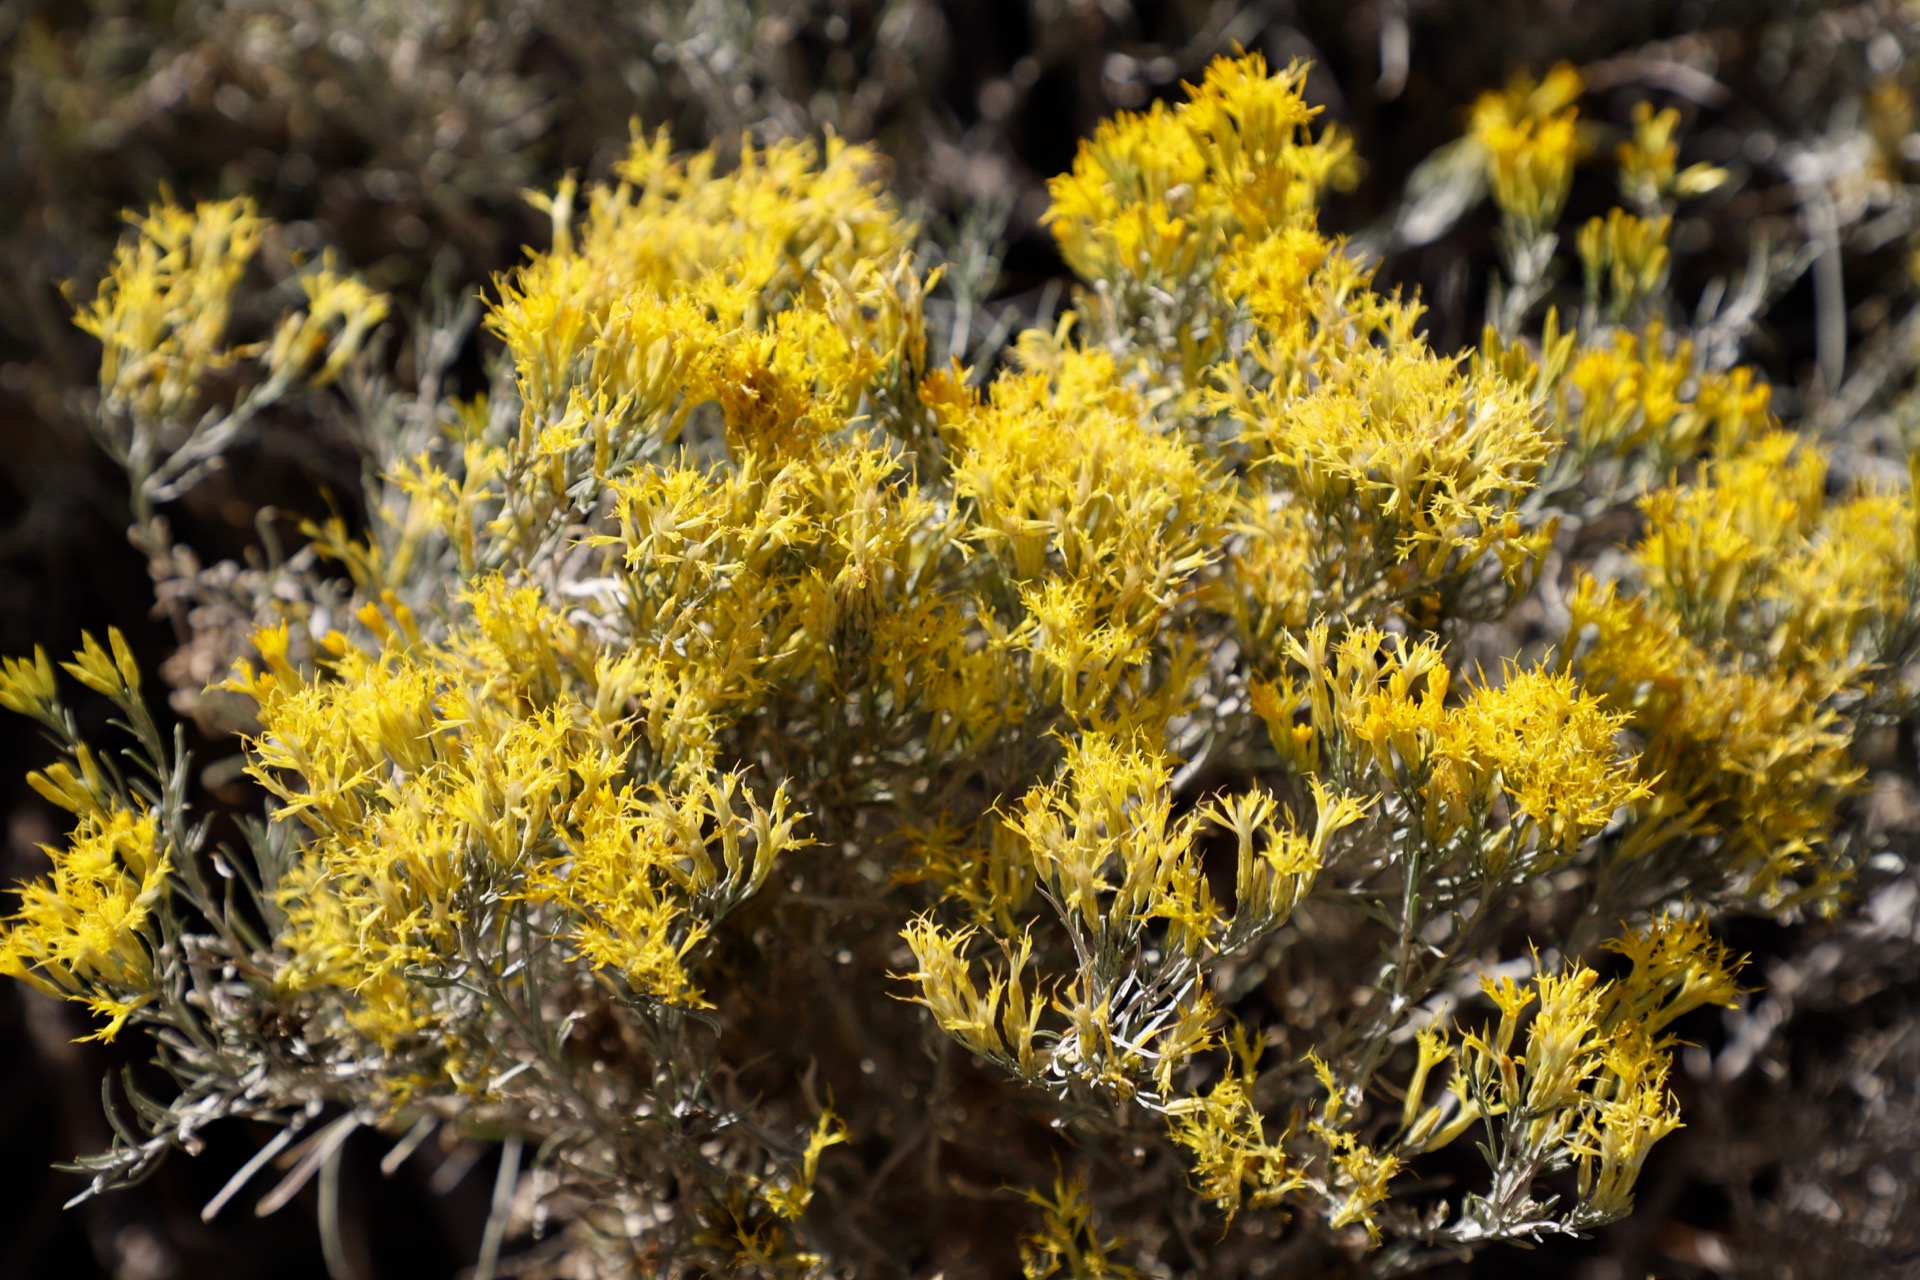
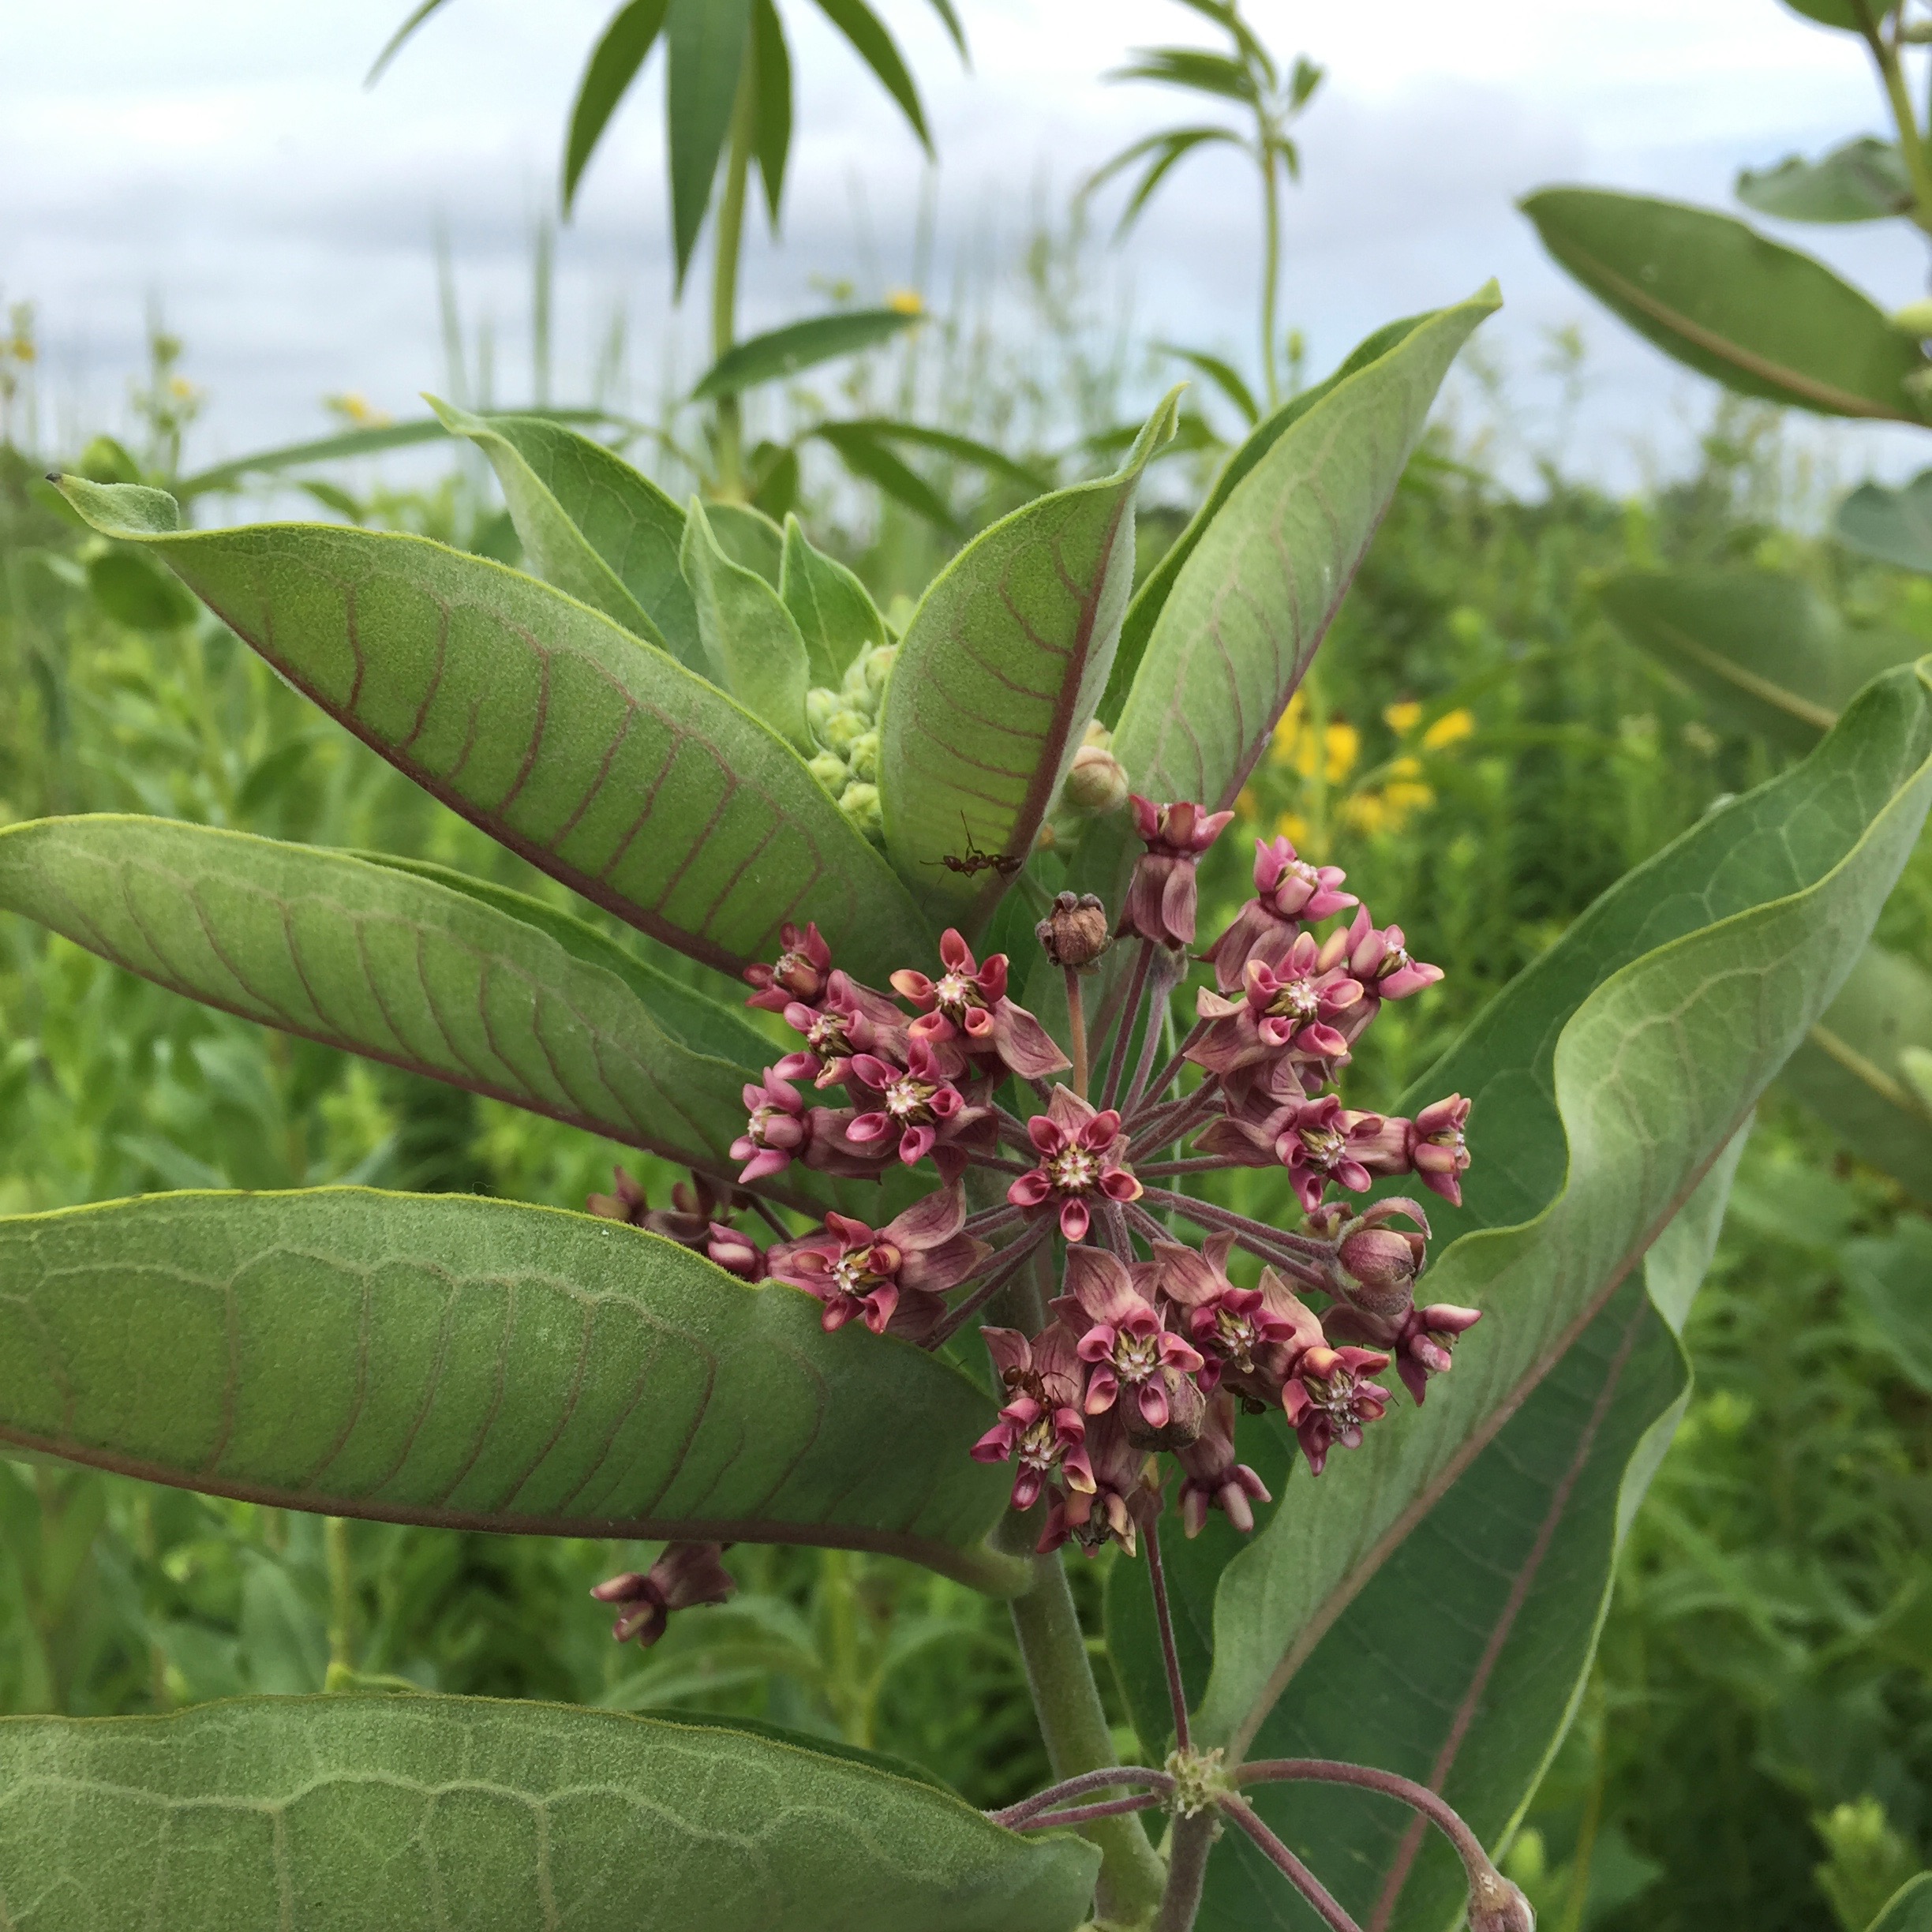
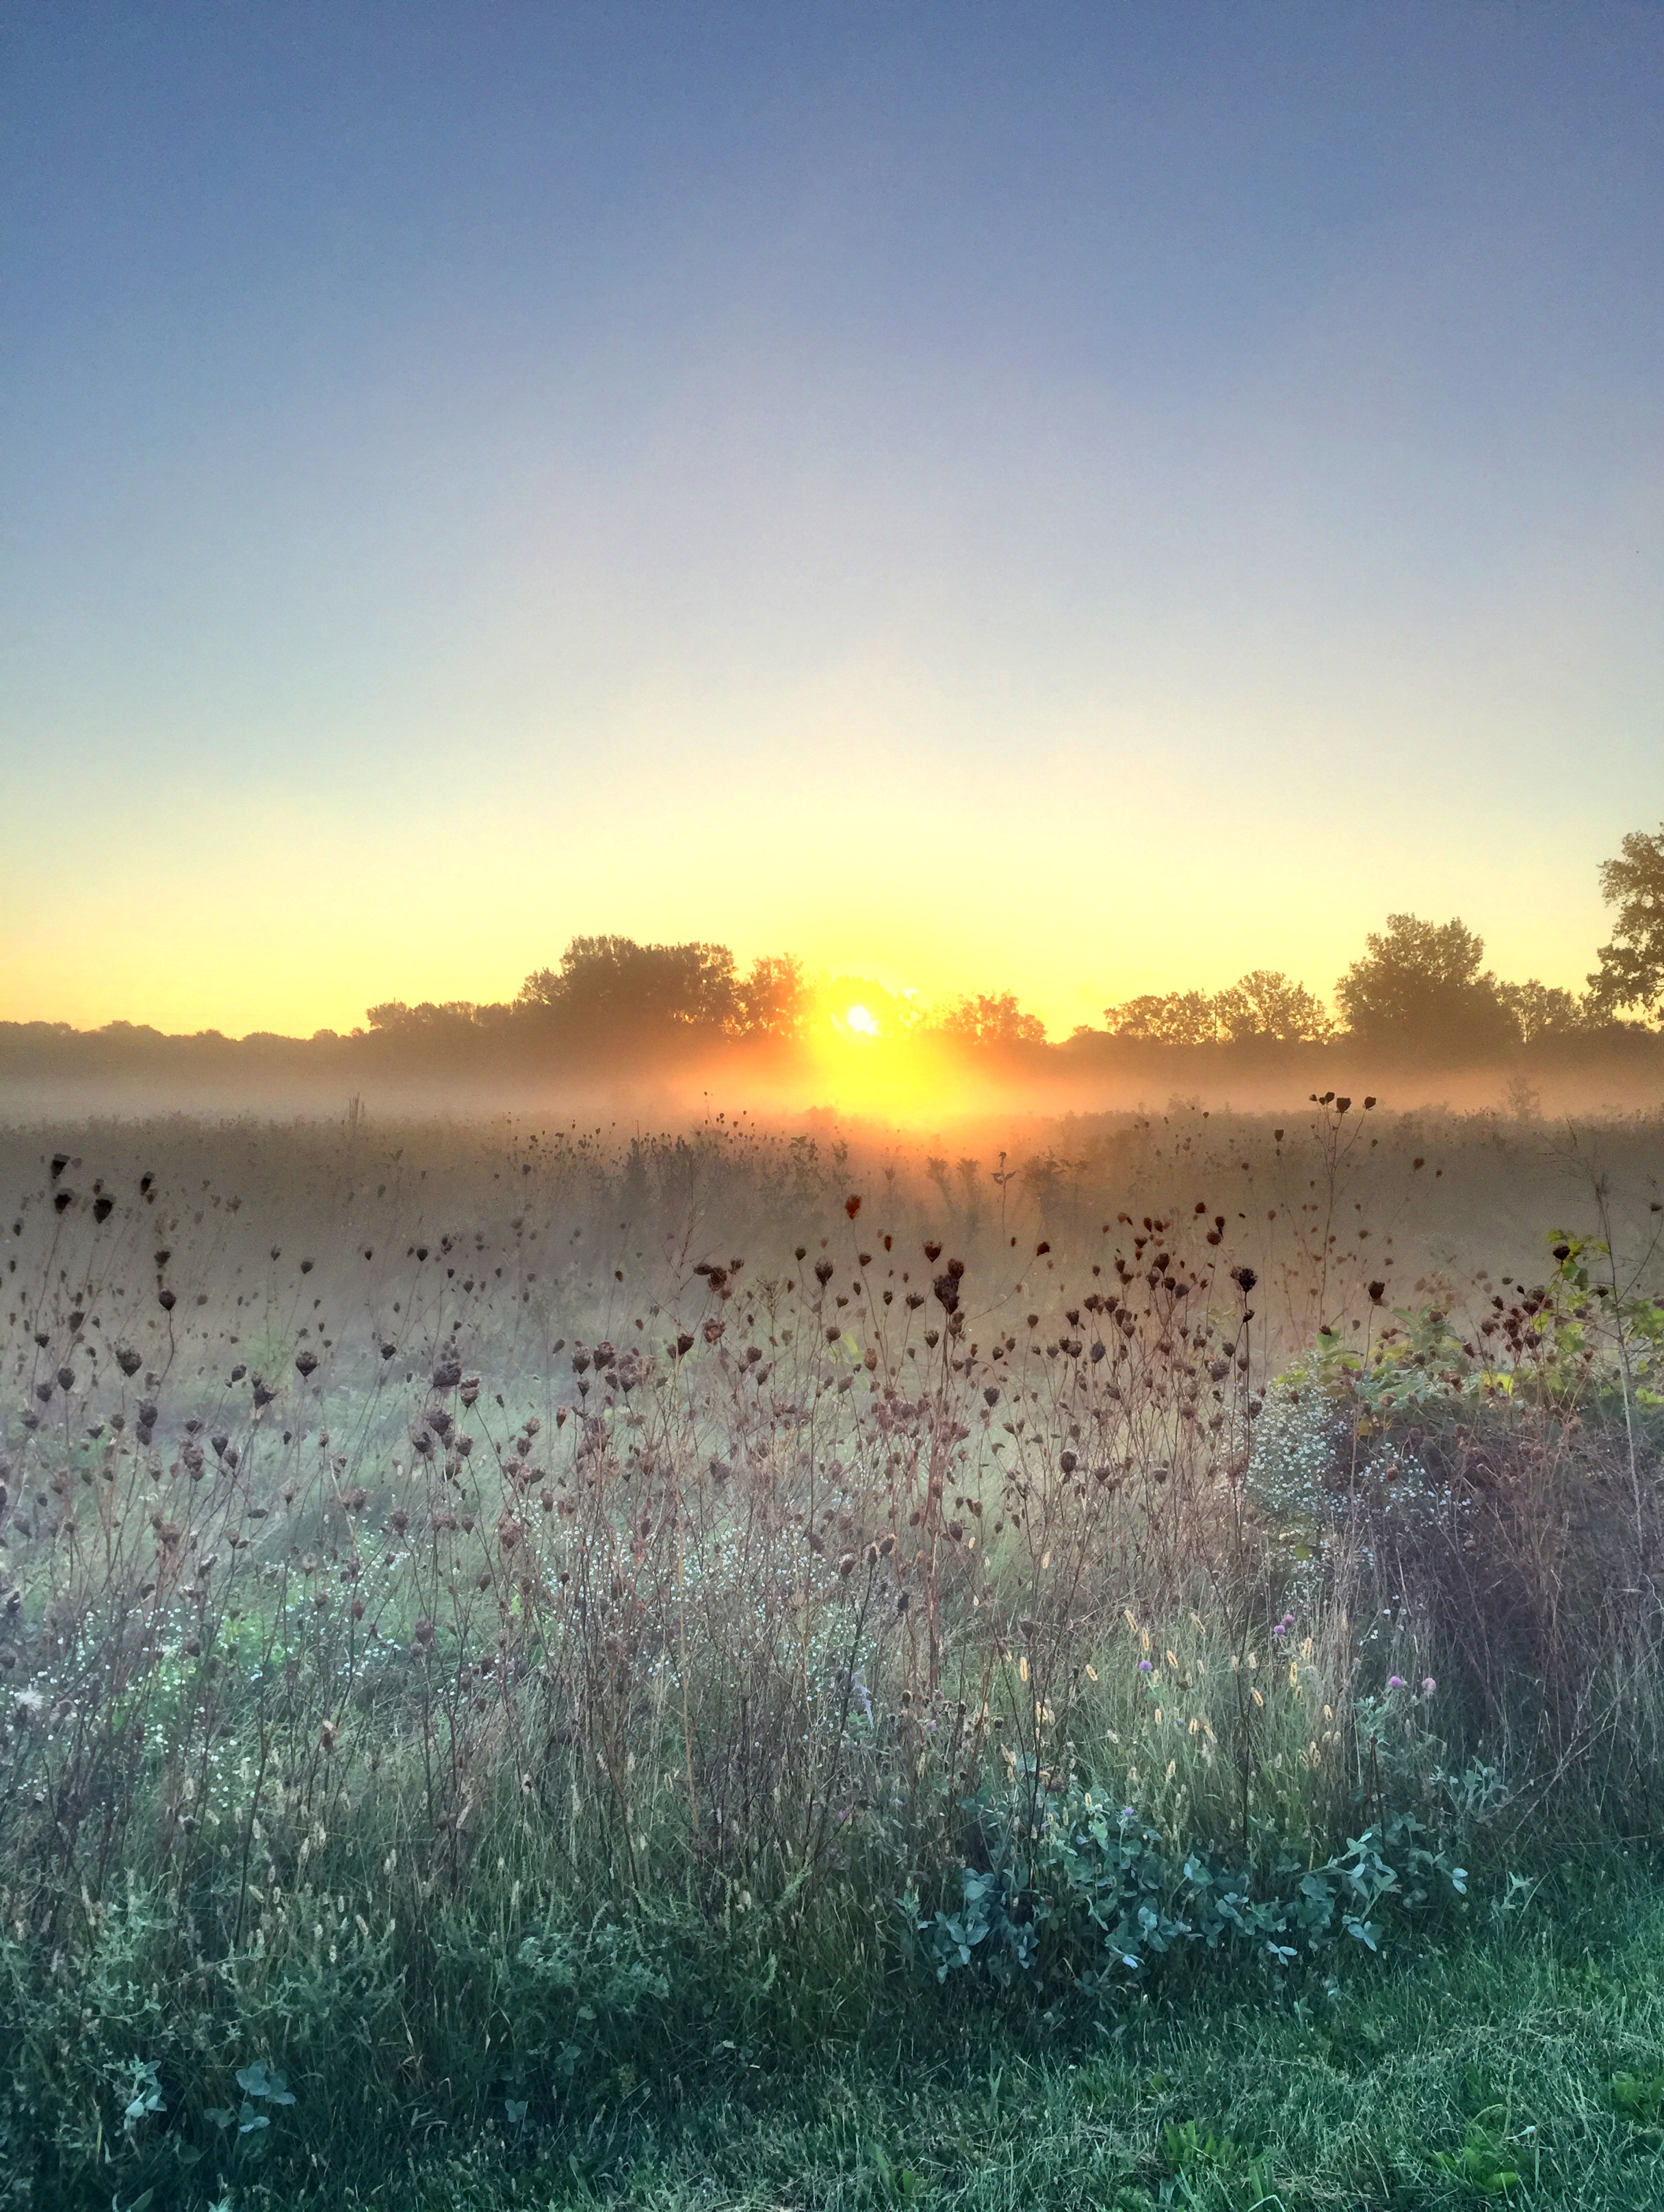
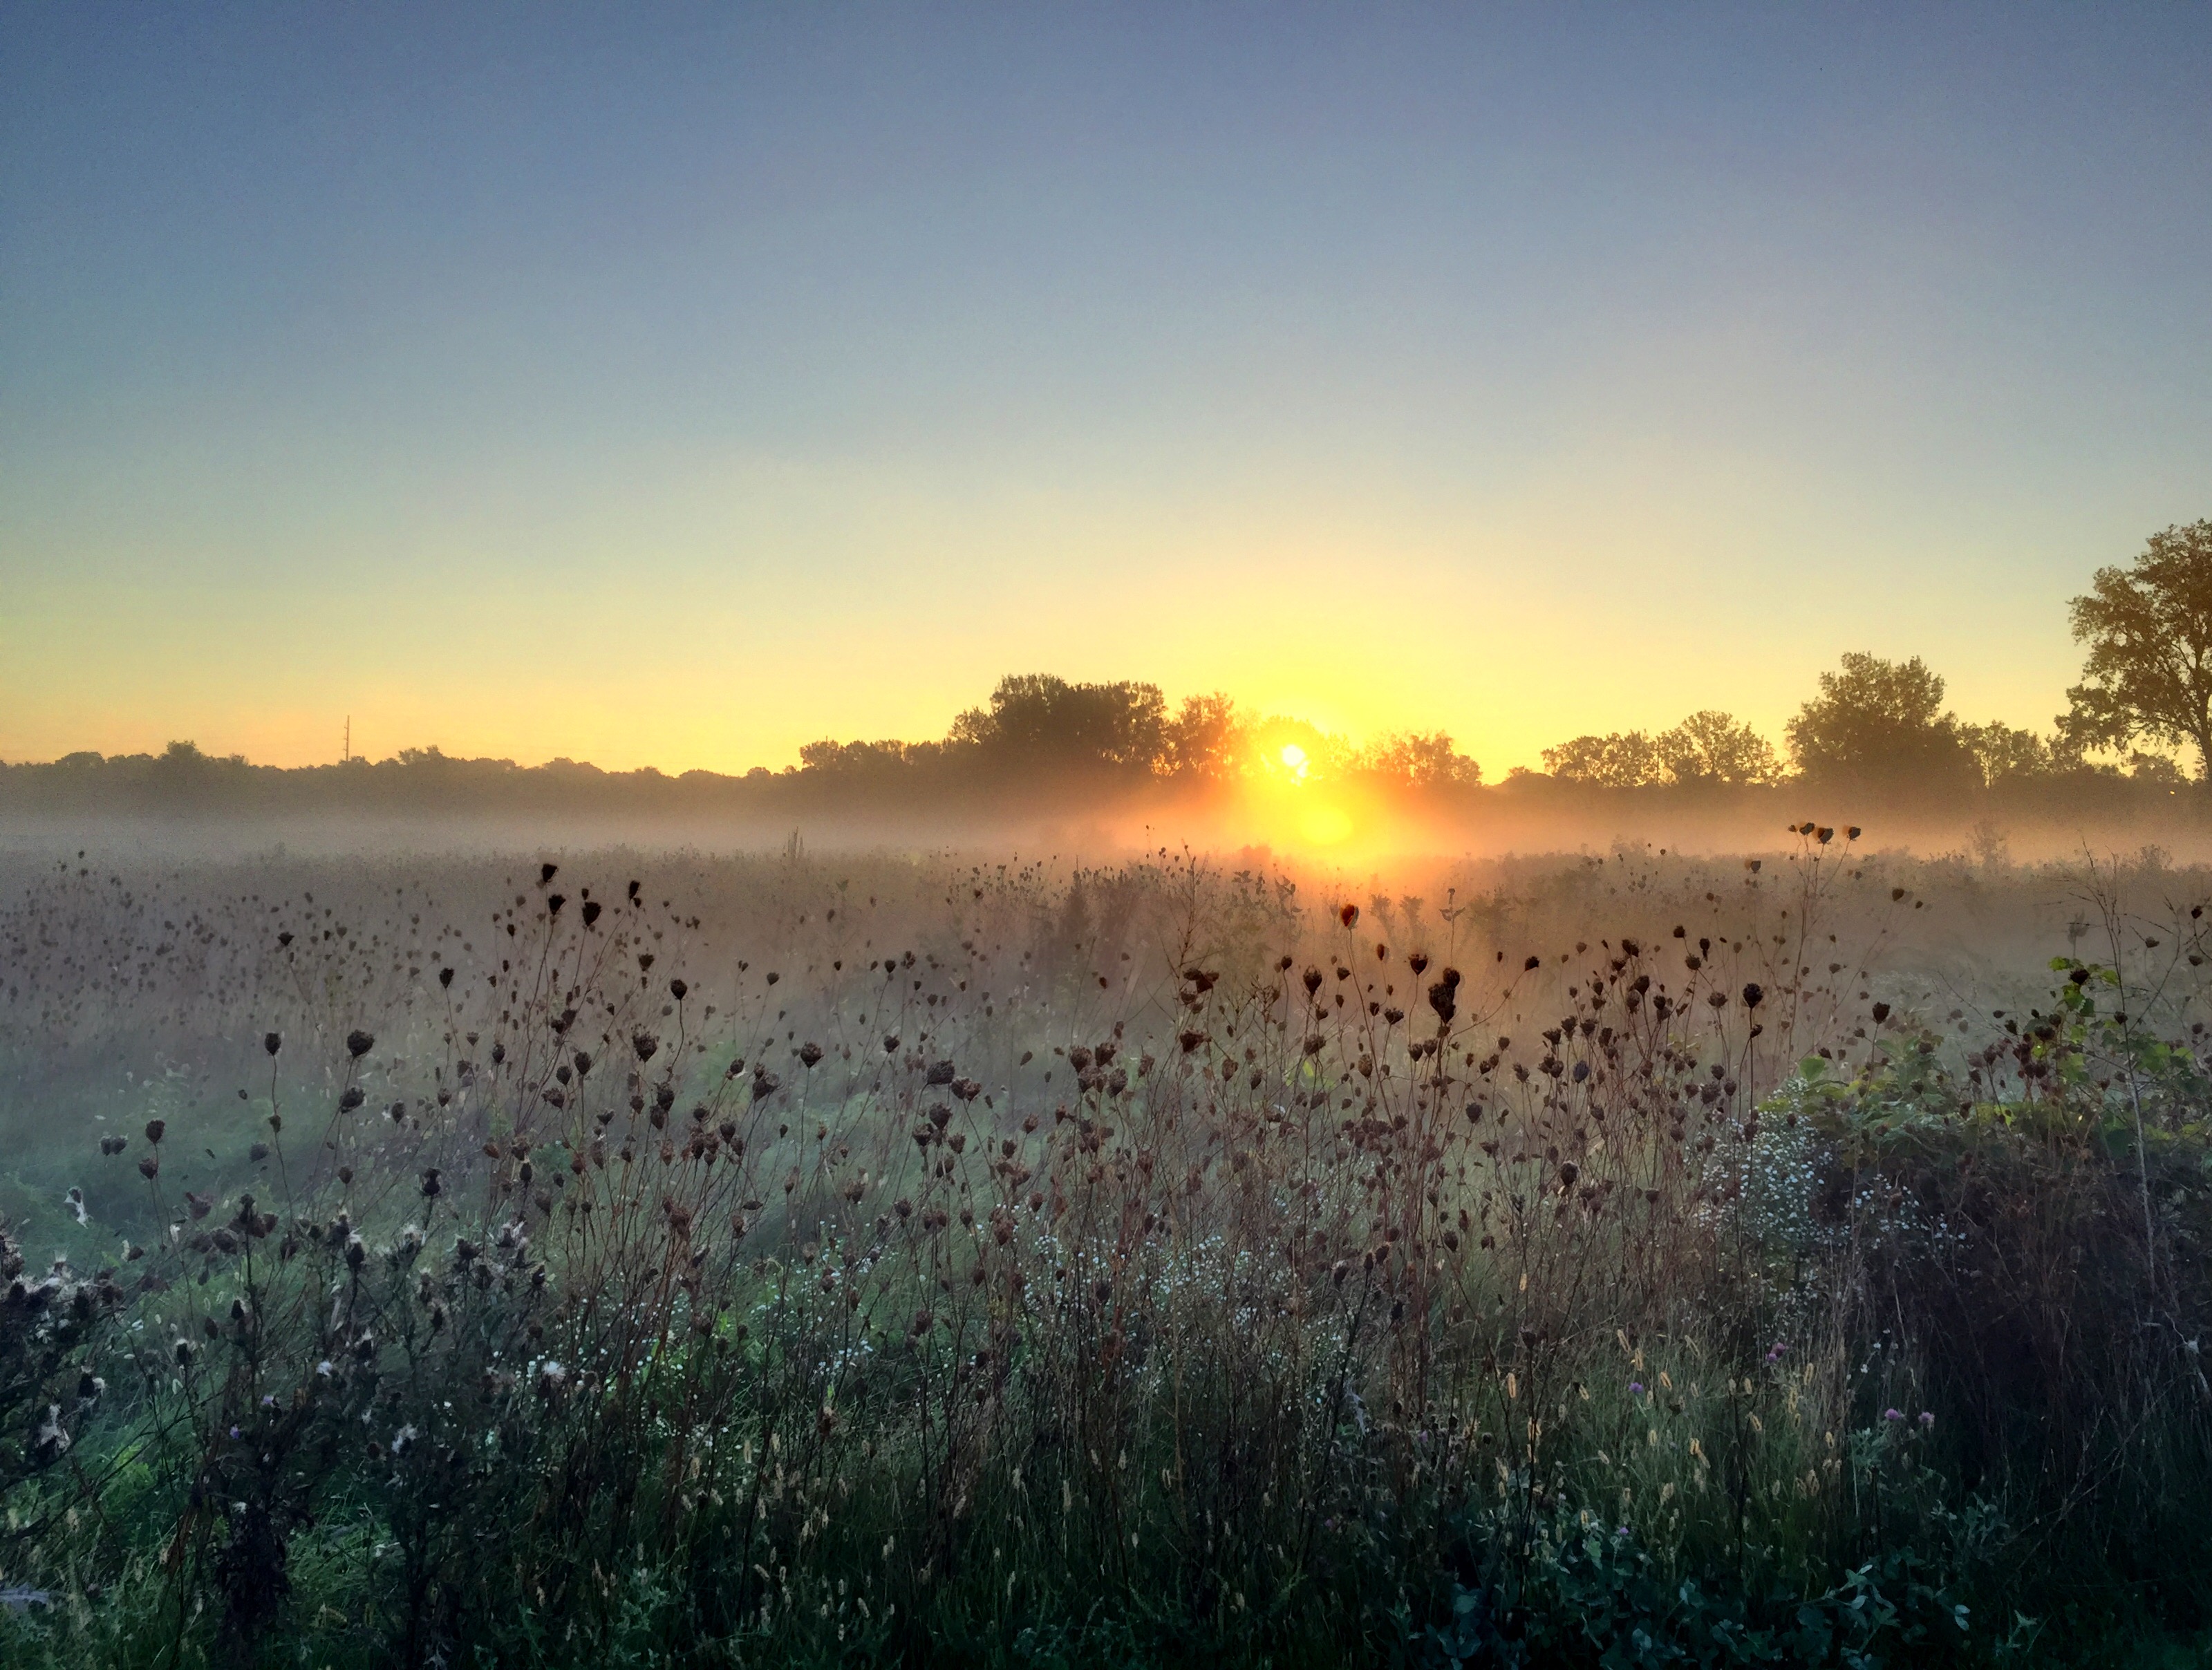
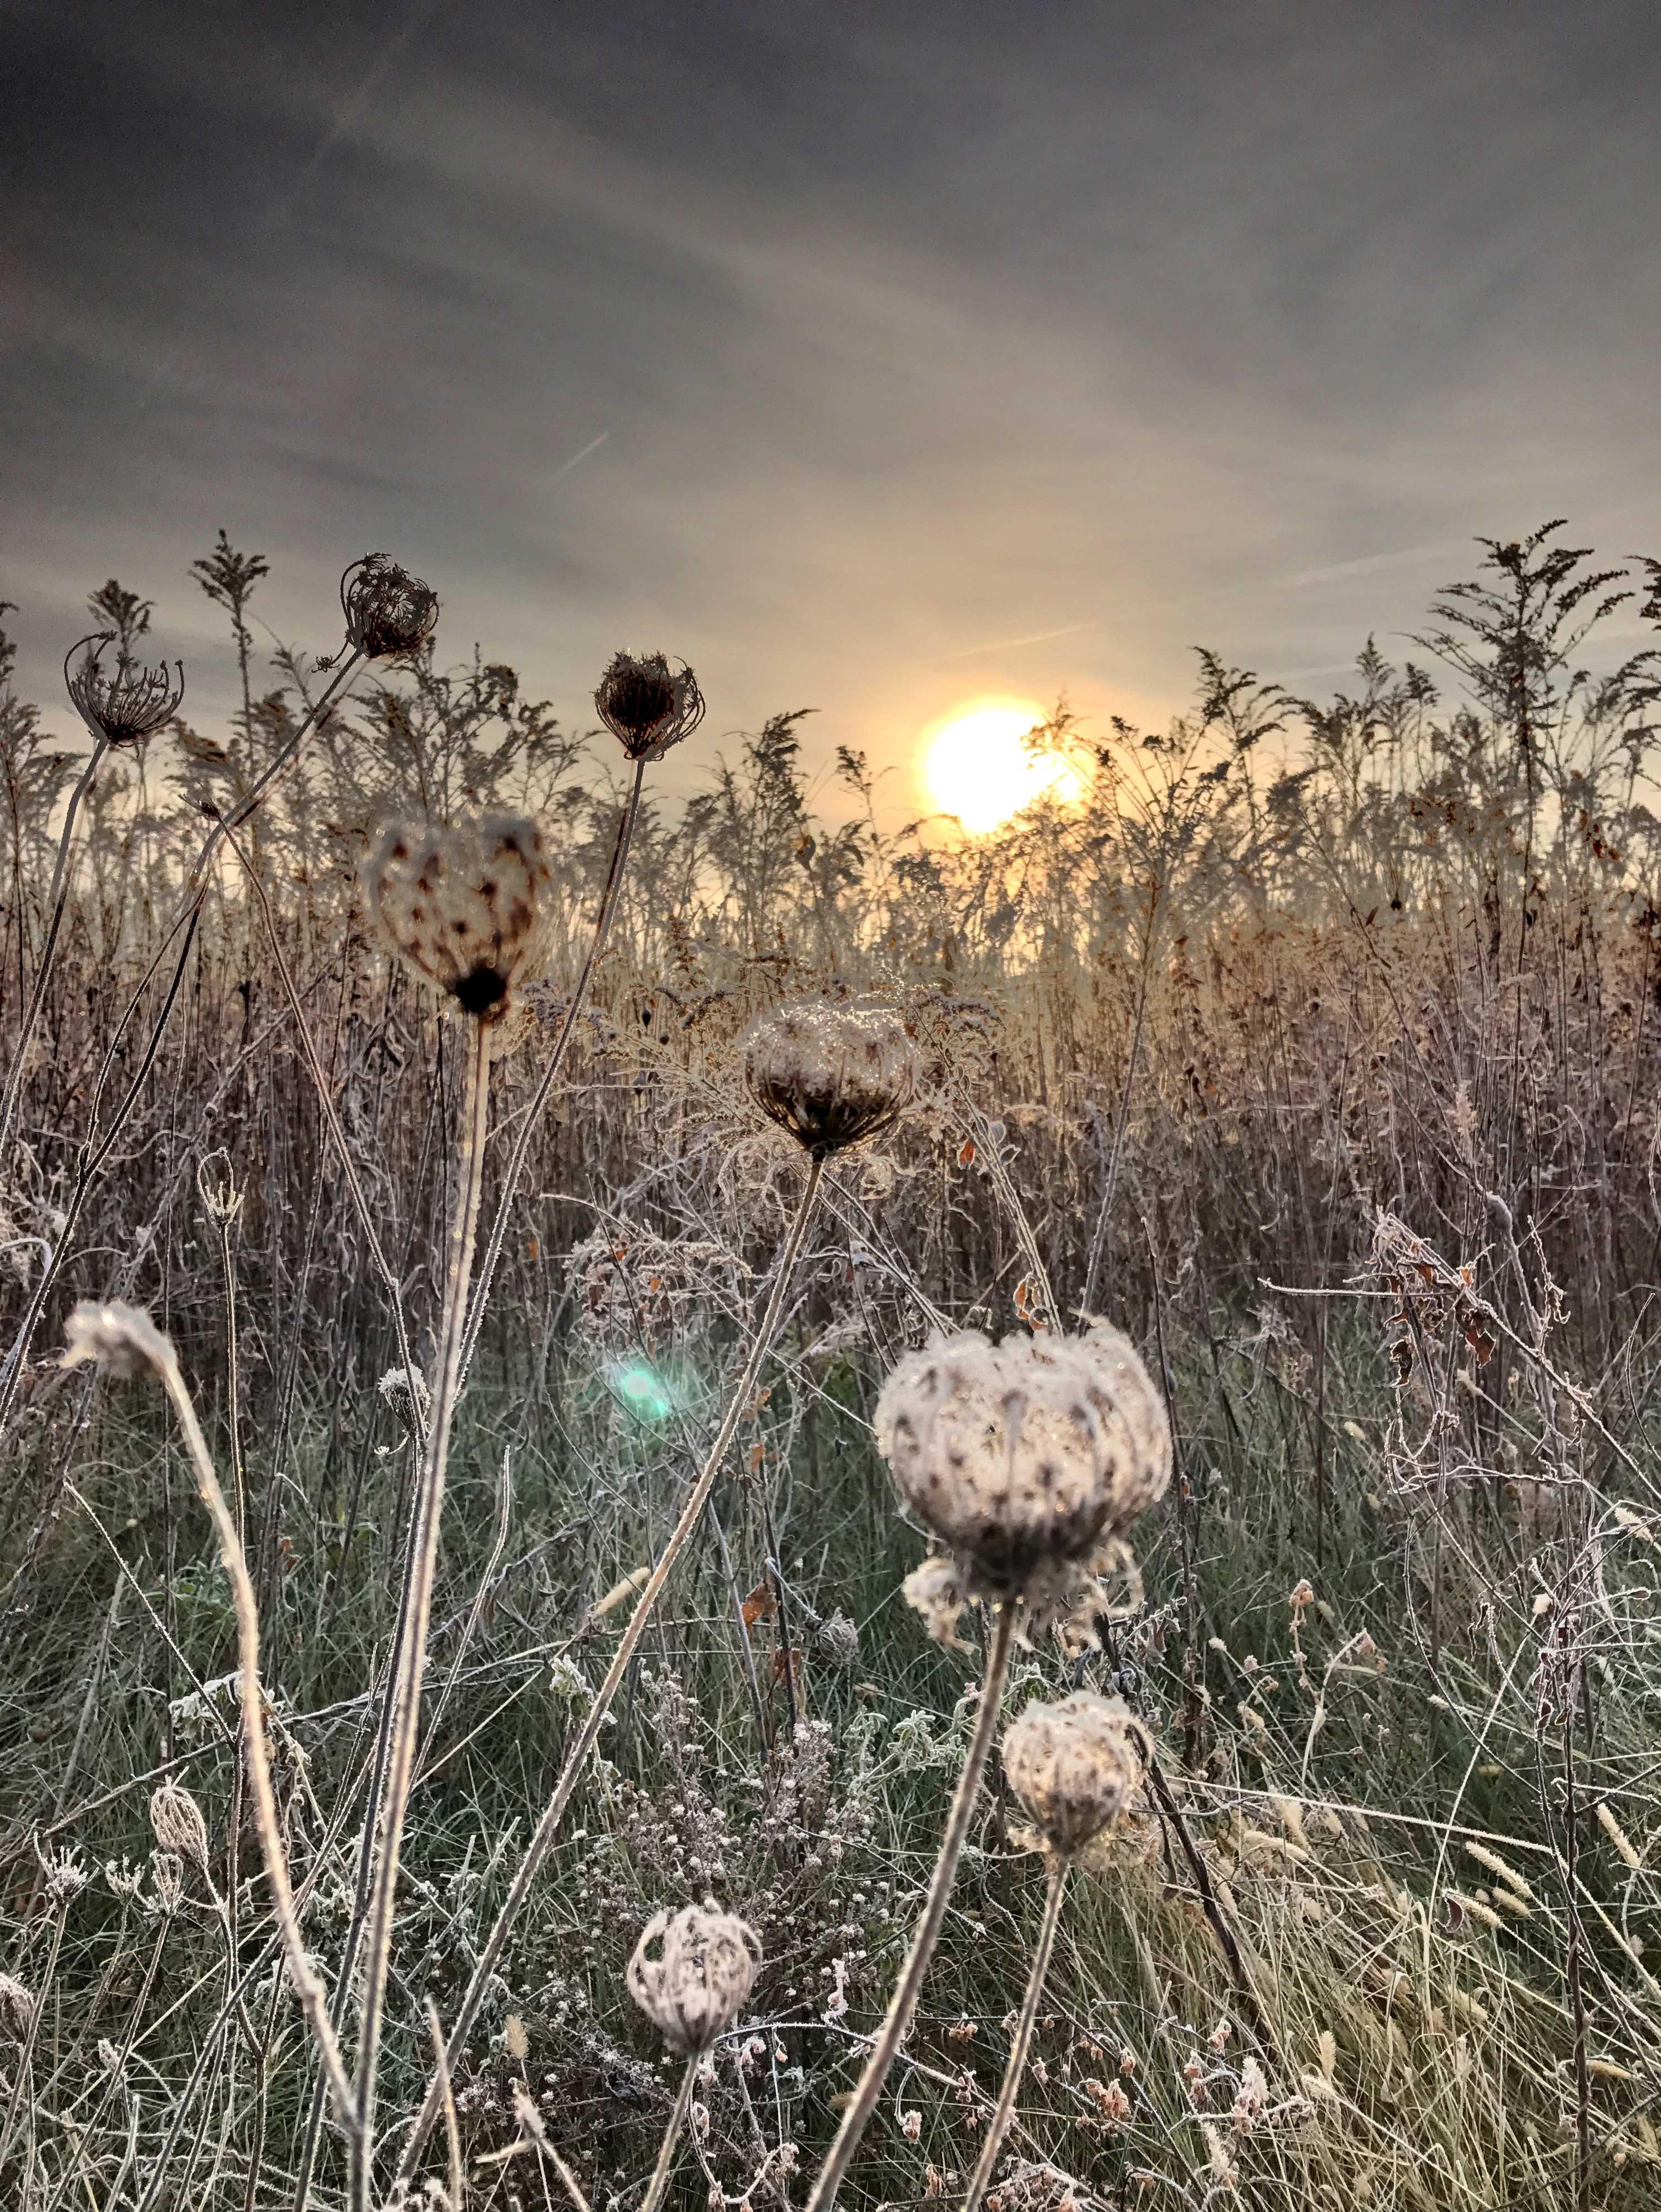
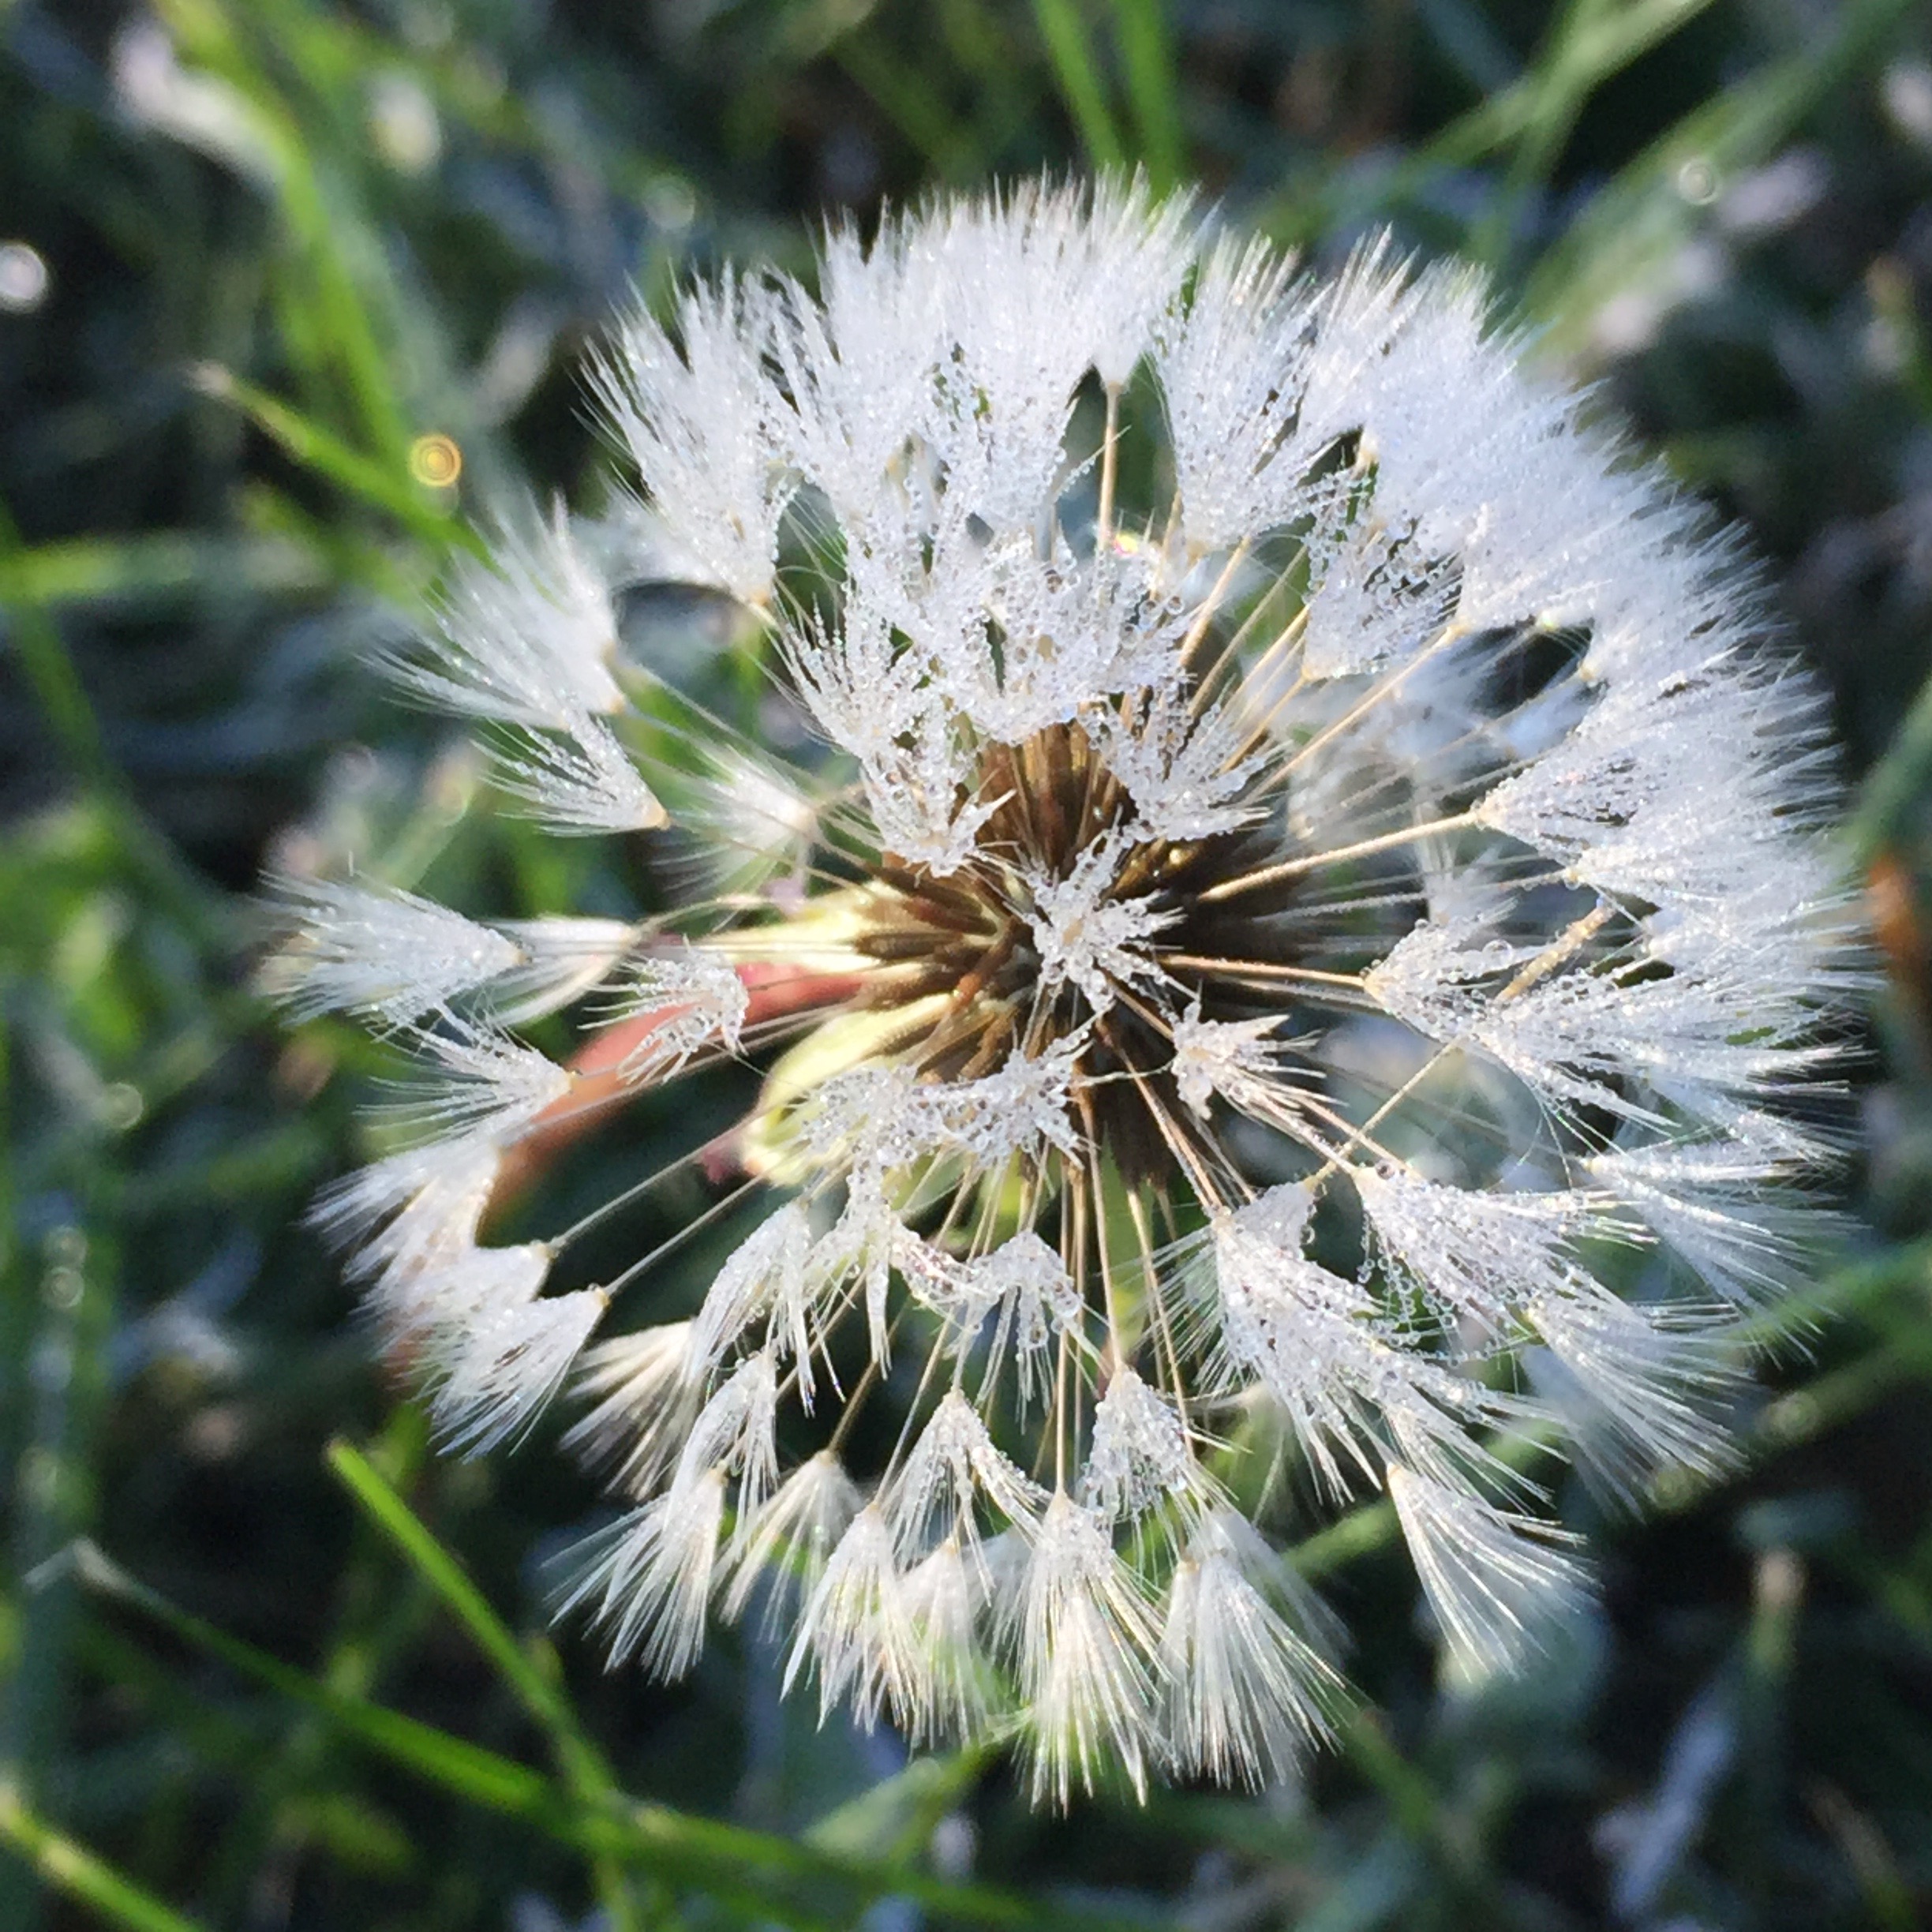
Below are some examples of nature photography taken with the iPhone 6 Plus which is at present 2-year-old technology. The dandelion photo with frost was taken in morning light as was the frost on a fence post photo. For these kinds of close up macro photos of stationary objects, one doesn’t need a fancy telephoto lens, so a smartphone actually does fairly well.

20161021at0845-photo-of-dandieion-frost-morning-light-taken-with-iphone-6-plus-by-greg-johnson-iowa-city-img_5815

20151204-frost-on-fence-post-photo-taken-with-iphone-6-plus-by-greg-johsnon-iowa-city-2448x2448-img_4169

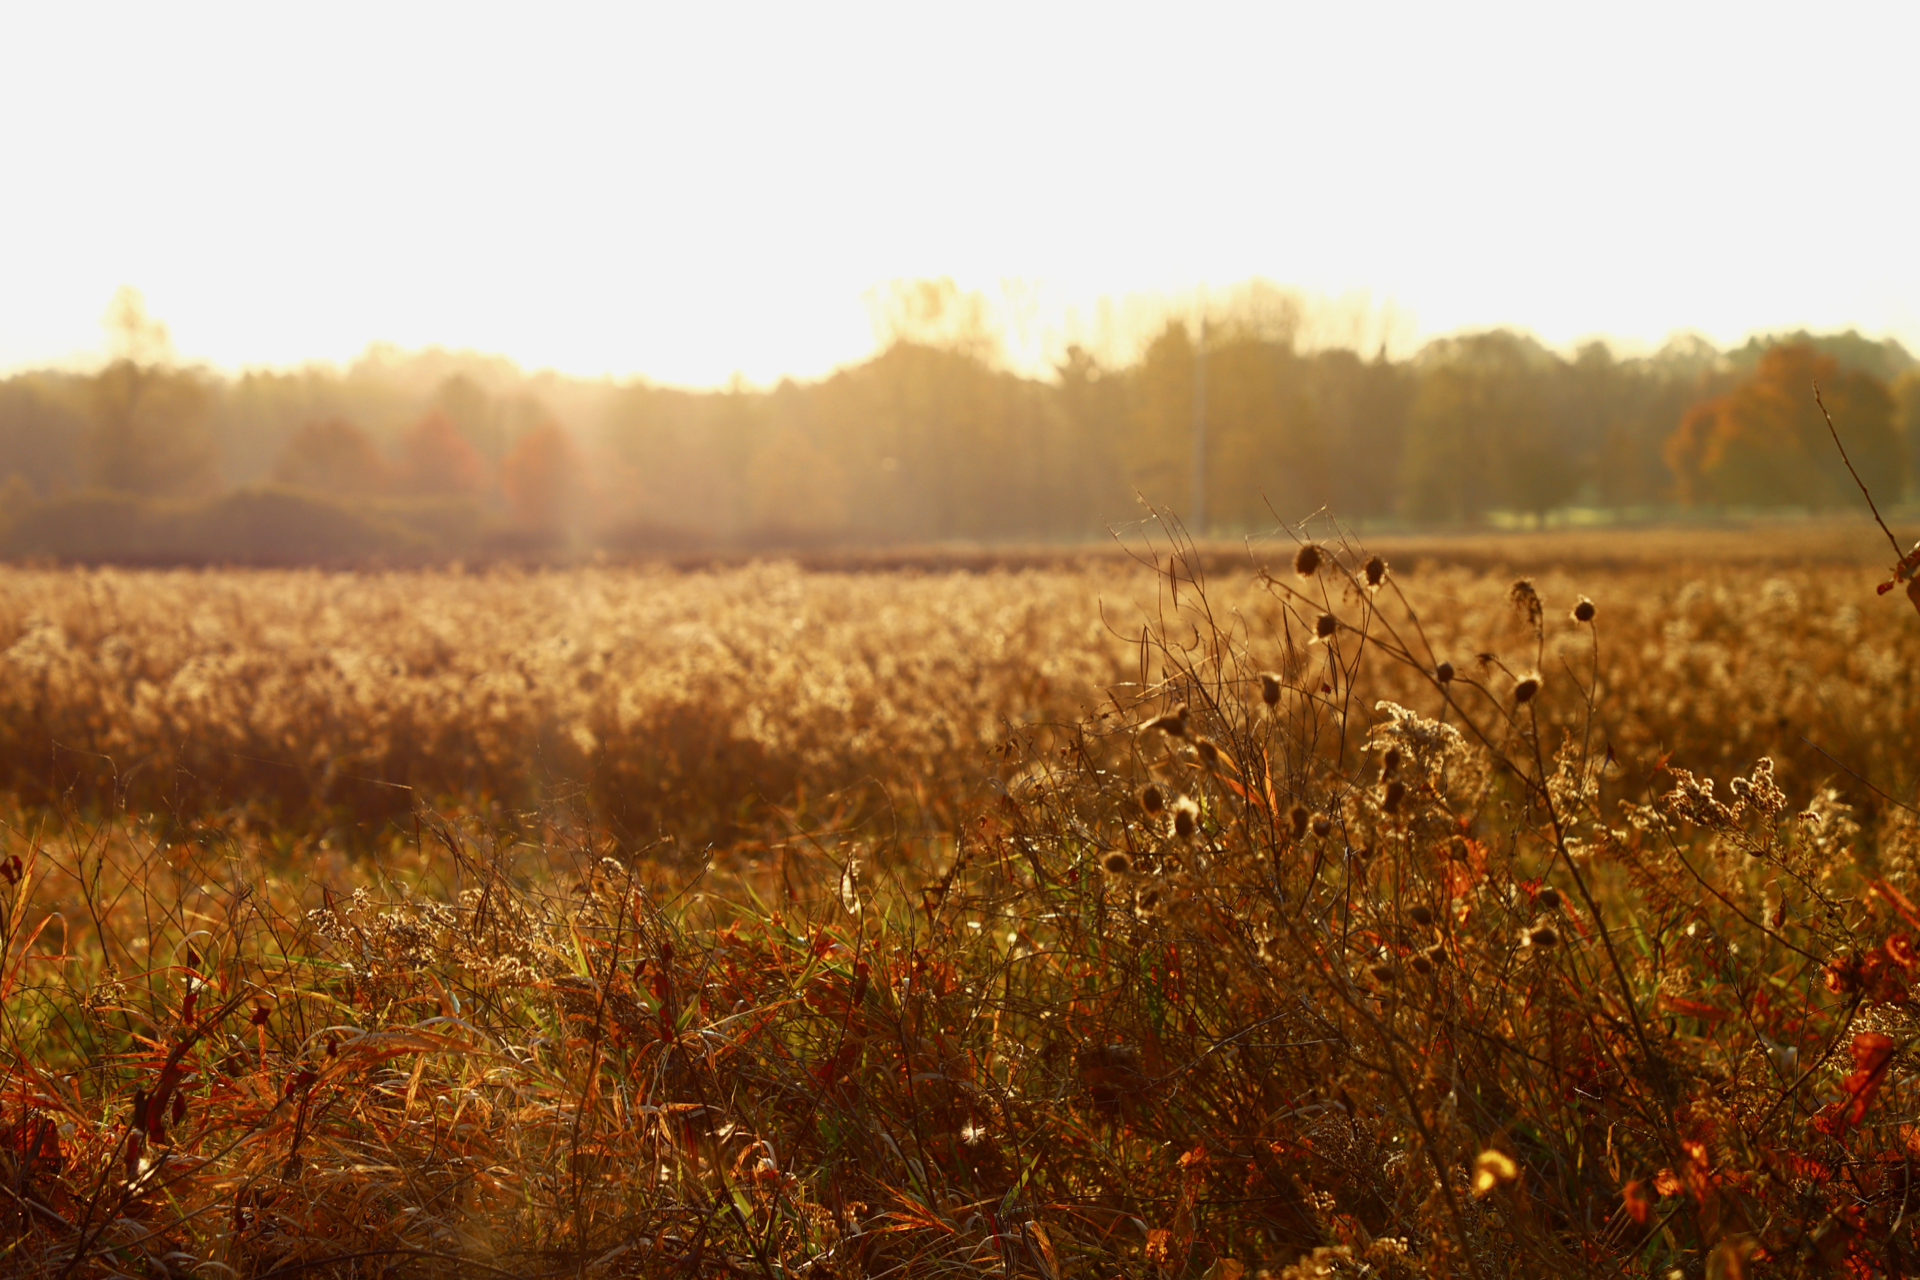
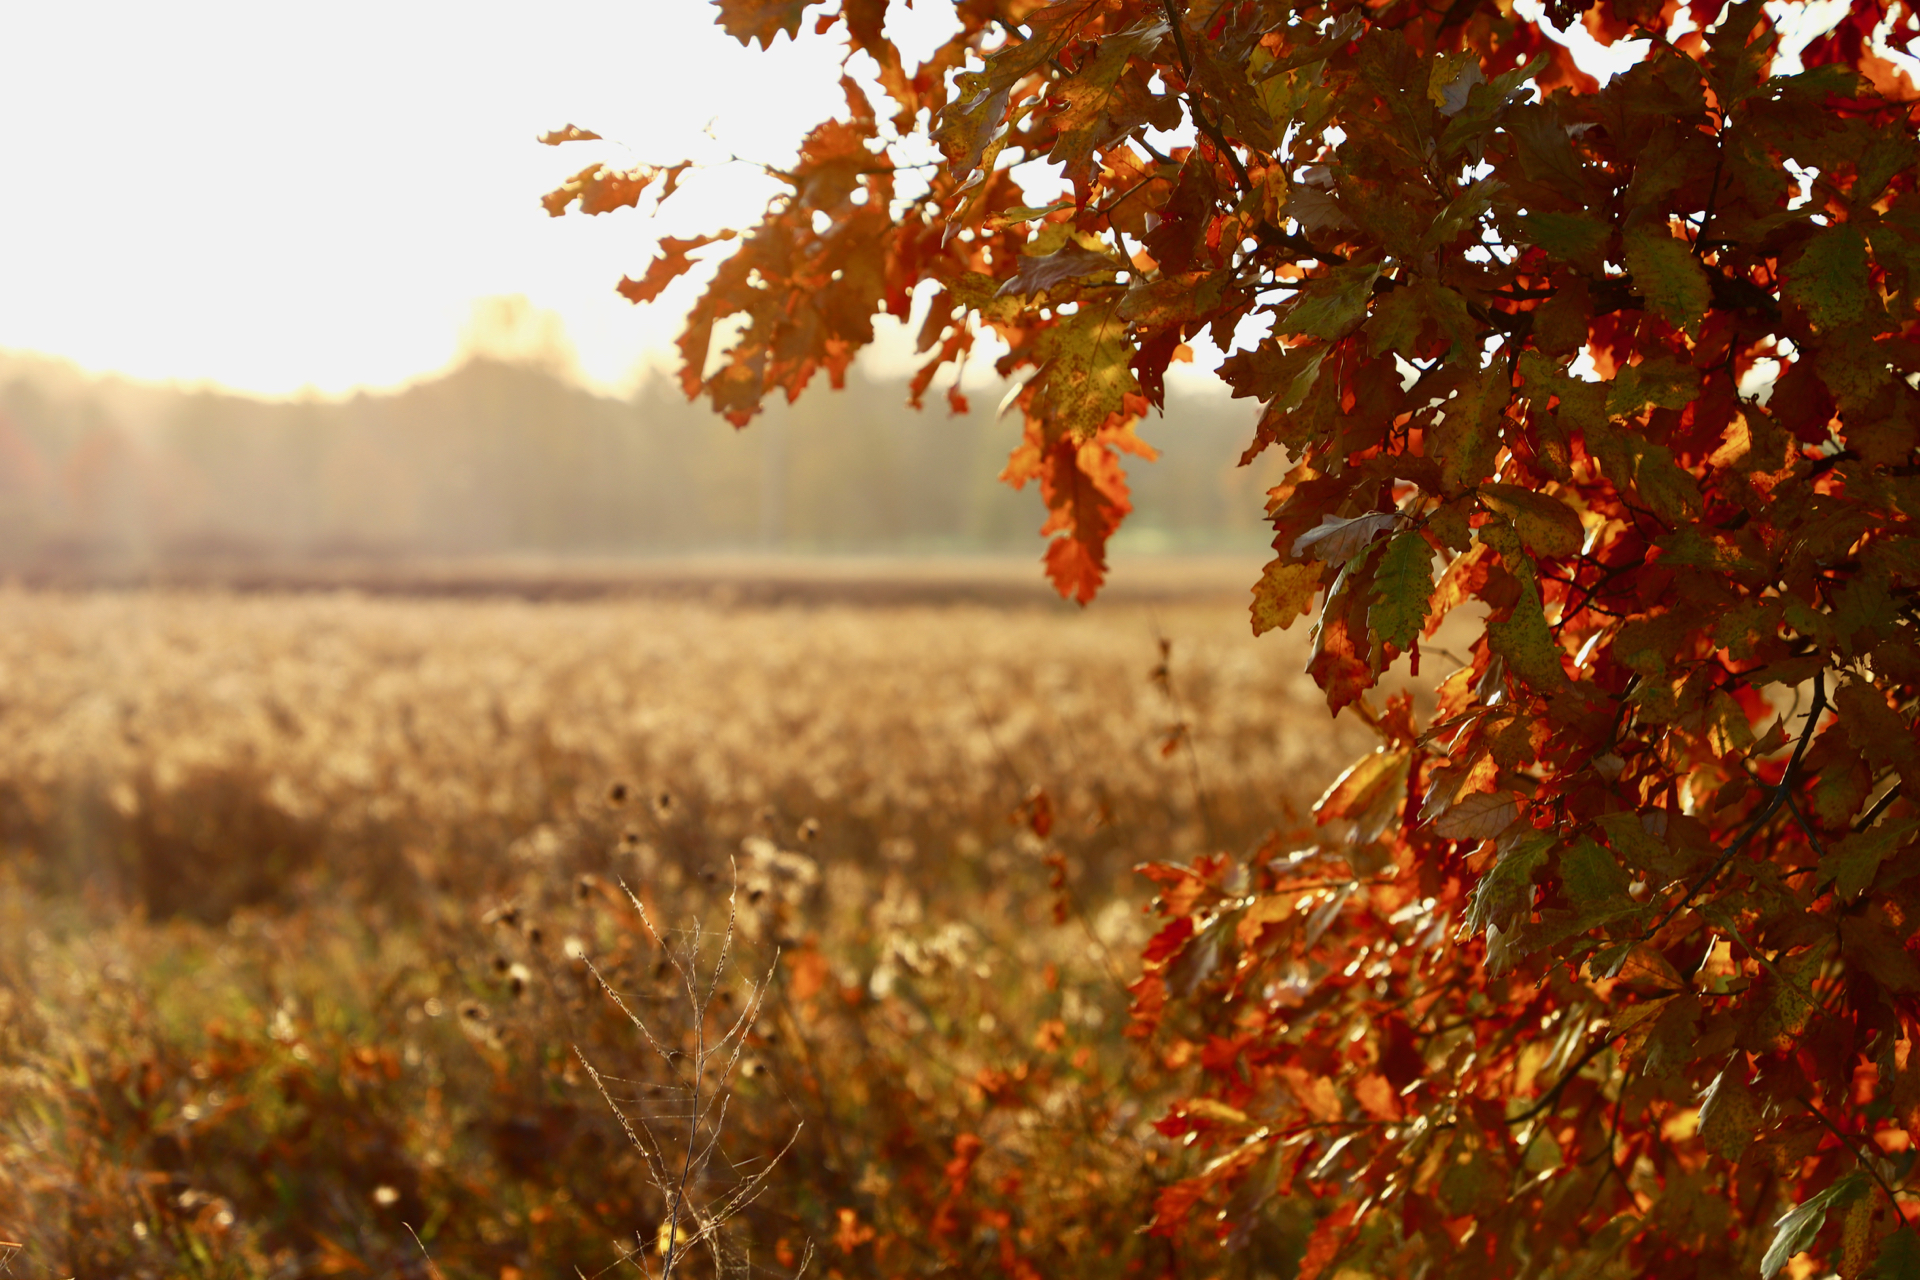
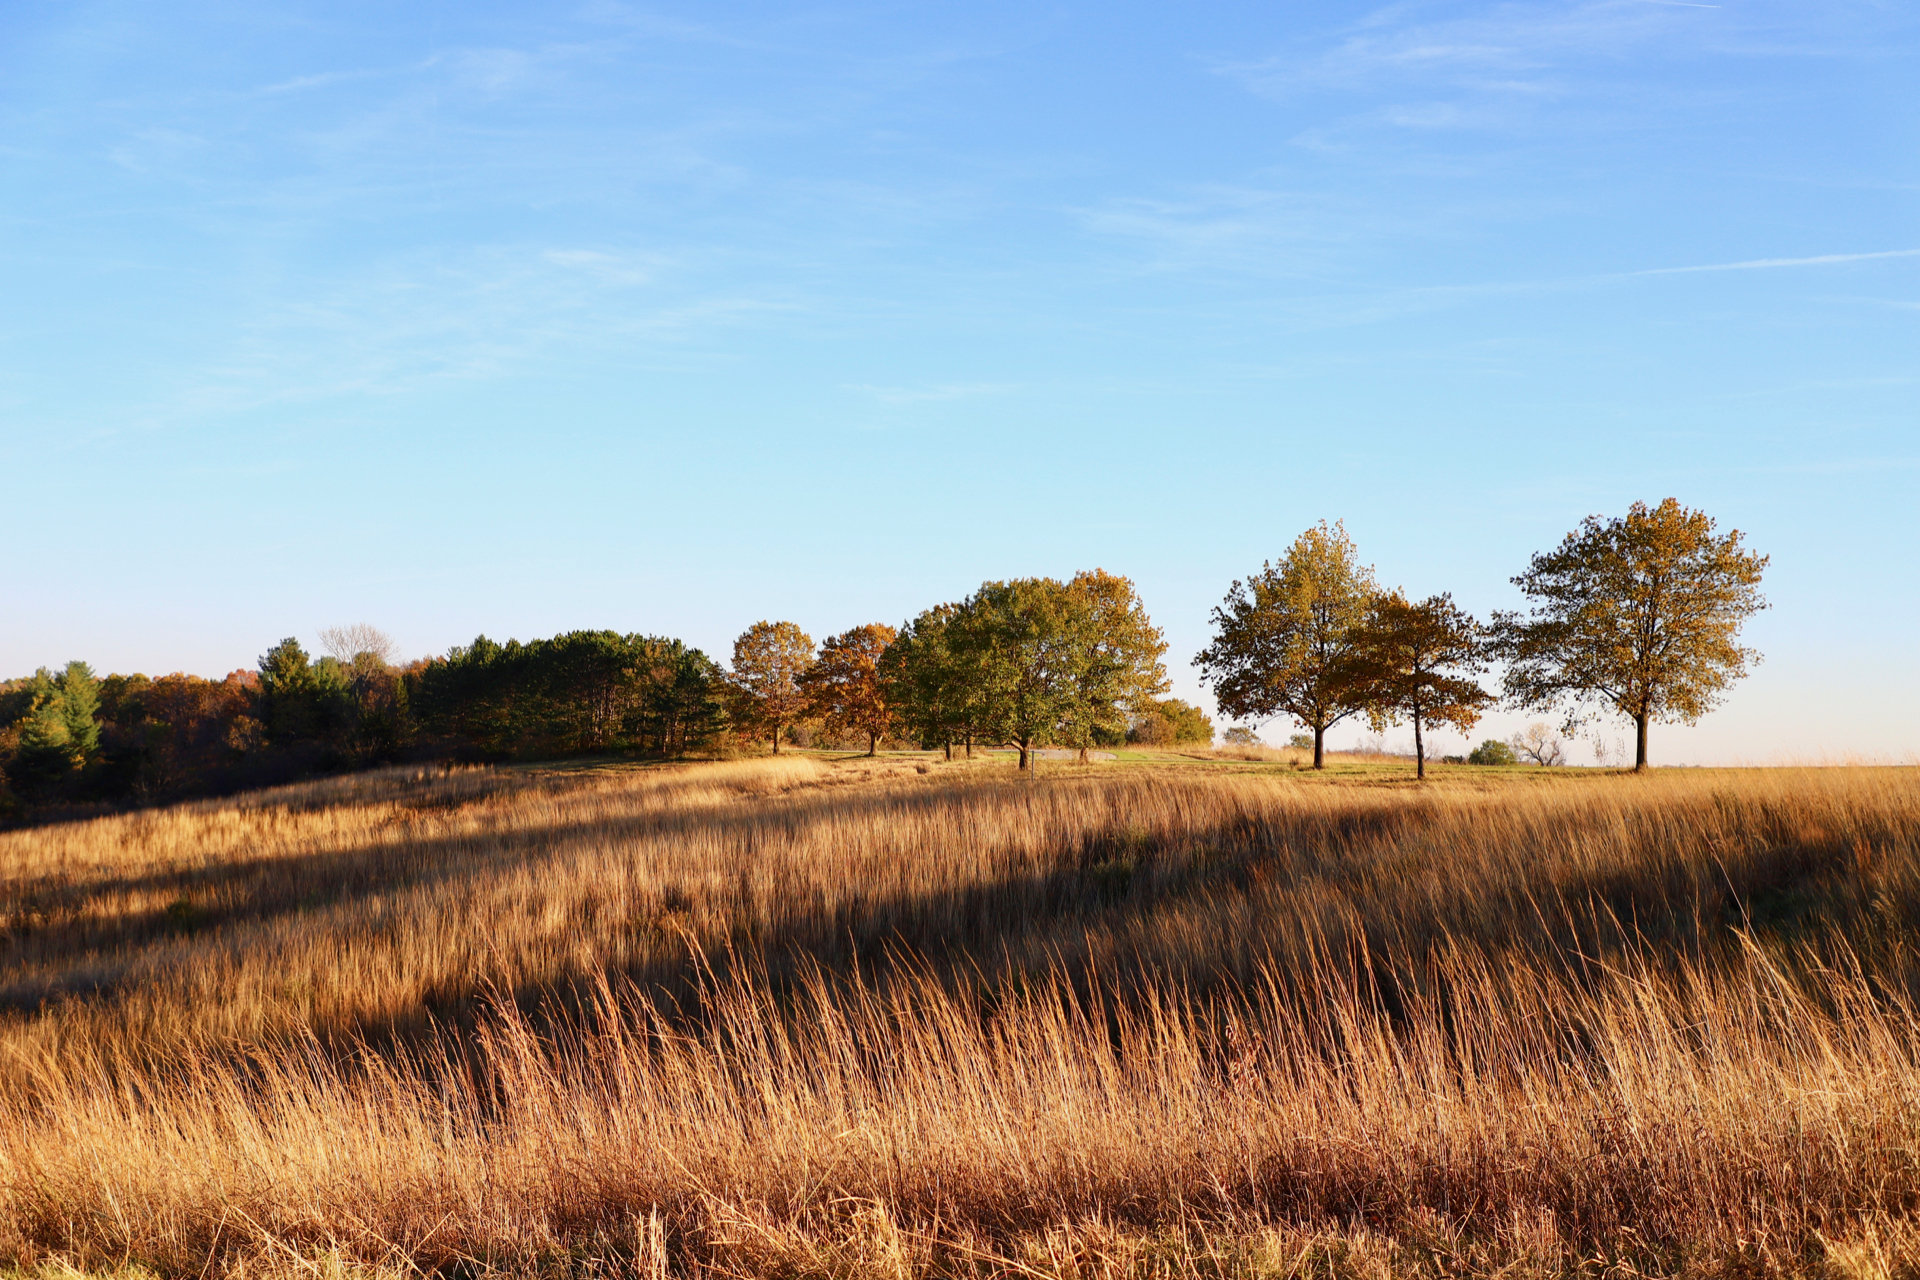
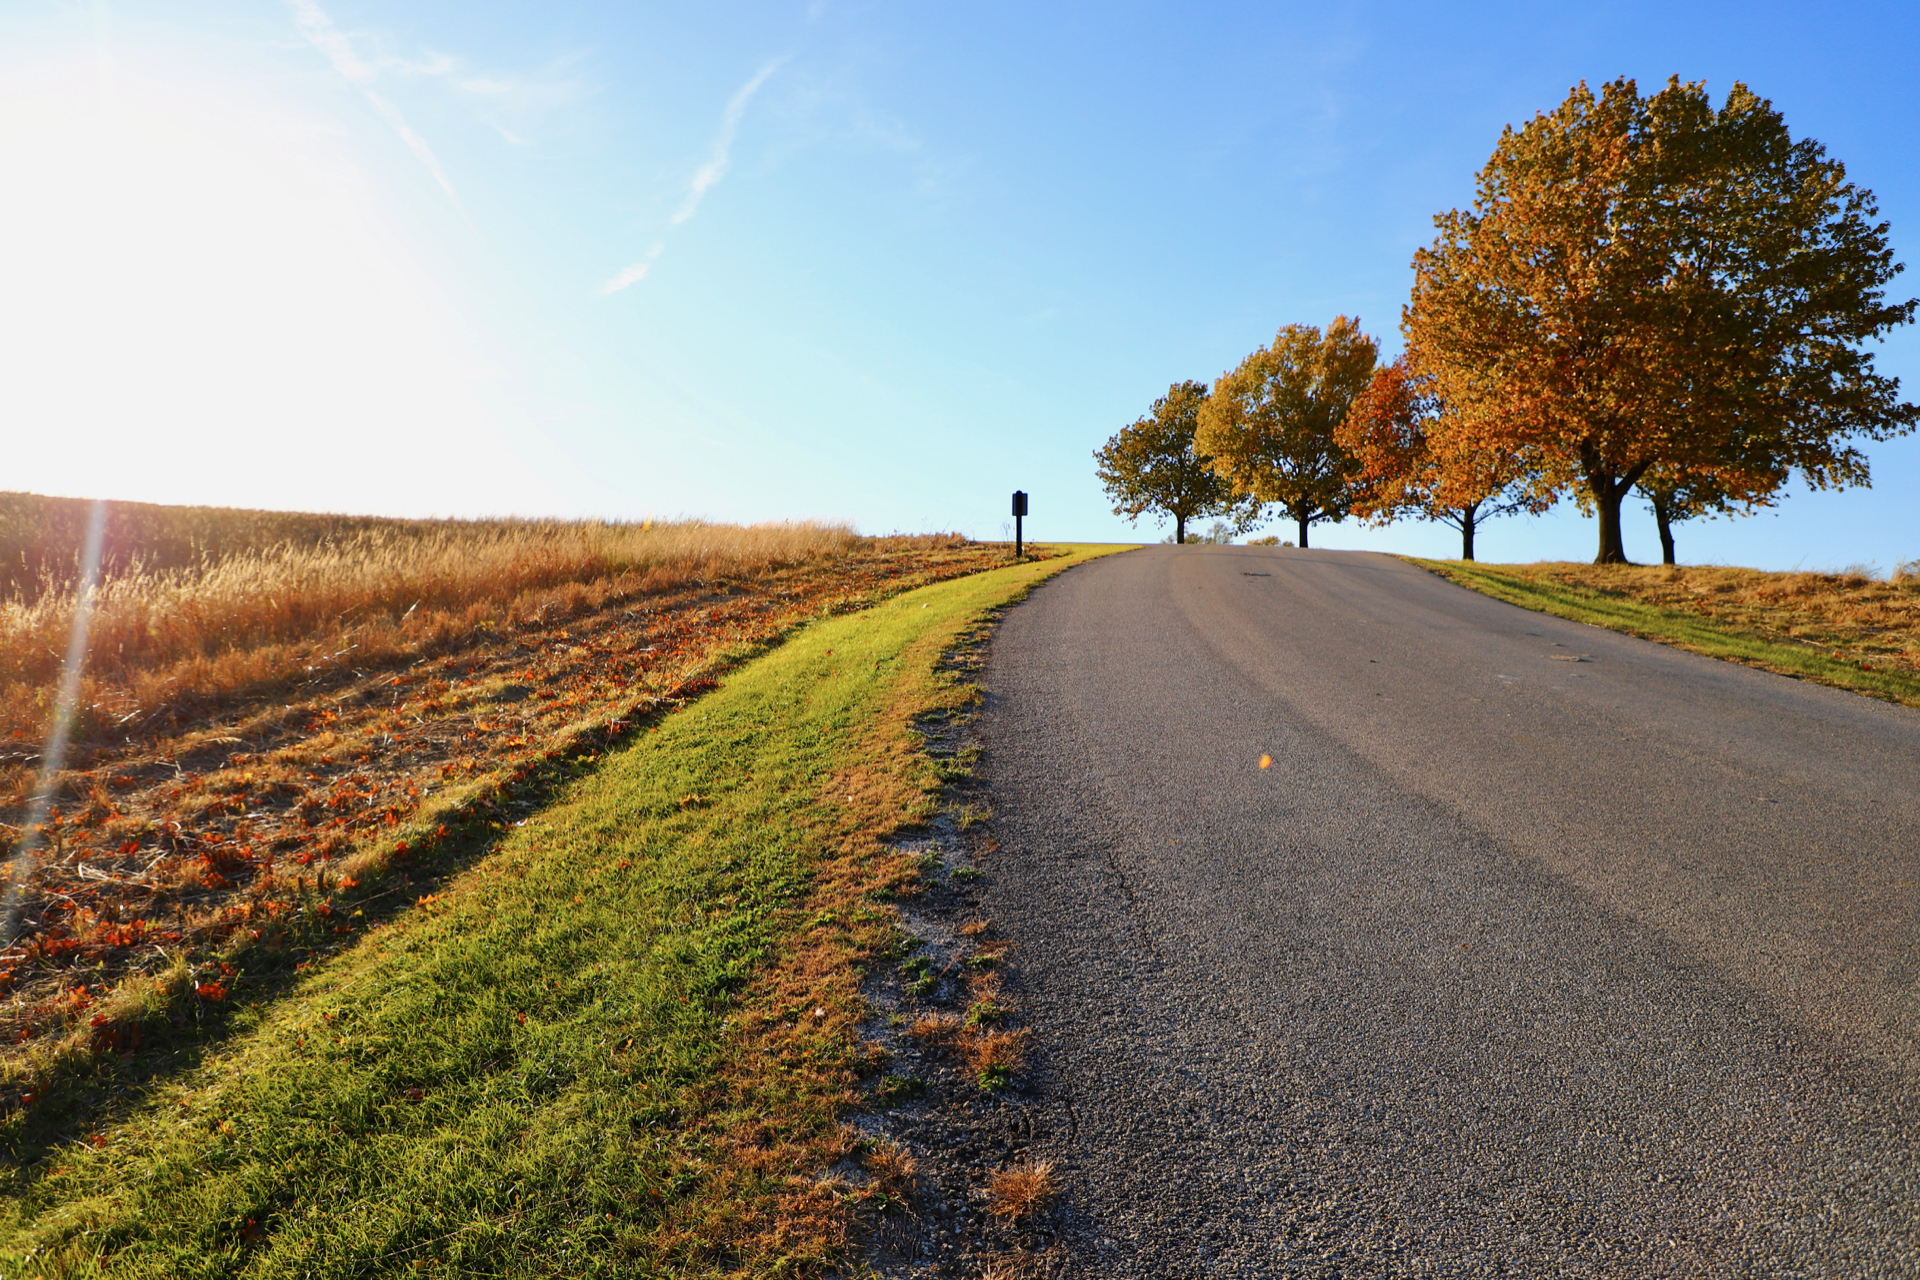
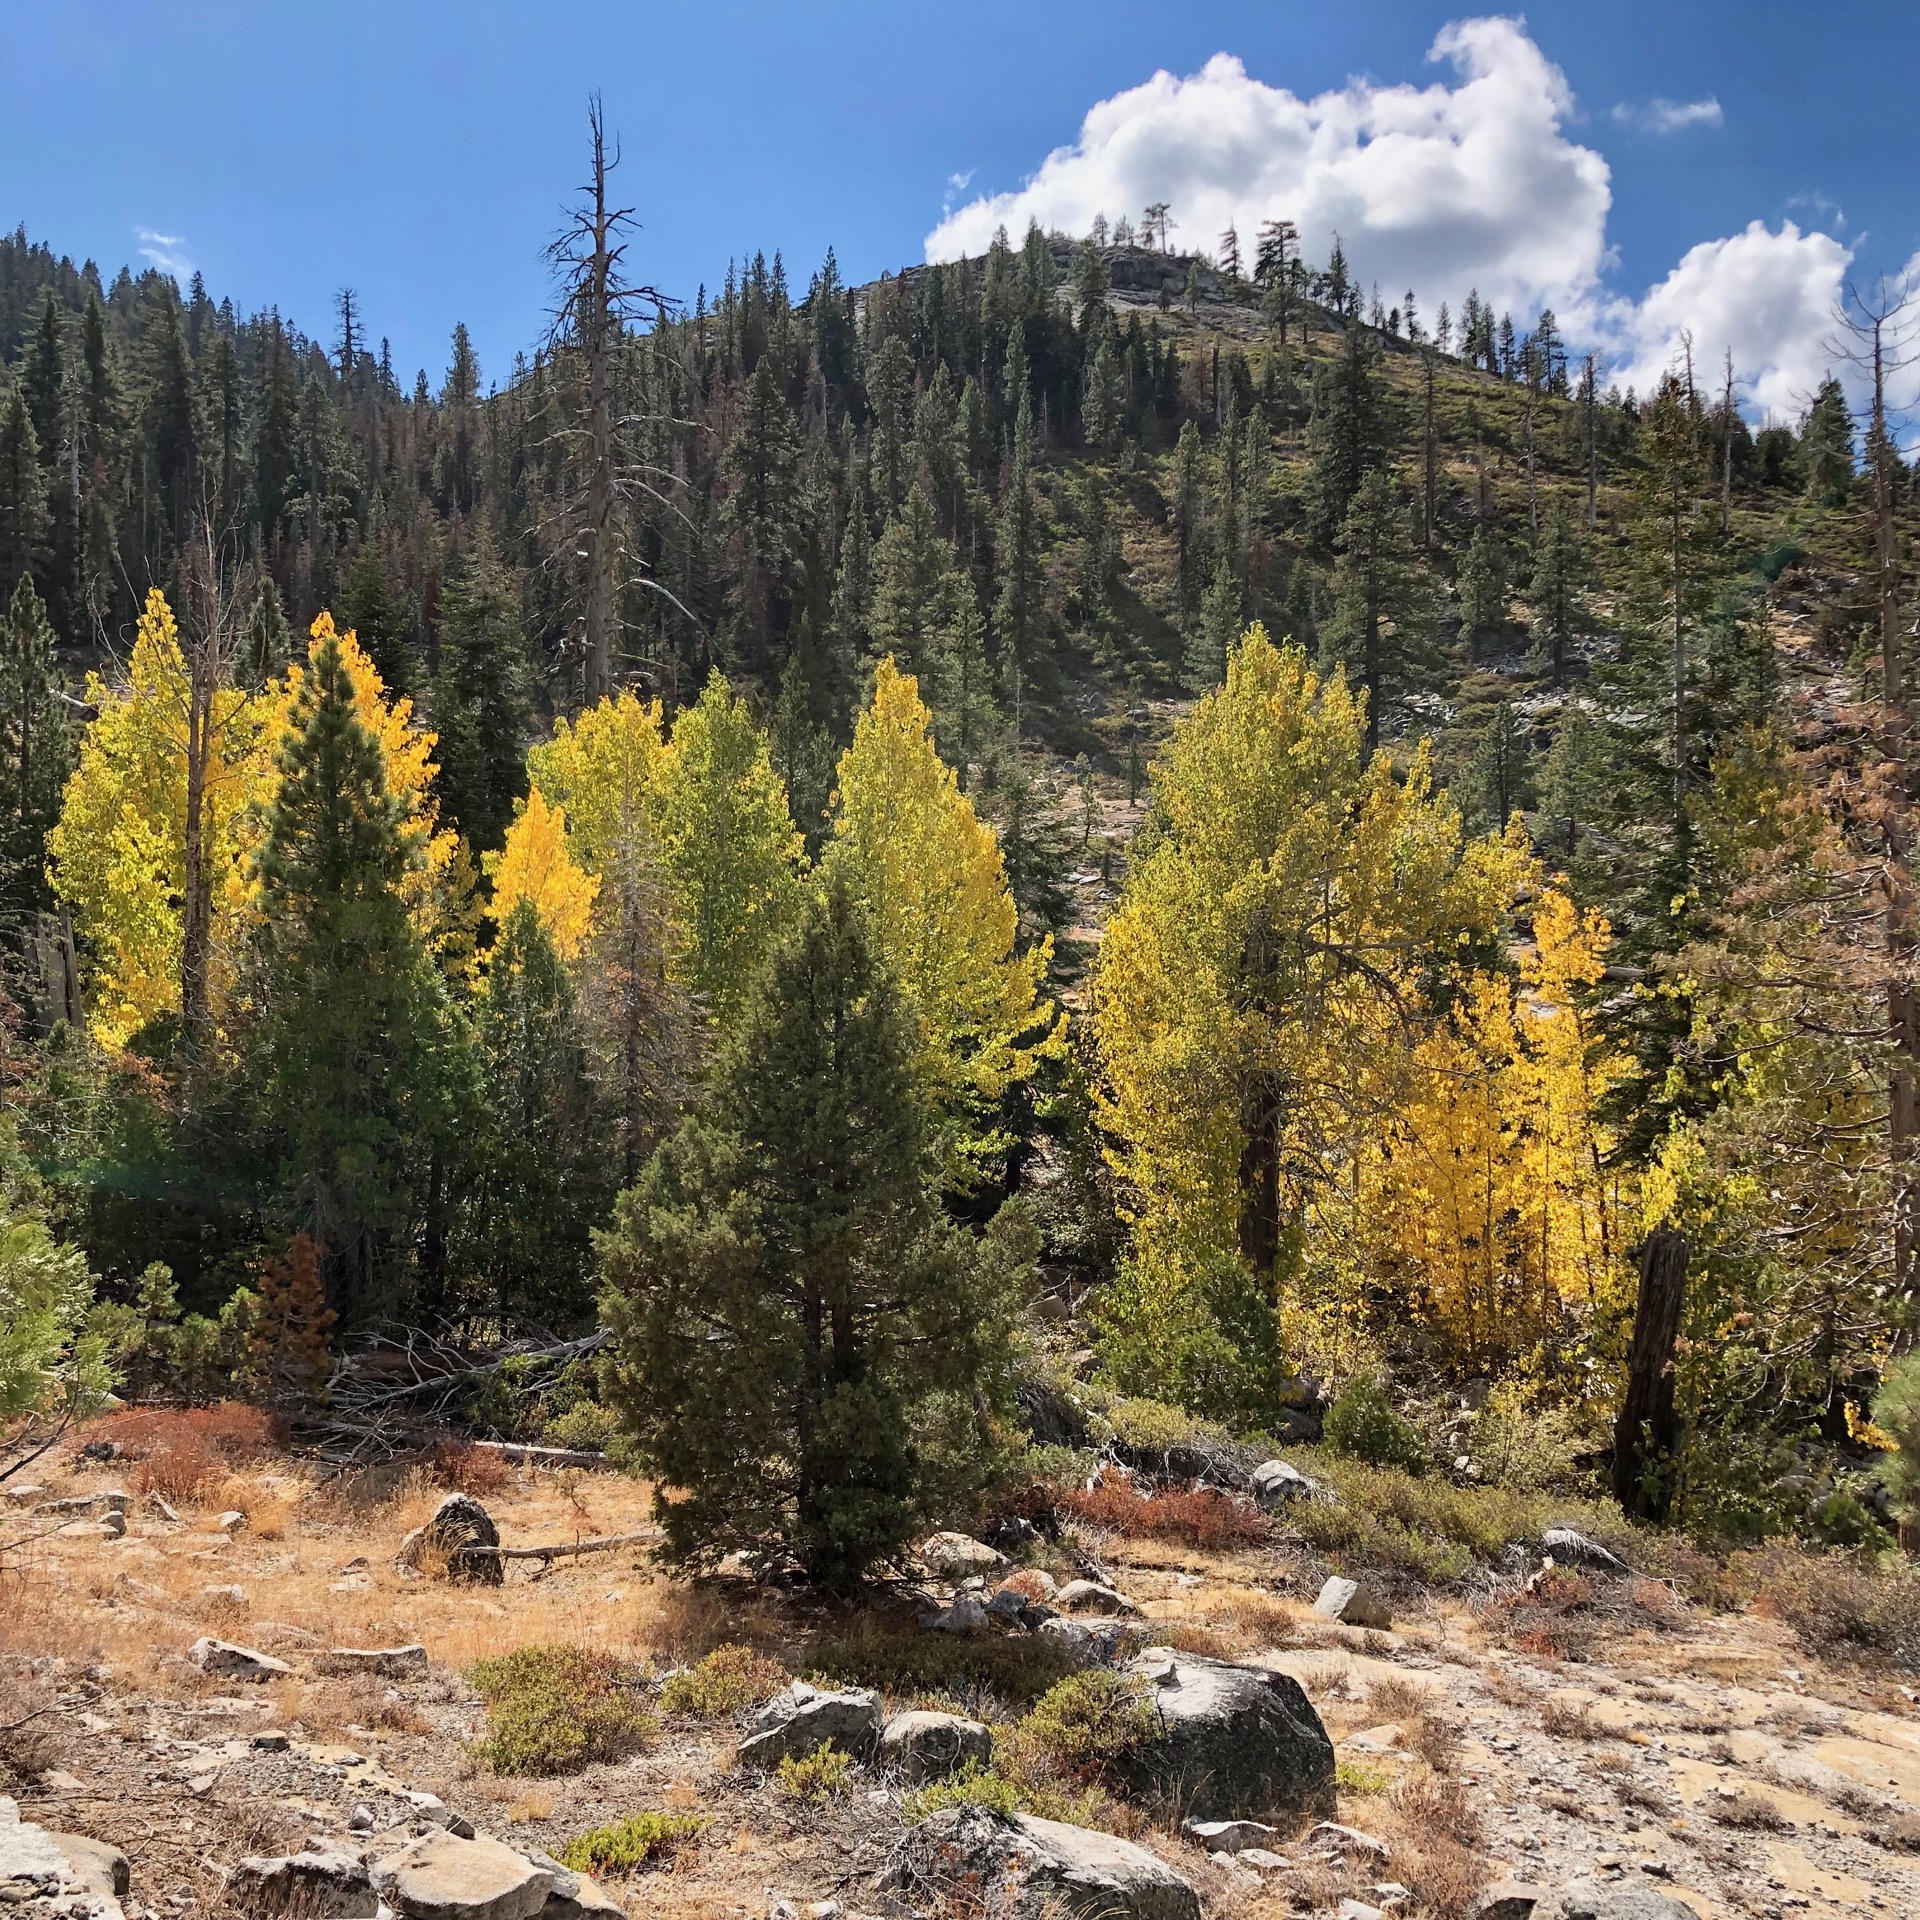
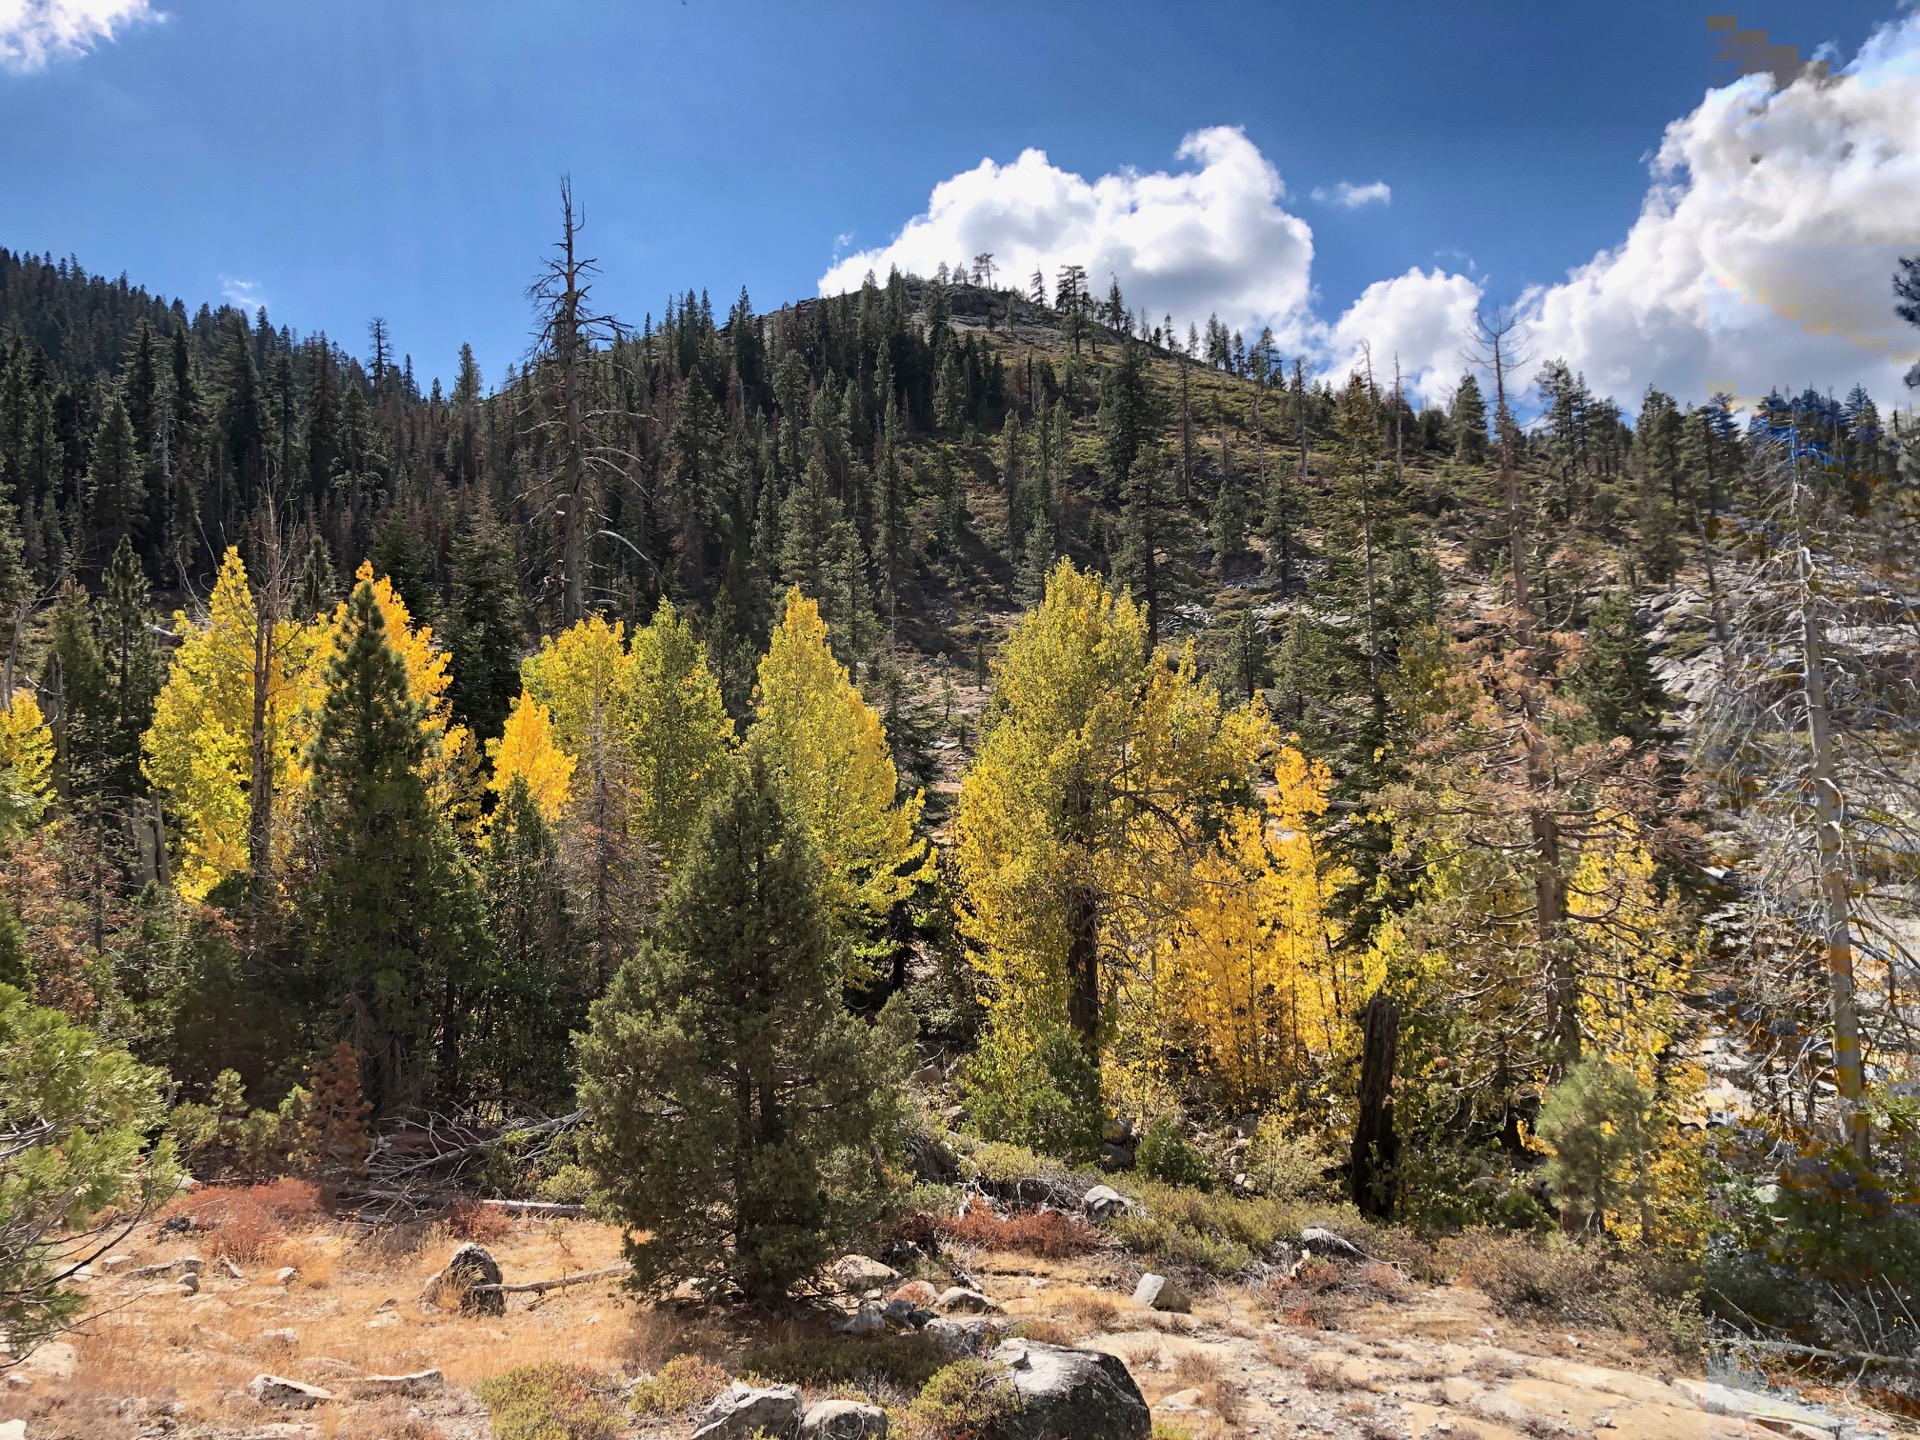
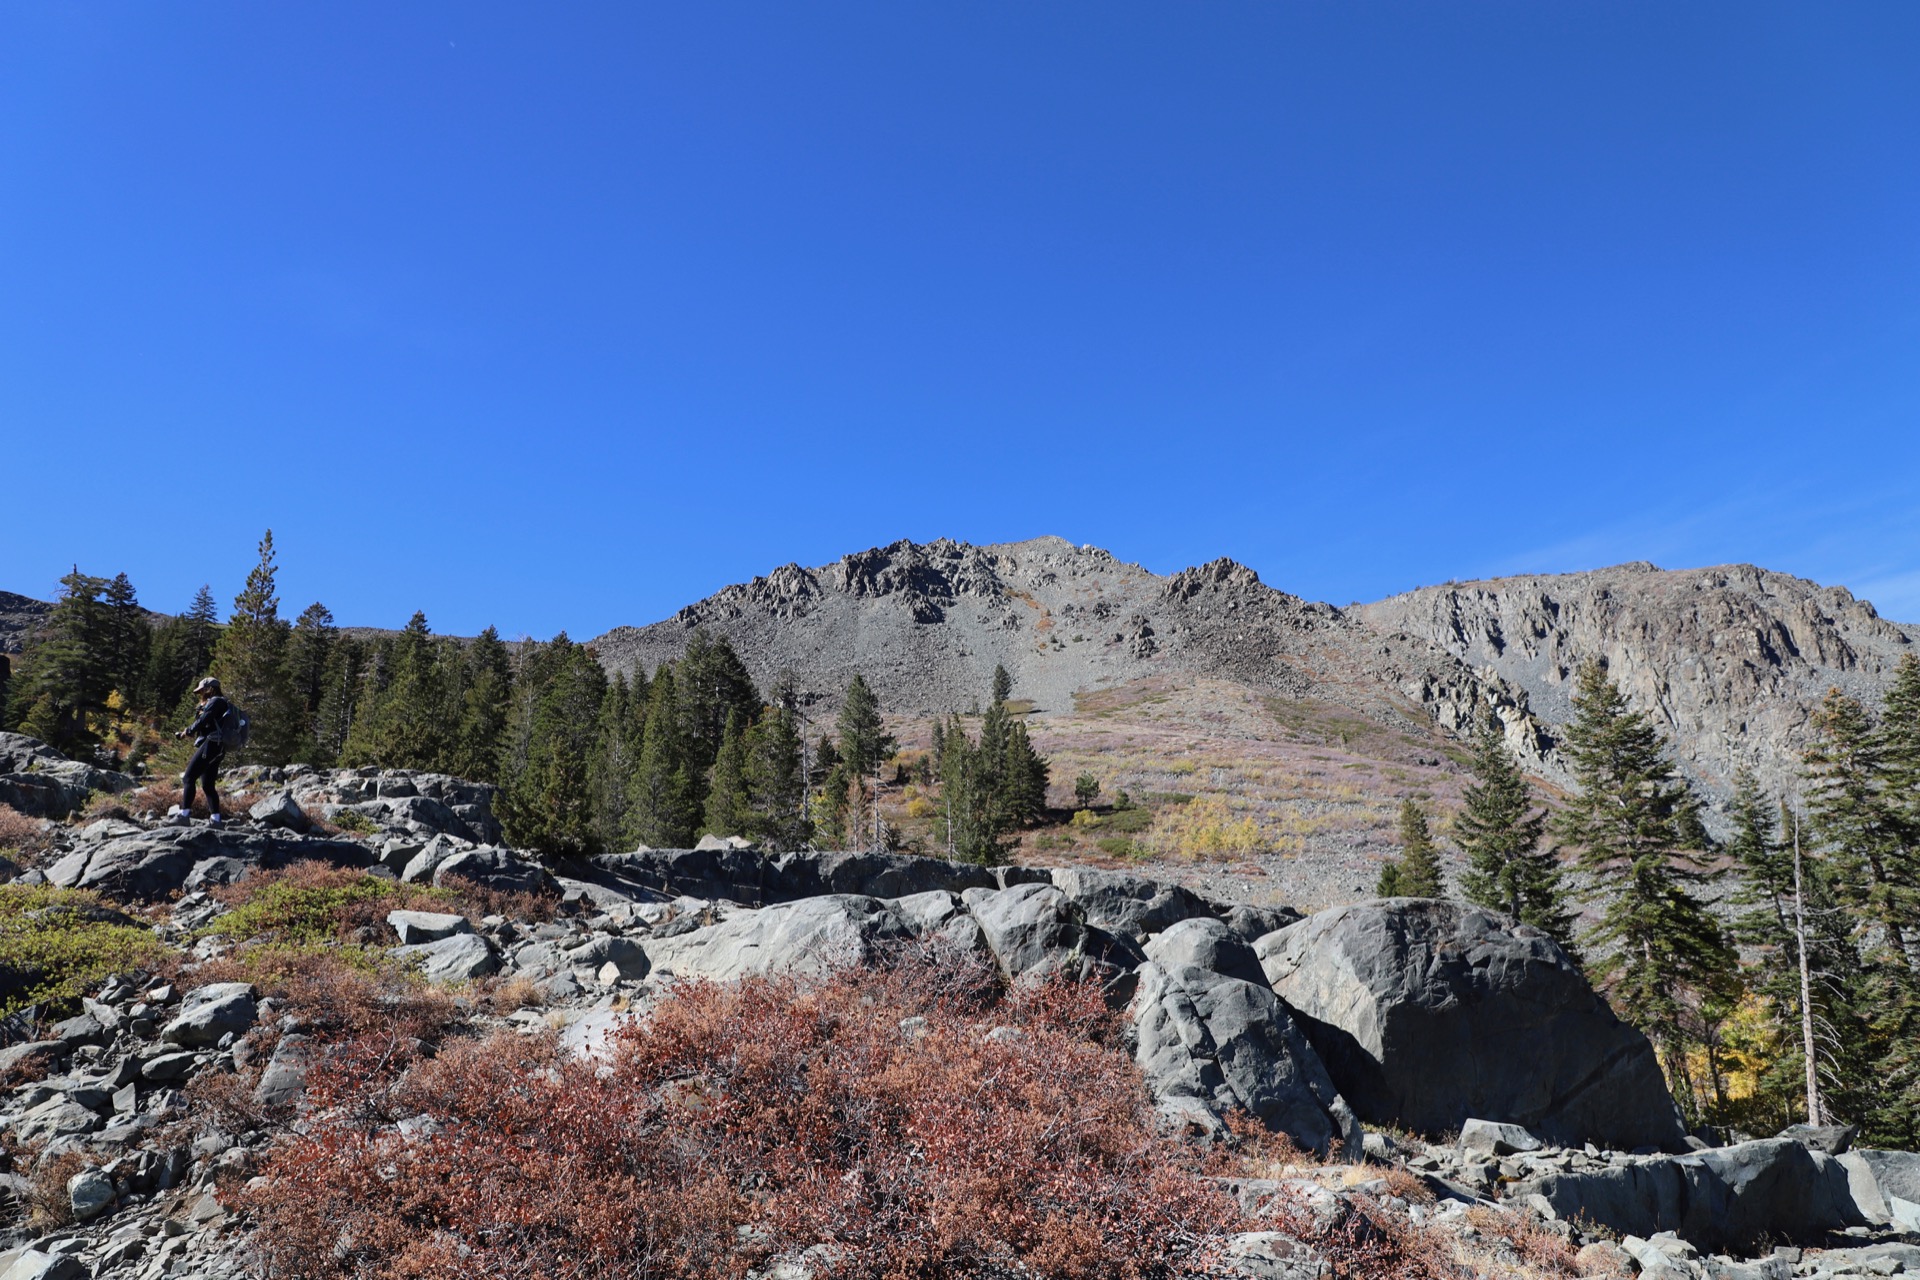
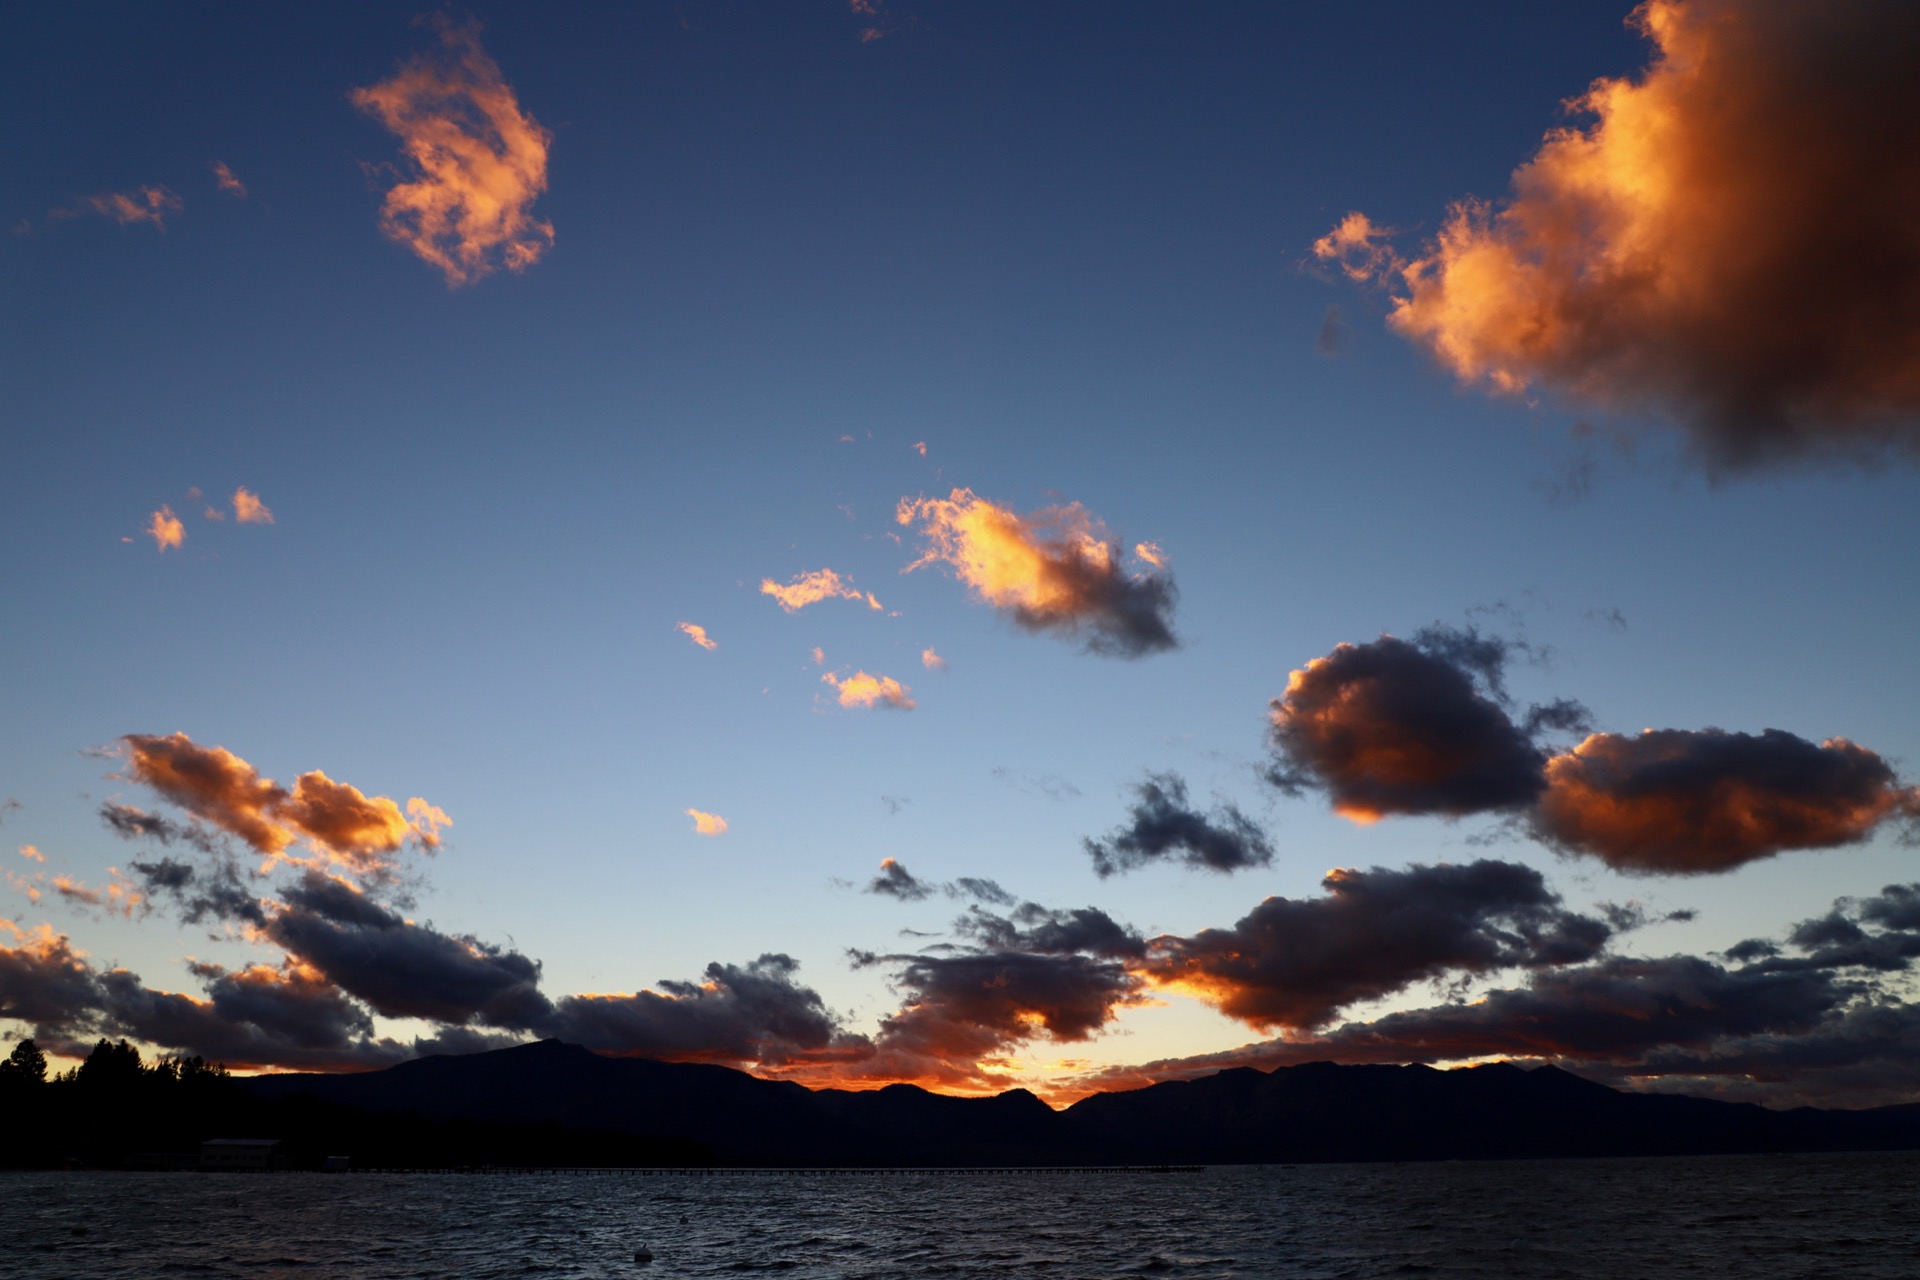
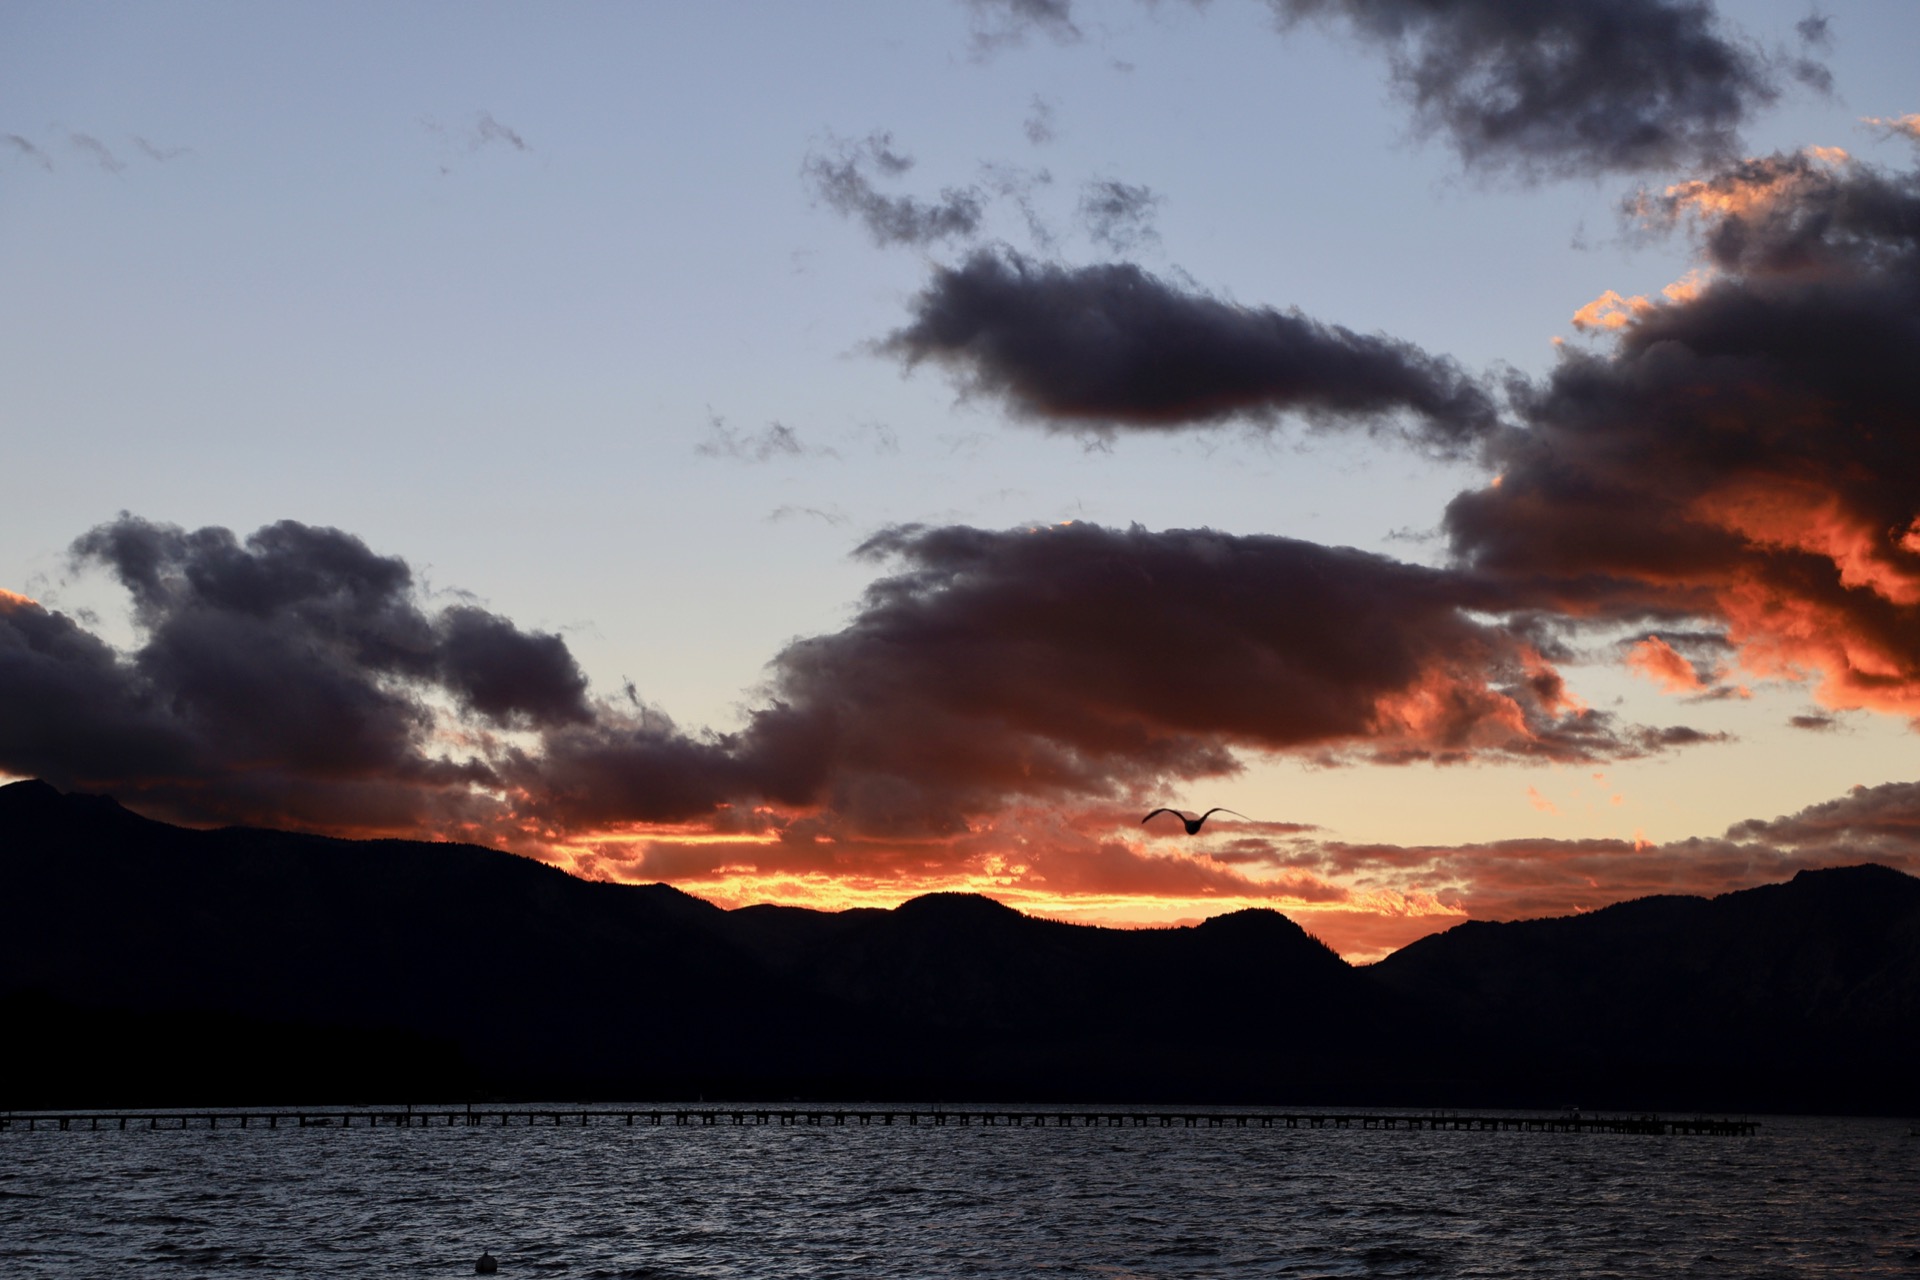
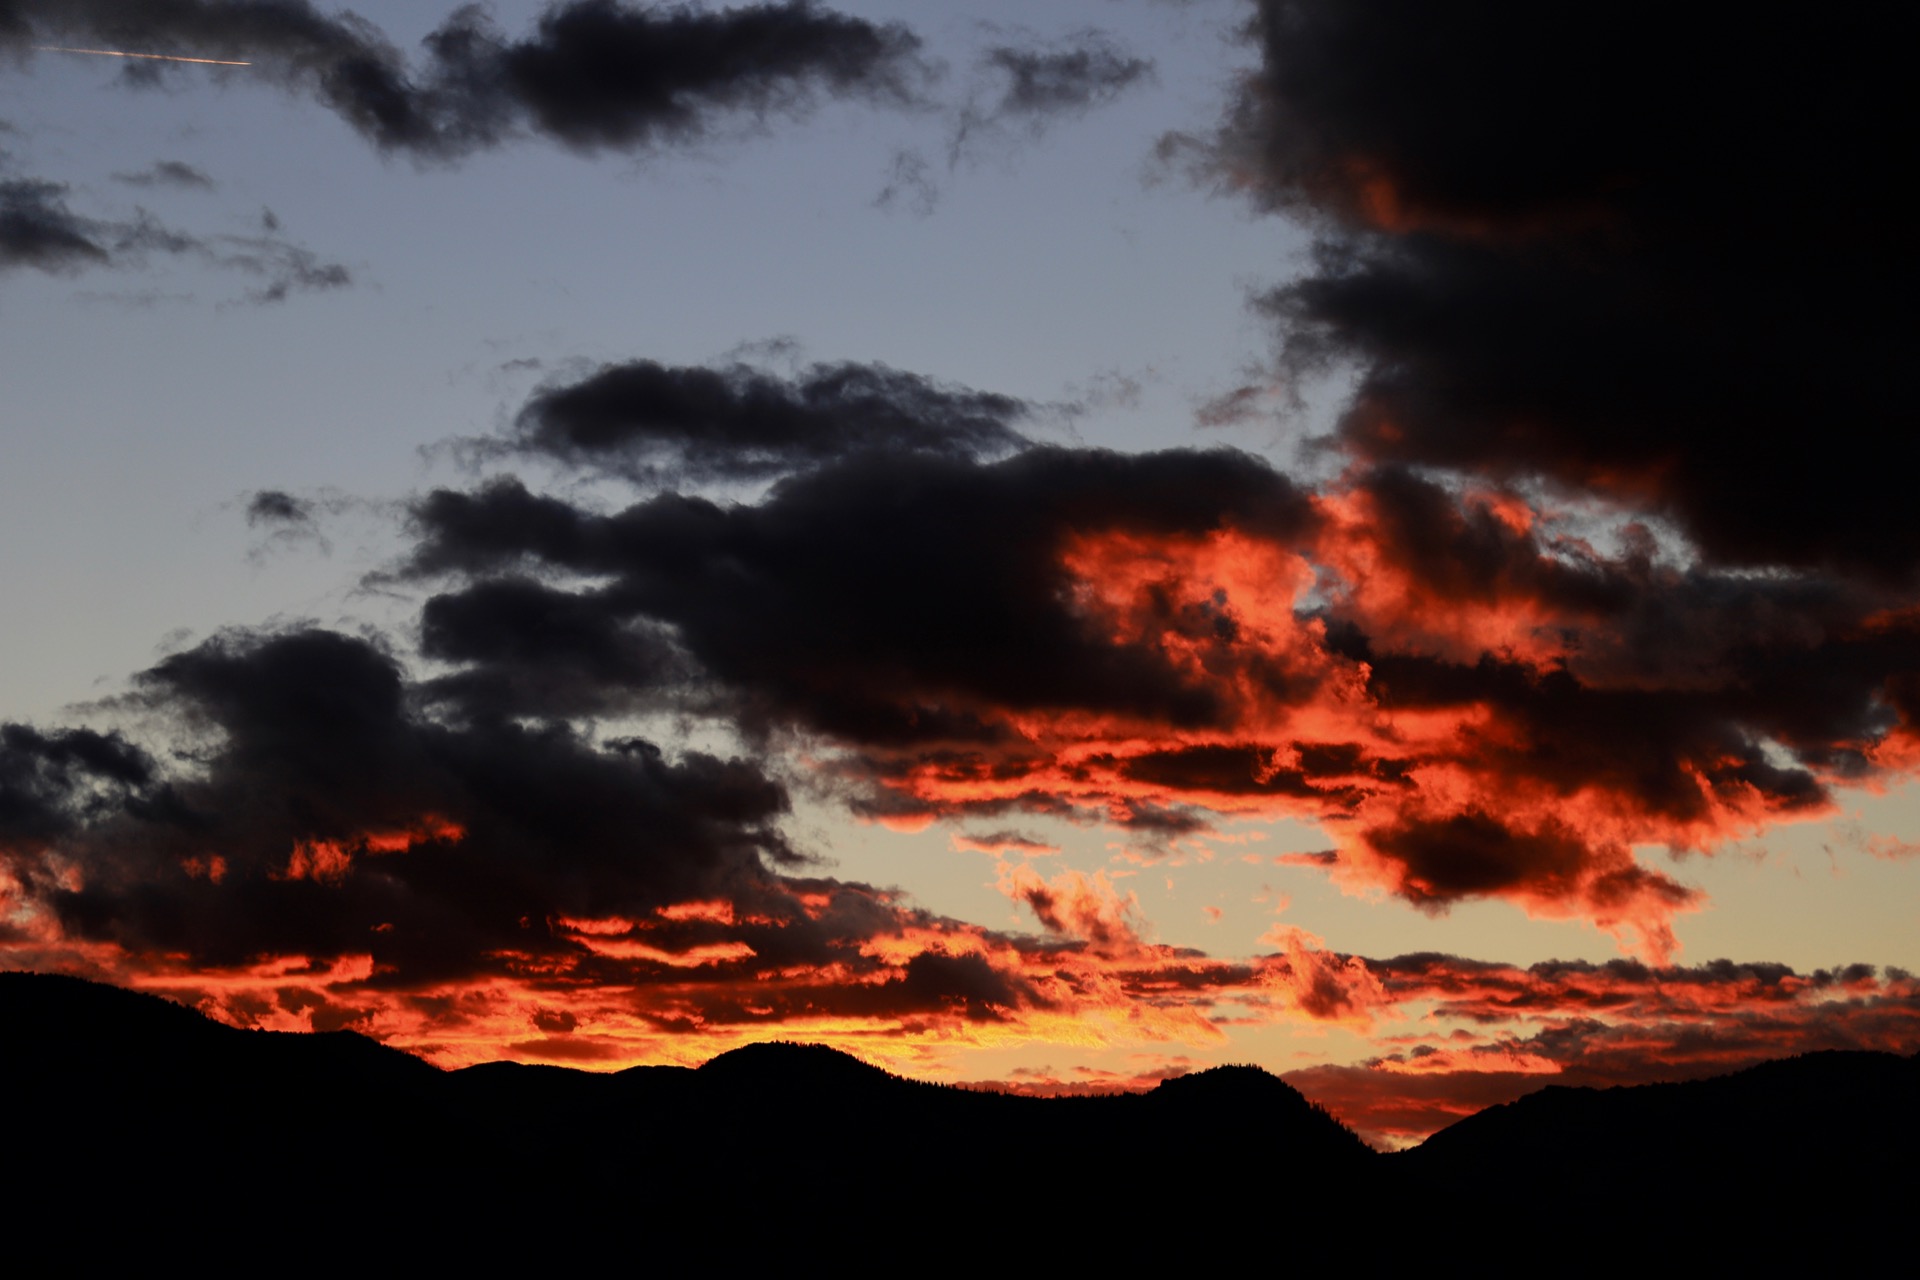
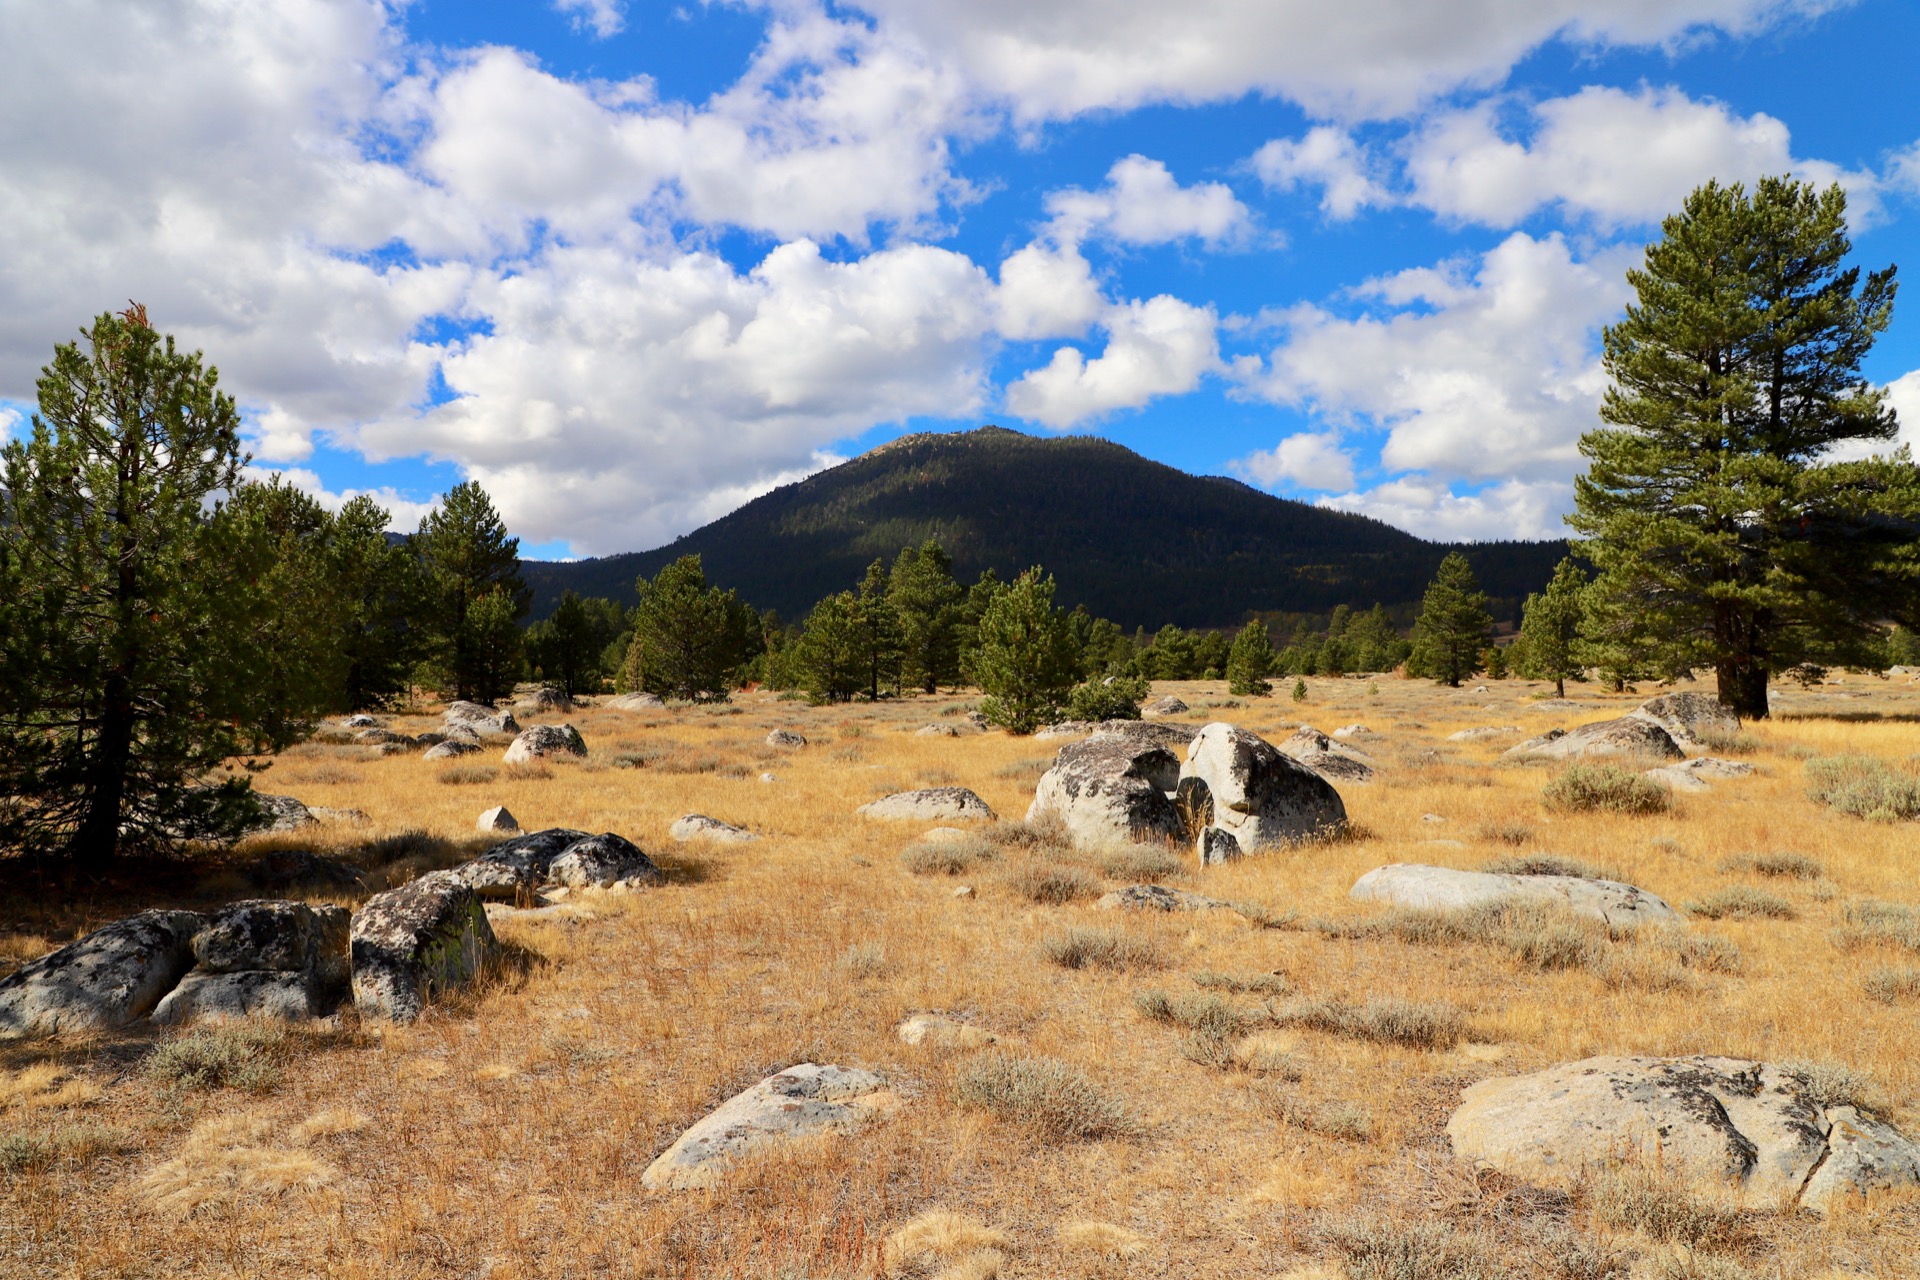
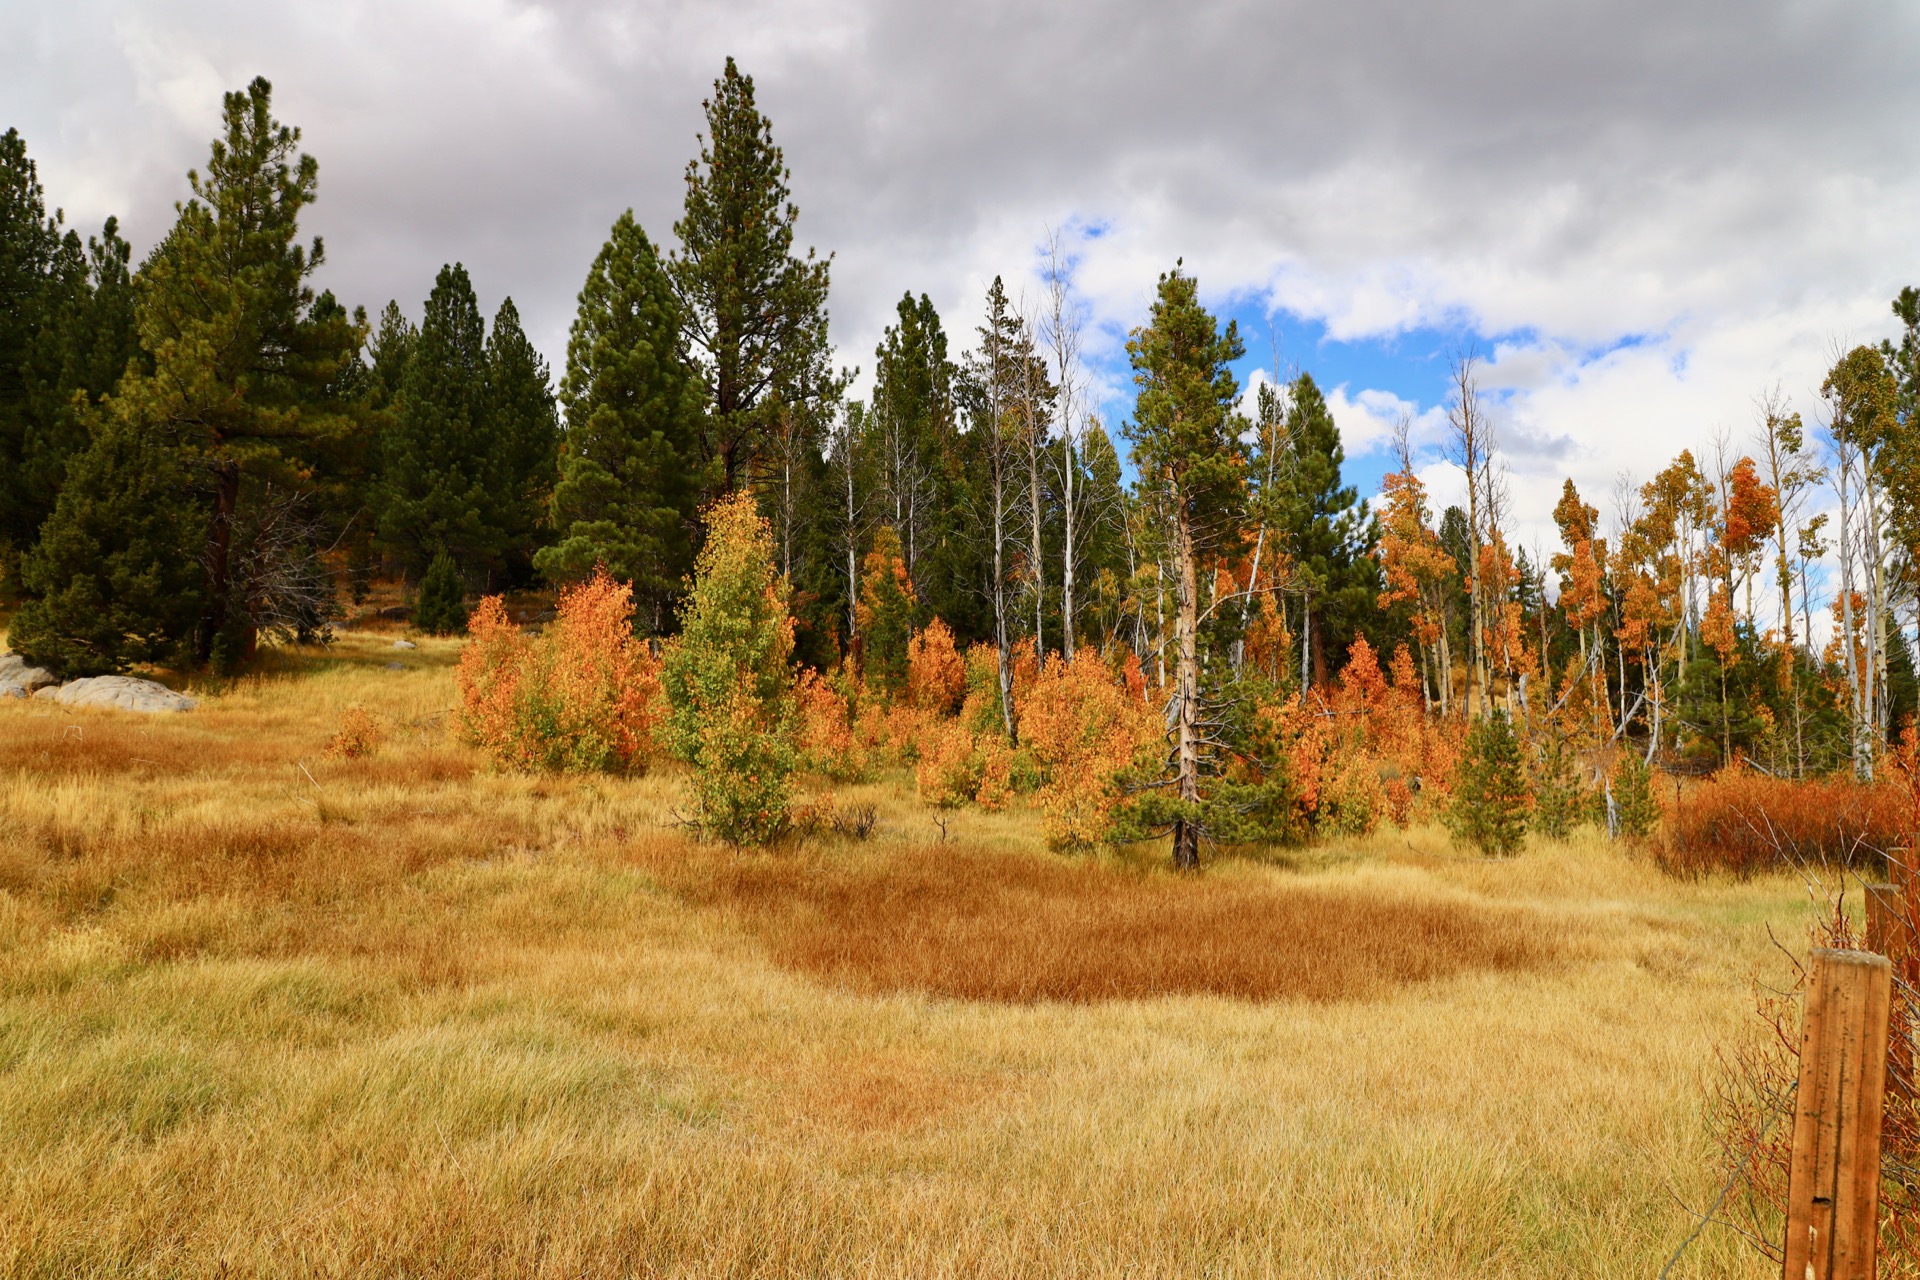
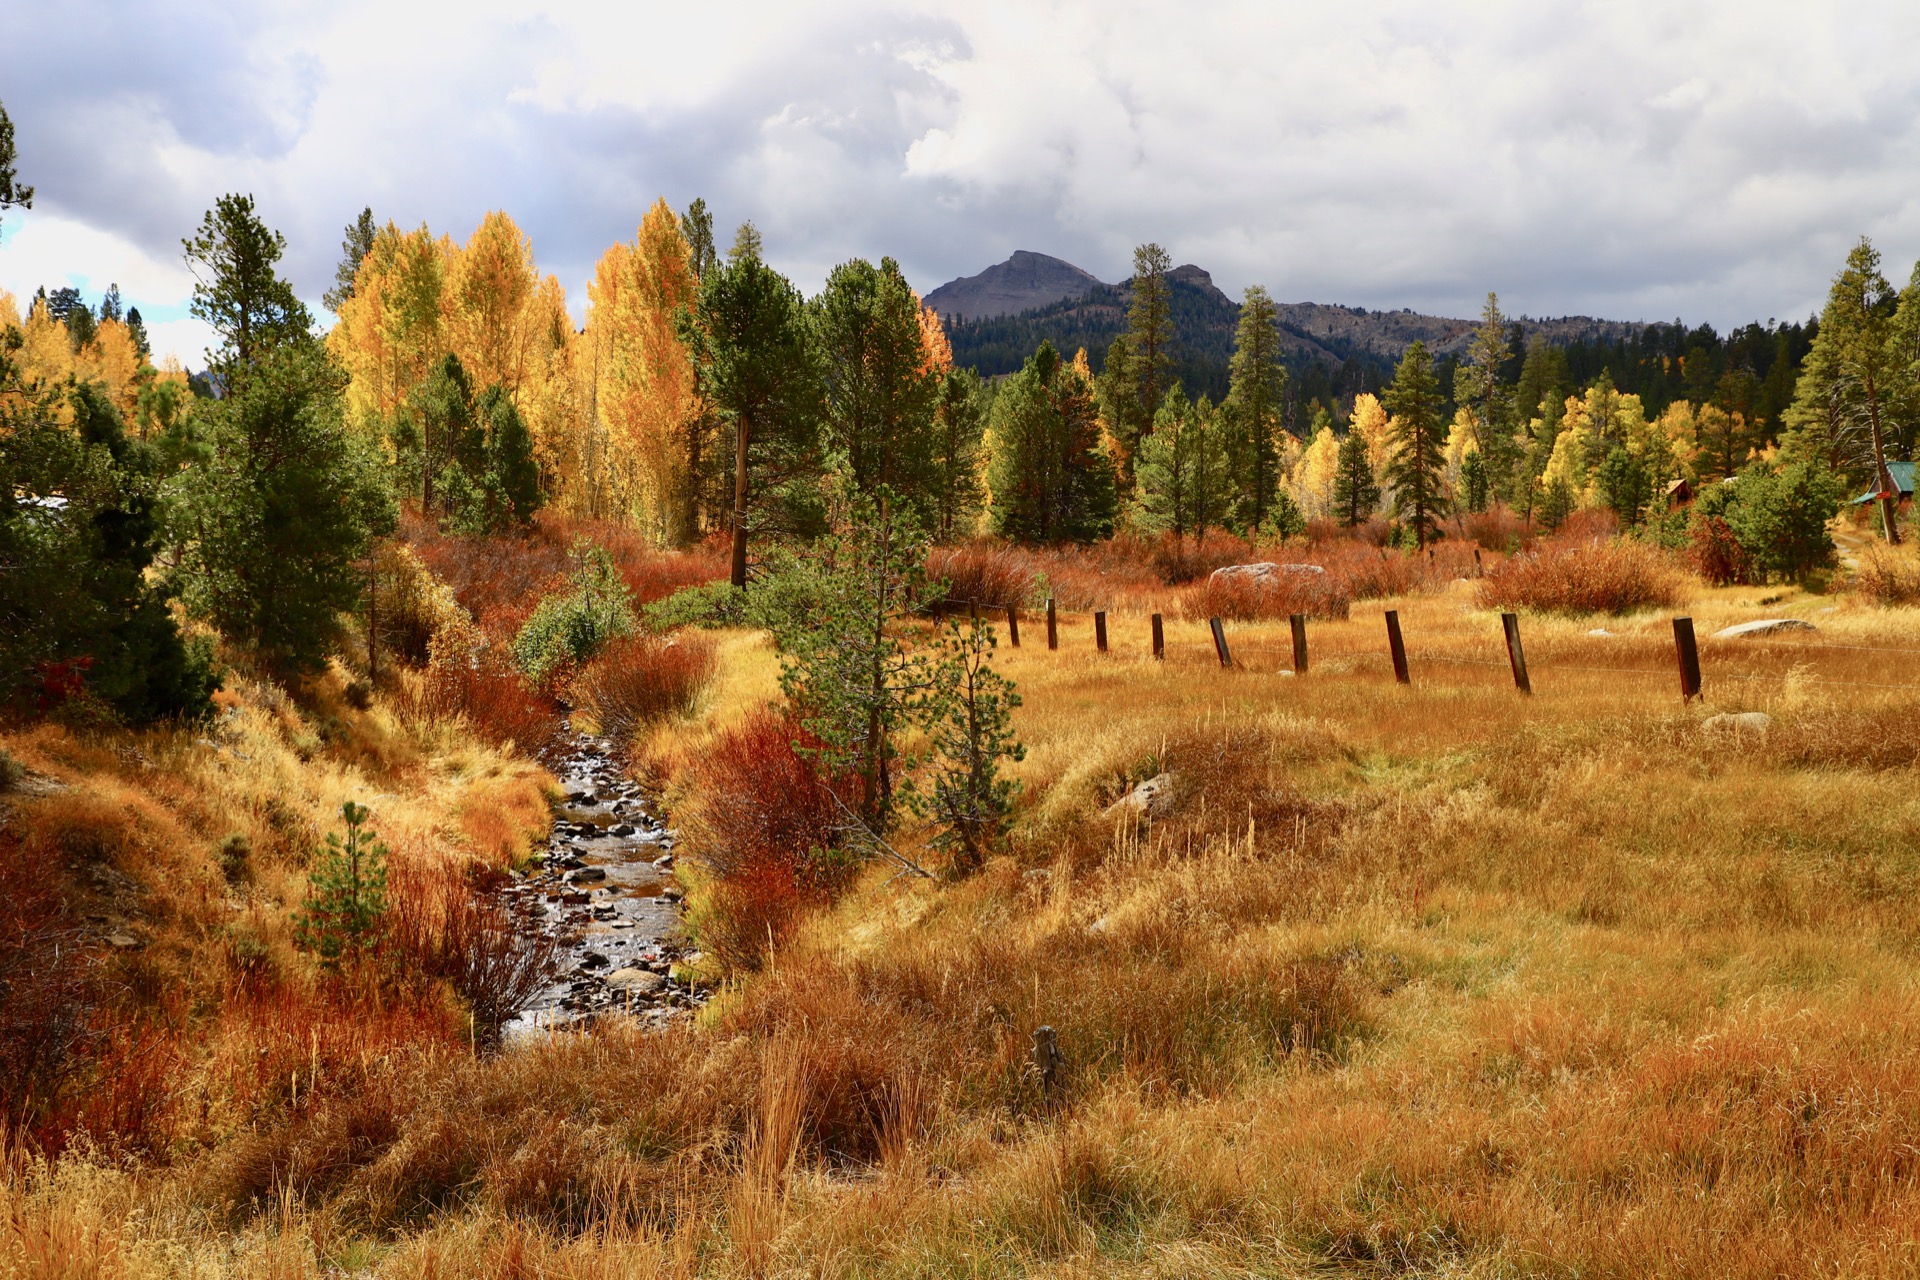
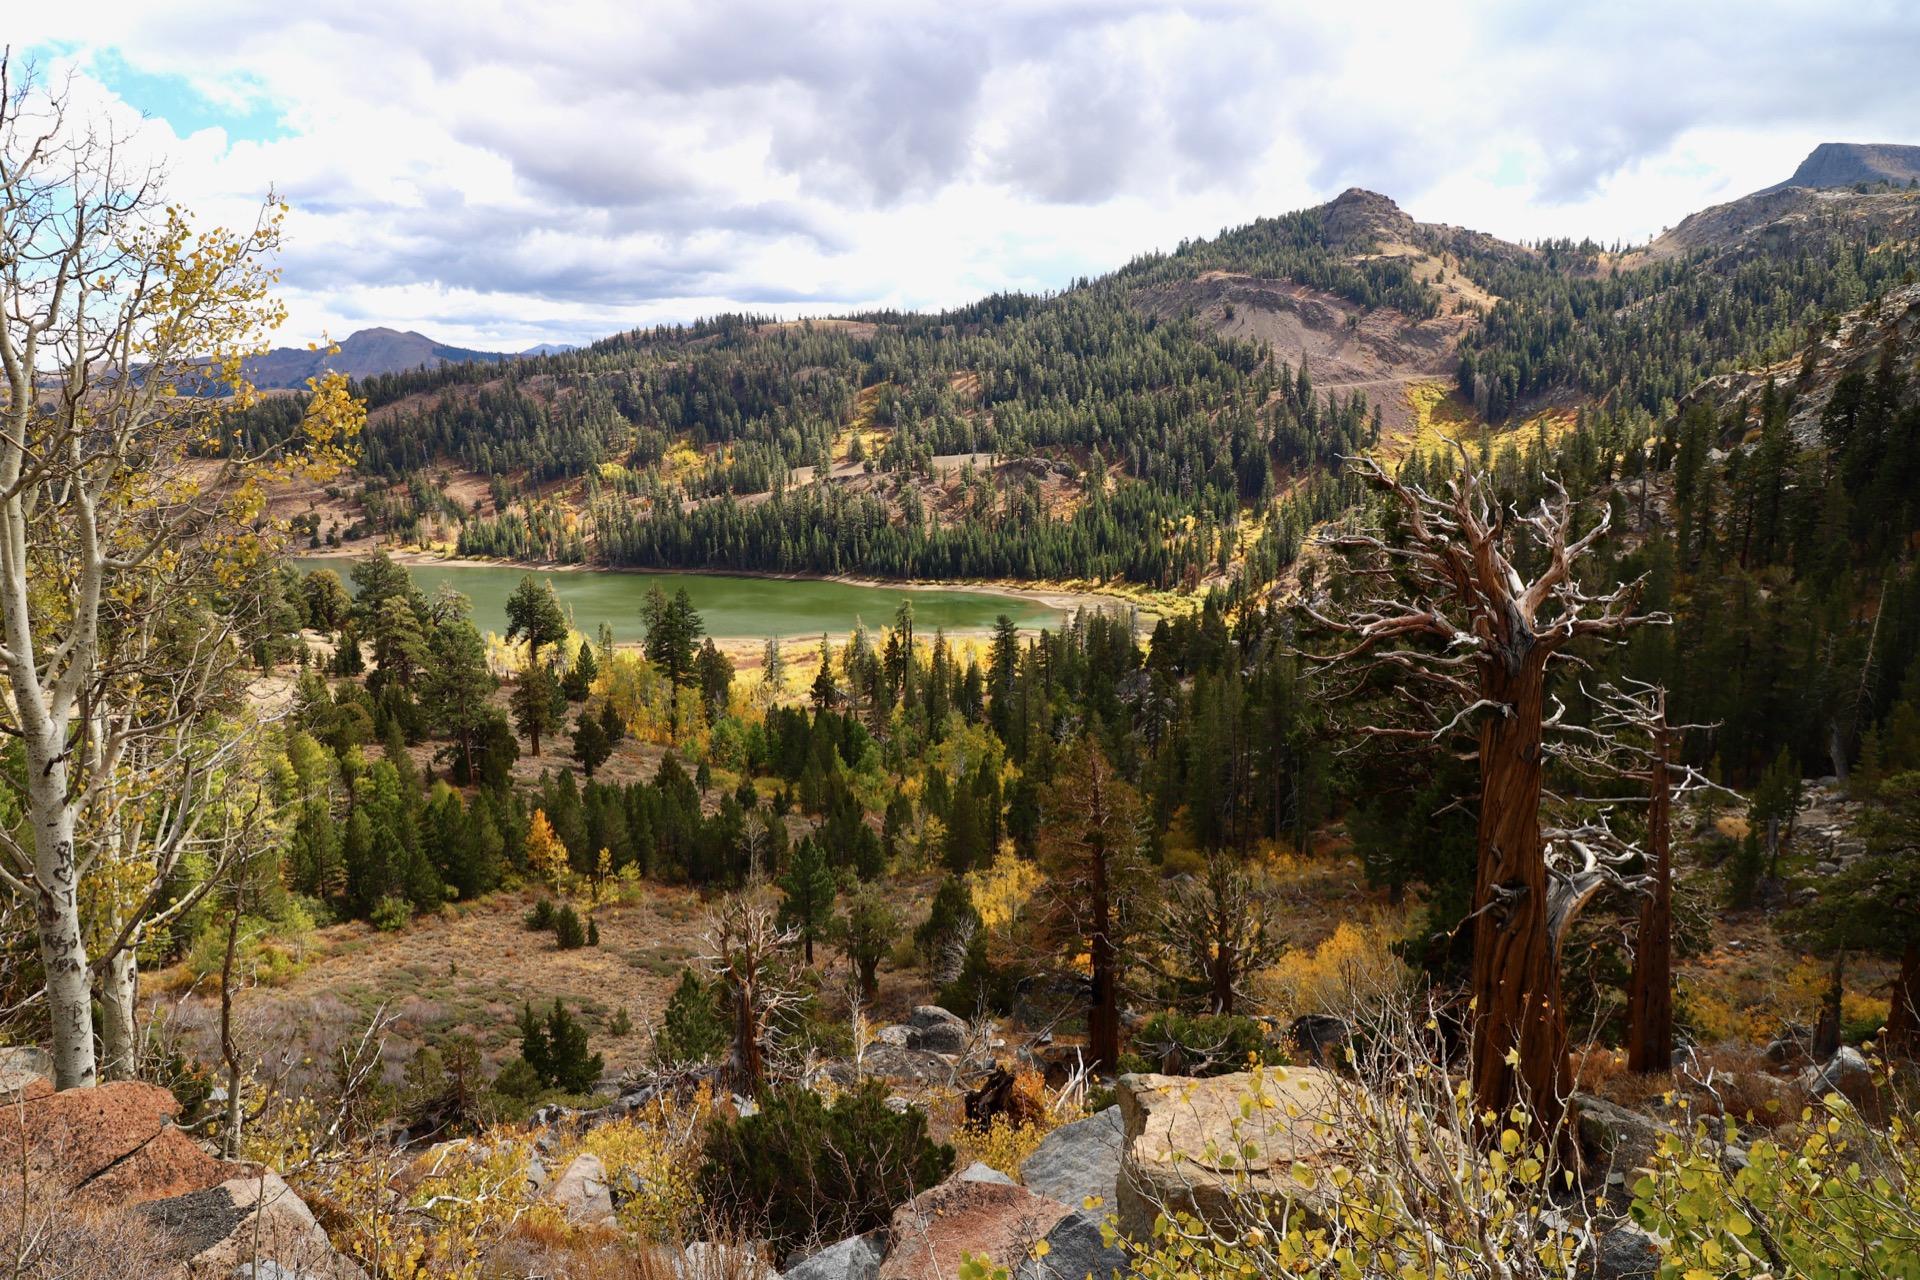
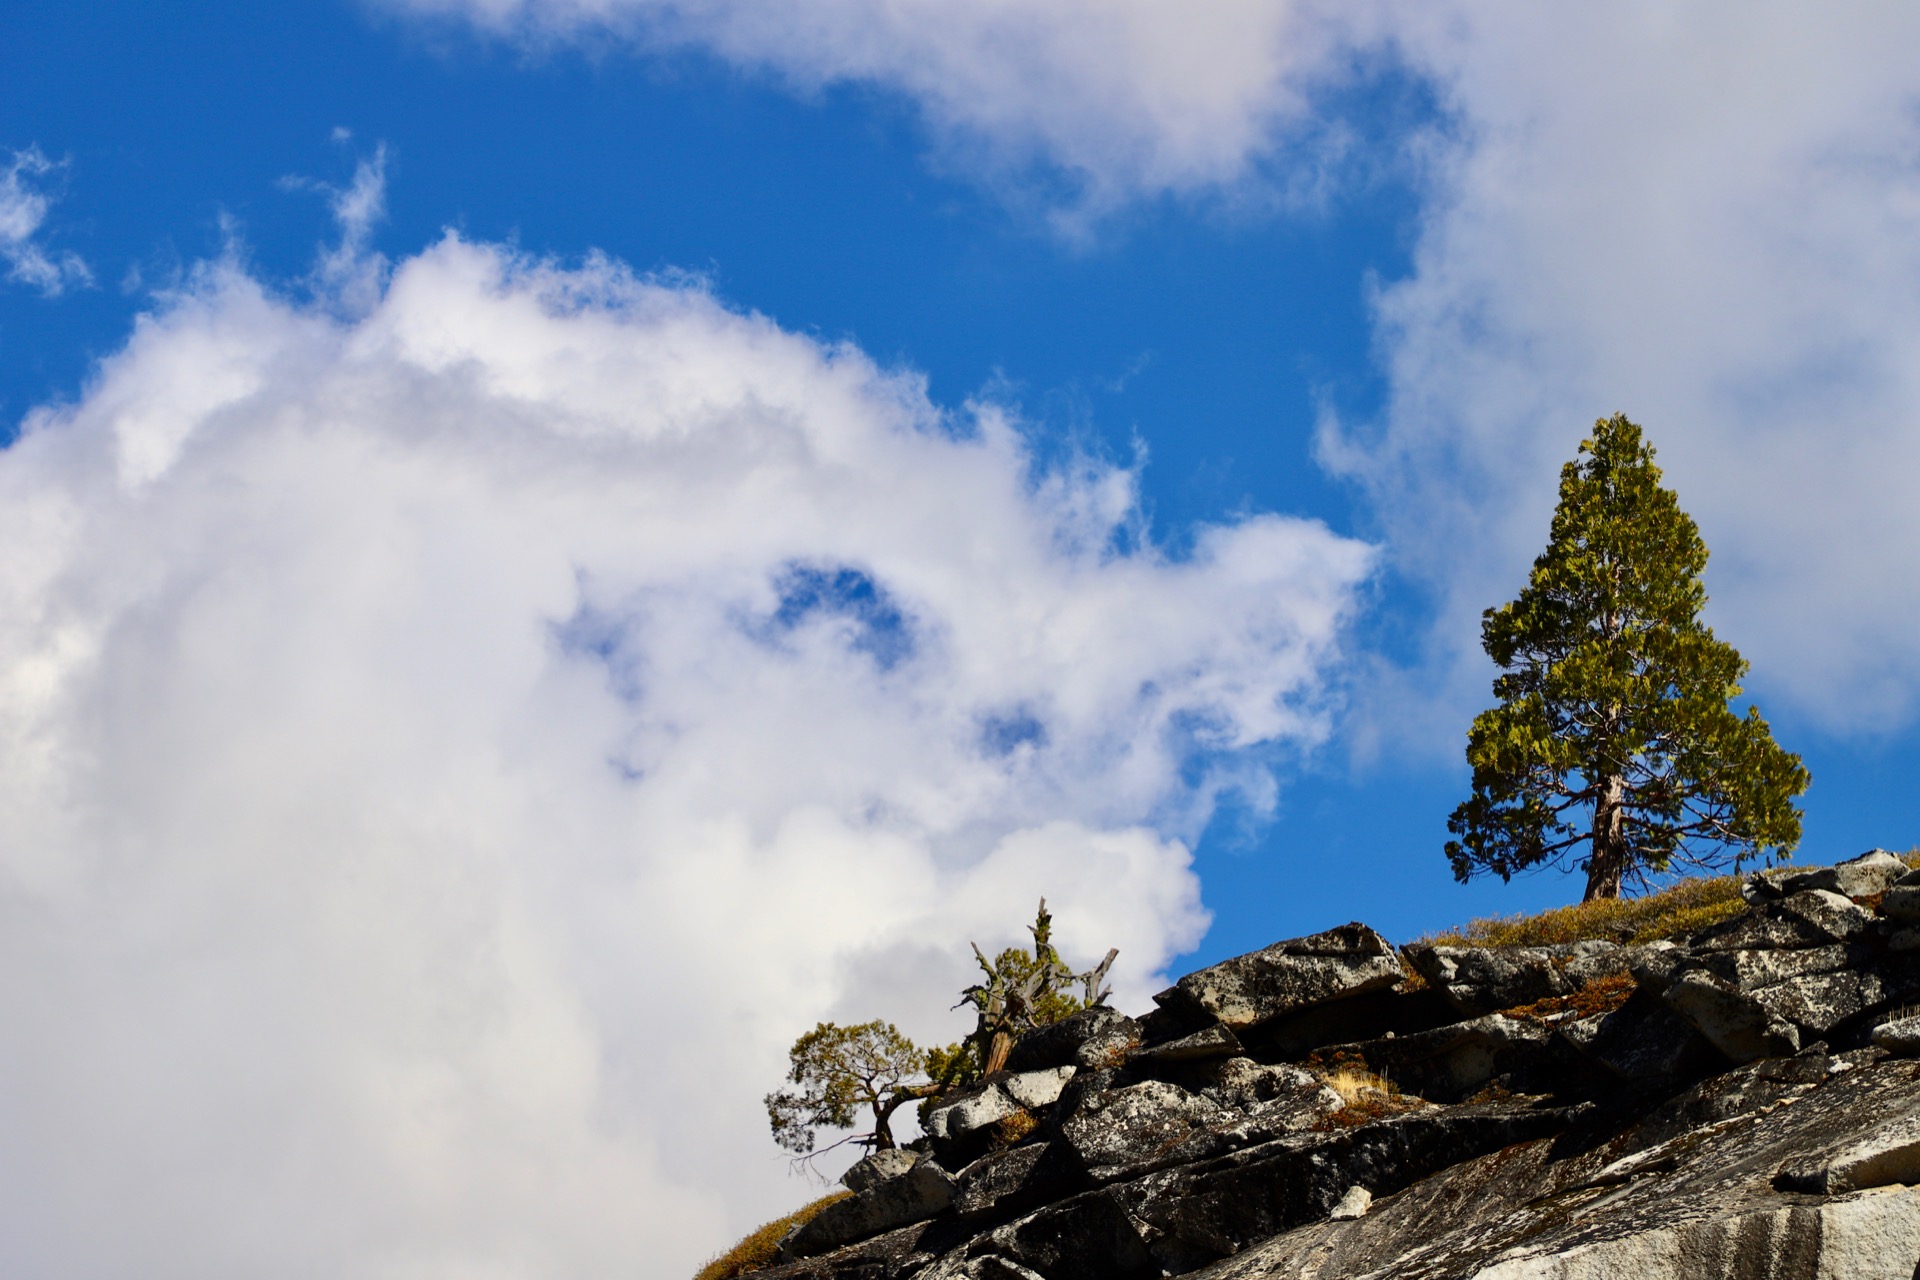
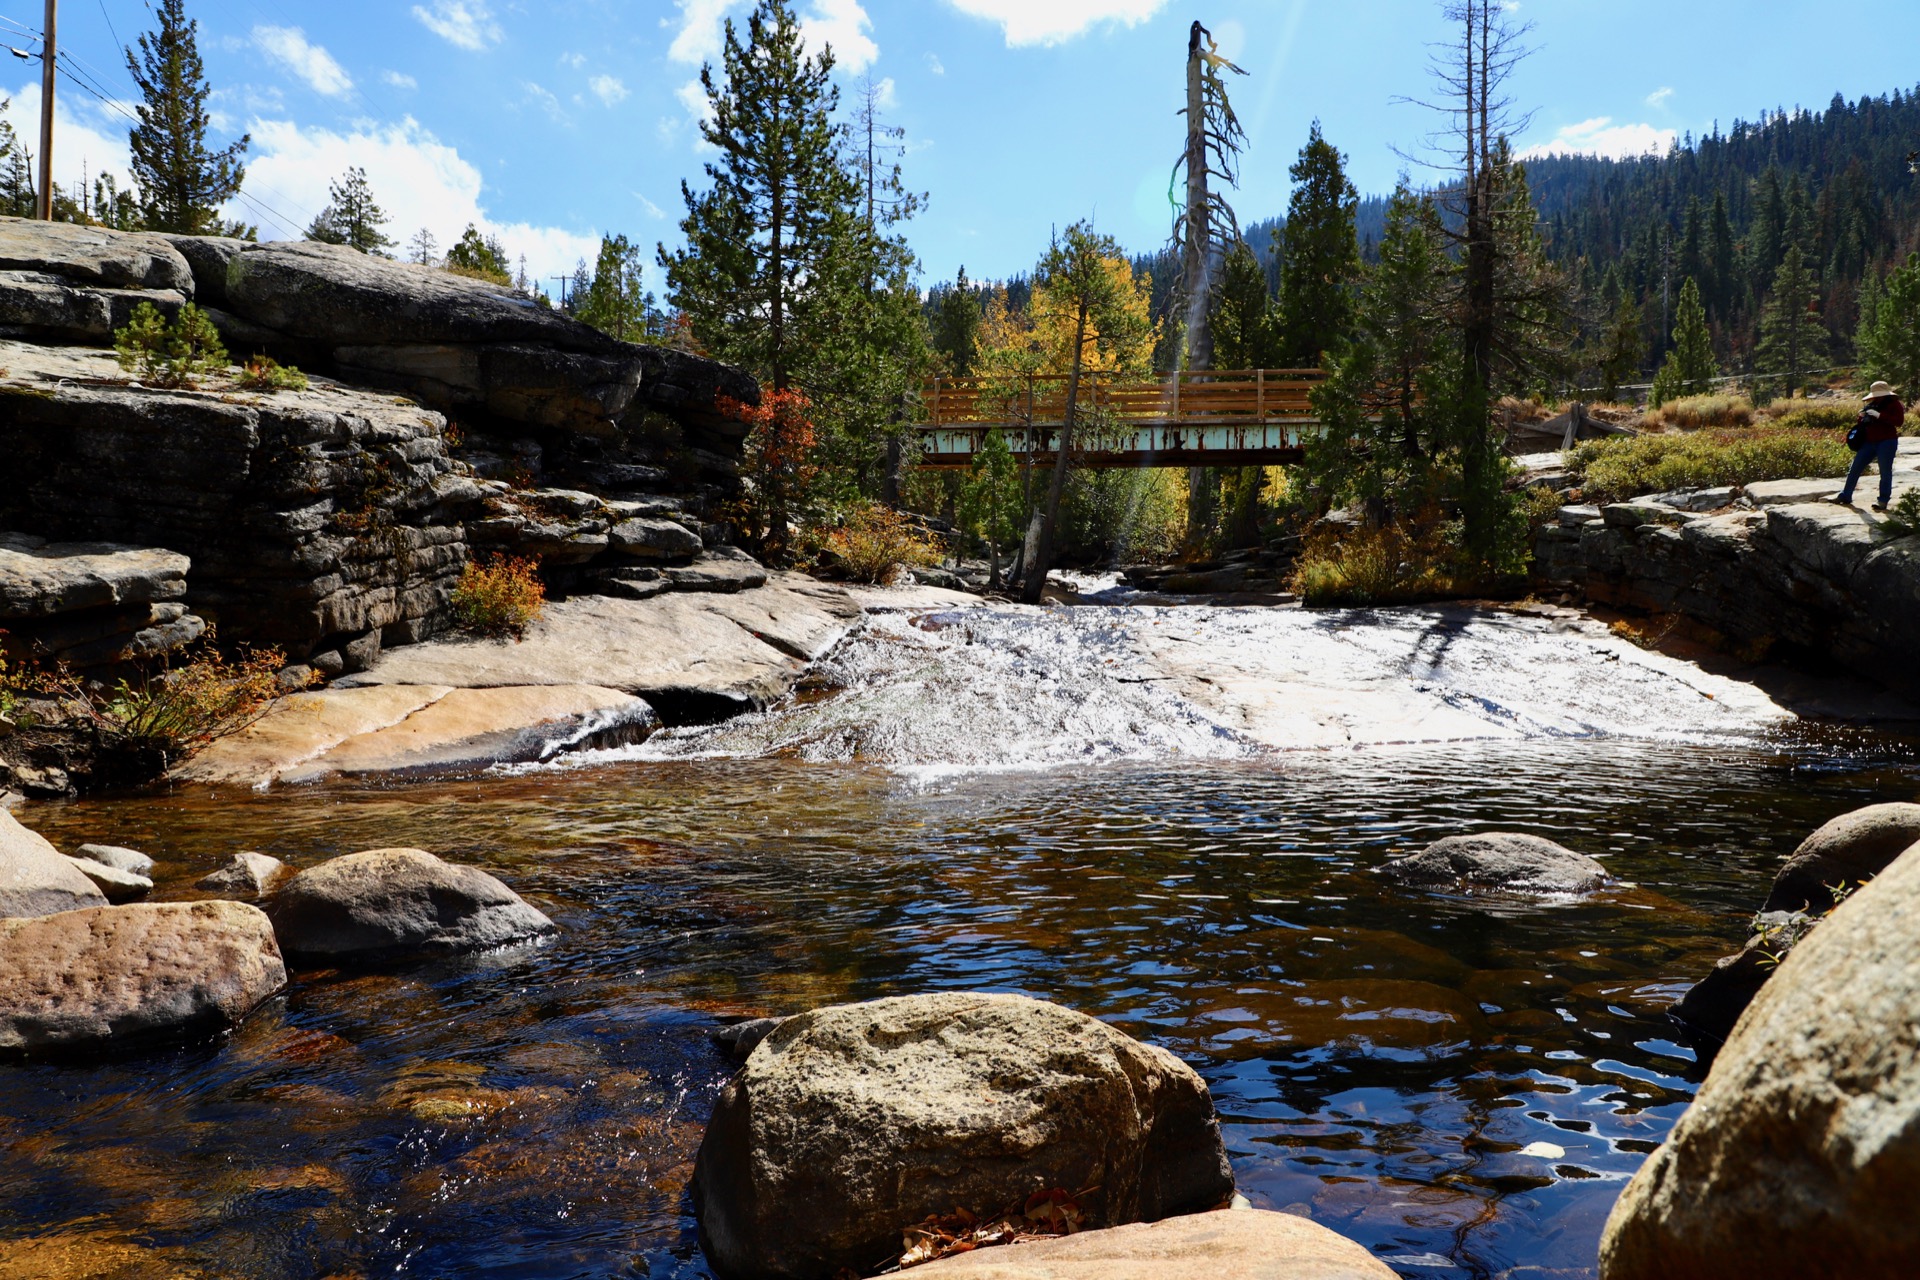
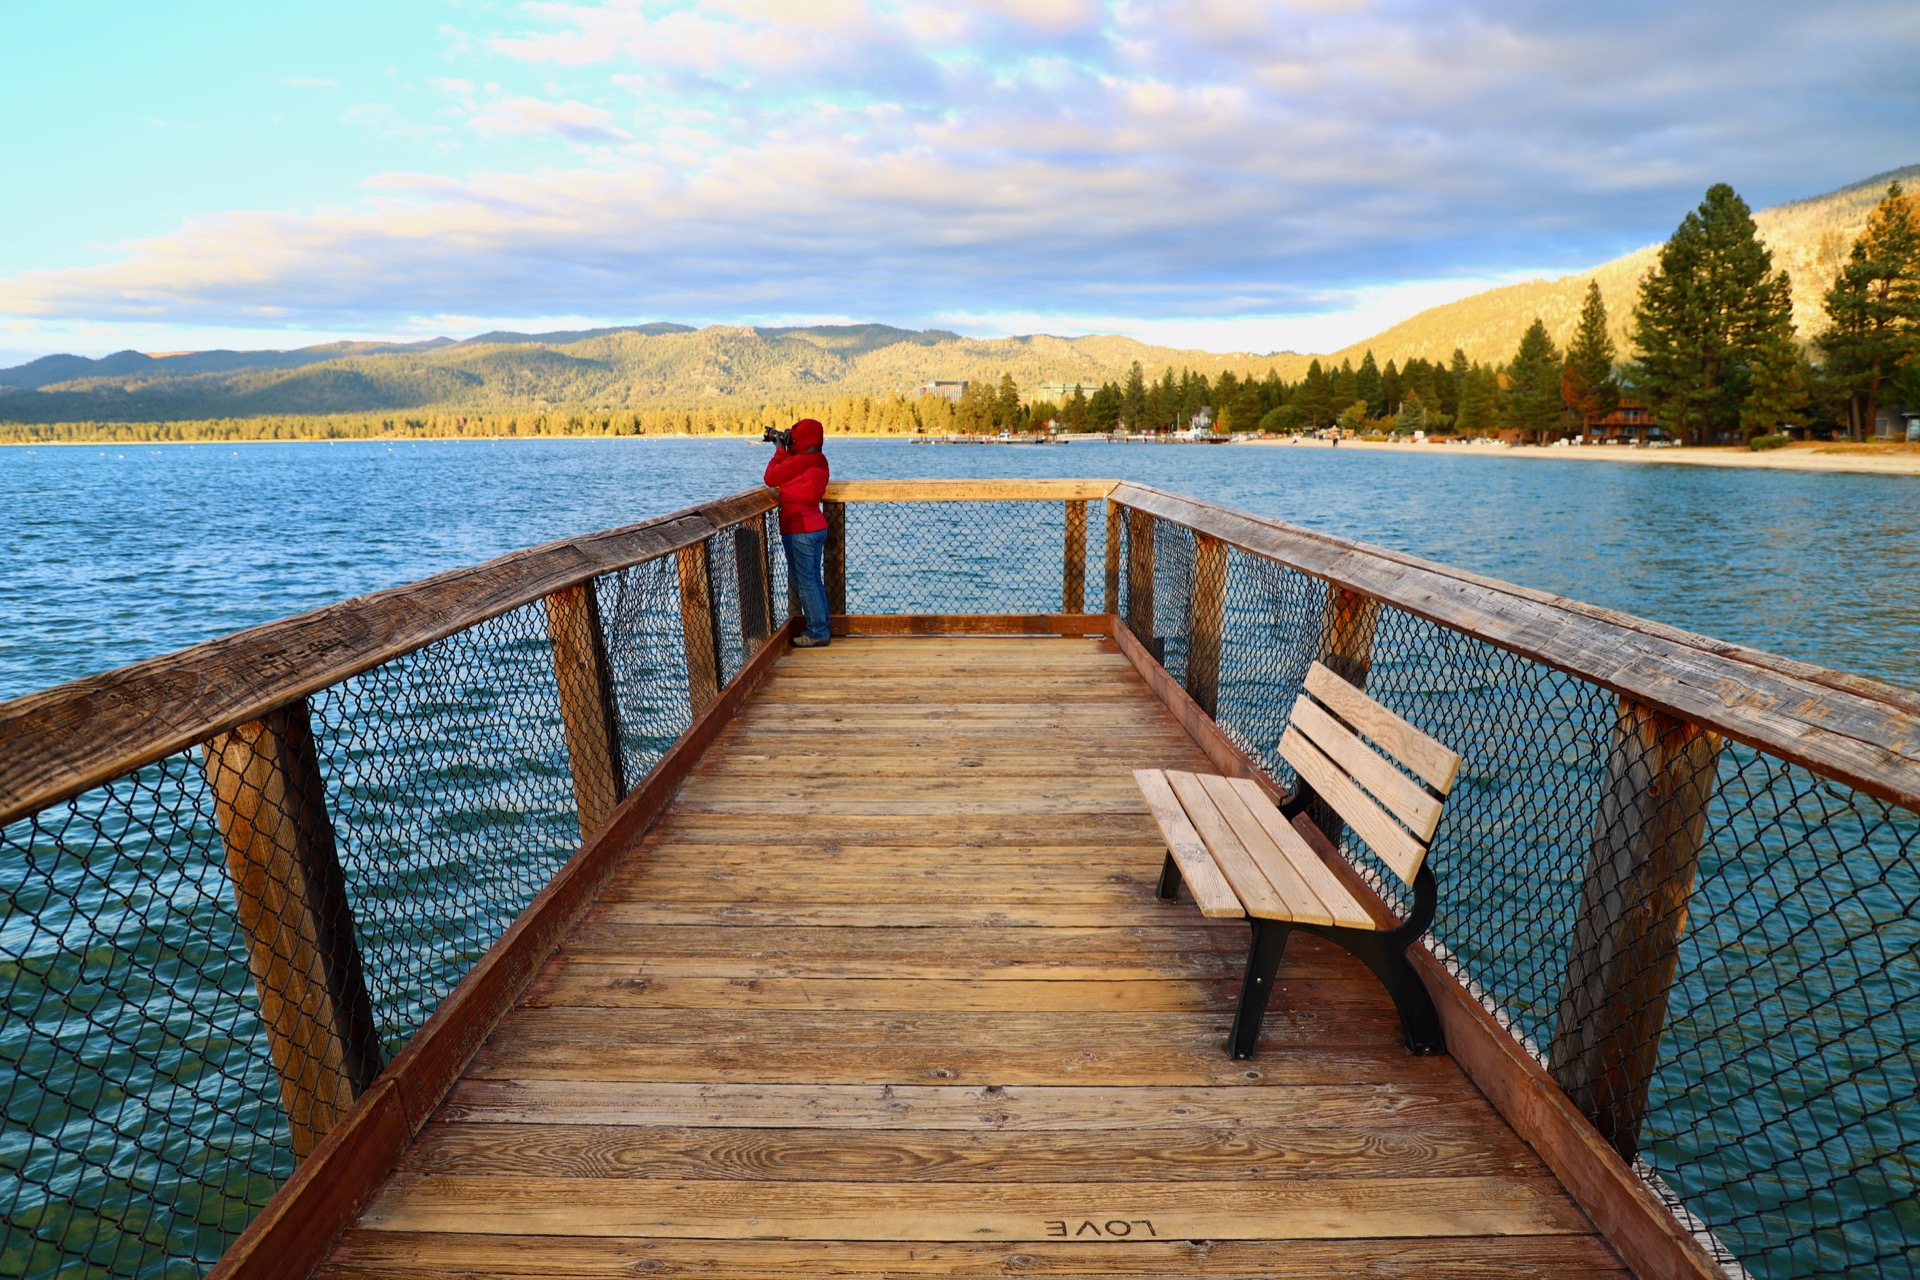
Landscape Photography

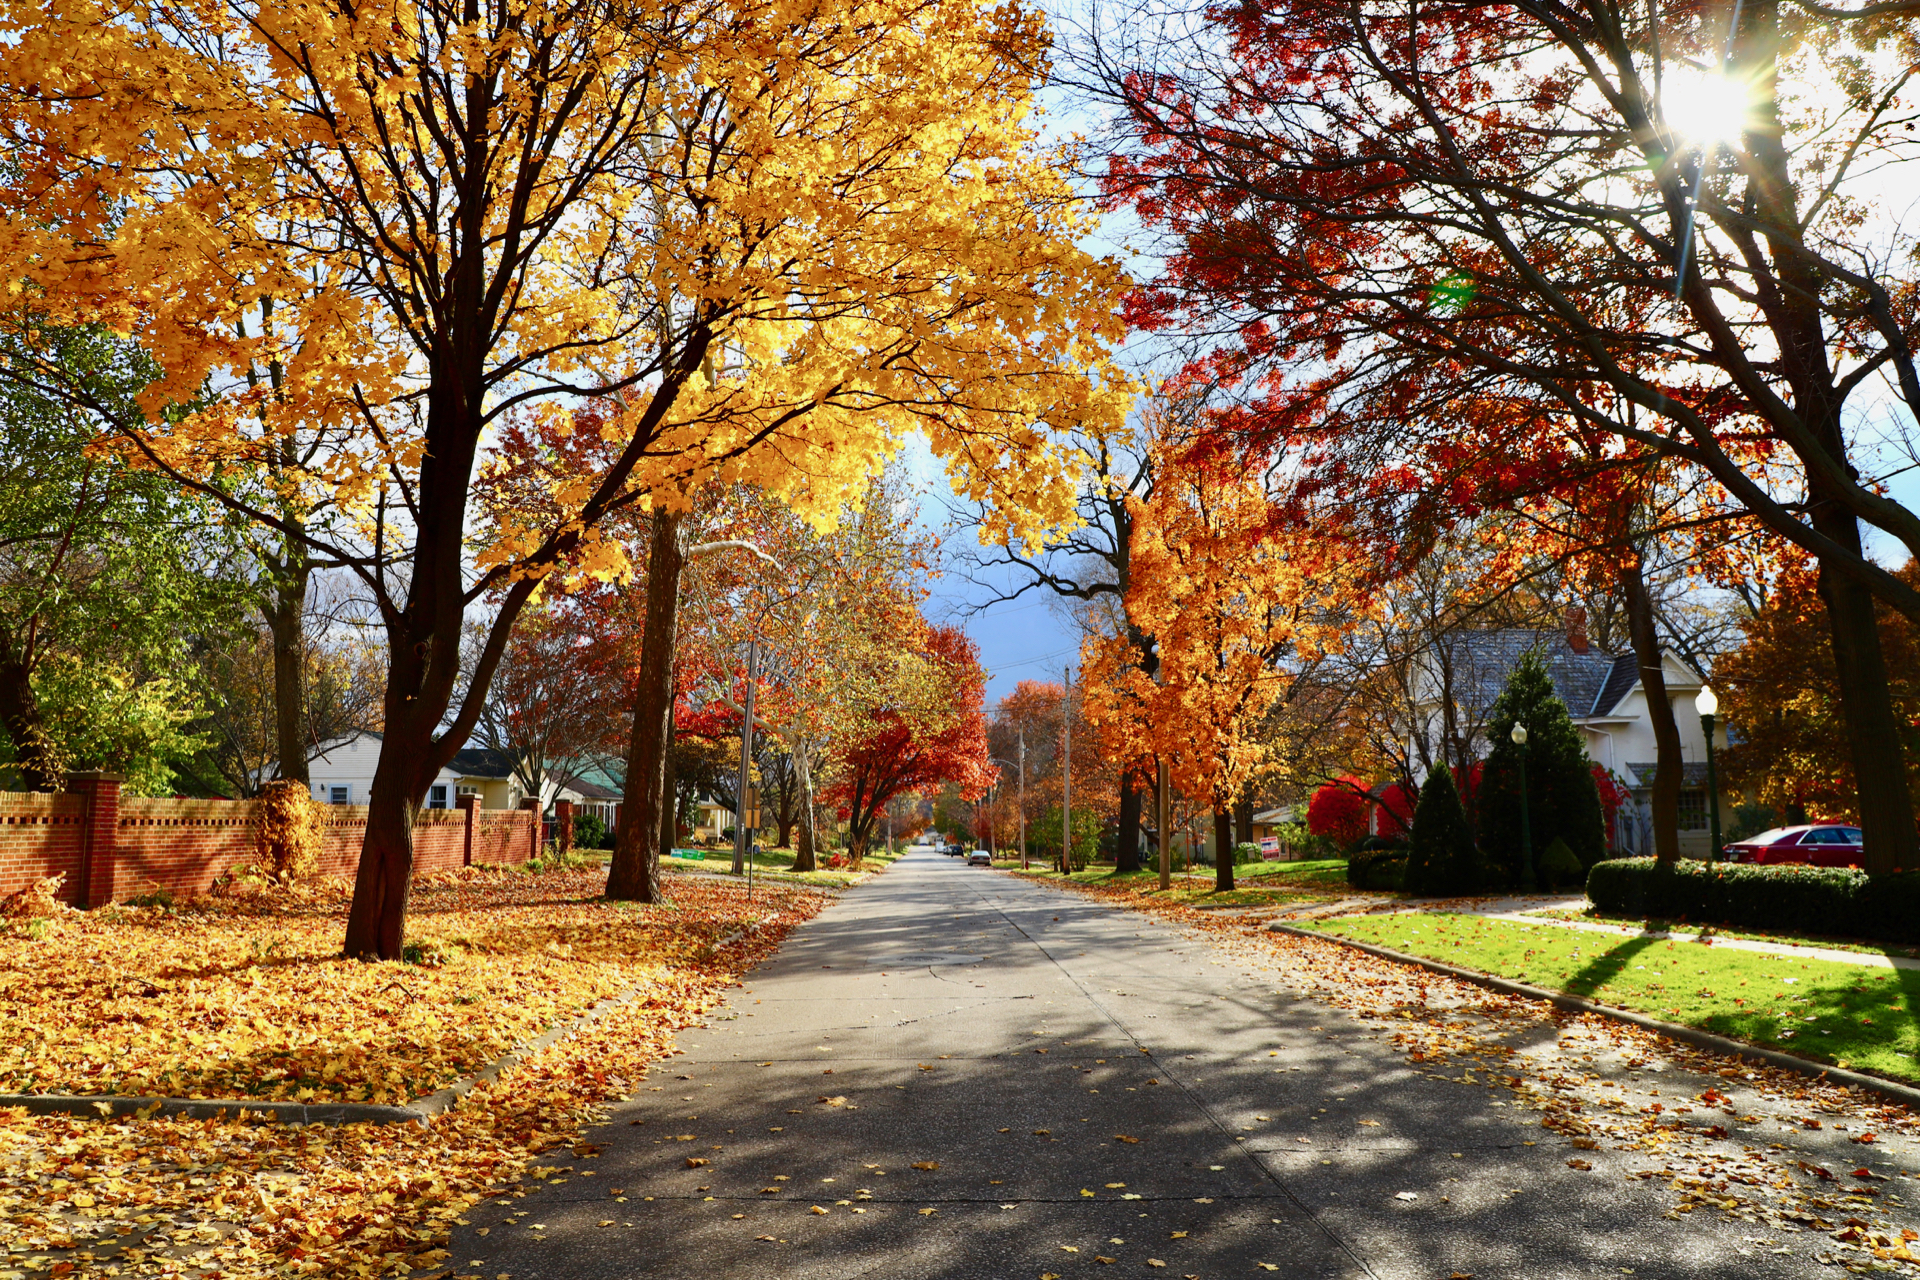
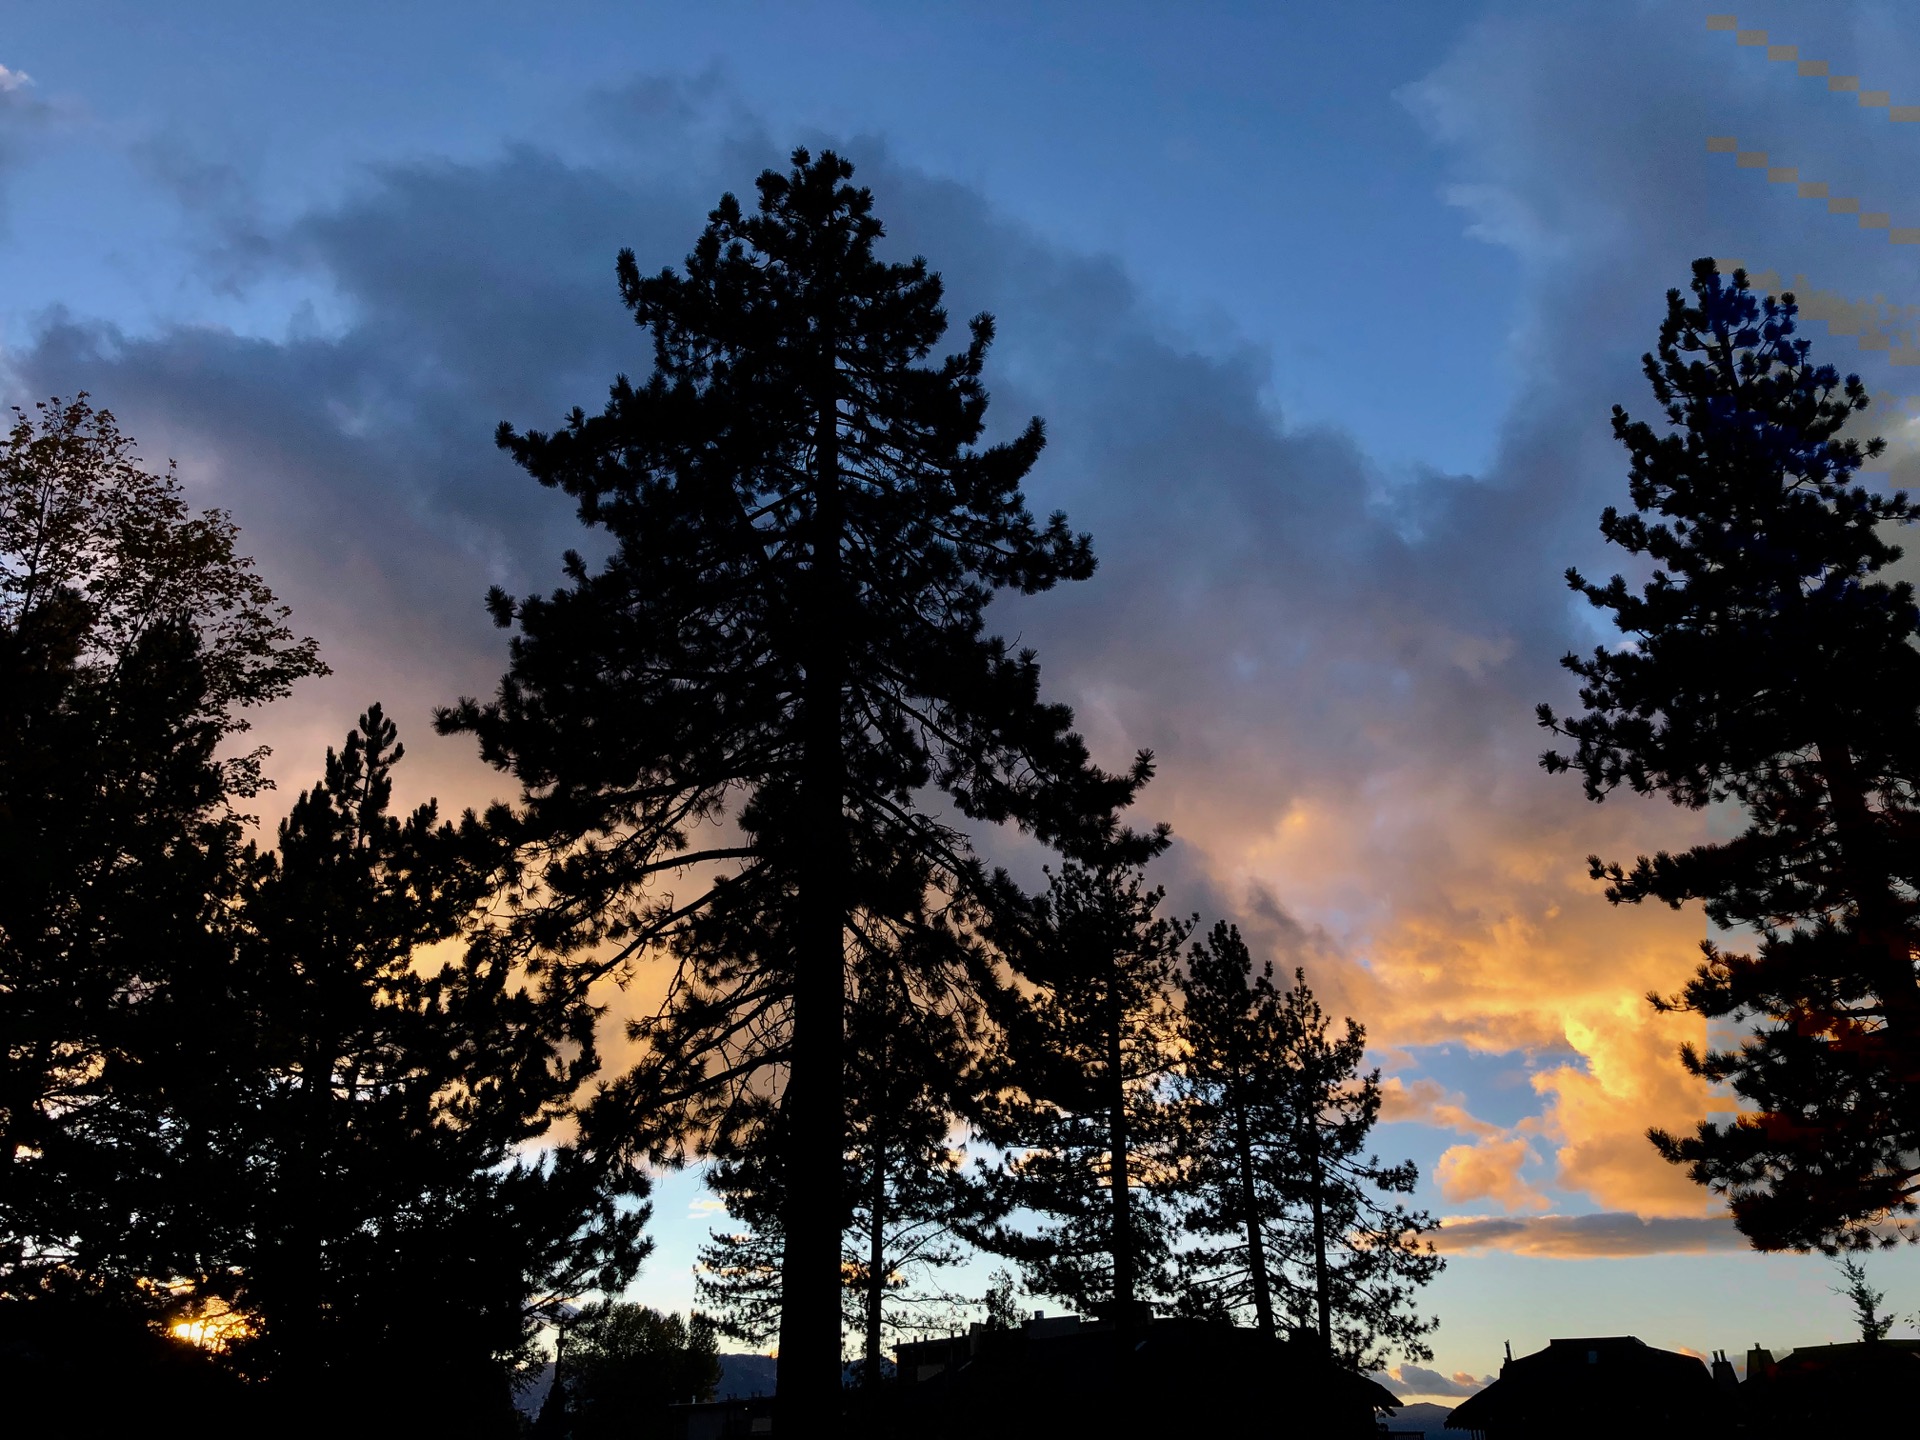
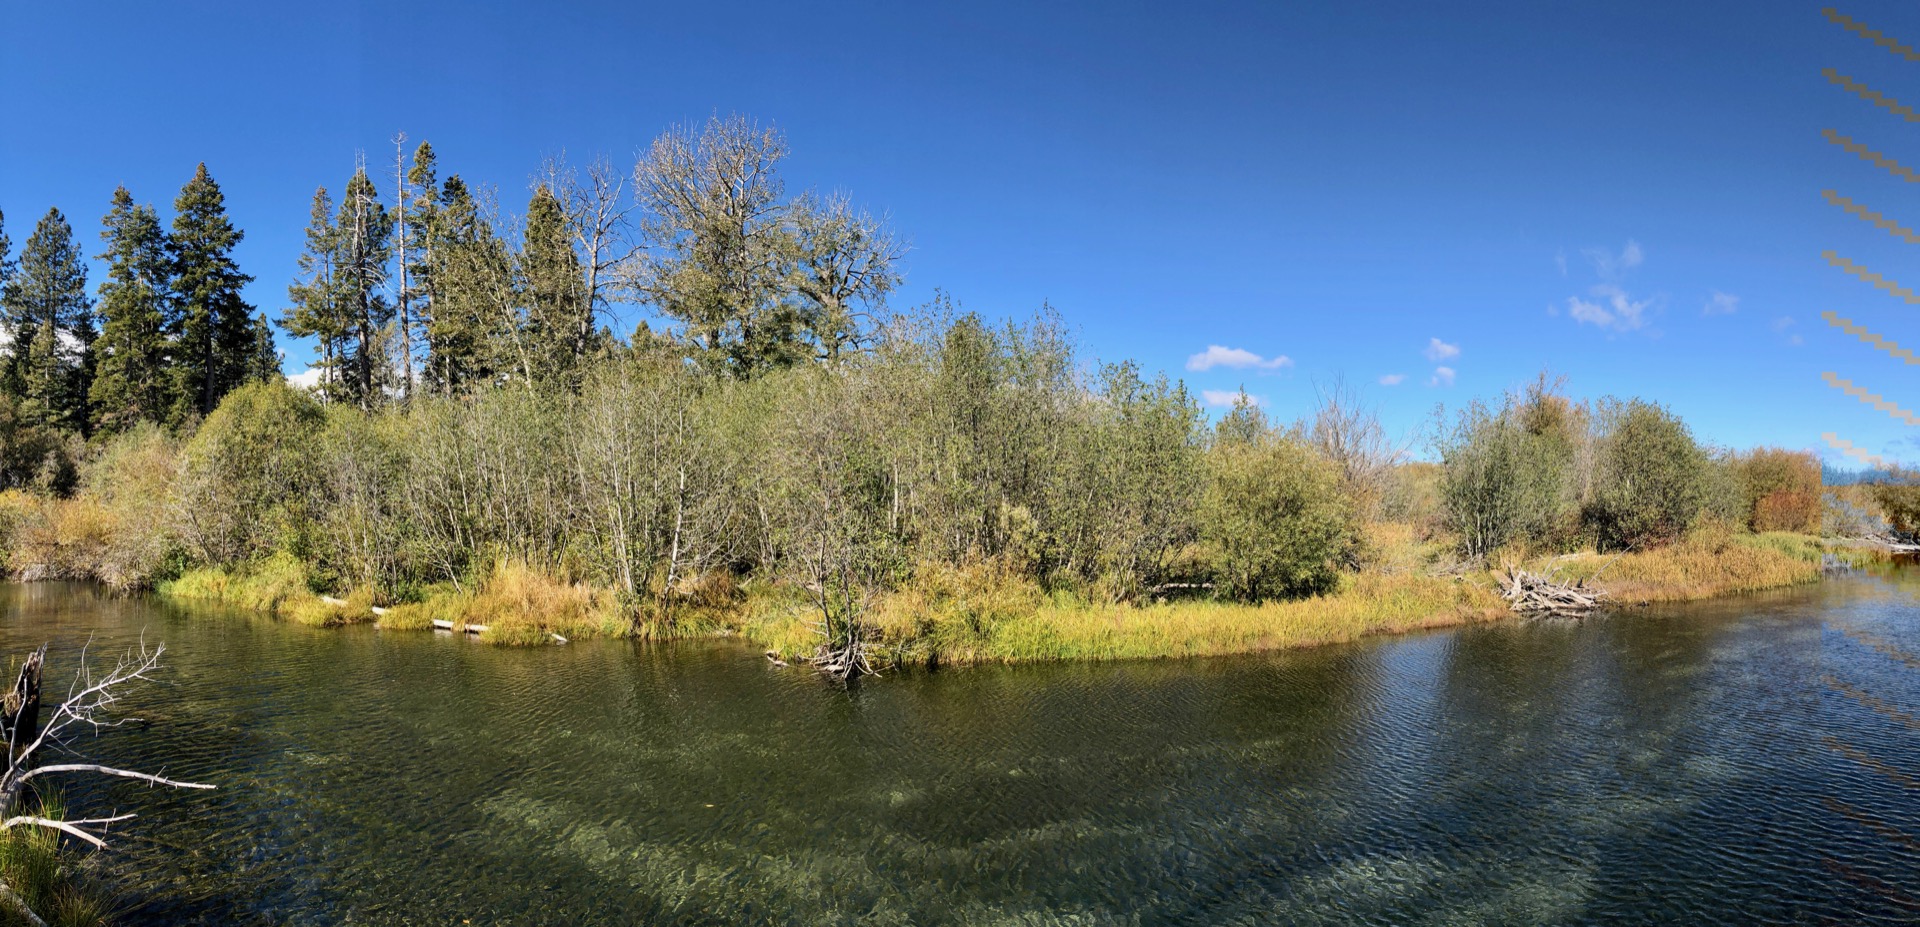
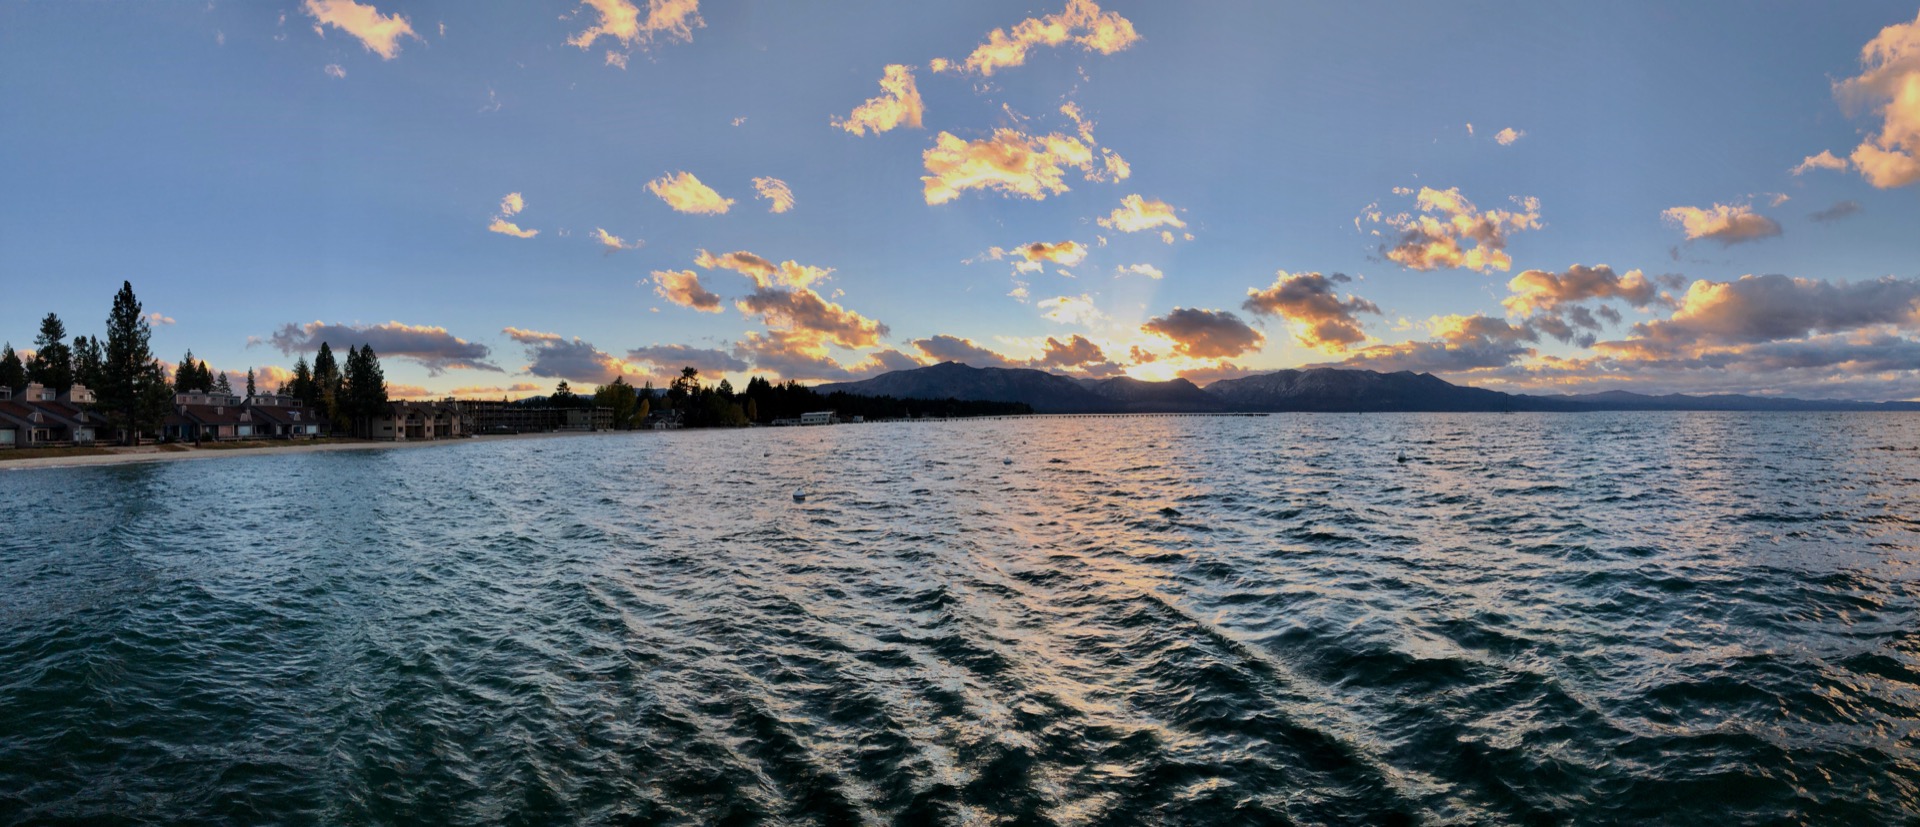
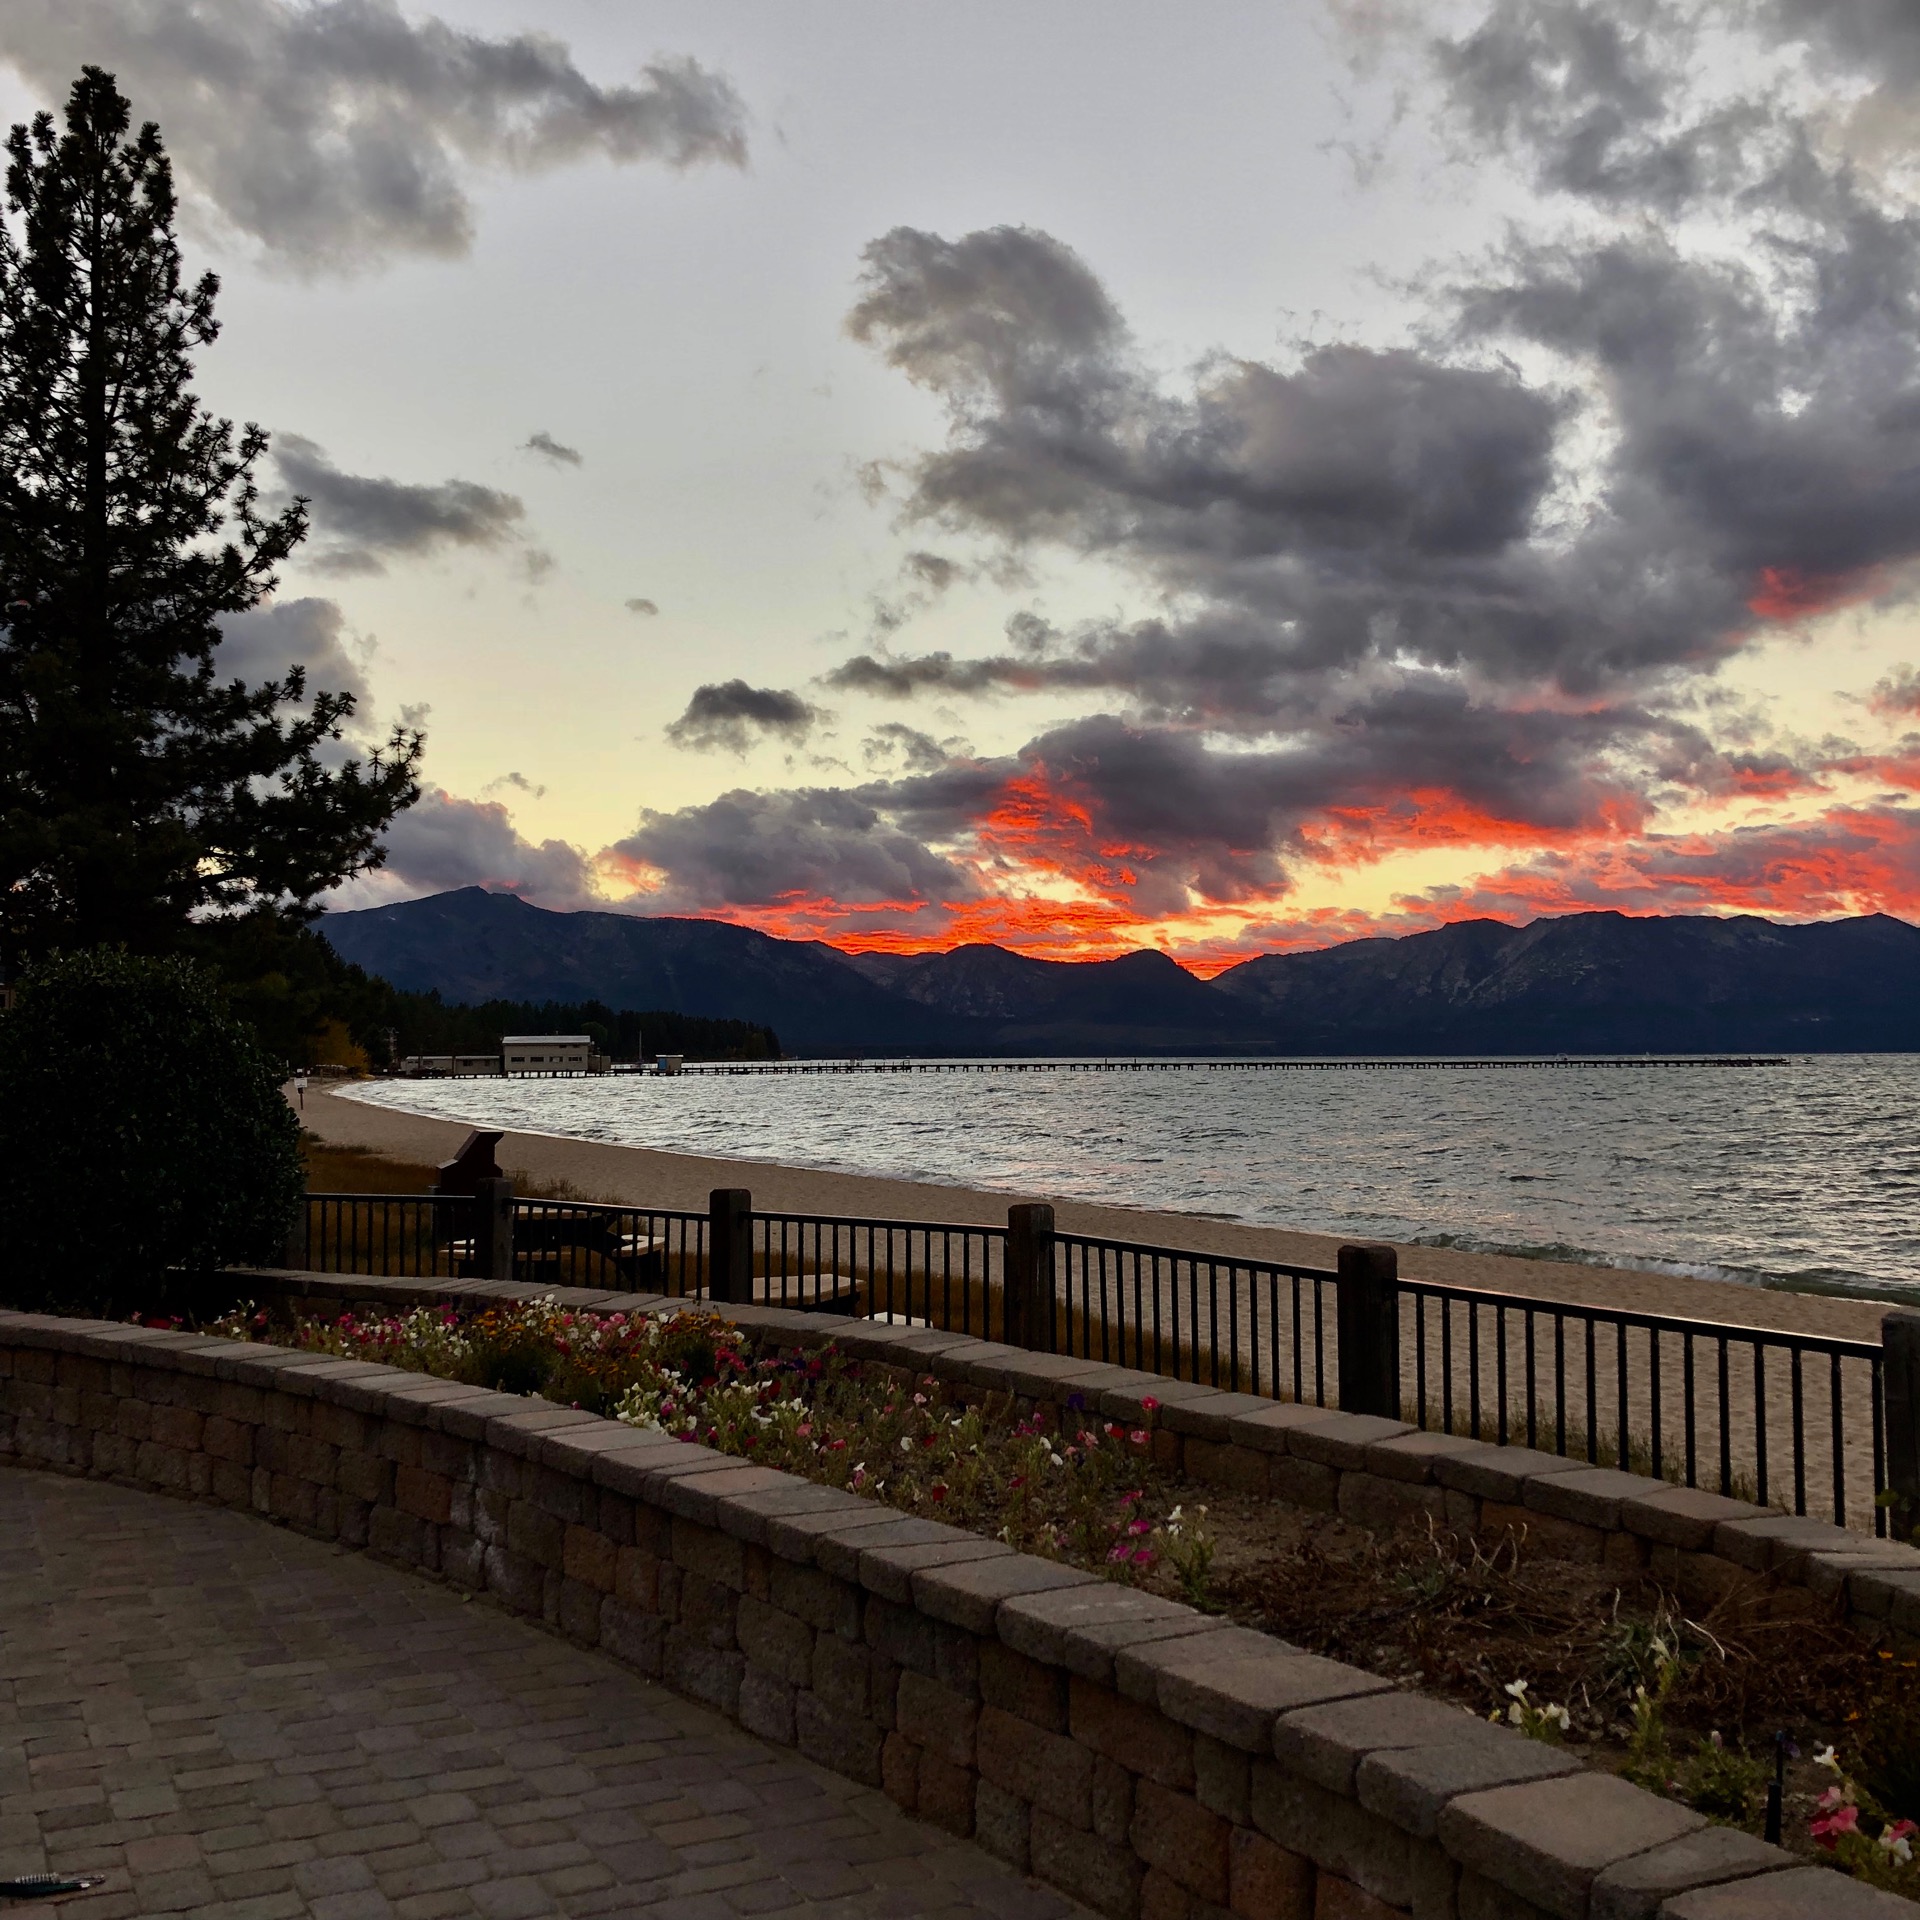
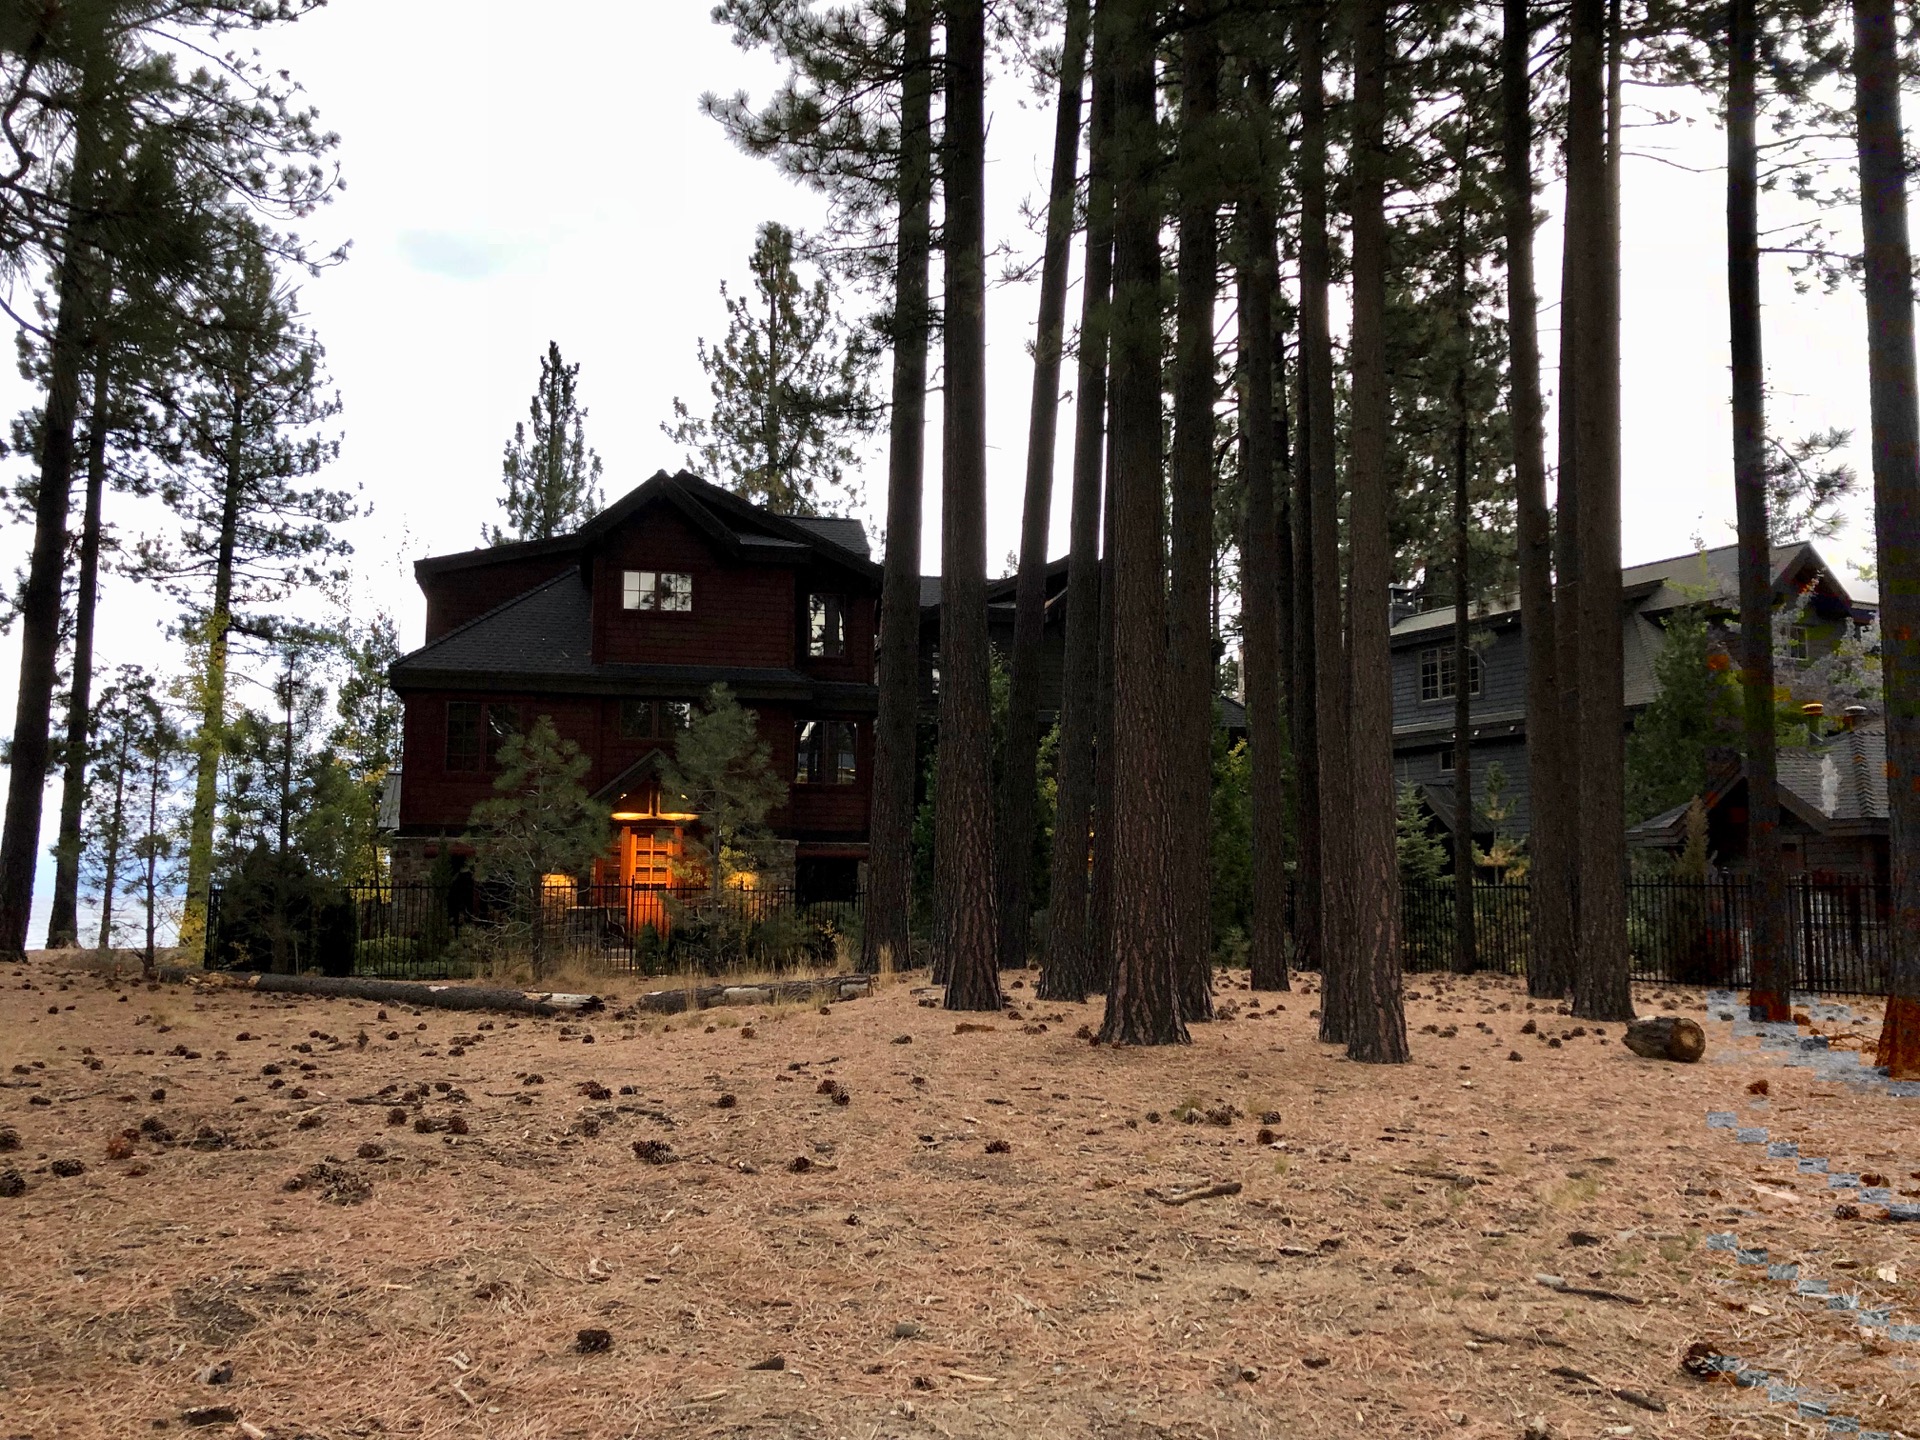
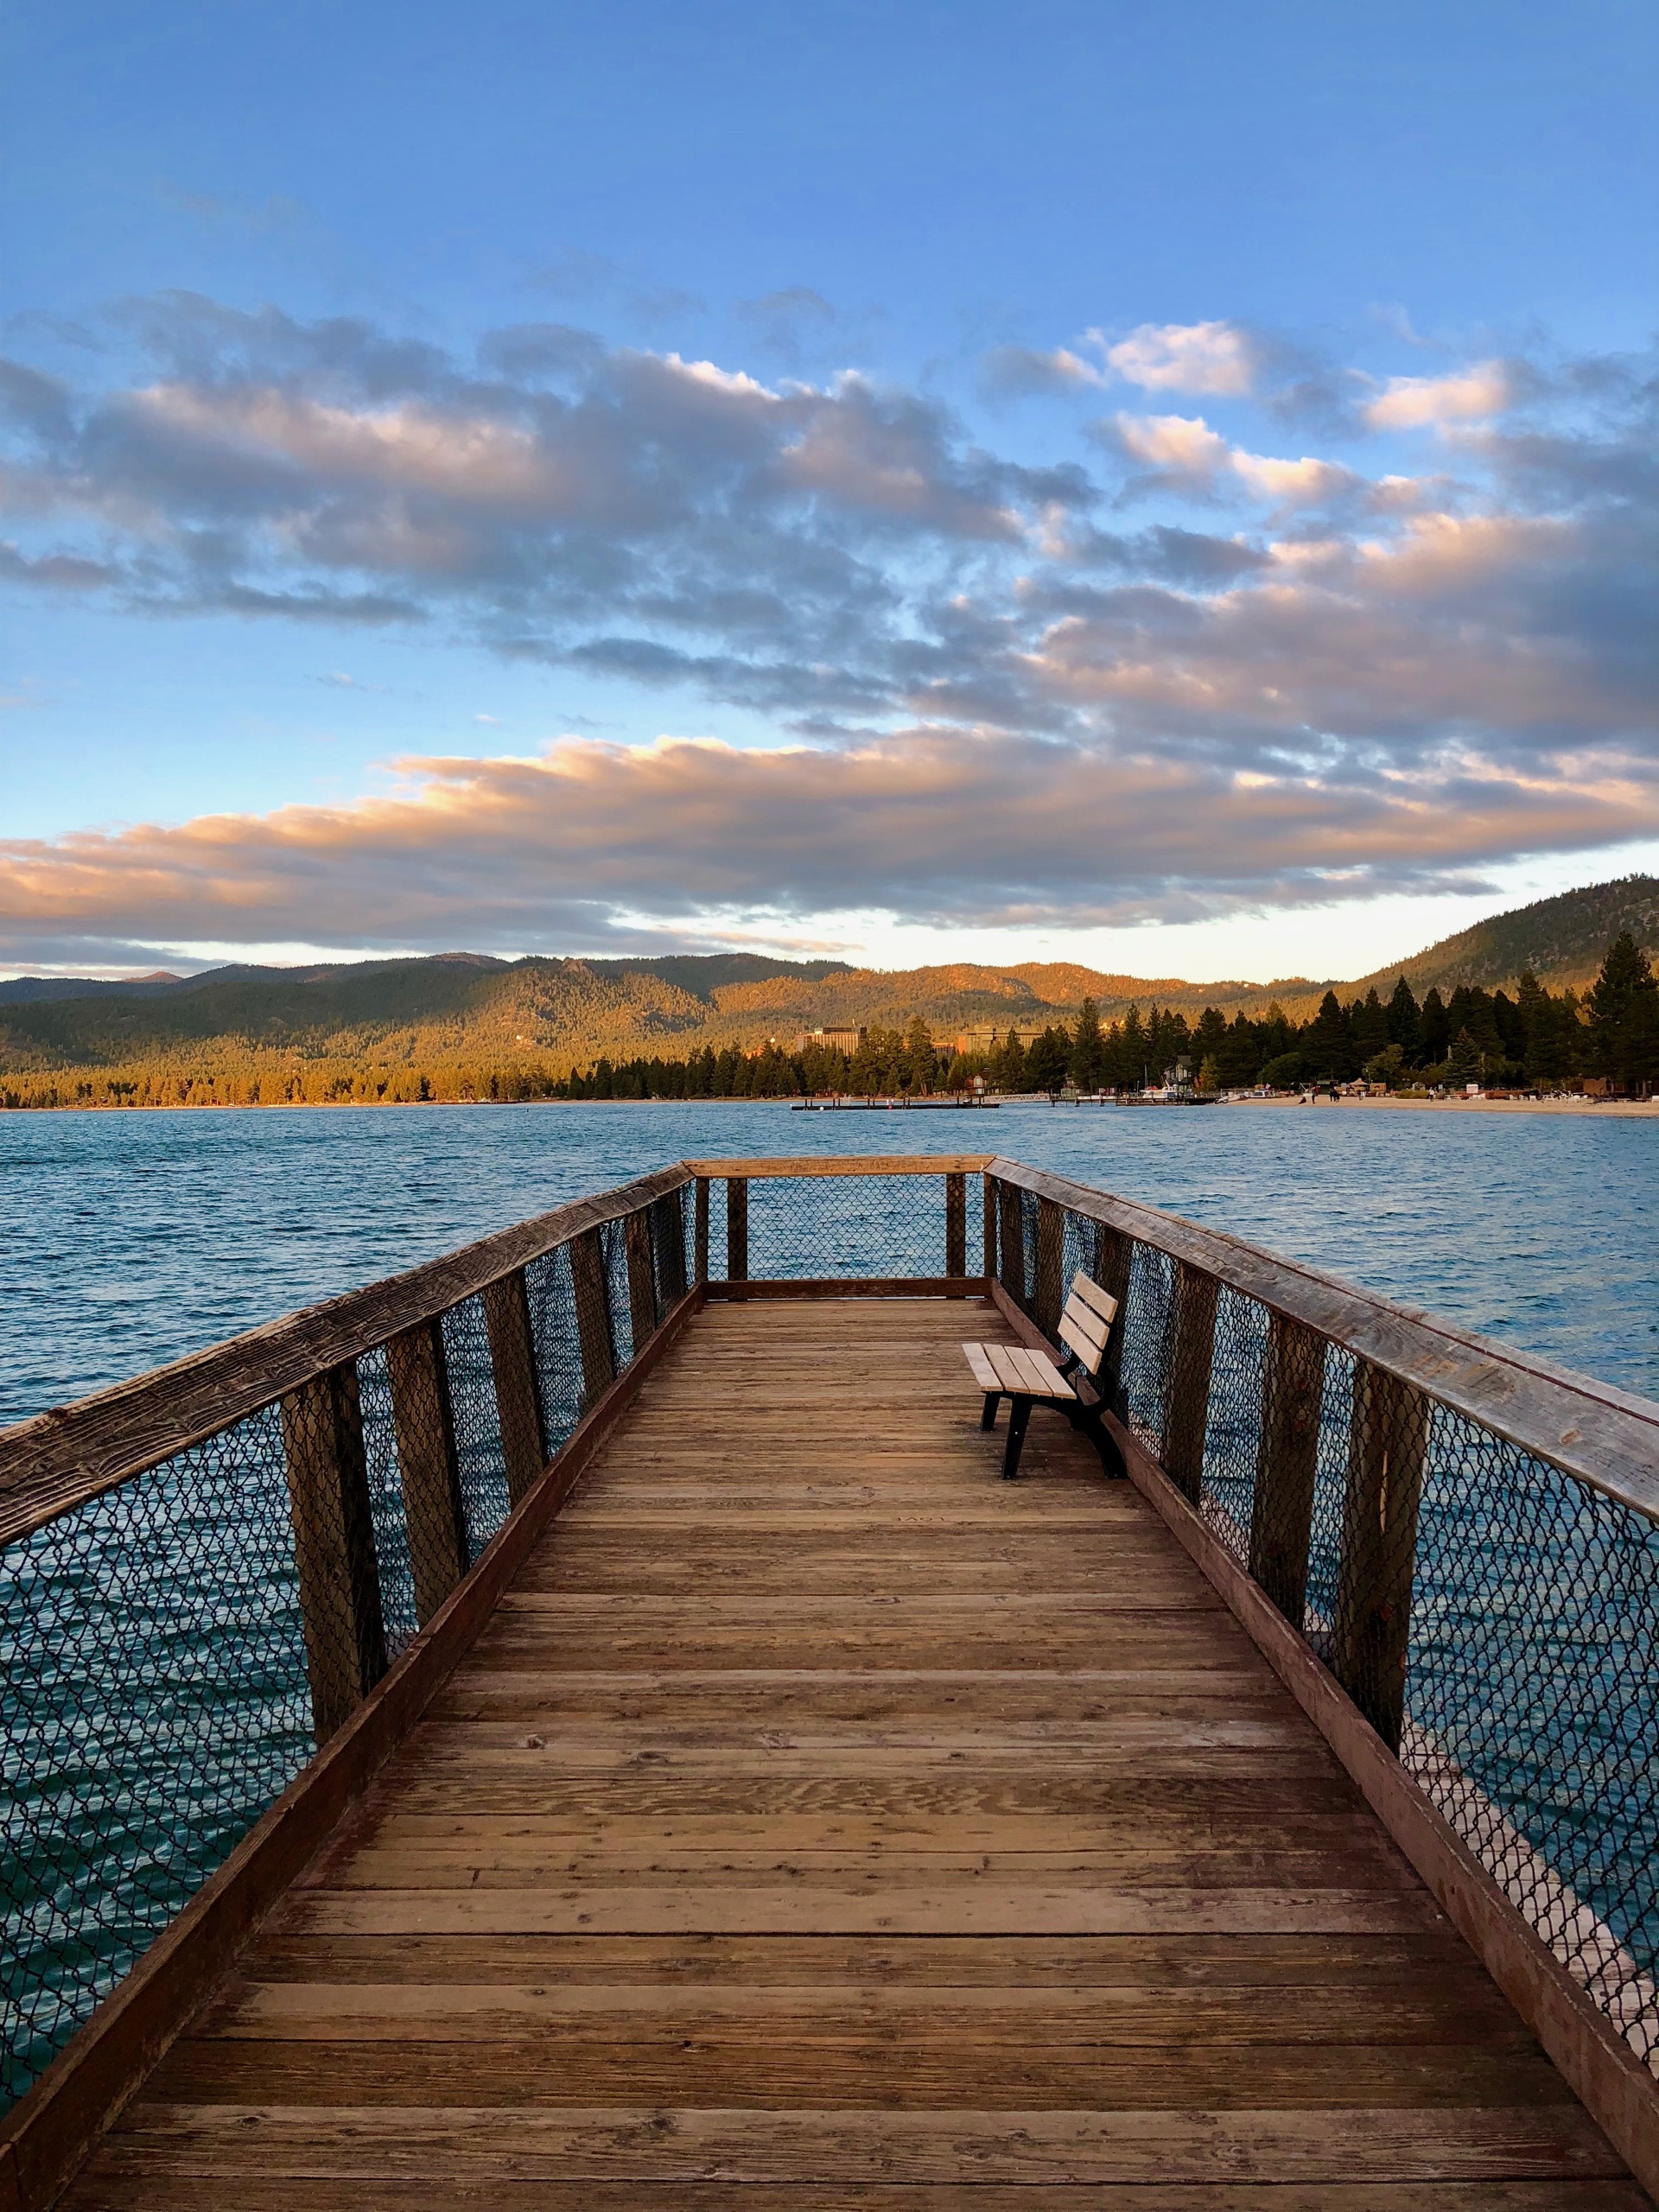
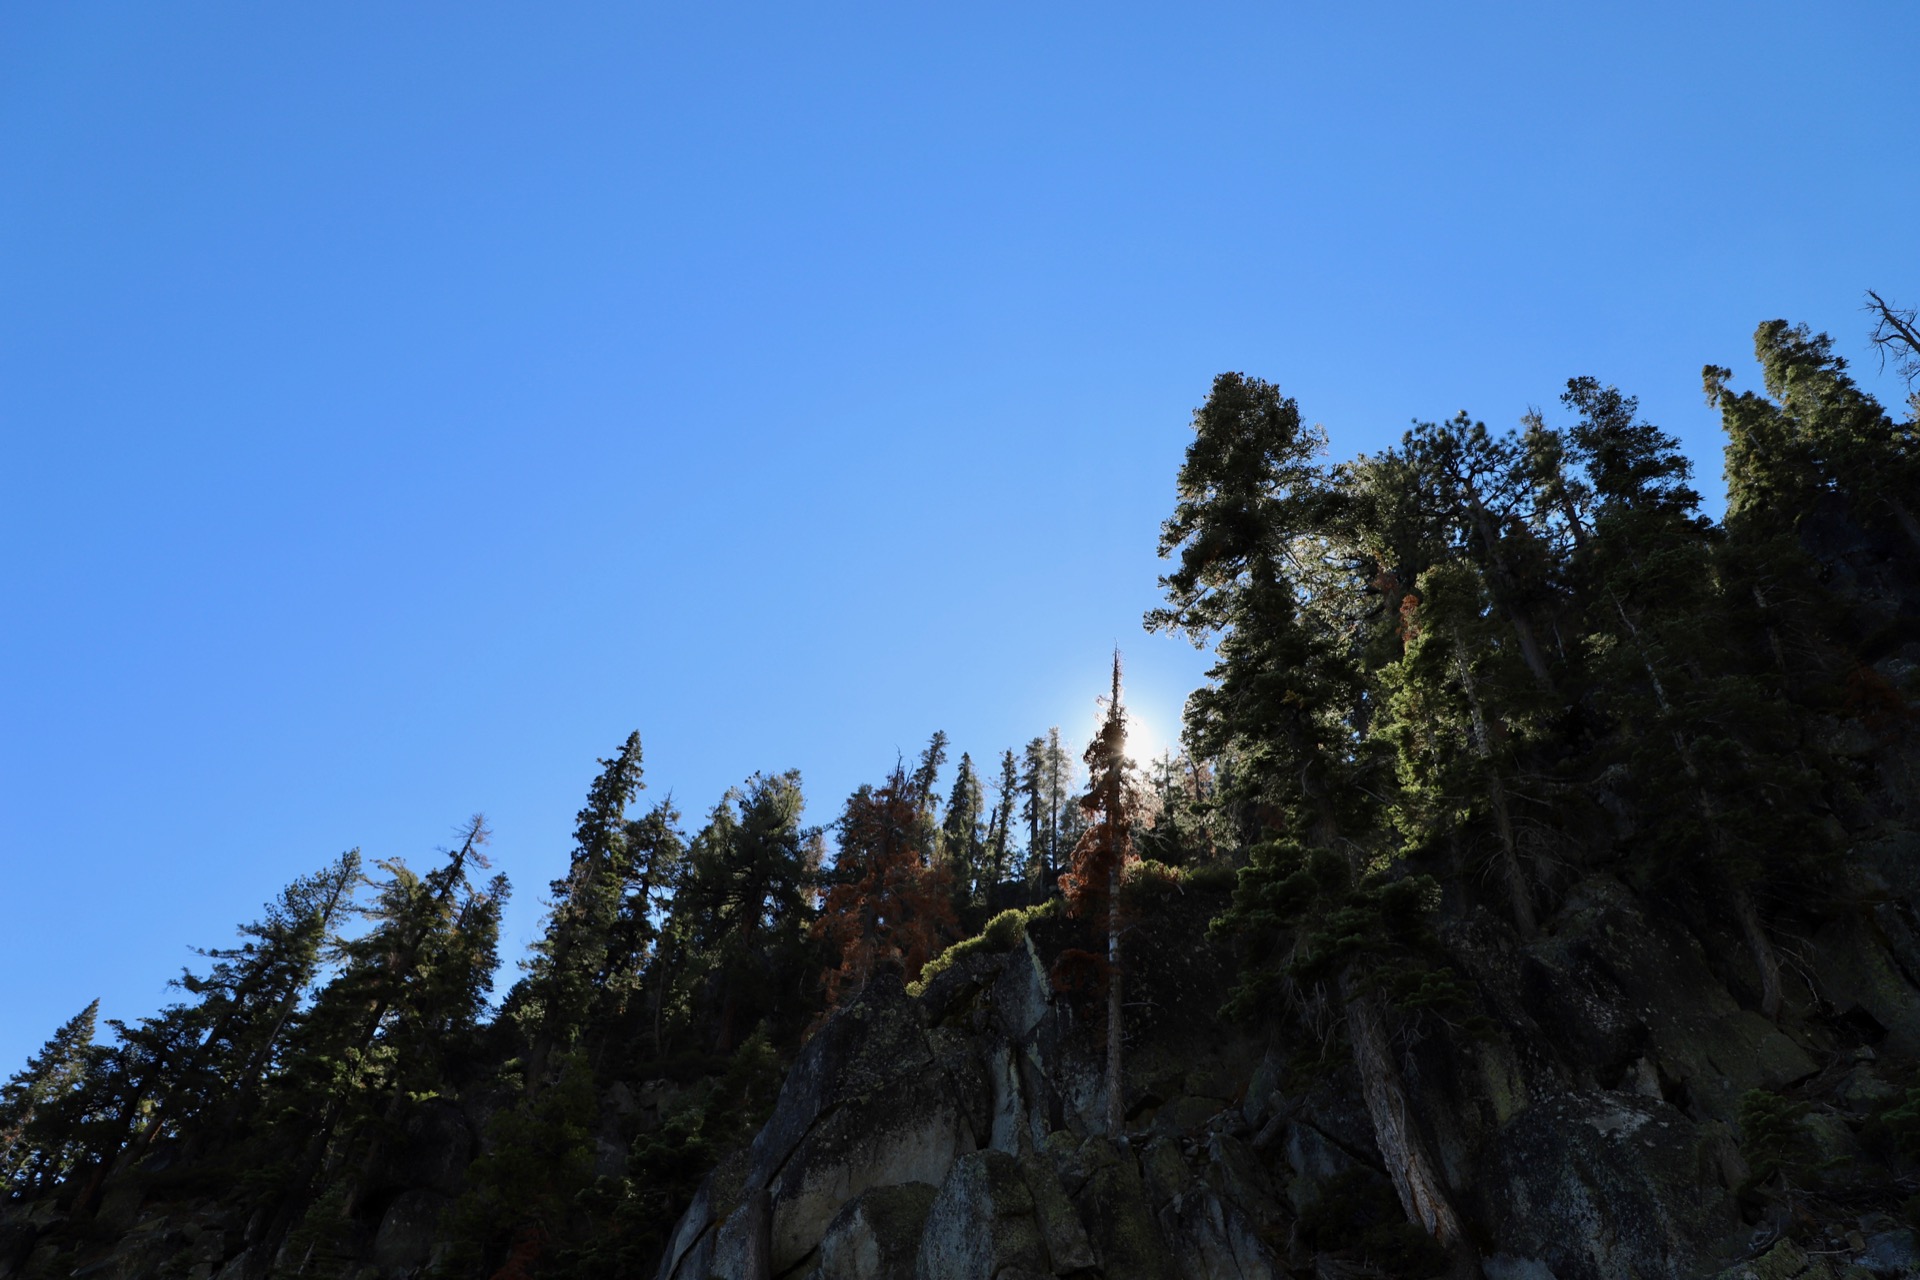
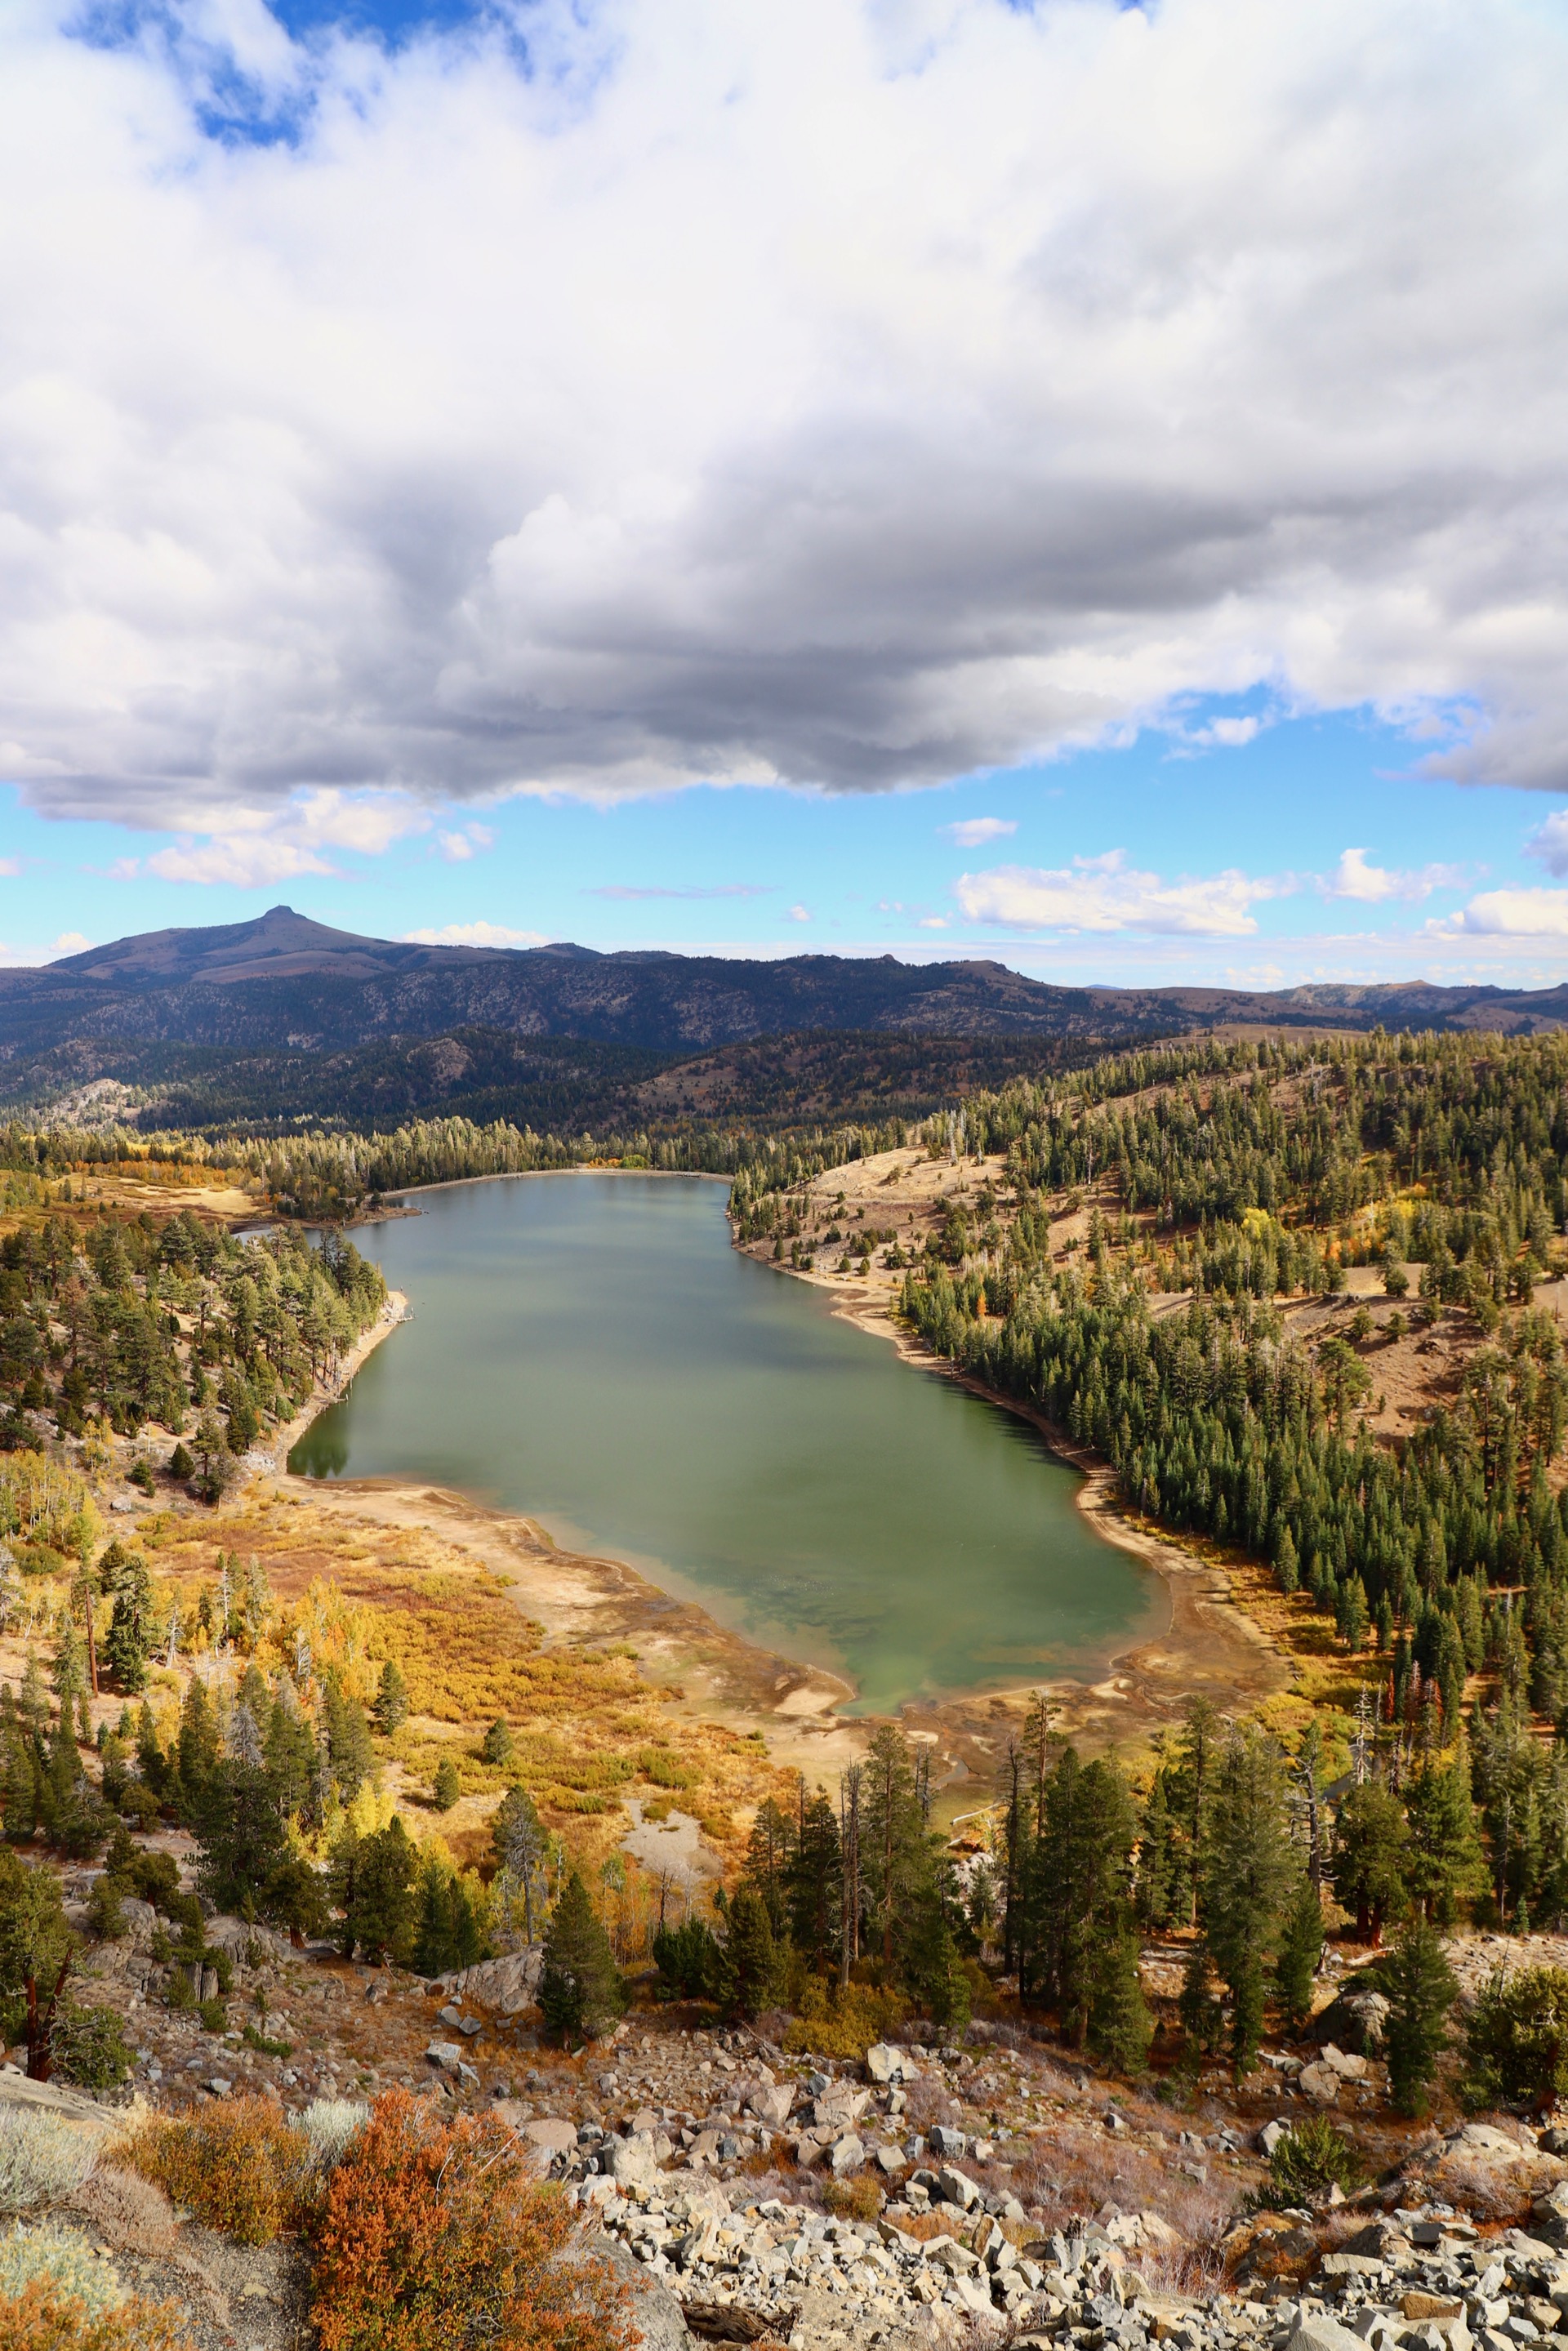
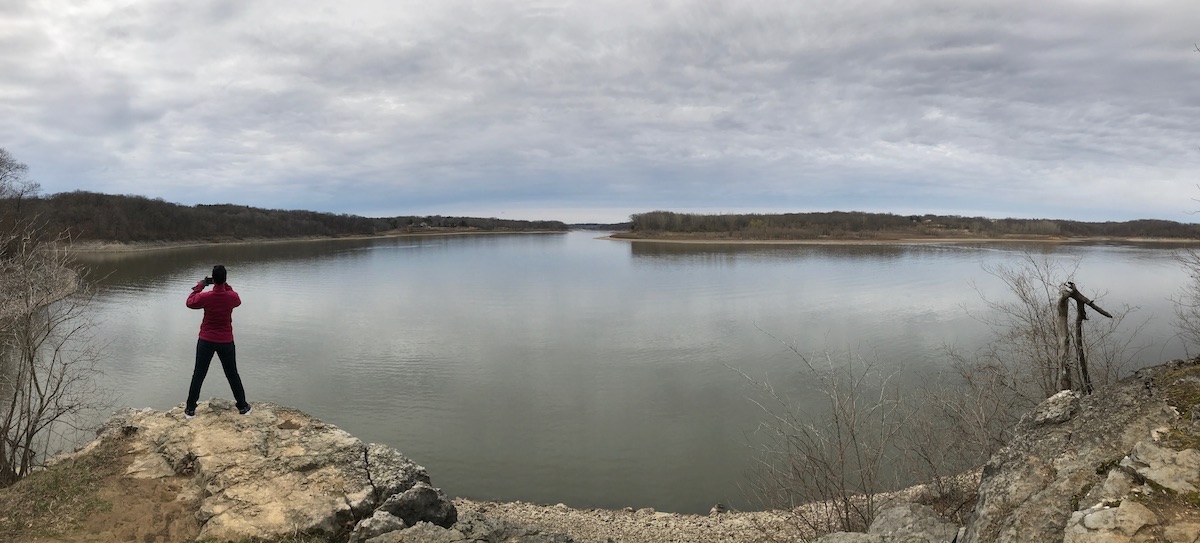
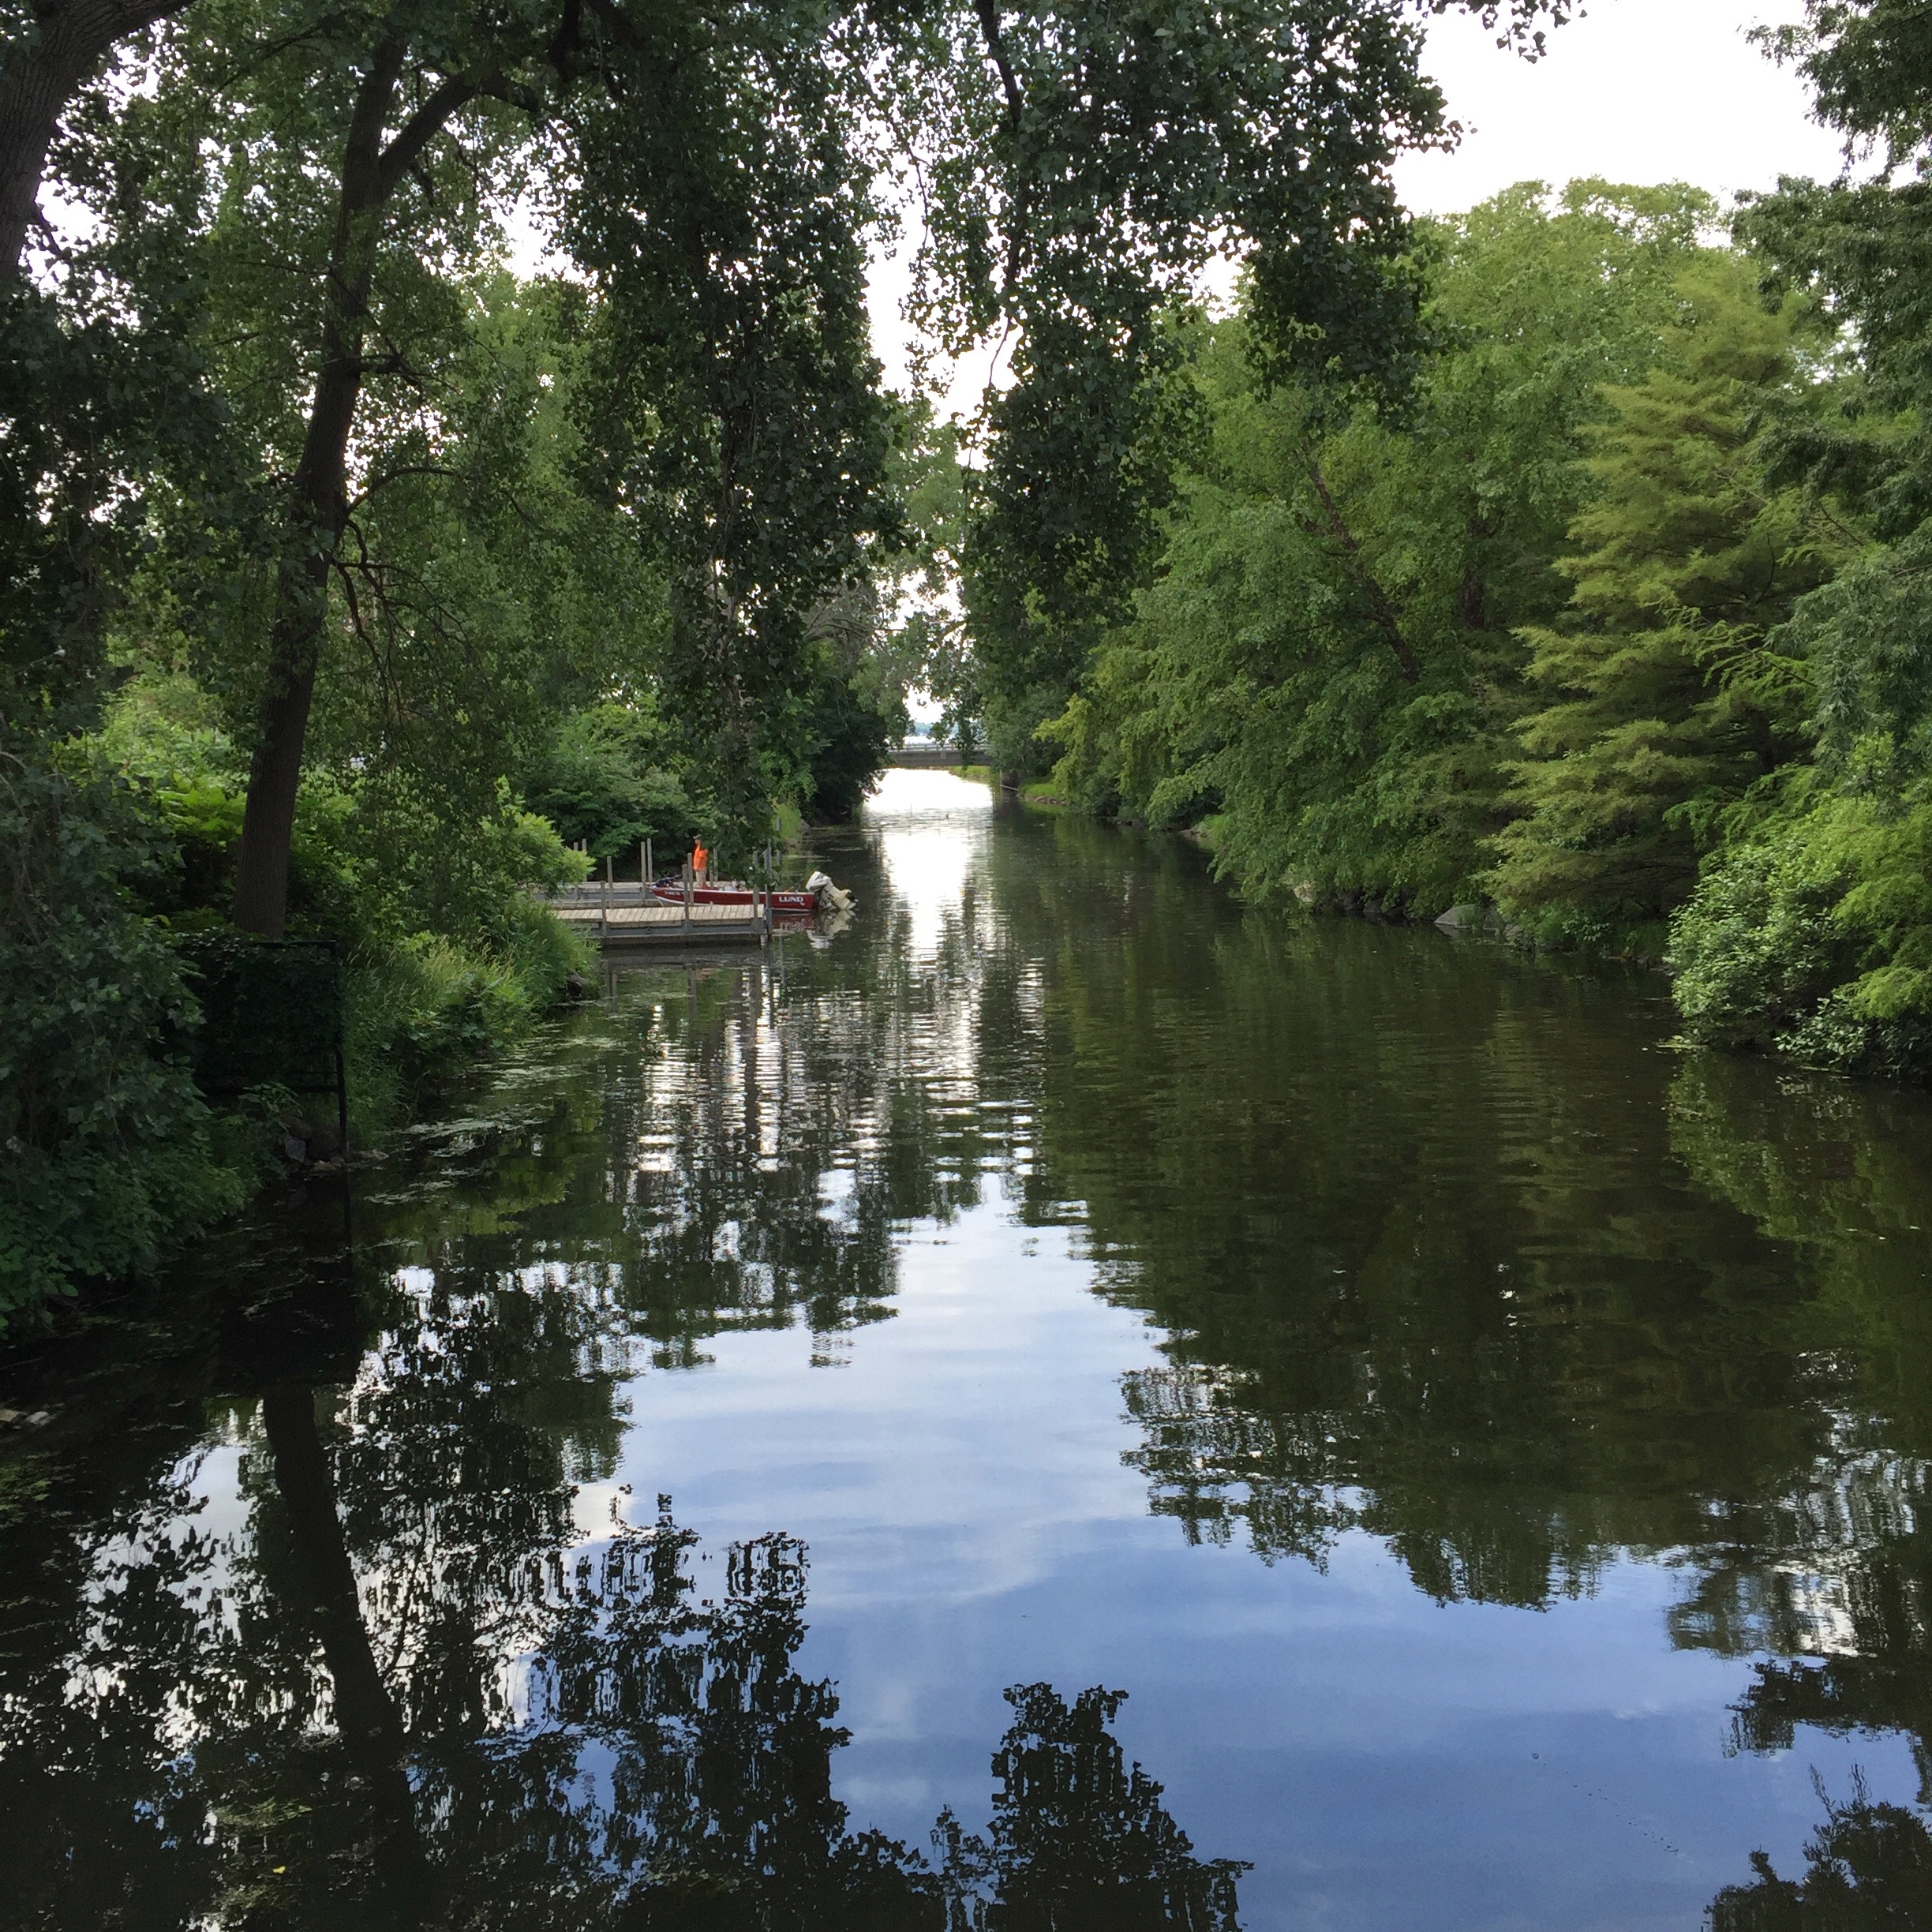
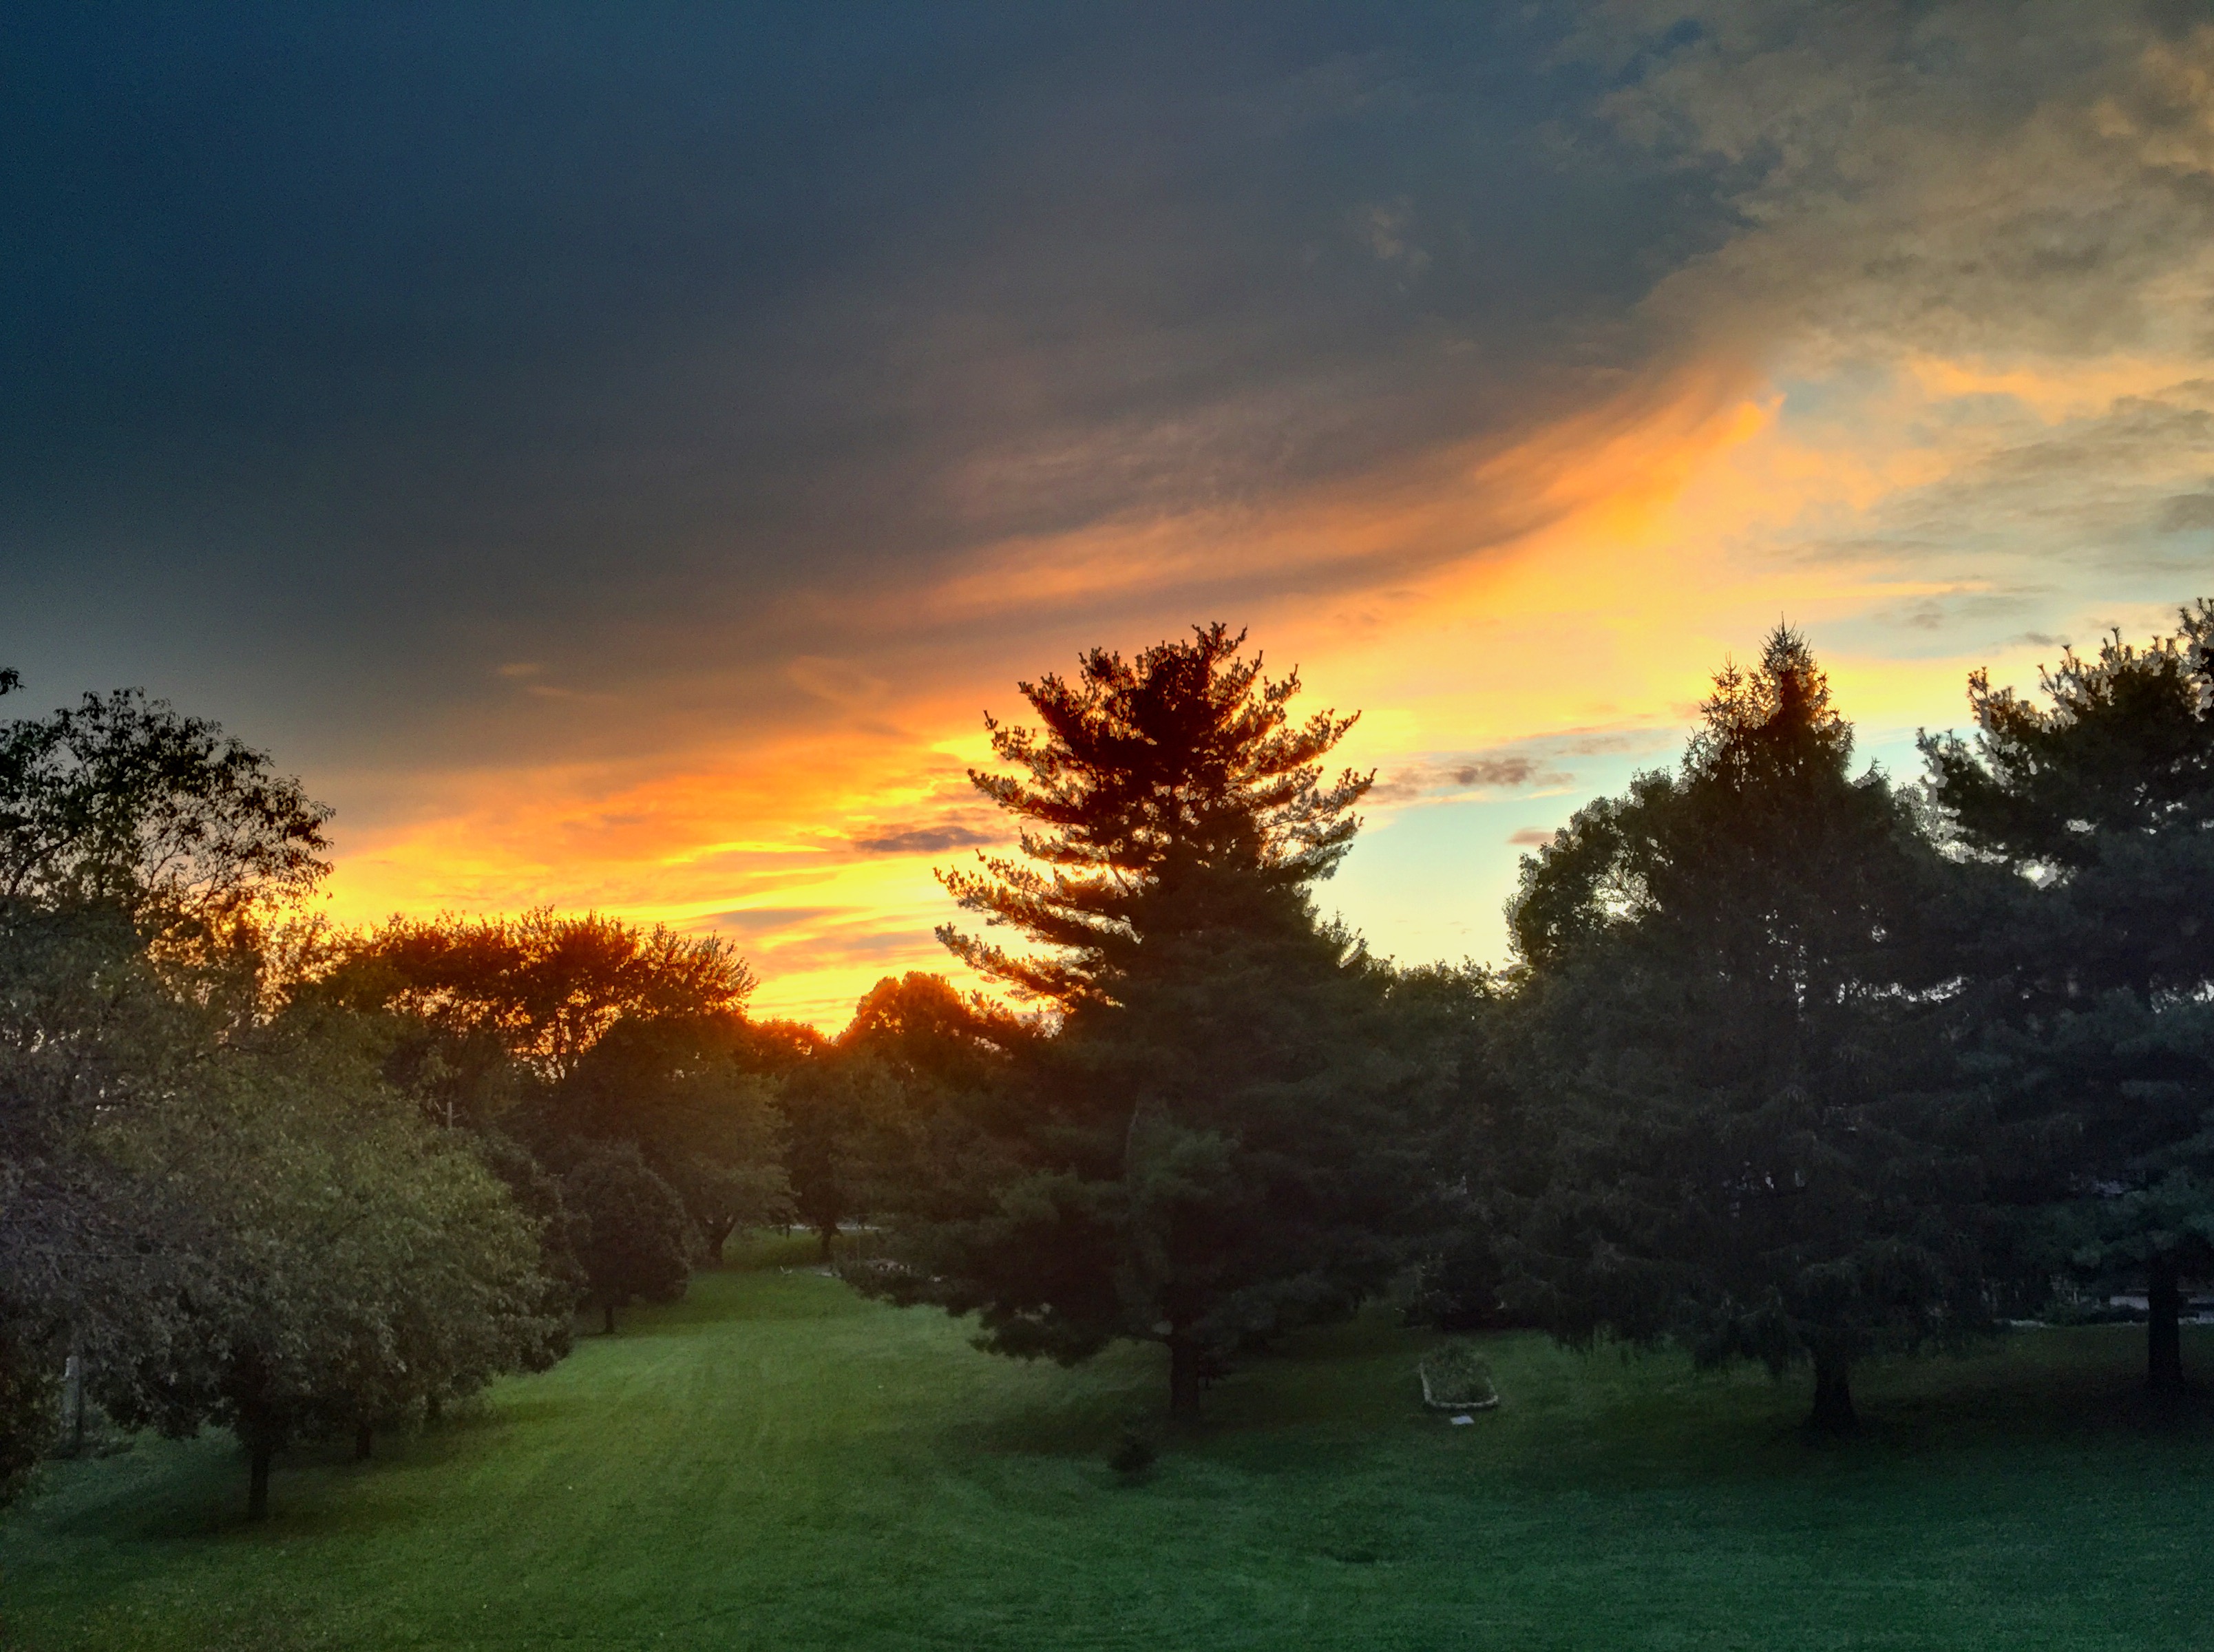
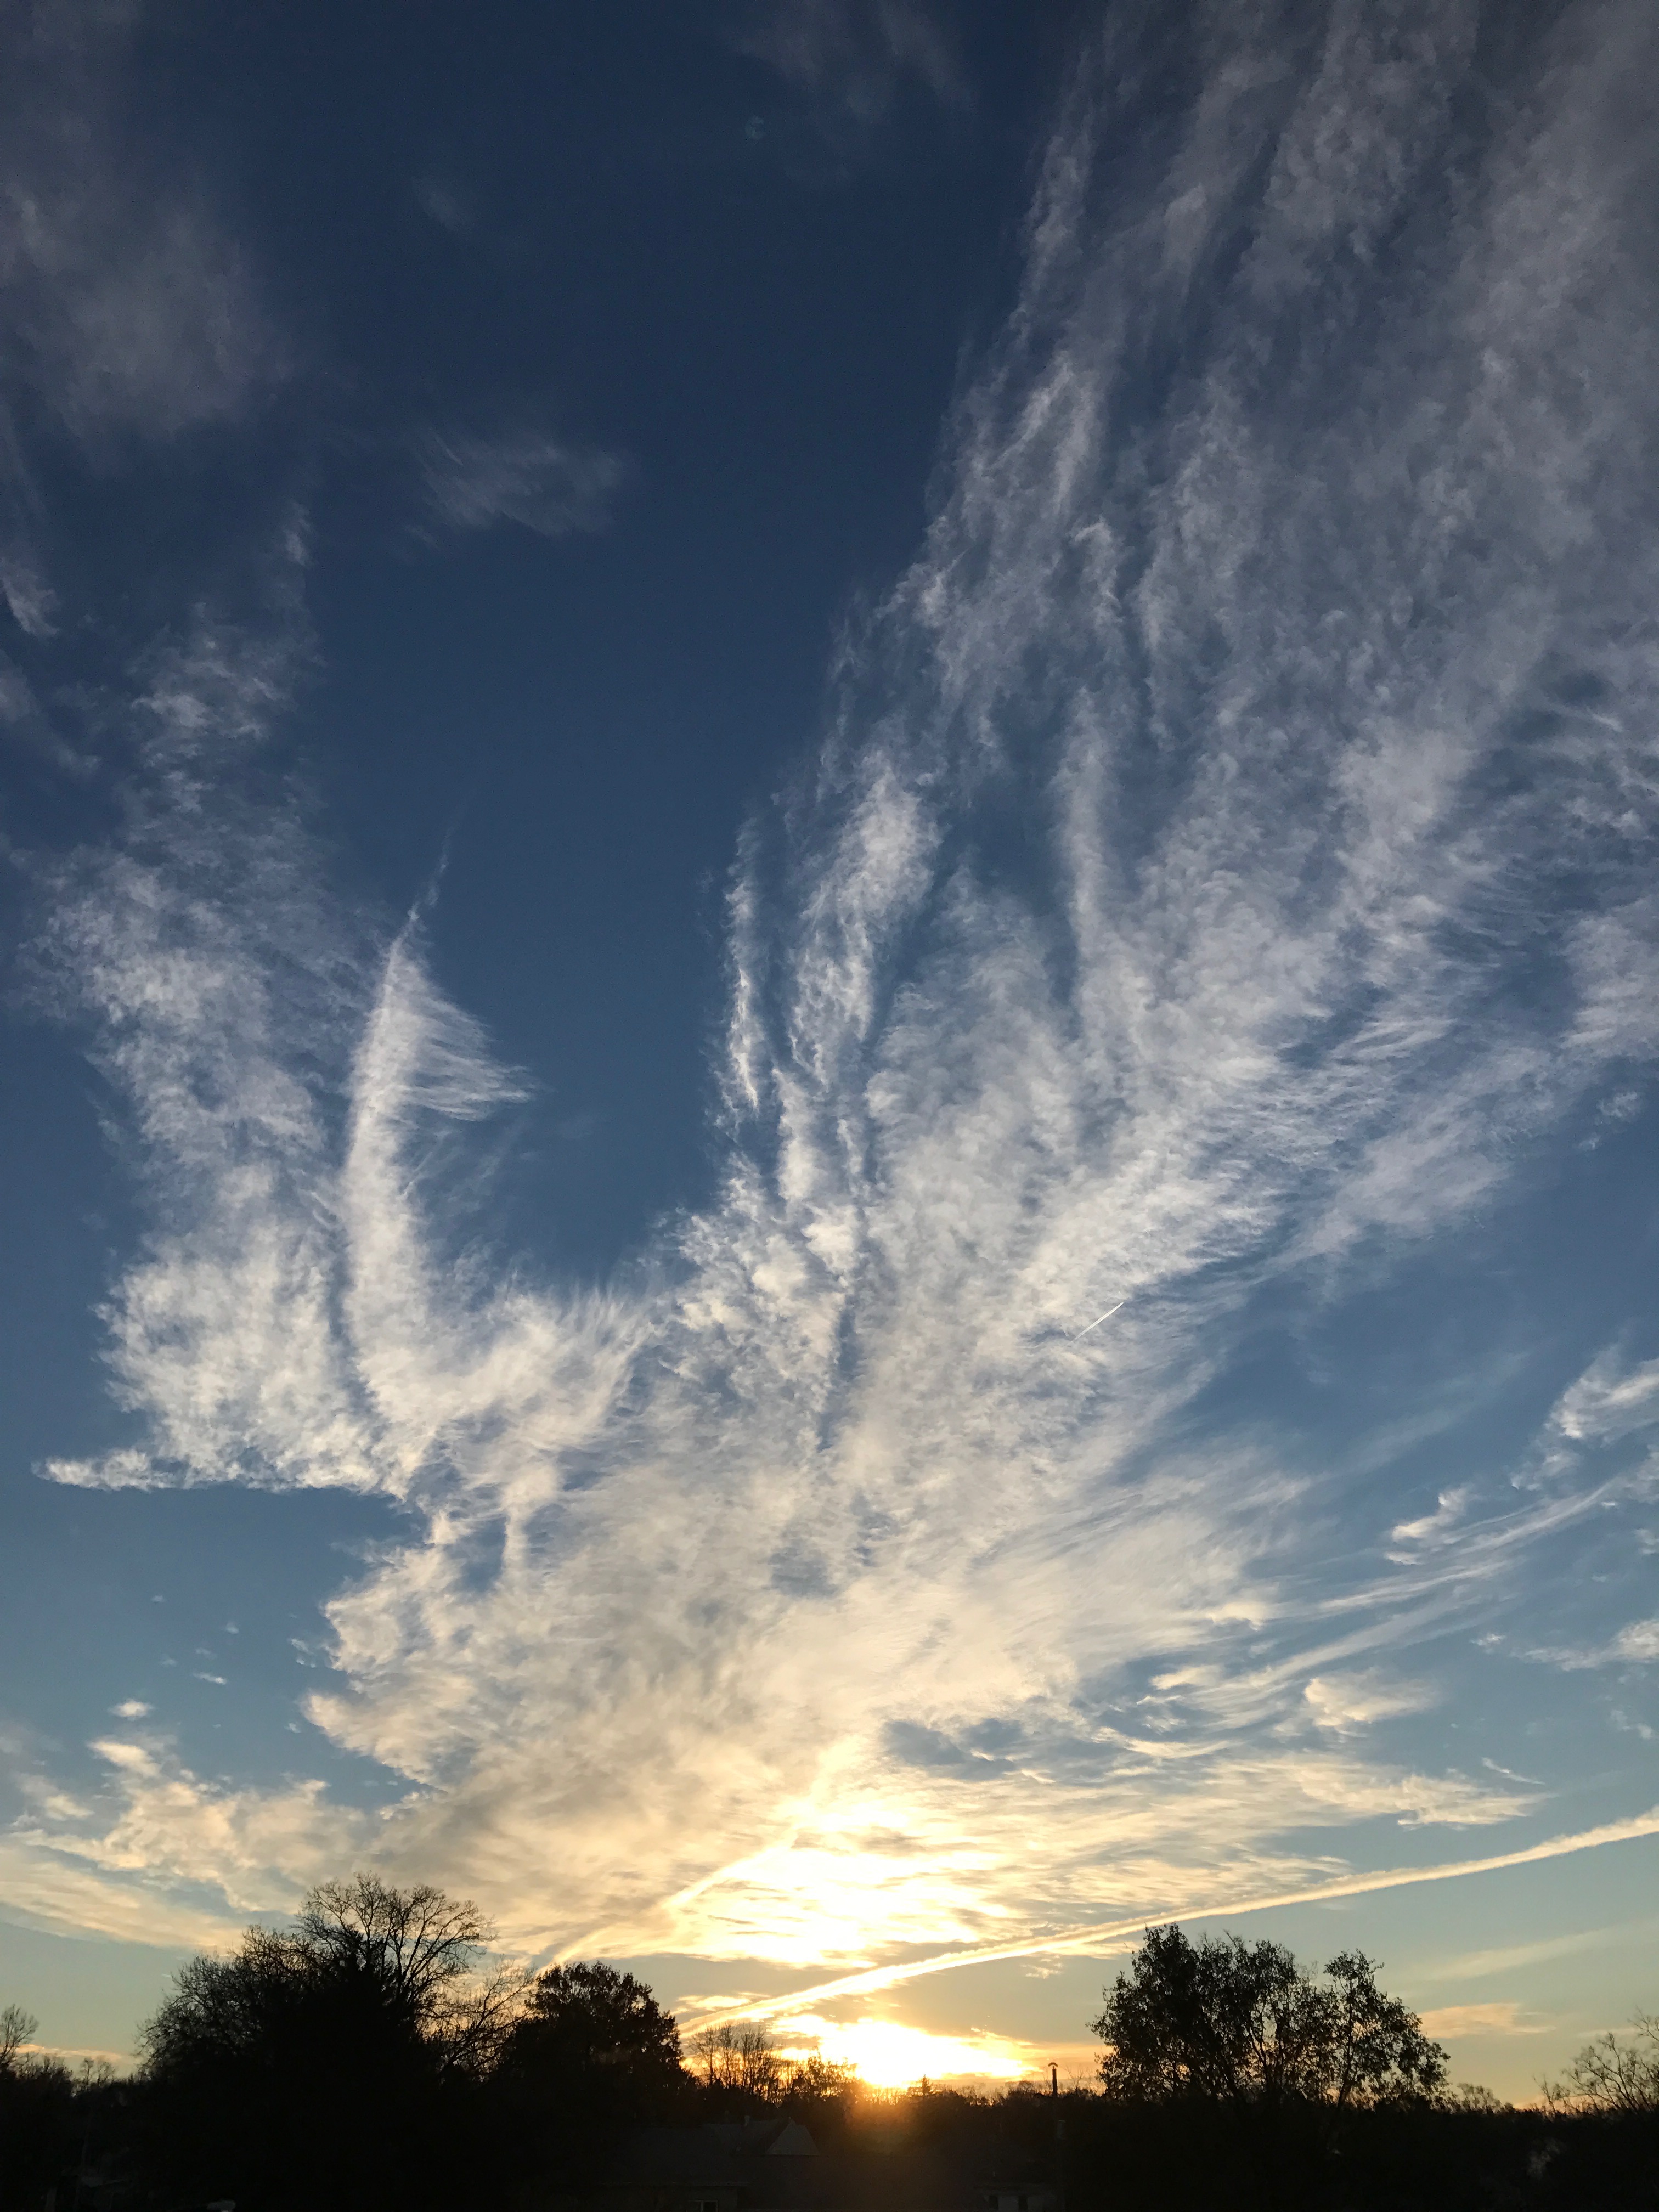
When taking landscape photography, with a subject that remains in one place, and with plenty of time to setup for a shot, a DSLR camera can be helpful. However, some DSLR cameras may not have features like panorama mode which are helpful. The photo below was taken with the iPhone 7 Plus using the panorama mode. If you click on the image, you can see the full image resolution which is 3264 by 2448 pixels.

20161027th1827-kent-park-iowa-sunset-trees-photo-taken-with-iphone-7-plus-panorama-mode-by-greg-johnson-3264x2448-img_6168

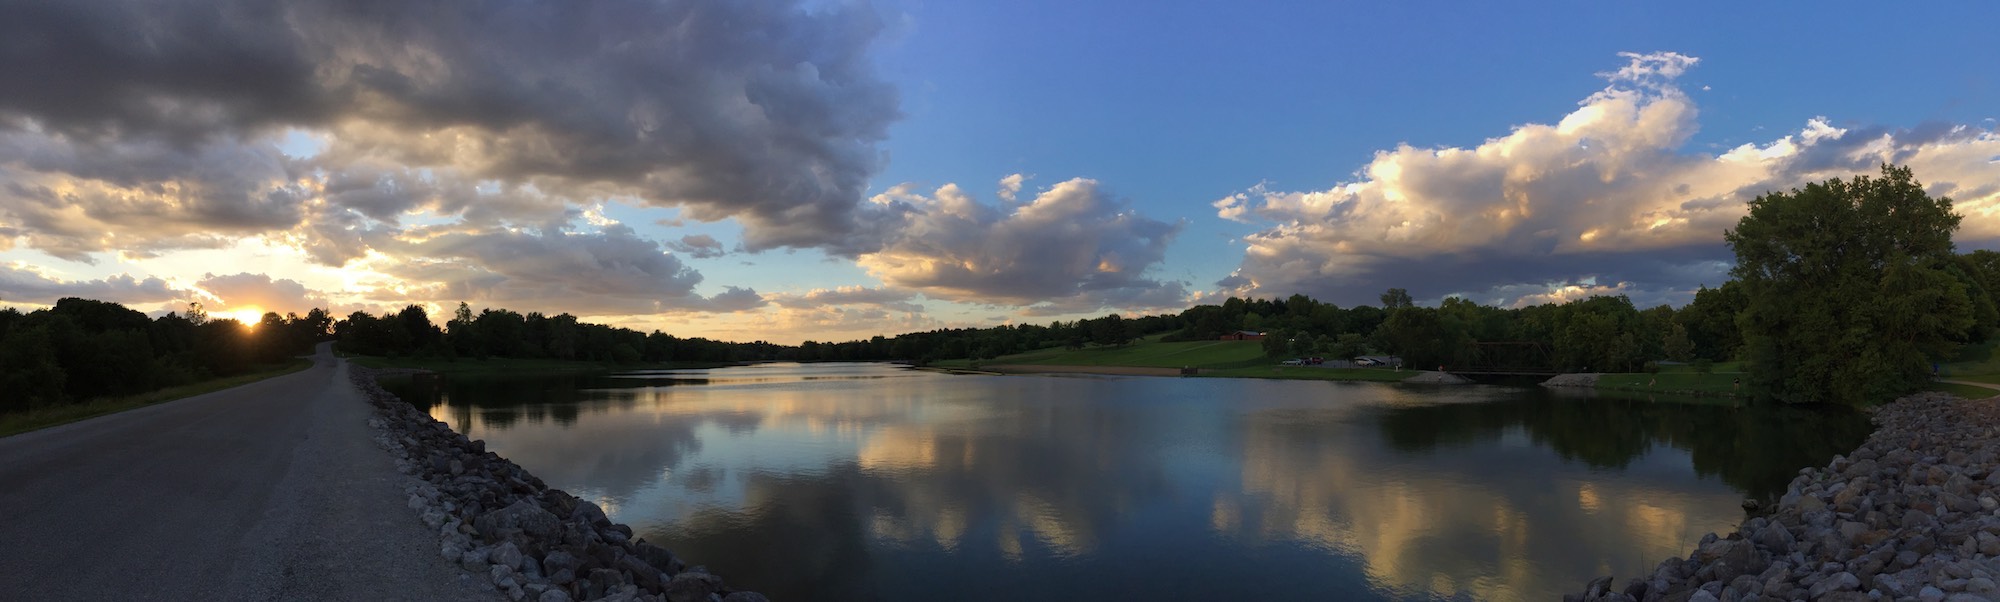
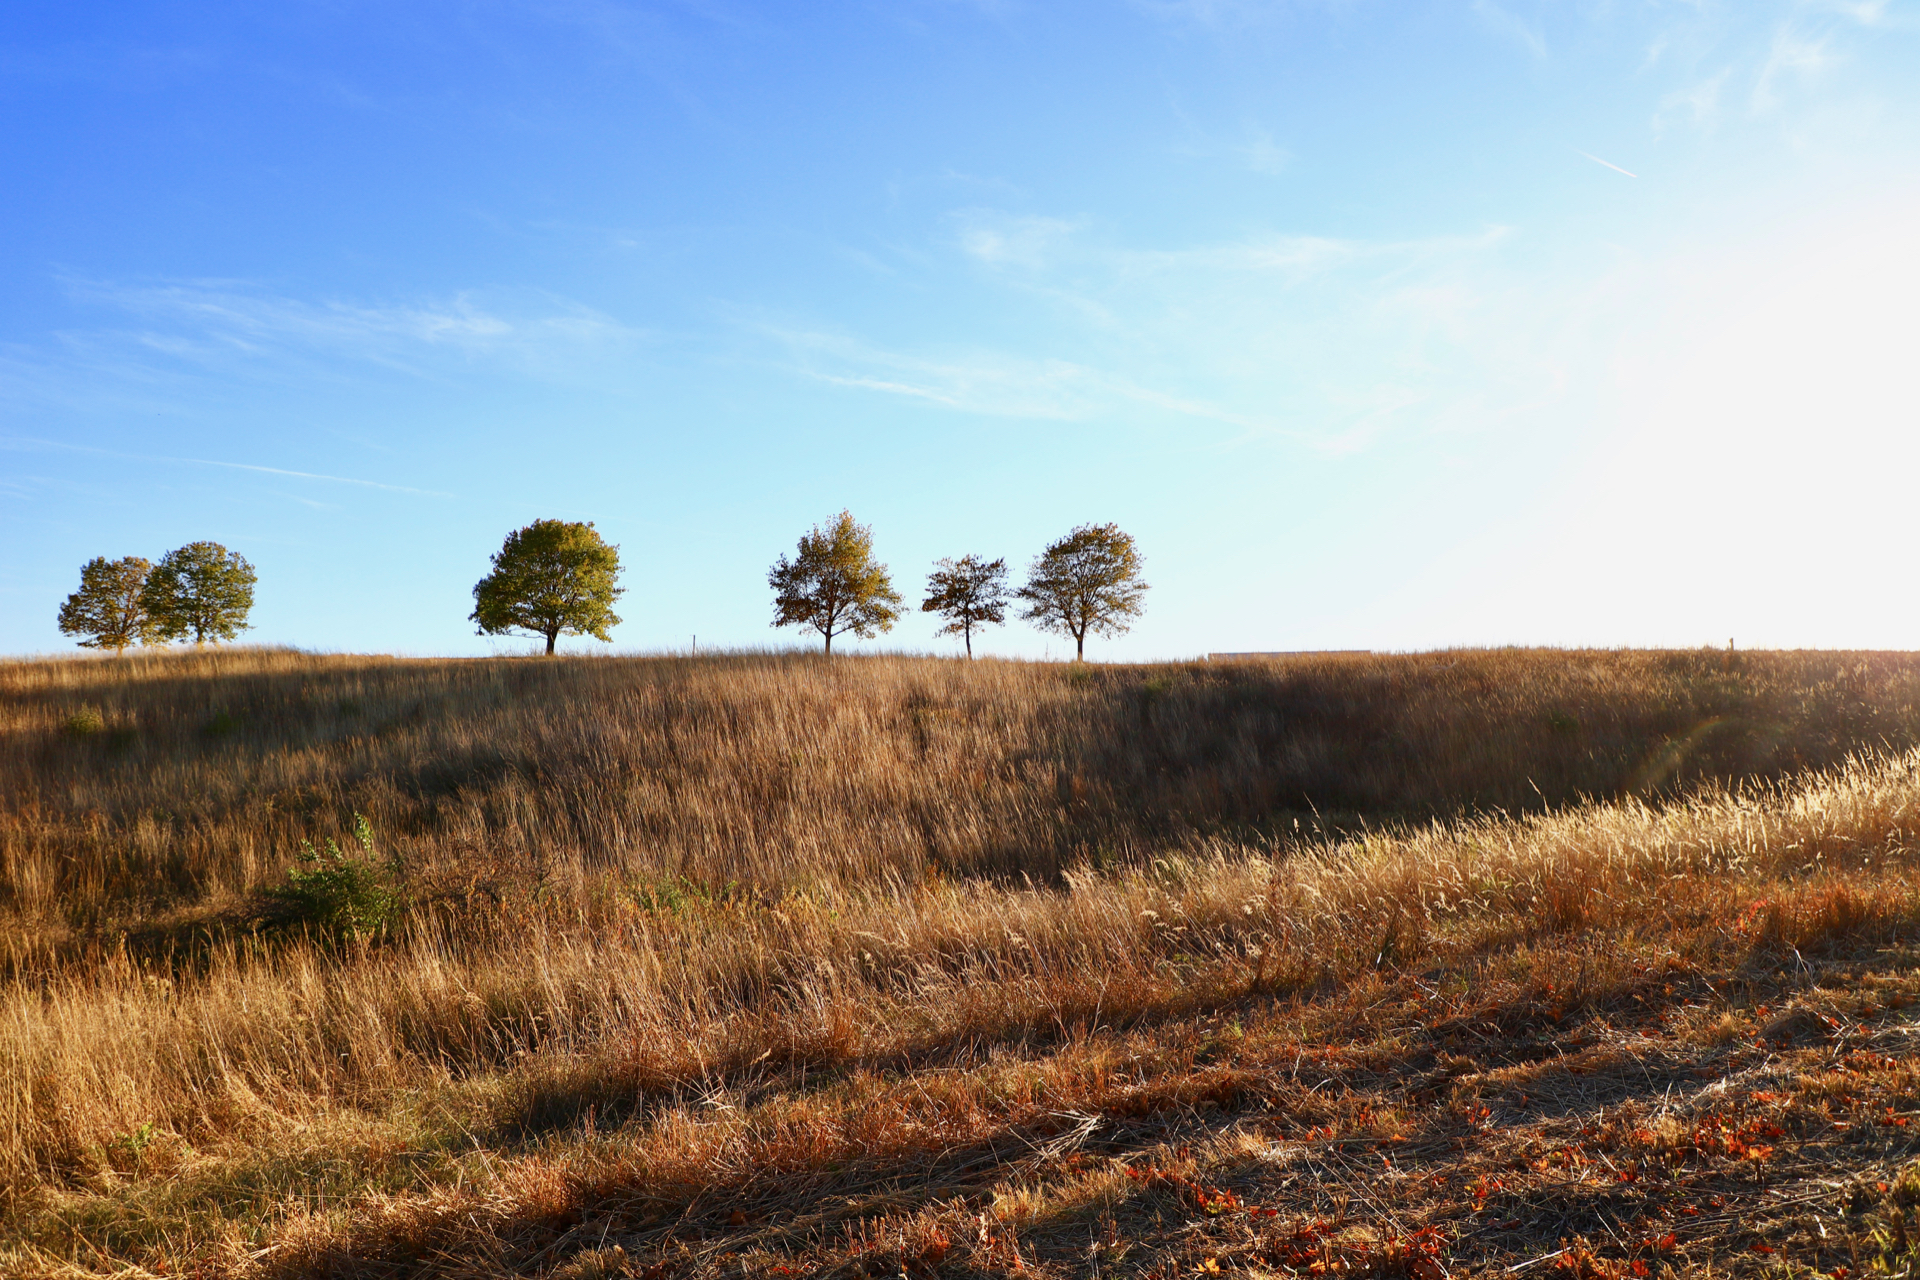
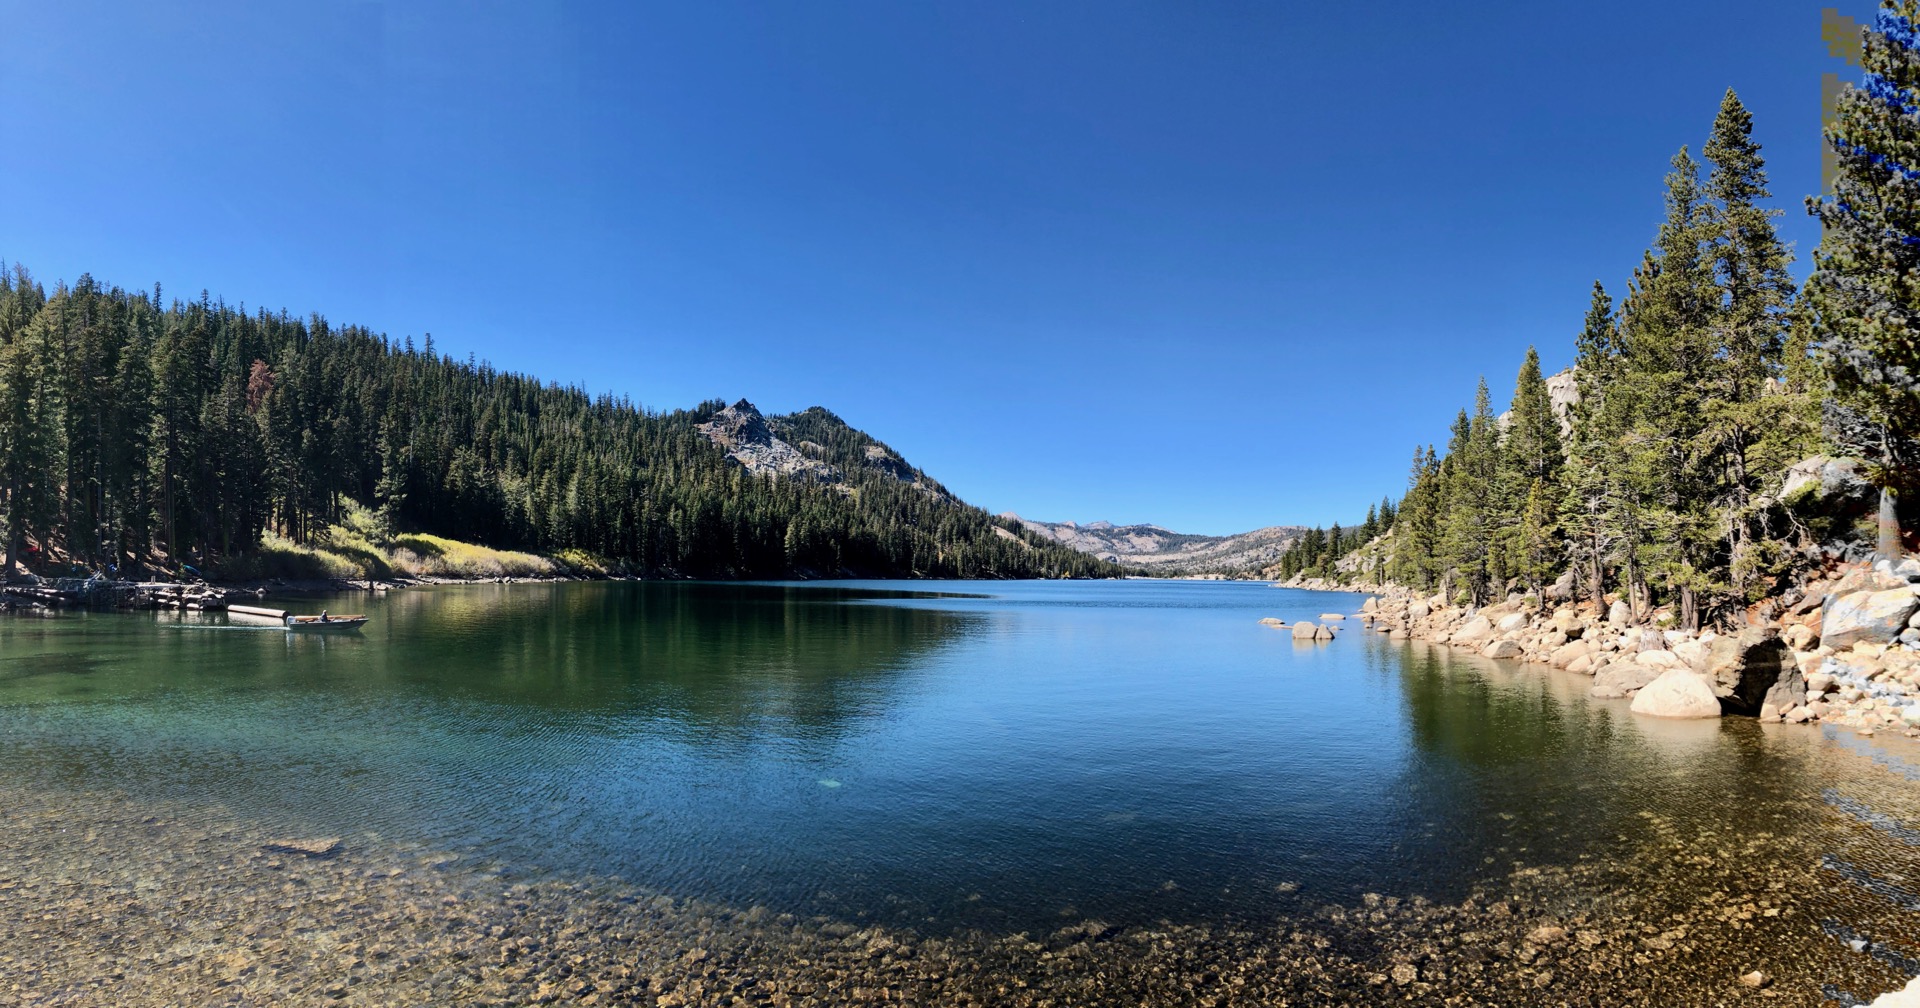
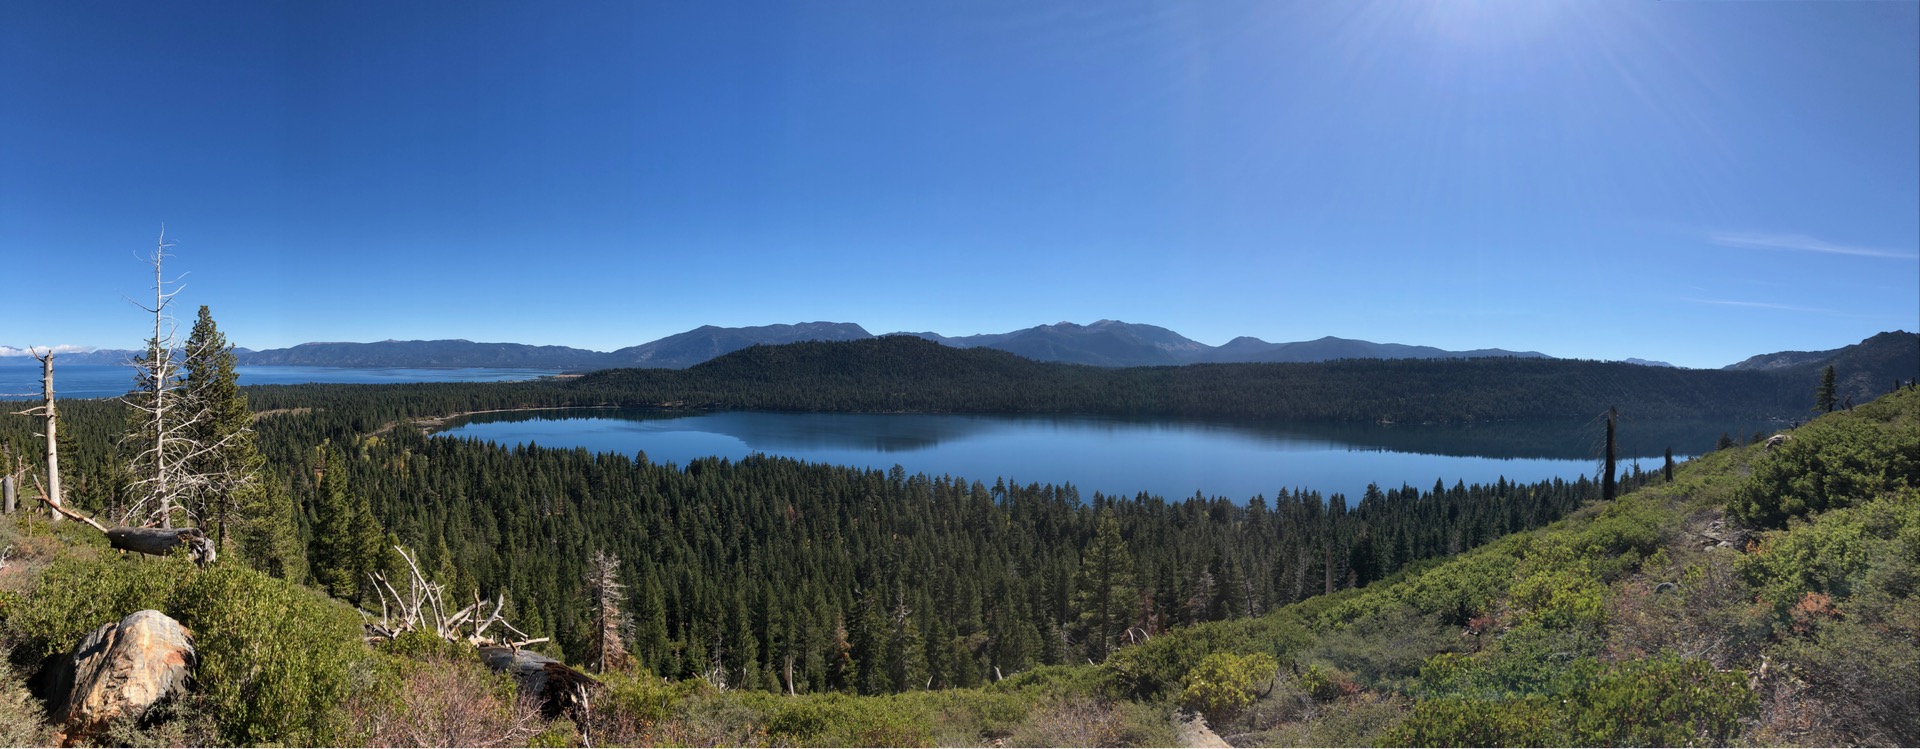
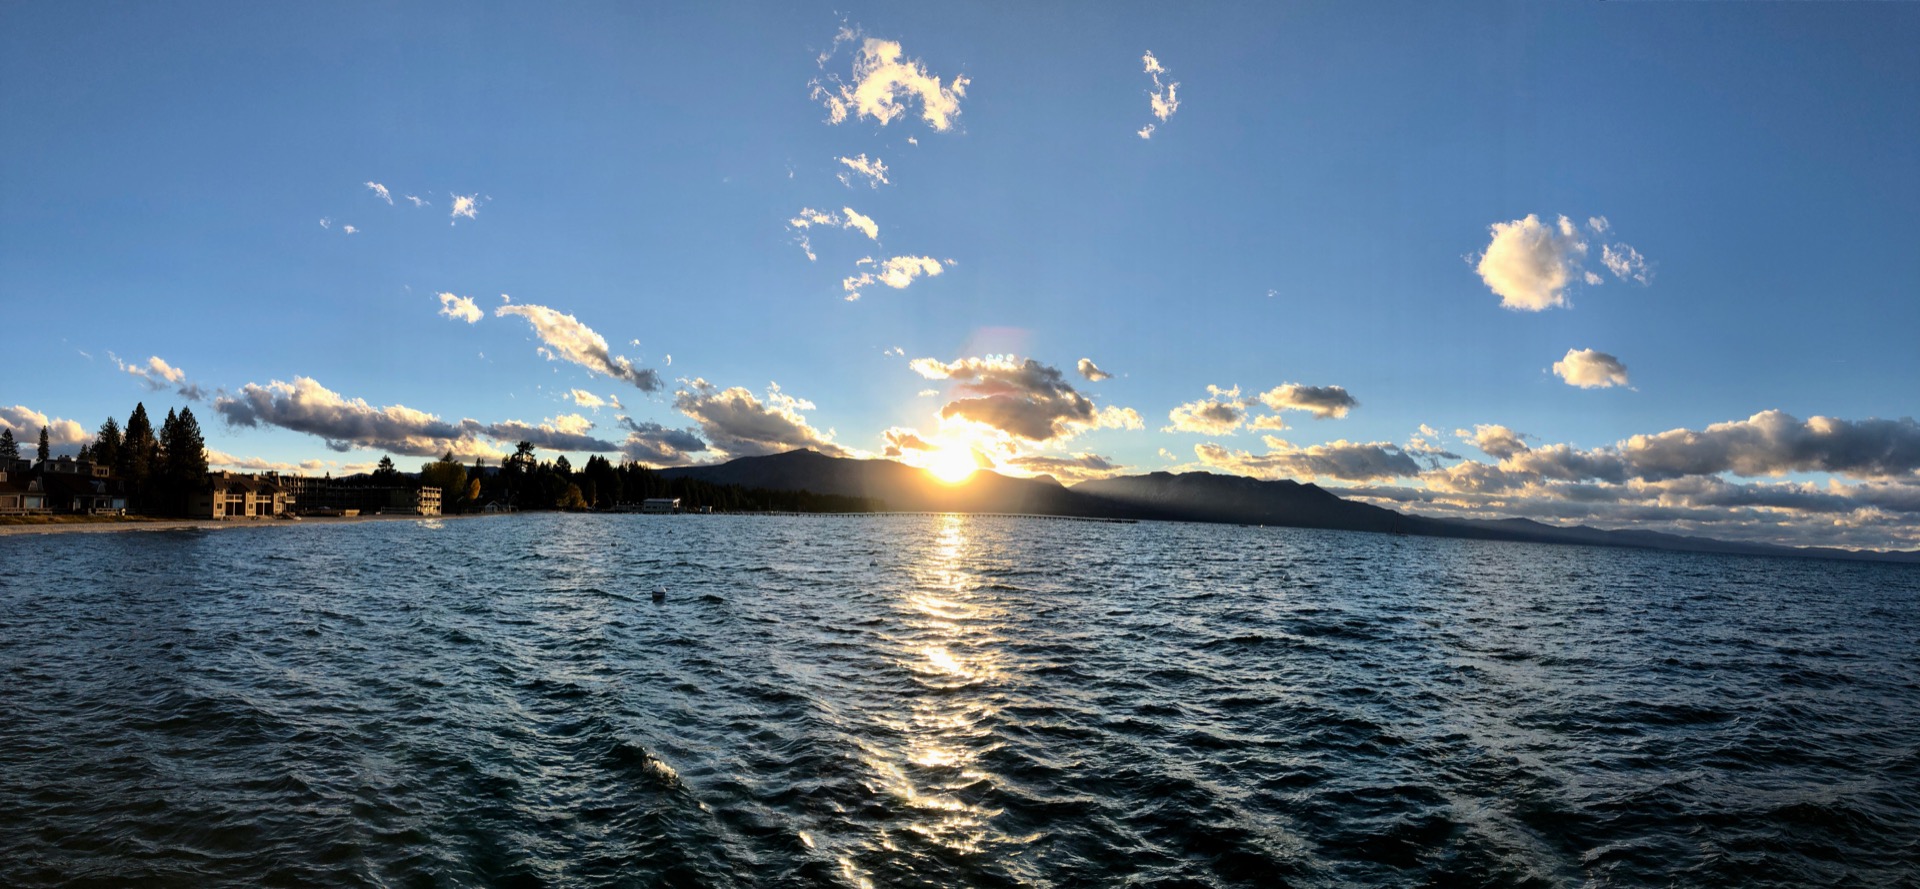
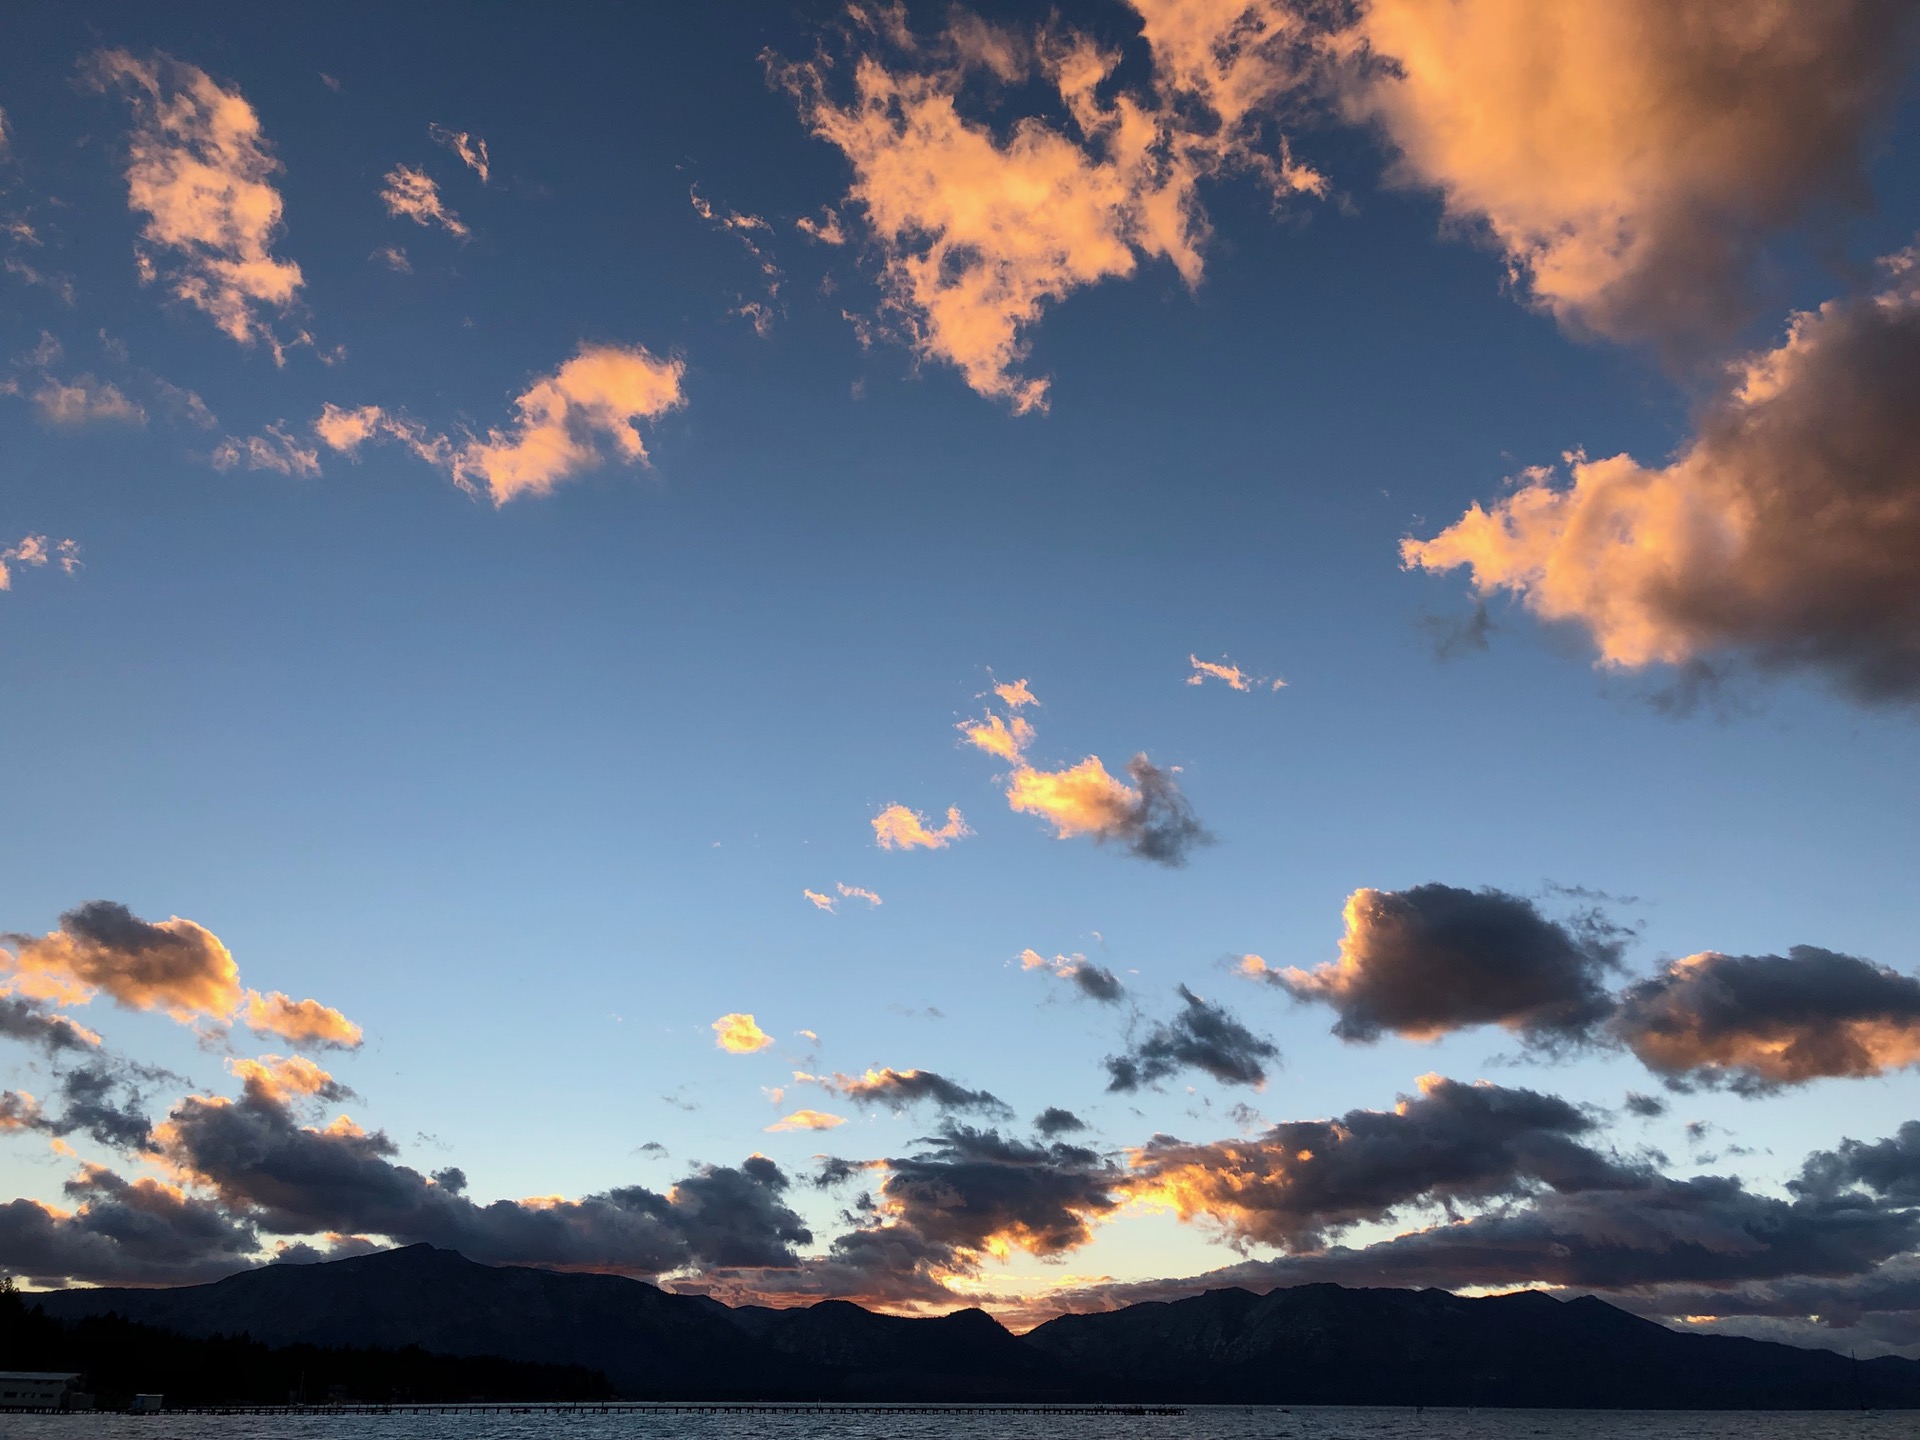
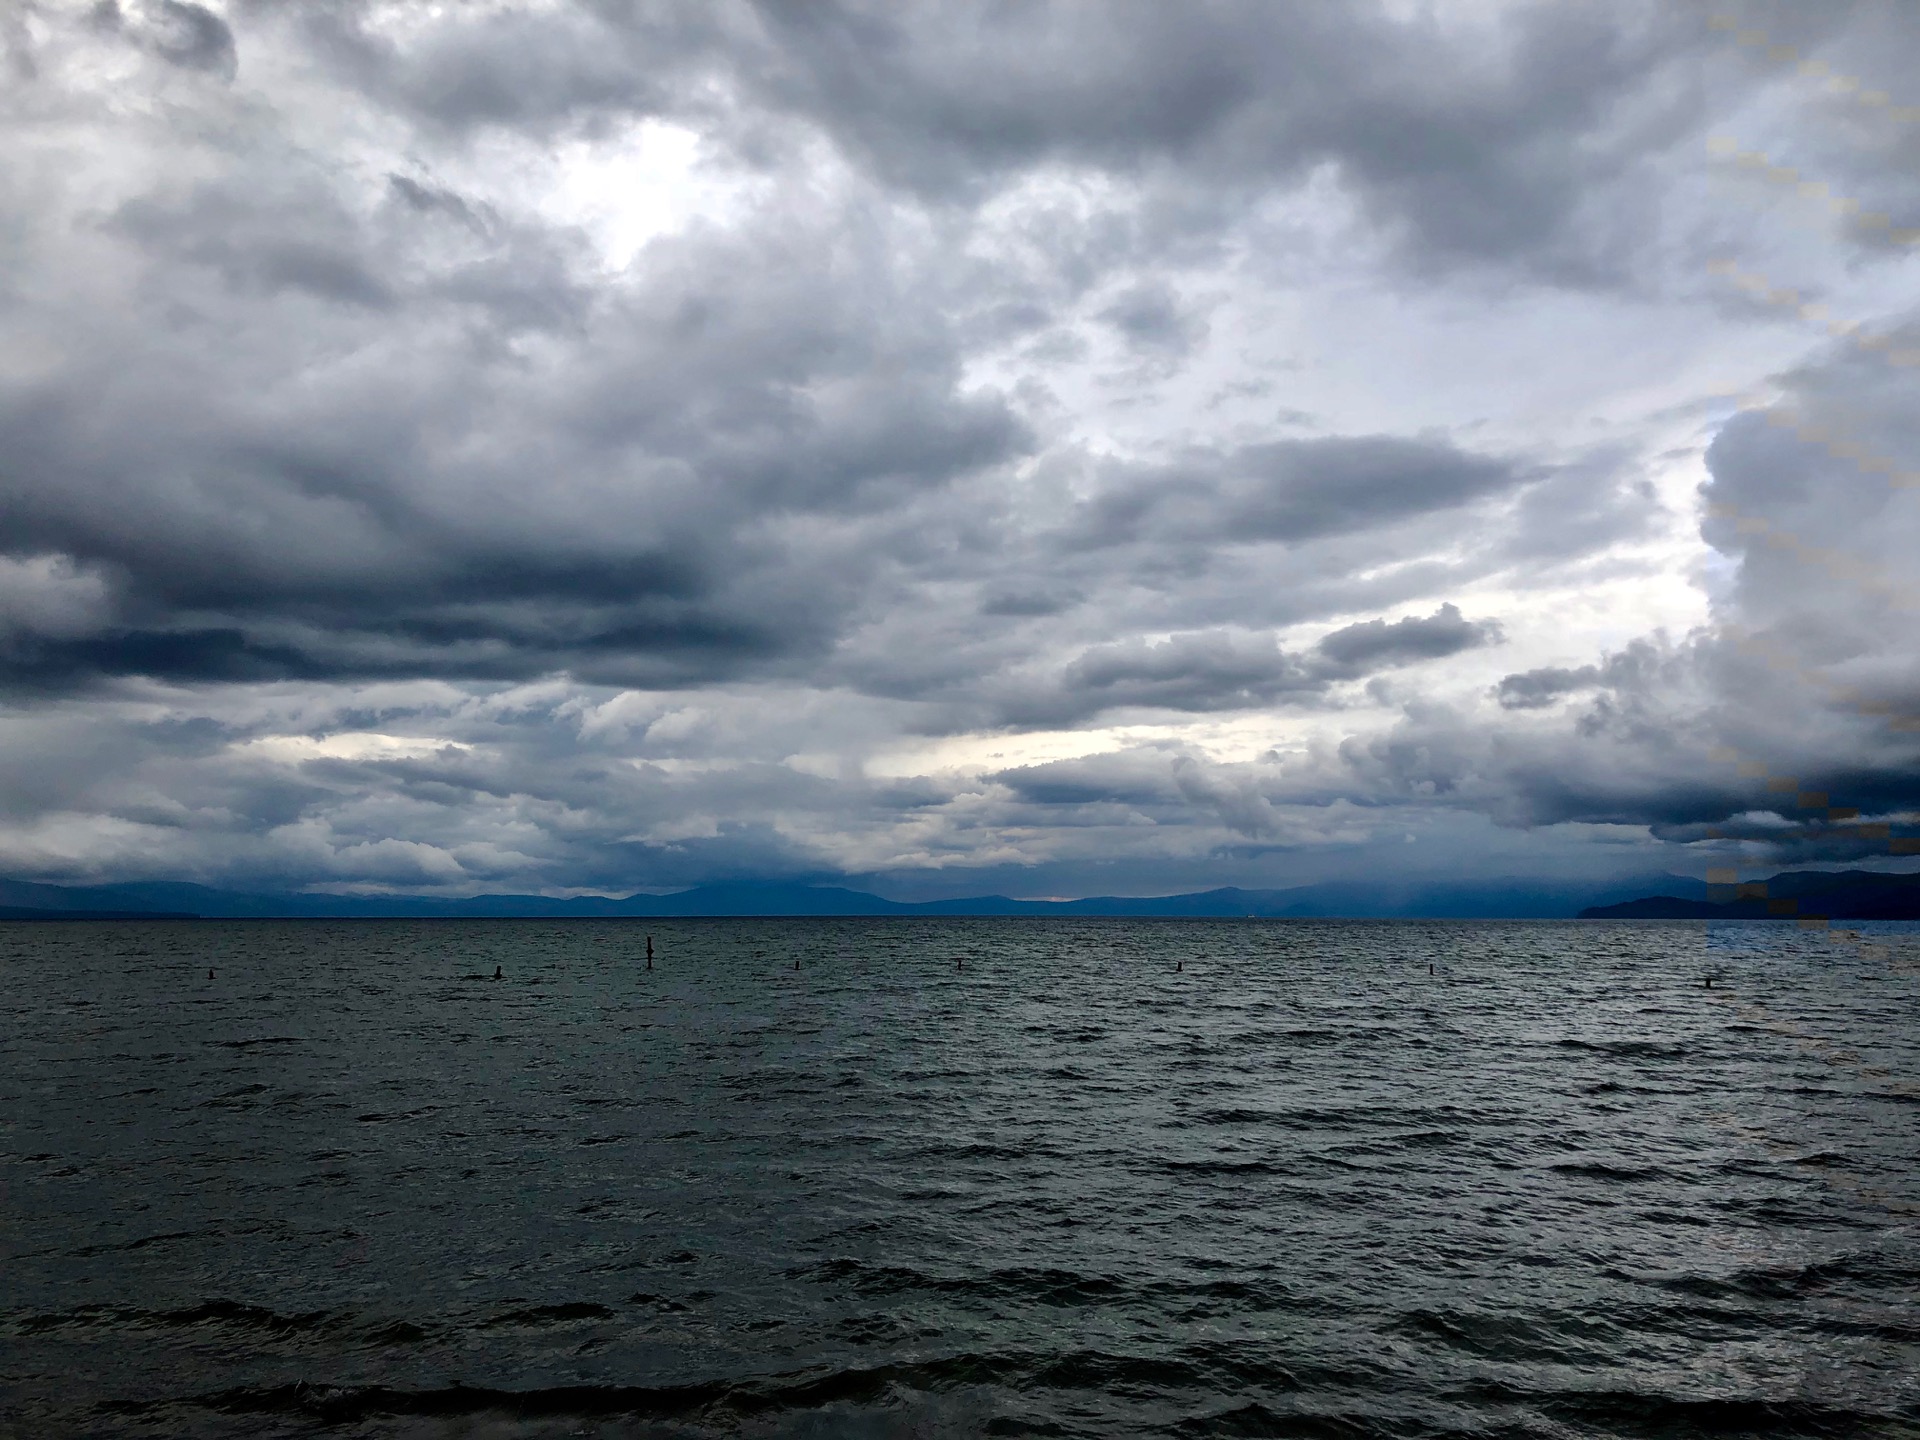
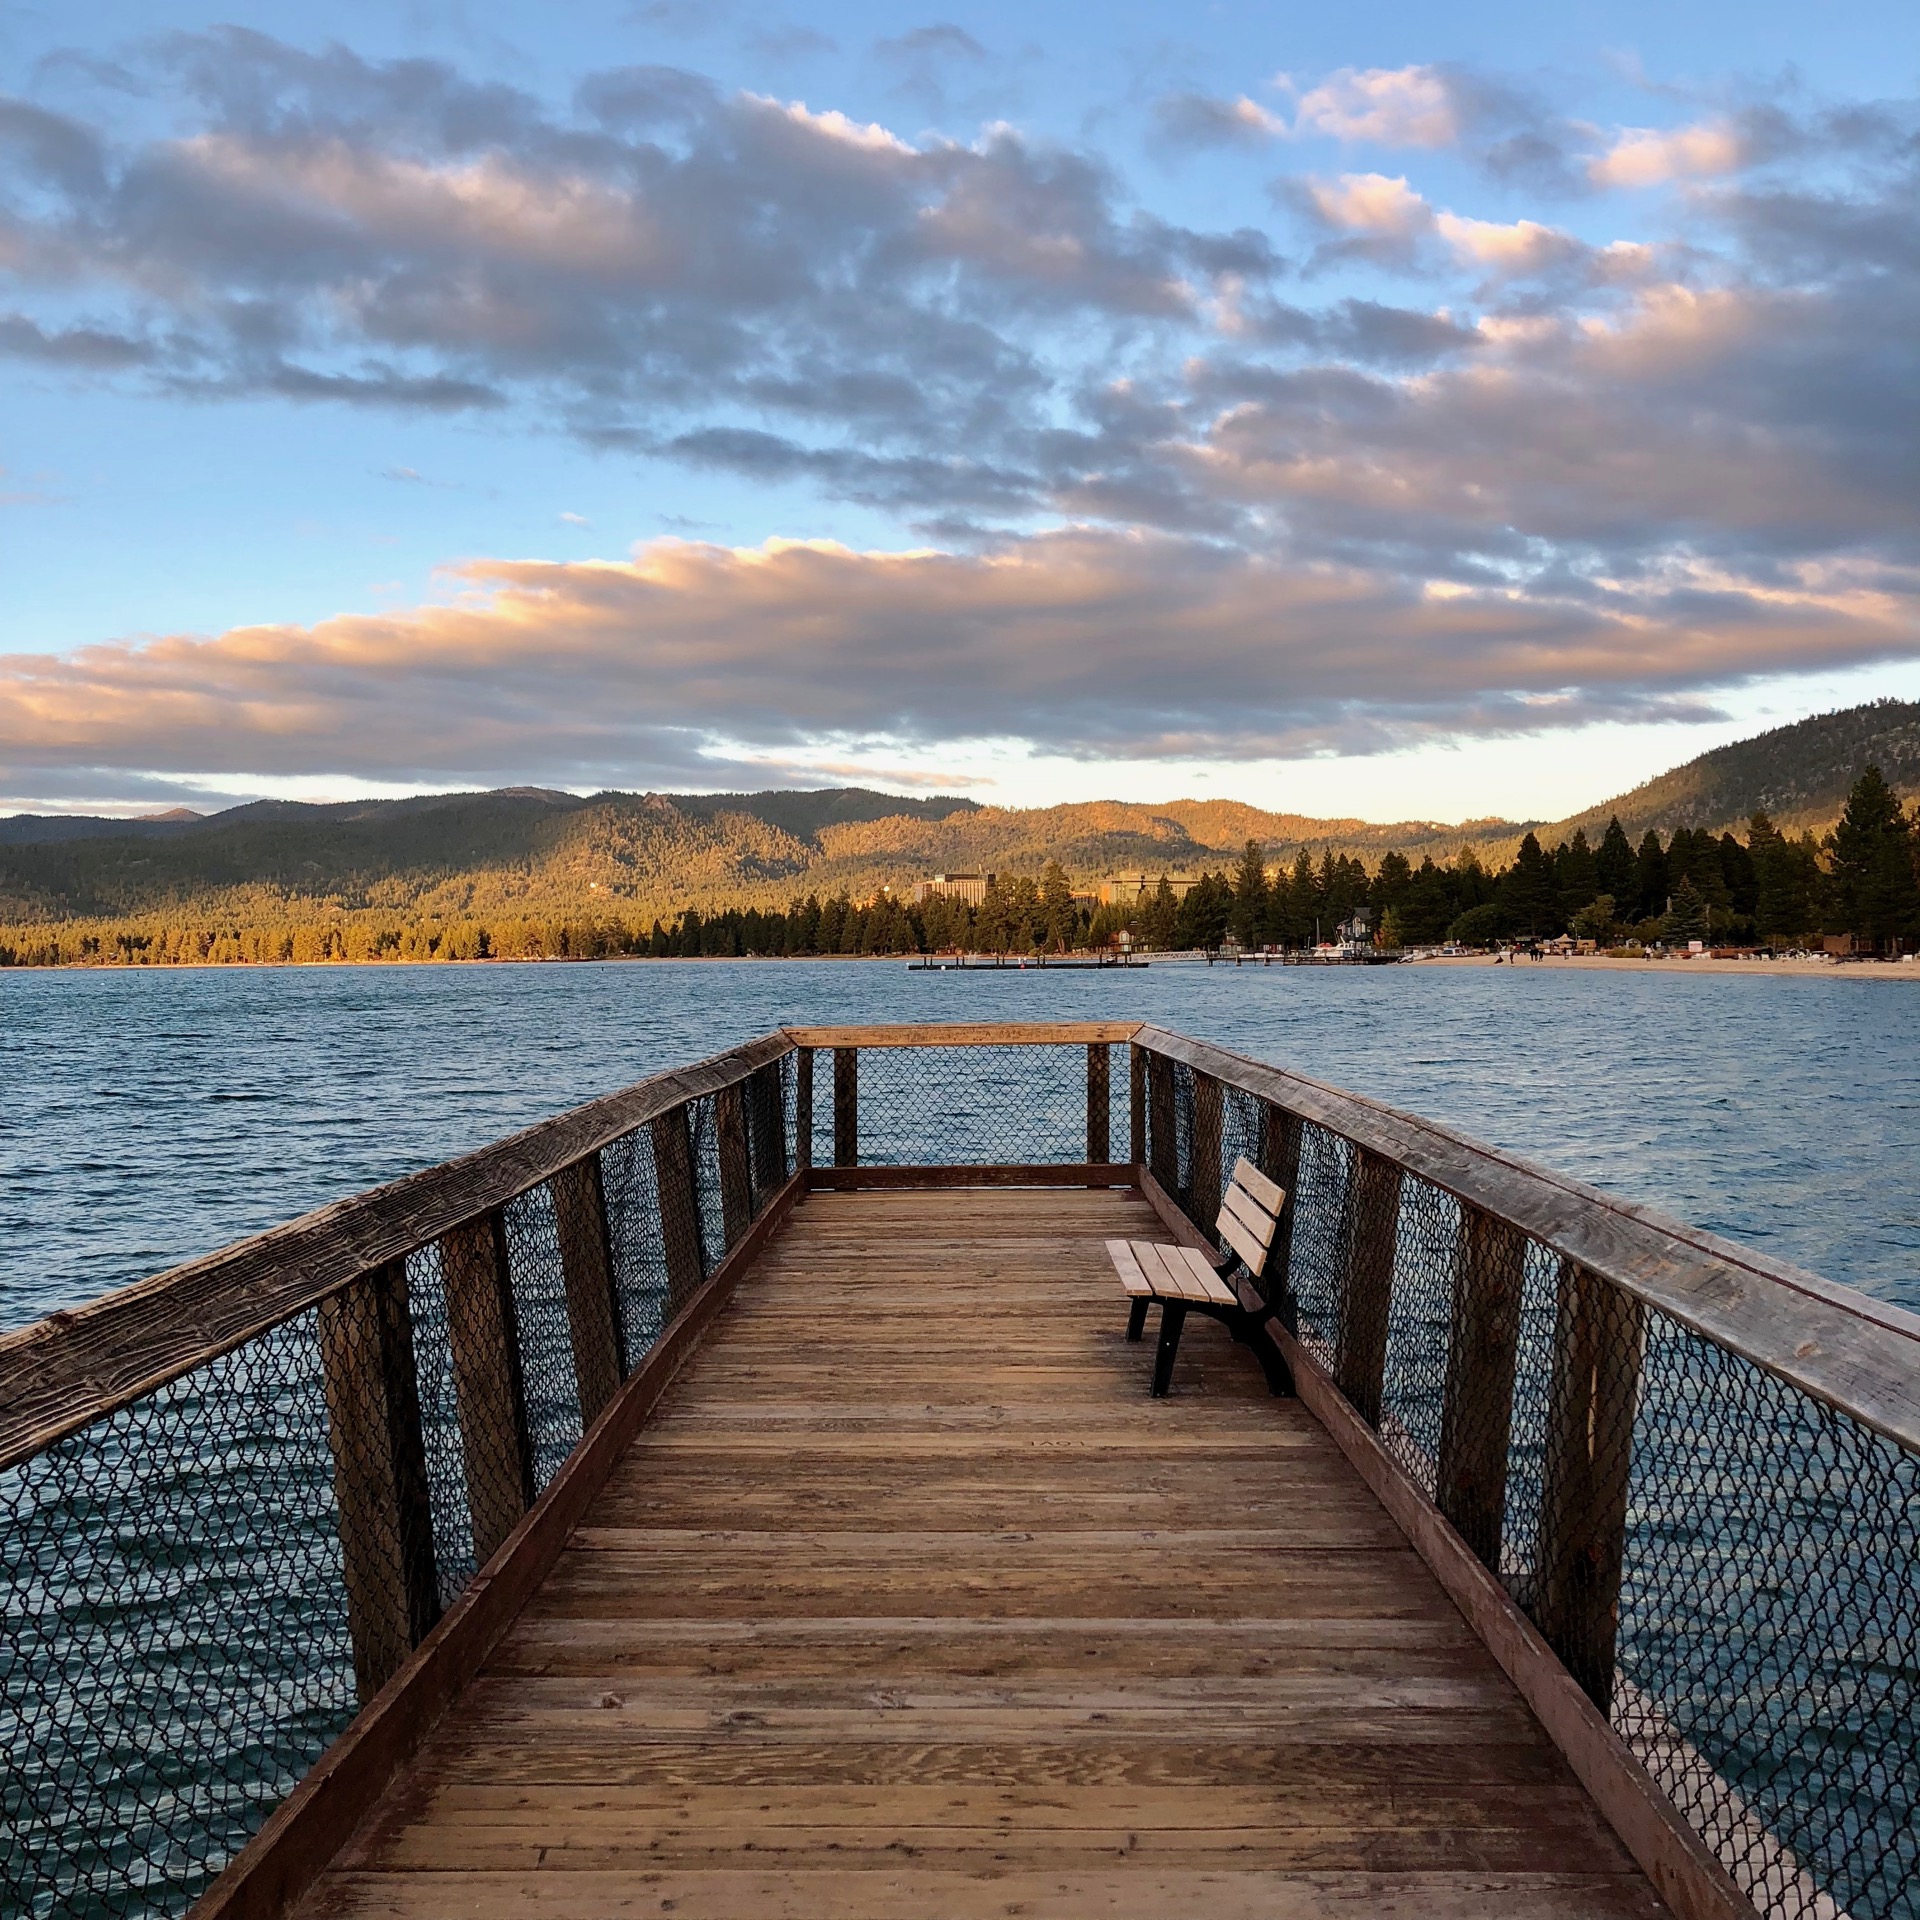
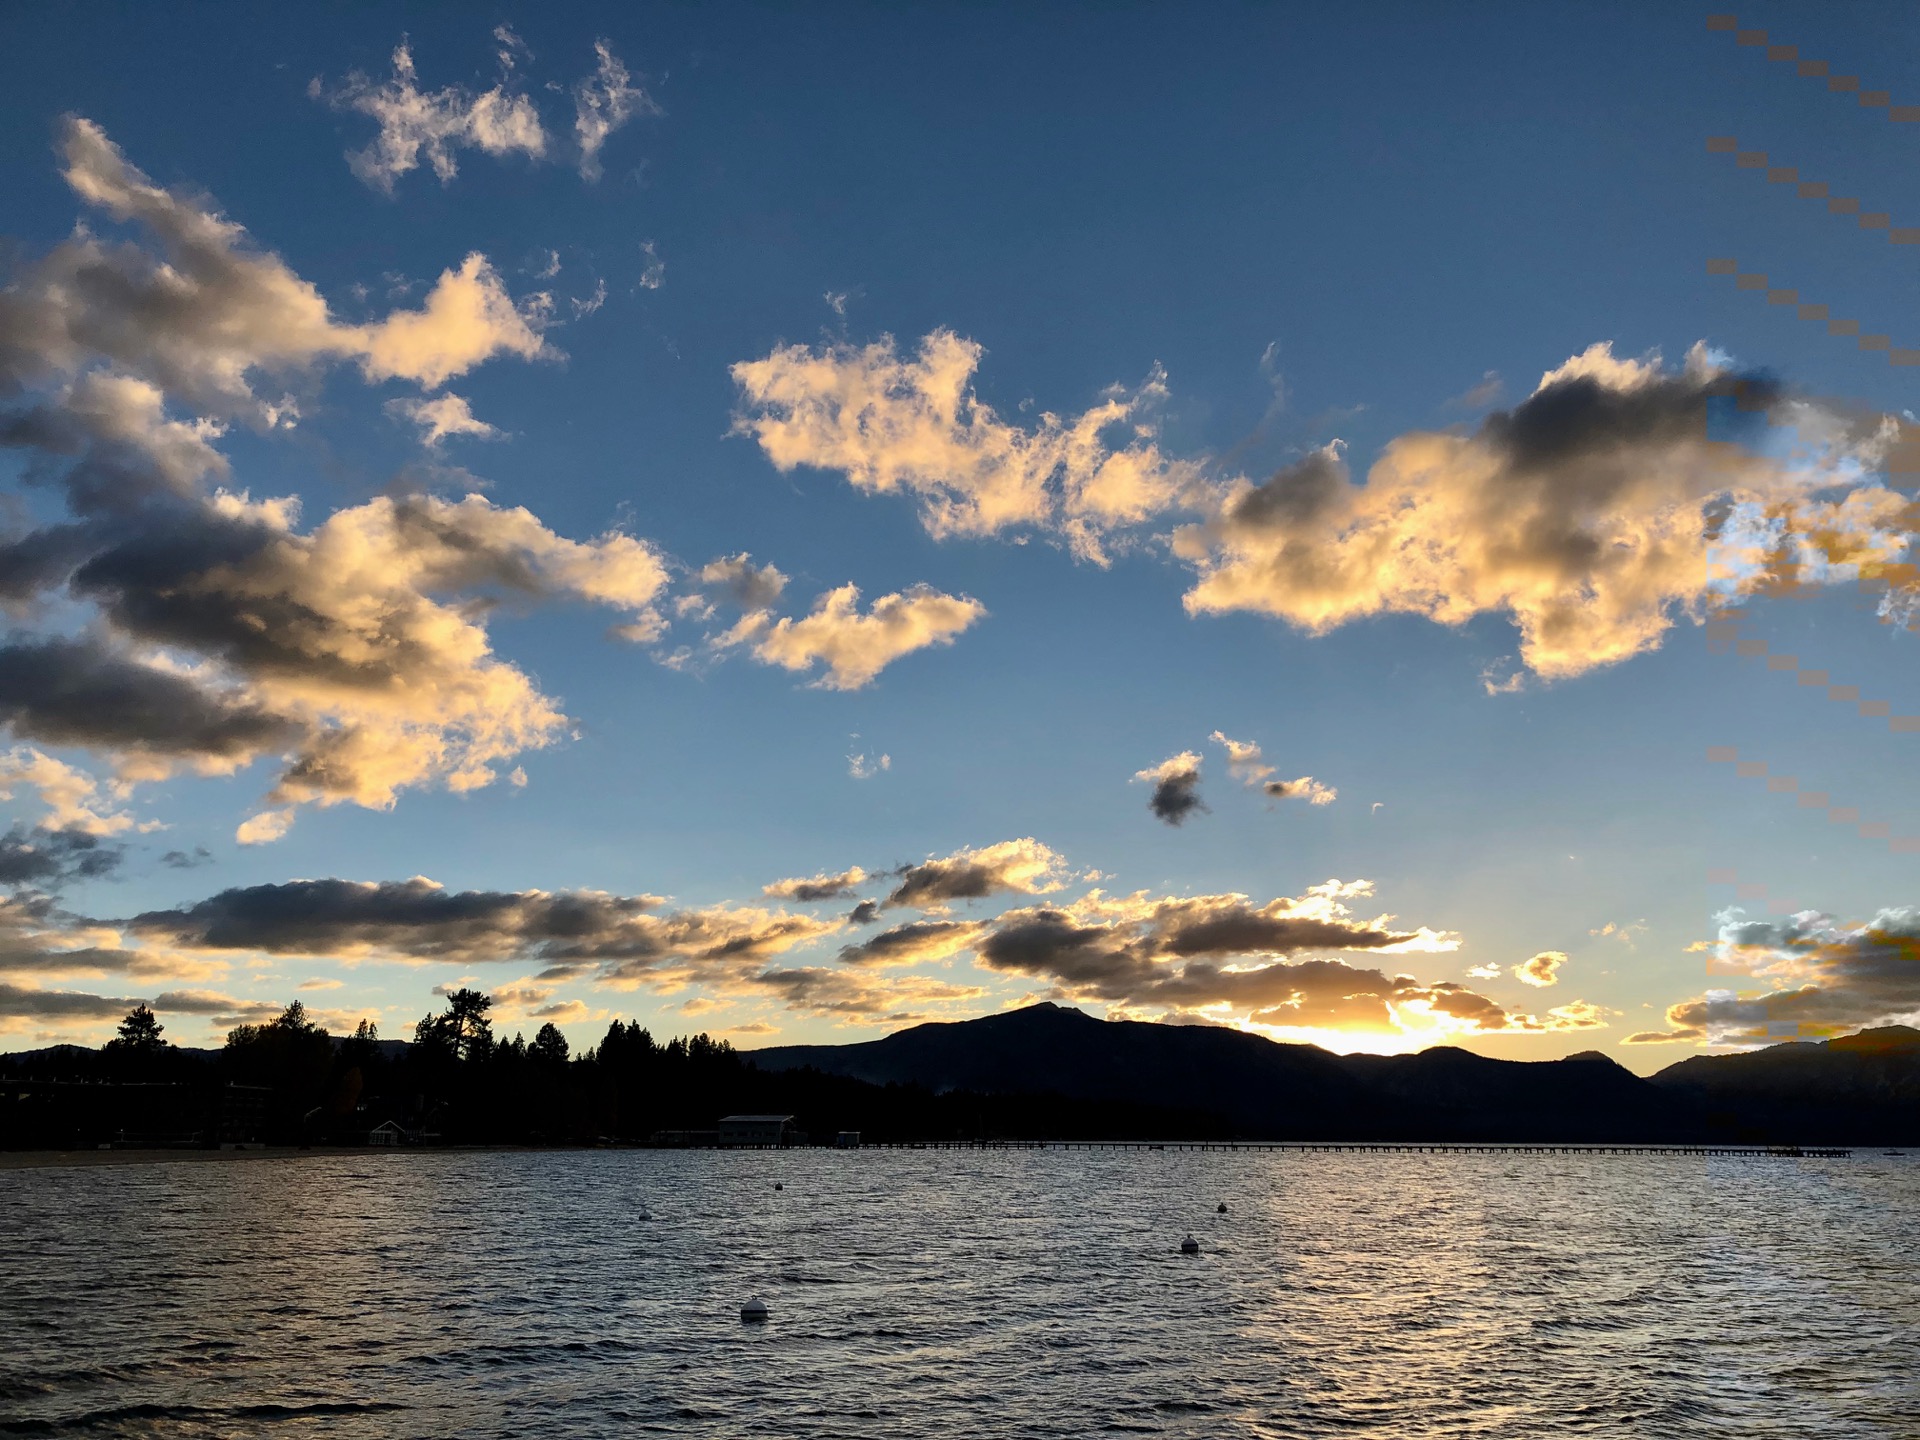
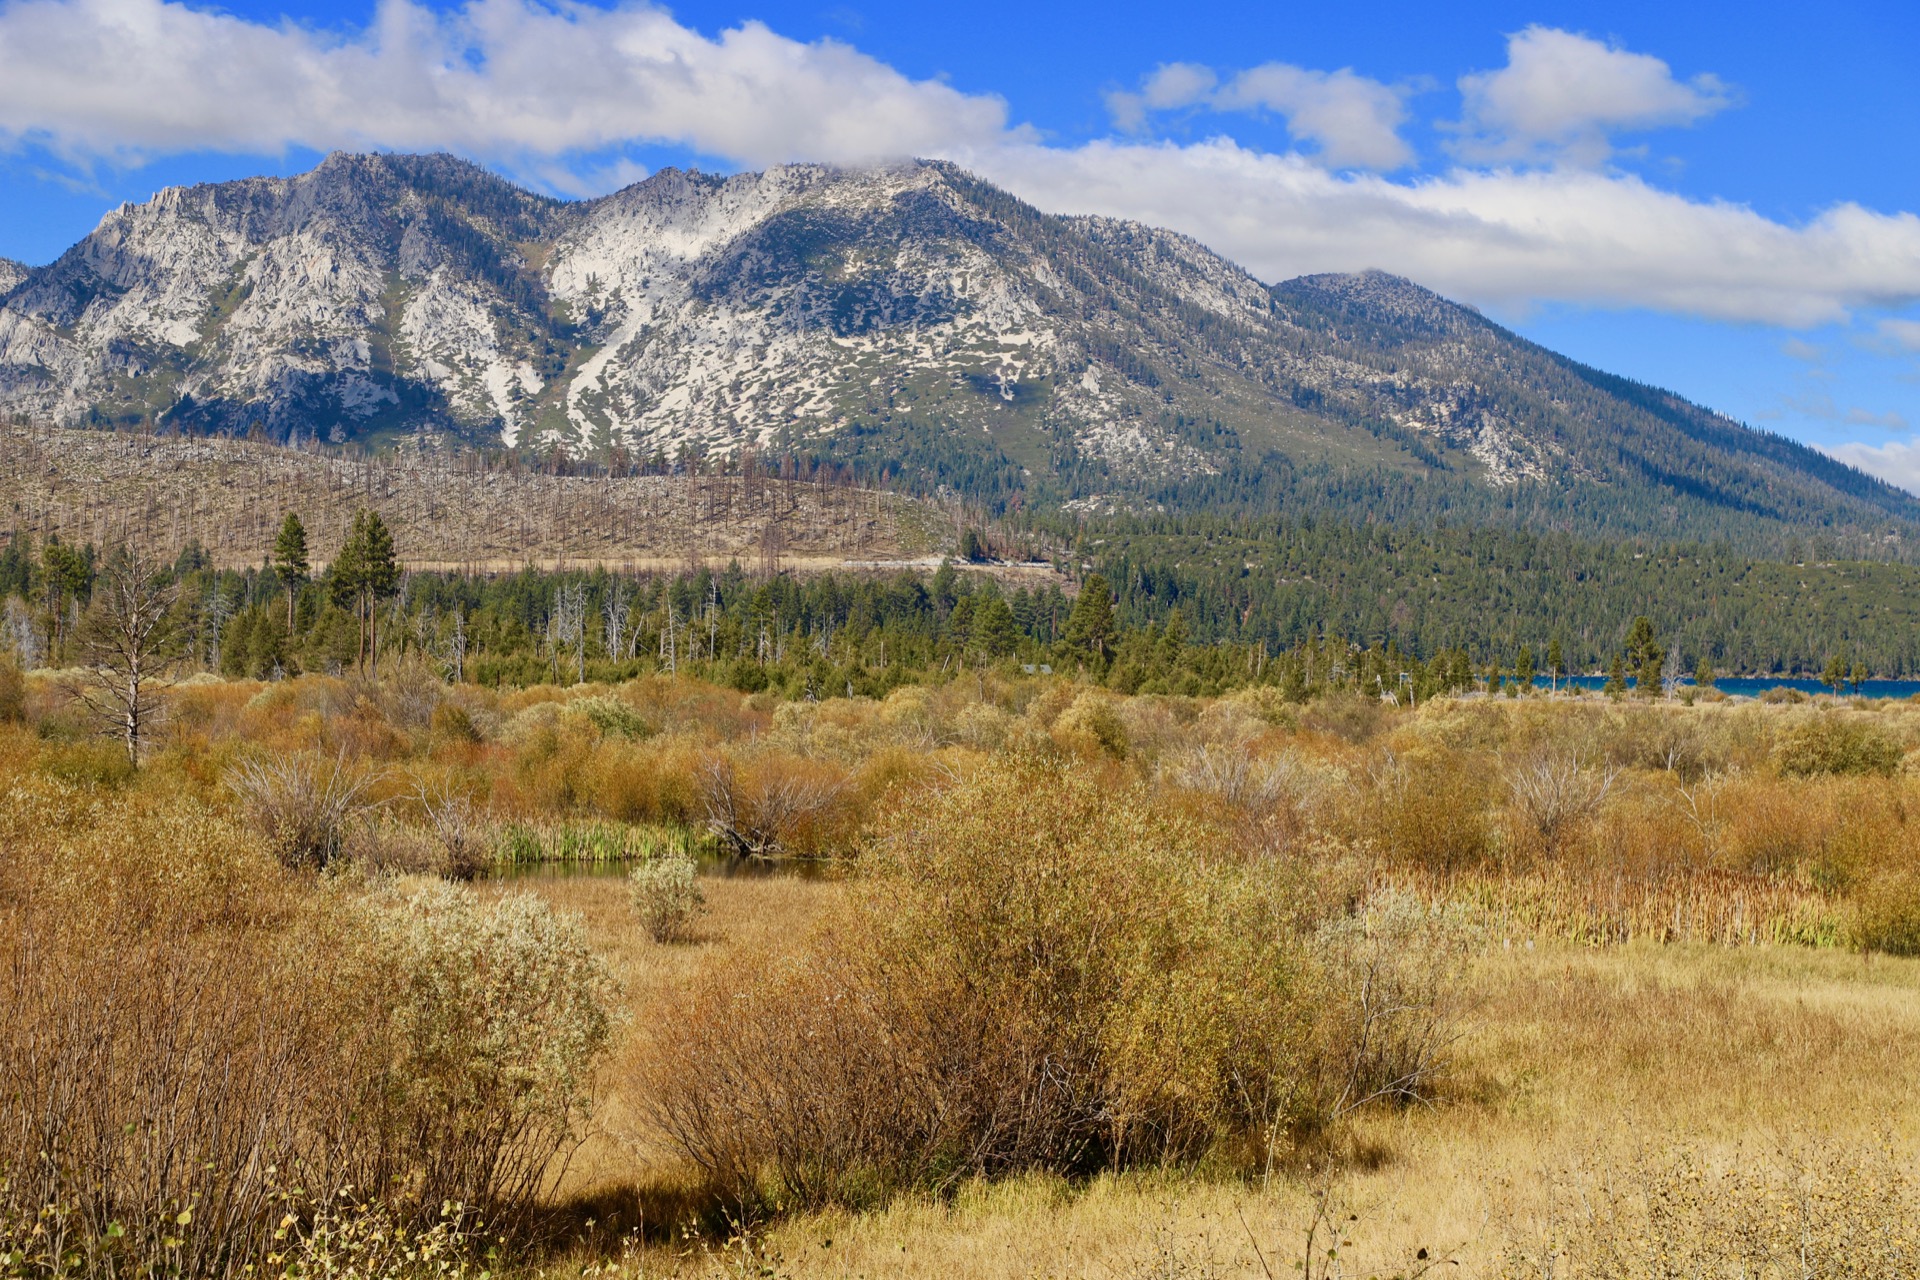
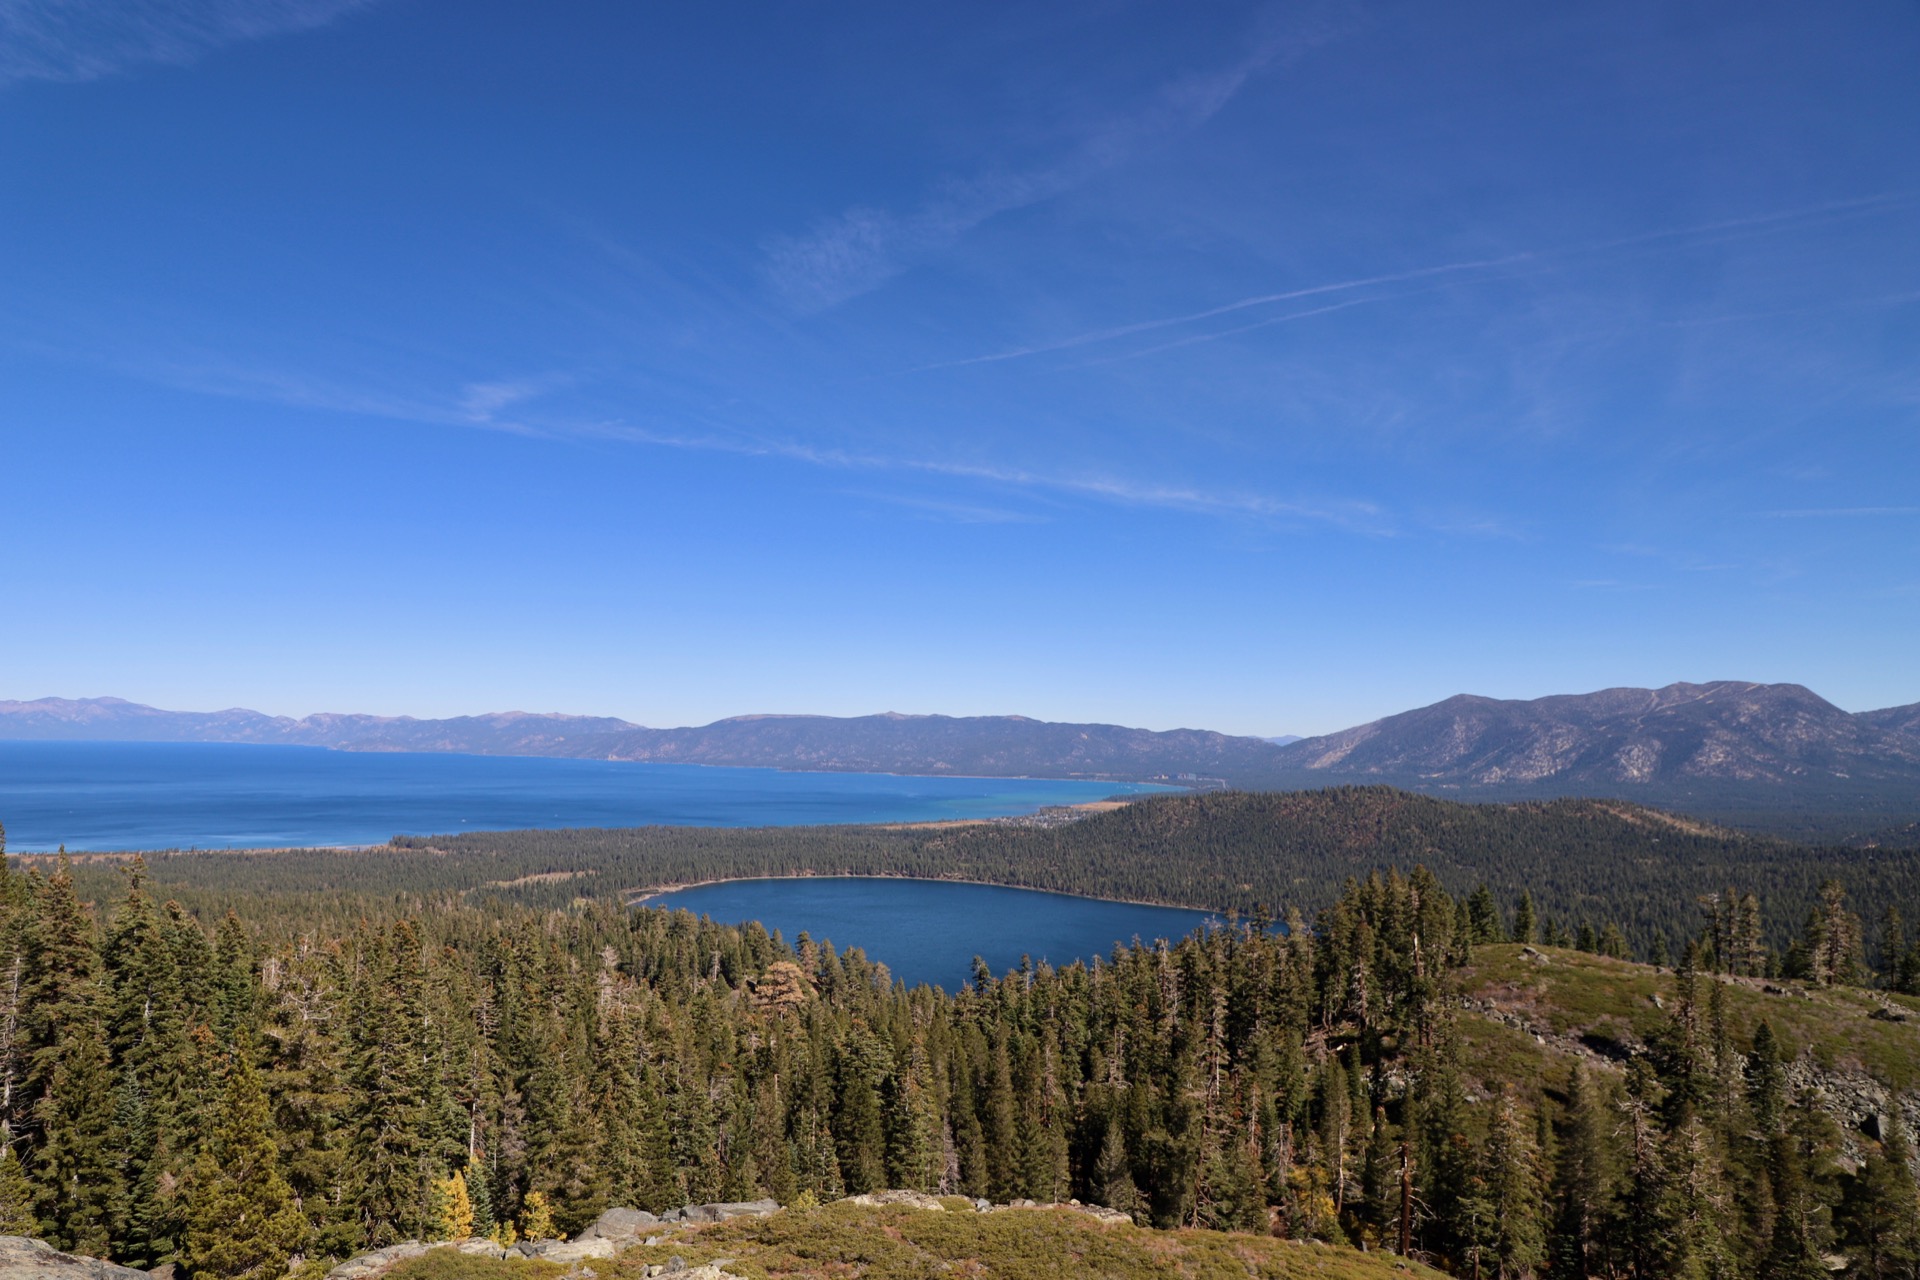
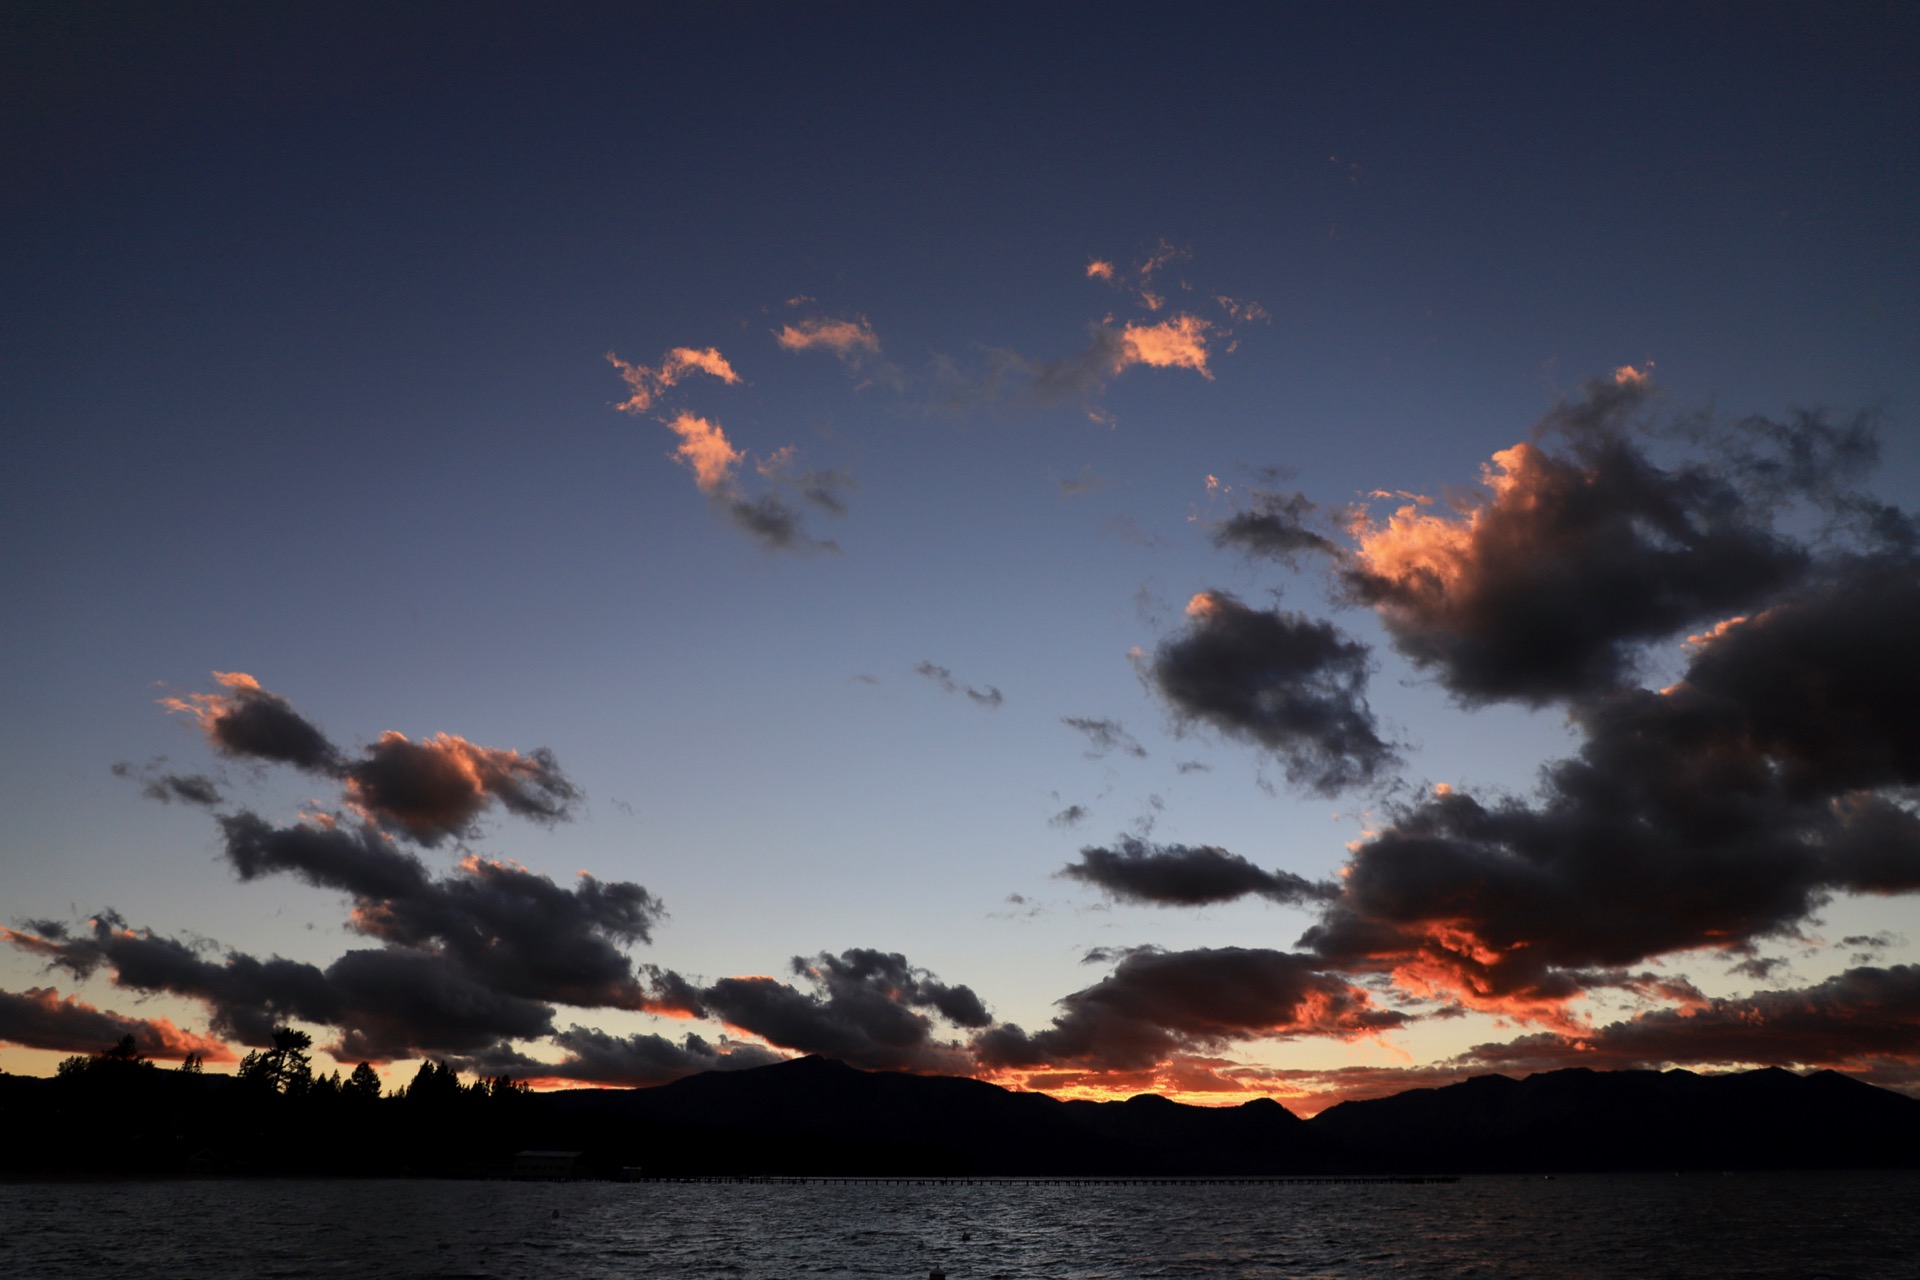
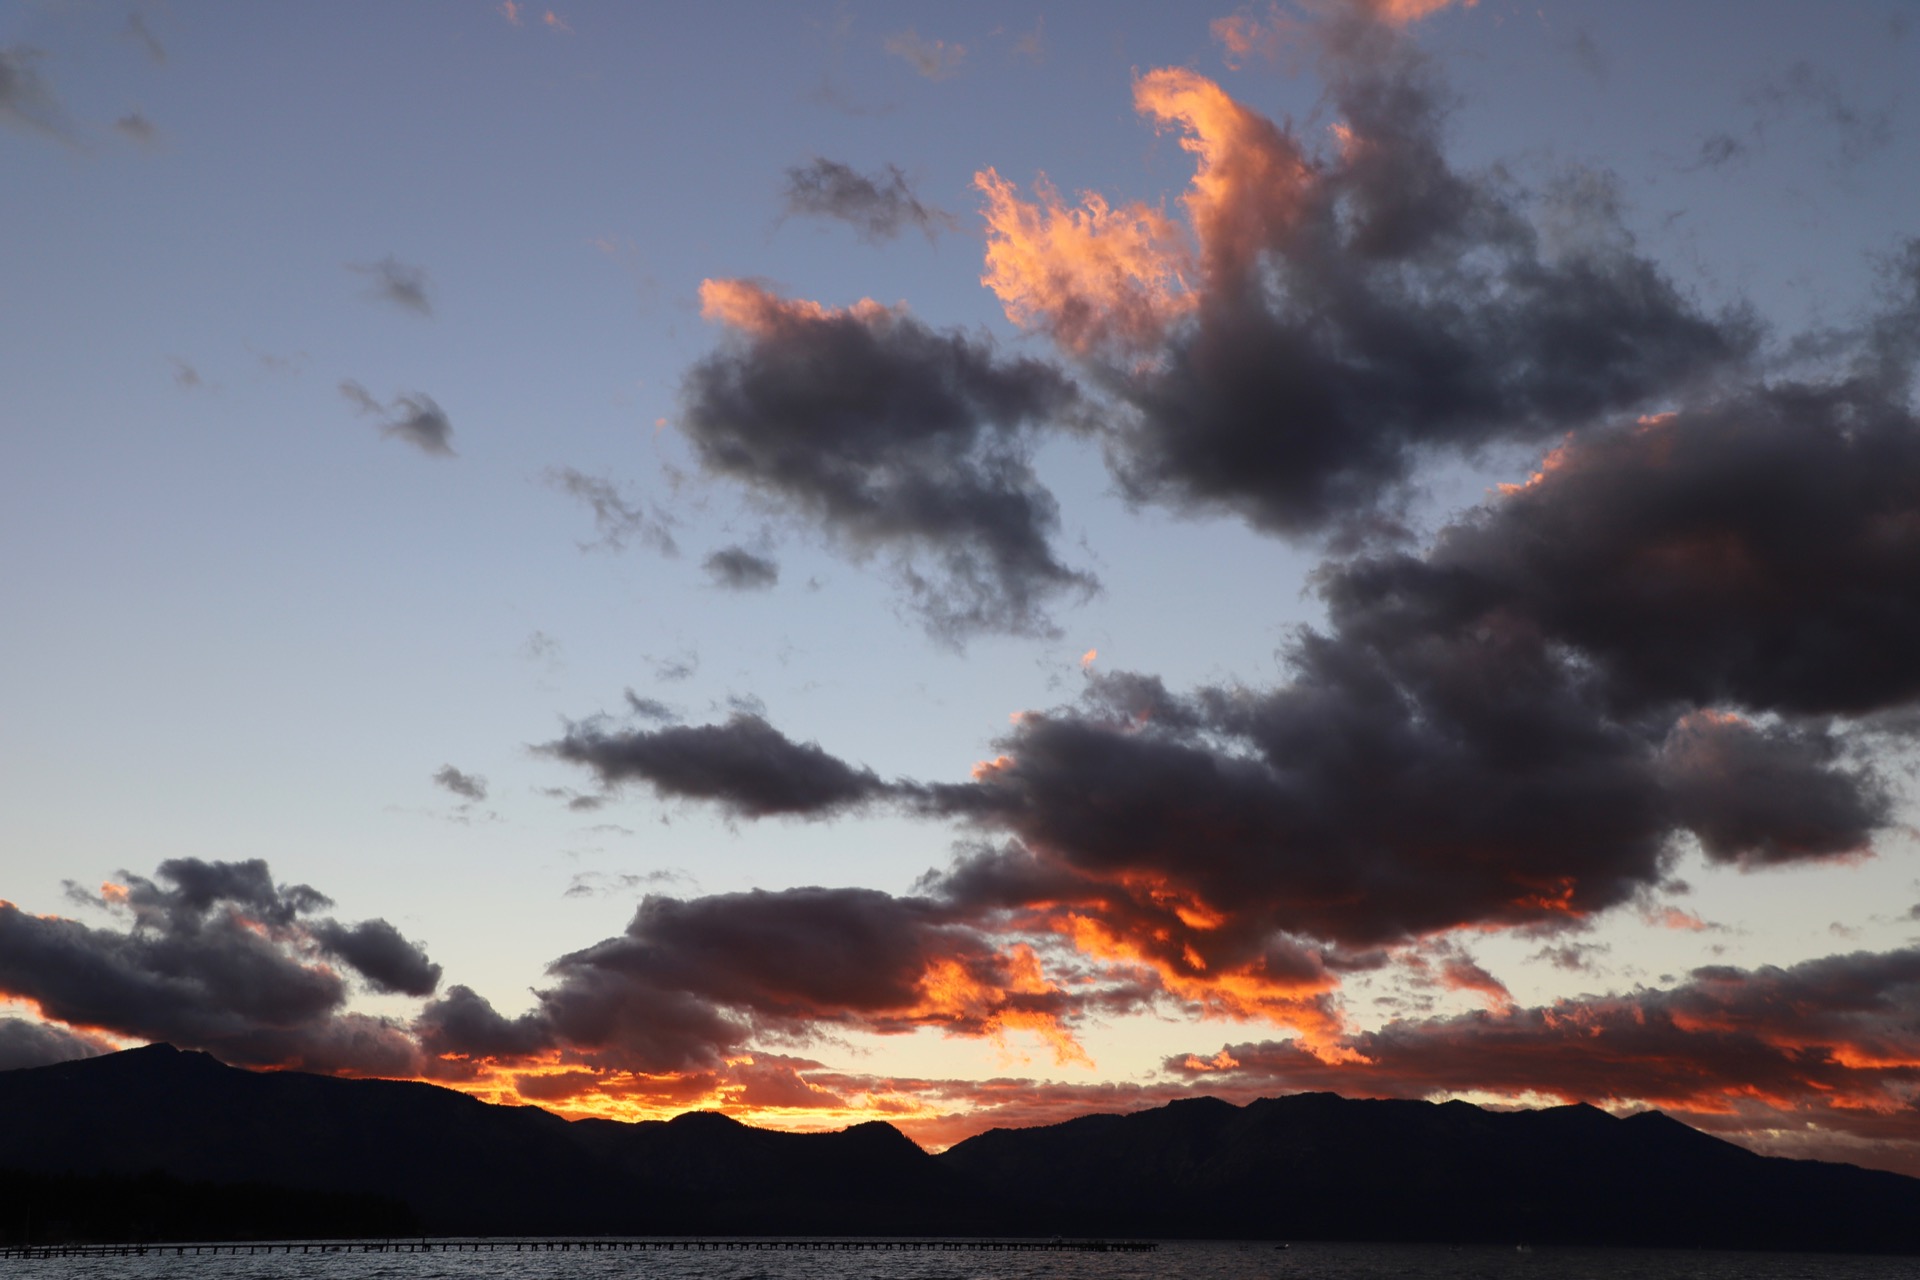
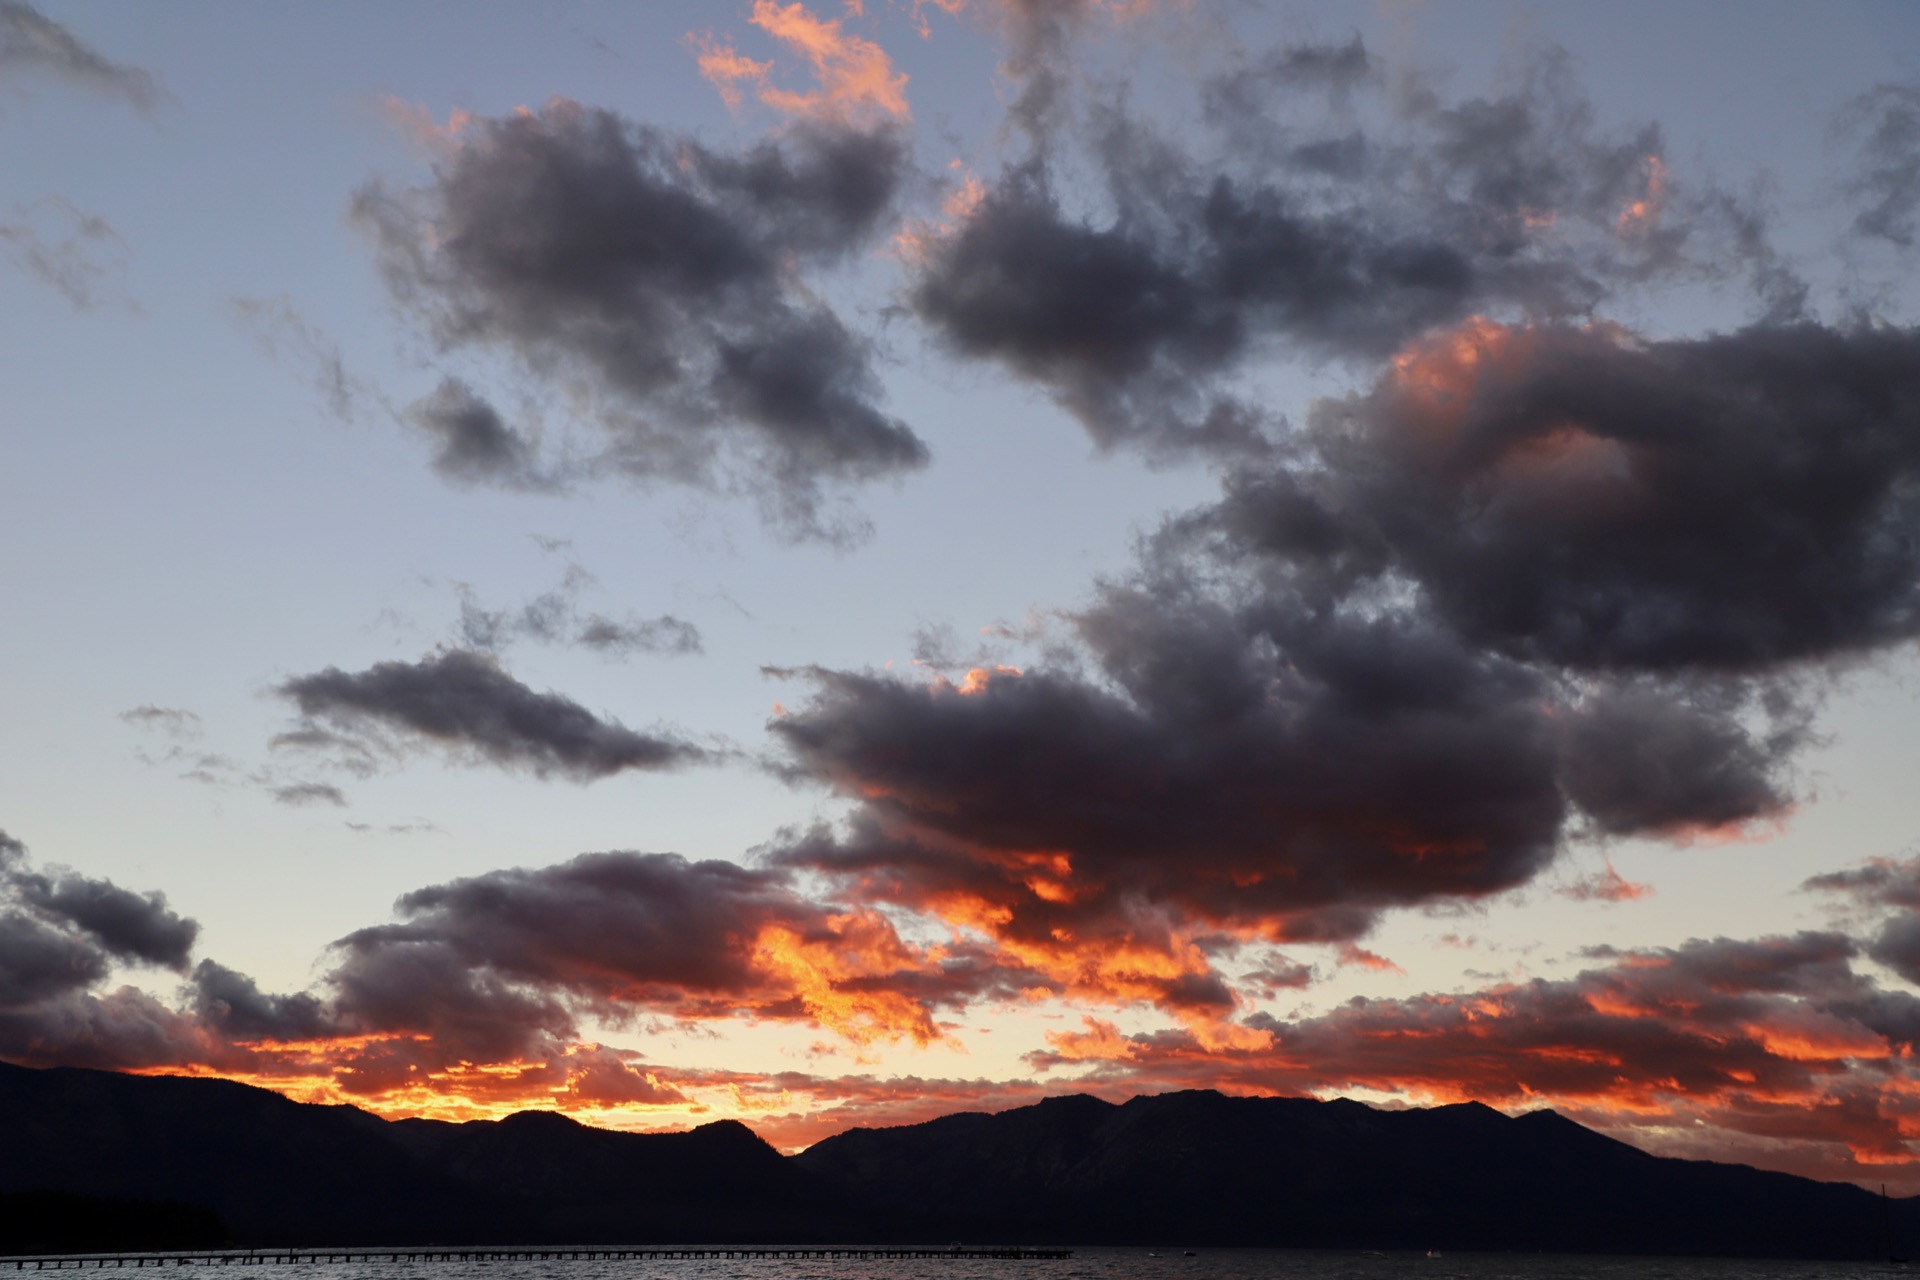
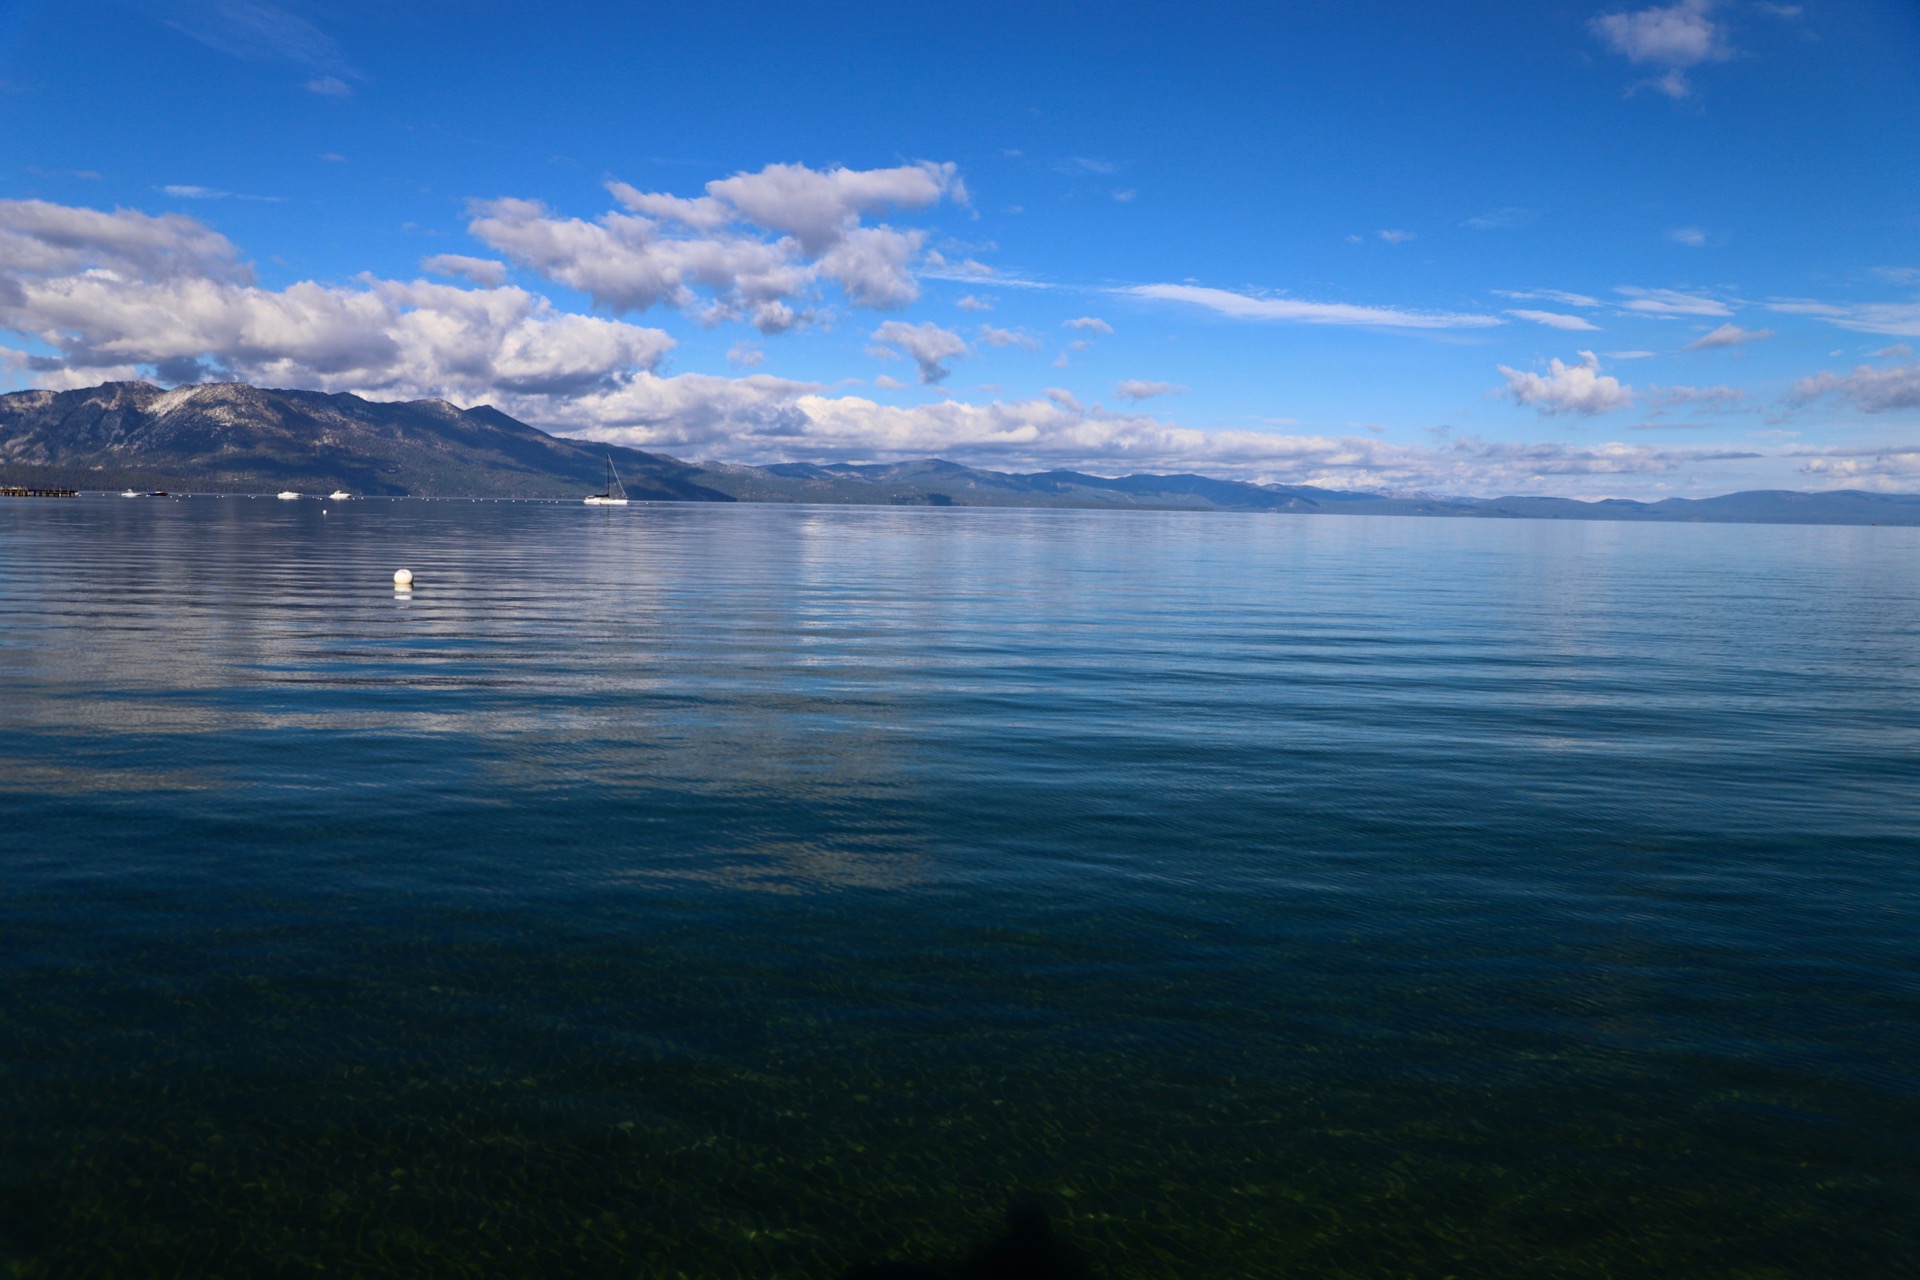
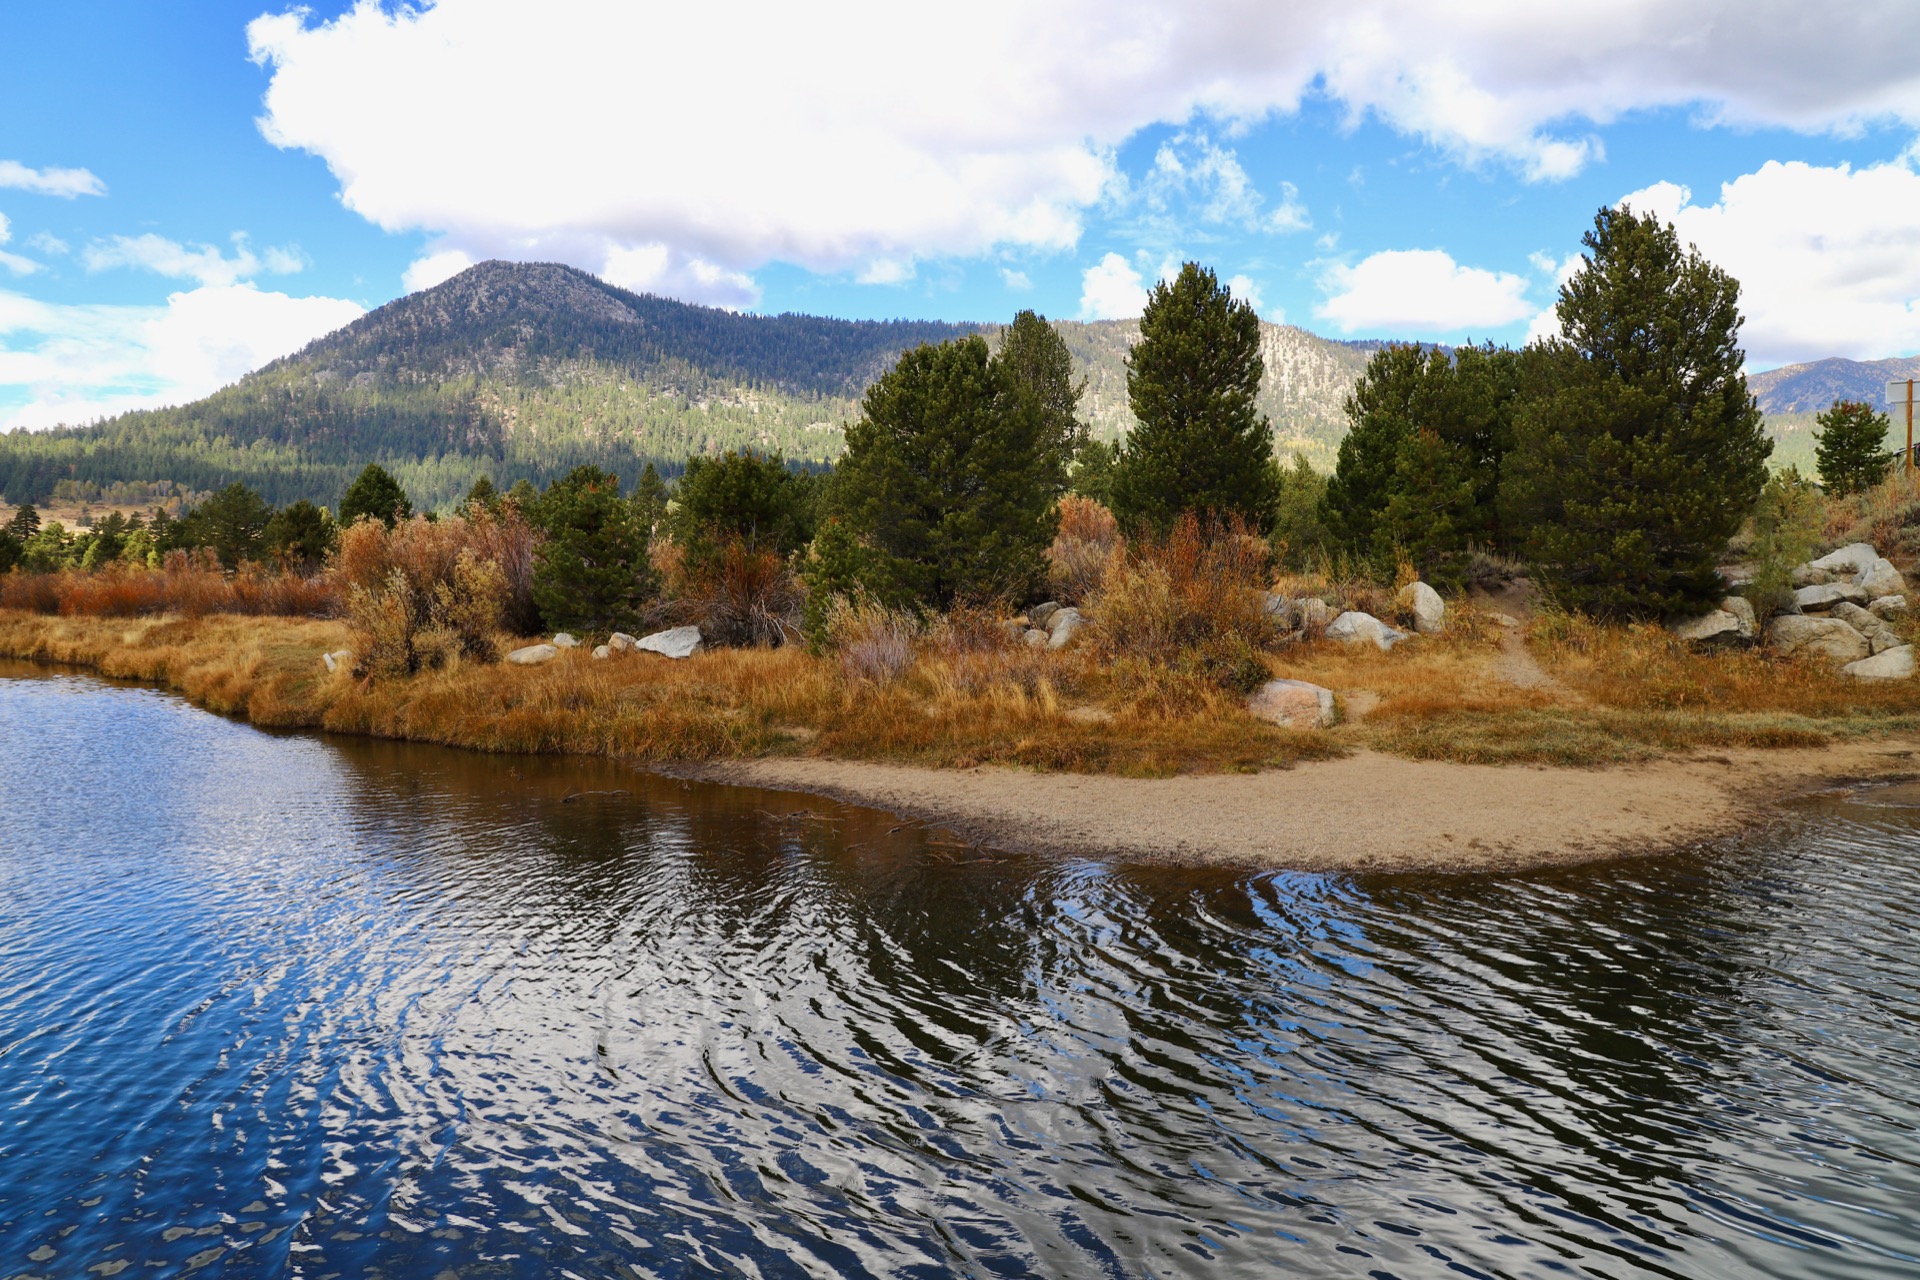
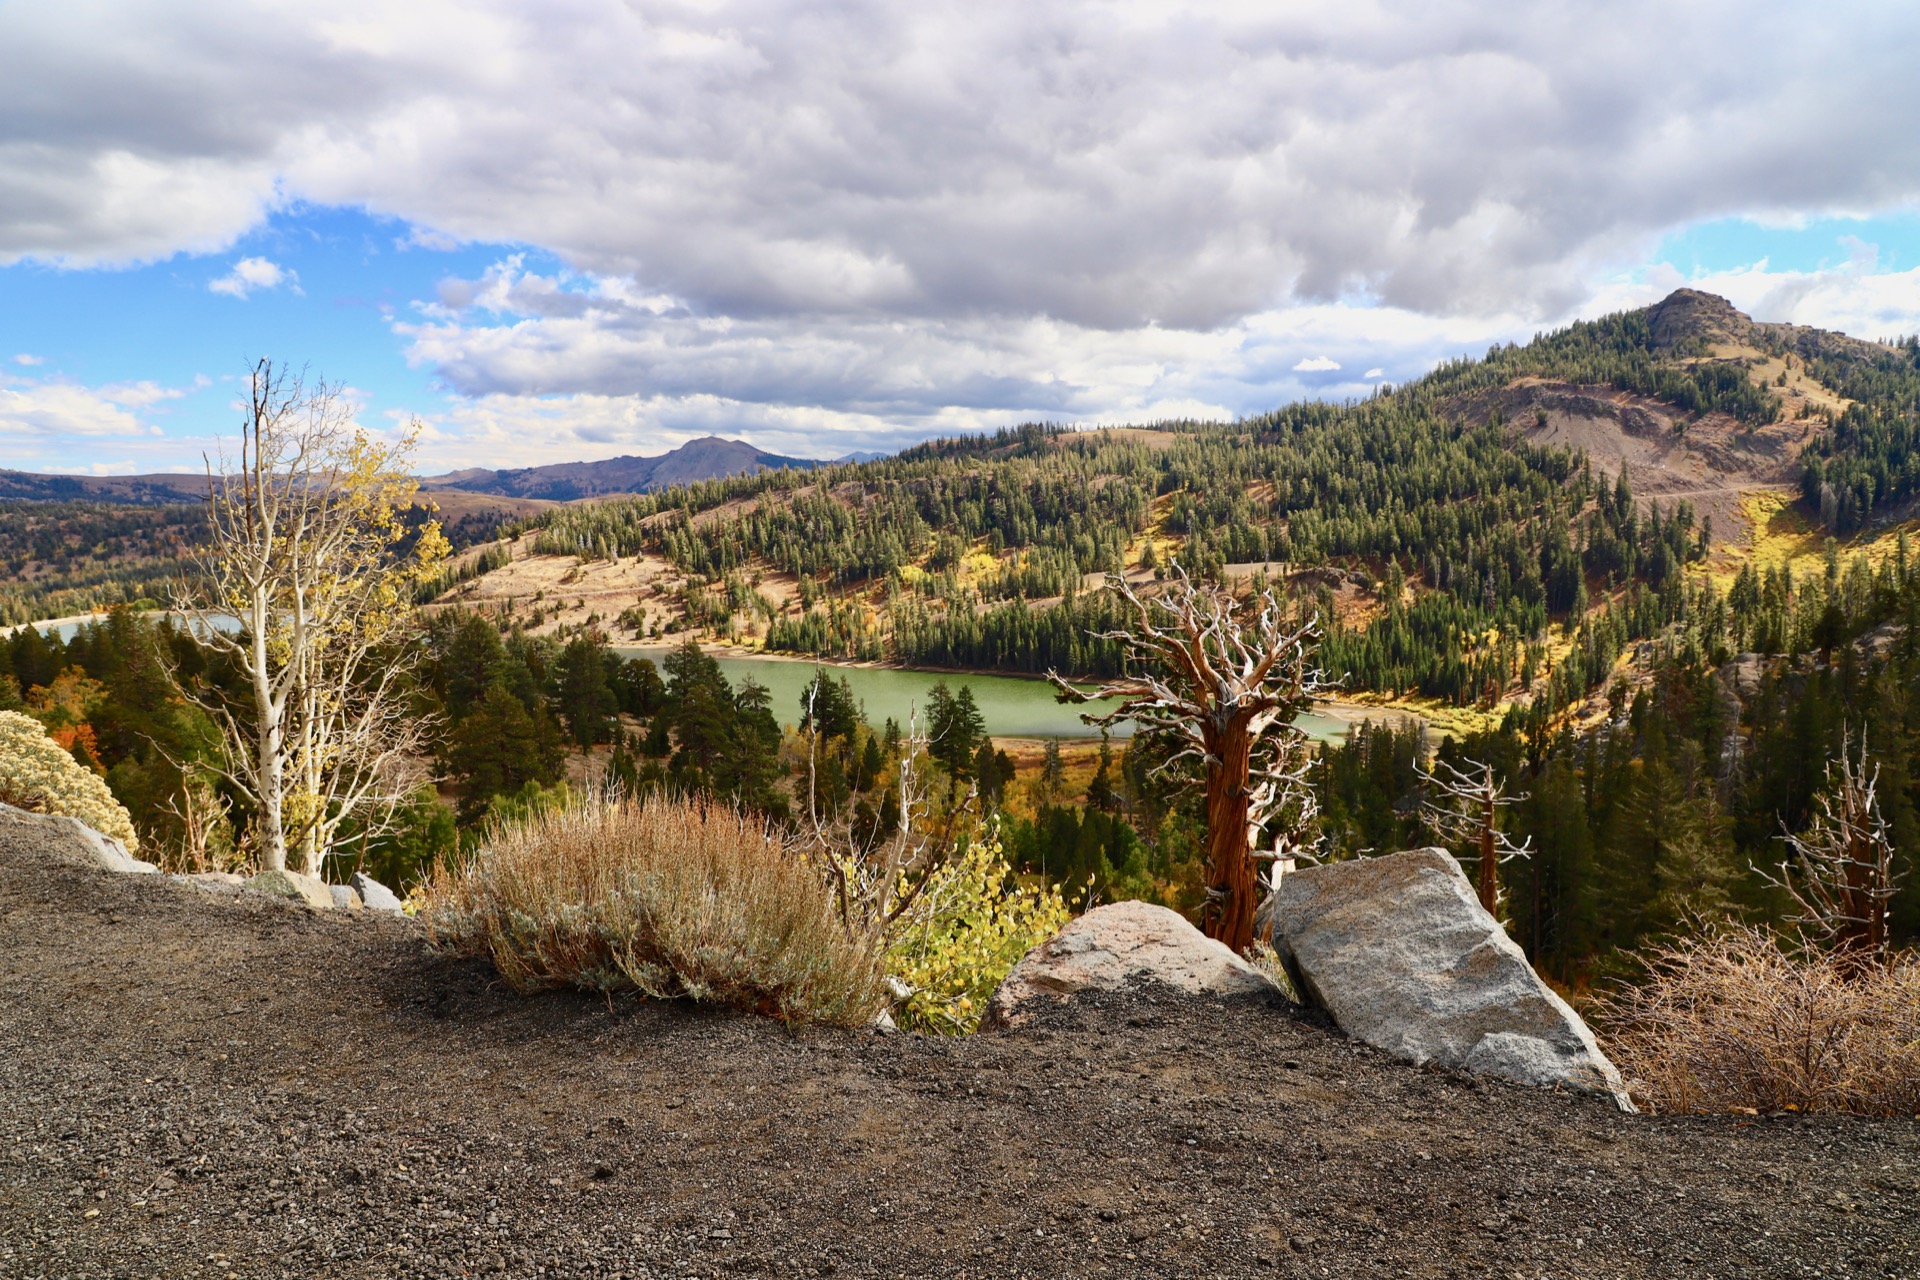
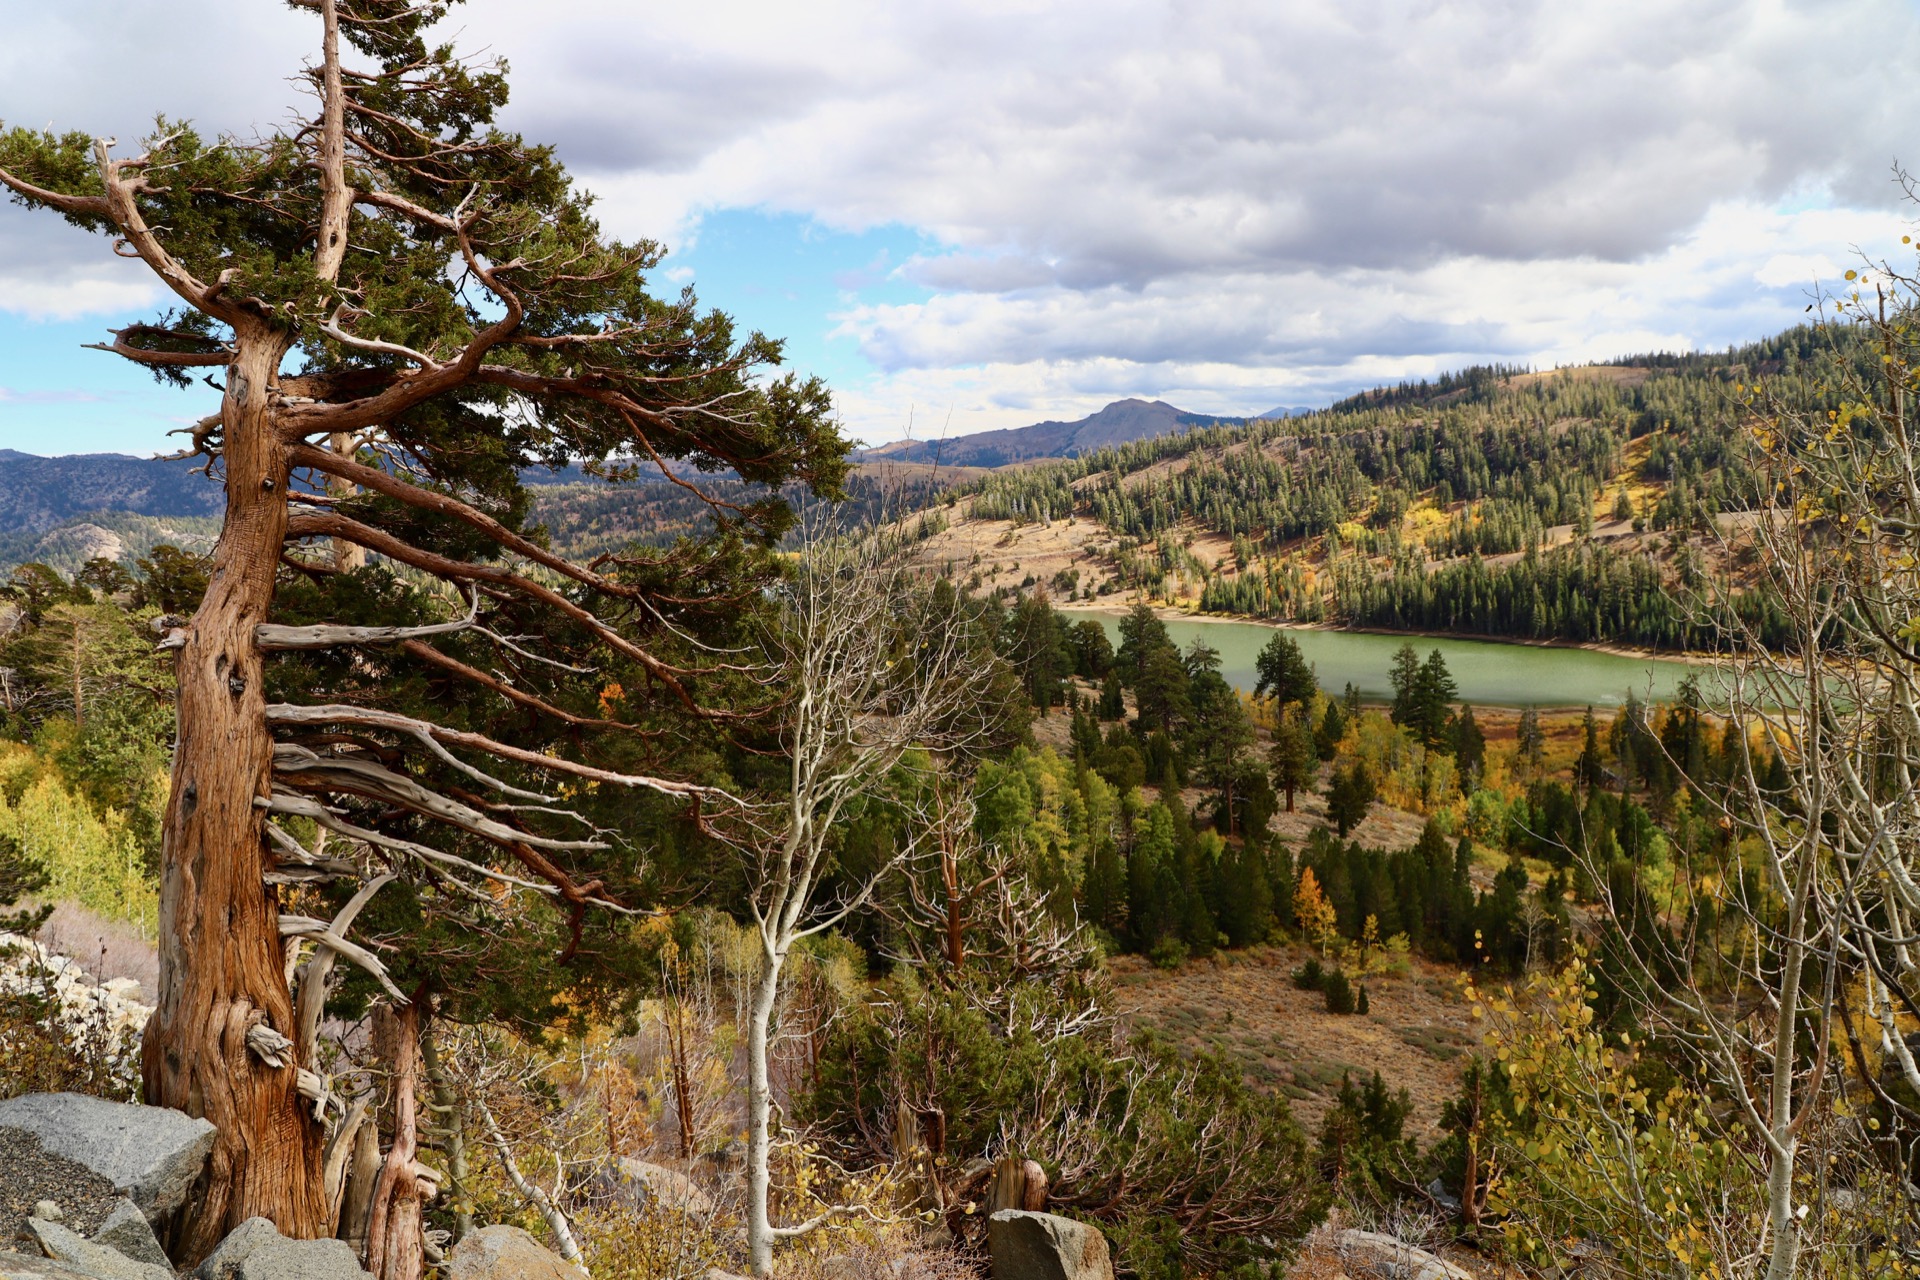
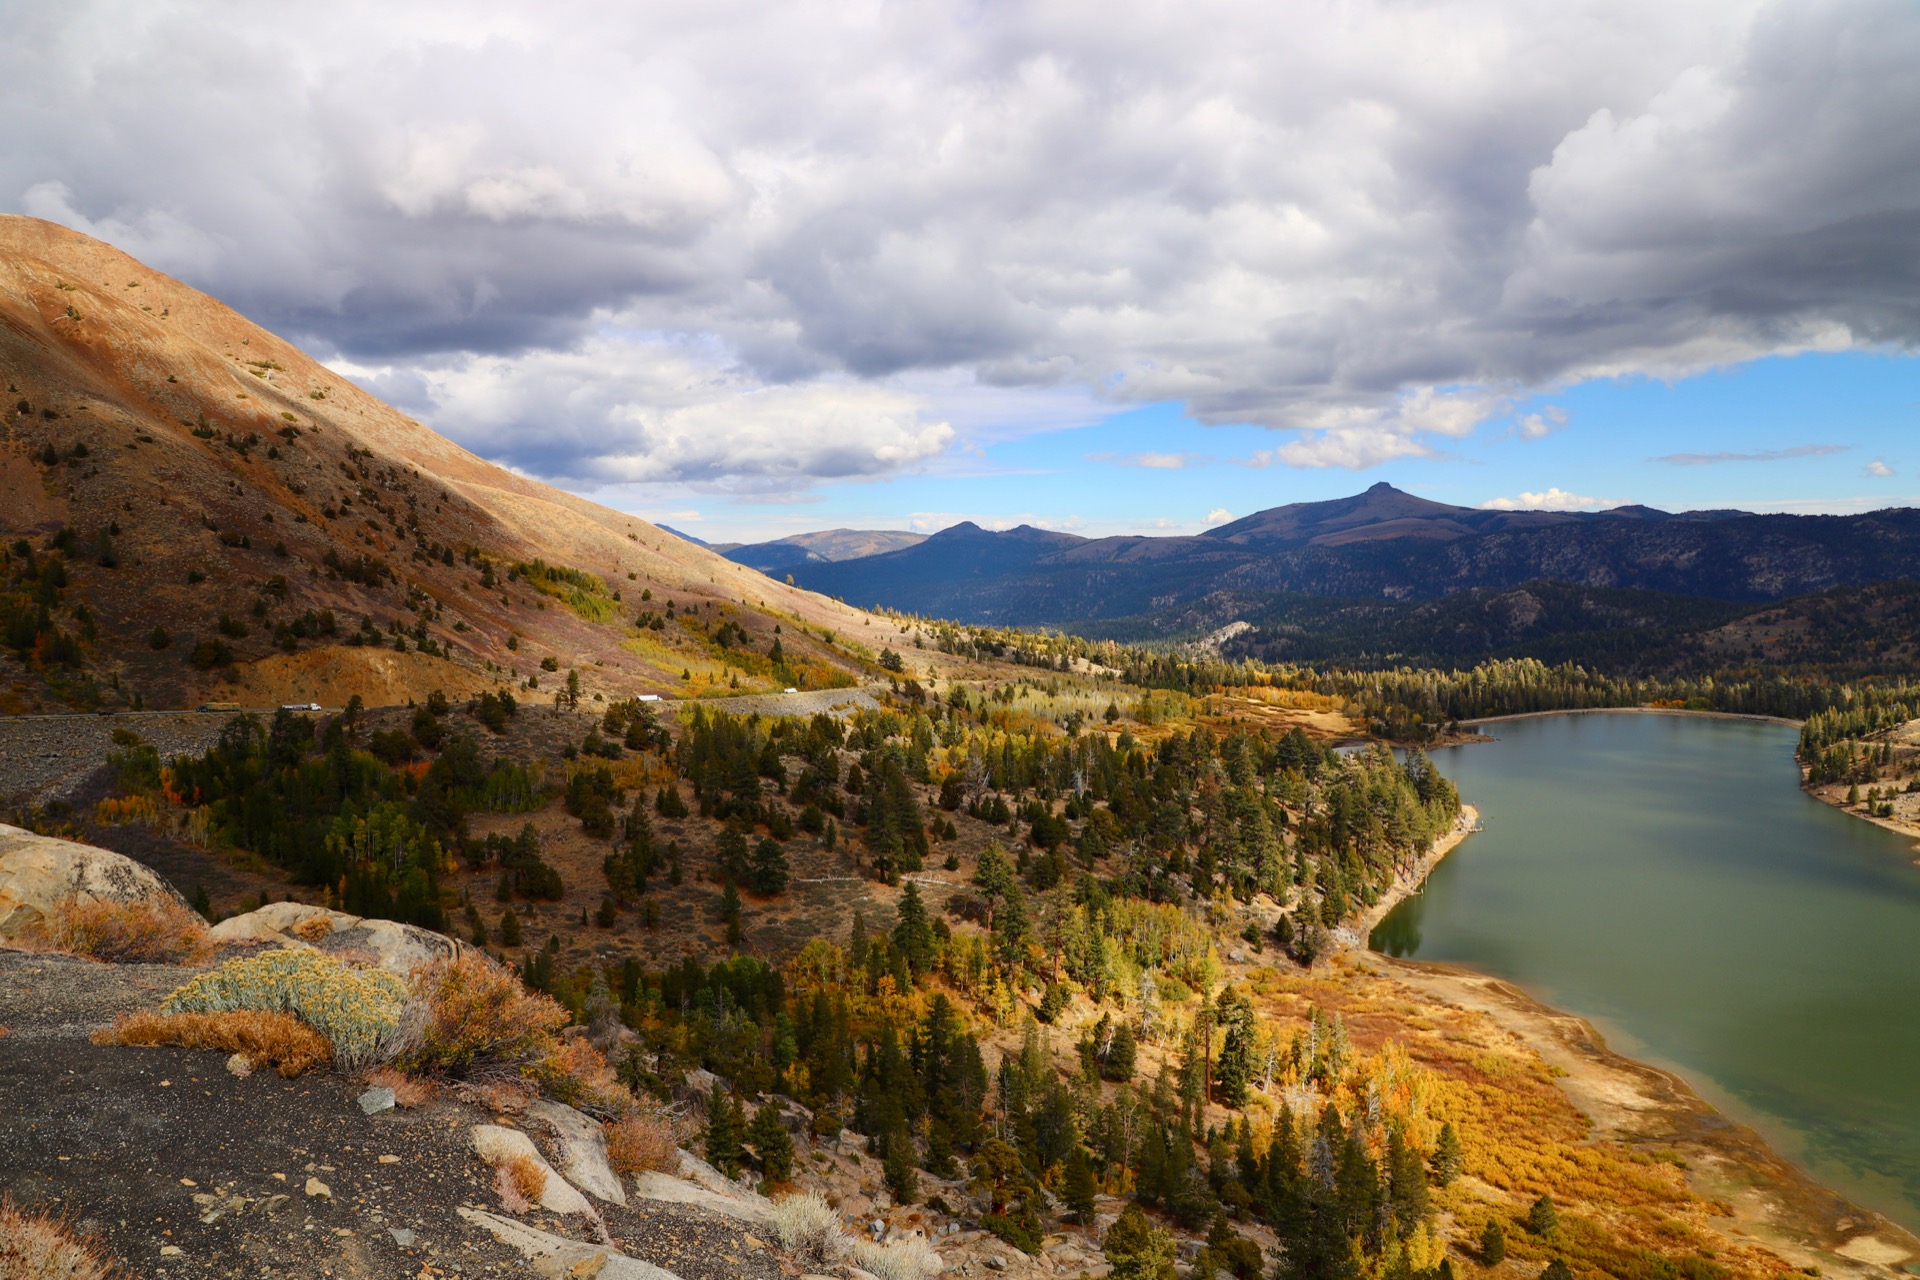
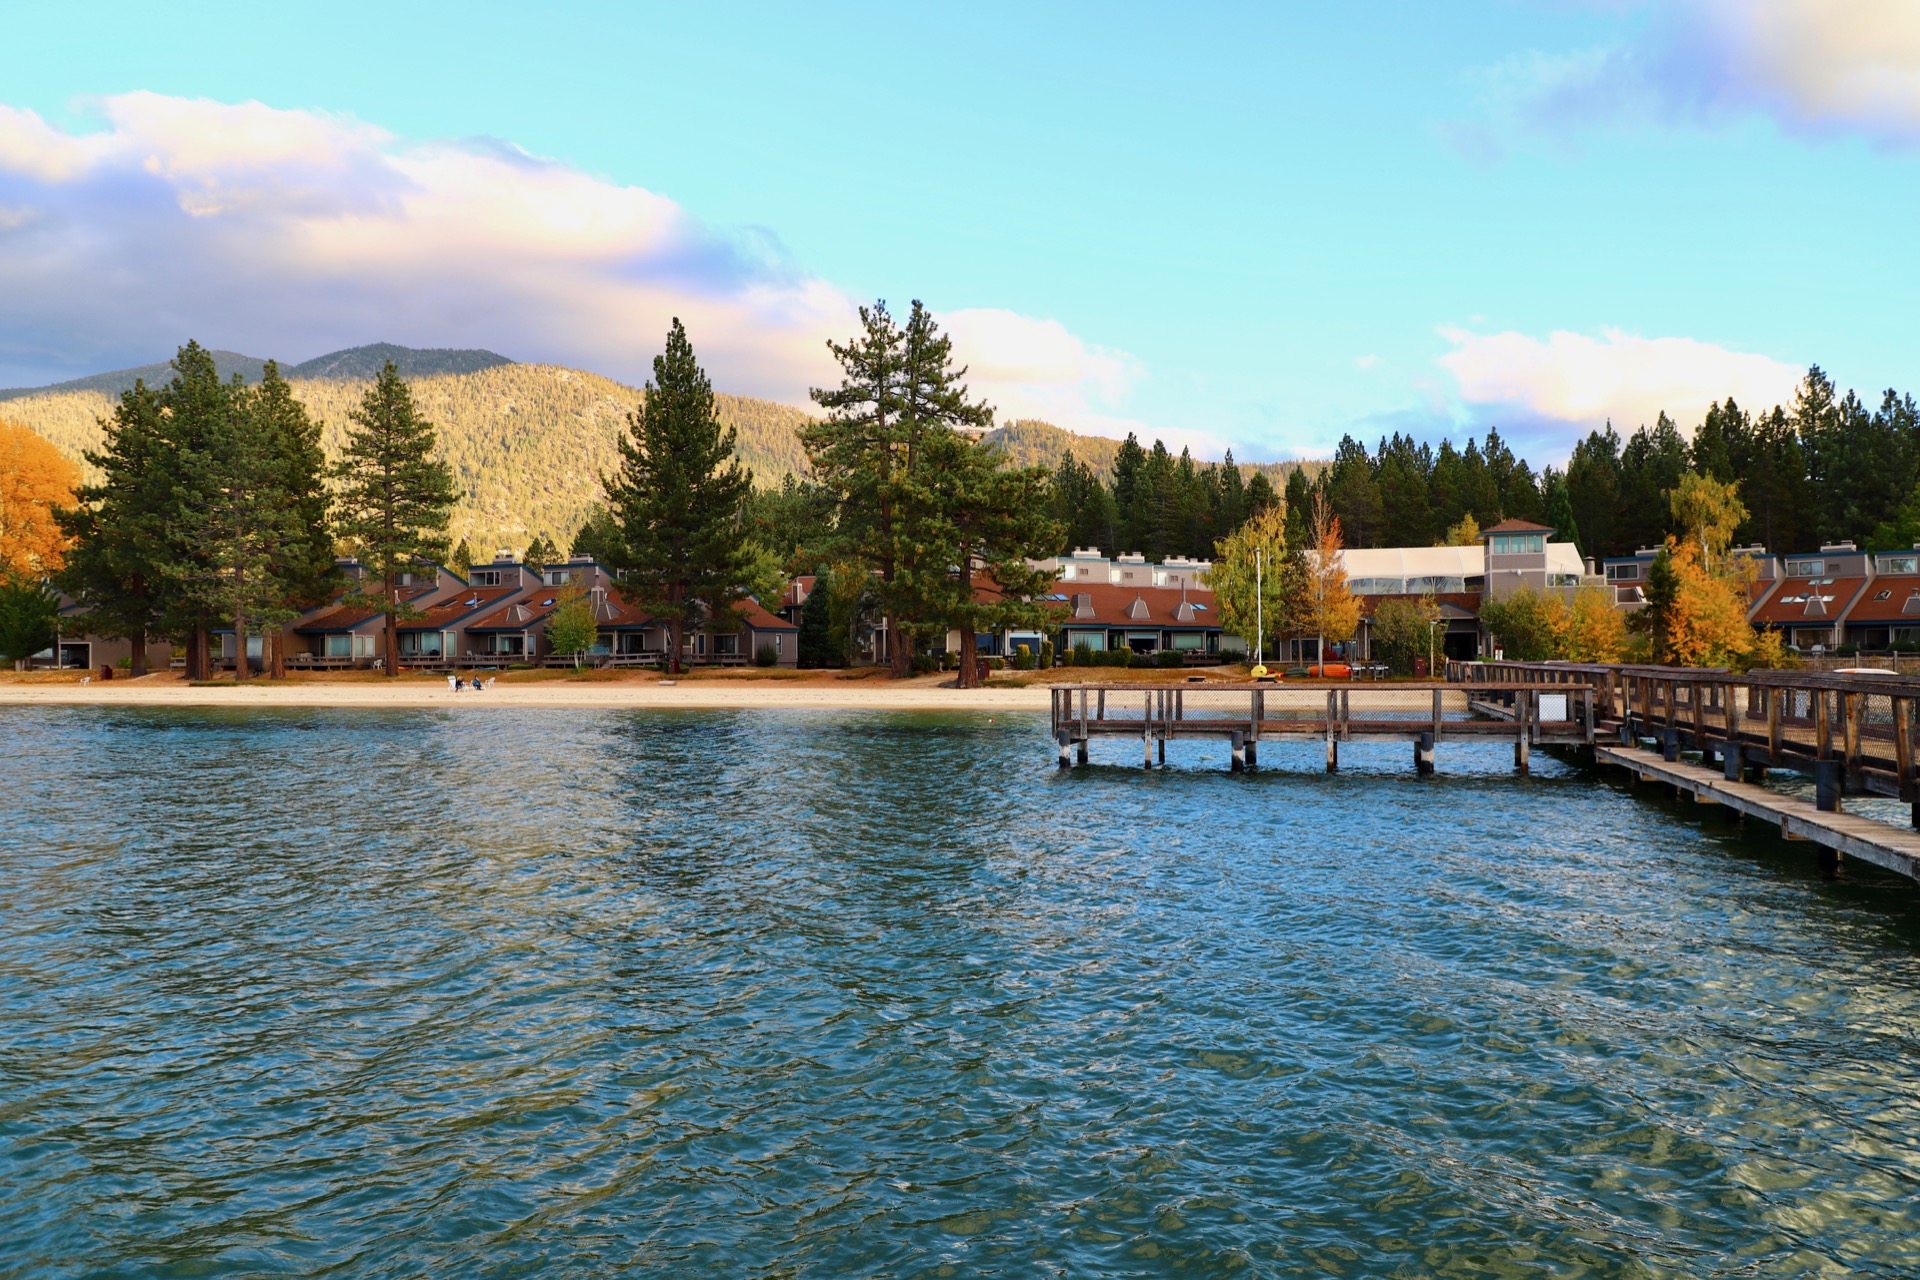
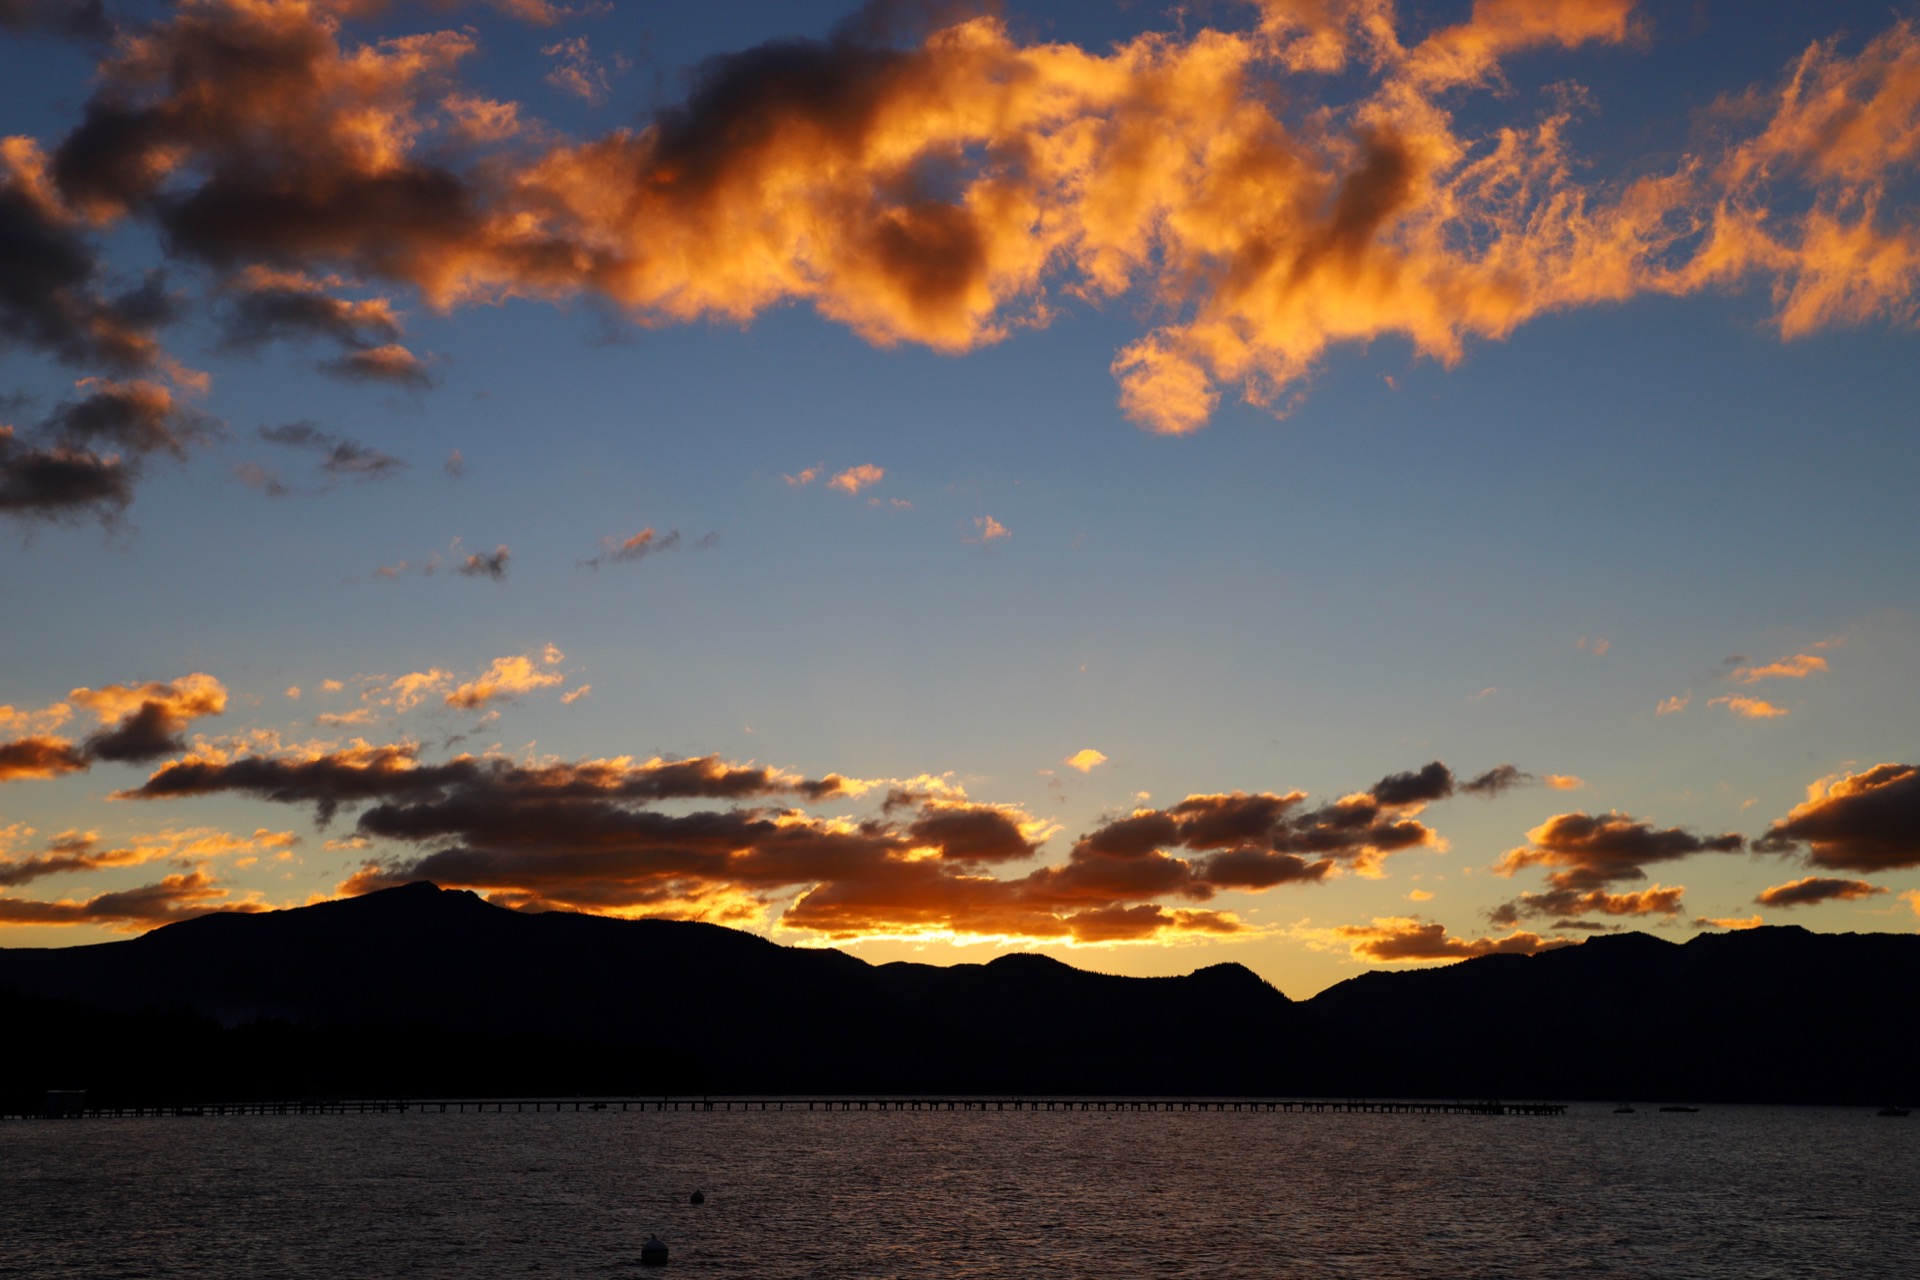
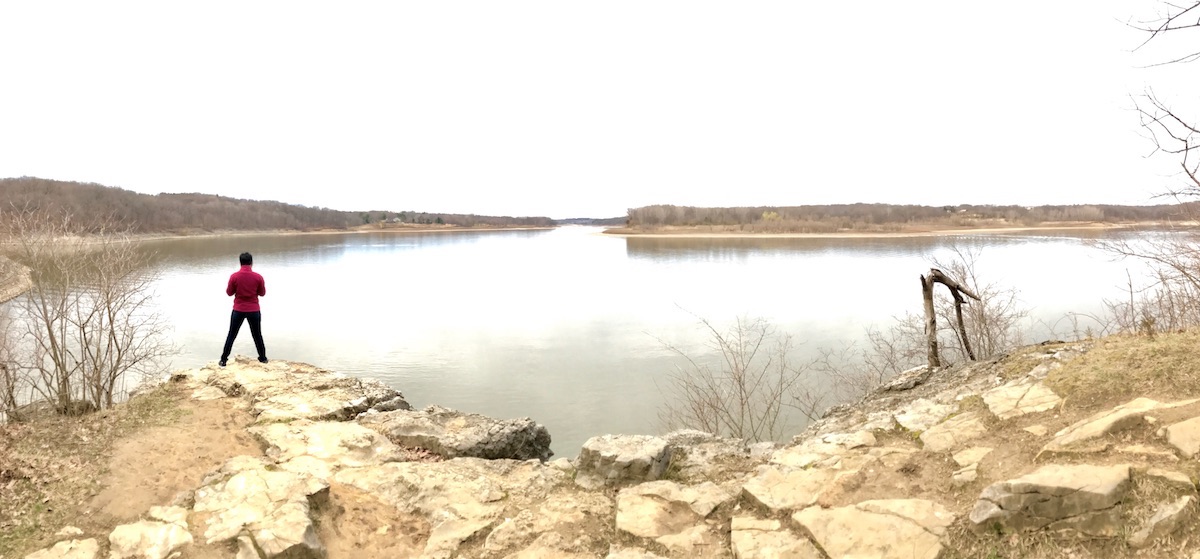
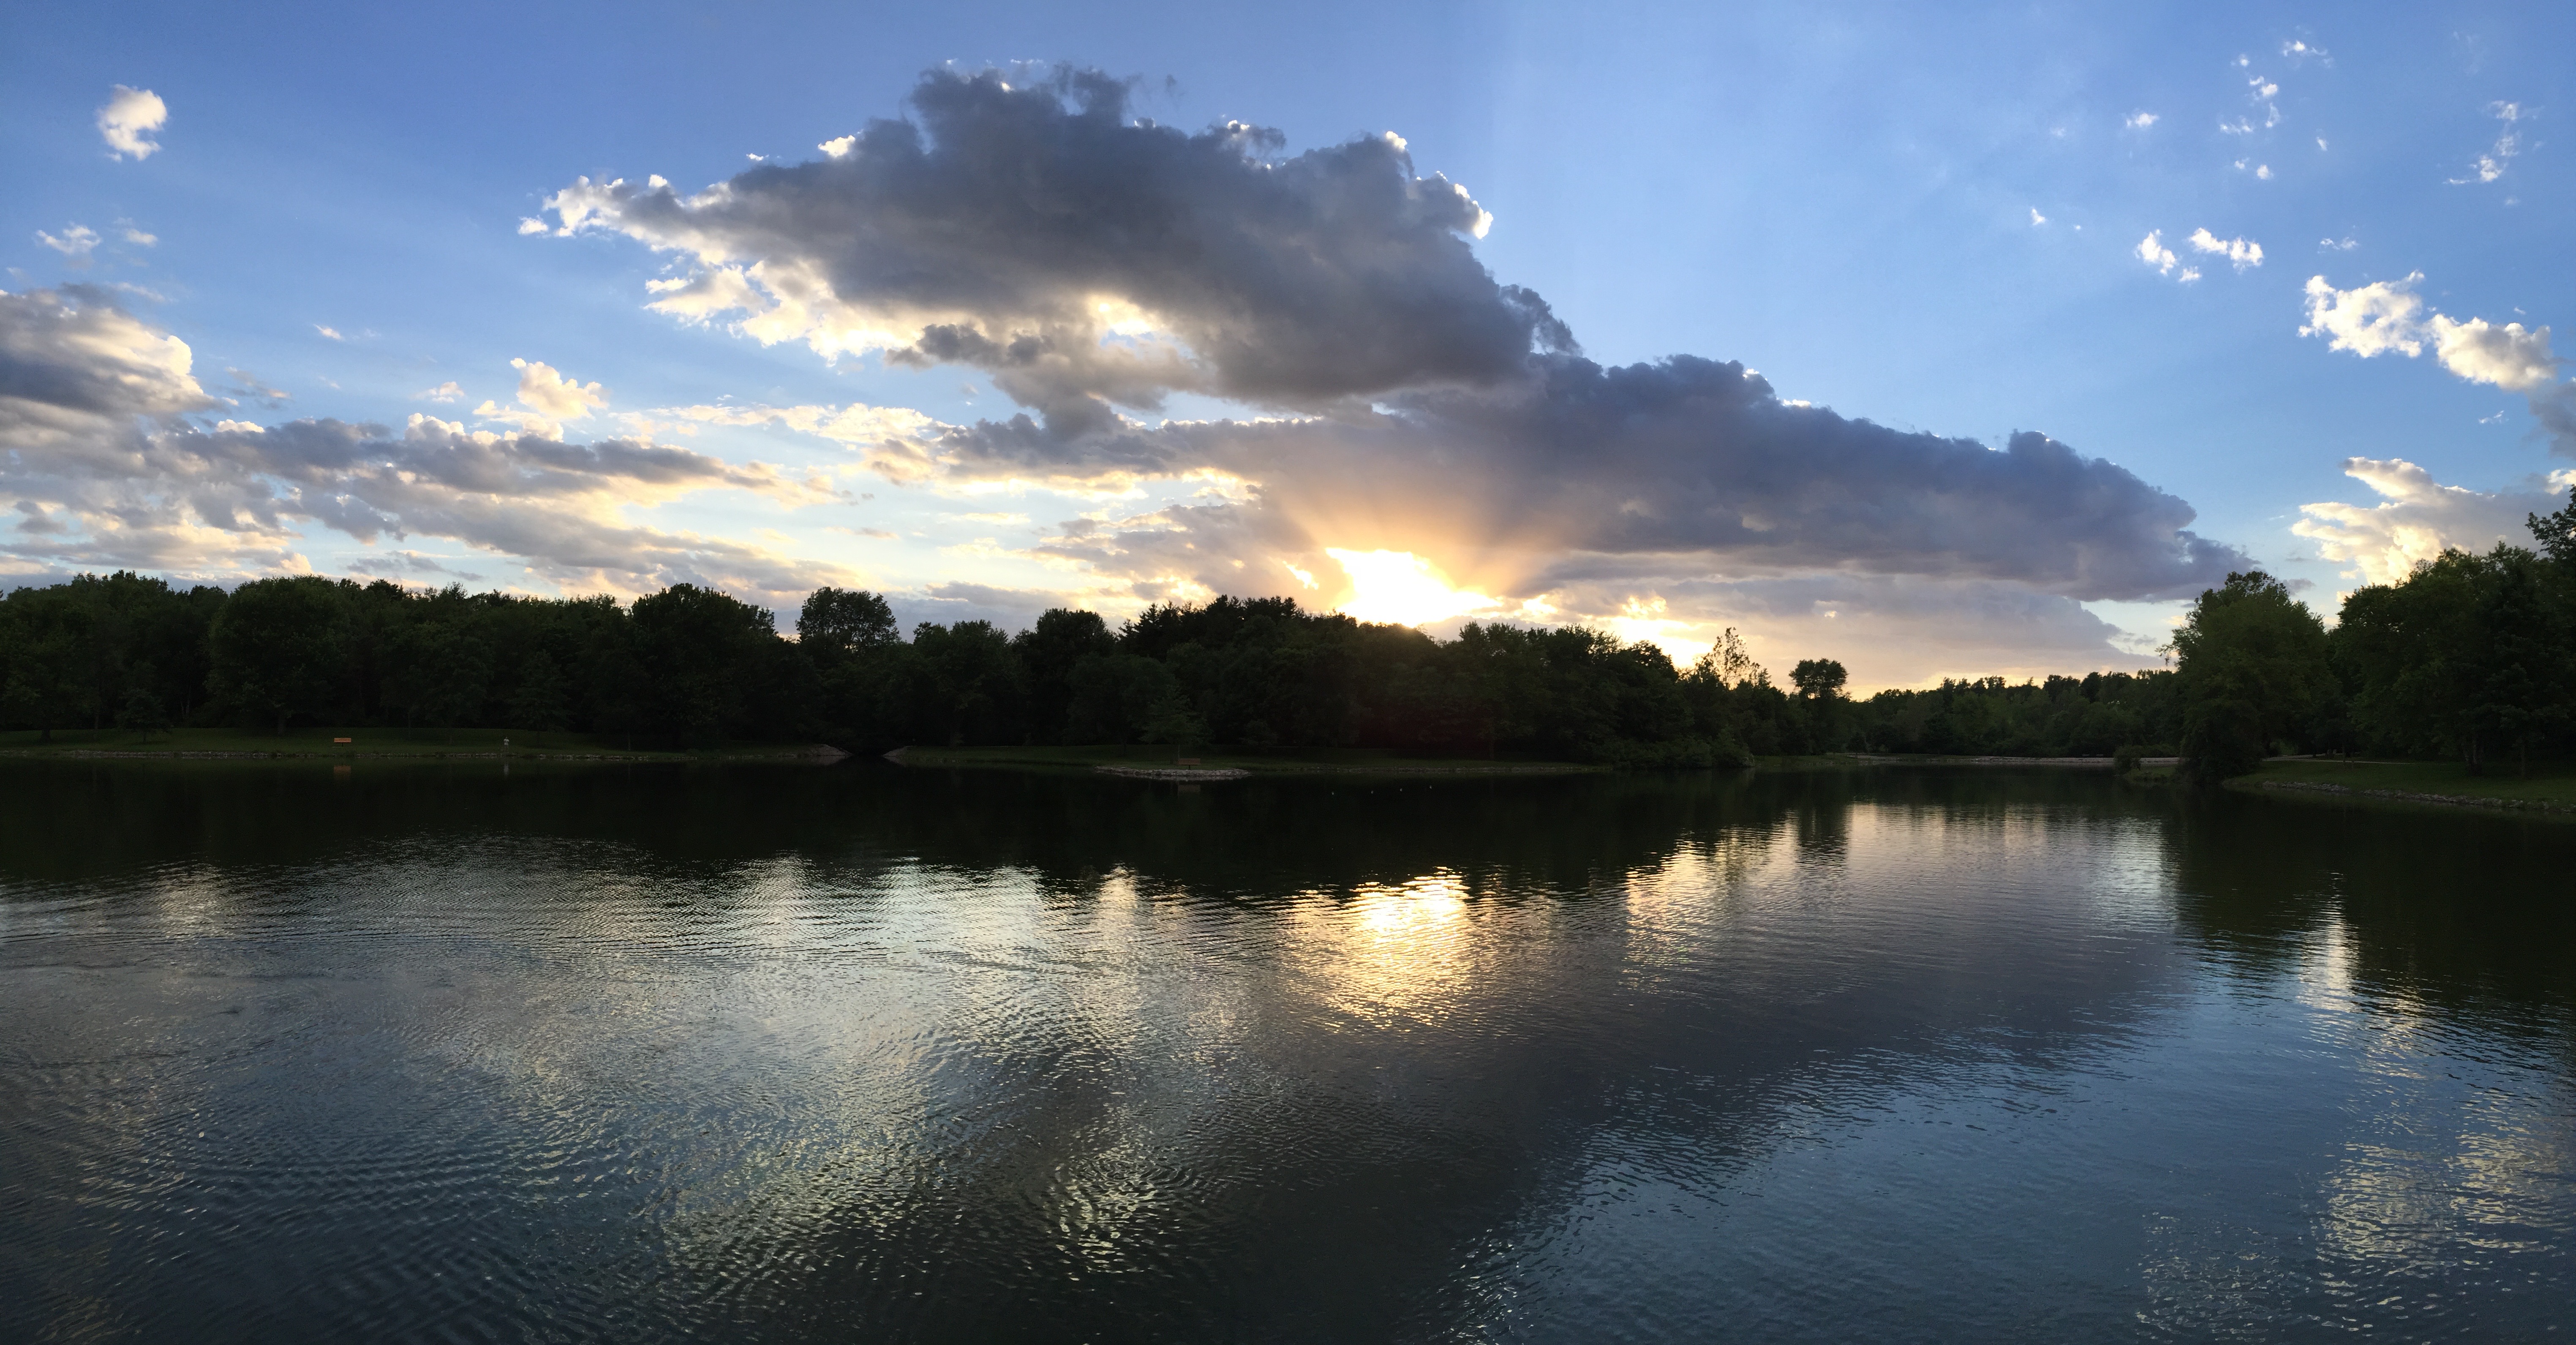
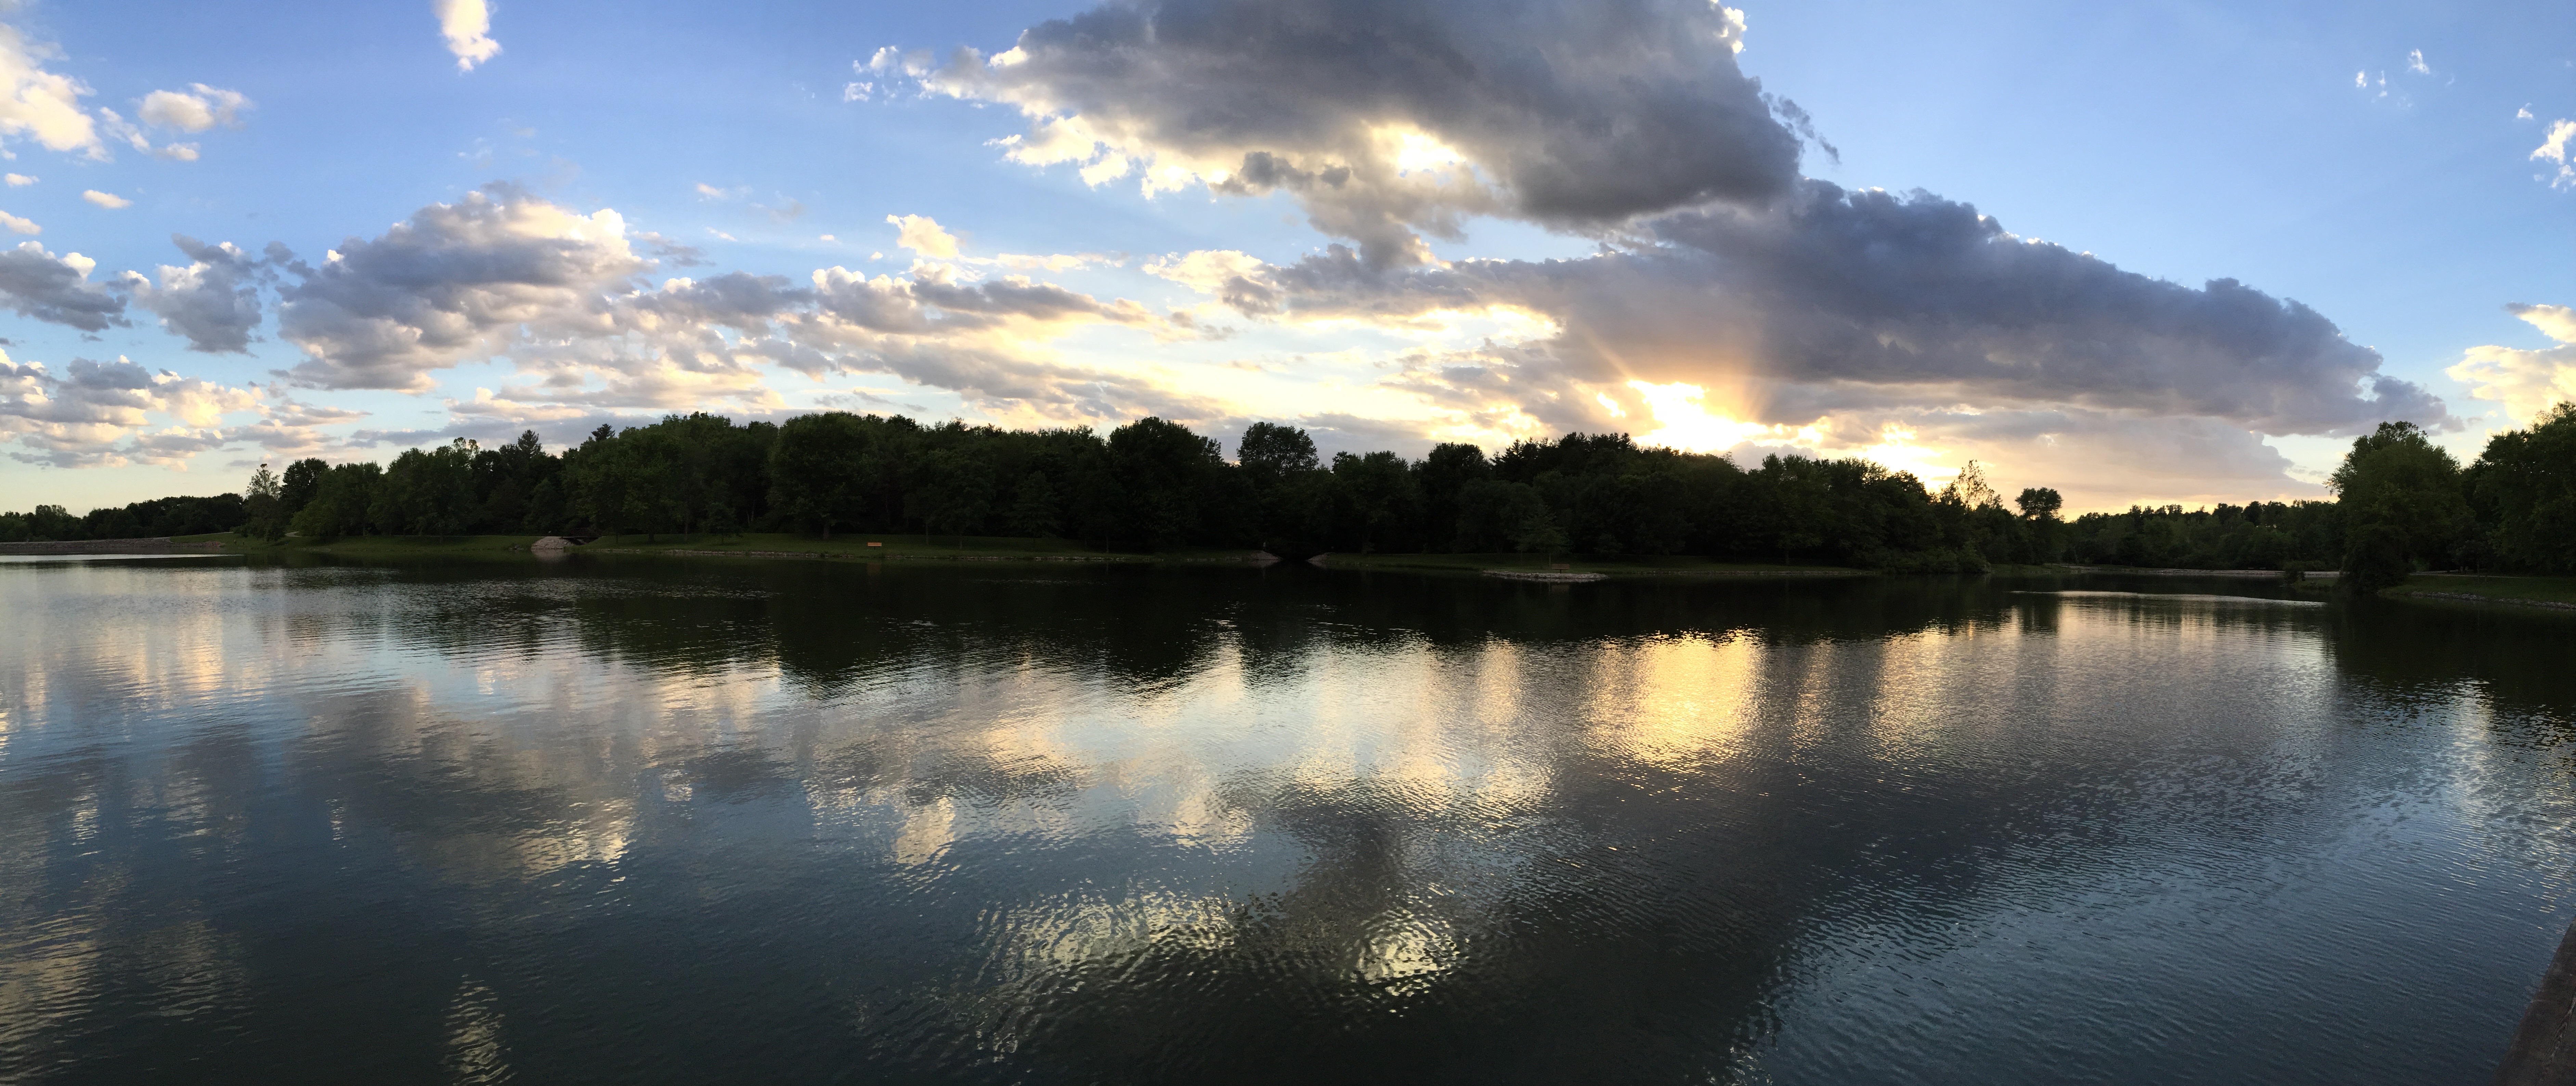
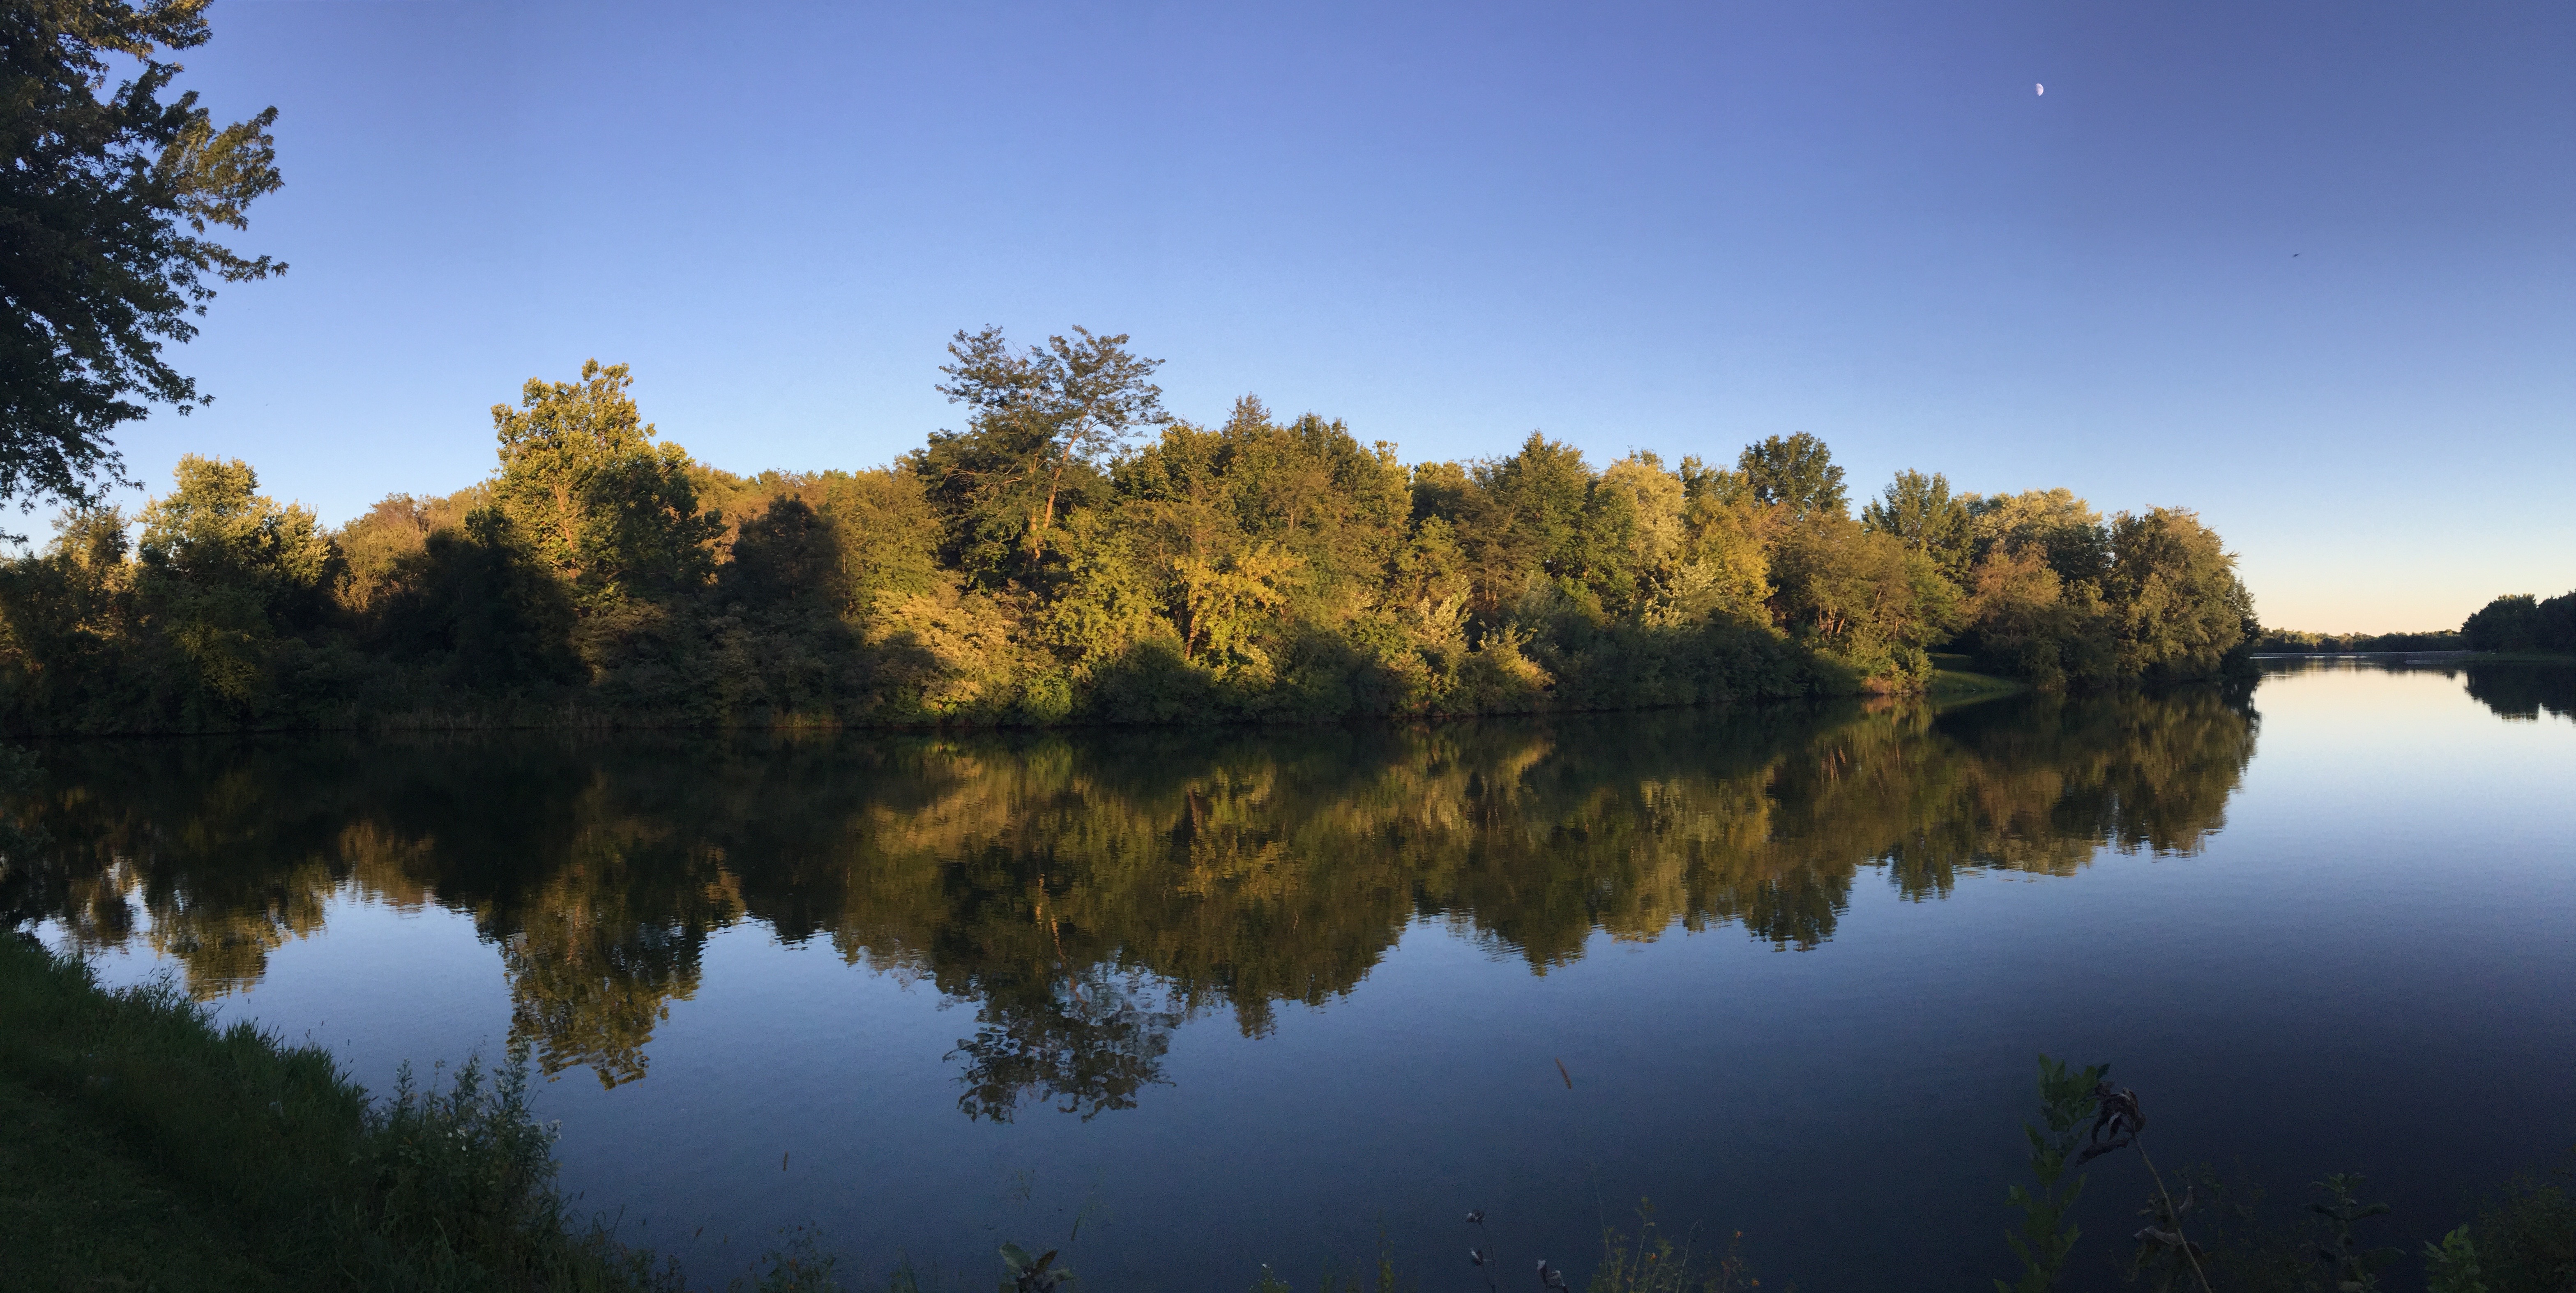
Here’s a photo taken with the iPhone 7 Plus using panorama mode to capture an entire vista of a lake. If you click on the image, you can see the full image resolution which is 11354 by 3894 pixels.

20161029sa1146-kent-park-iowa-photo-taken-with-apple-iphone-7-plus-panorama-mode-by-greg-johnson-11354x3894-img_6342

Lunar Photography

Okay, so I don’t actually do a lot of lunar photography, but this photo illustrates how the Sony DSC-HX50V combines its digital zoom capability with image stabilization to take a fairly detailed picture of the moon. Low light photos are always challenging because longer exposure times typically mean there’s a greater likelihood that you’ll move the camera and end up with a blurry image. Photos from 100 feet are challenging, but even more challenging are photos when the subject is about 238,000 miles away. The quality of this photo approaches what you’d otherwise need a telescope to see. If you click on the image, you can see the full image resolution which is 5184 by 3888 pixels.

20150629-moon-picture-lunar-photo-taken-at-60x-power-with-sony-dsc-hx50v-by-greg-johnson-image-dsc07670-5184x3888

Portrait Photography

An area of photography that’s traditionally been the domain of DSLR cameras is portrait photography. With the iPhone 7 Plus, Apple has brought DSLR-like portrait photography to the smartphone form-factor. While point-and-shoot cameras like the Sony DSC-HX50v have had portrait mode settings for years, having this capability in a smartphone, at the level of quality produced by the iPhone 7 Plus is something new. An example is below. If you click on the image, you can see the full image resolution which is 3024 by 4-4032 pixels.

20161029sa1120-portrait-photo-of-makur-jain-taken-with-the-iphone-7-plus-by-greg-johnson-img_6293