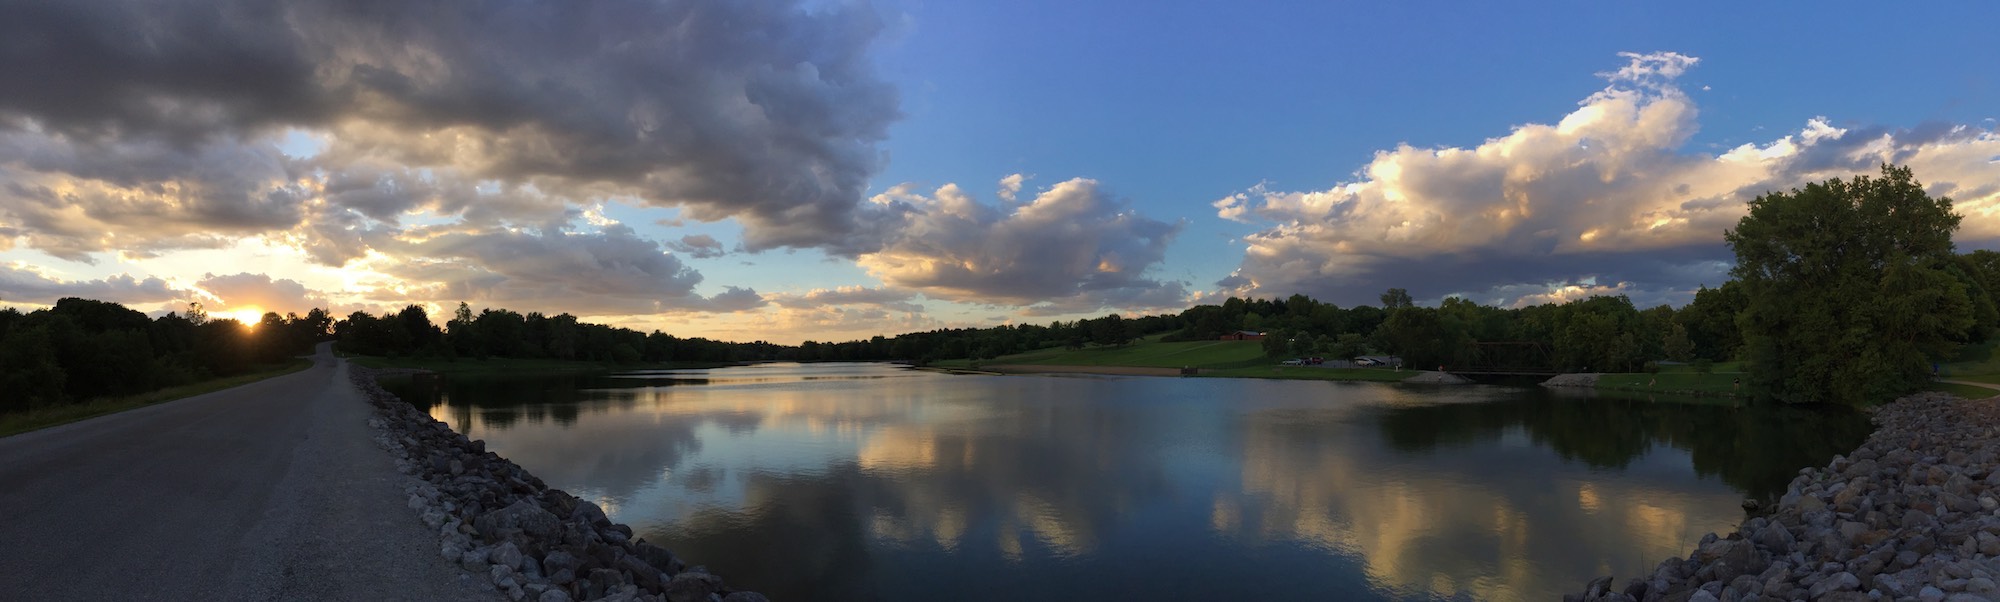
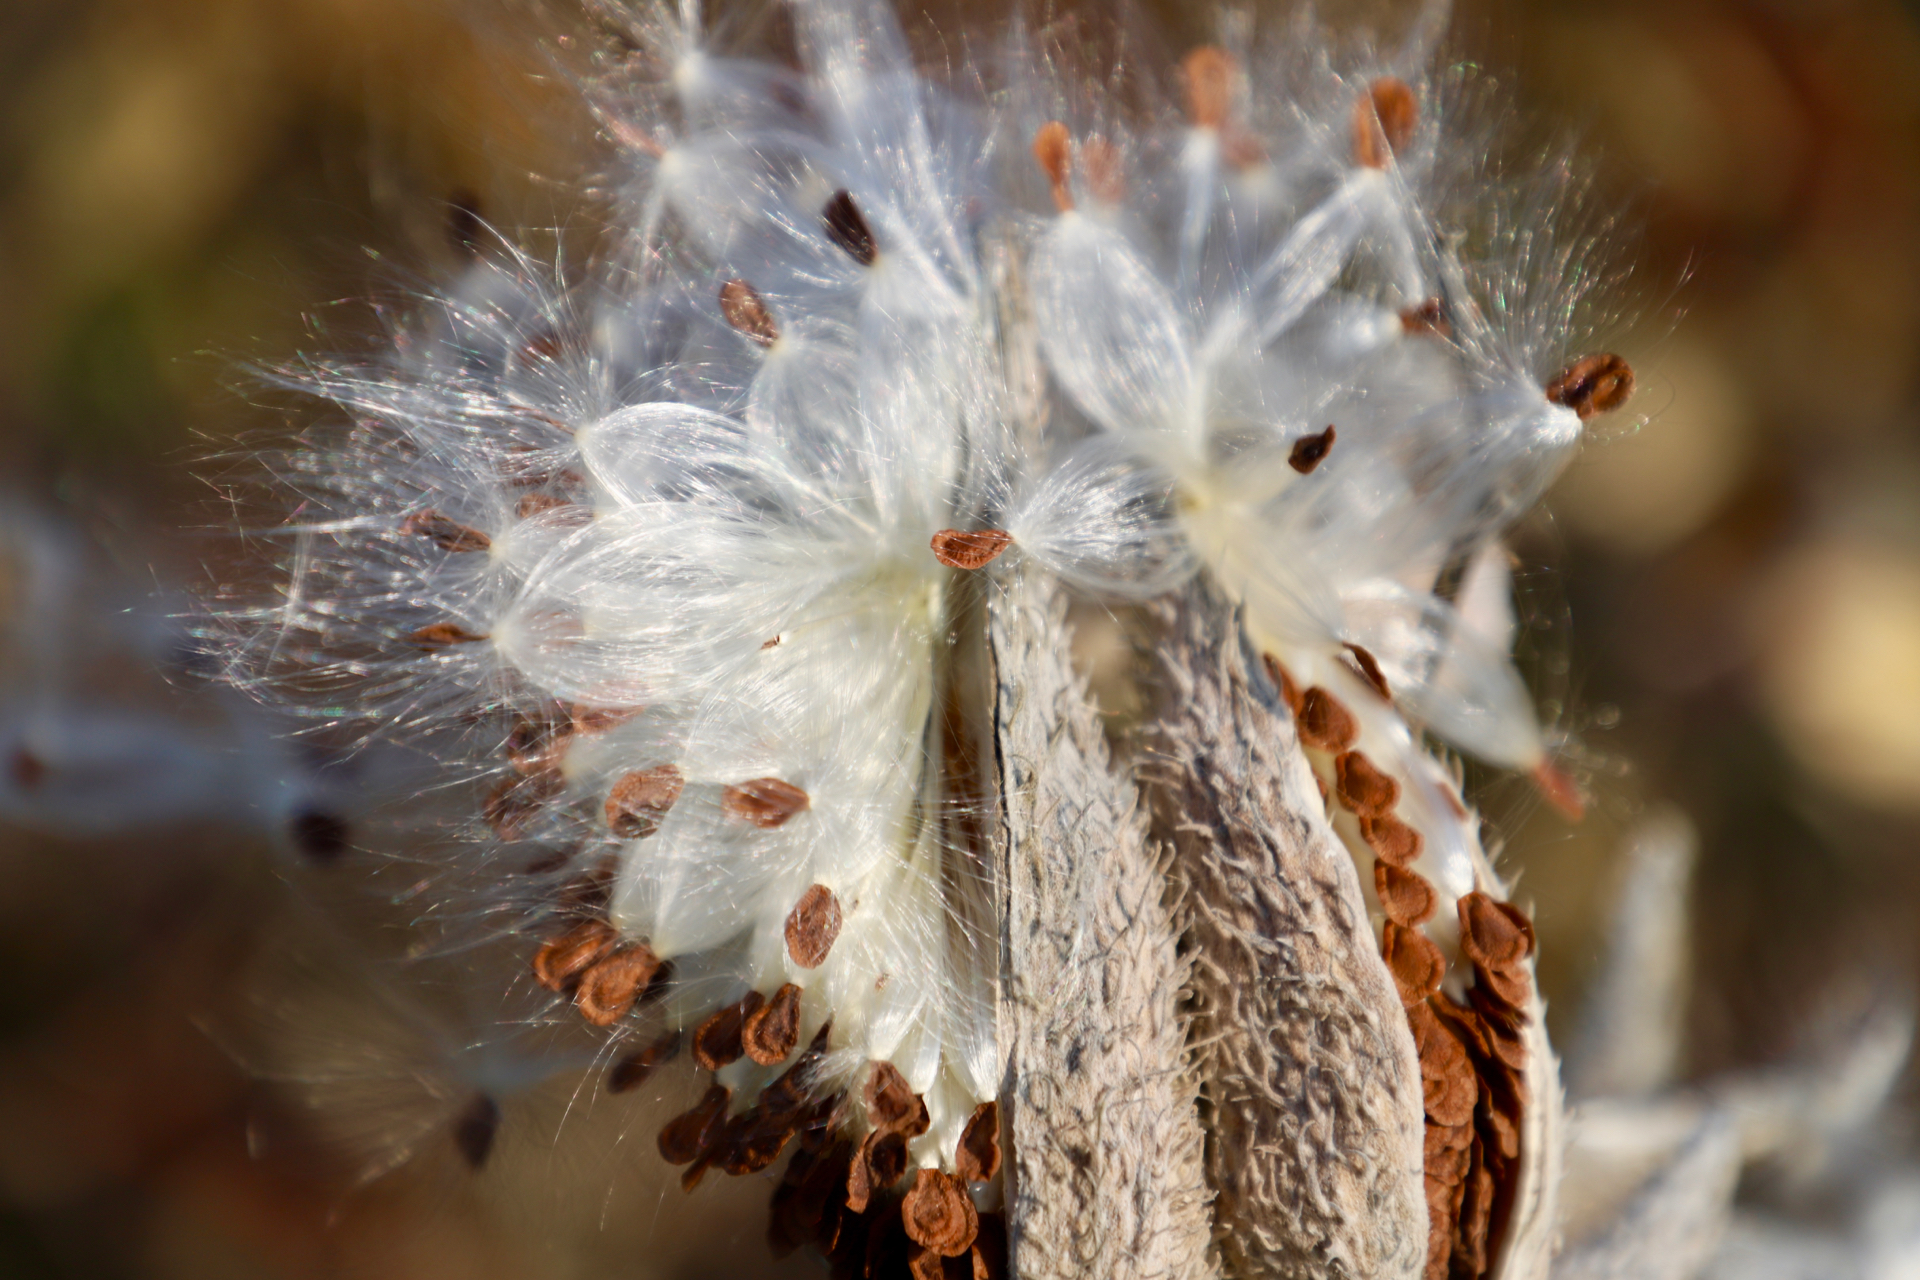
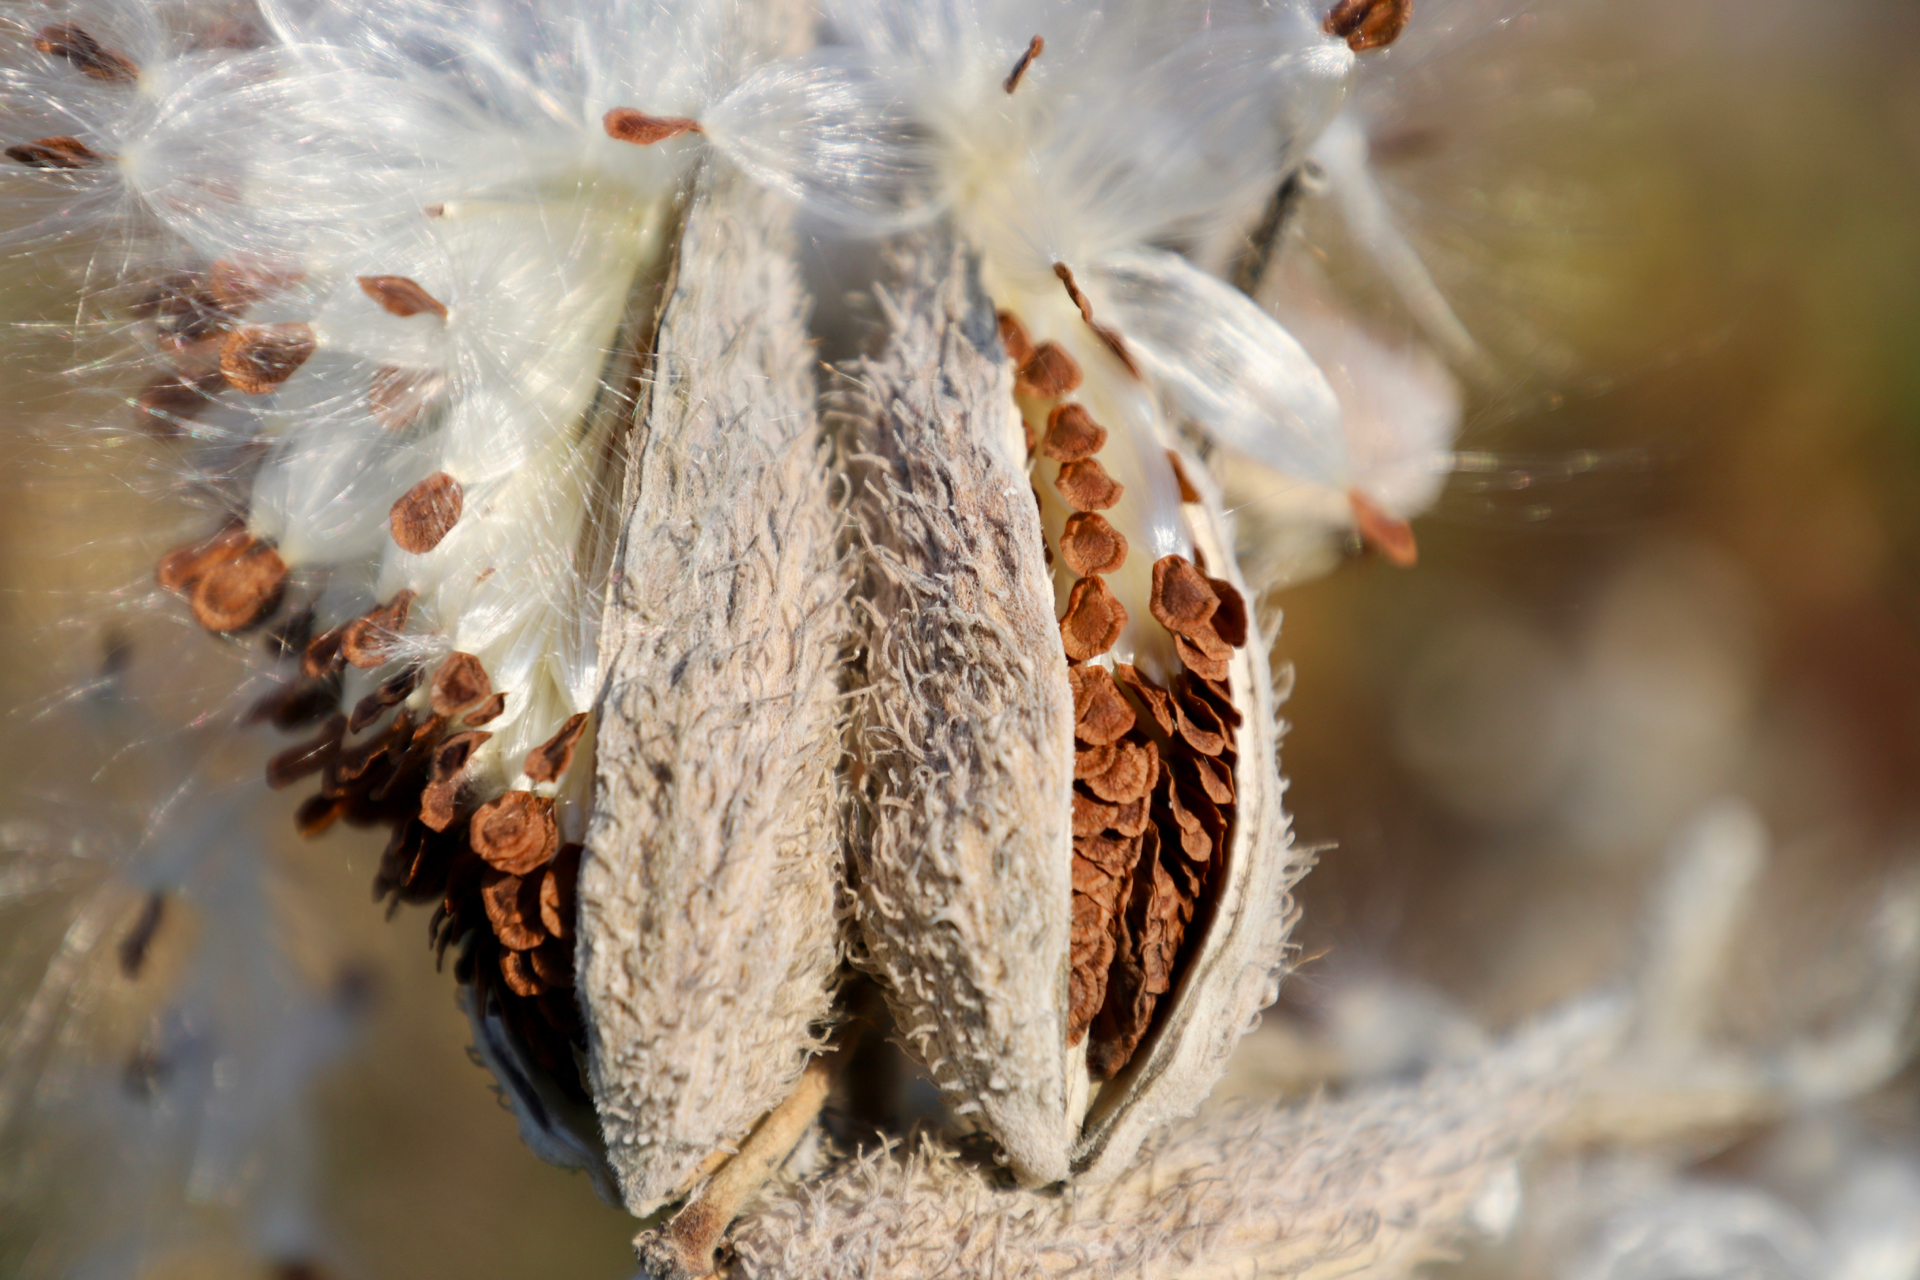
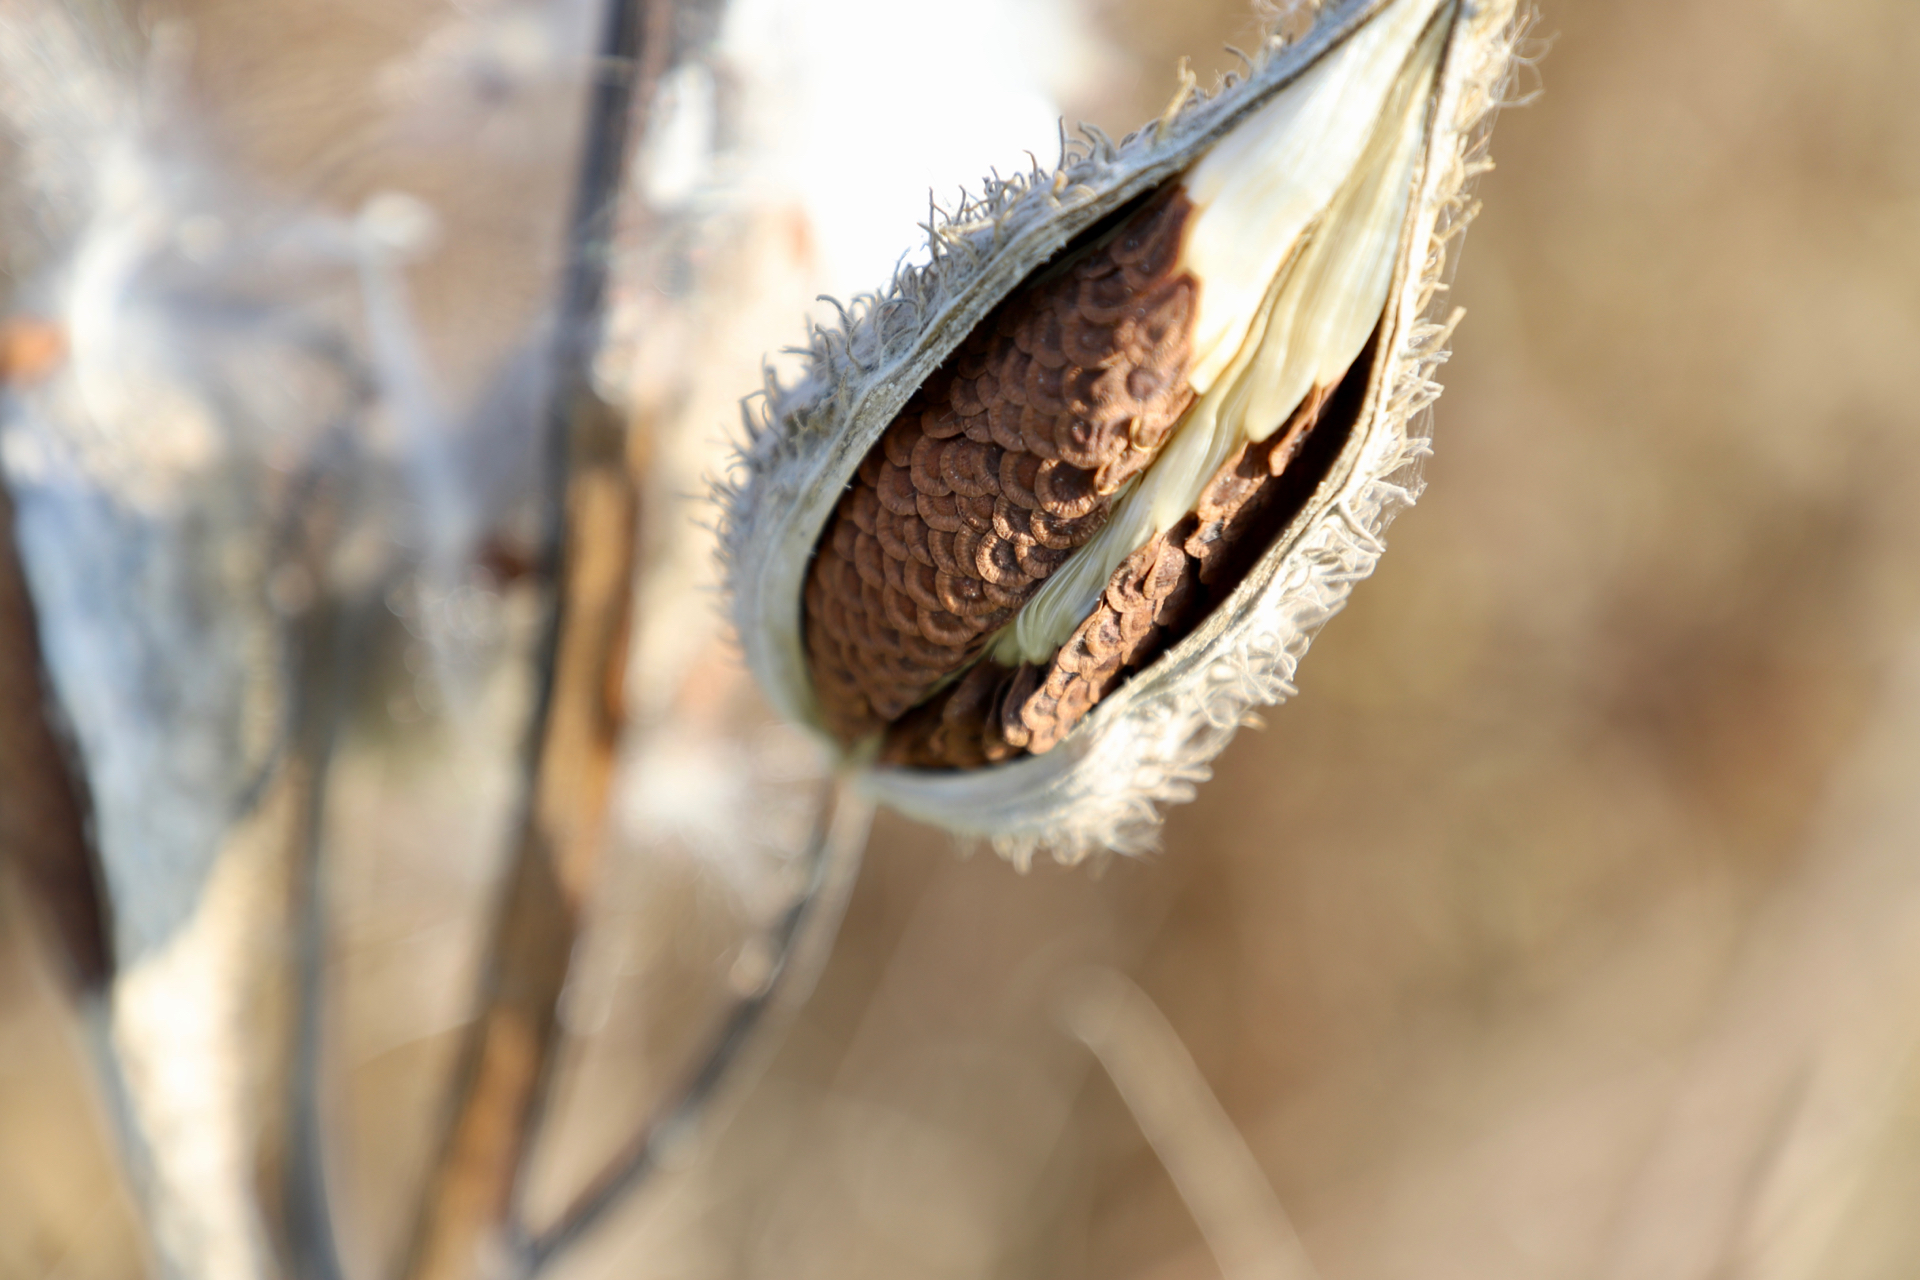
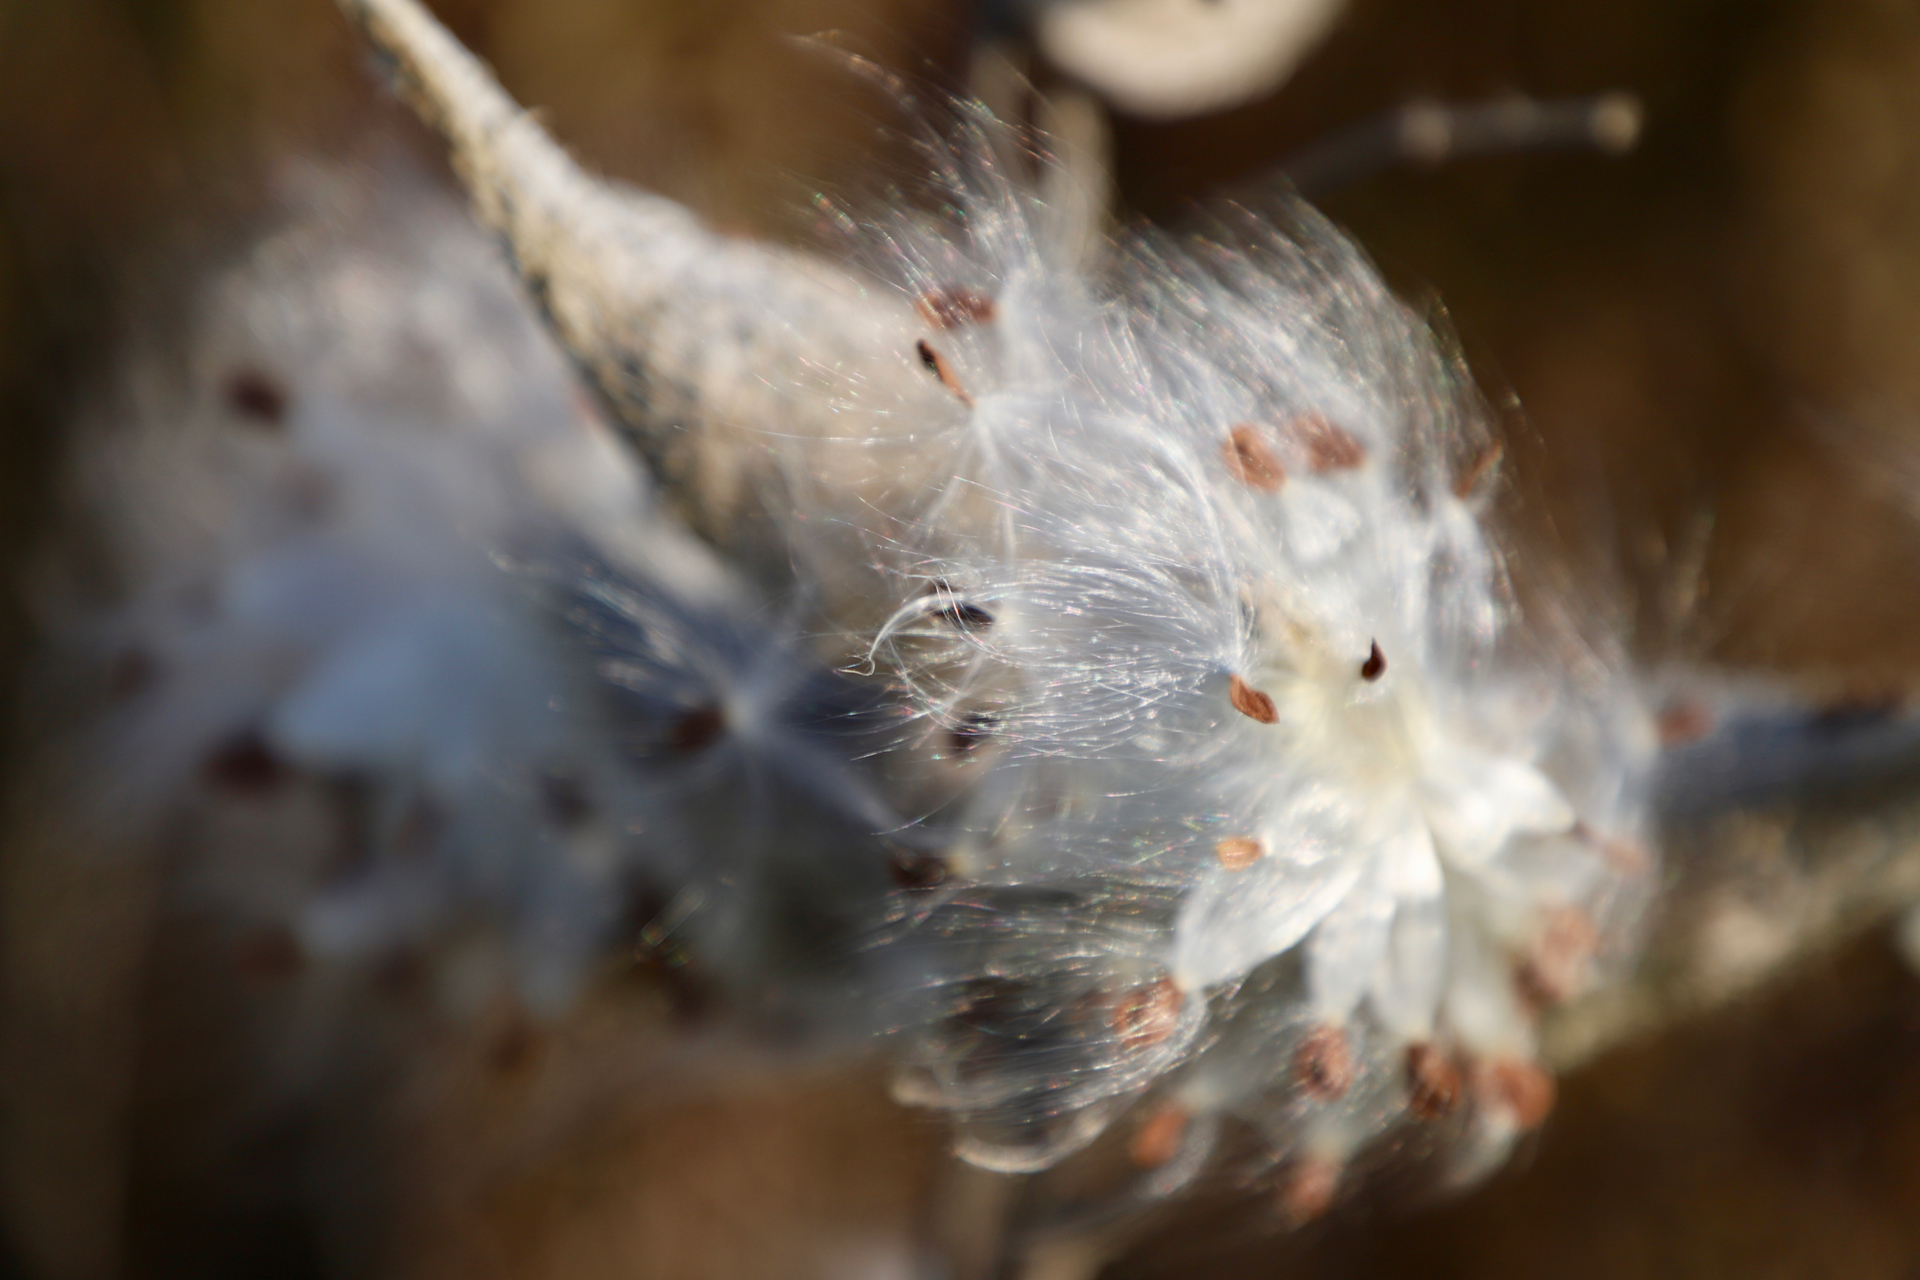
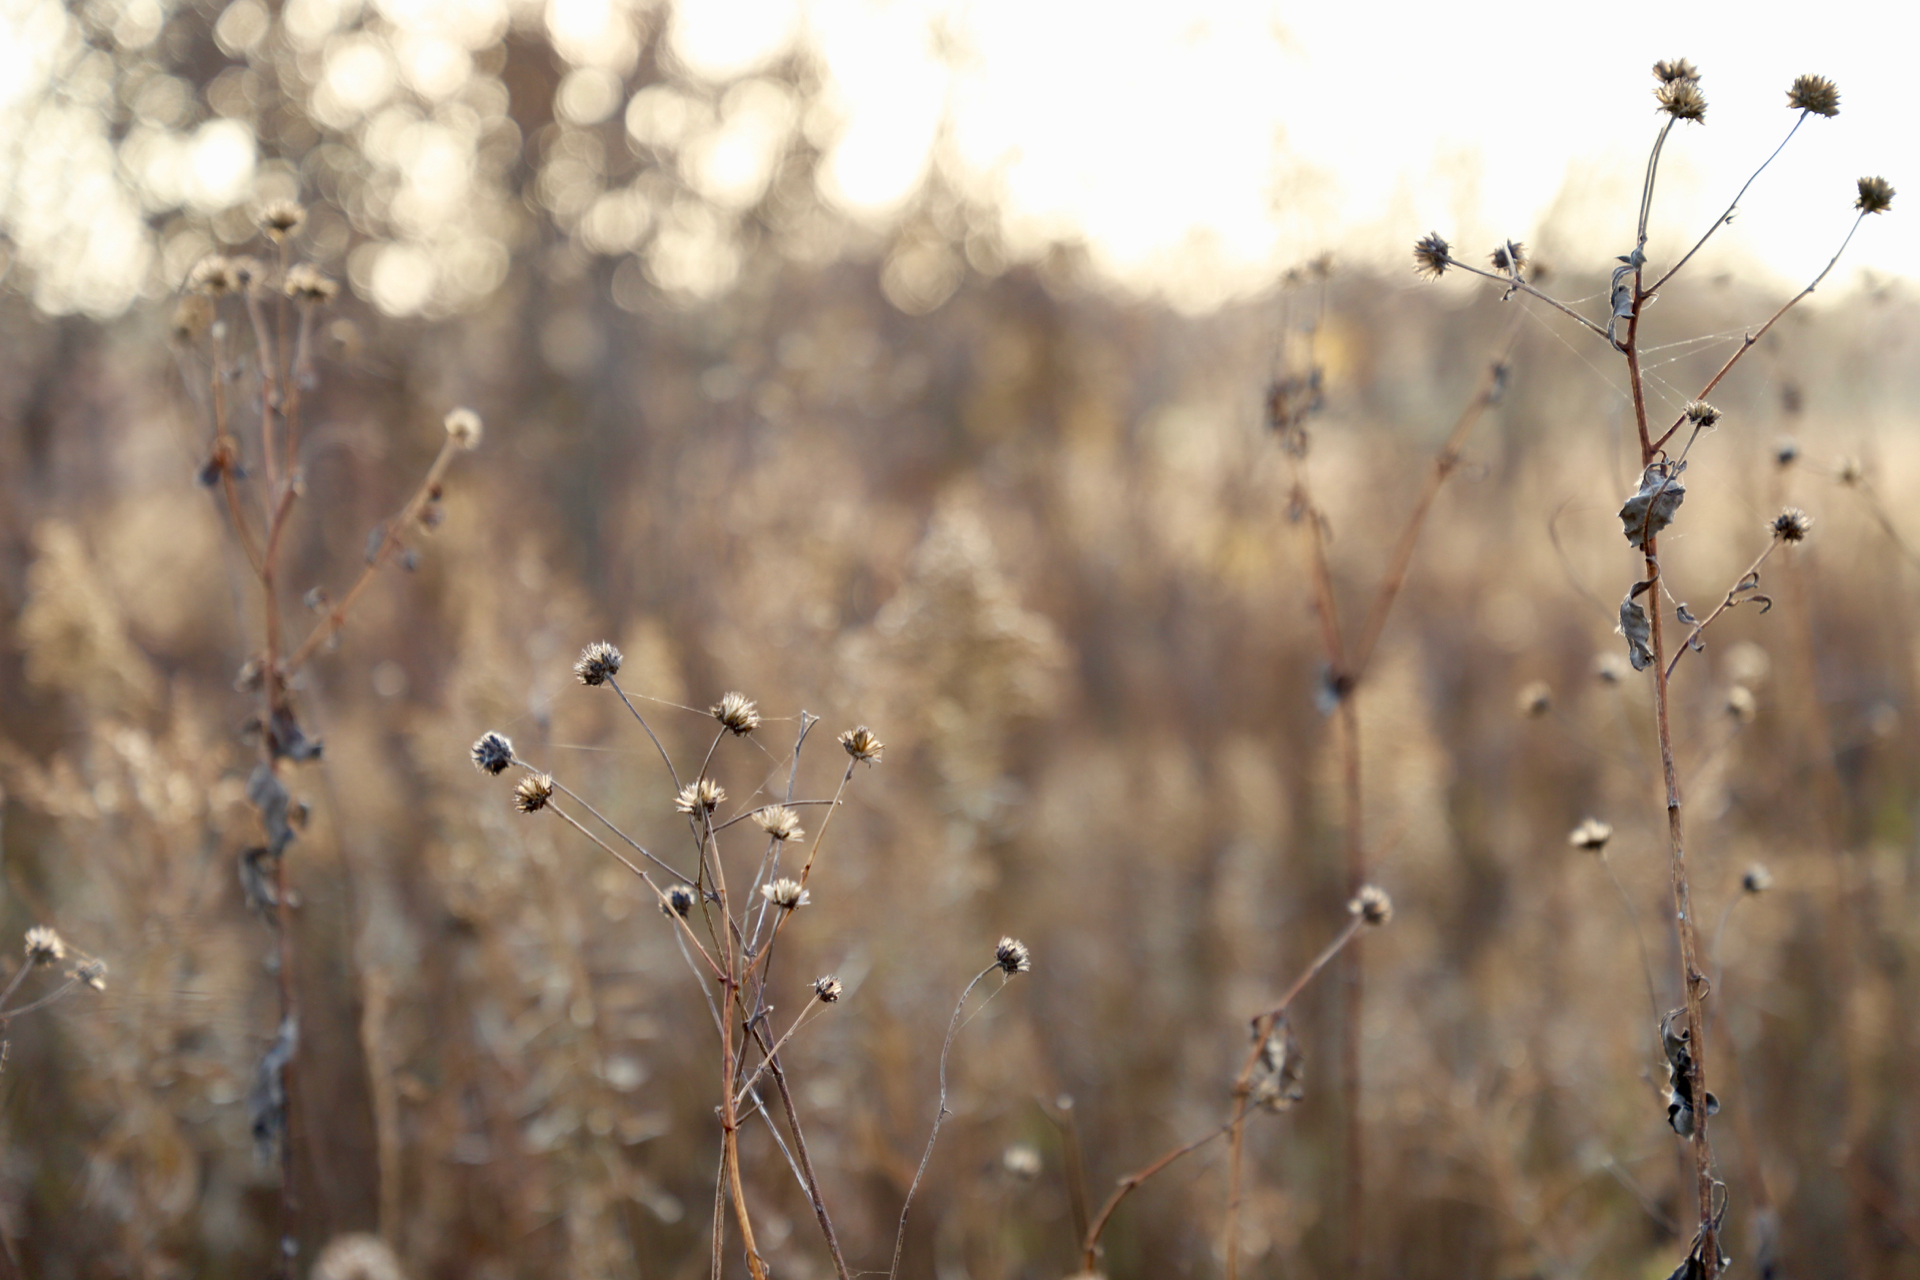
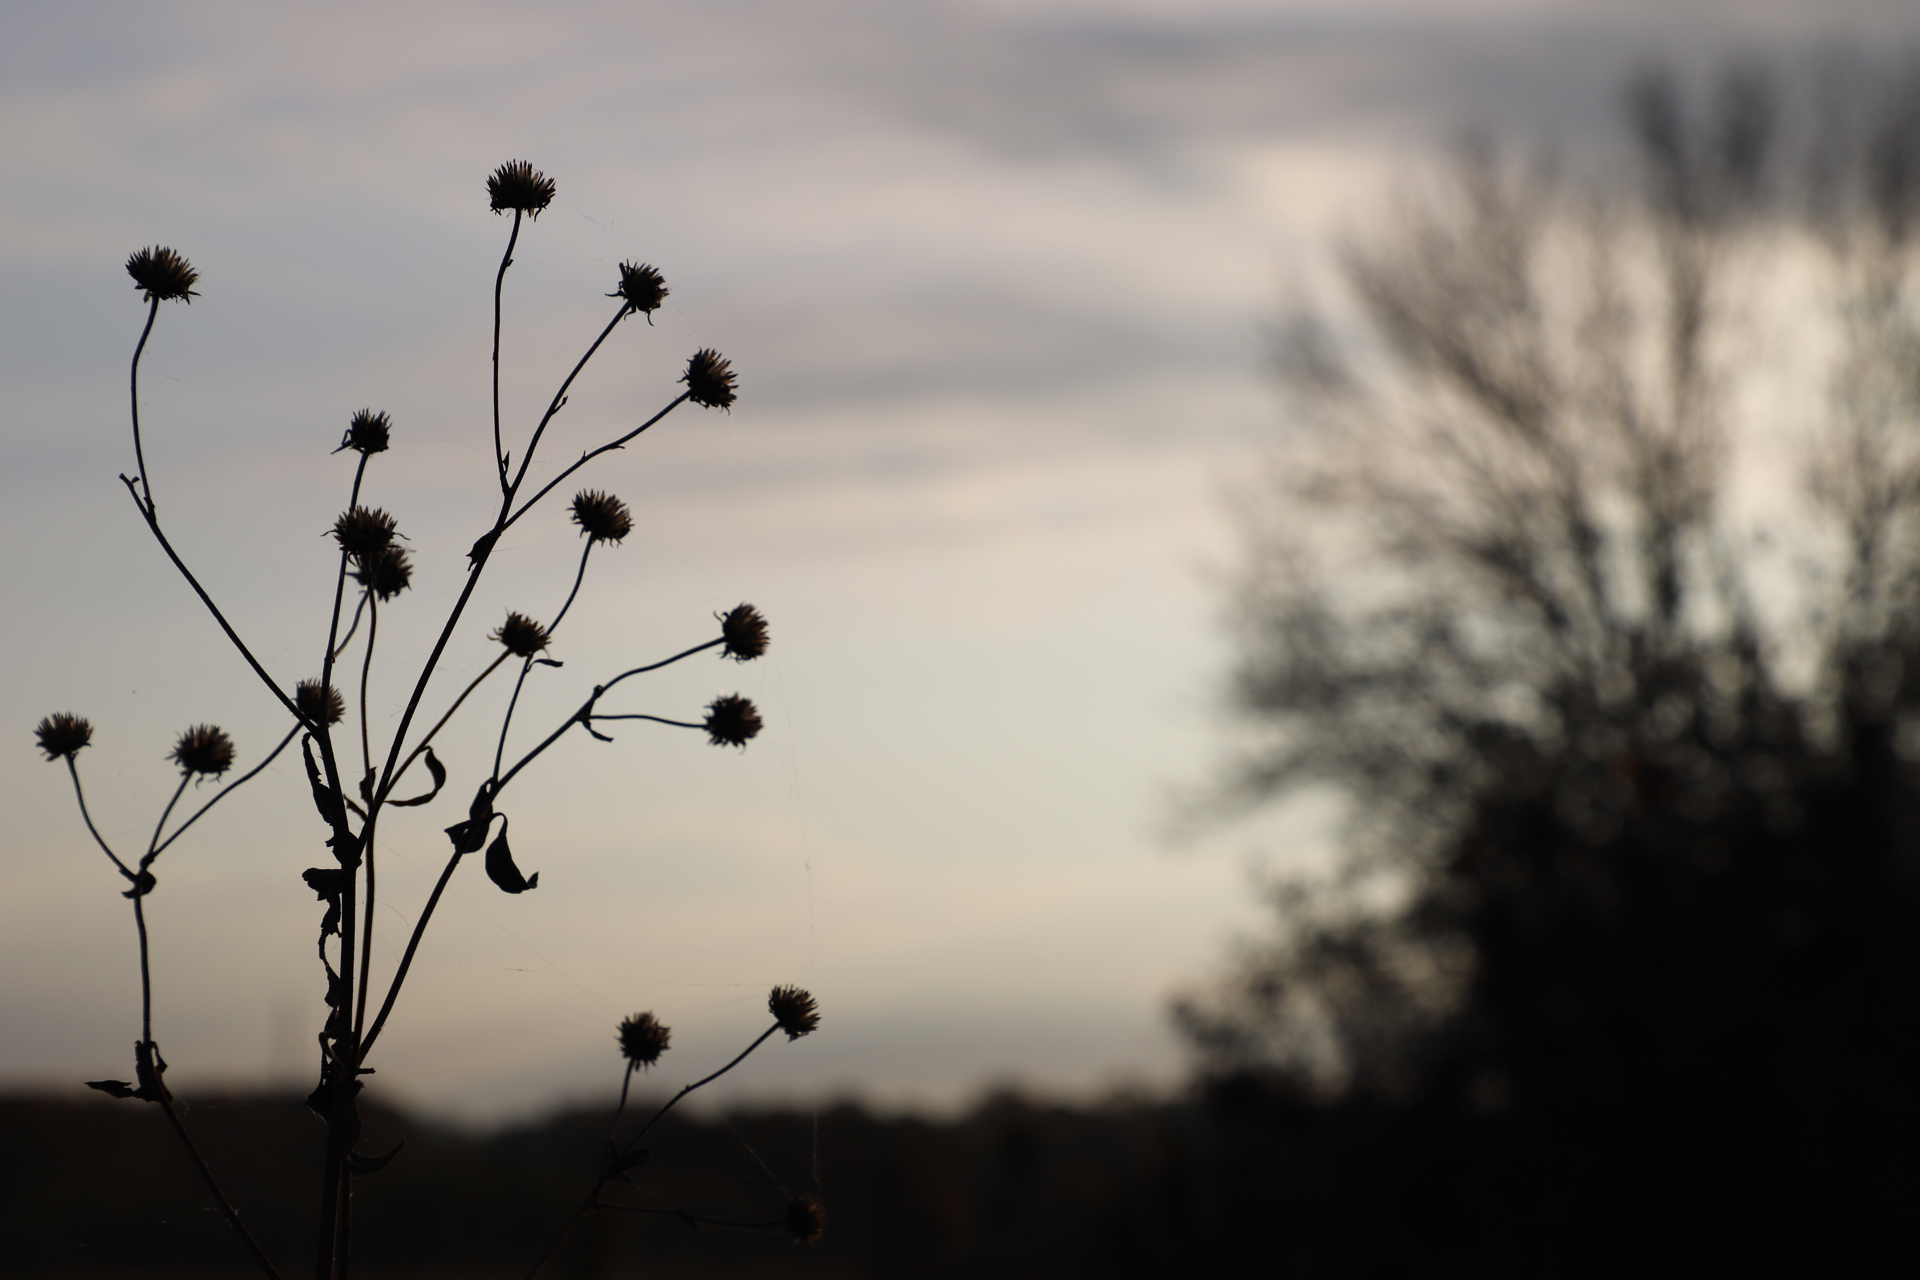
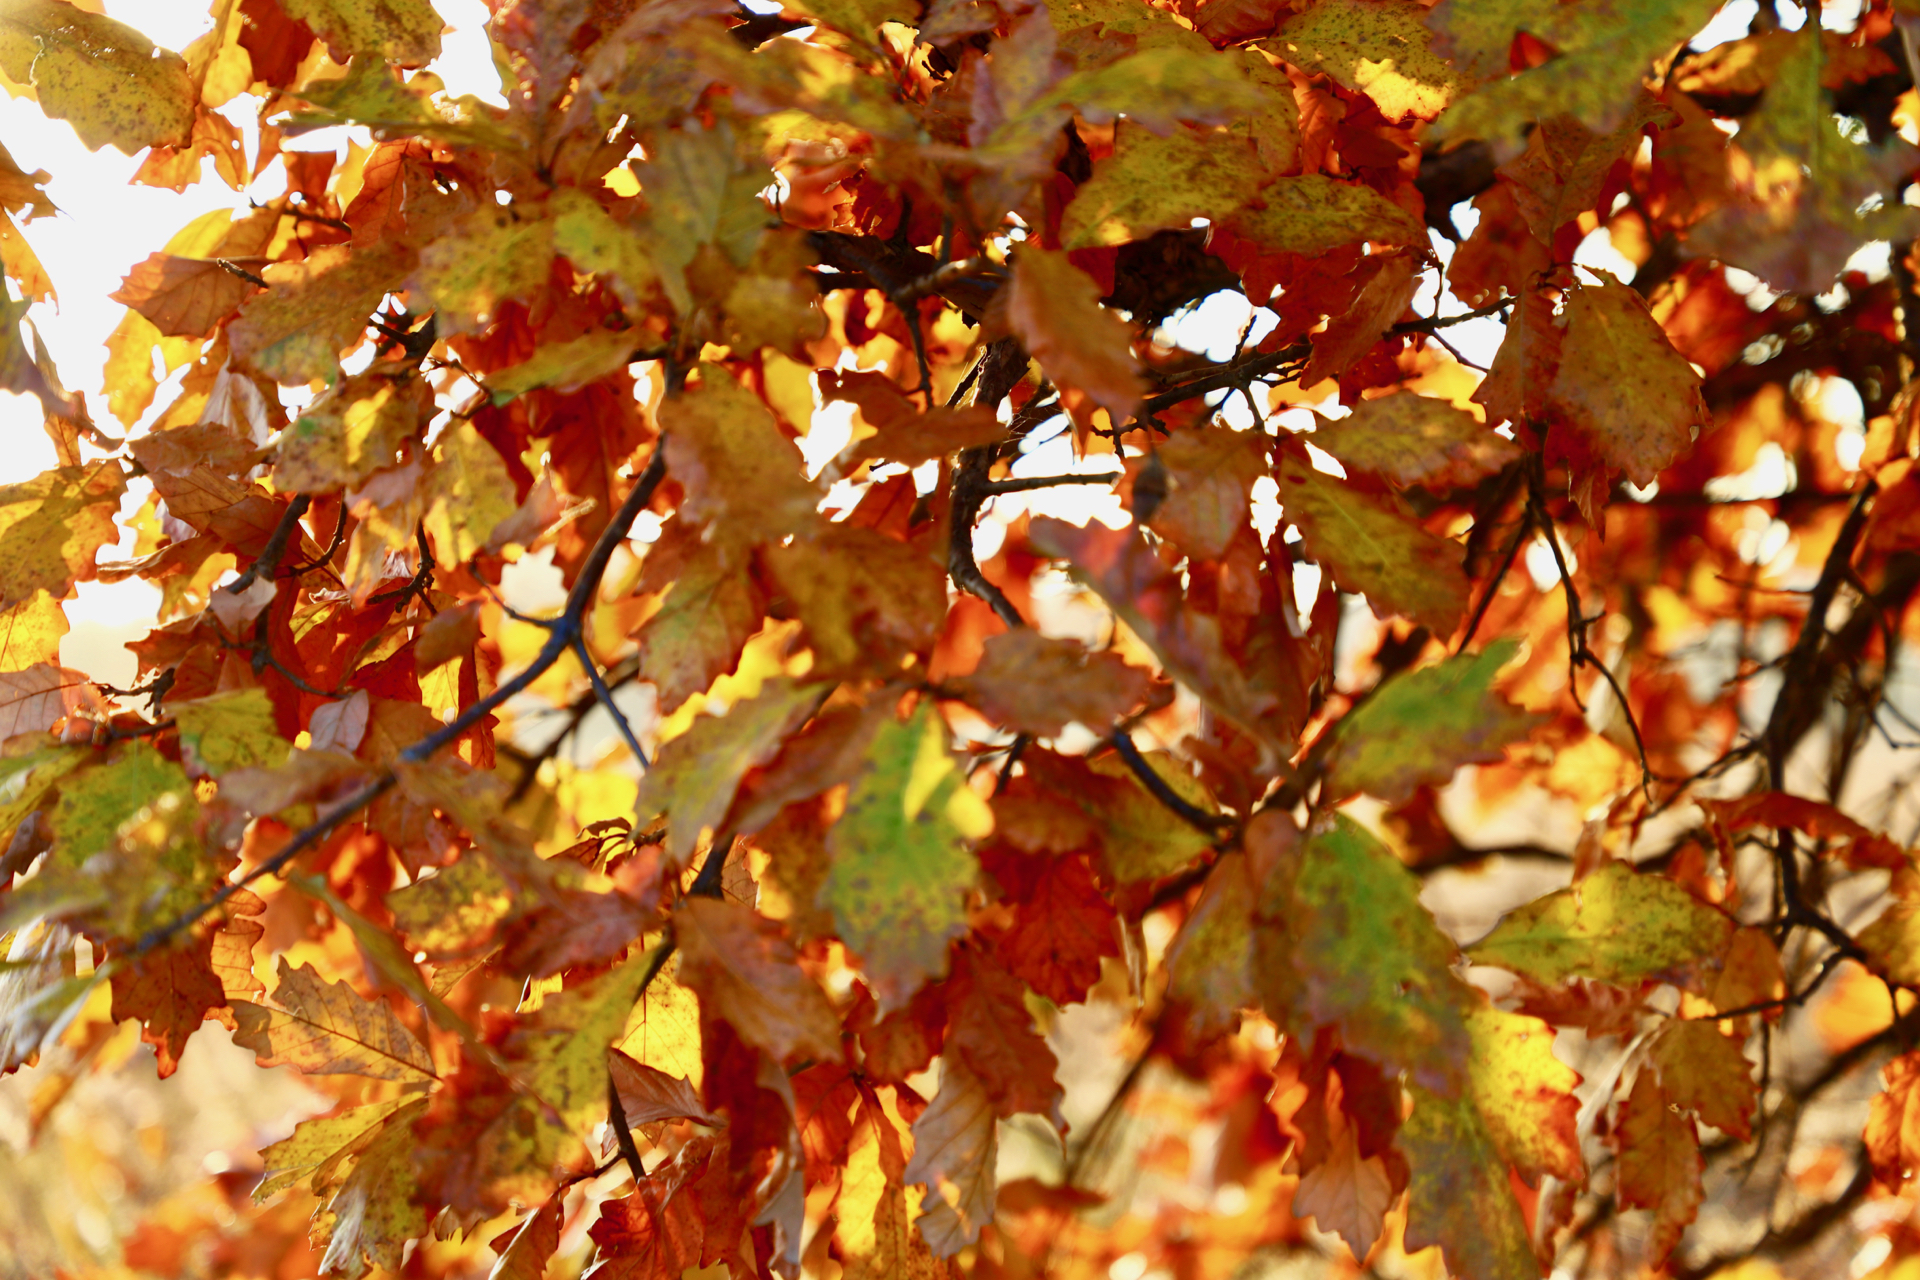
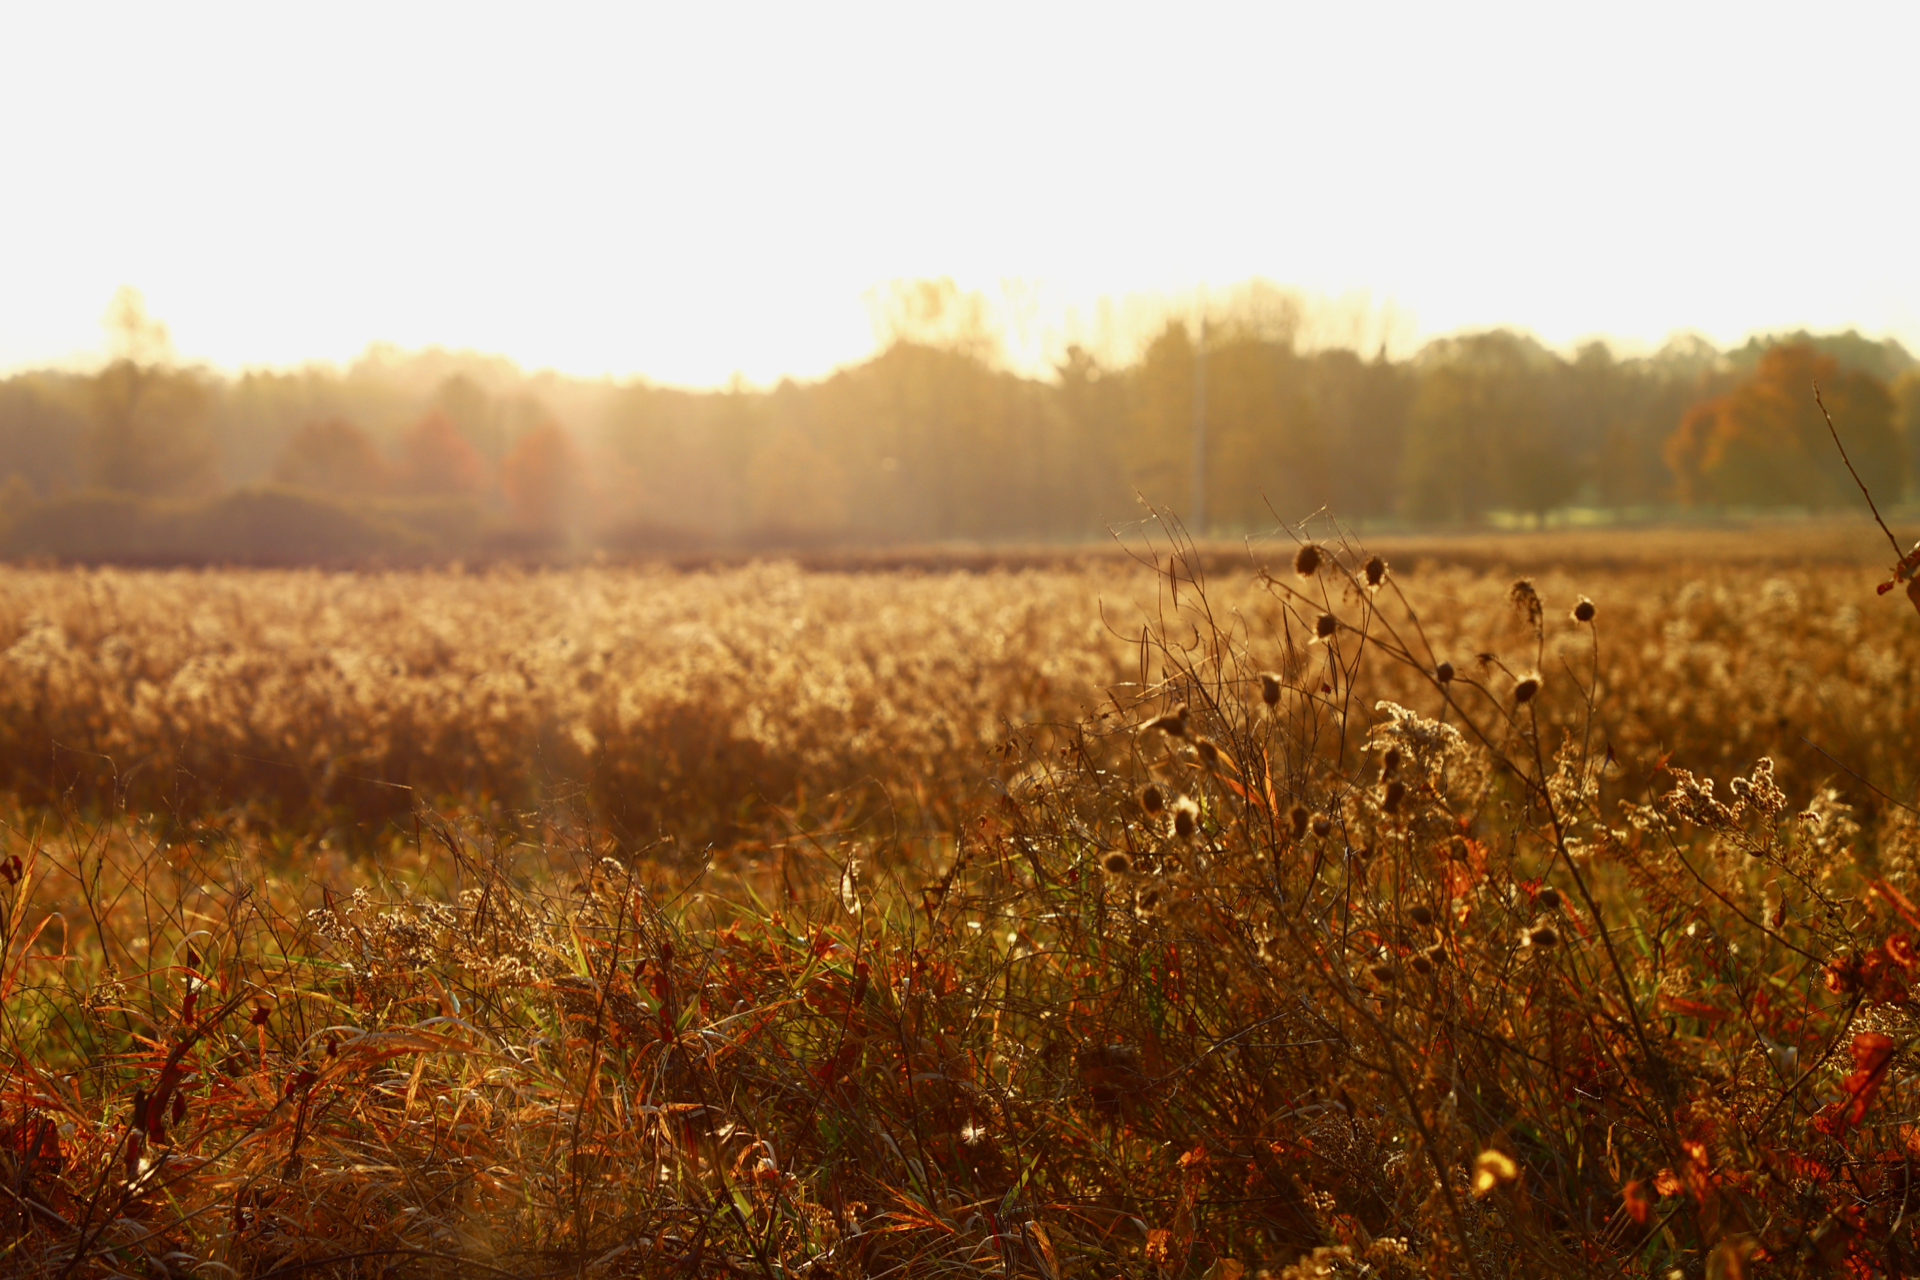
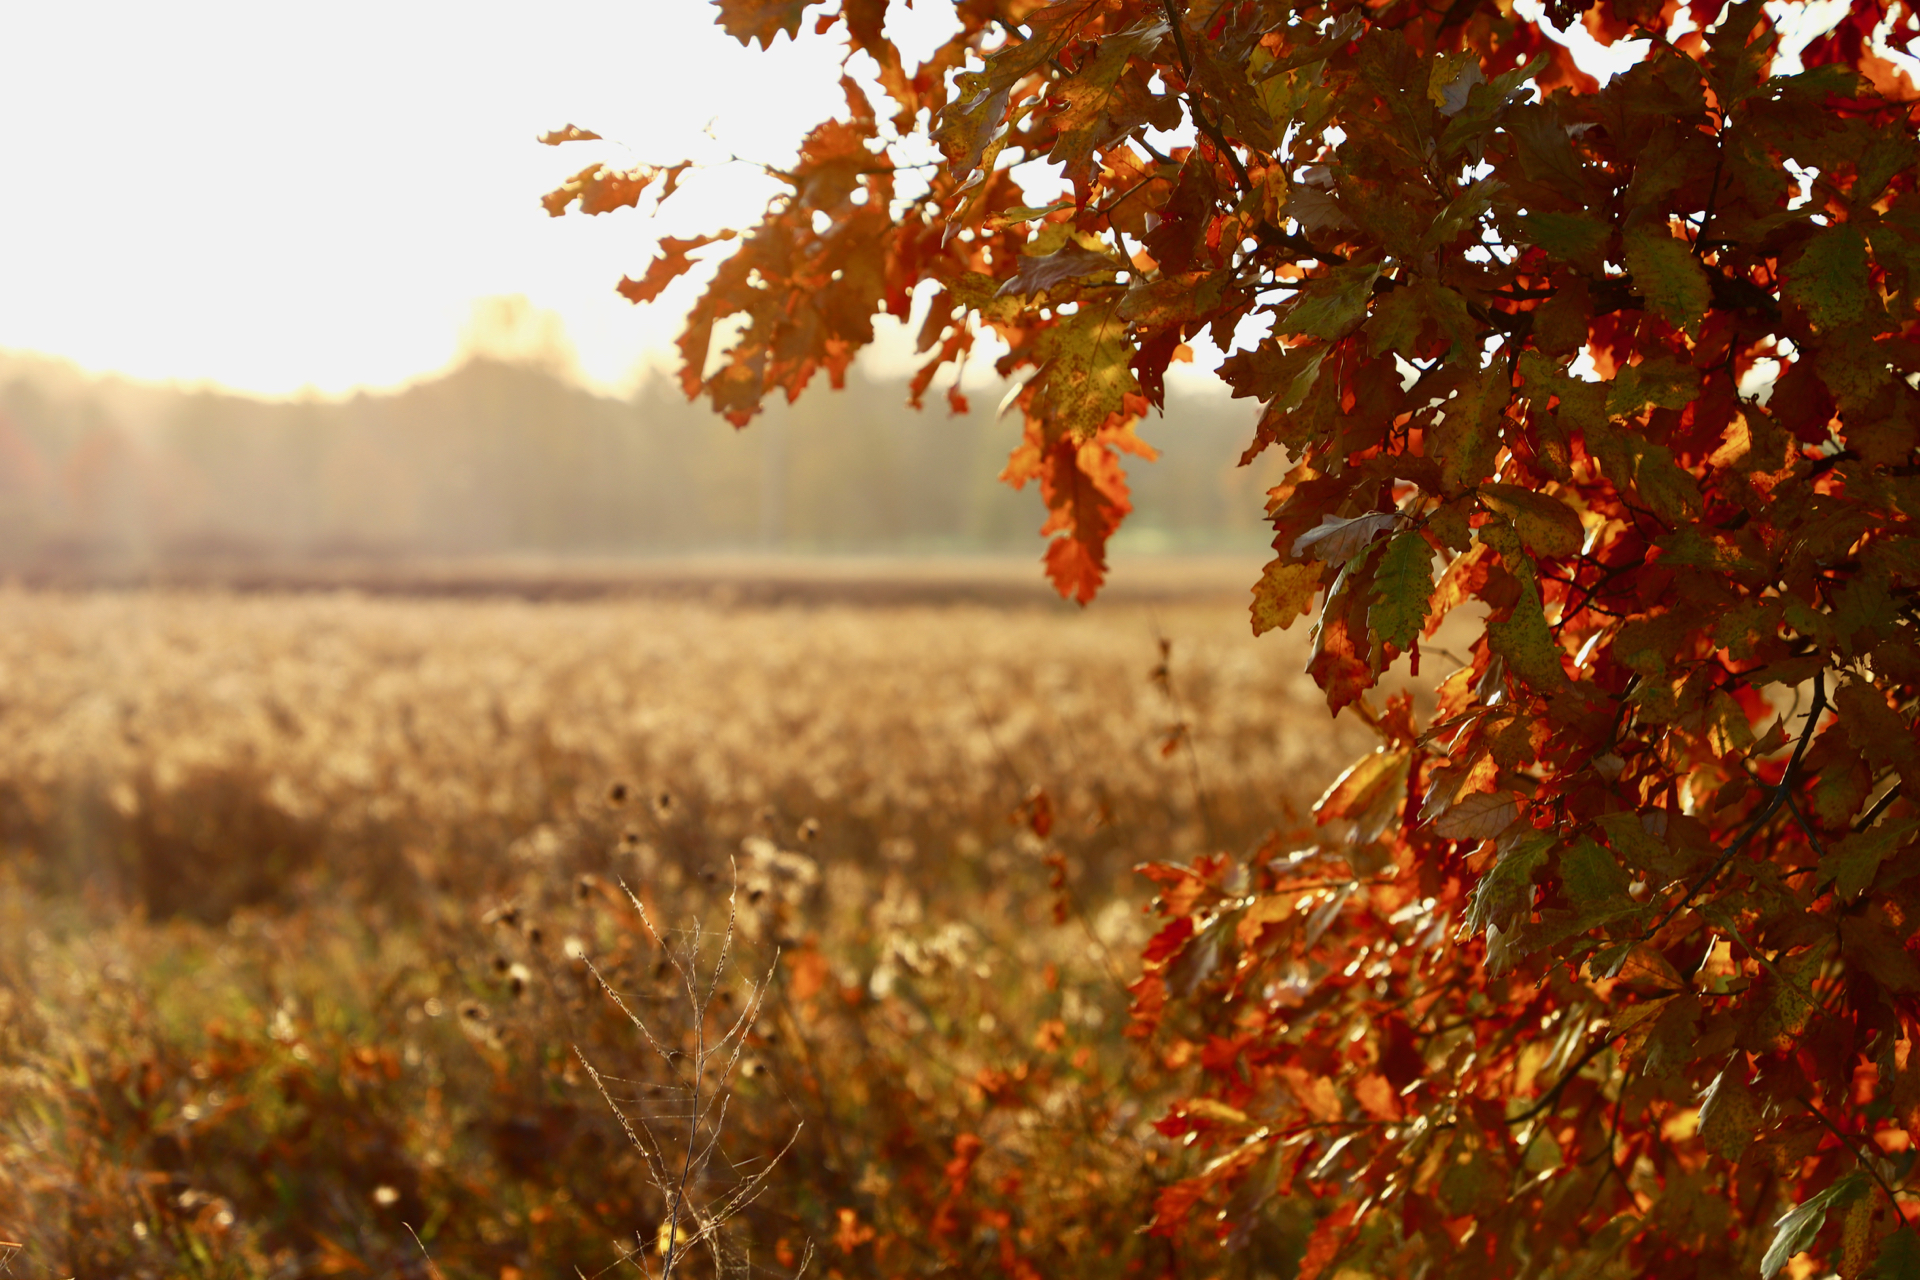
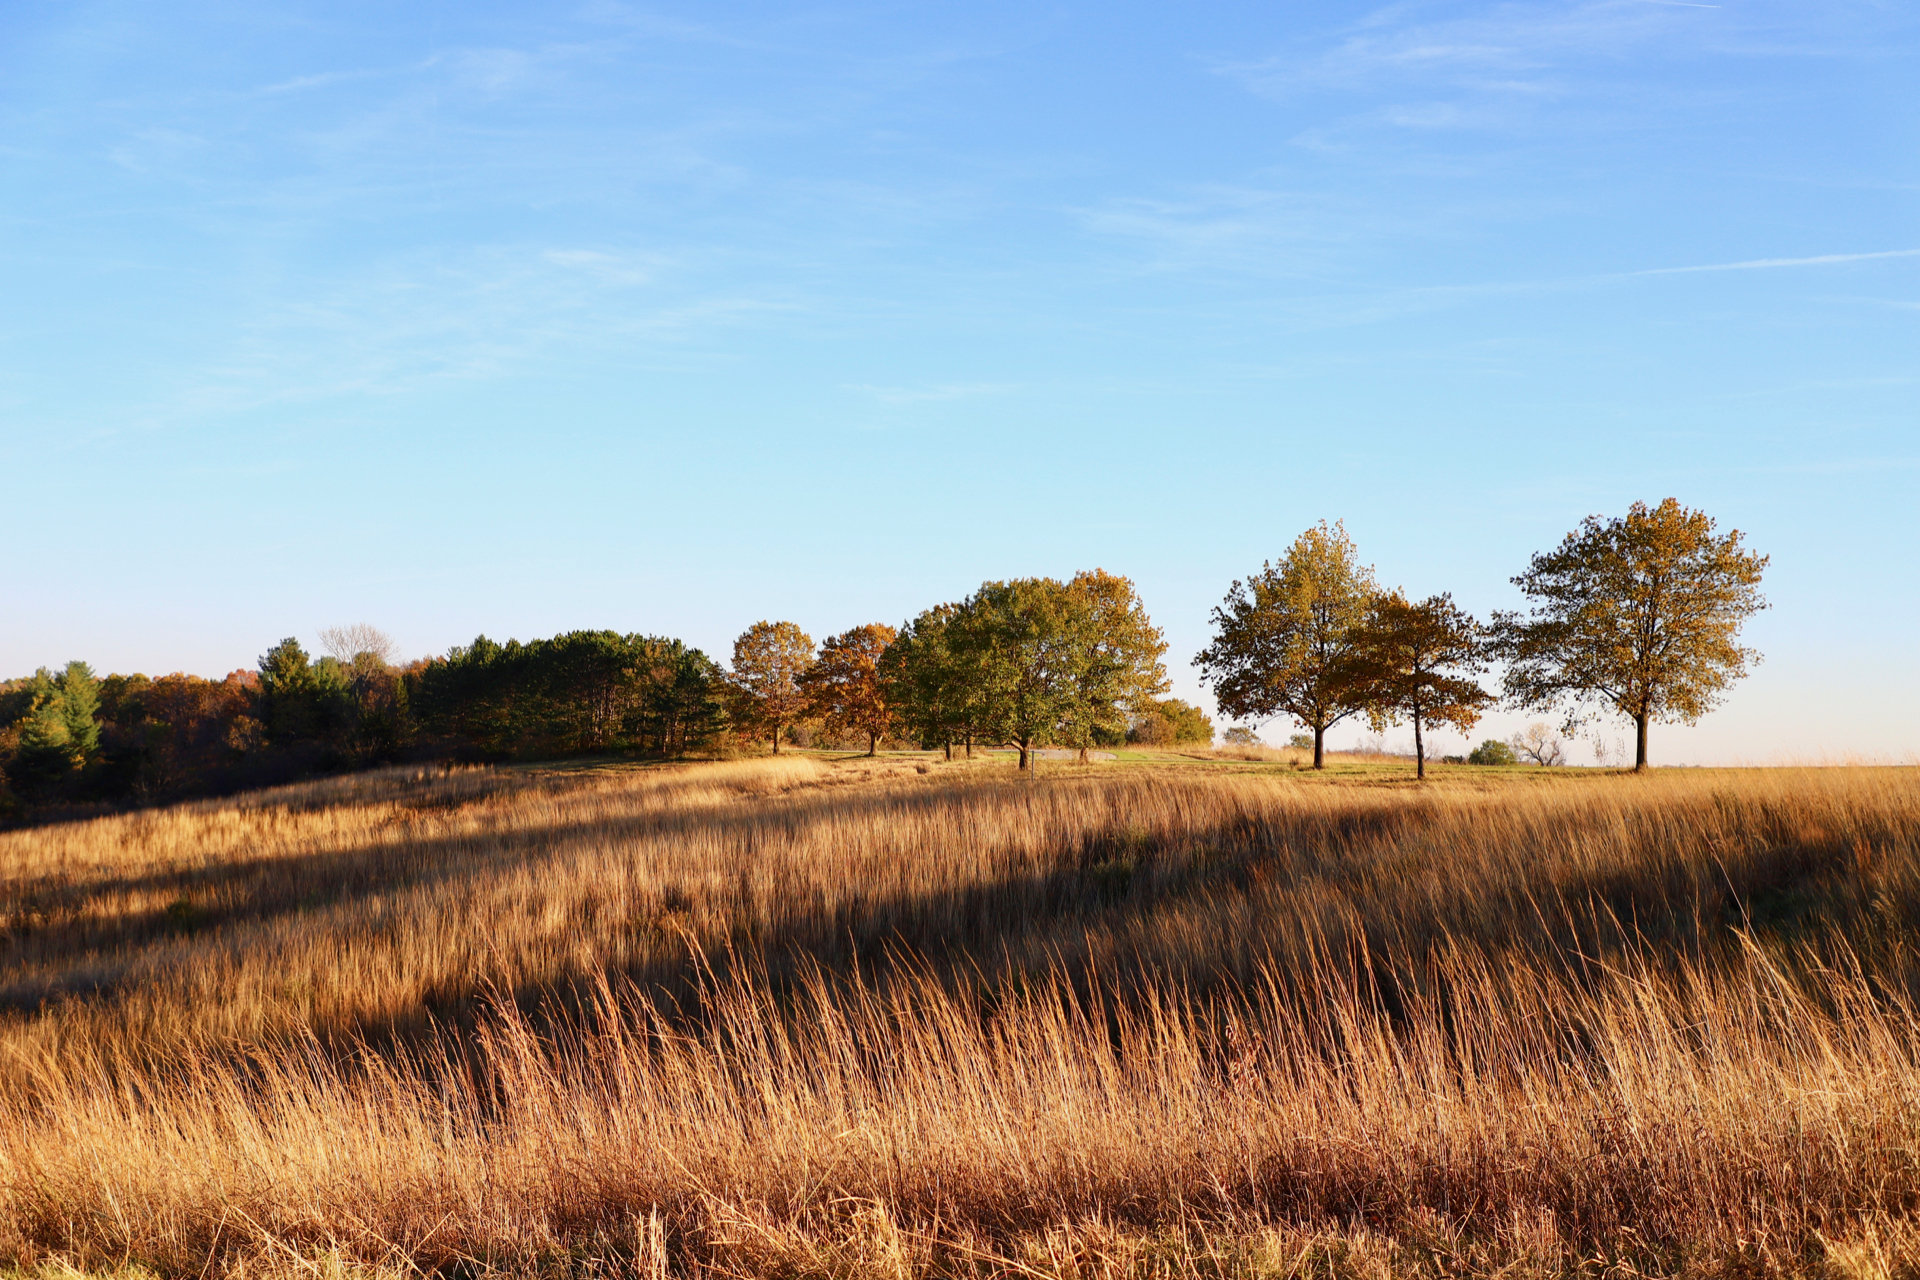
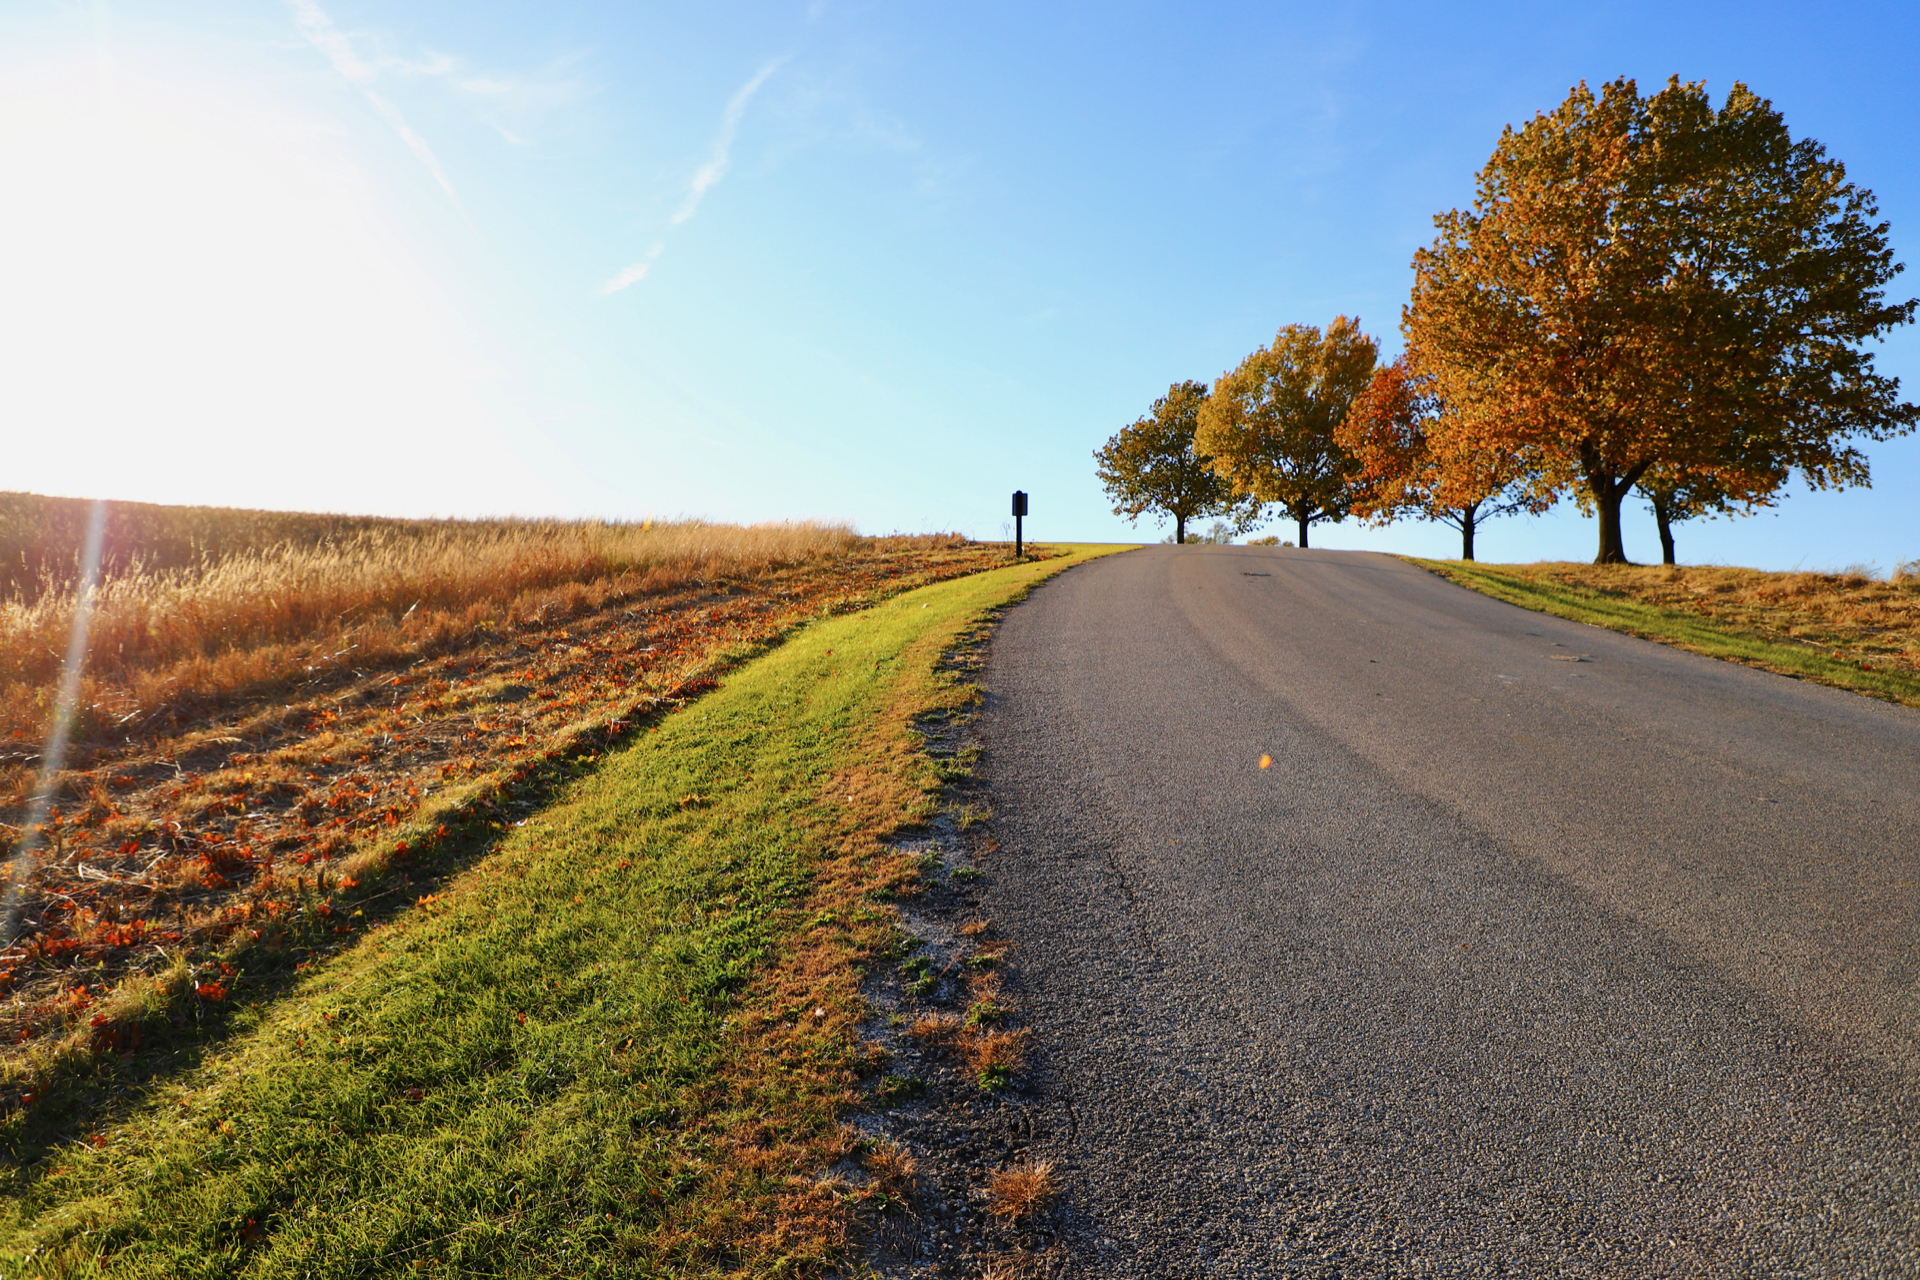
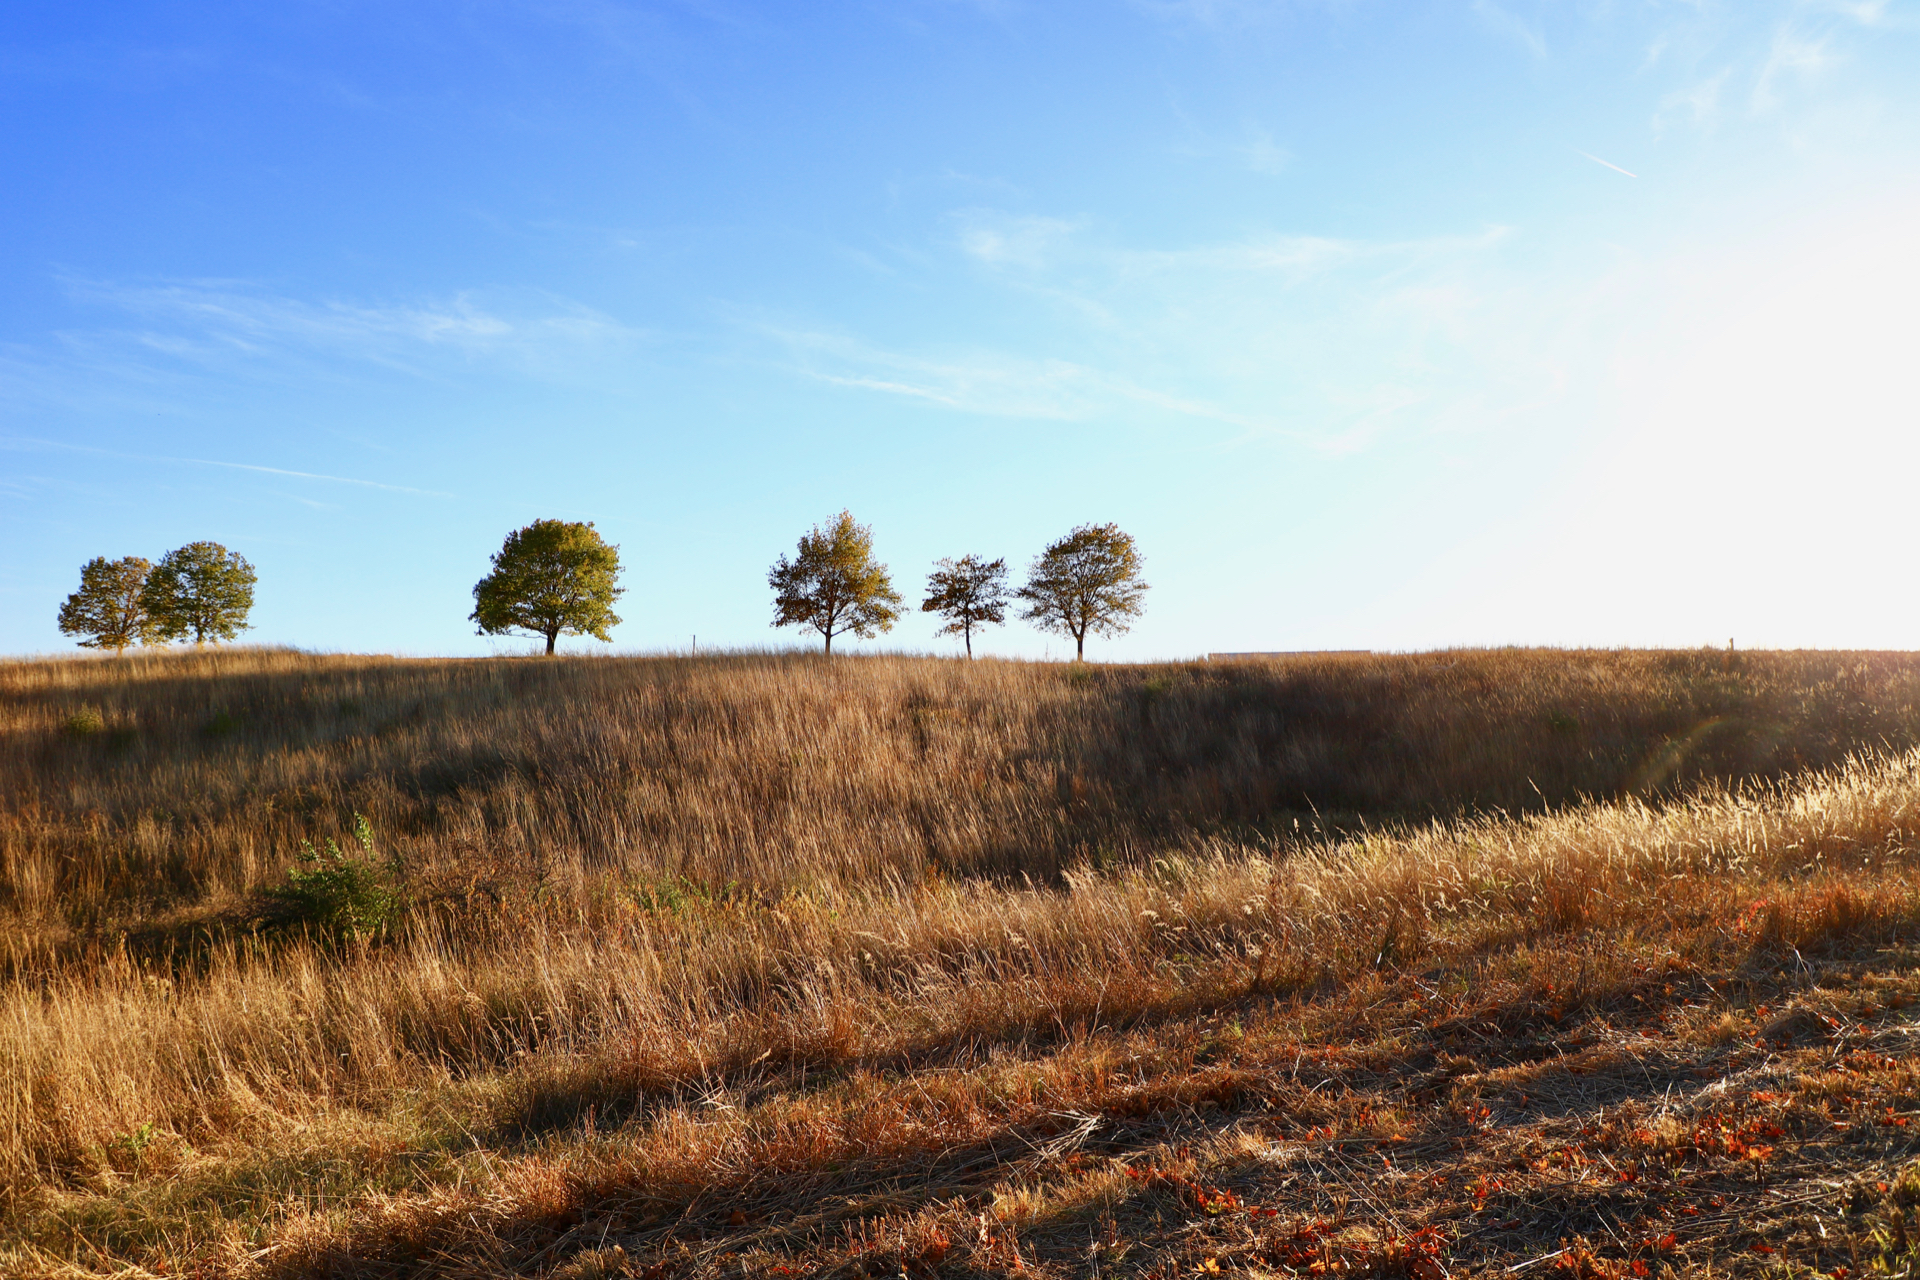
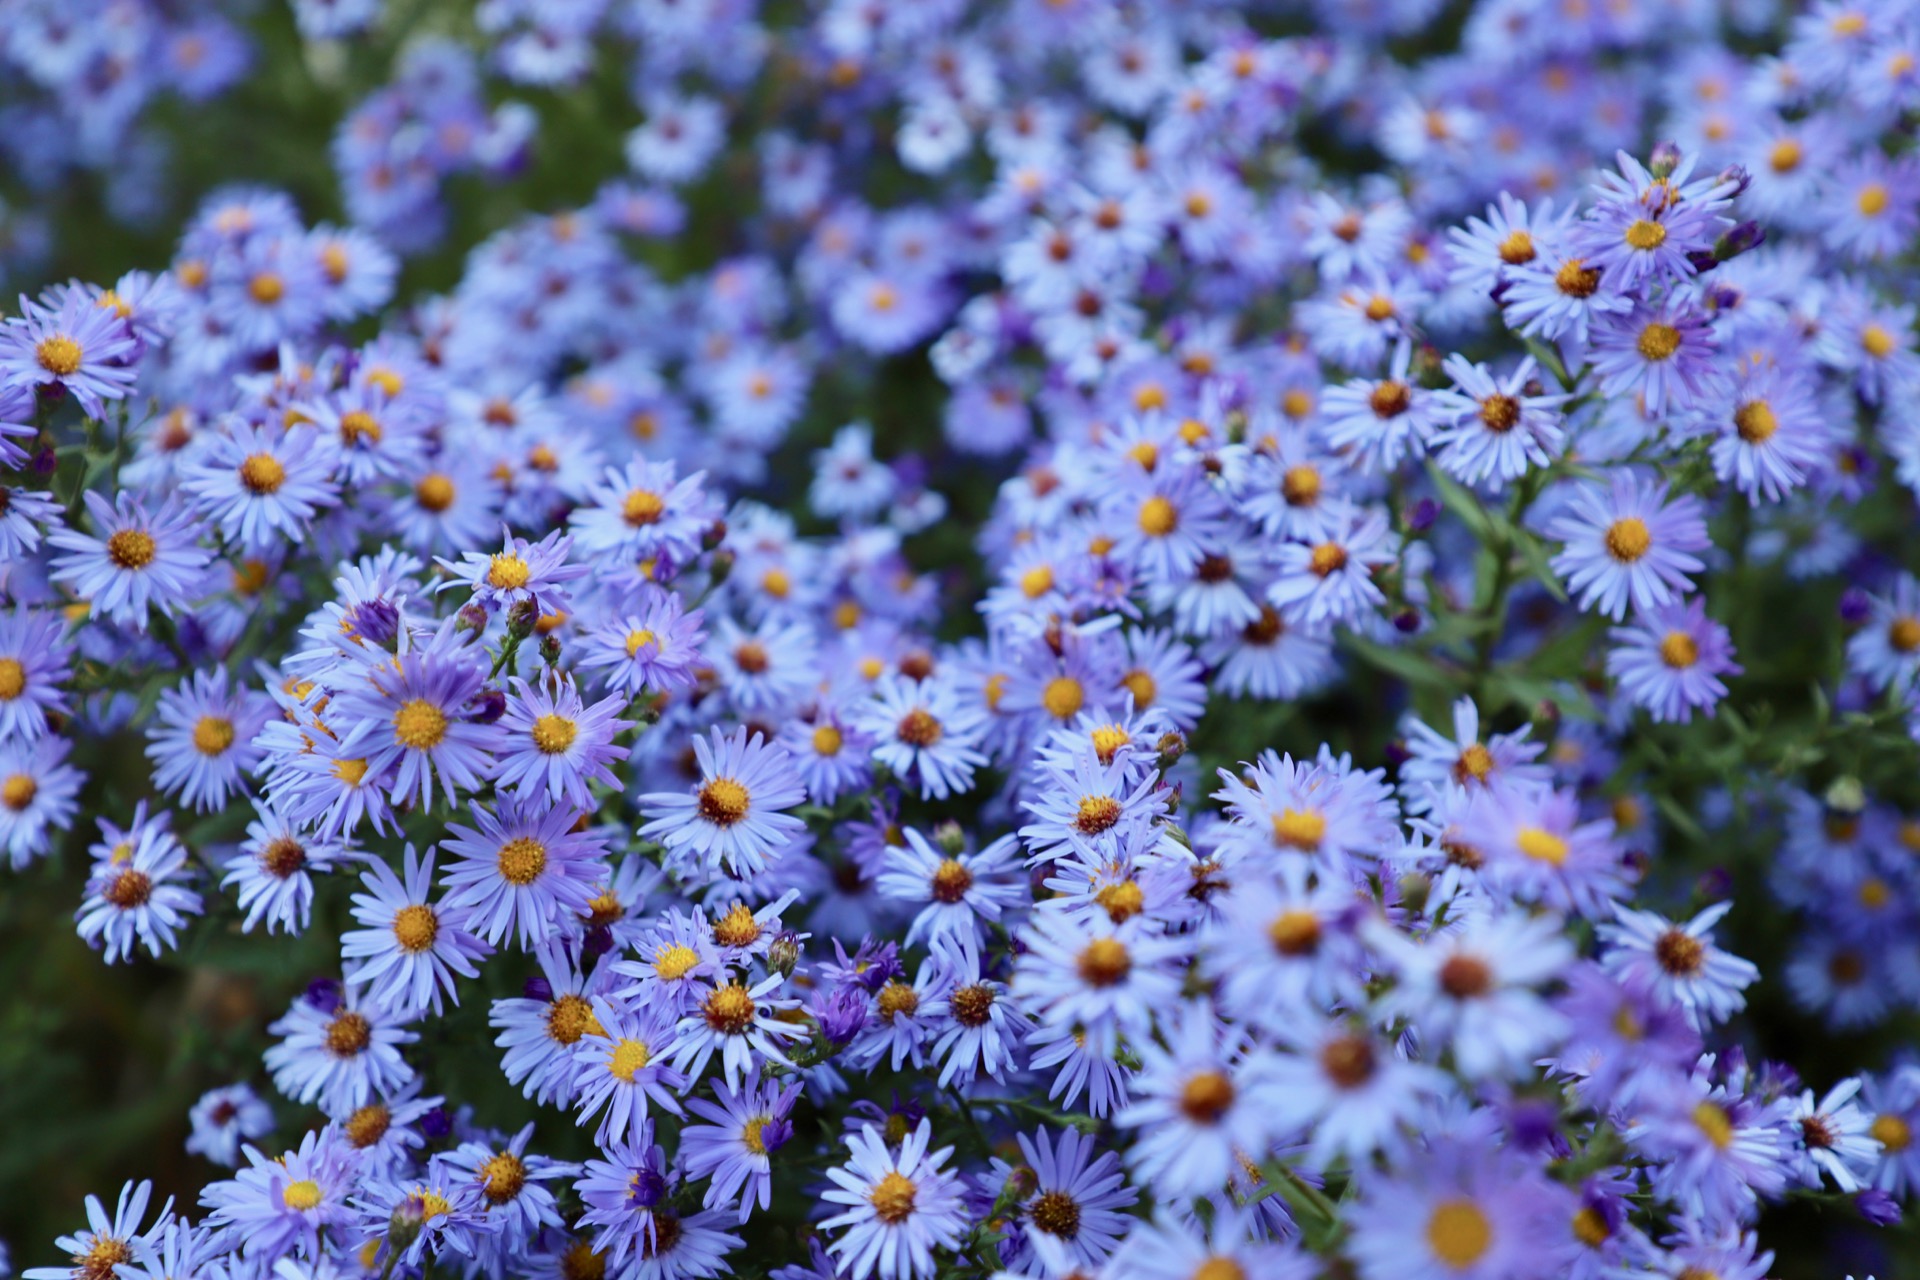
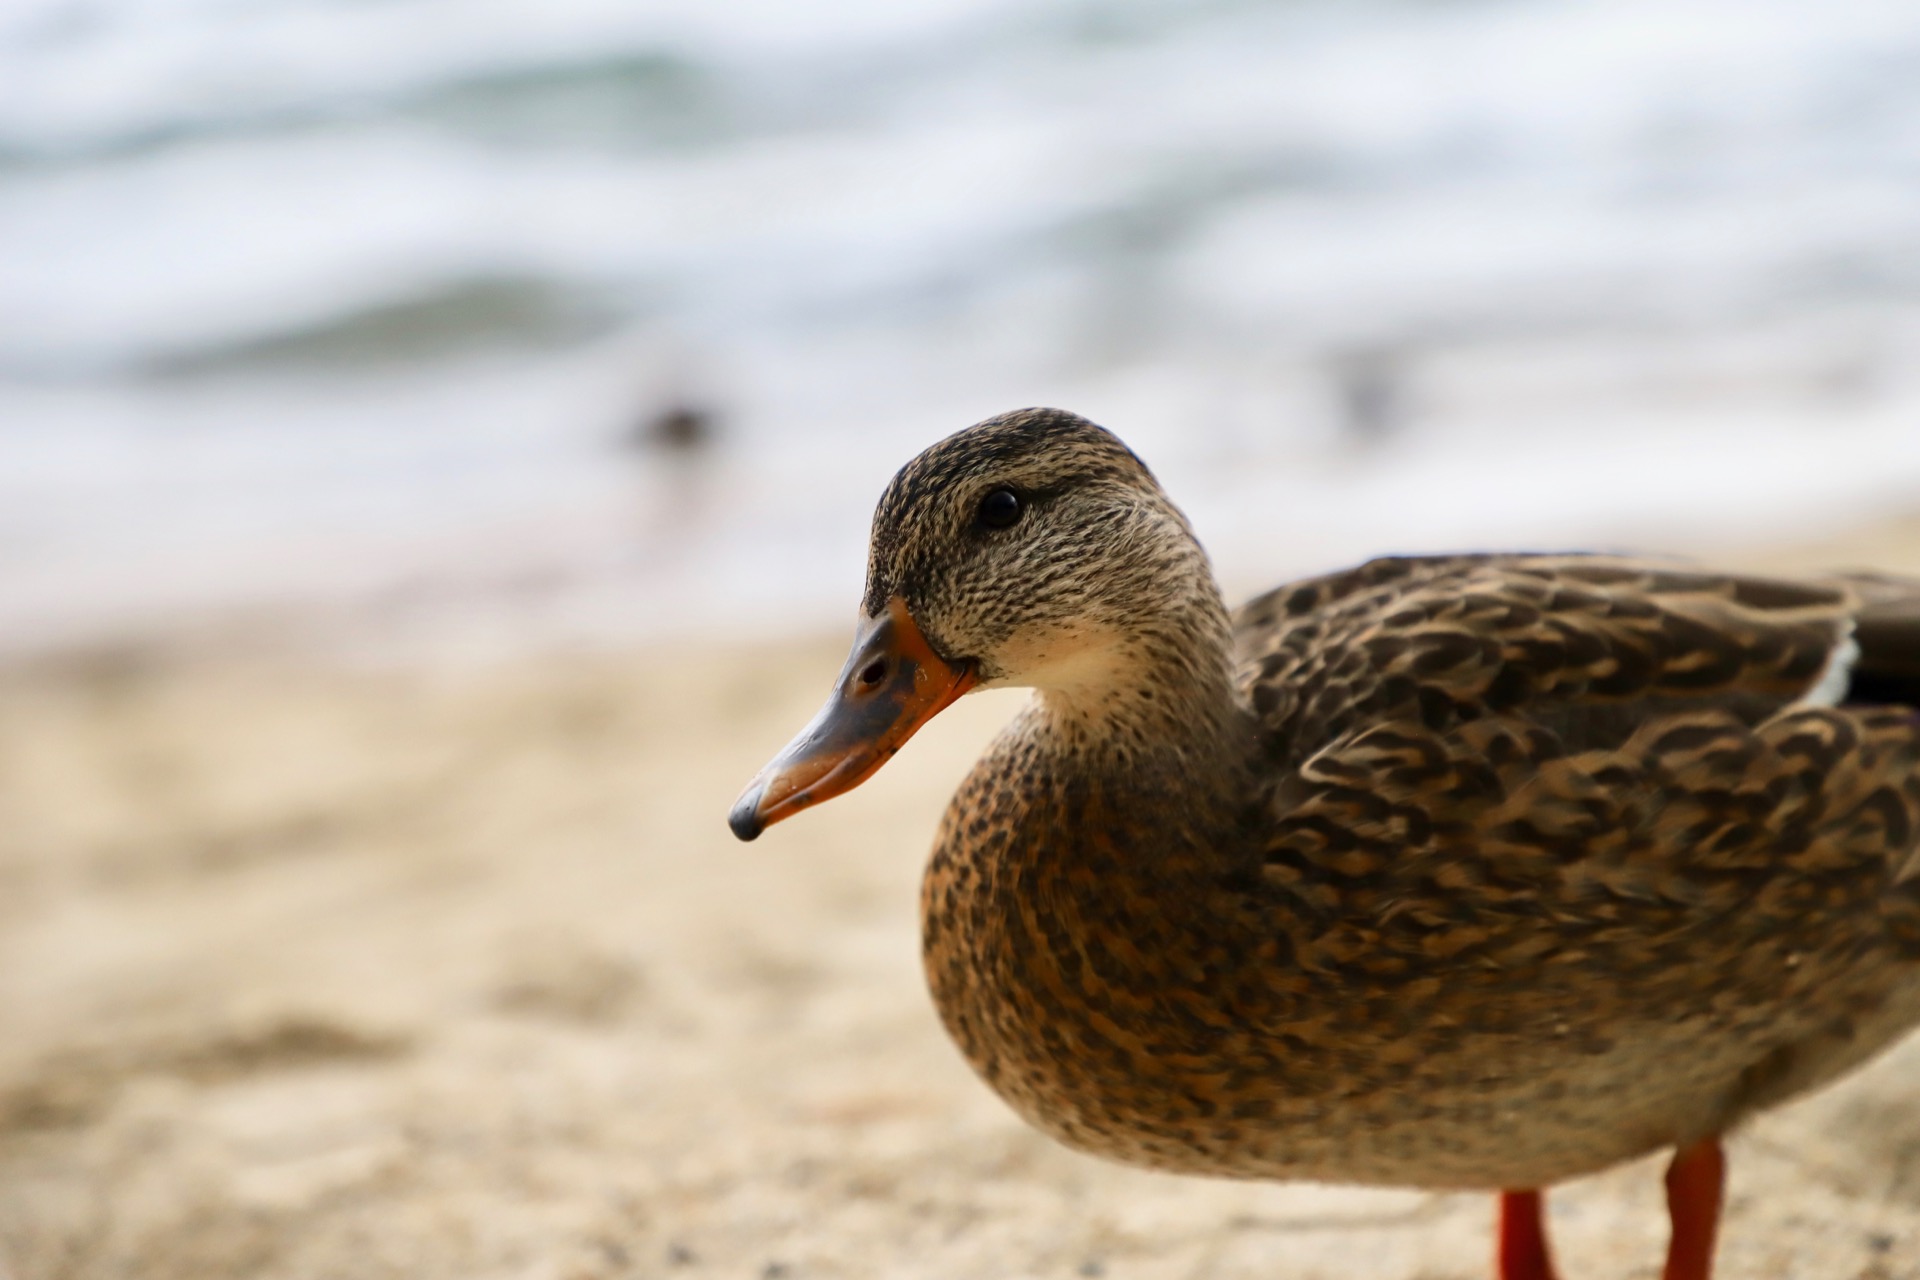
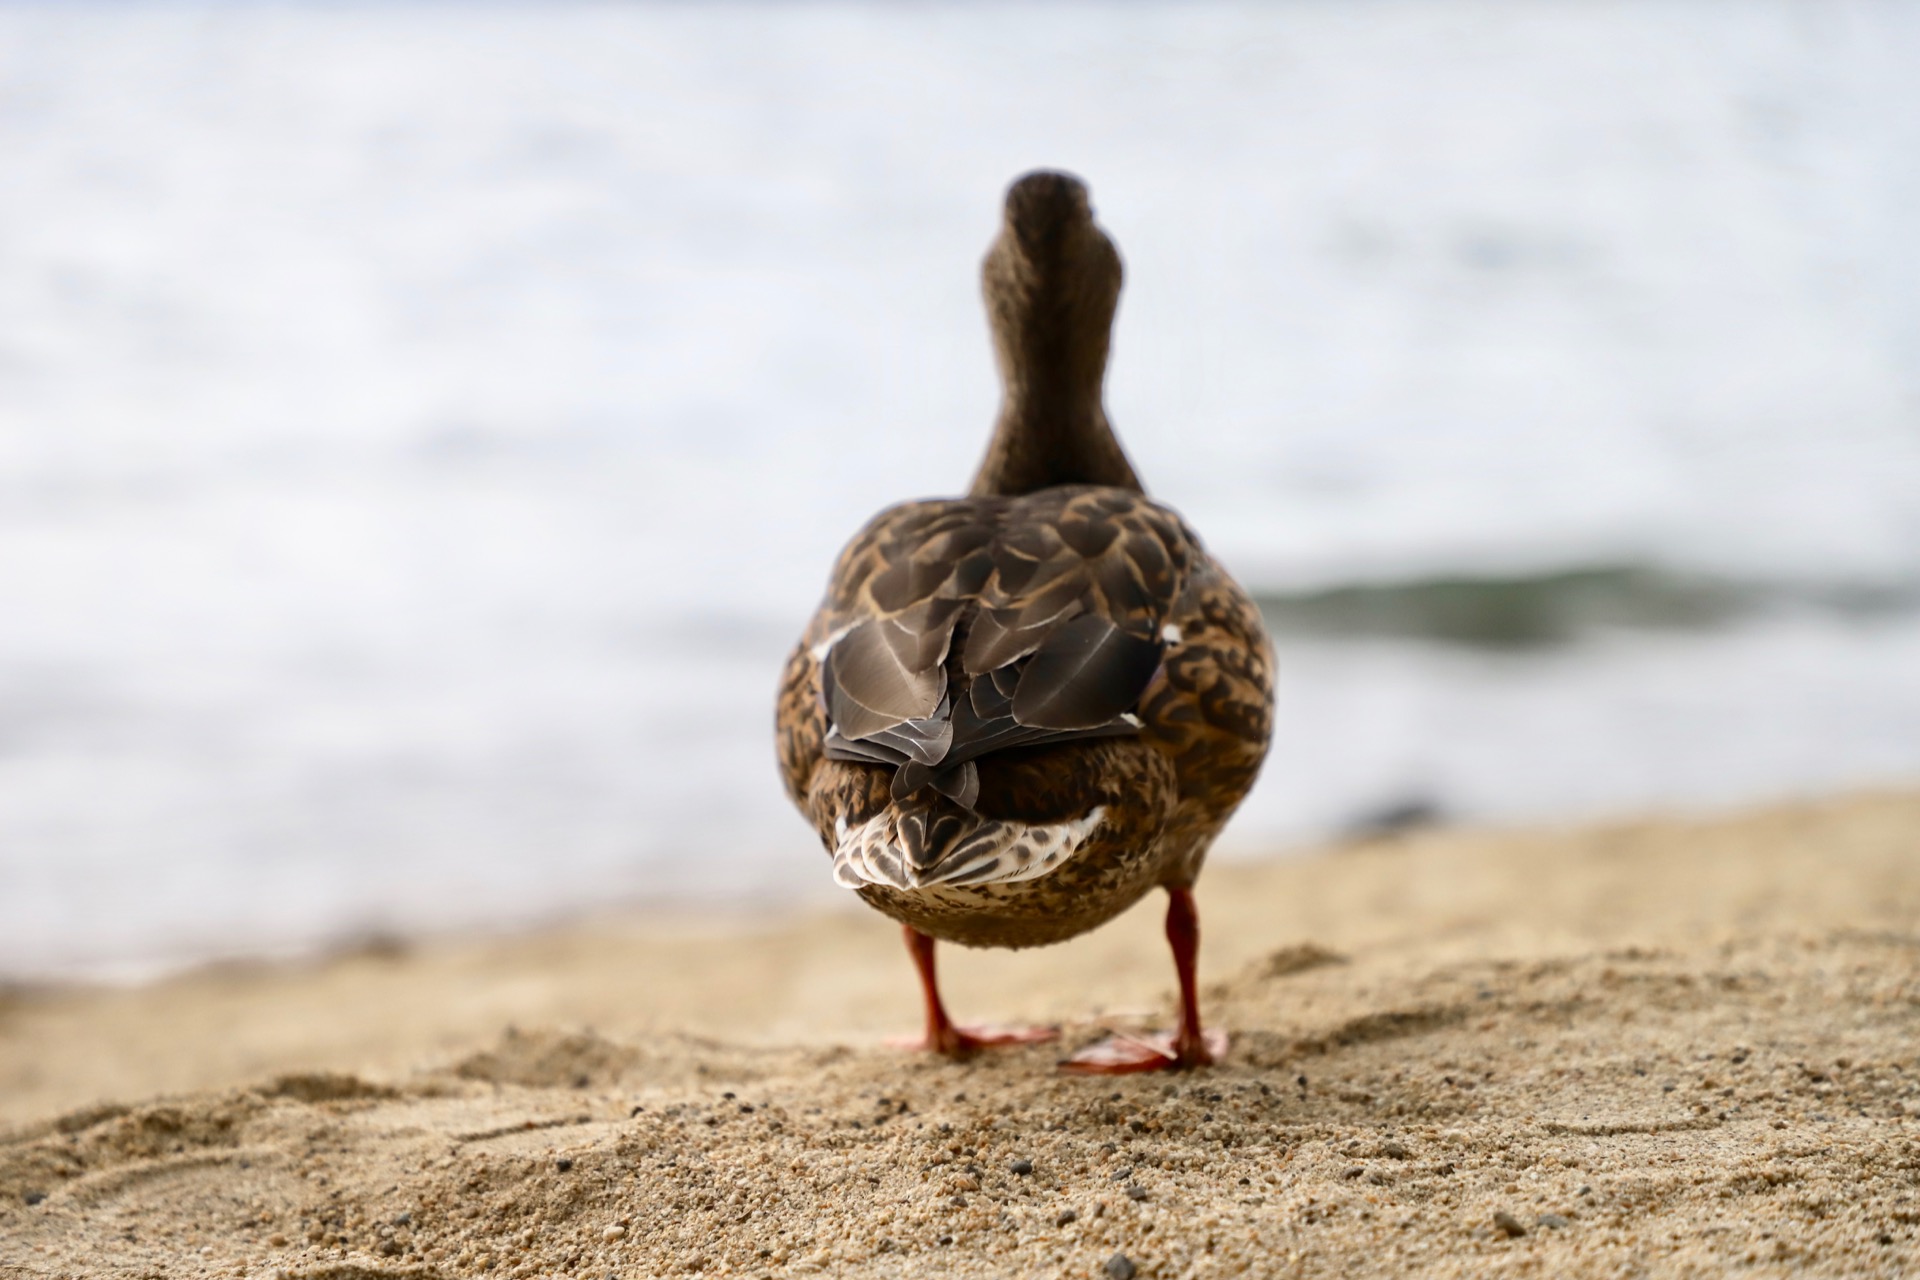
Below are some photos taken in the Kent Park area on 18 Nov 2018. Here I’m sharing the 1920×1080 size versions of the photos for people use as desktop wallpaper or enjoy in other ways. They also make for fun tablet or smartphone wallpaper. If you’d like to use any of these for commercial purposes, if you’d like the originals, or have any questions about this collection of photos, feel free to contact me. Thanks!
Camera and Settings Used
I was using a Canon 6D Mark II camera. For the photos that seem to have more saturation, I had selected the Vivid or Intense options available in the CA camera setting. See page 102 of the instruction manual for further details about these features. I was using the 24-105mm USM lens that came with the camera. Although I didn’t have a tripod, the Canon Image Stabilization (second generation) seemed to work well enough.
I was able to use the automatic mode for most of the photos. The camera’s choice of aperture, speed, ISO, and focal point were acceptable. Sometimes I’d switch to manual focus and at times used Aperture Priority when I wanted more control over the shot. Learn more about Aperture Priority on page 238 of the Canon 6D II instruction manual.
The Intense color setting can result in photos that seem too dark. However, using Intense that then later using software to increase the exposure will result in photos that are less washed out than if the photo had been taken without these color enhancement options. The Vivid setting is a less saturated option, but sometimes isn’t enough.
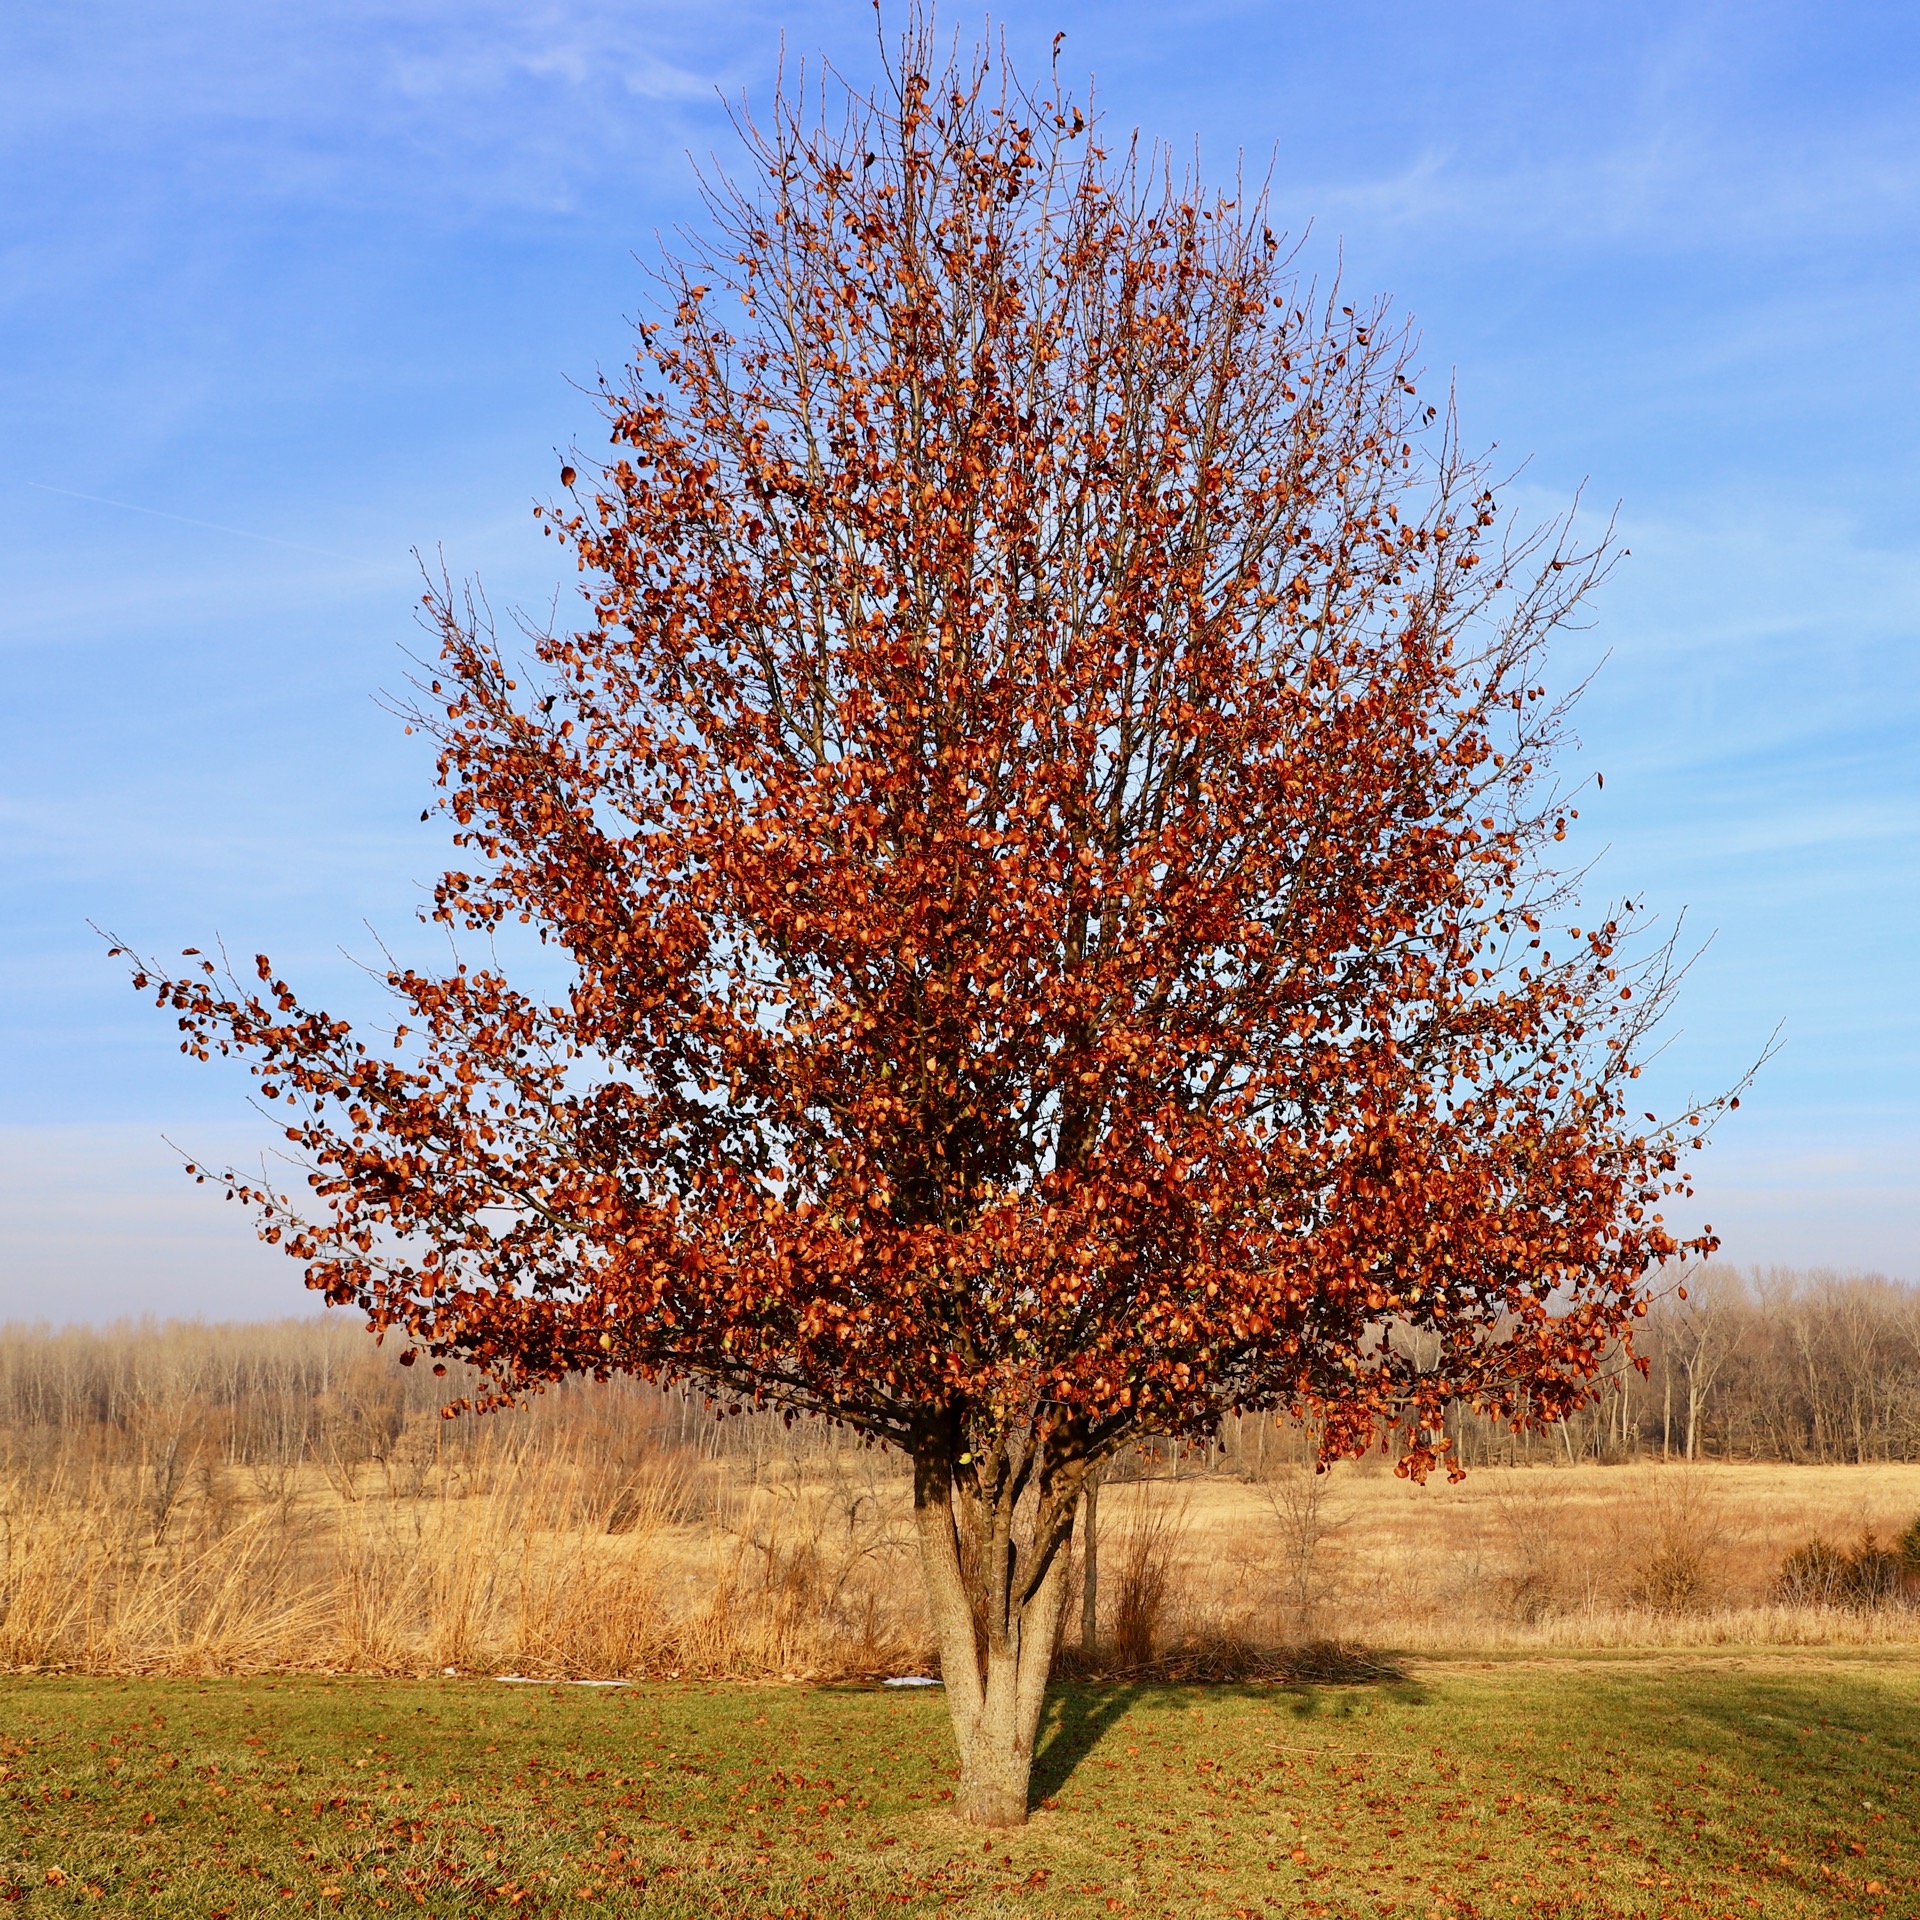
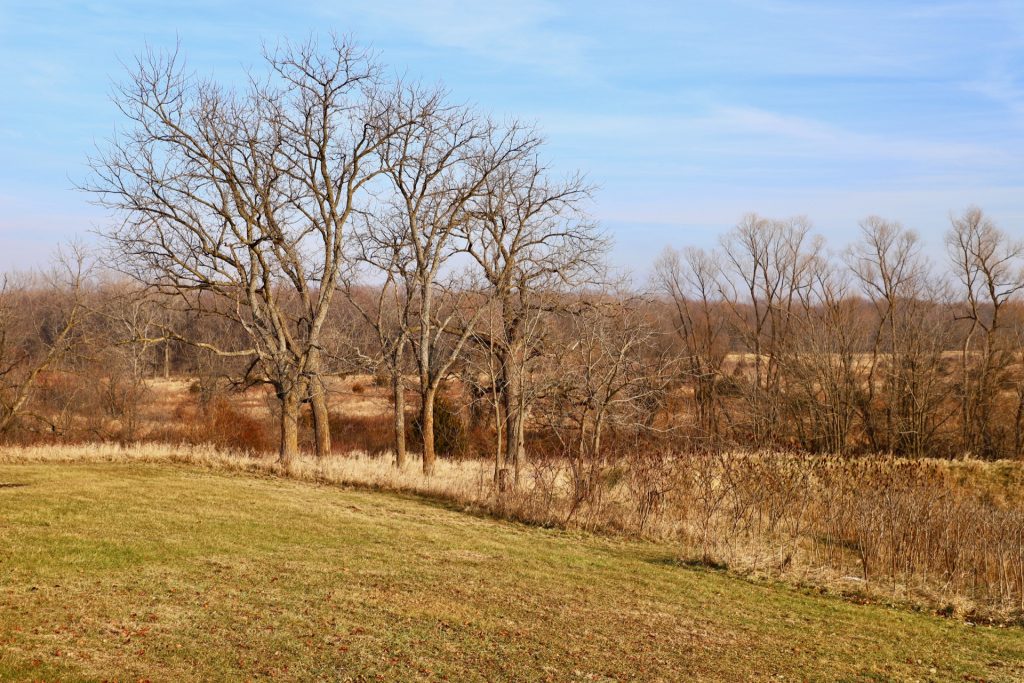
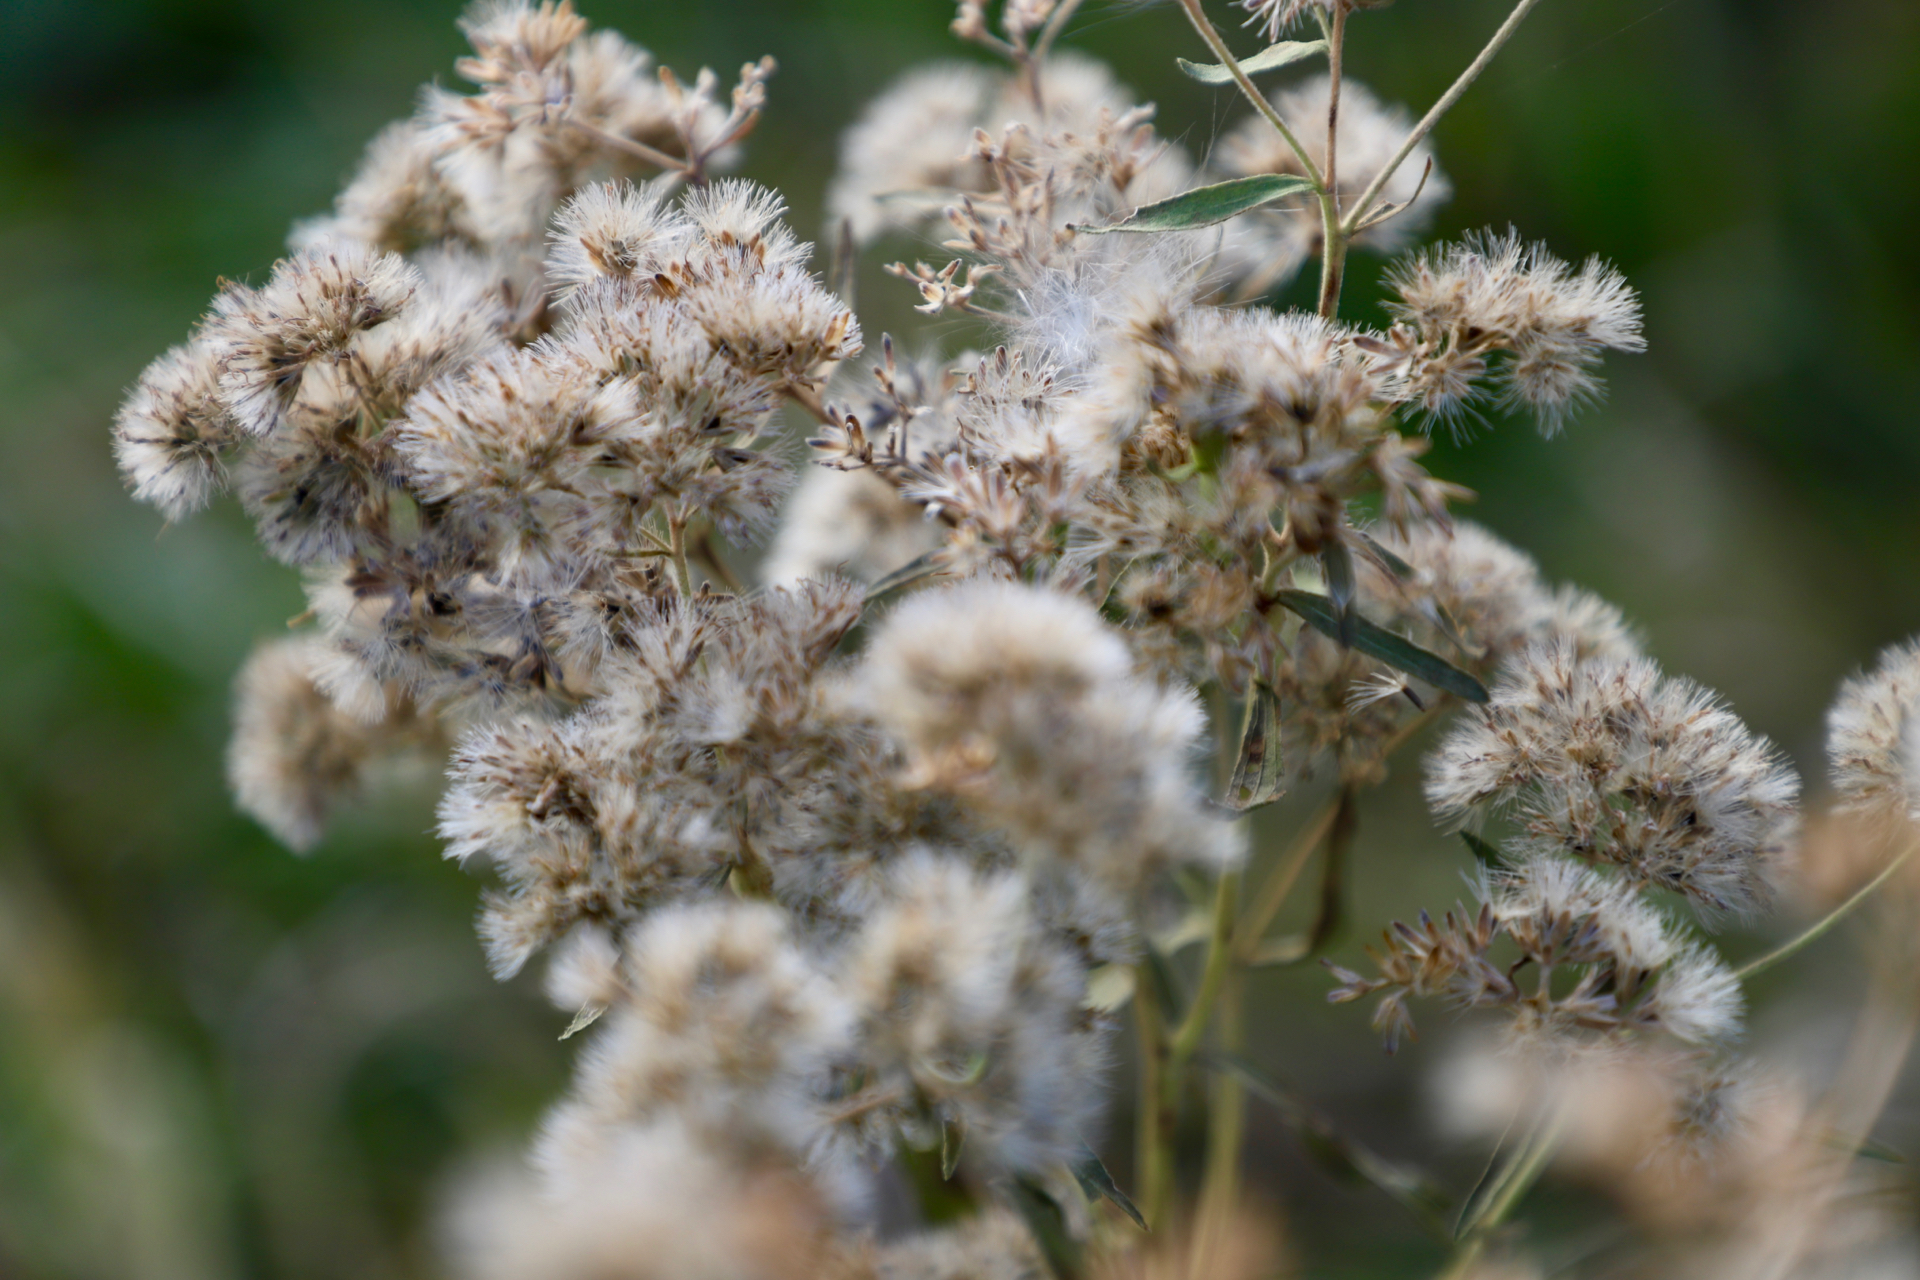
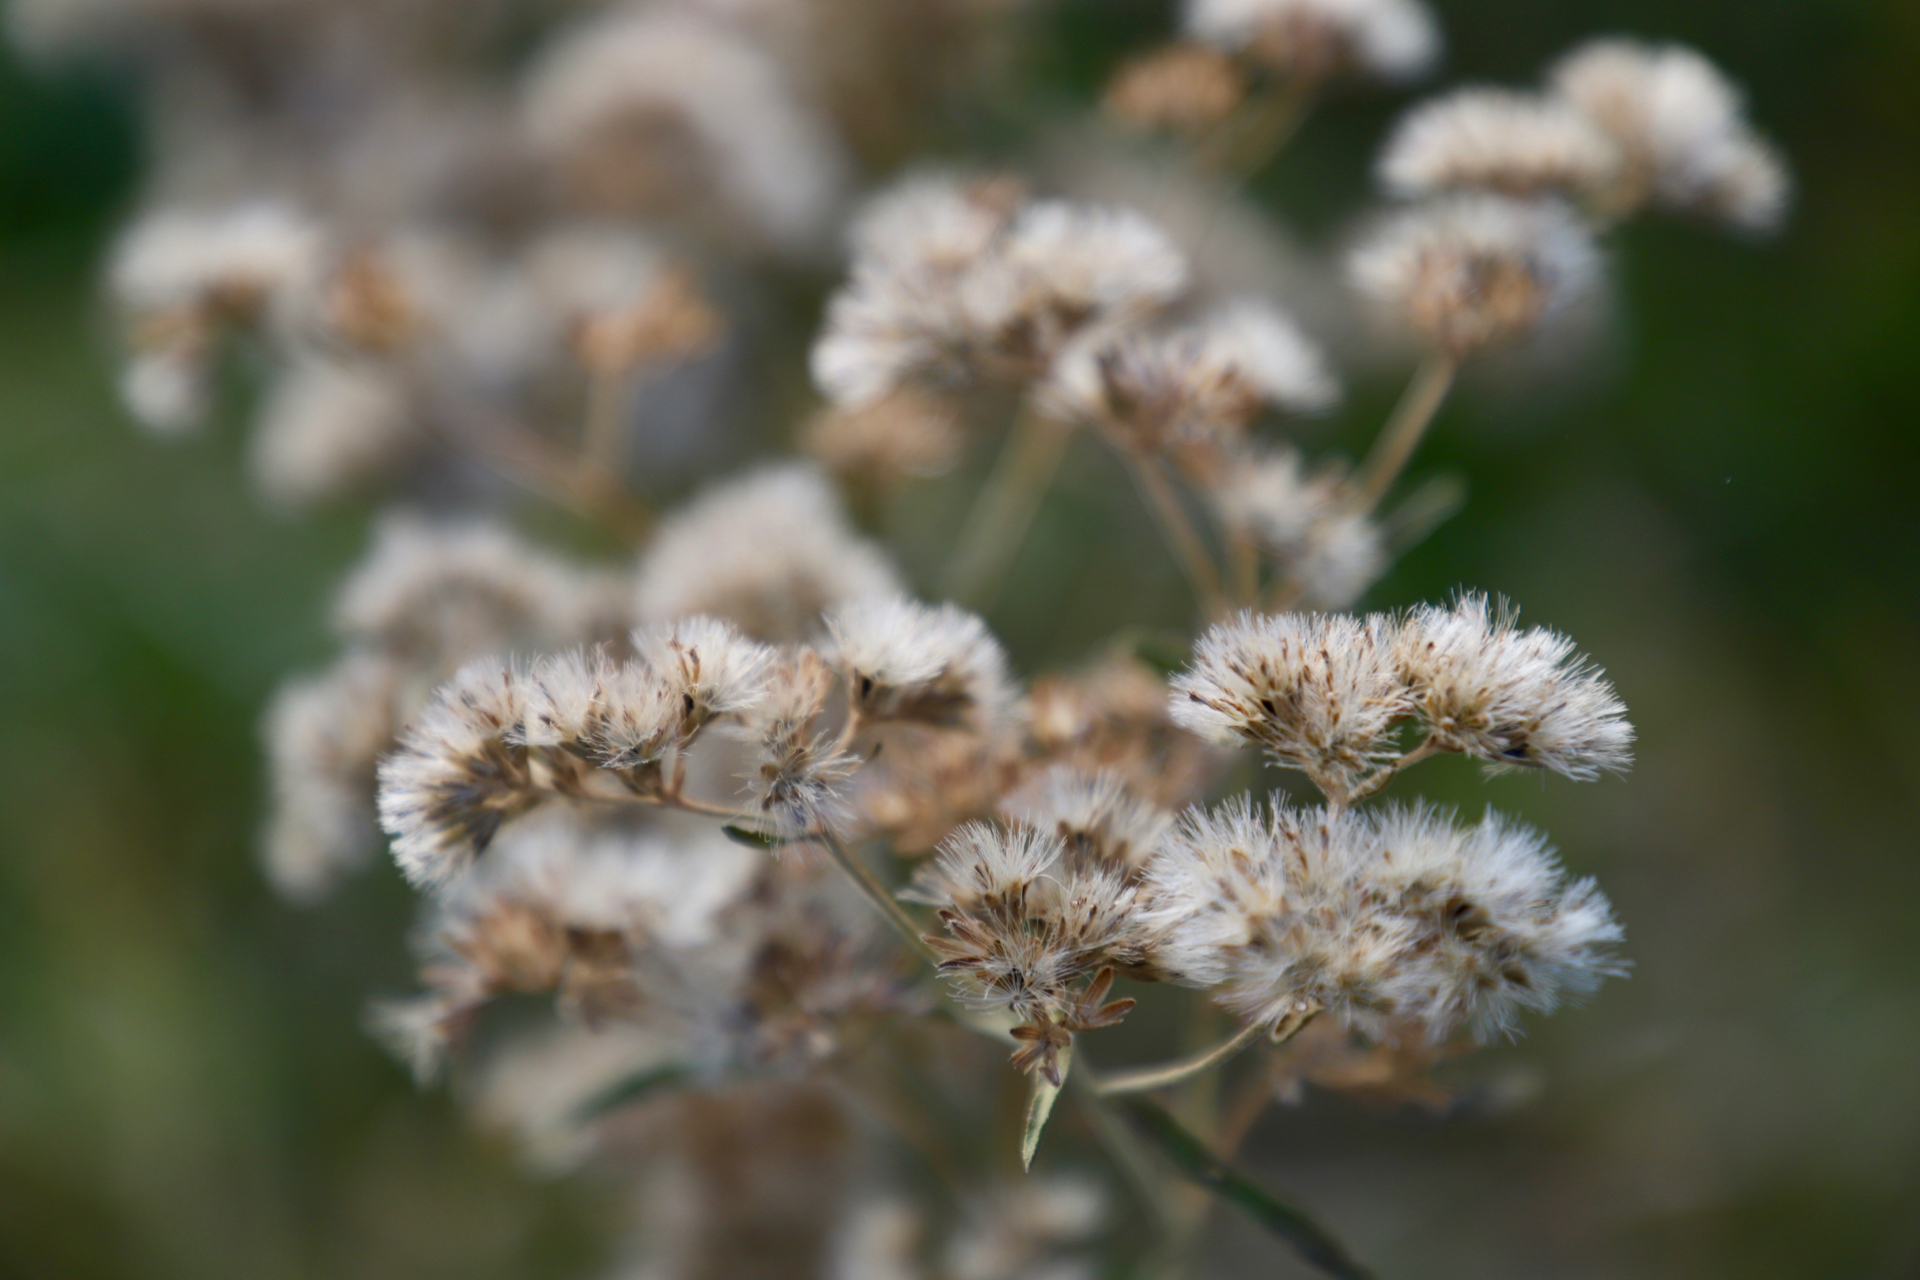
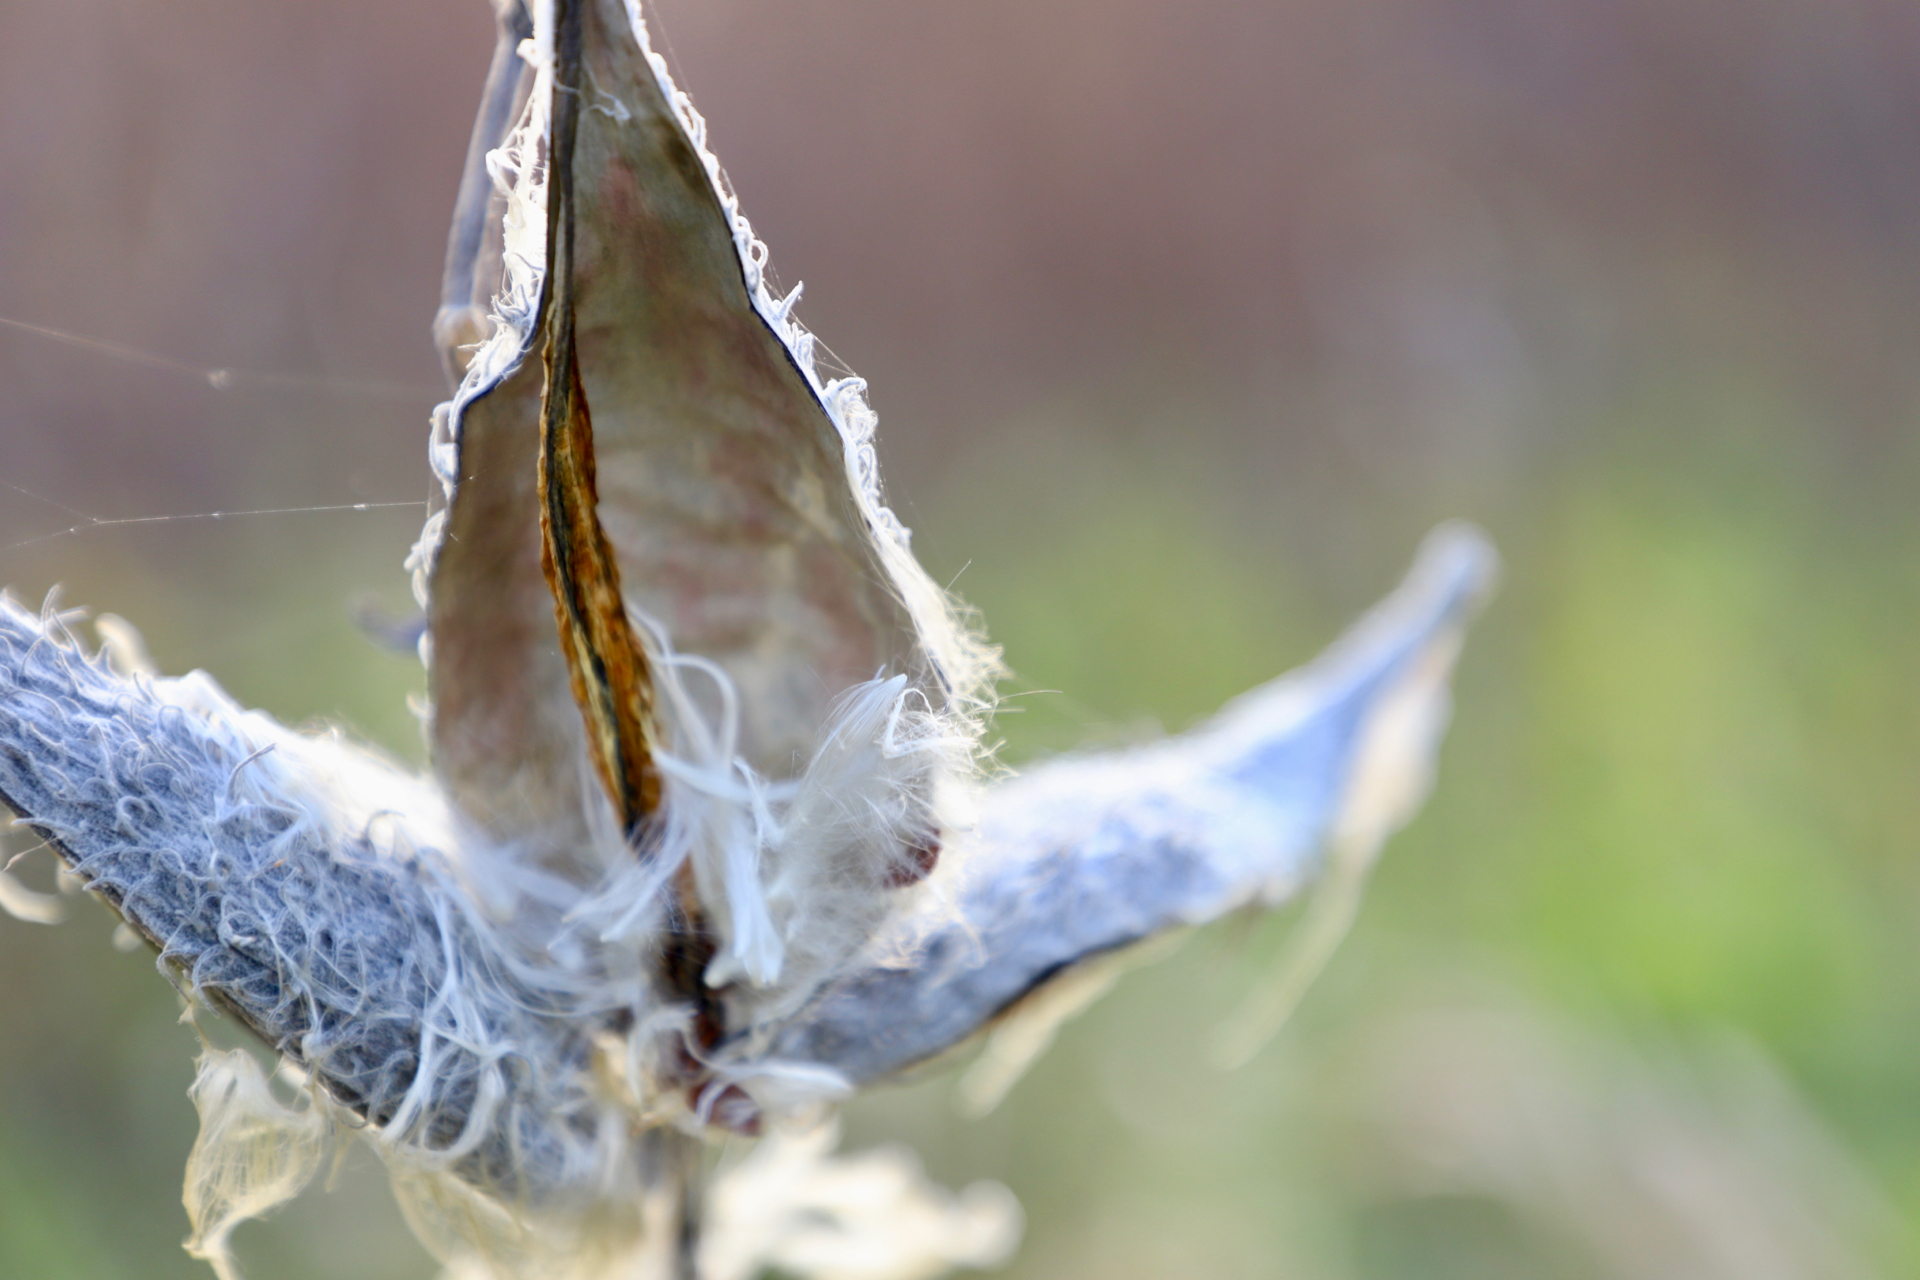
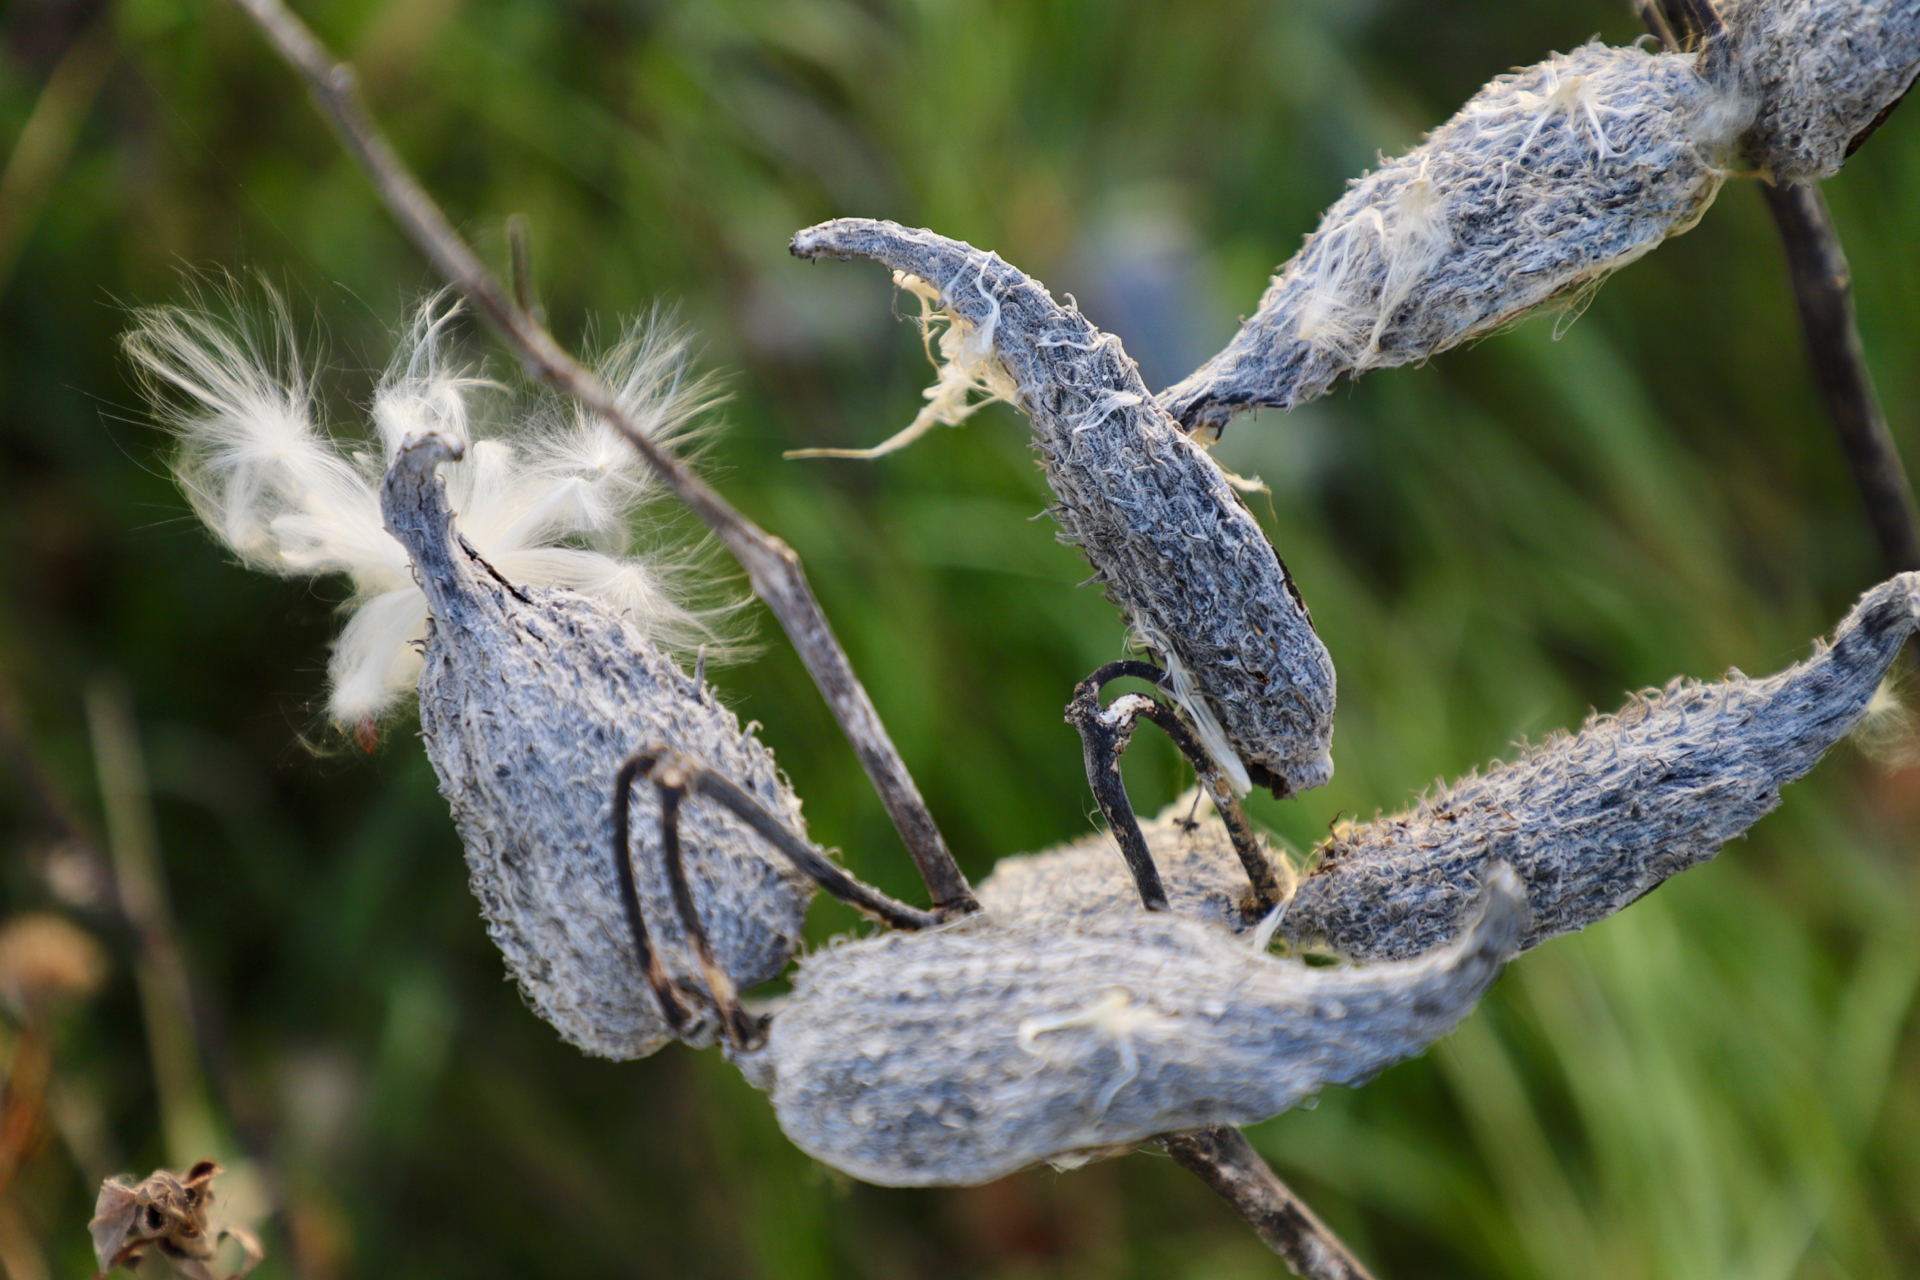
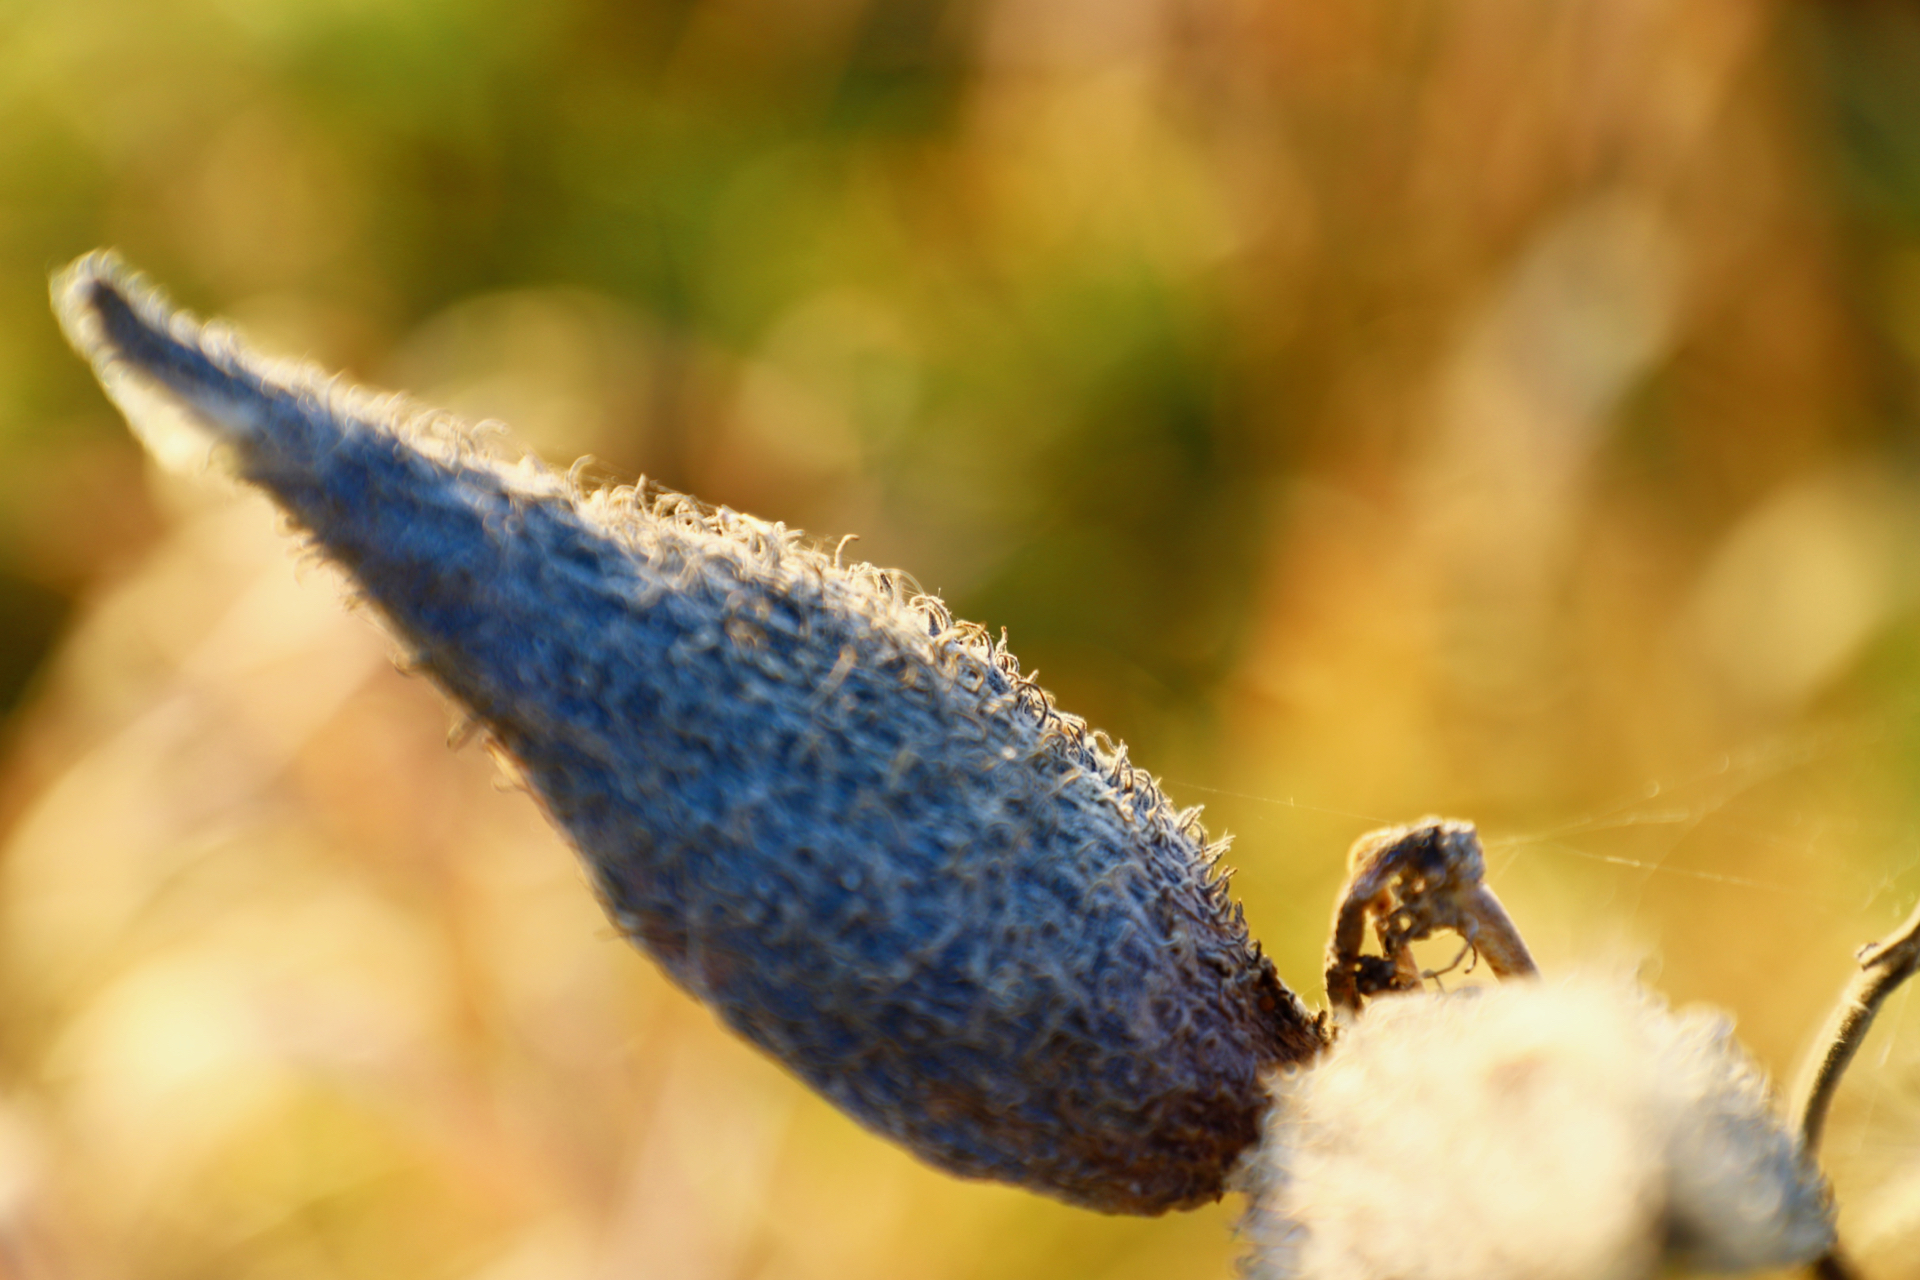
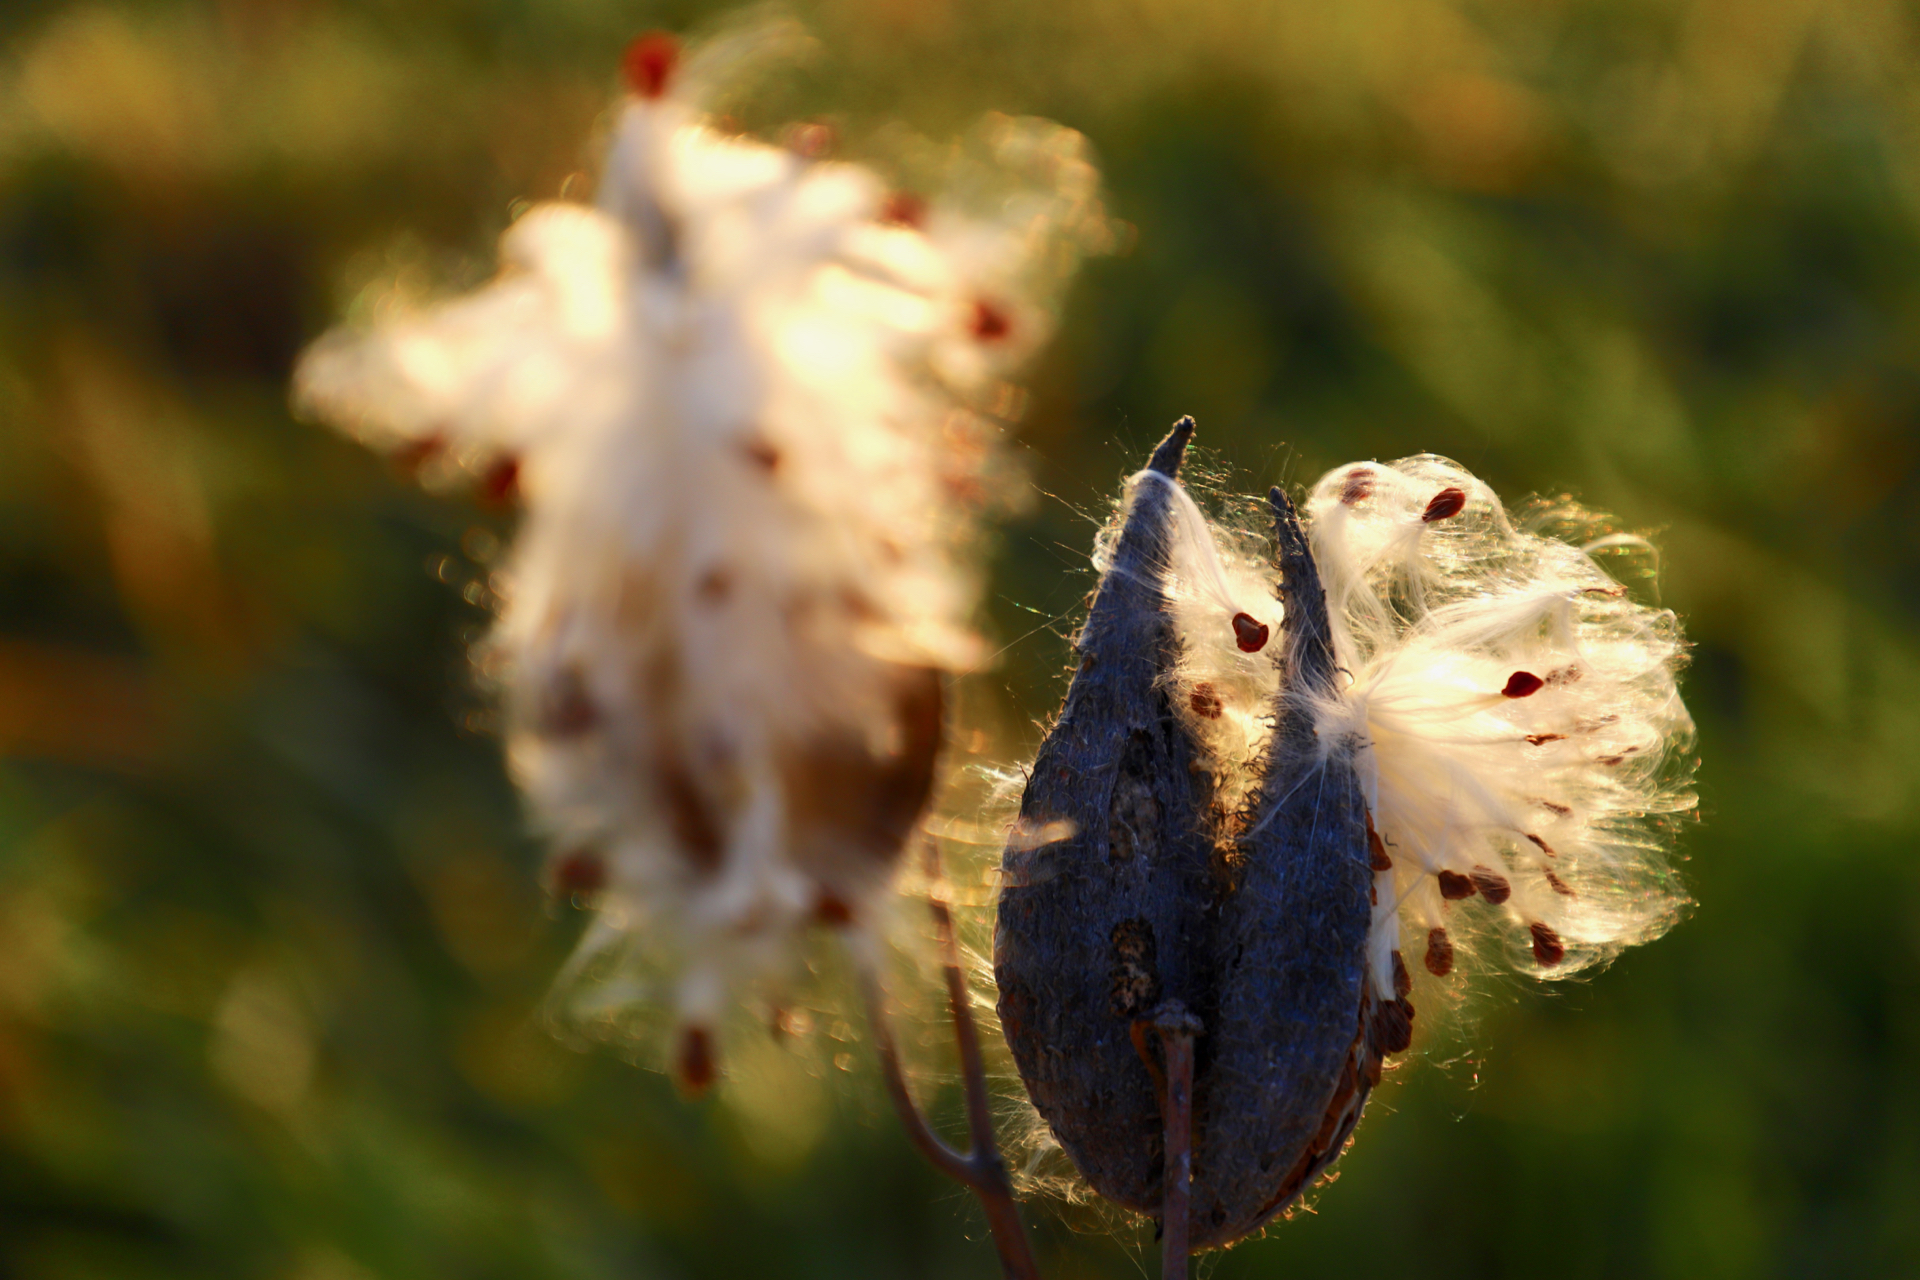
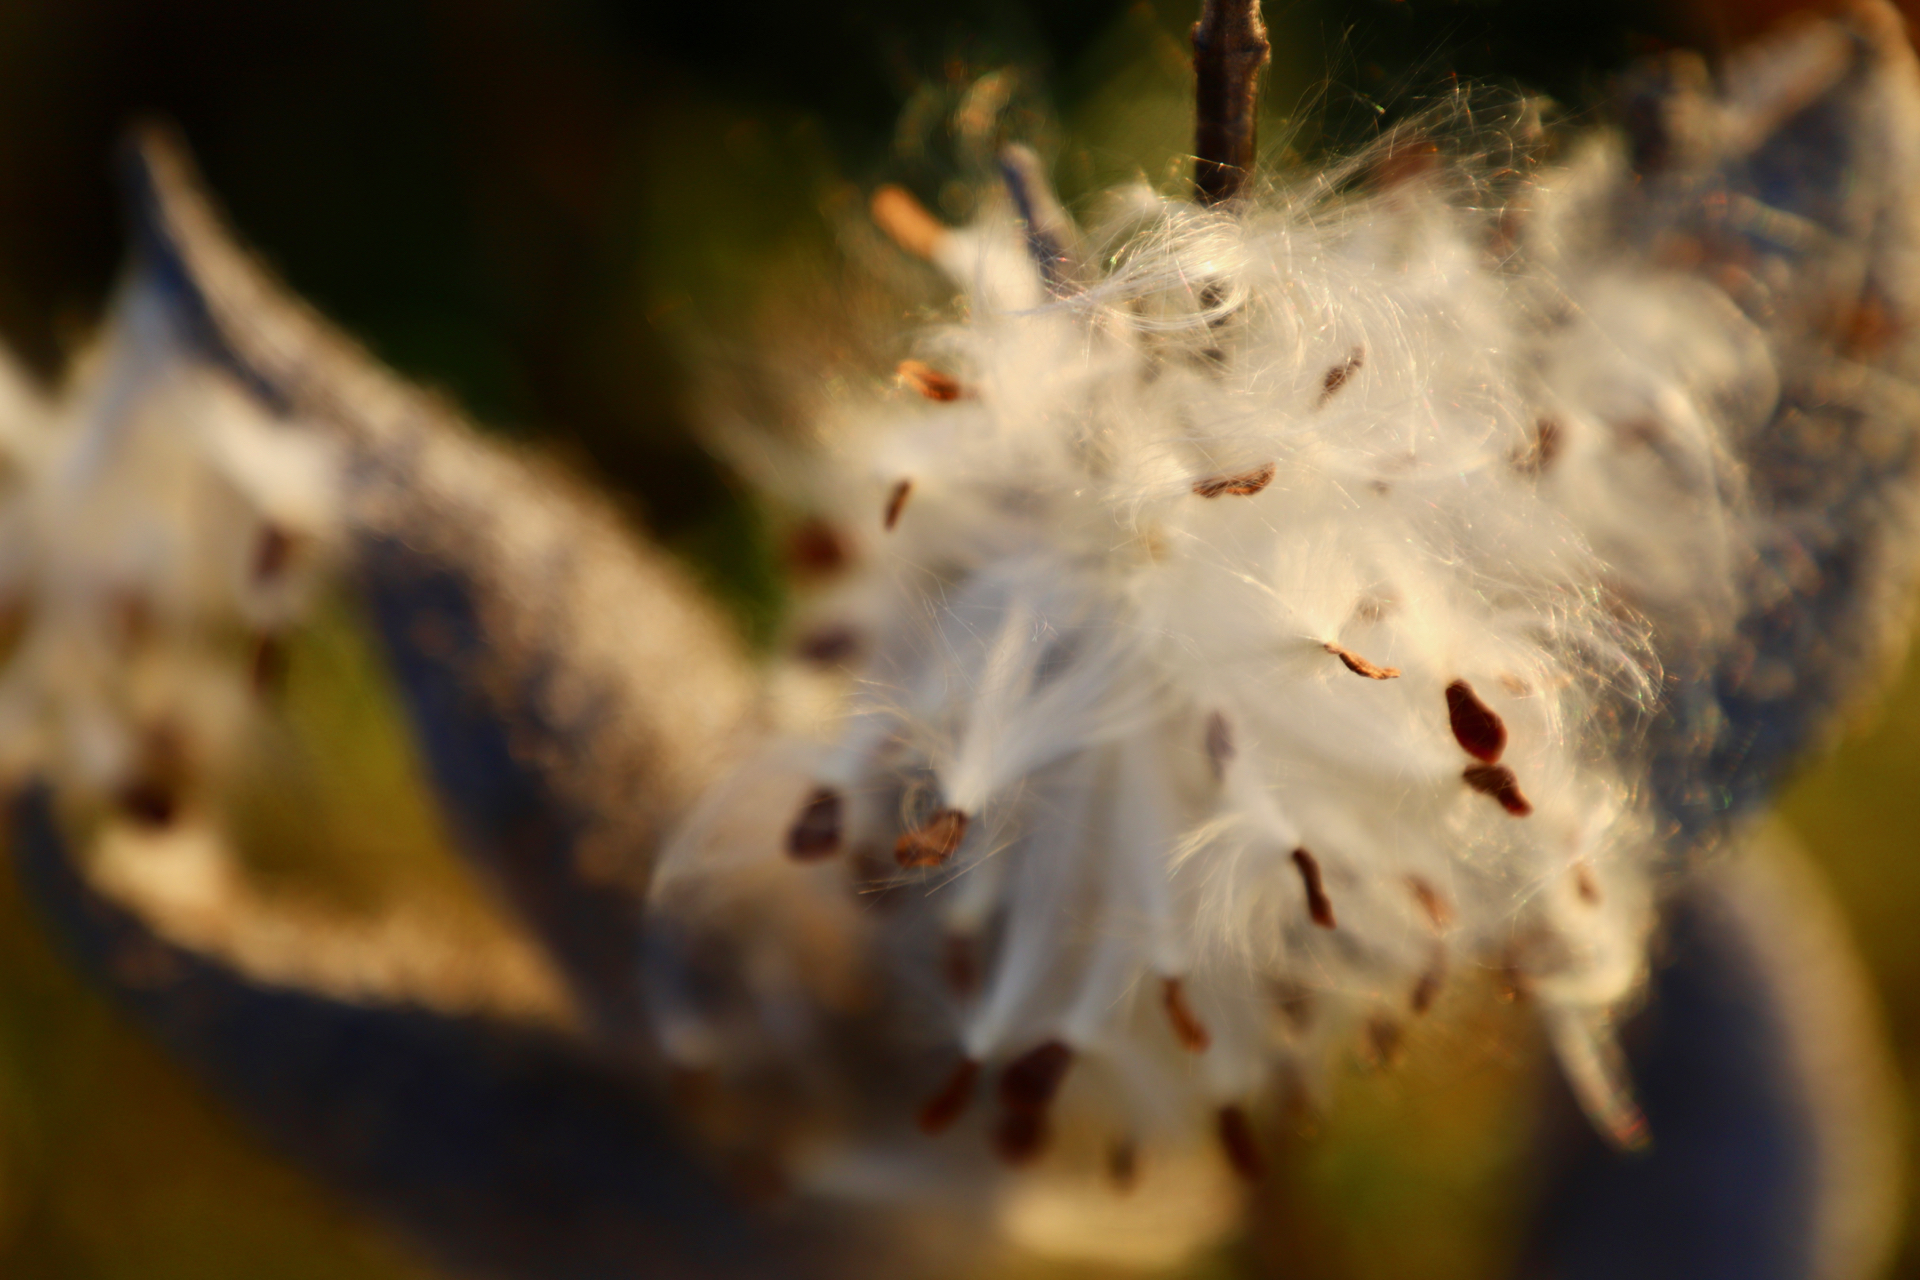
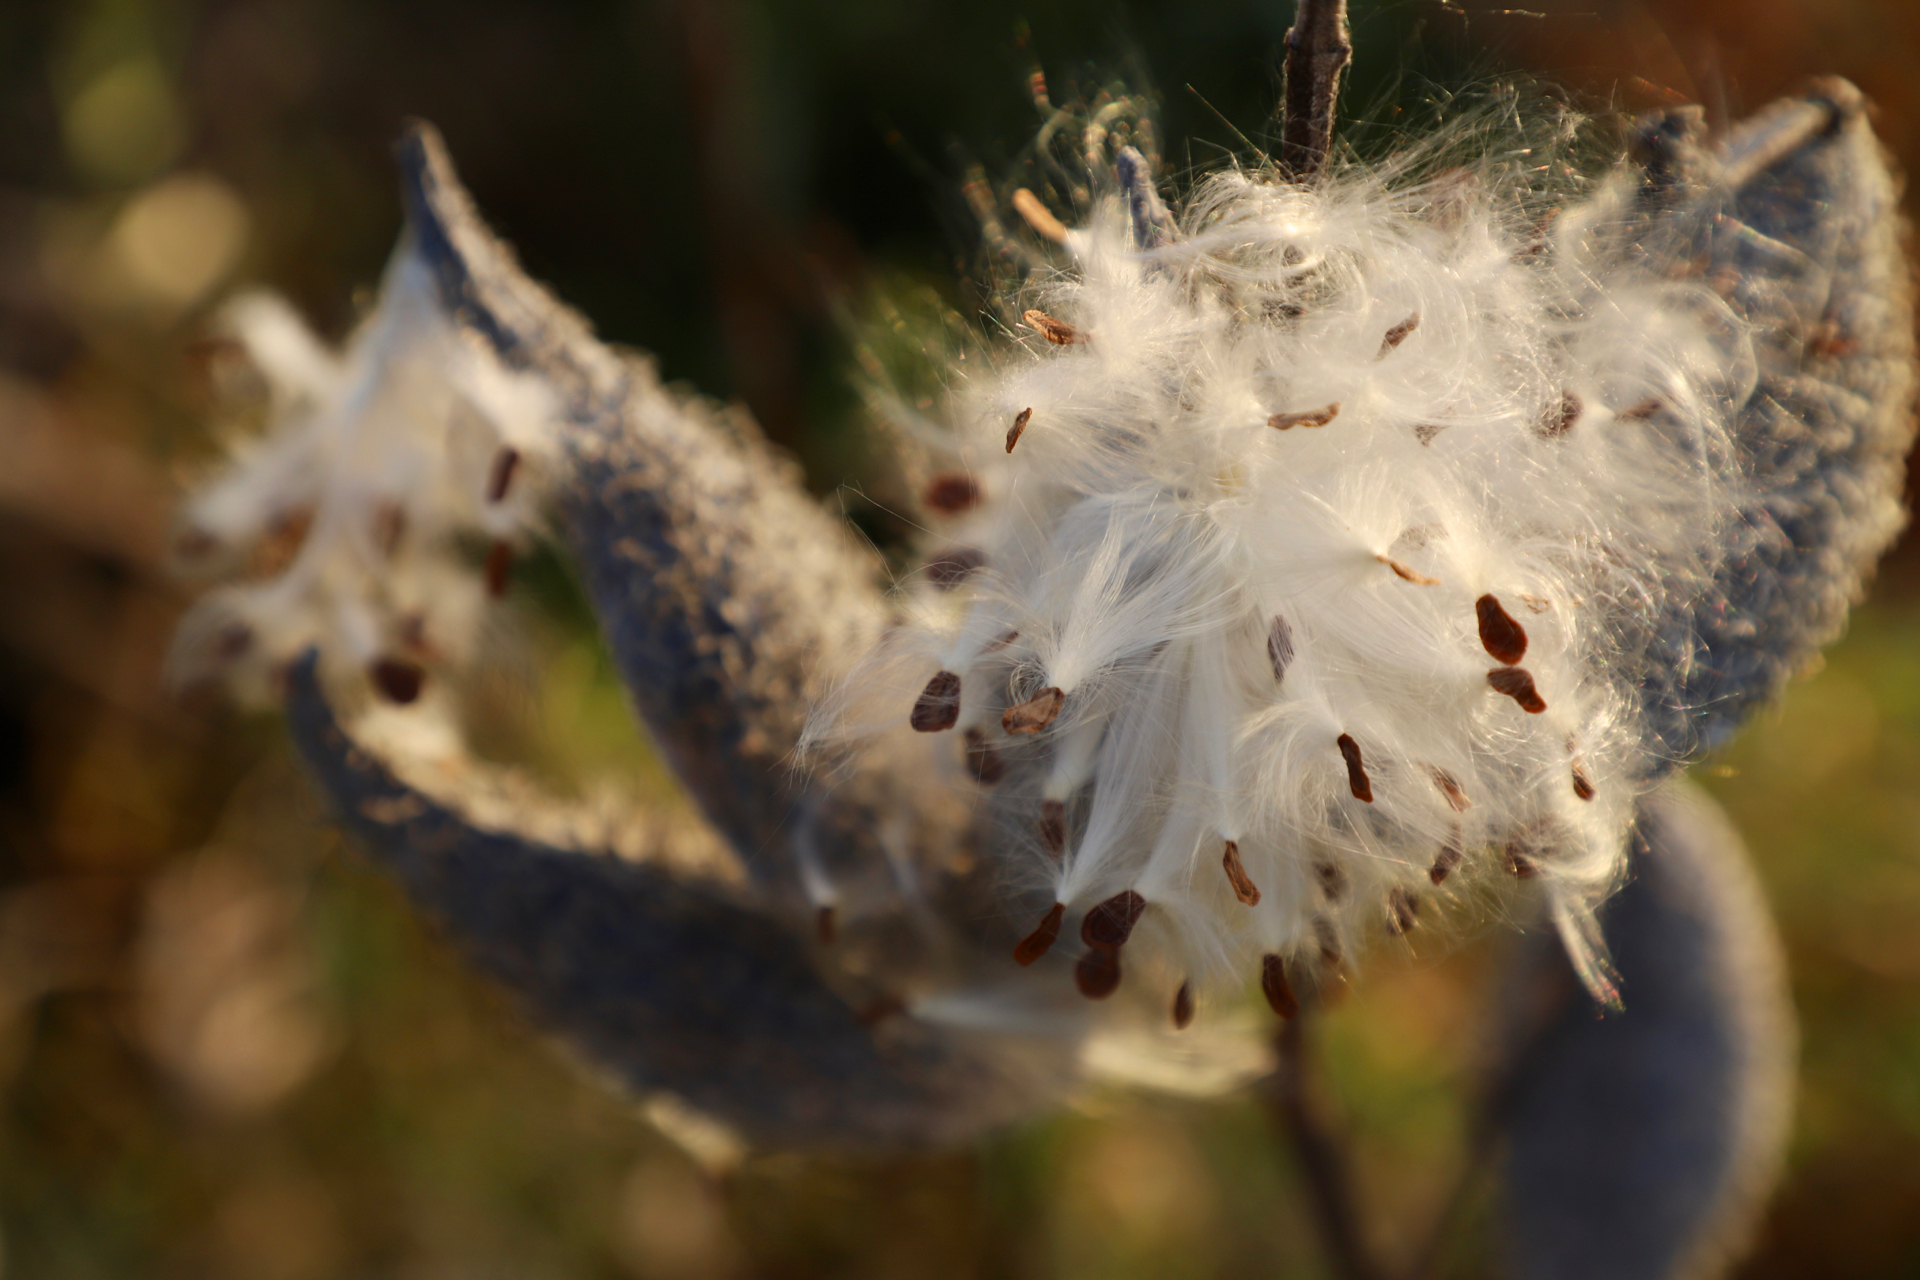
Rural Iowa Photos
Here’s the gallery of rural Iowa photos. Click any image for a larger gallery view. Enjoy!
Below are some photos taken in the Kent Park area on 18 Nov 2018. Here I’m sharing the 1920×1080 size versions of the photos for people use as desktop wallpaper or enjoy in other ways. They also make for fun tablet or smartphone wallpaper. If you’d like to use any of these for commercial purposes, if you’d like the originals, or have any questions about this collection of photos, feel free to contact me. Thanks!
Camera and Settings Used
I was using a Canon 6D Mark II camera. For the photos that seem to have more saturation, I had selected the Vivid or Intense options available in the CA camera setting. See page 102 of the instruction manual for further details about these features. I was using the 24-105mm USM lens that came with the camera. Although I didn’t have a tripod, the Canon Image Stabilization (second generation) seemed to work well enough.
I was able to use the automatic mode for most of the photos. The camera’s choice of aperture, speed, ISO, and focal point were acceptable. Sometimes I’d switch to manual focus and at times used Aperture Priority when I wanted more control over the shot. Learn more about Aperture Priority on page 238 of the Canon 6D II instruction manual.
The Intense color setting can result in photos that seem too dark. However, using Intense that then later using software to increase the exposure will result in photos that are less washed out than if the photo had been taken without these color enhancement options. The Vivid setting is a less saturated option, but sometimes isn’t enough.
Kent Park Area Photos
Here’s the gallery of Kent Park photos. Click any image for a larger gallery view. Enjoy!
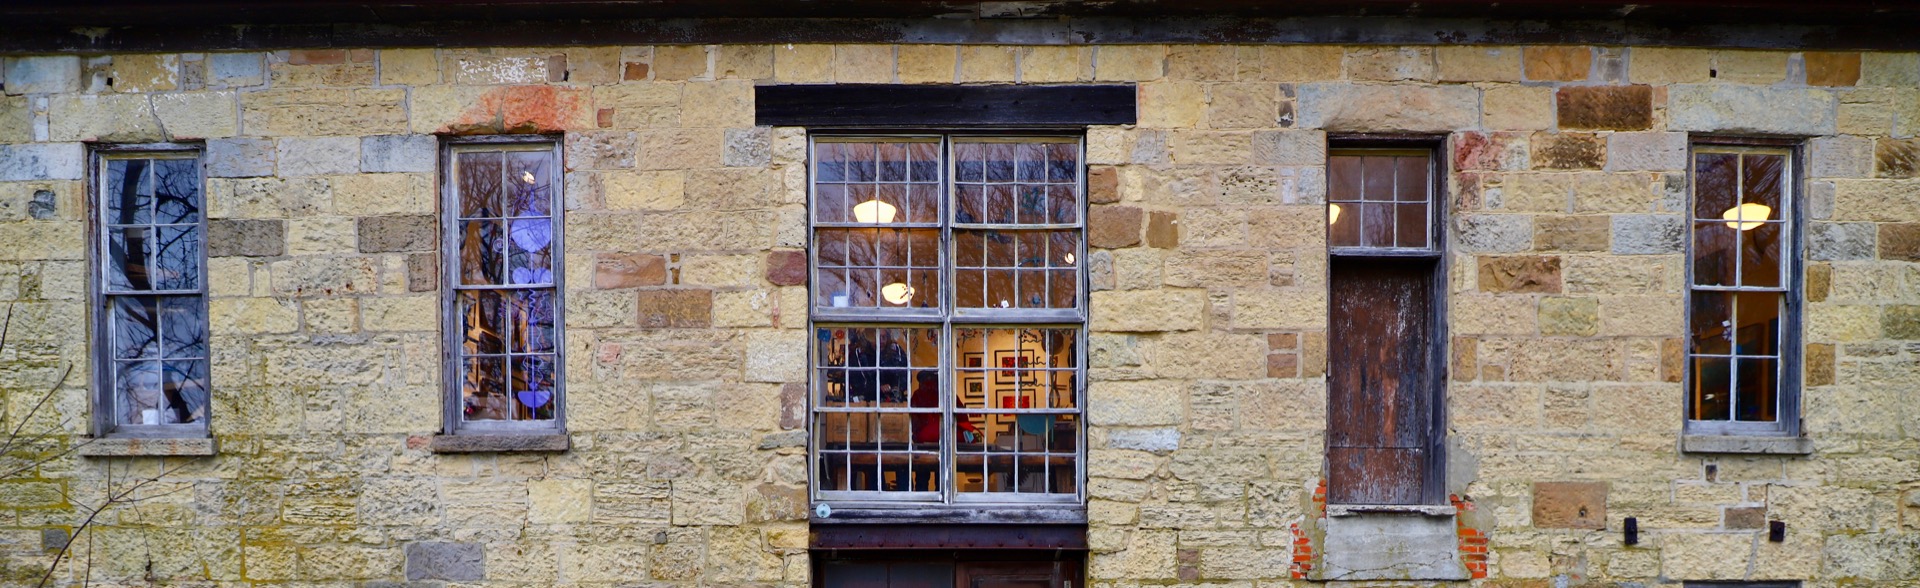
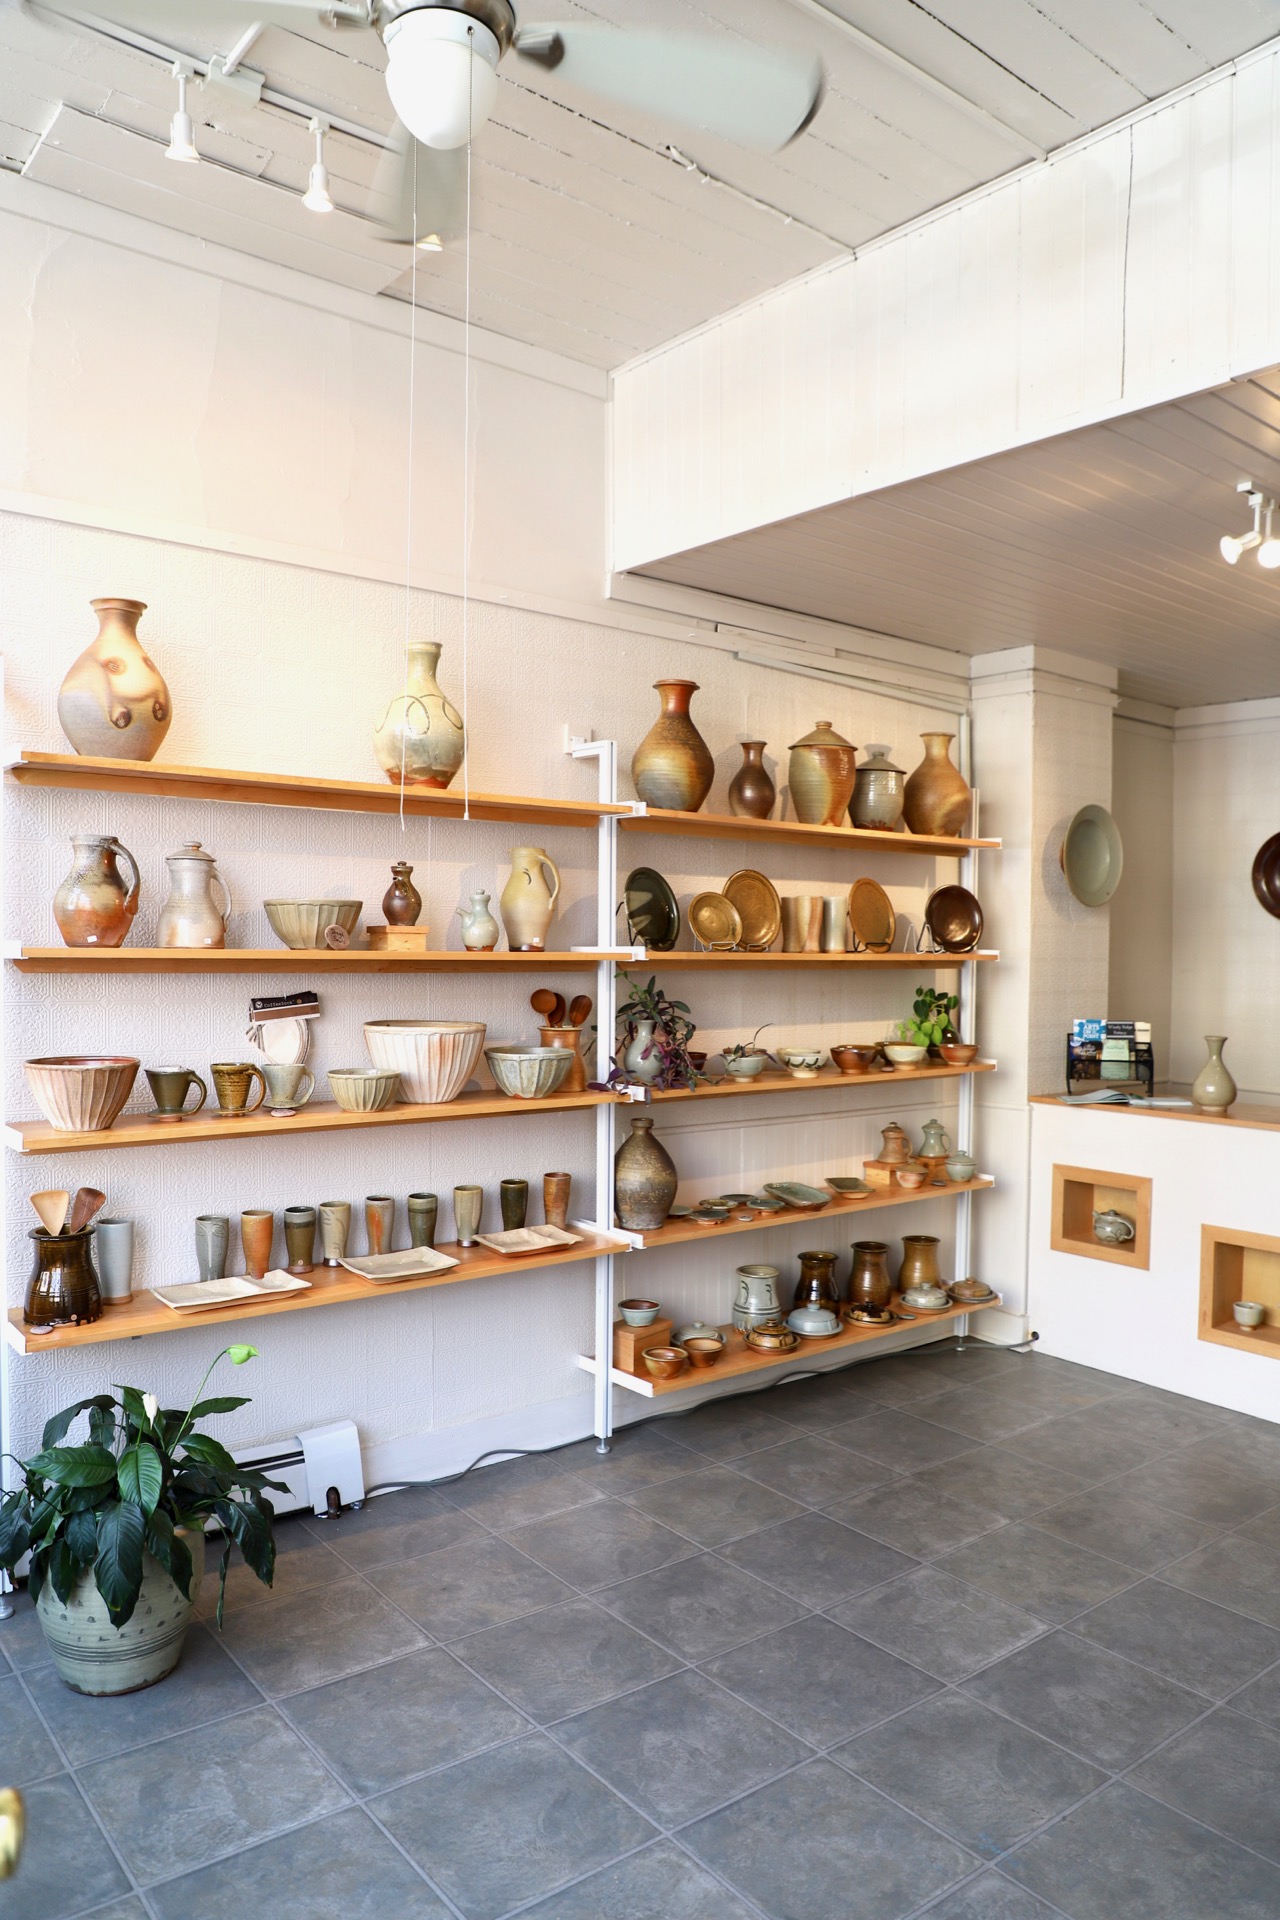
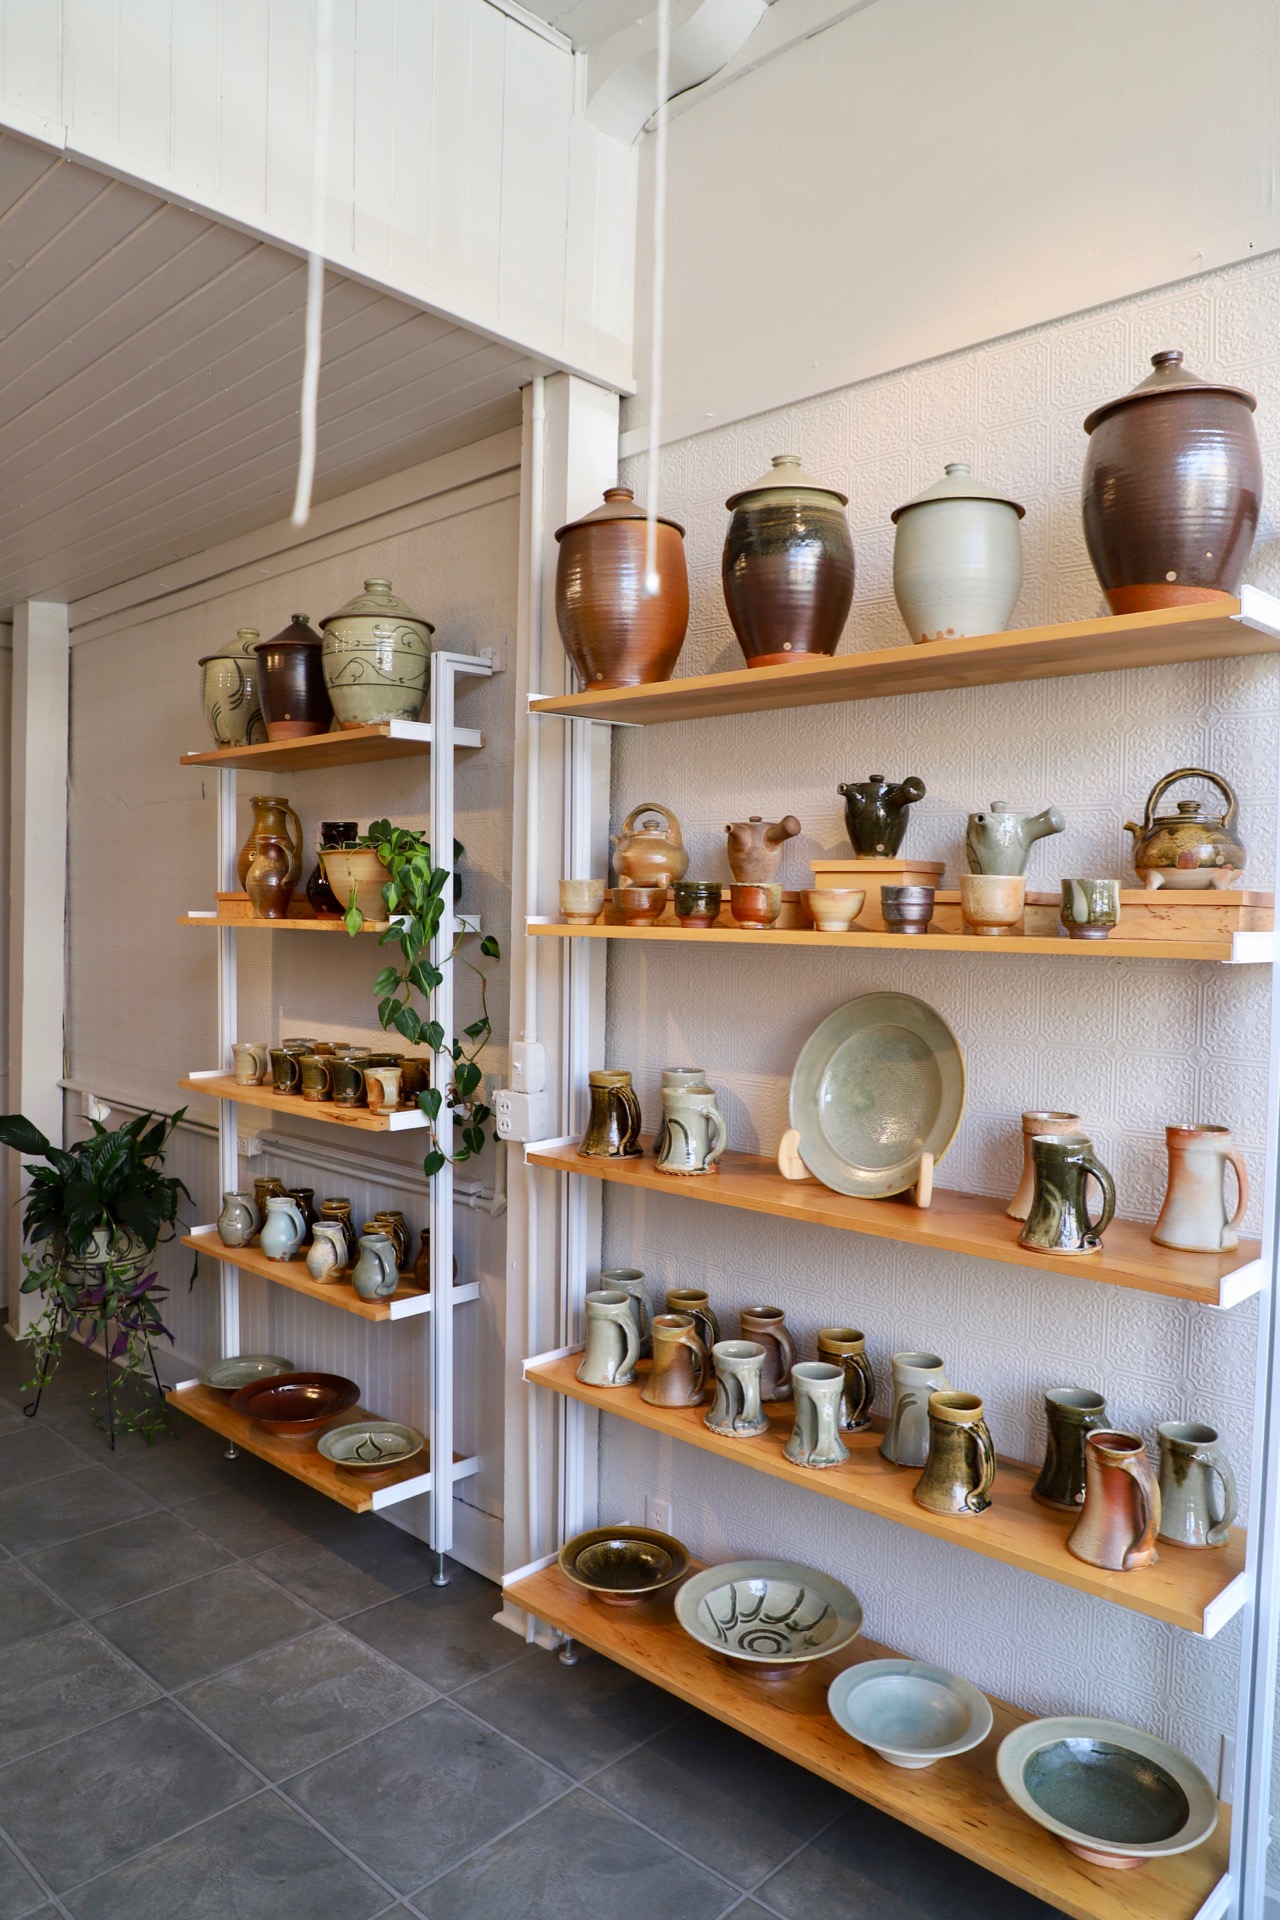
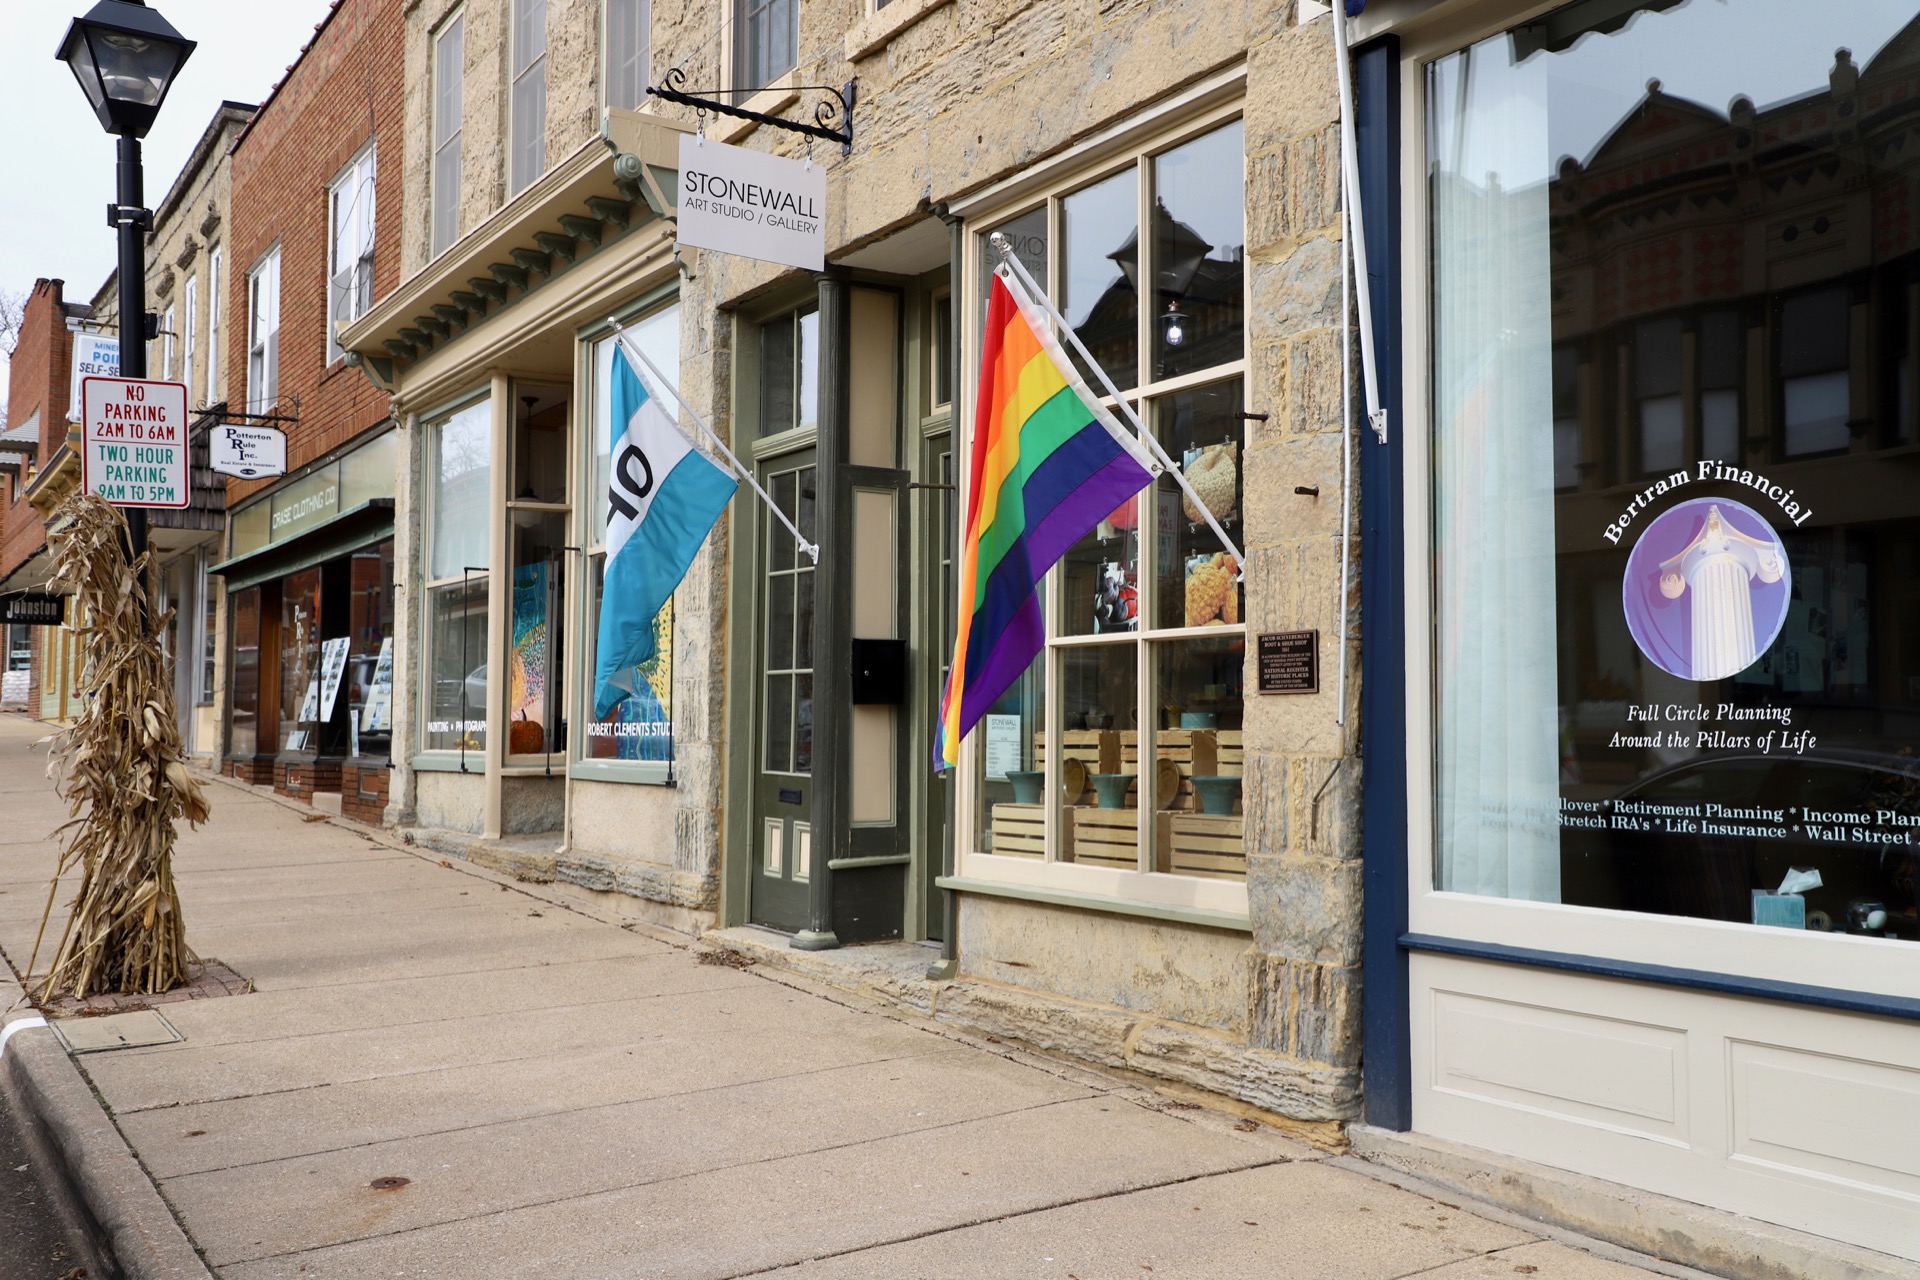
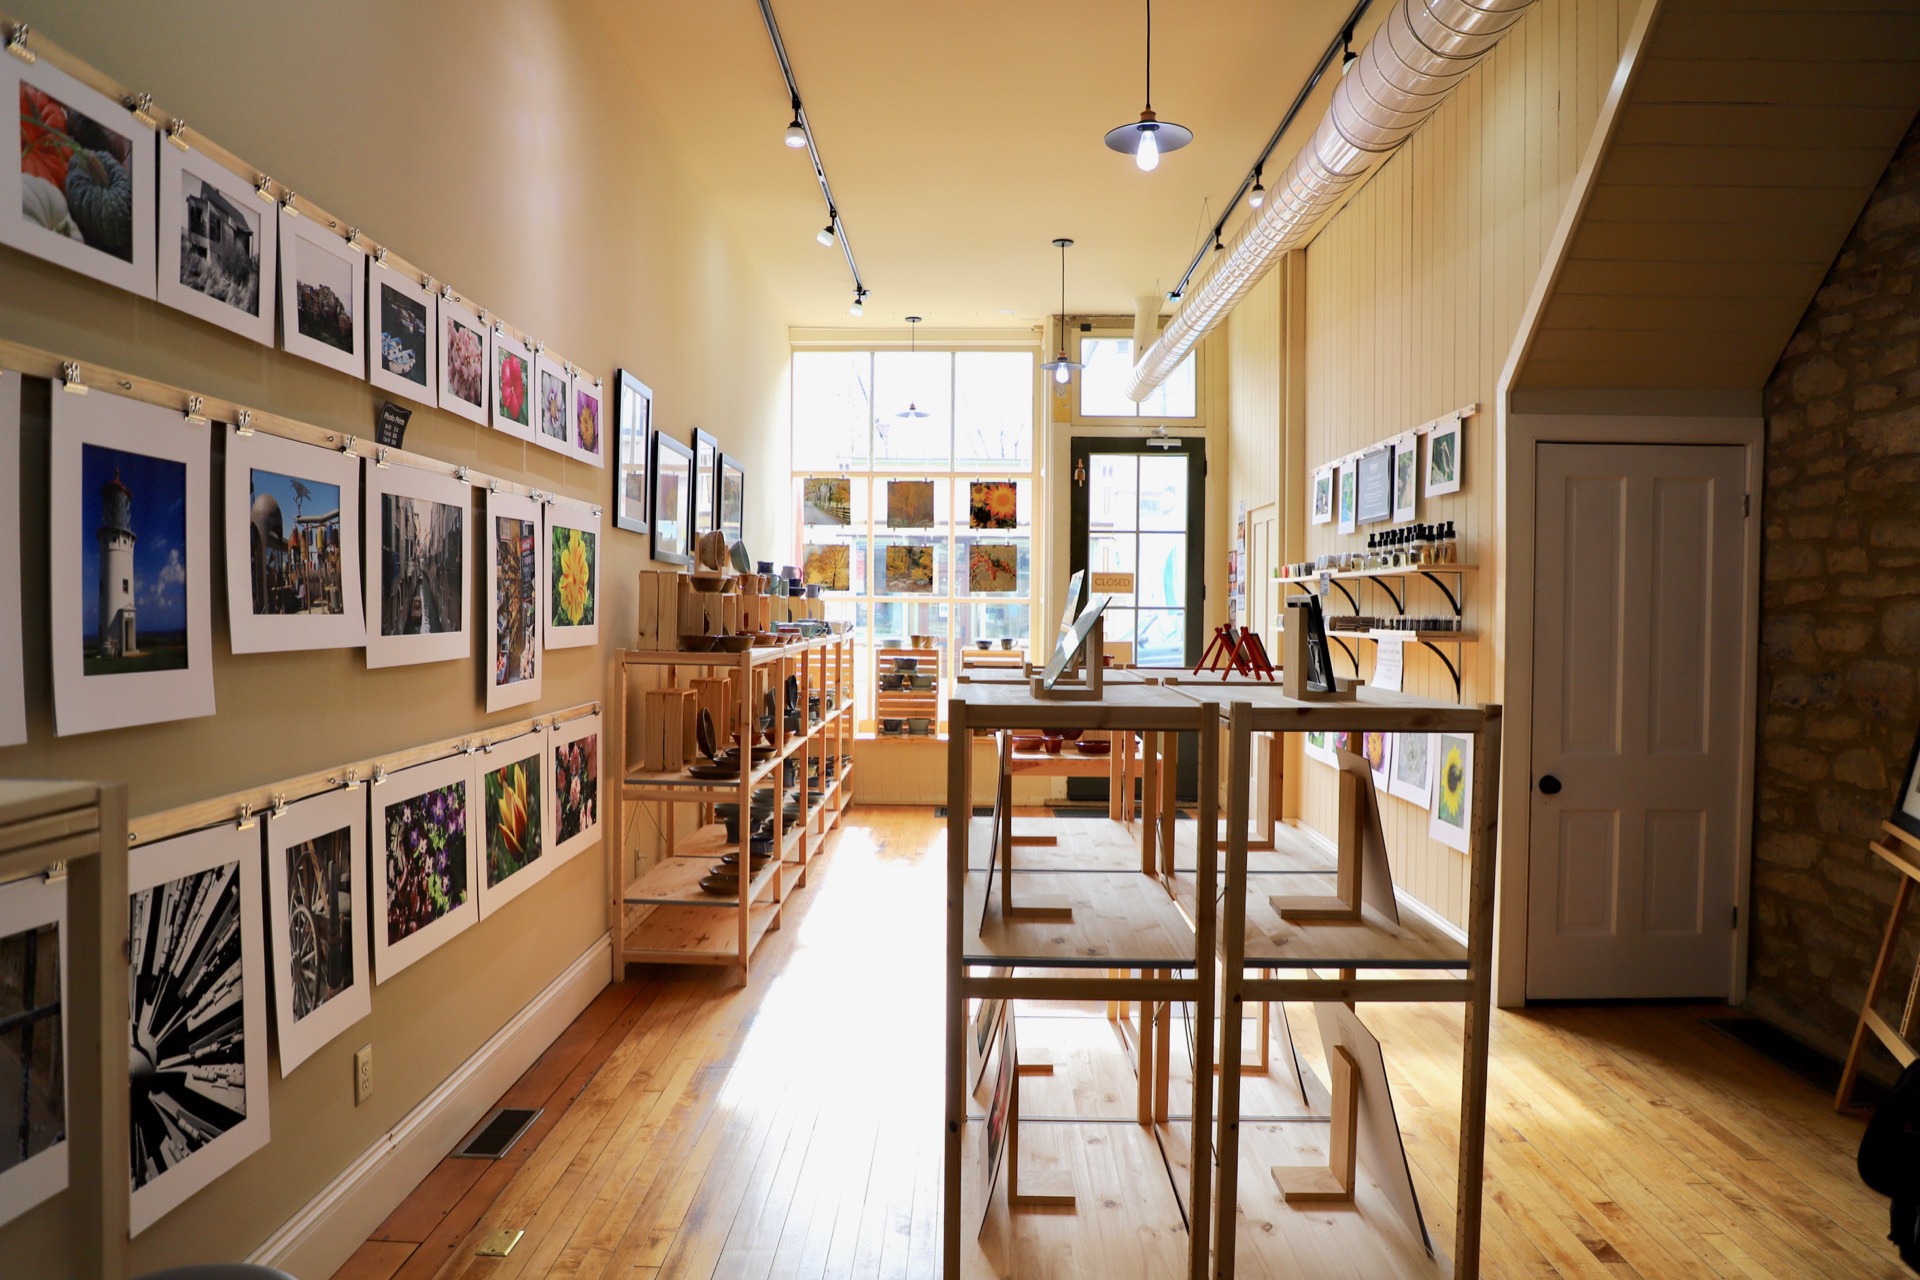
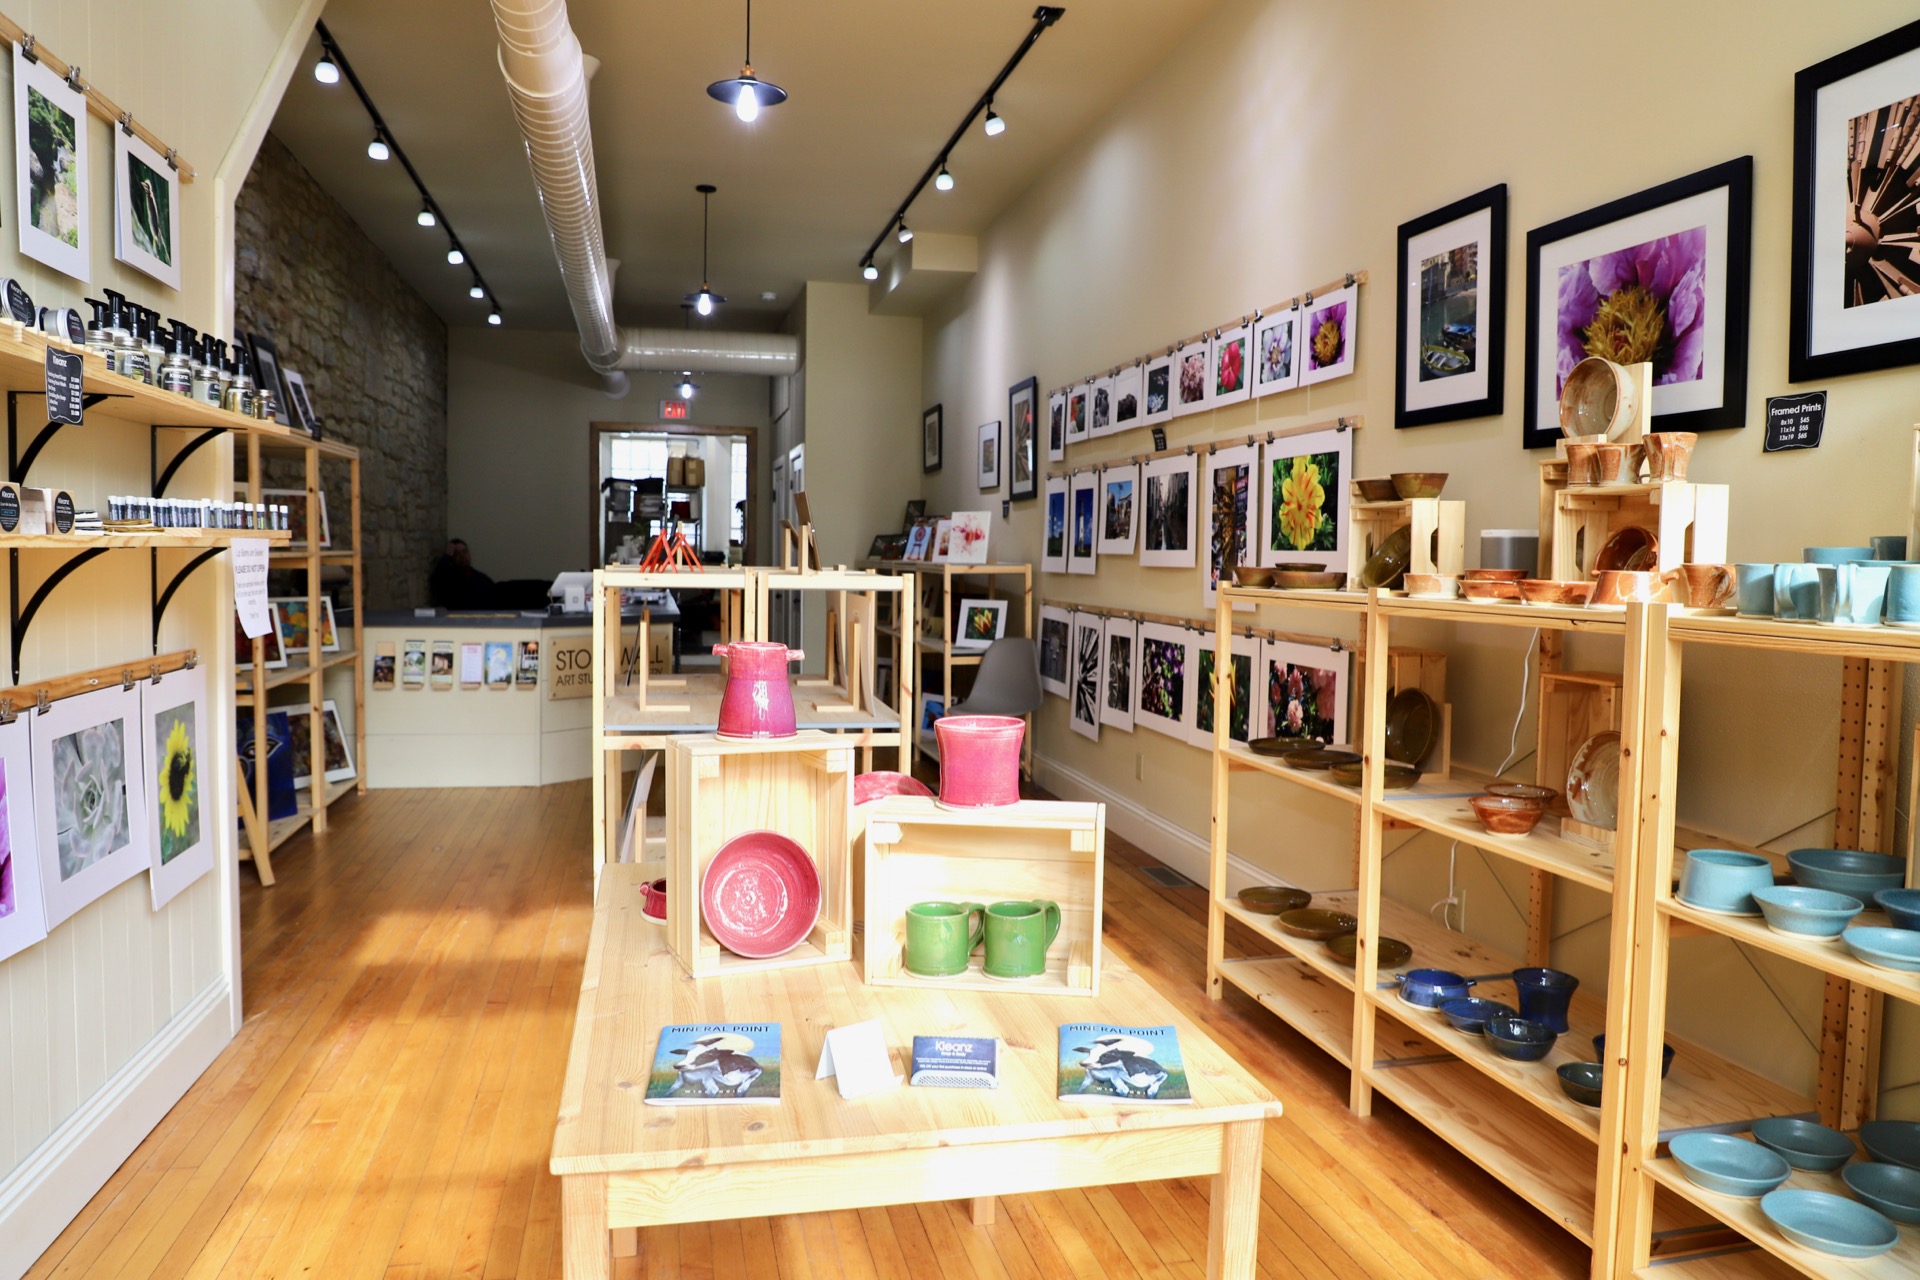
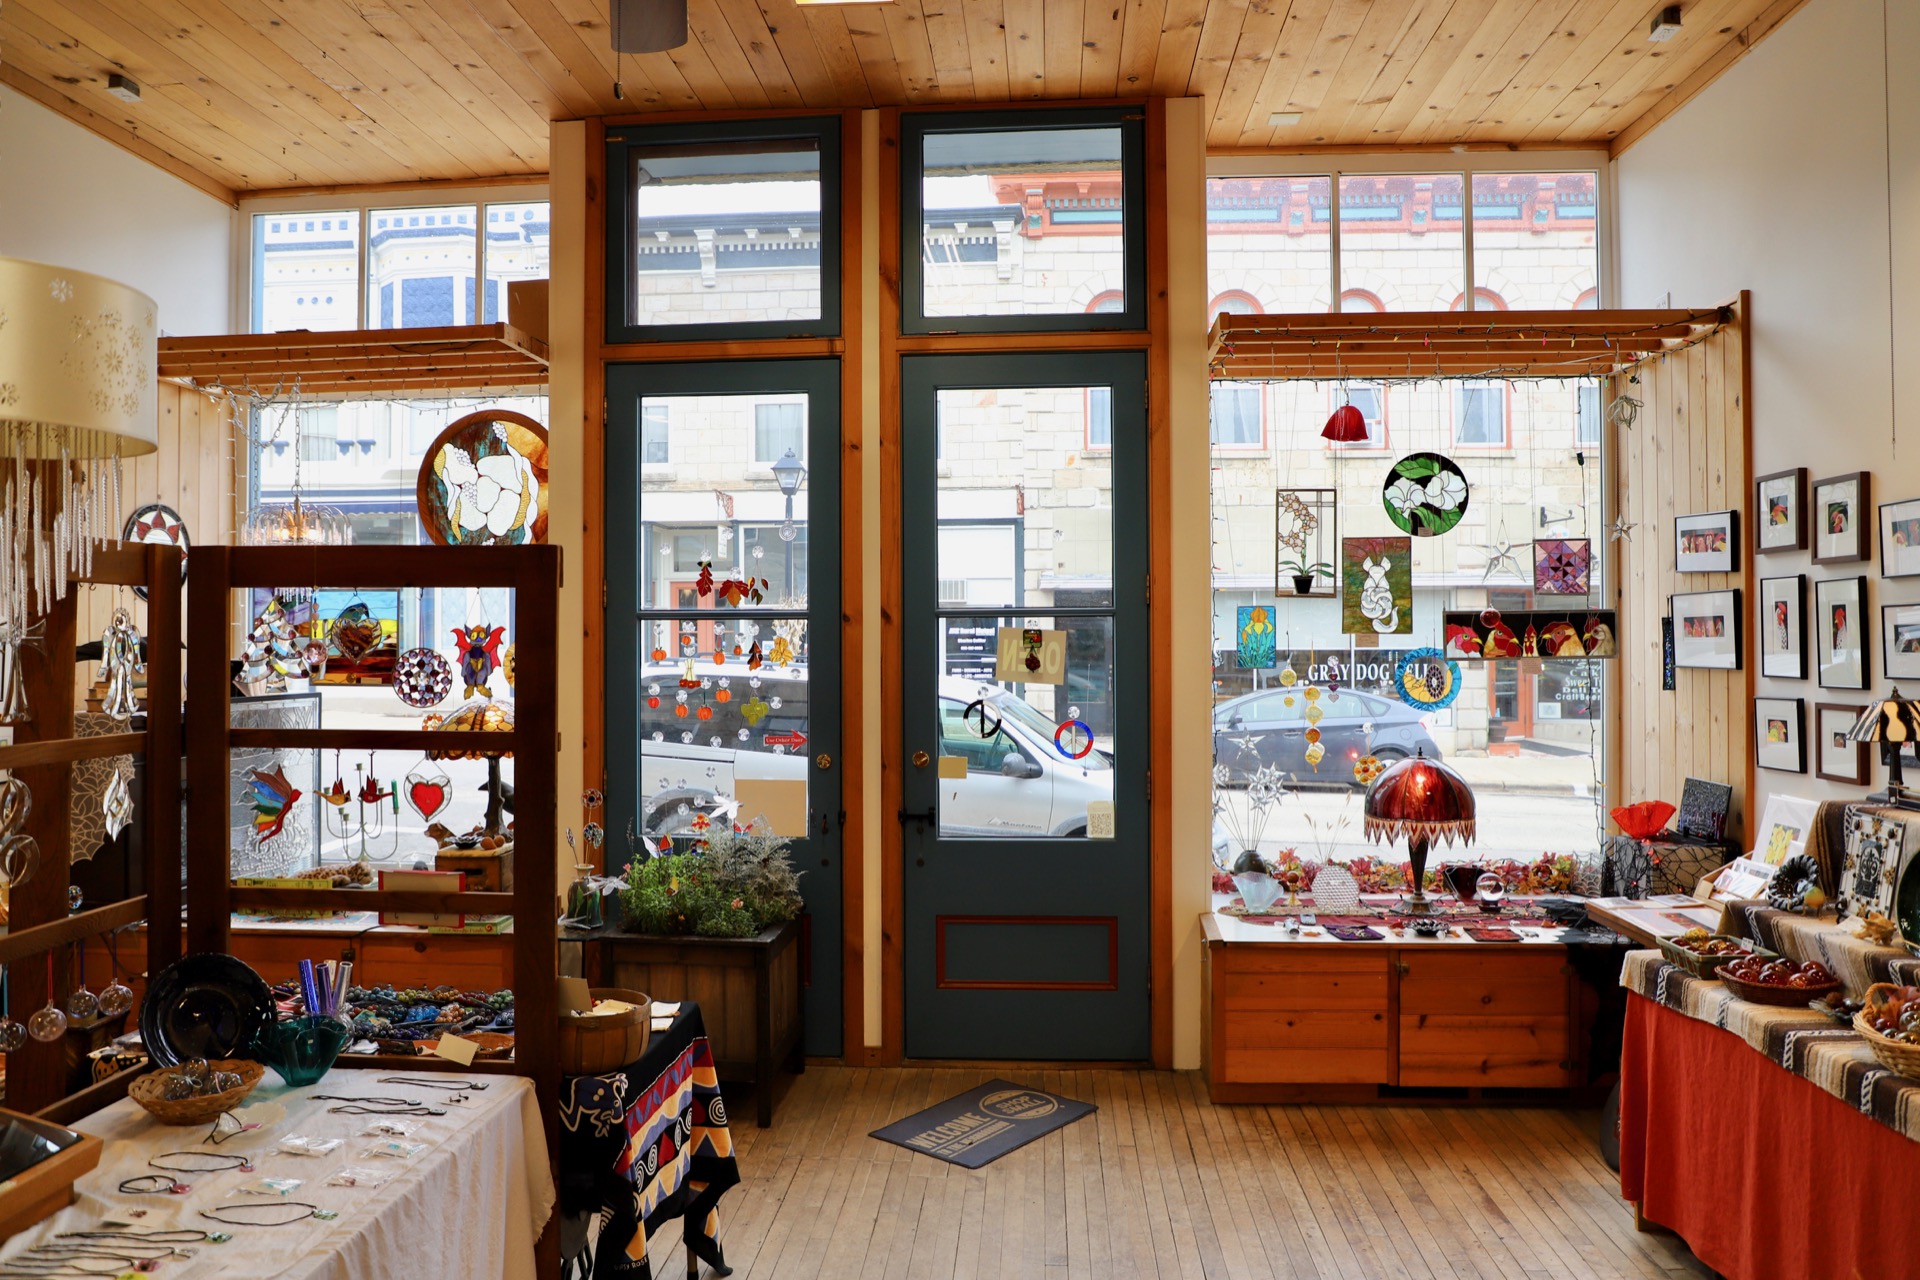
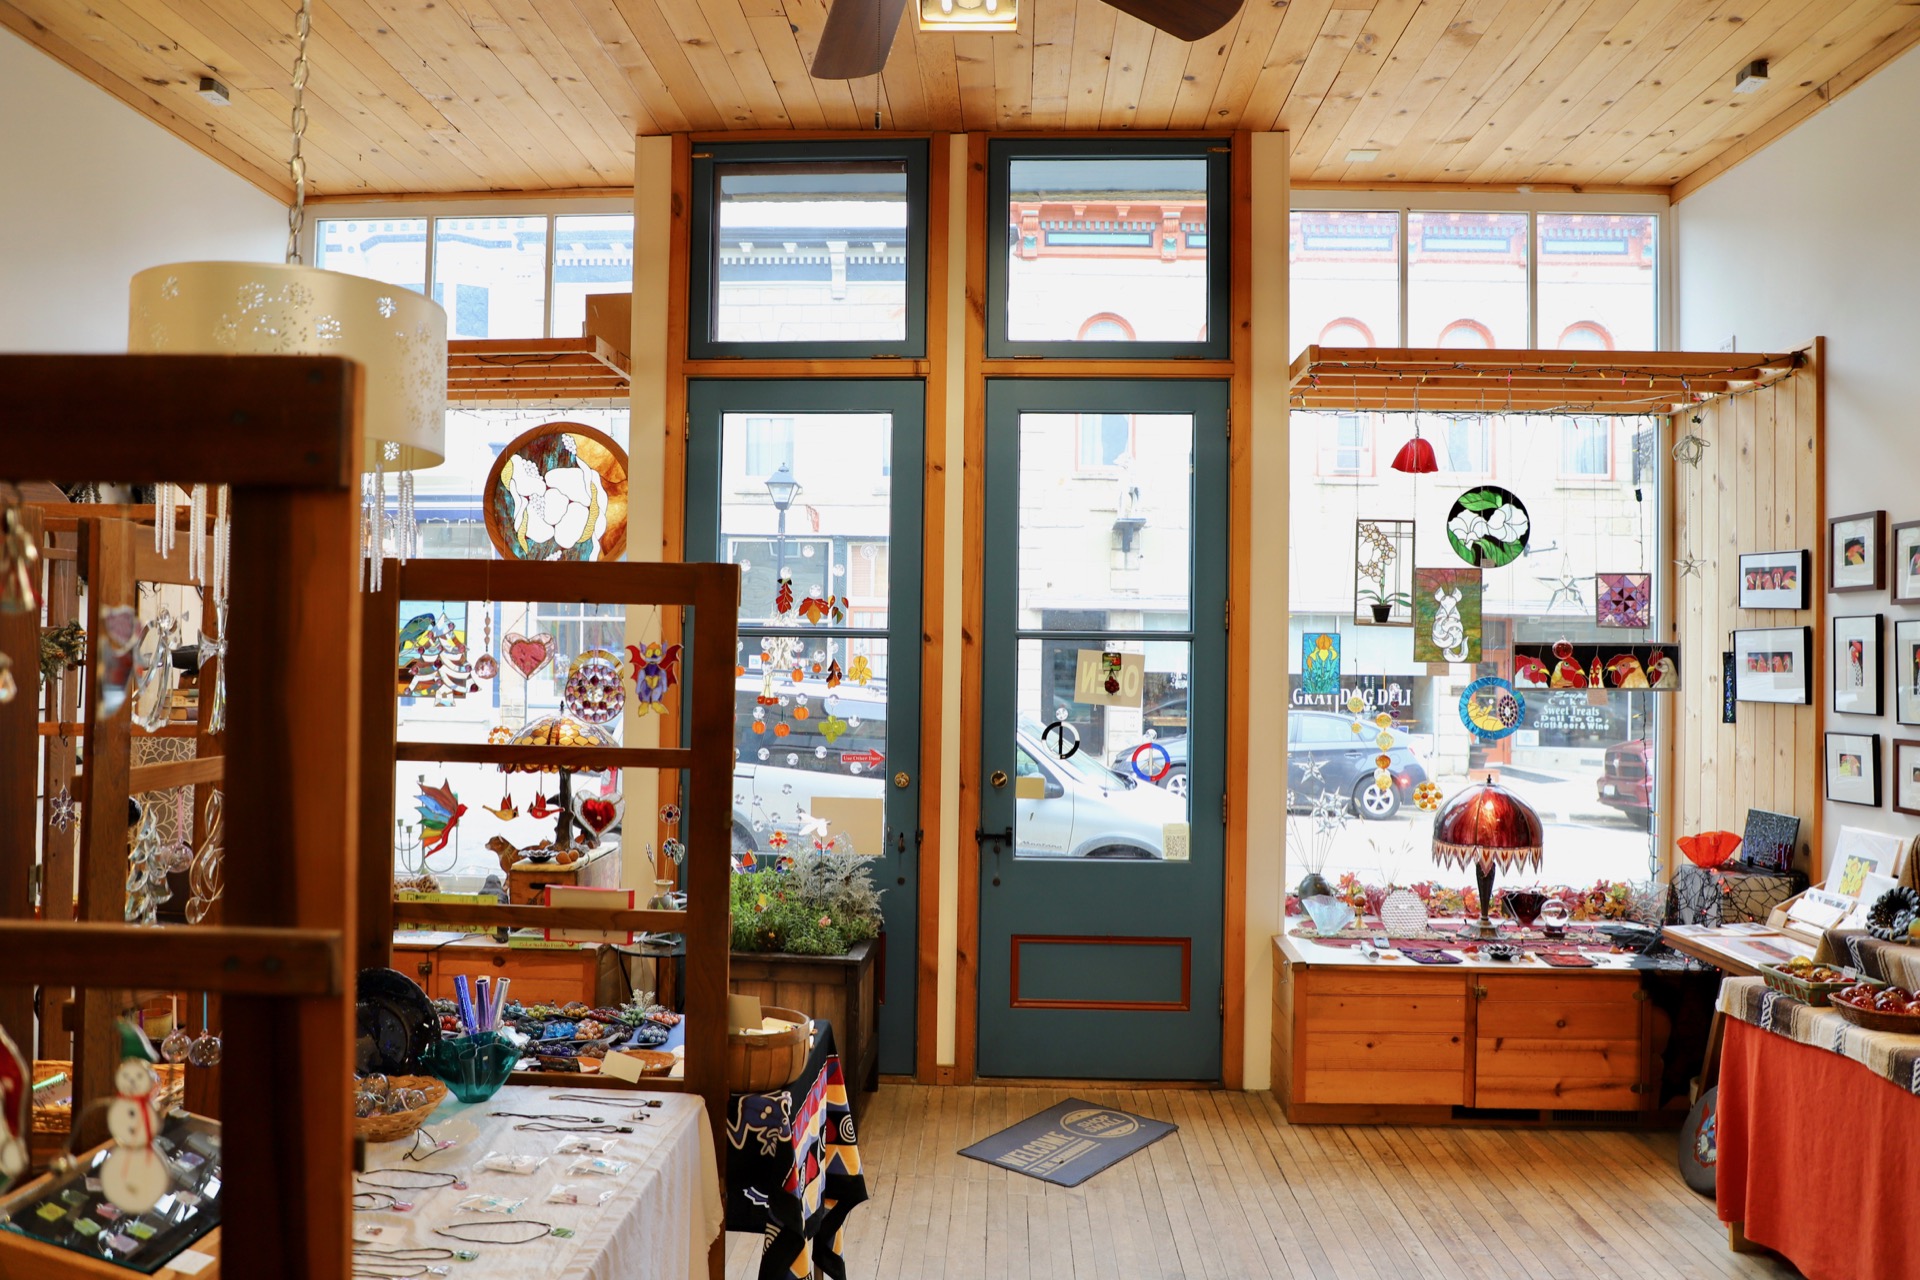
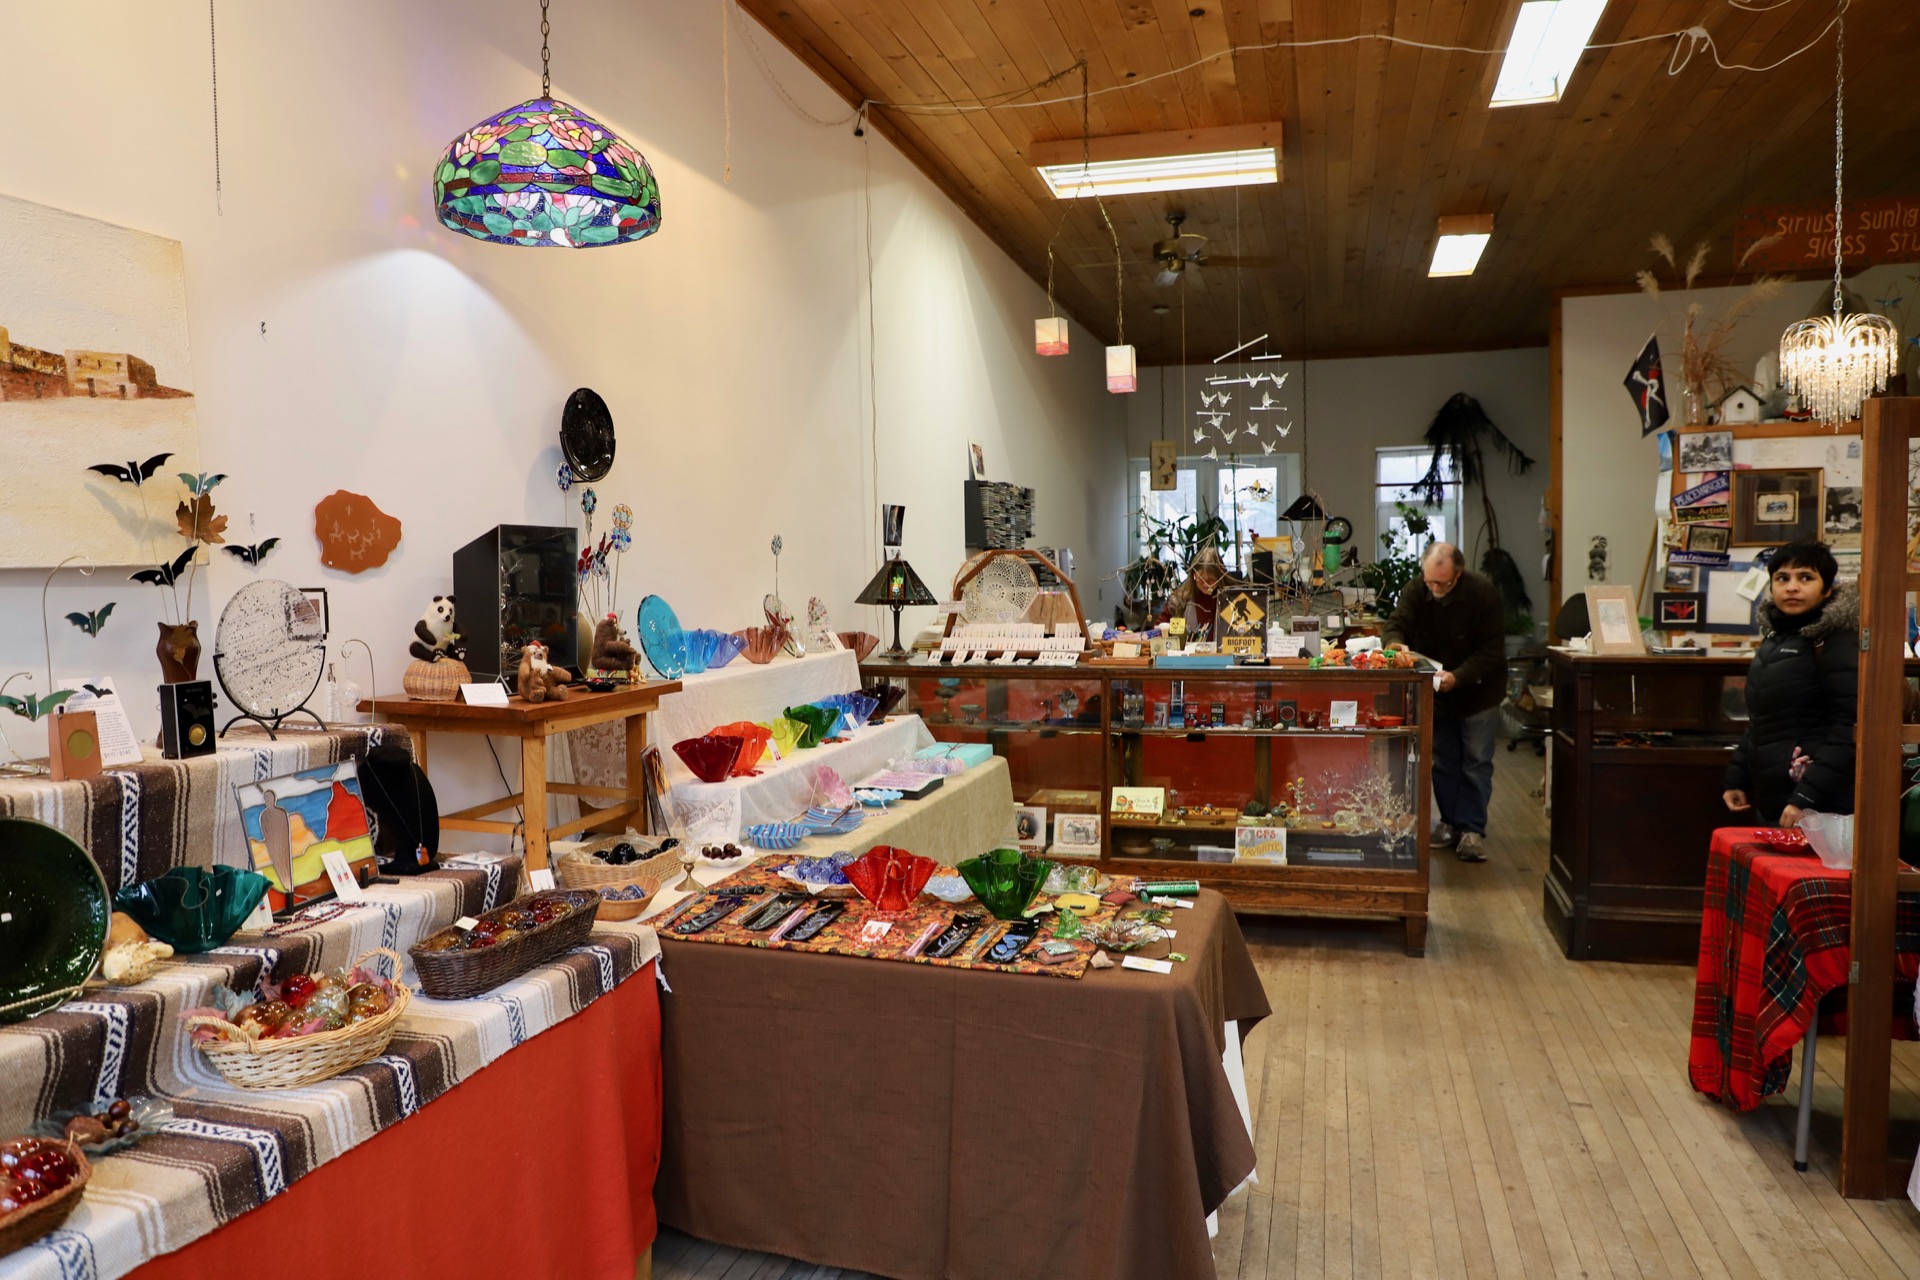
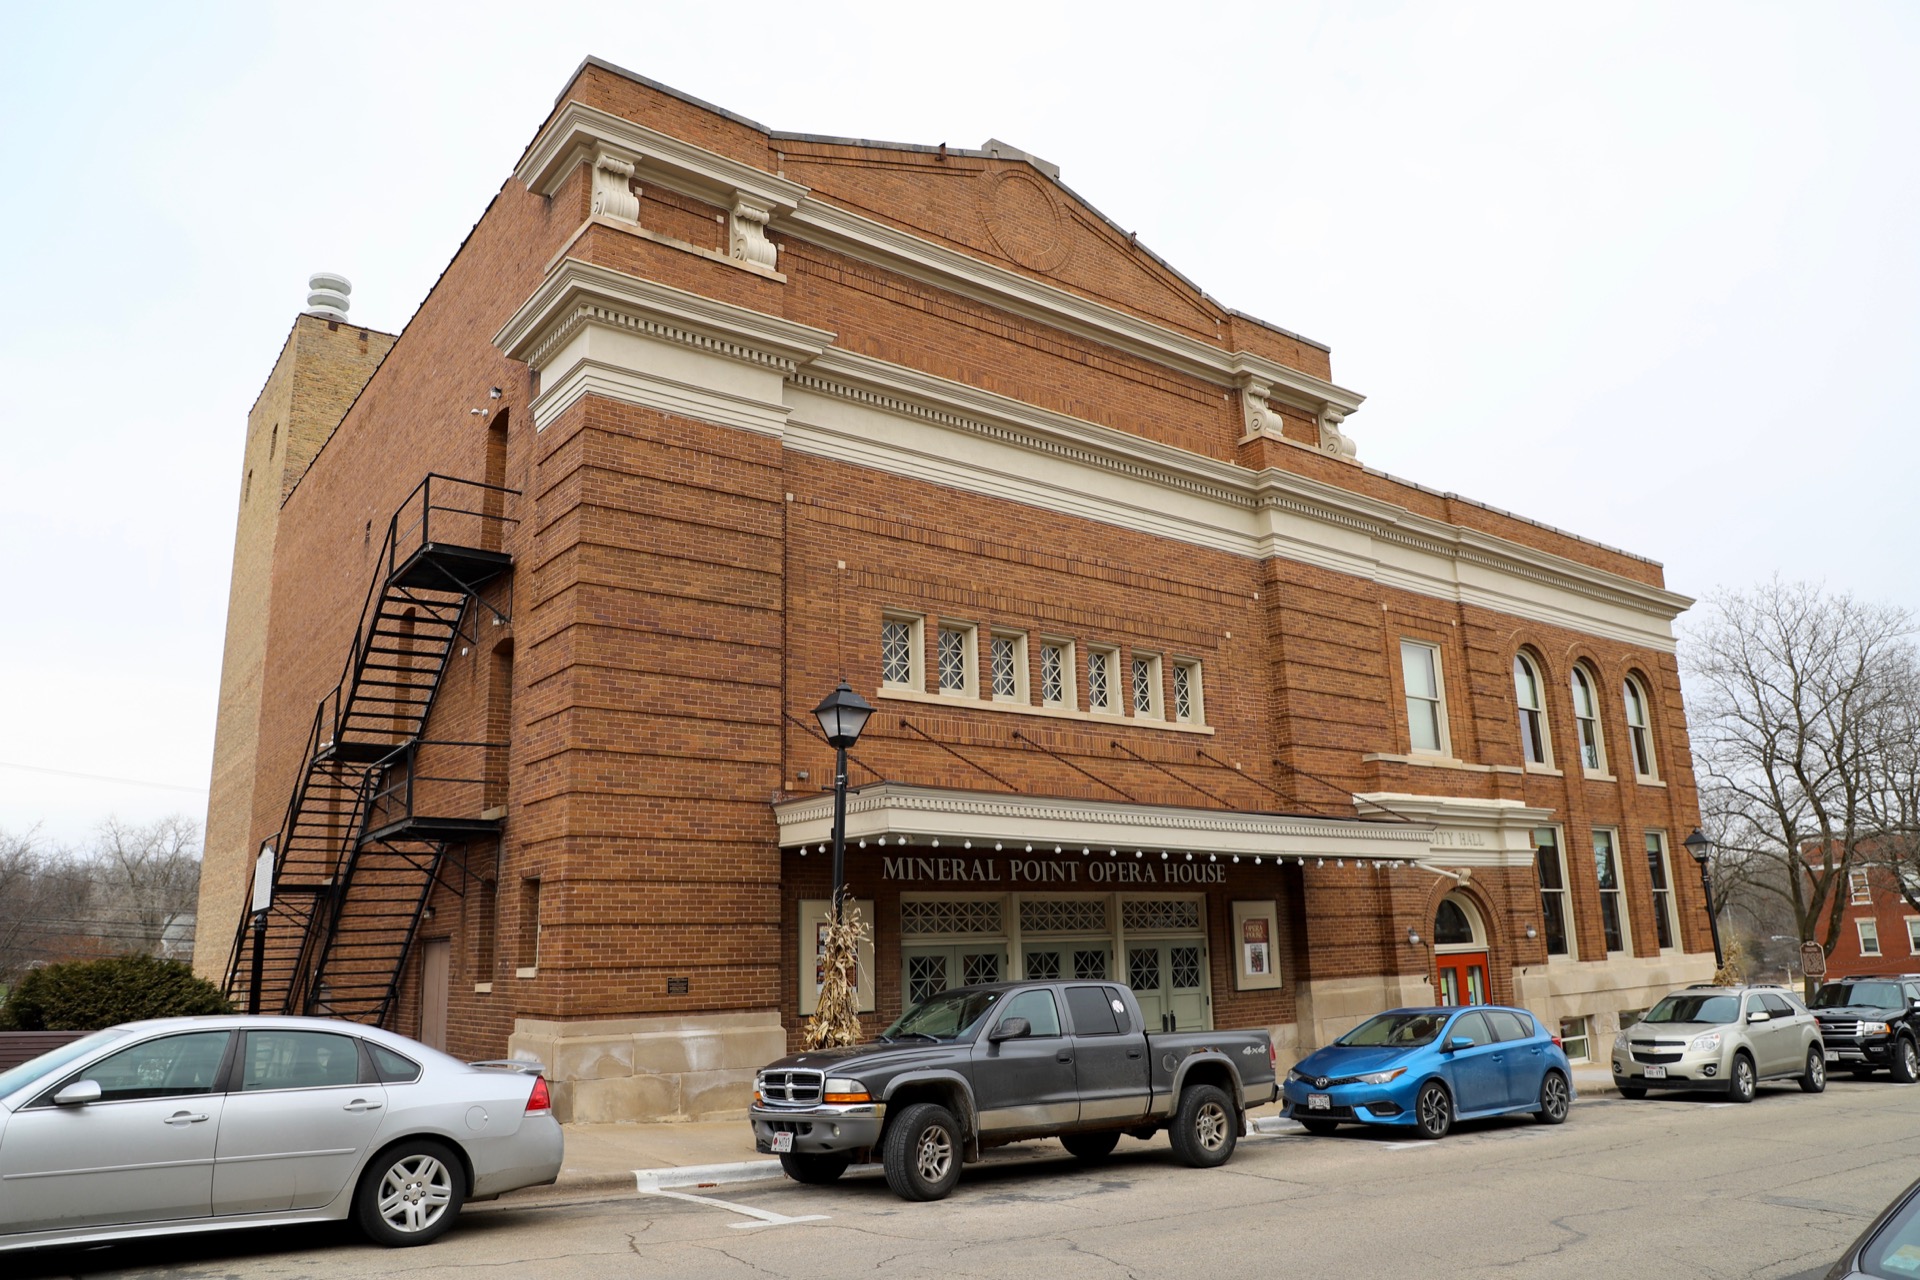
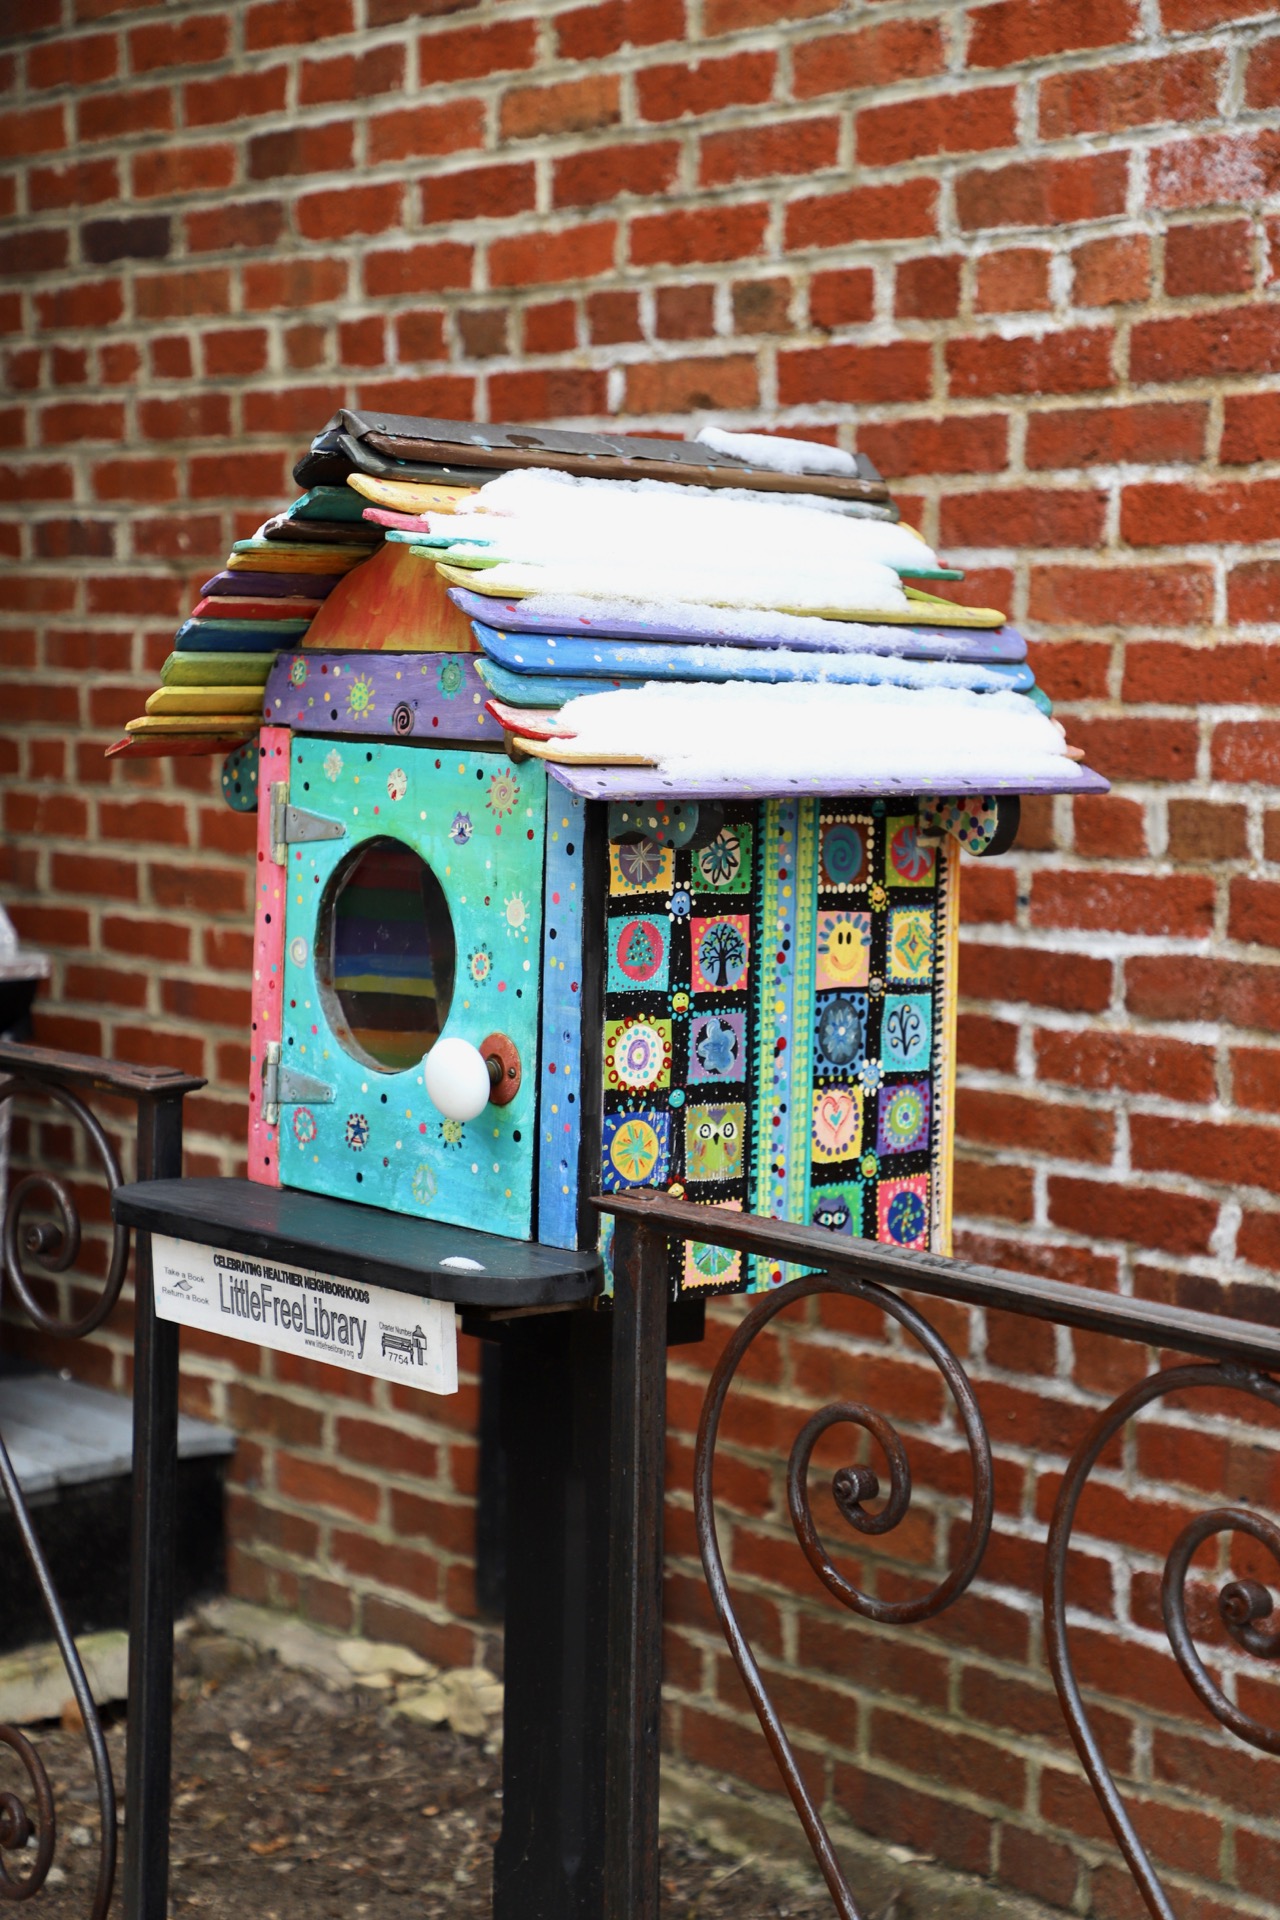
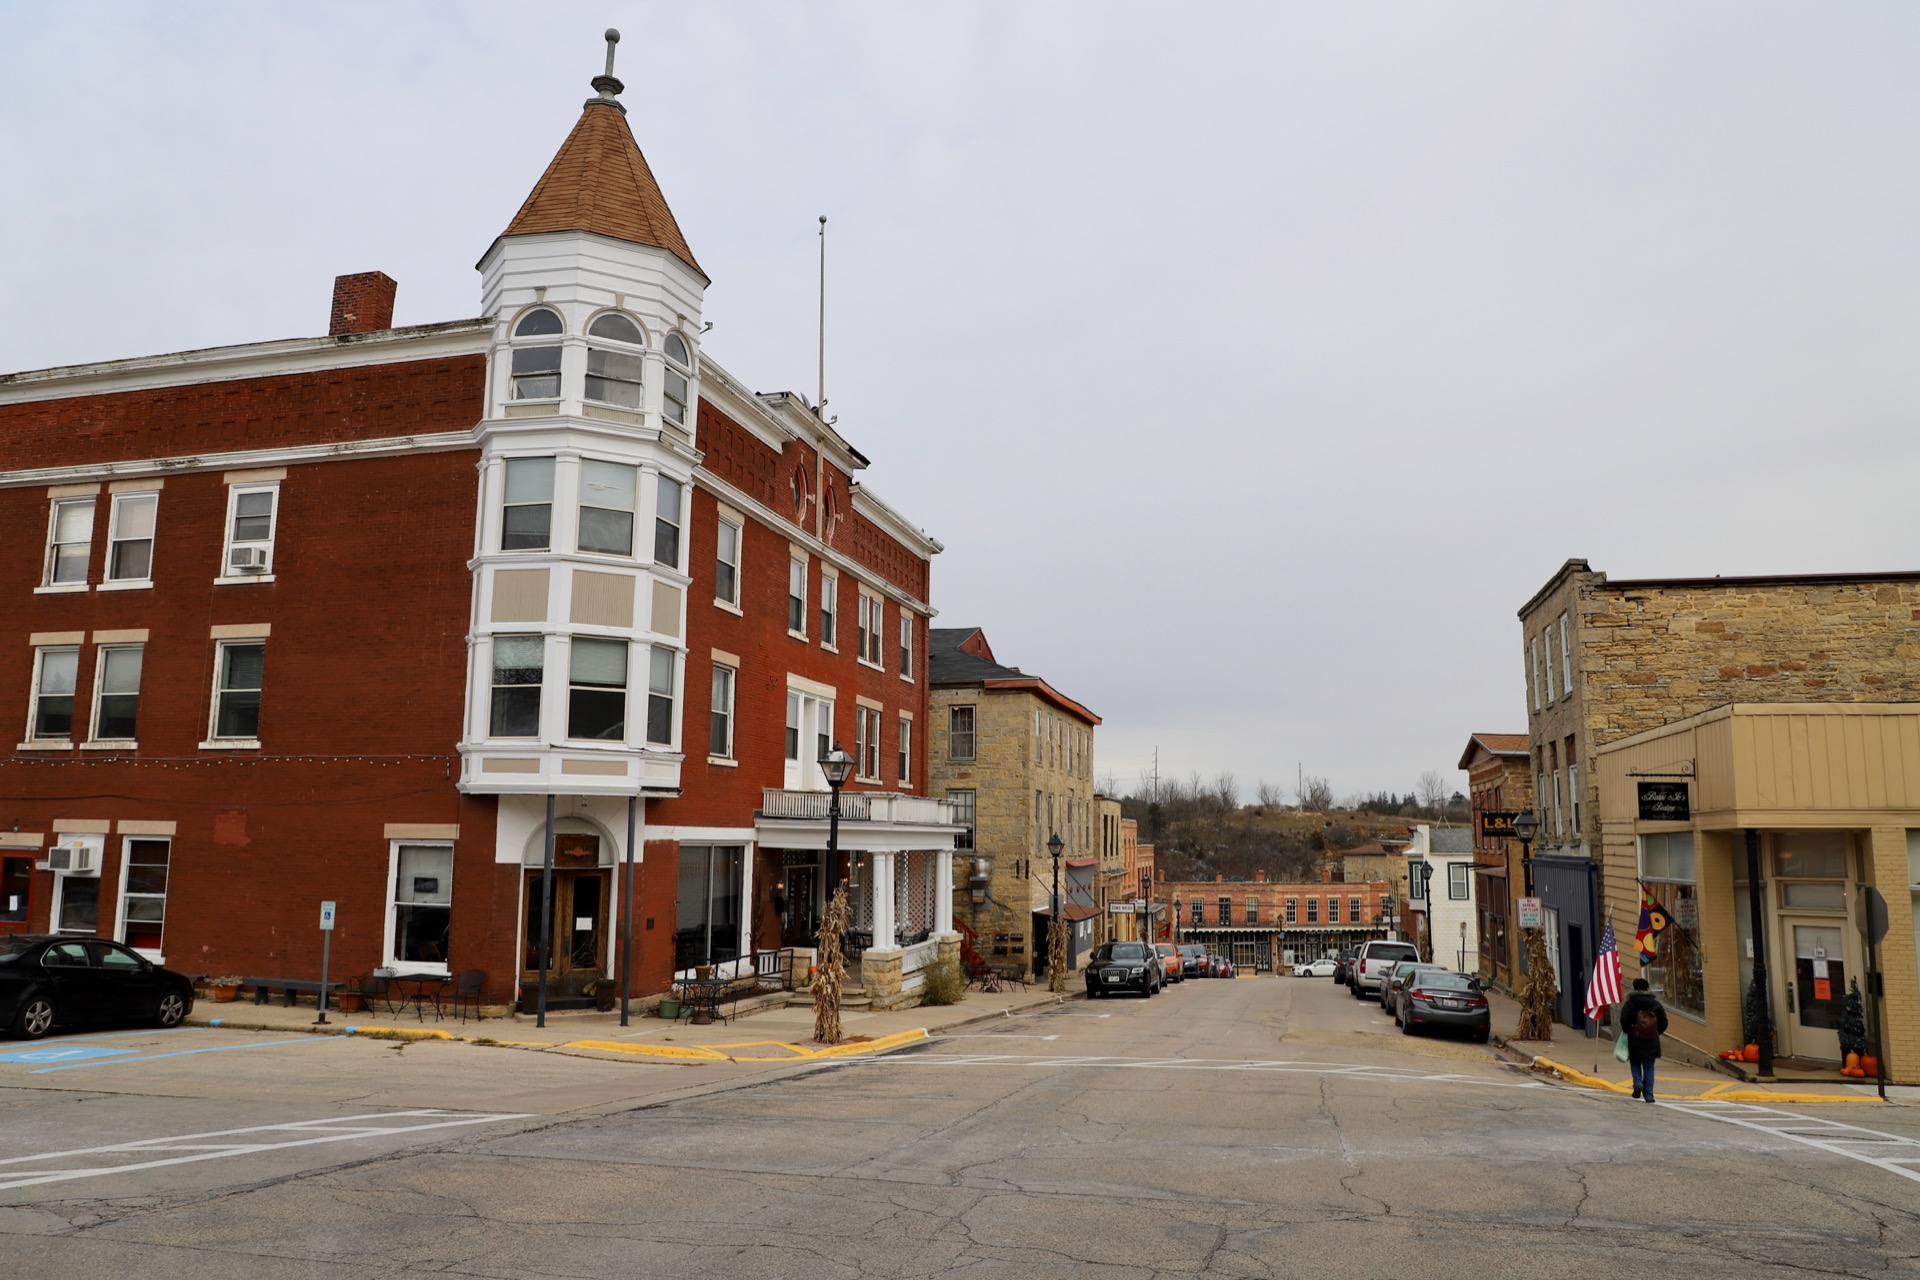
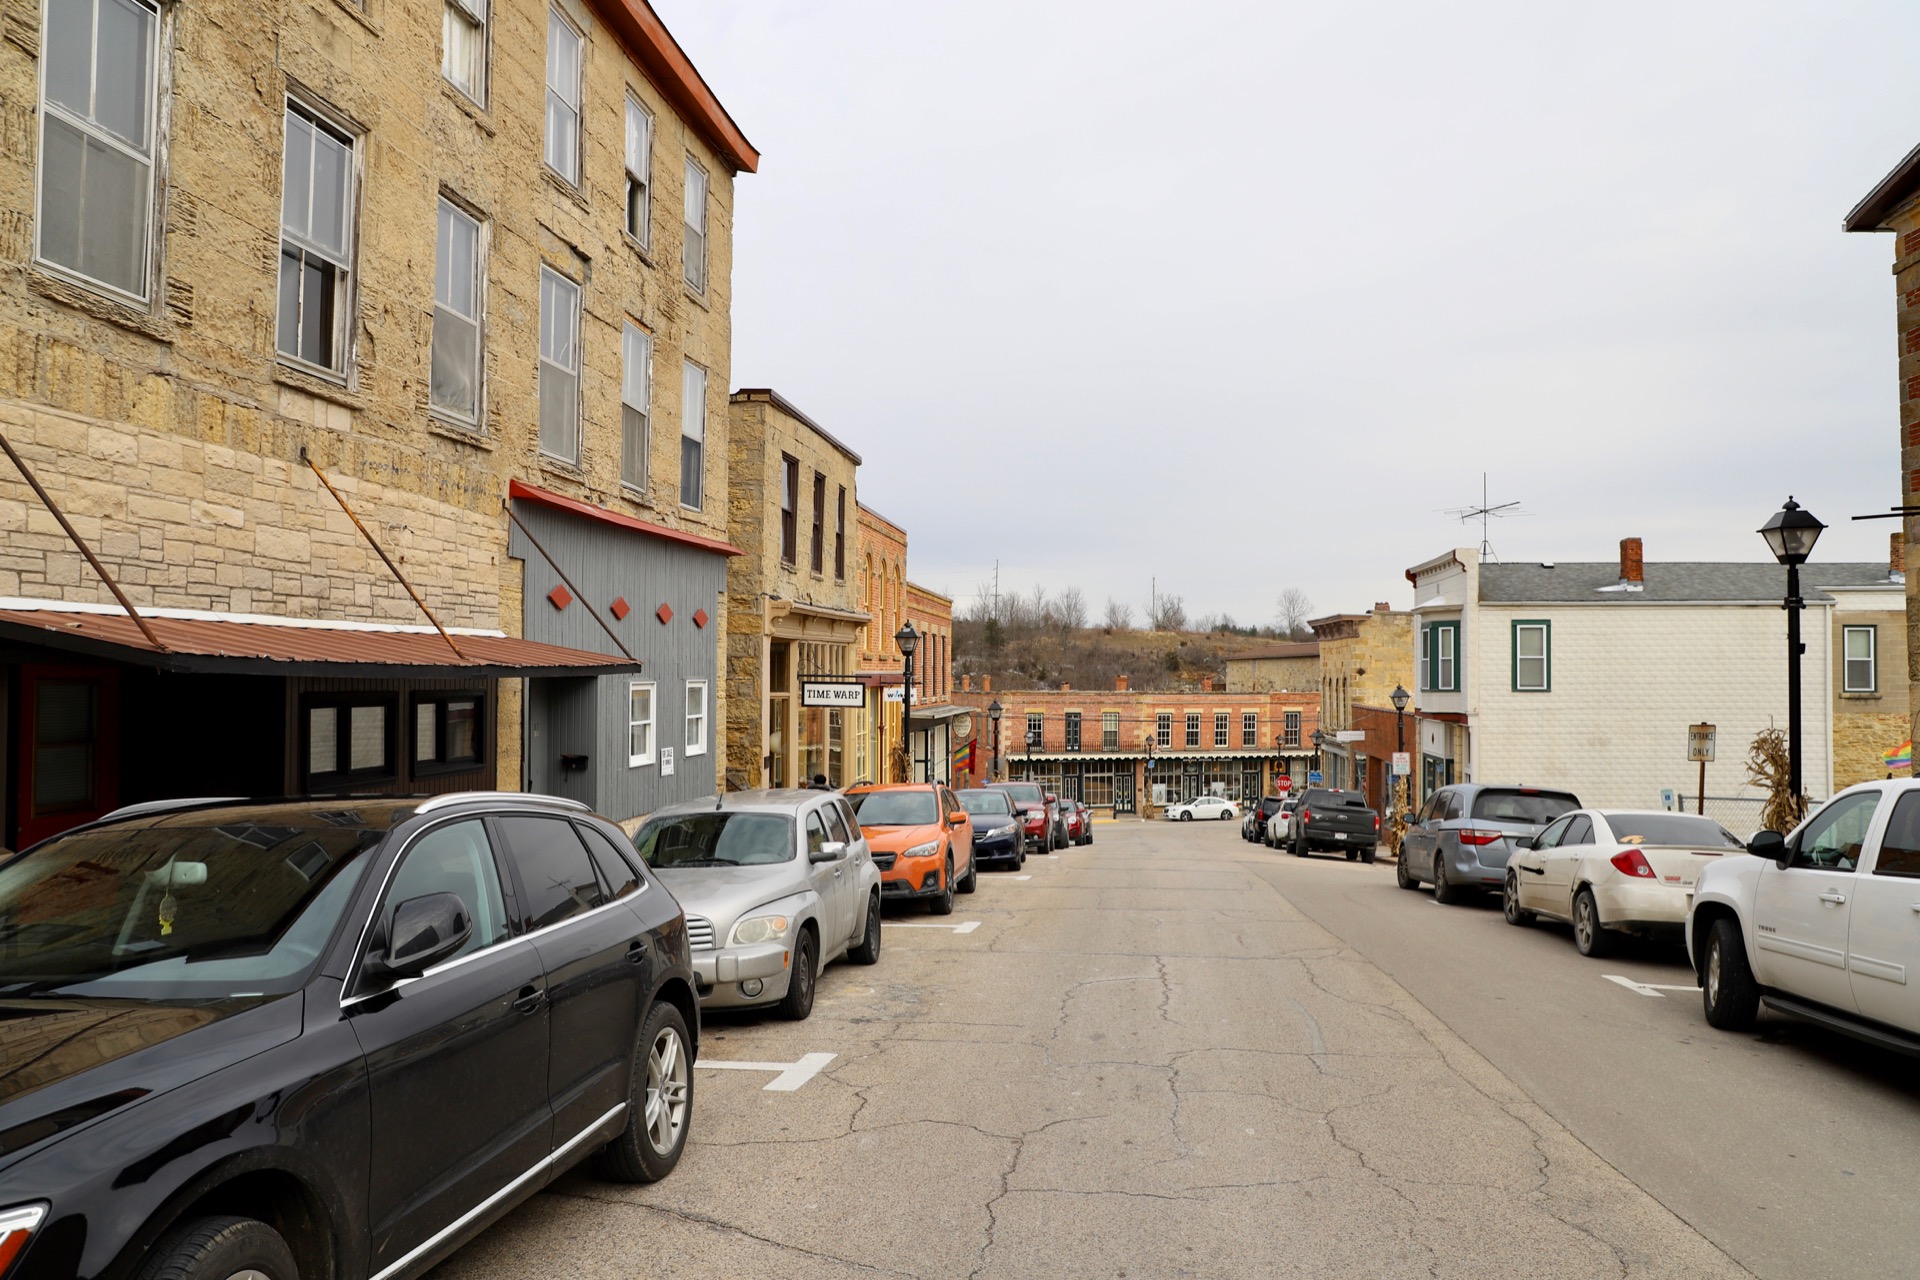
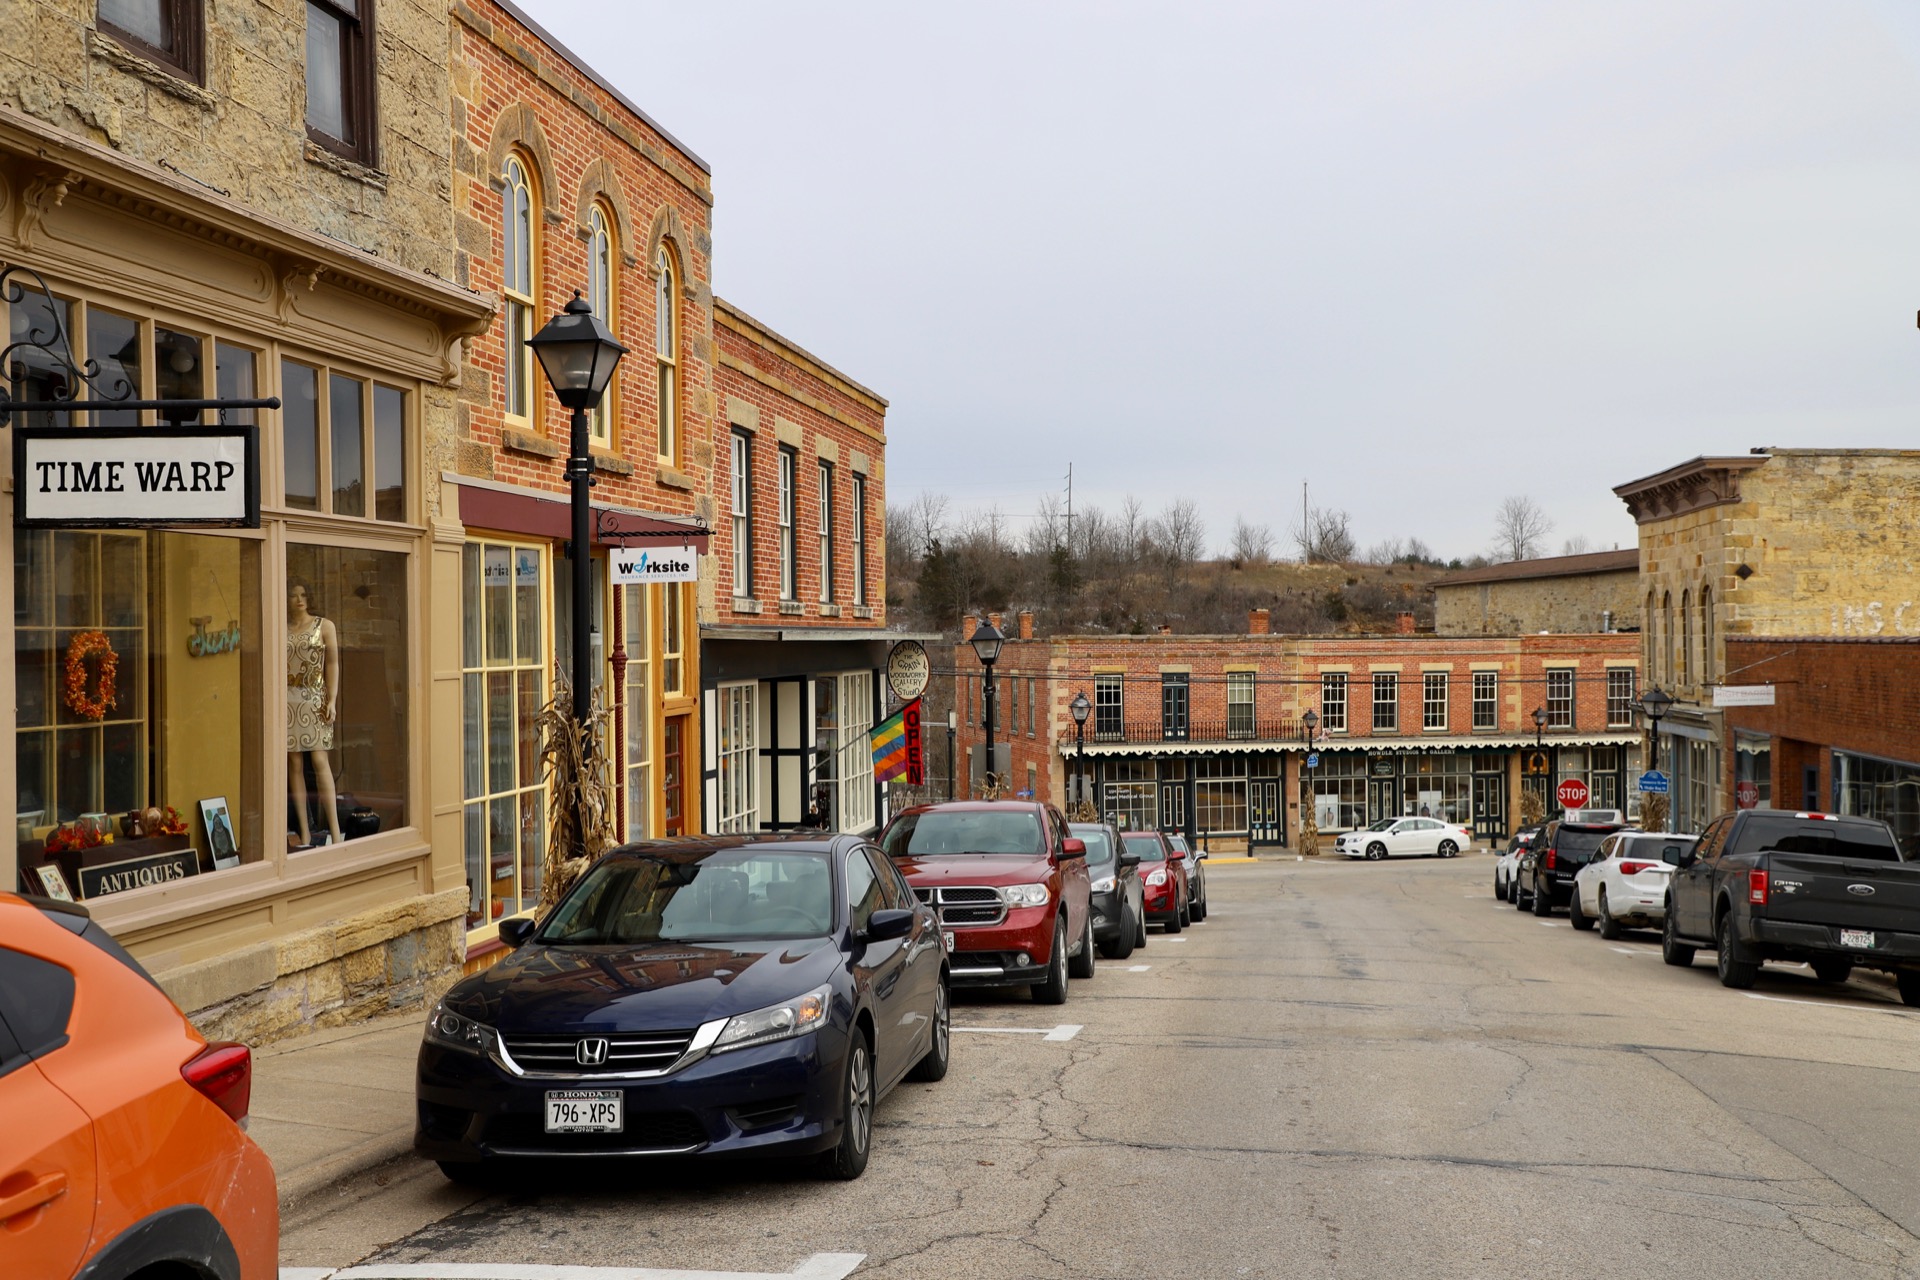
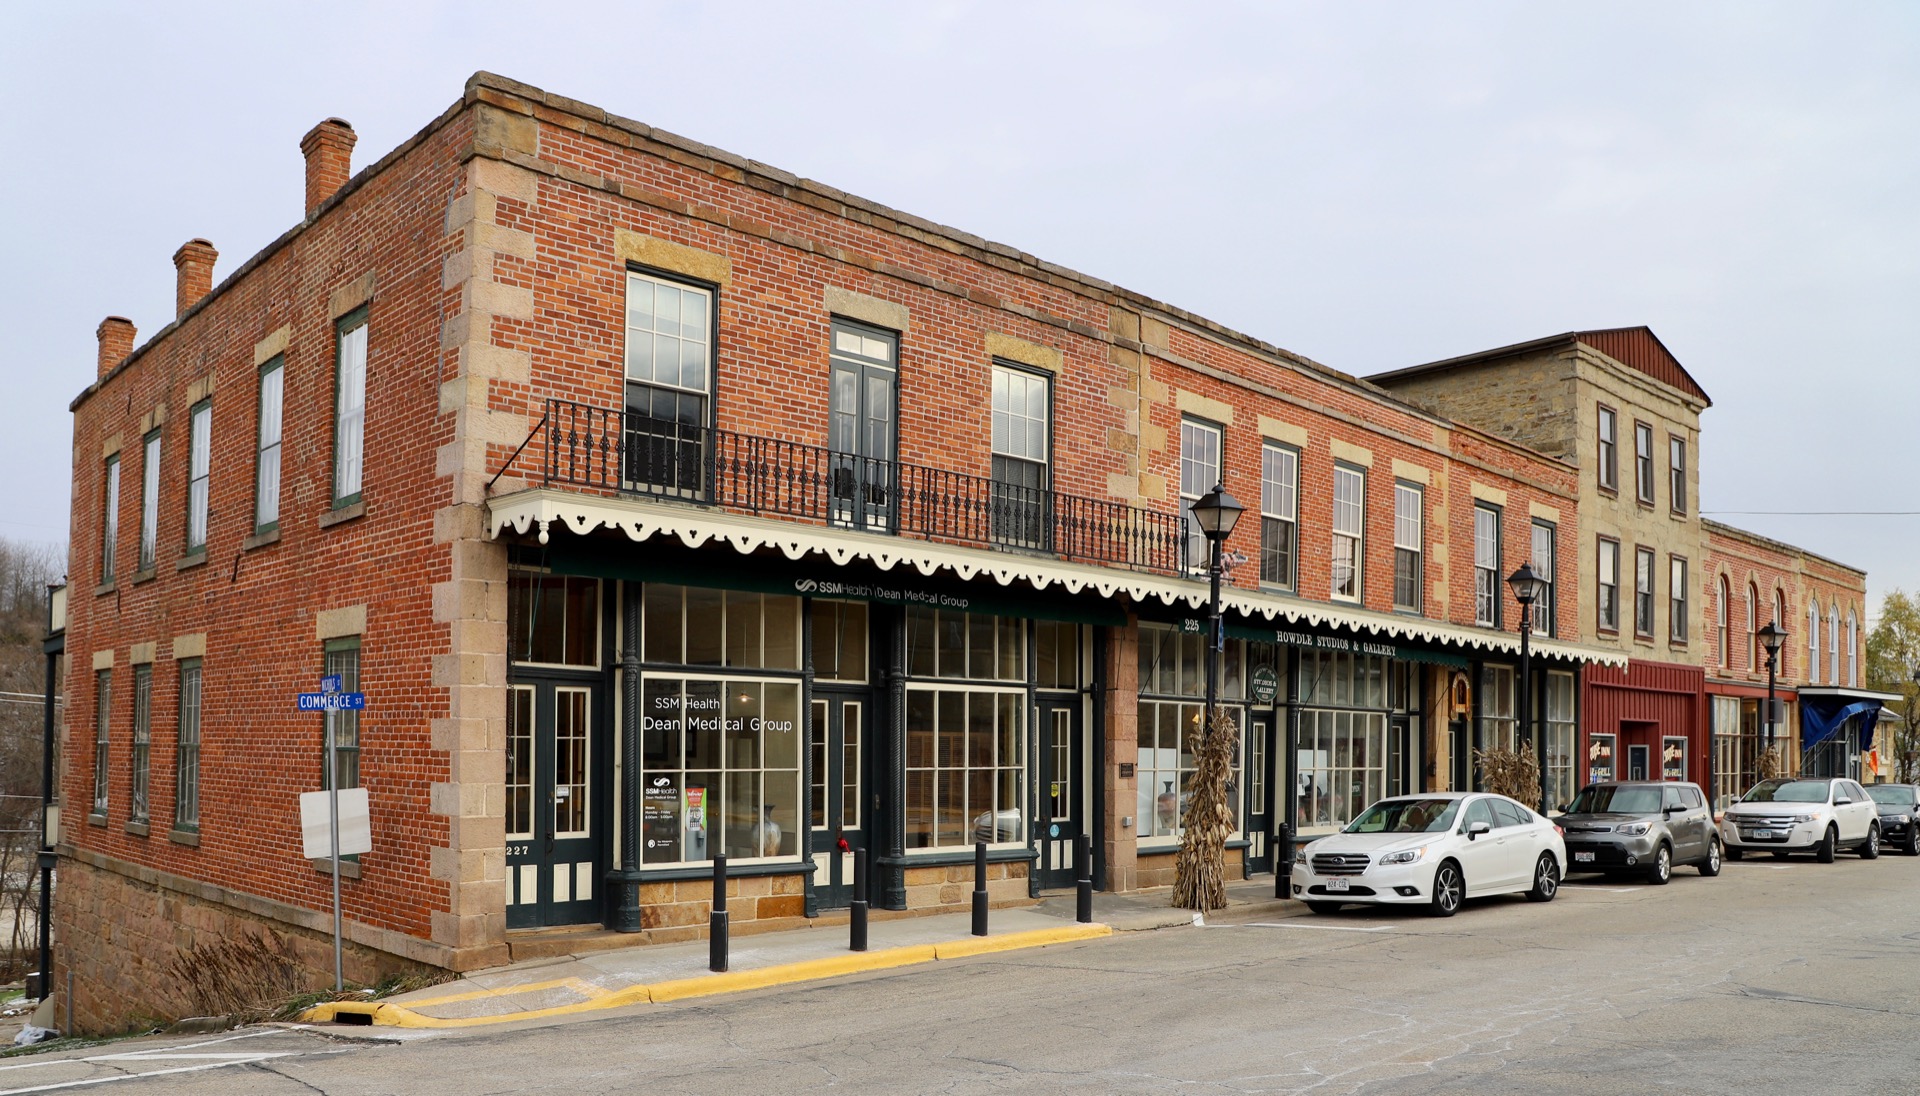
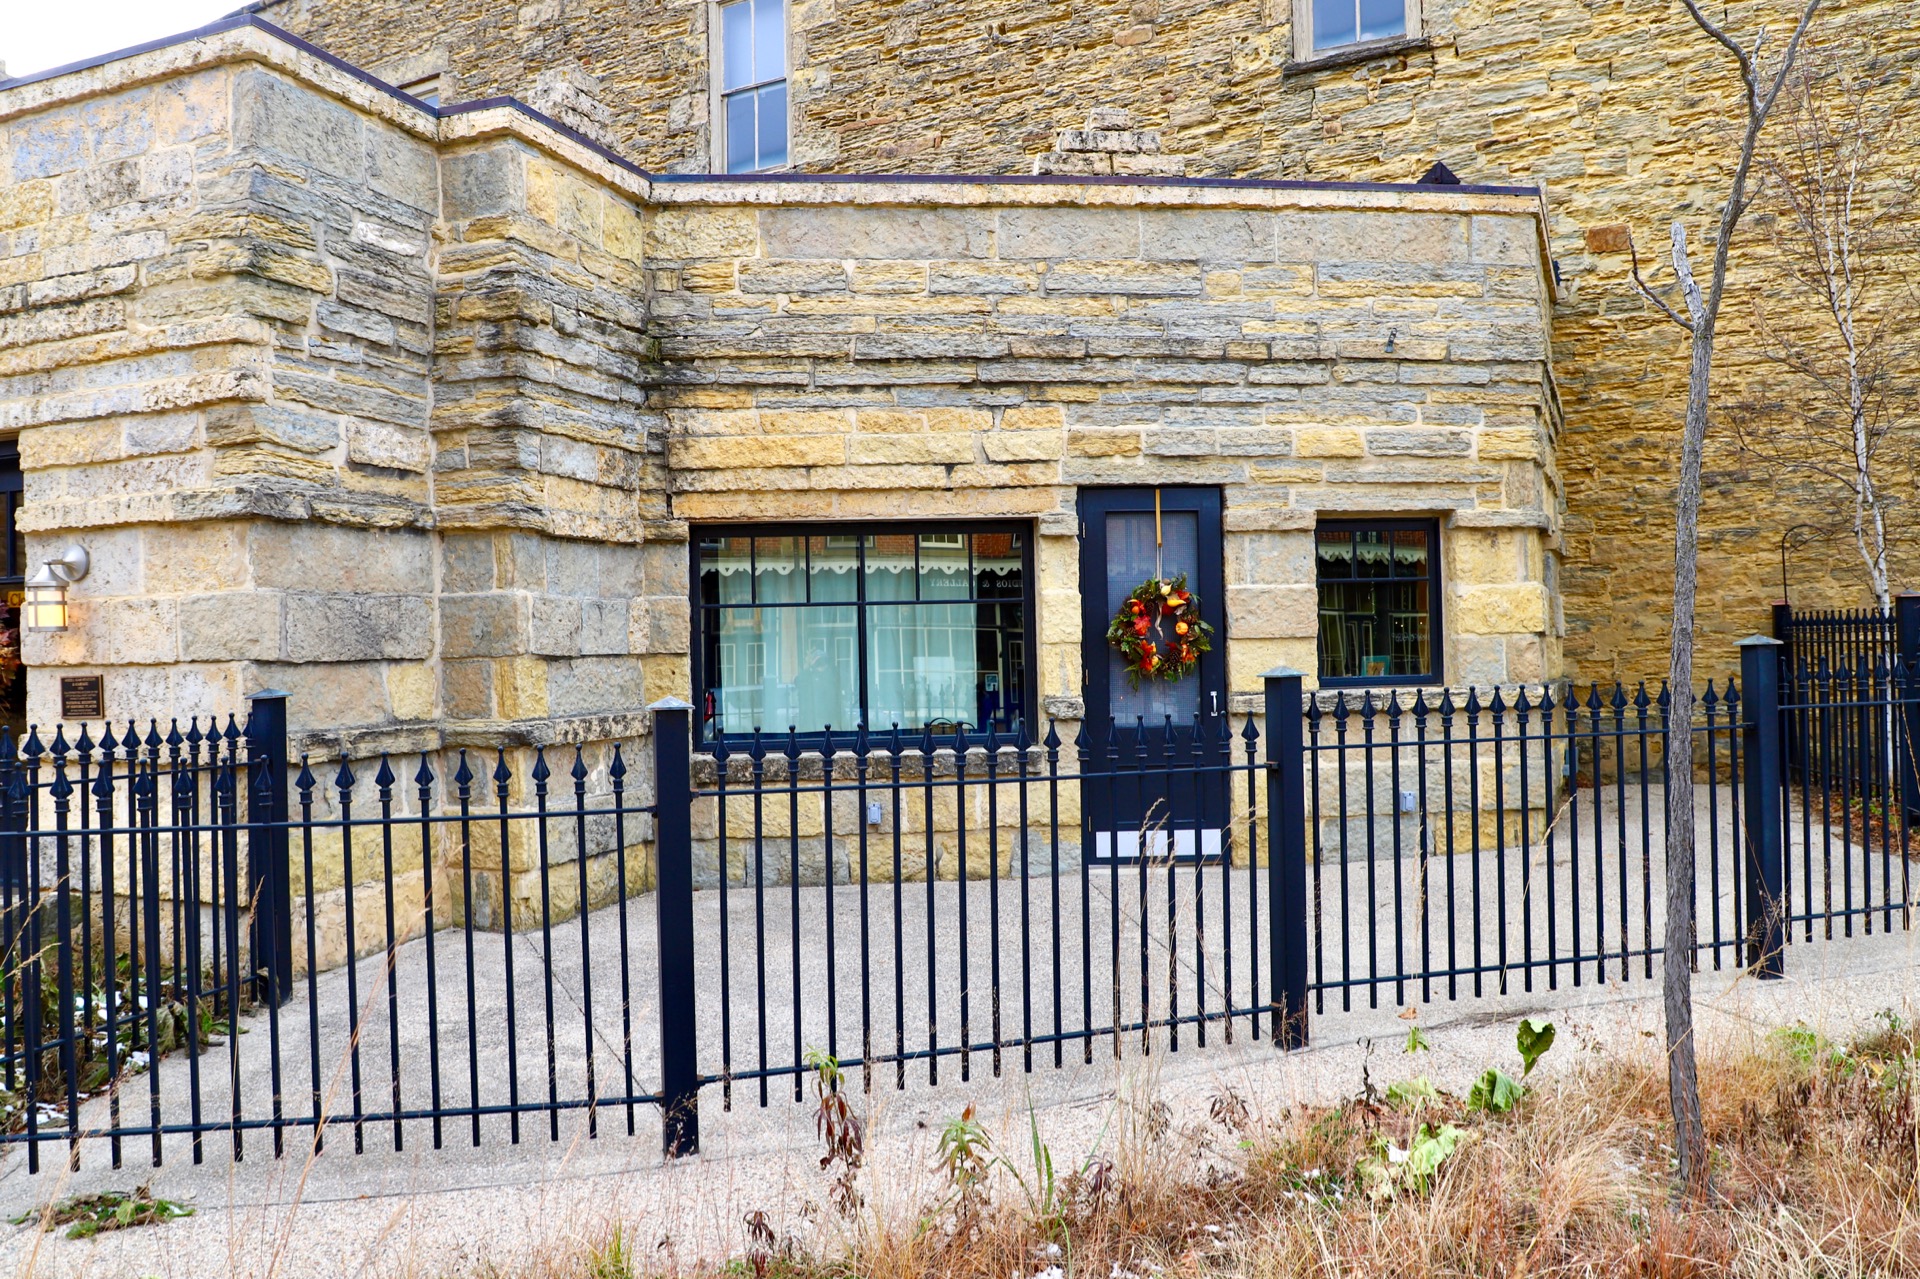
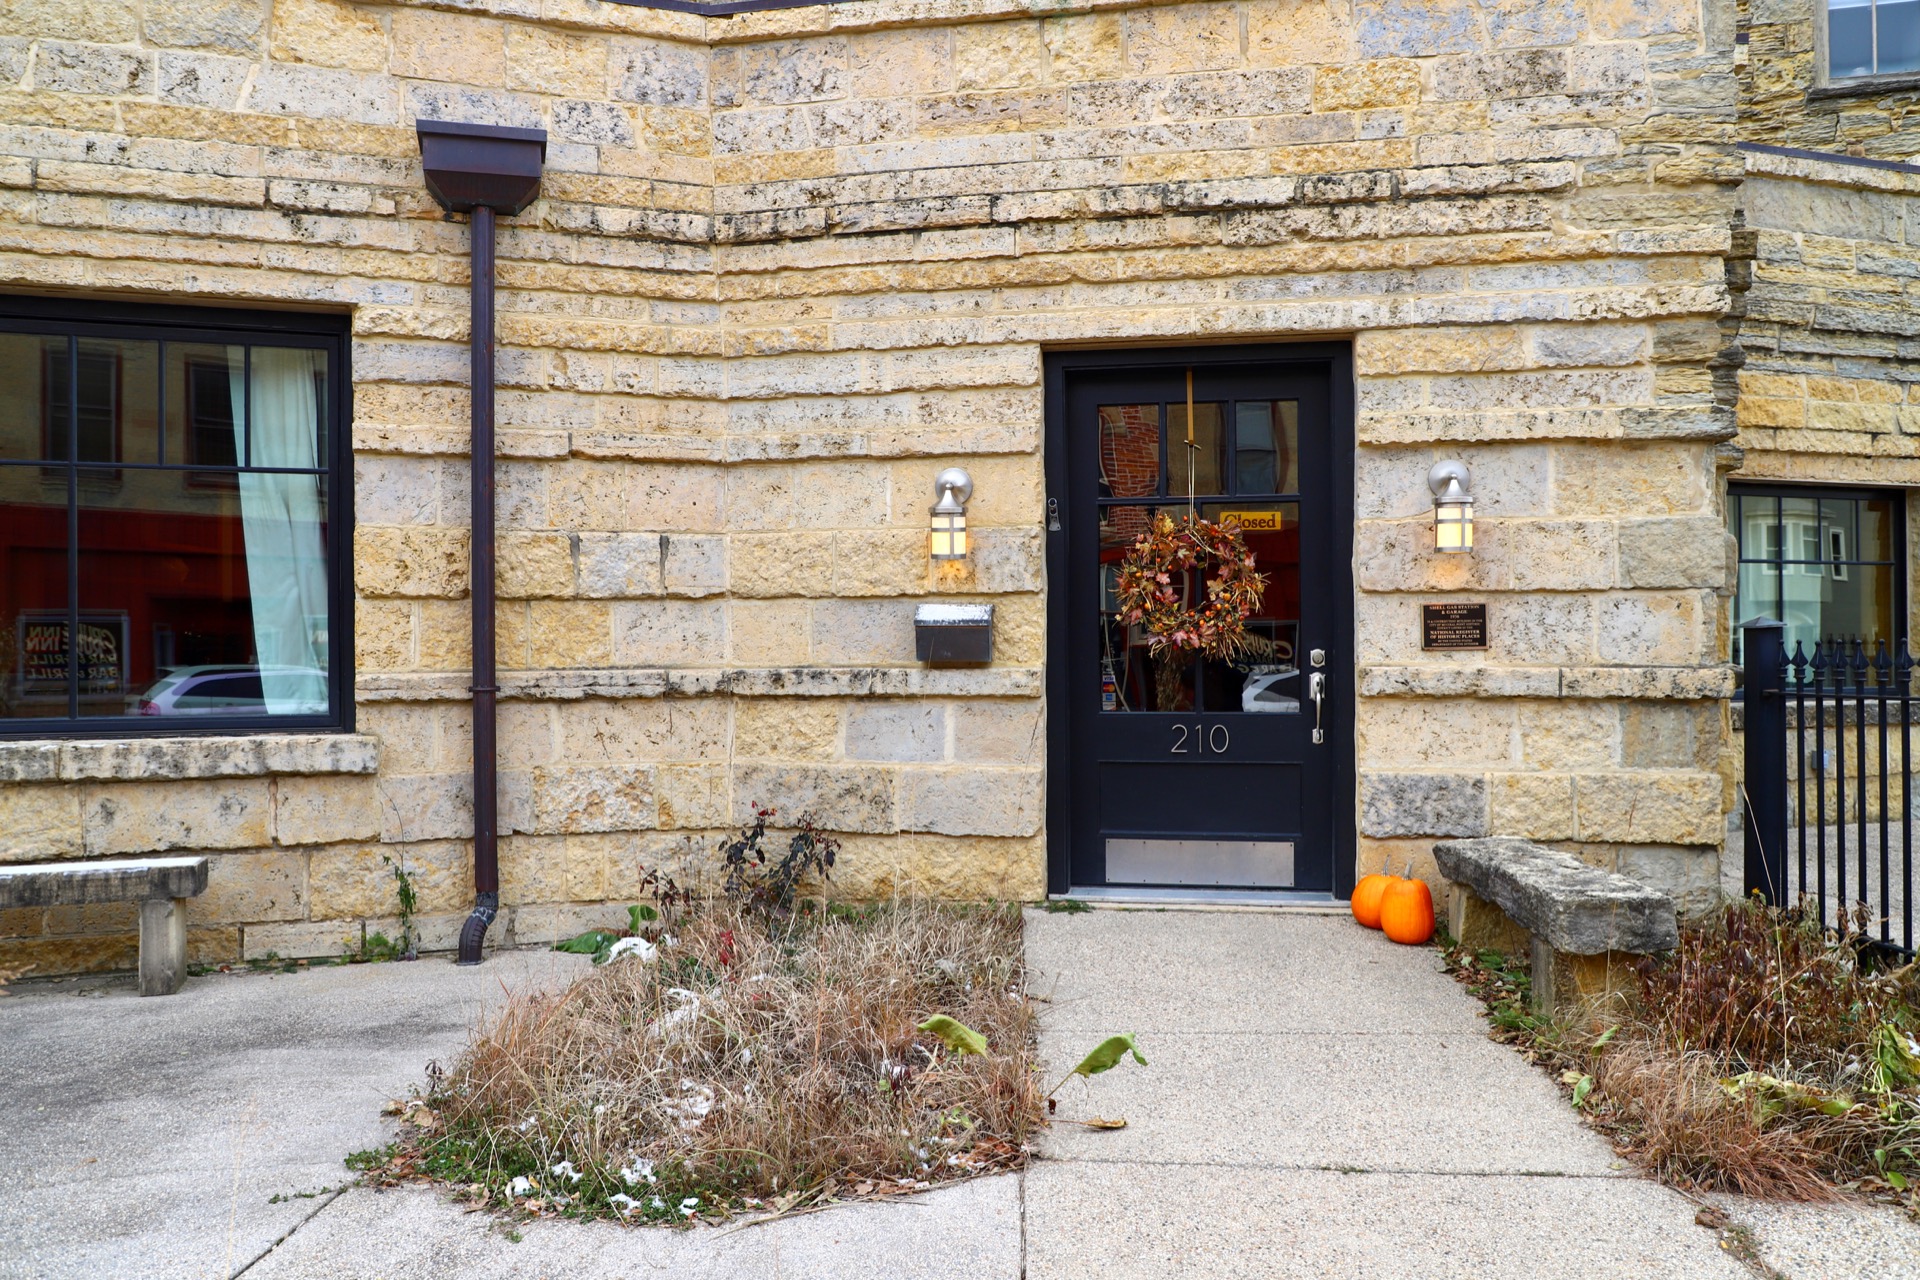
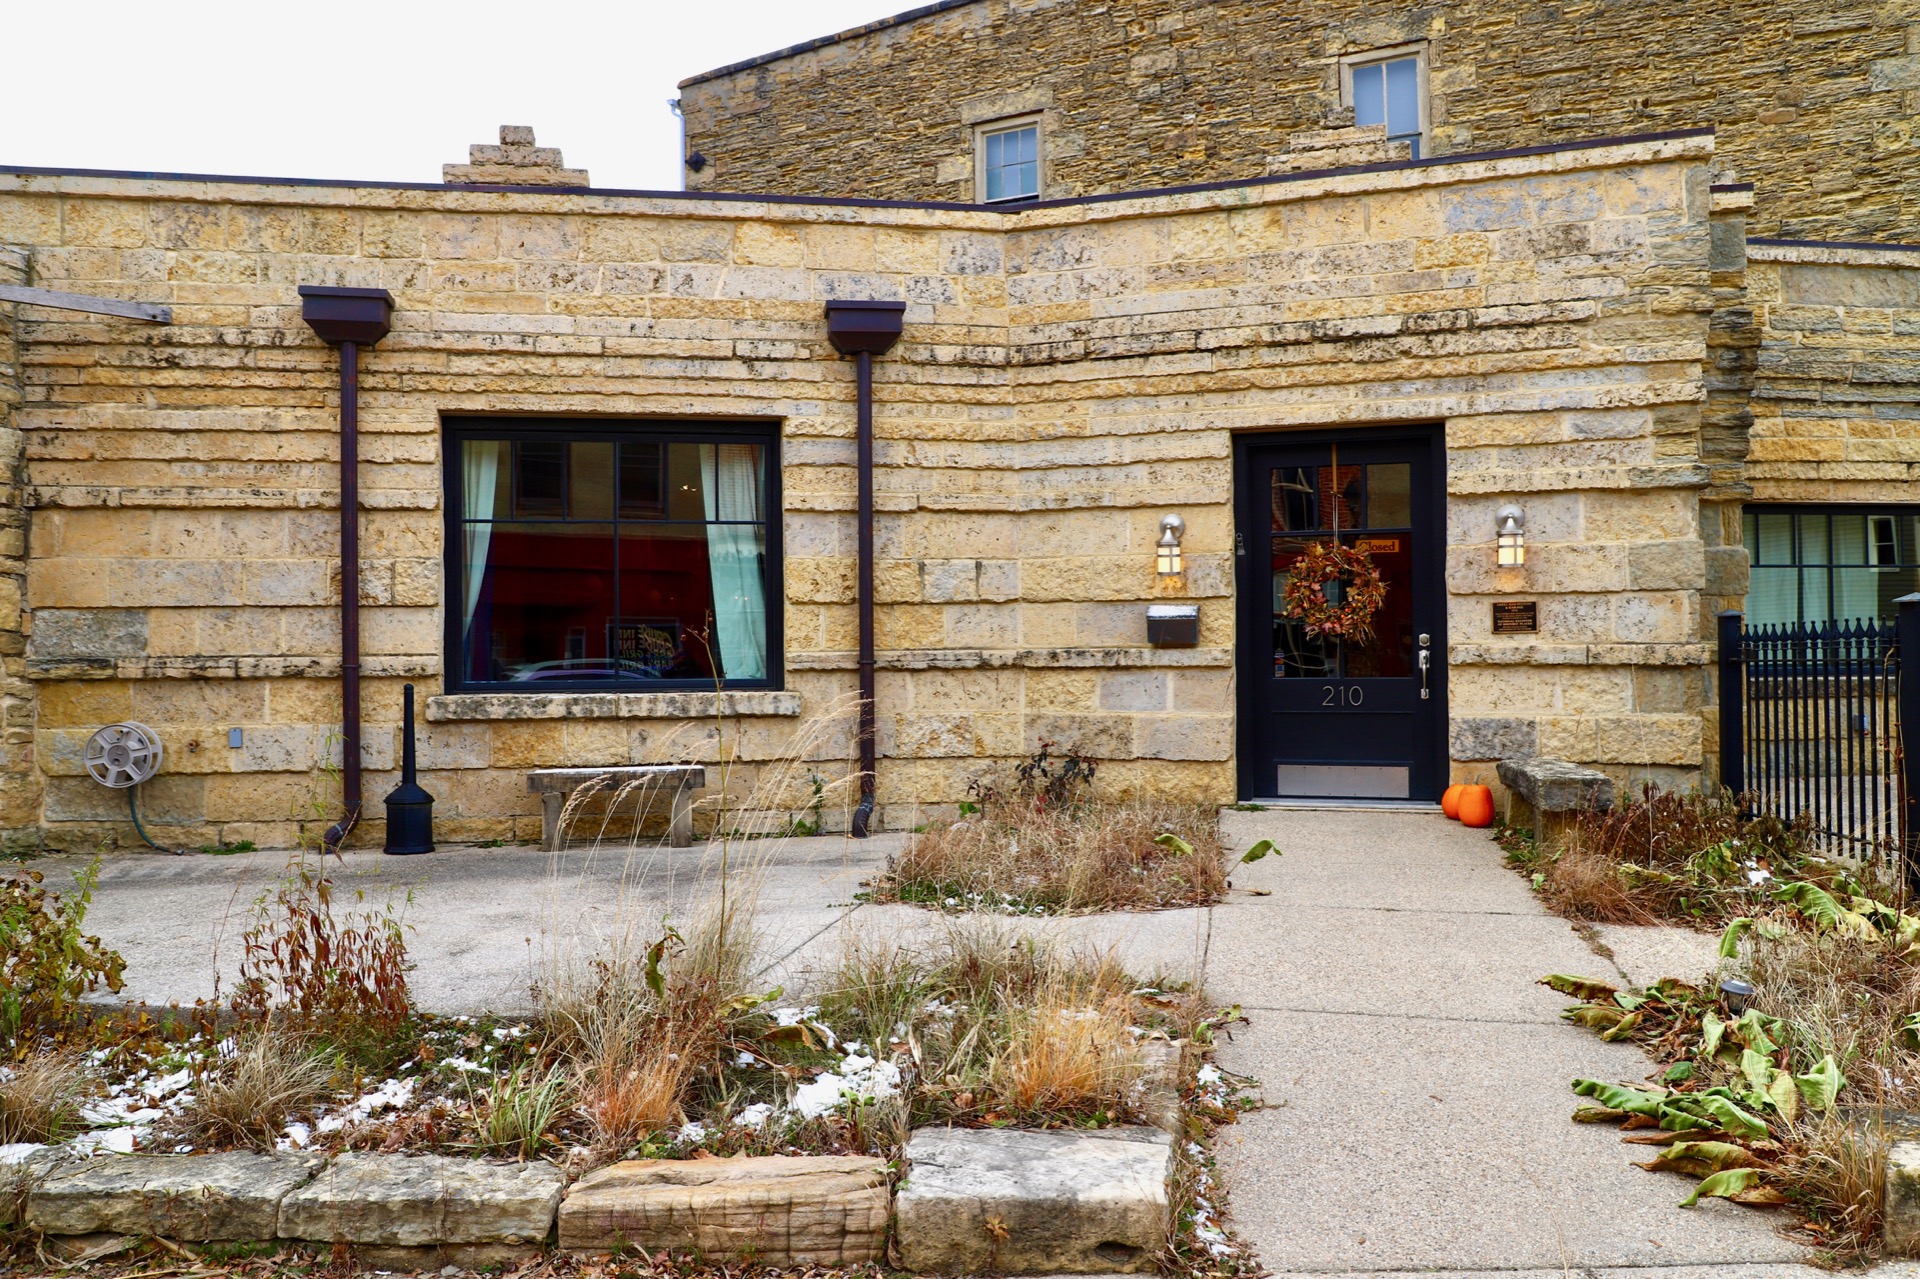
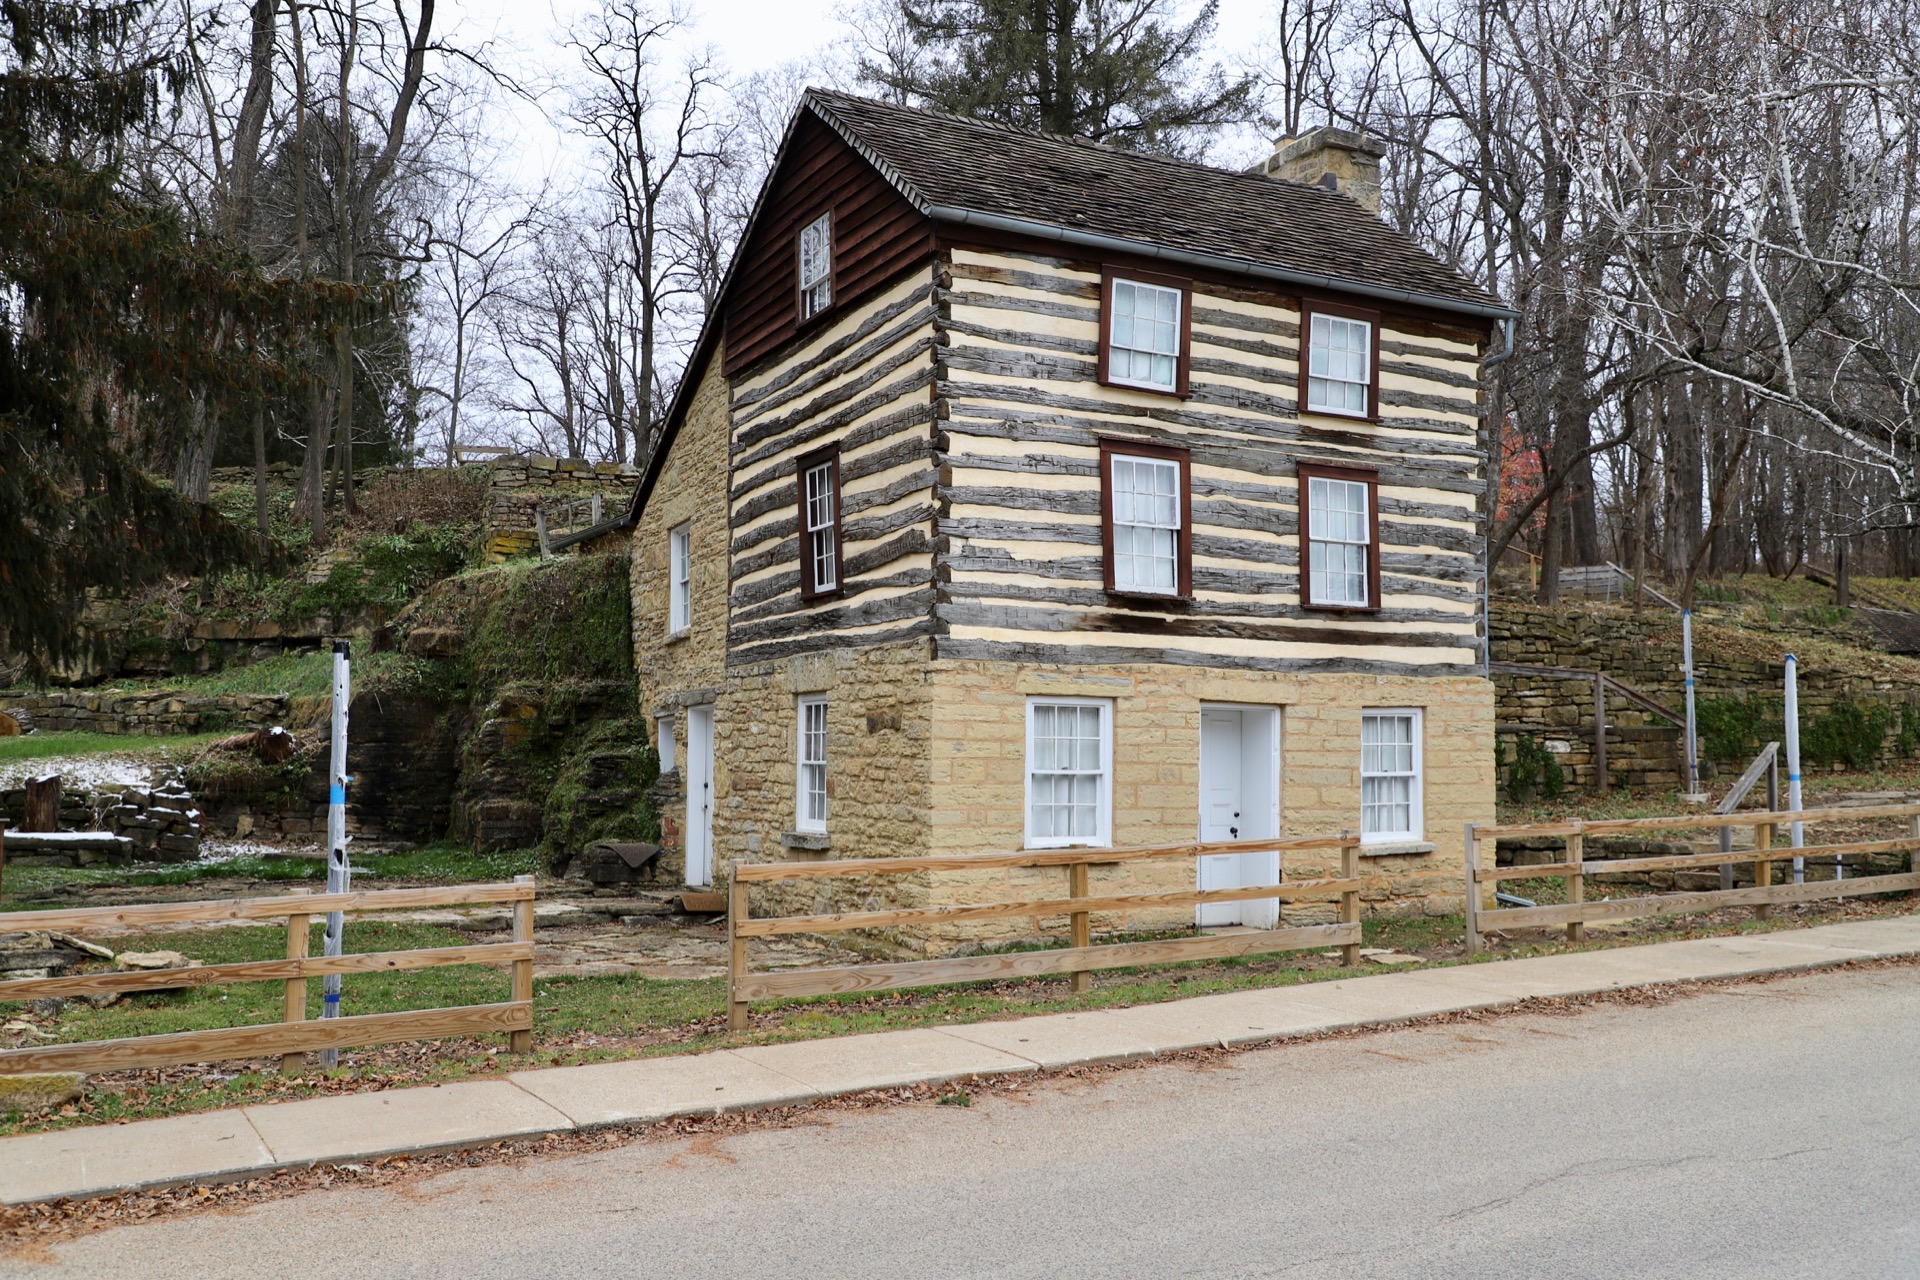
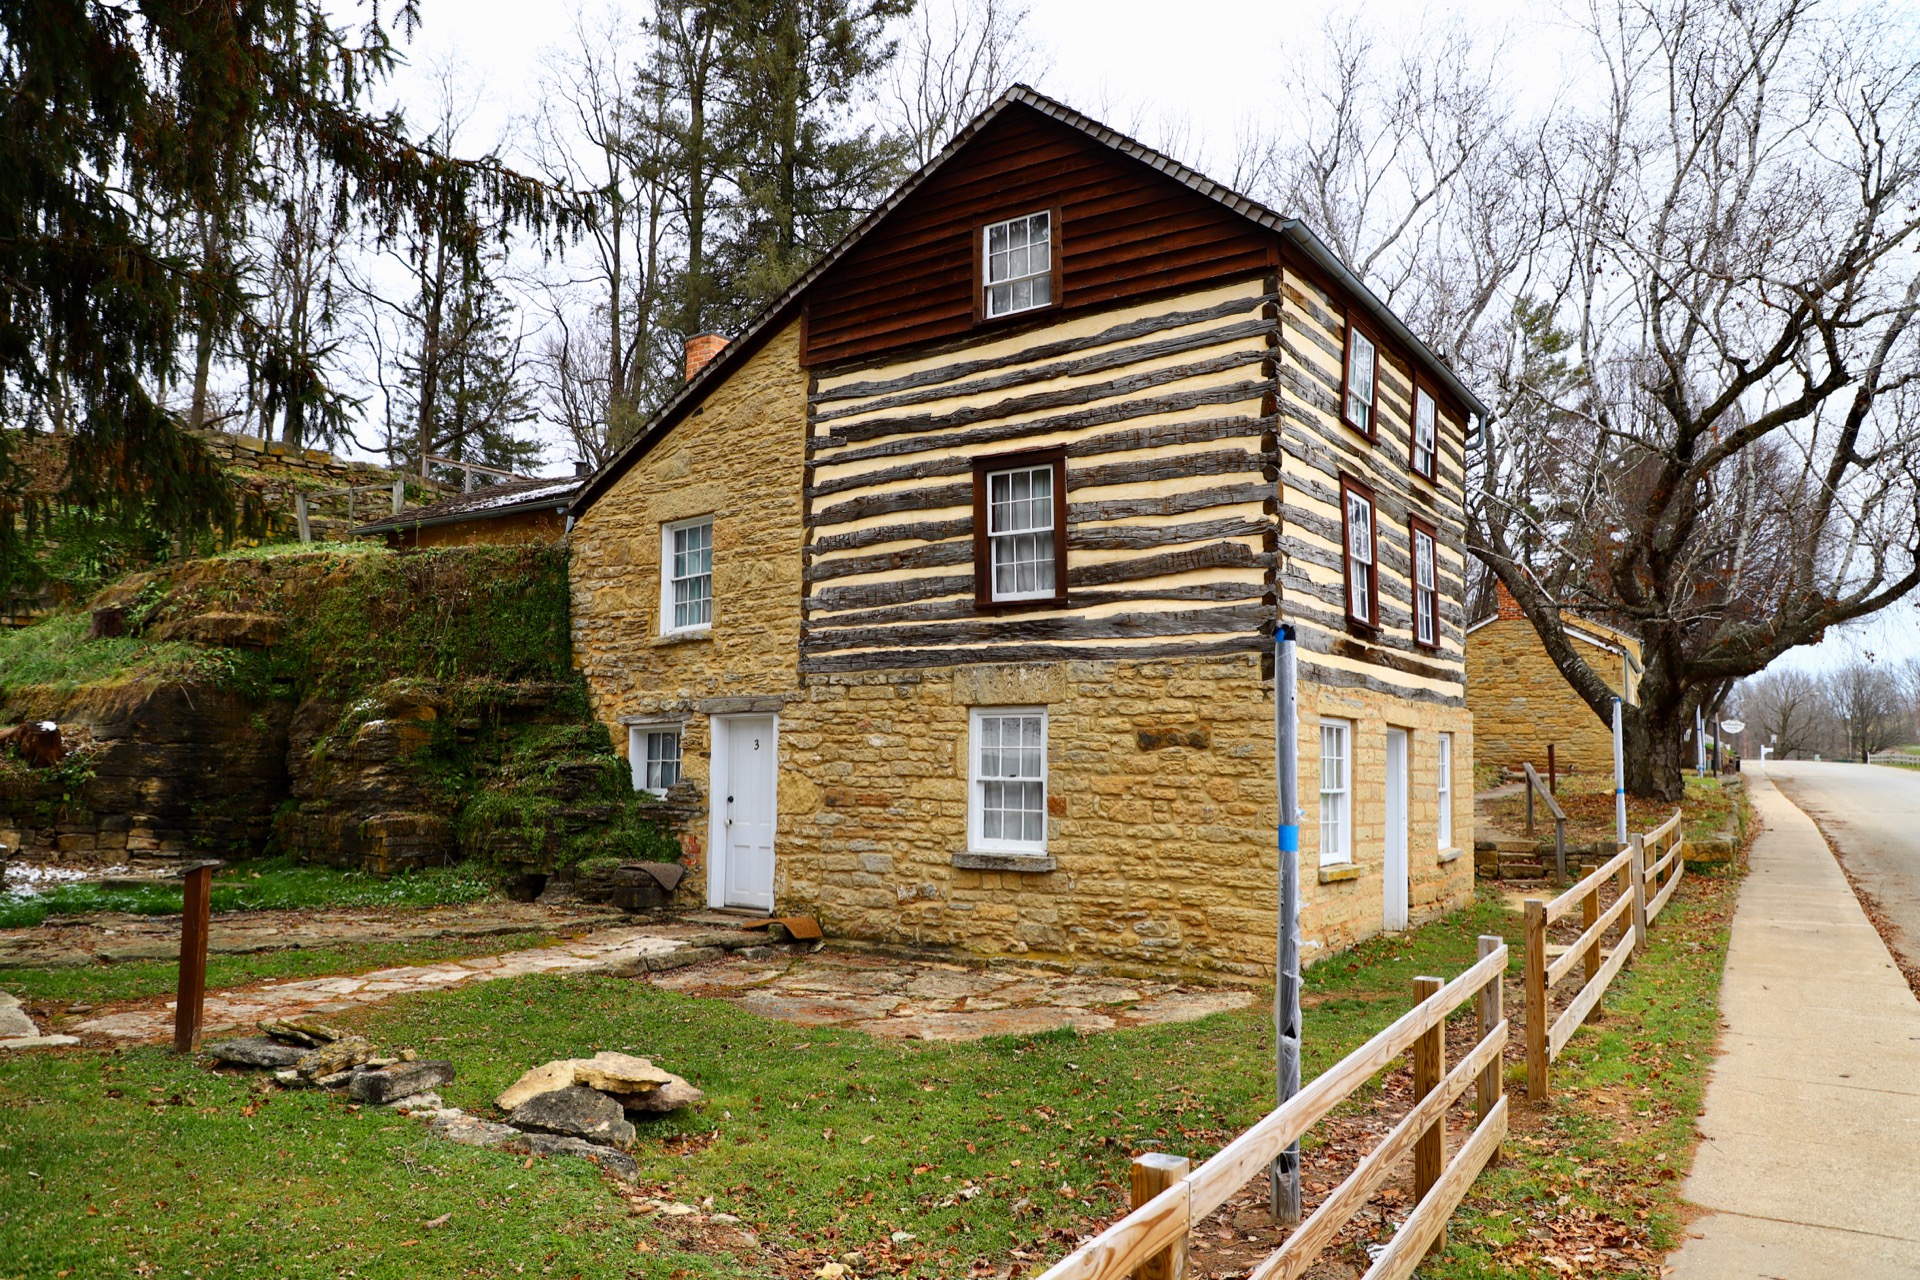
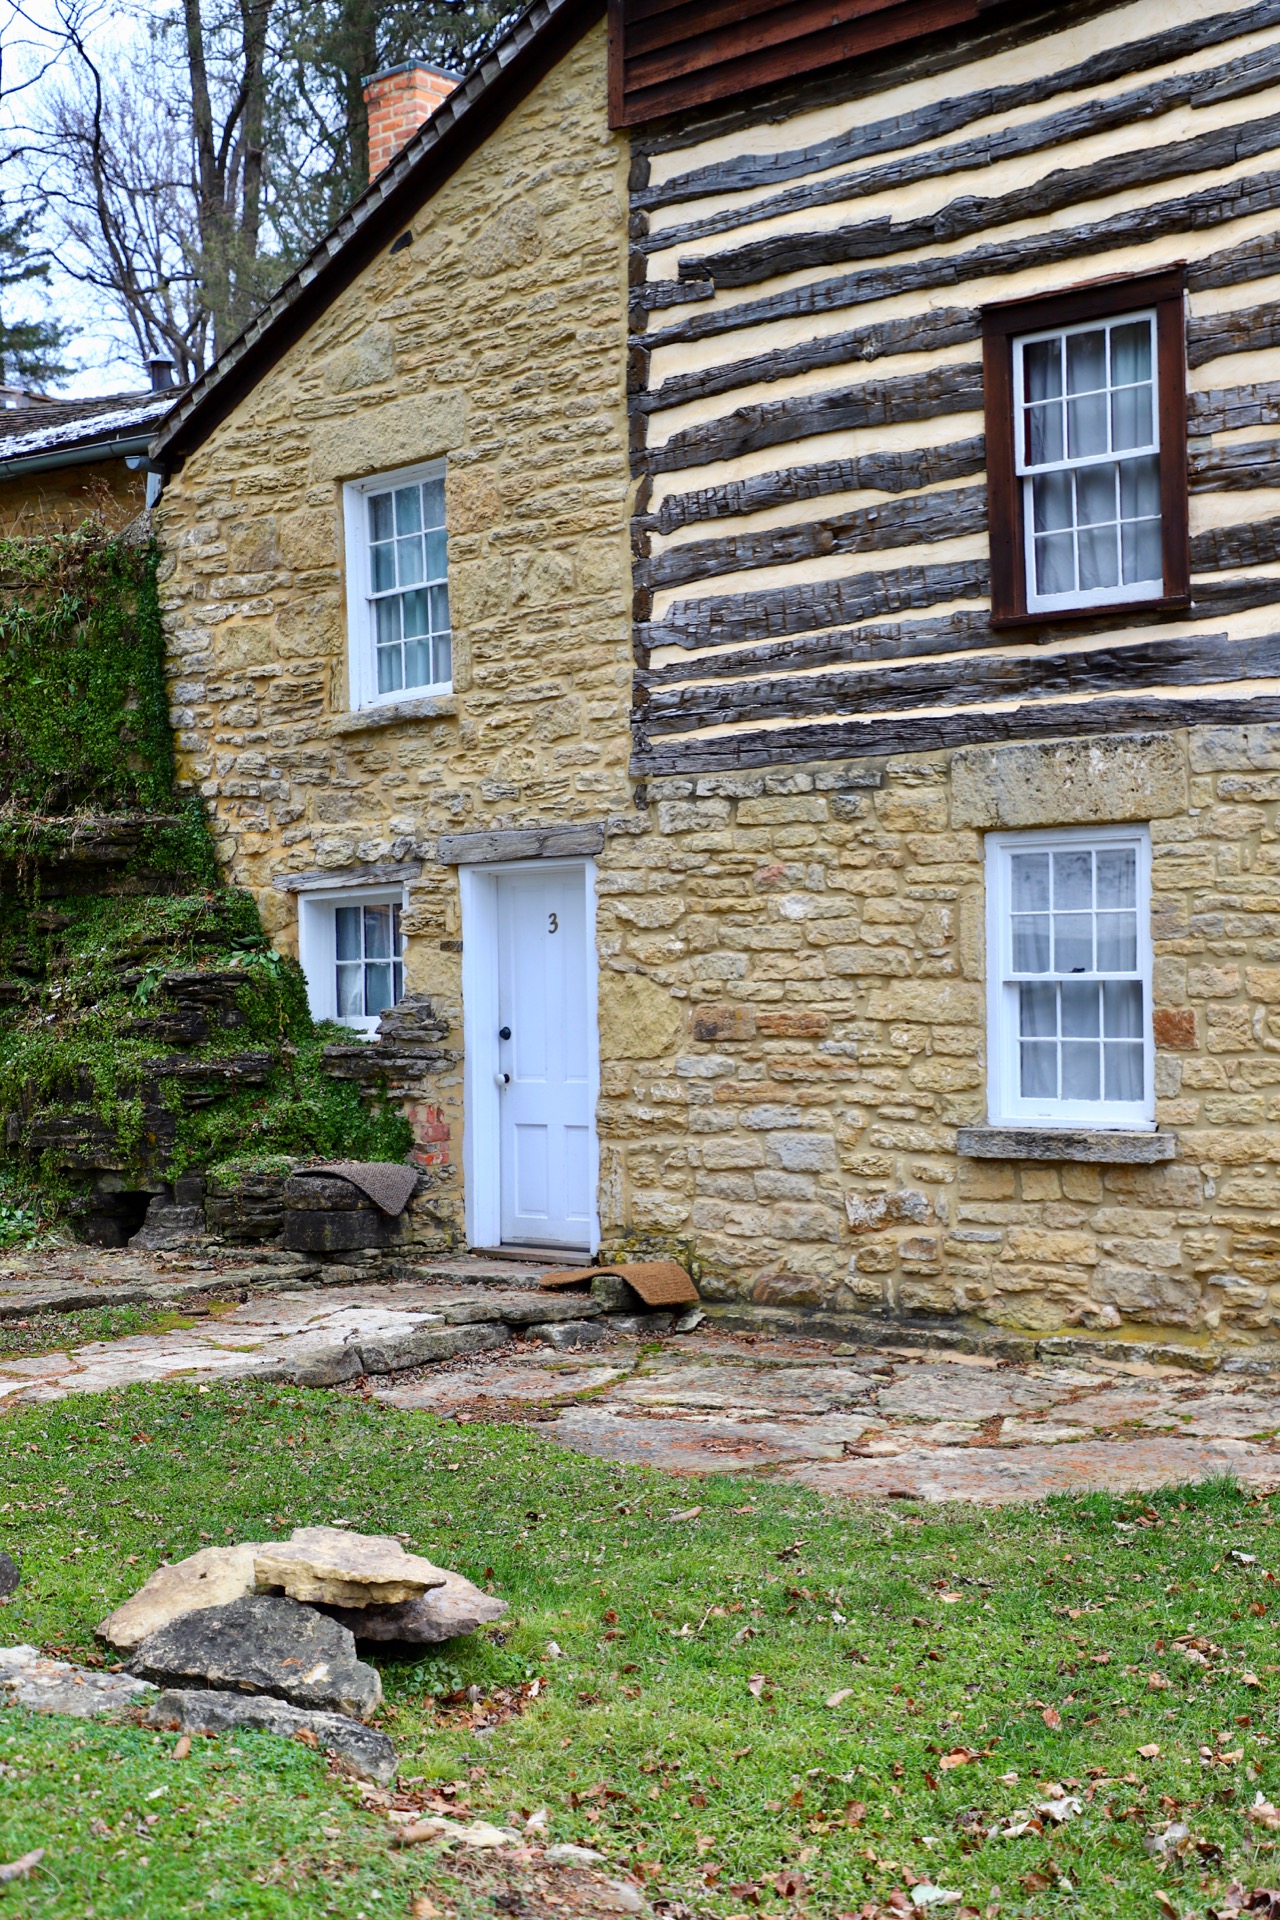
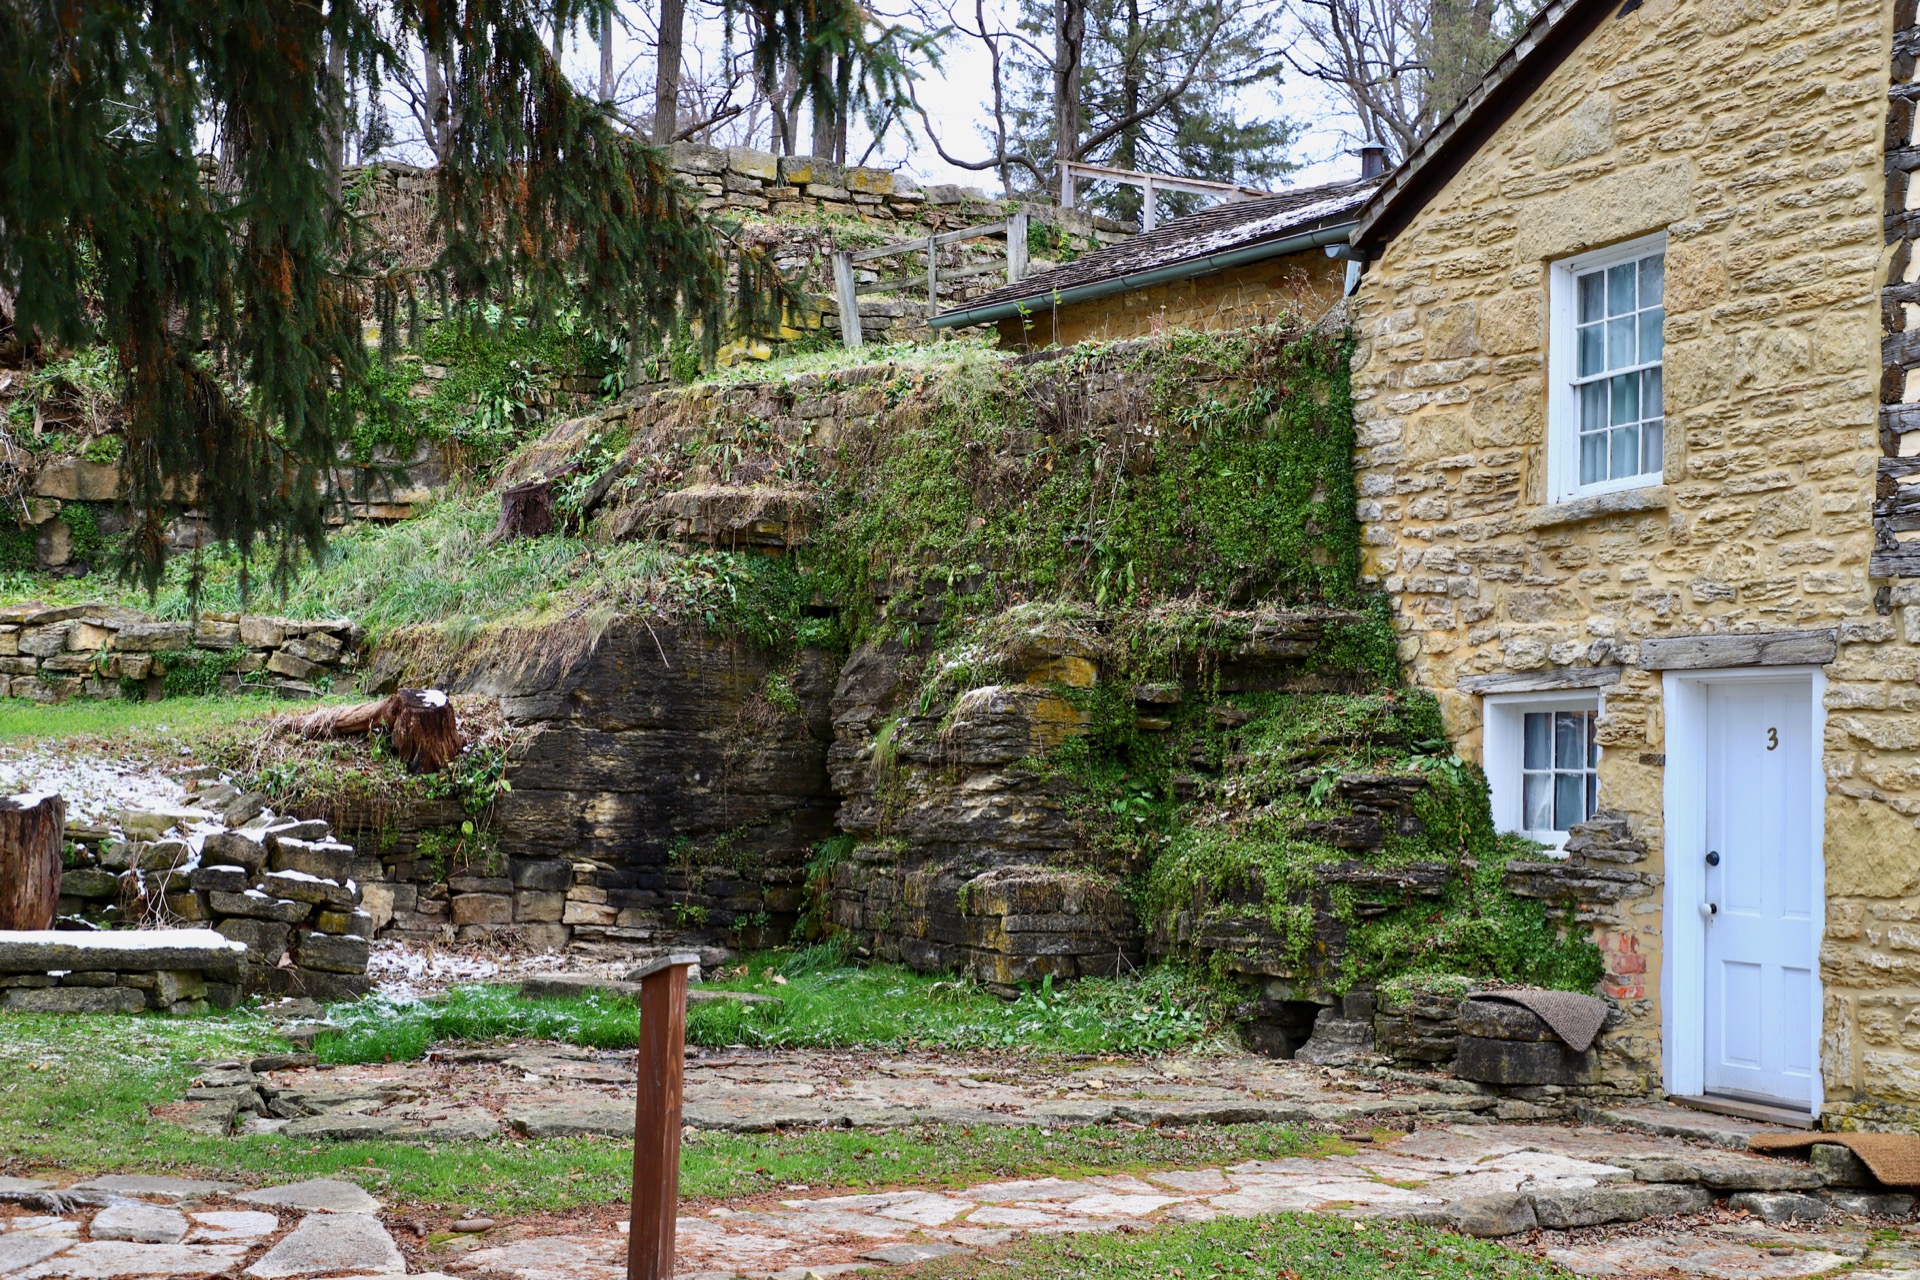
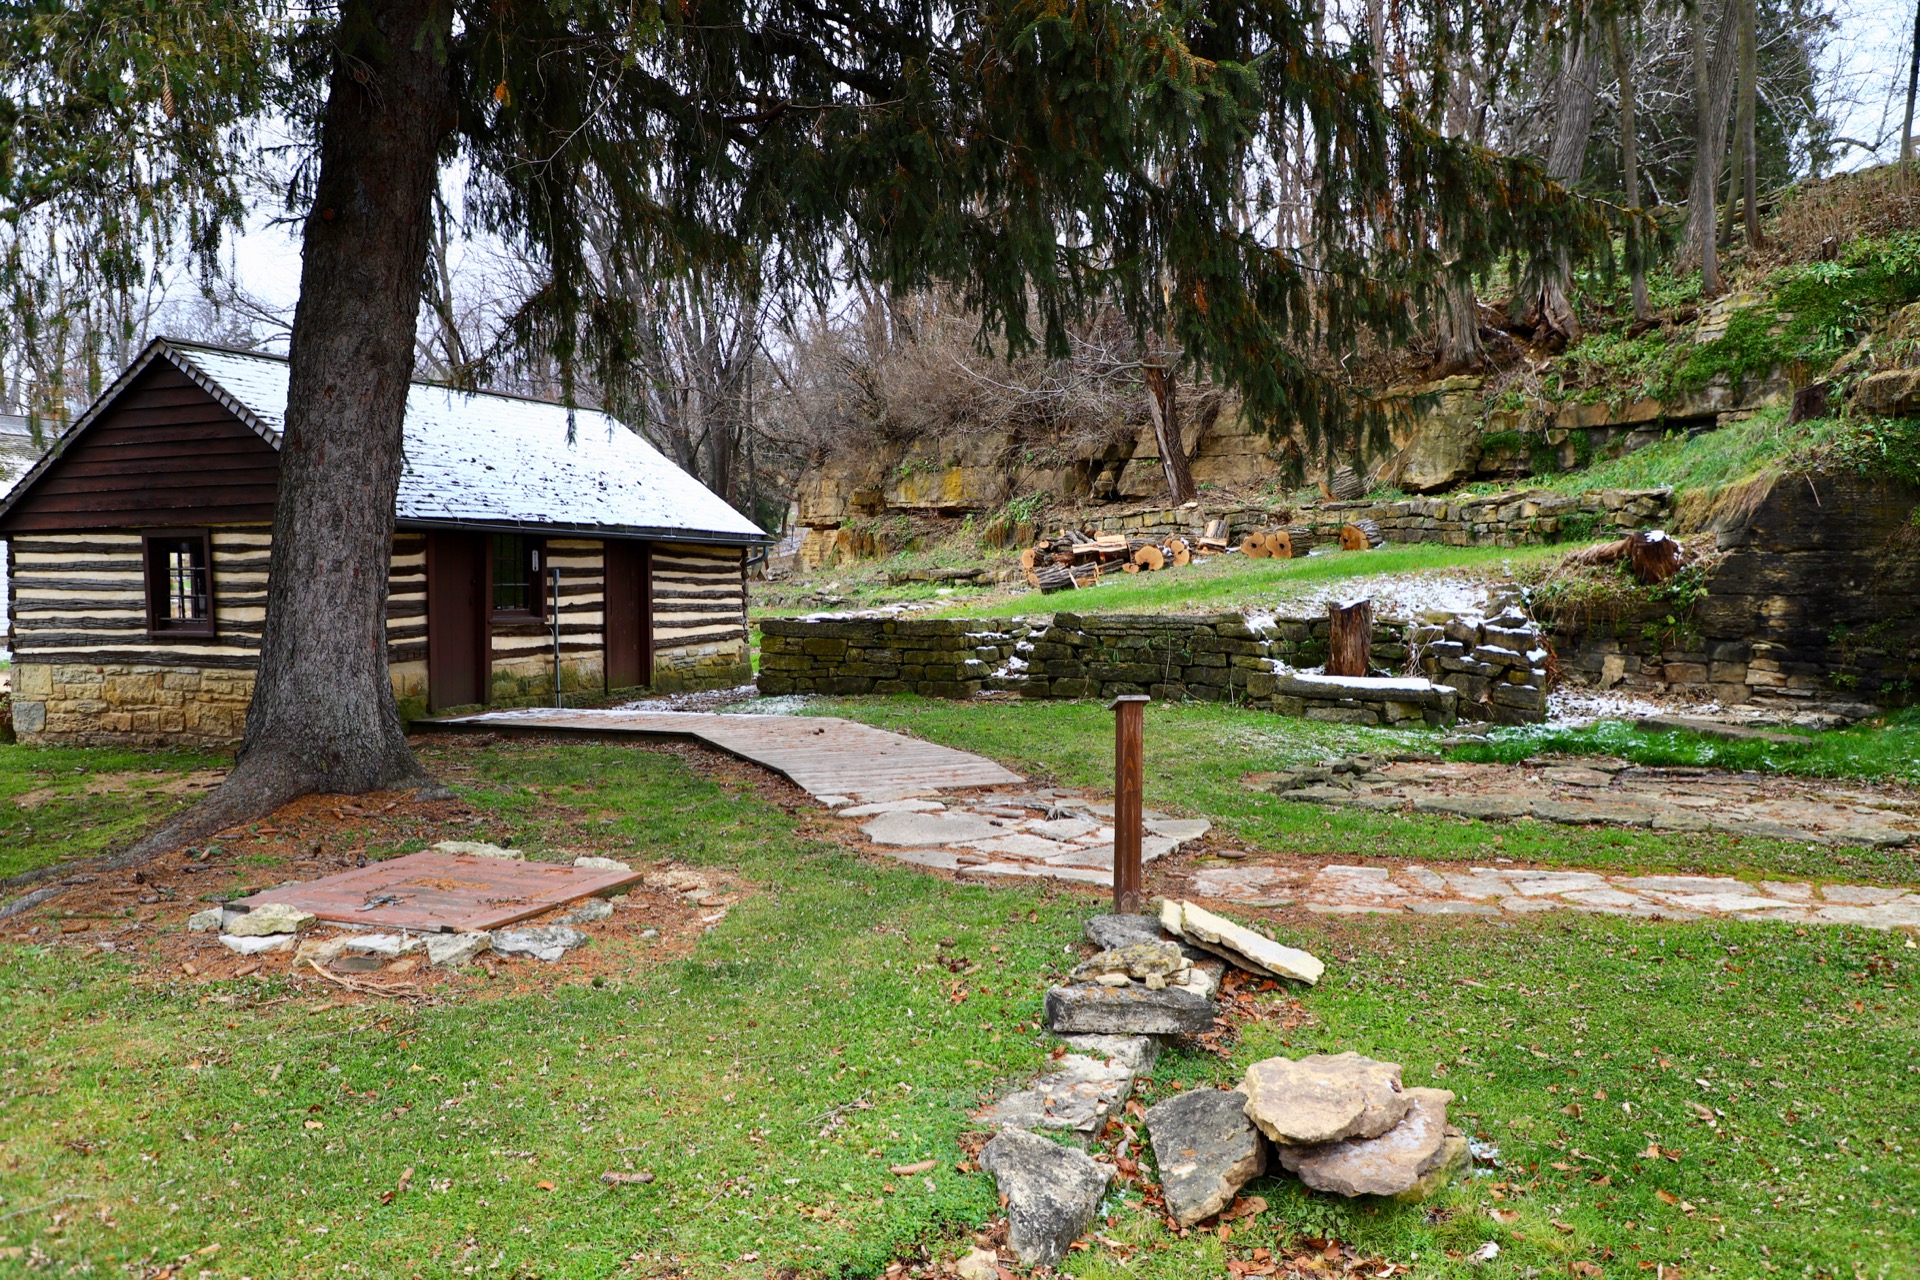
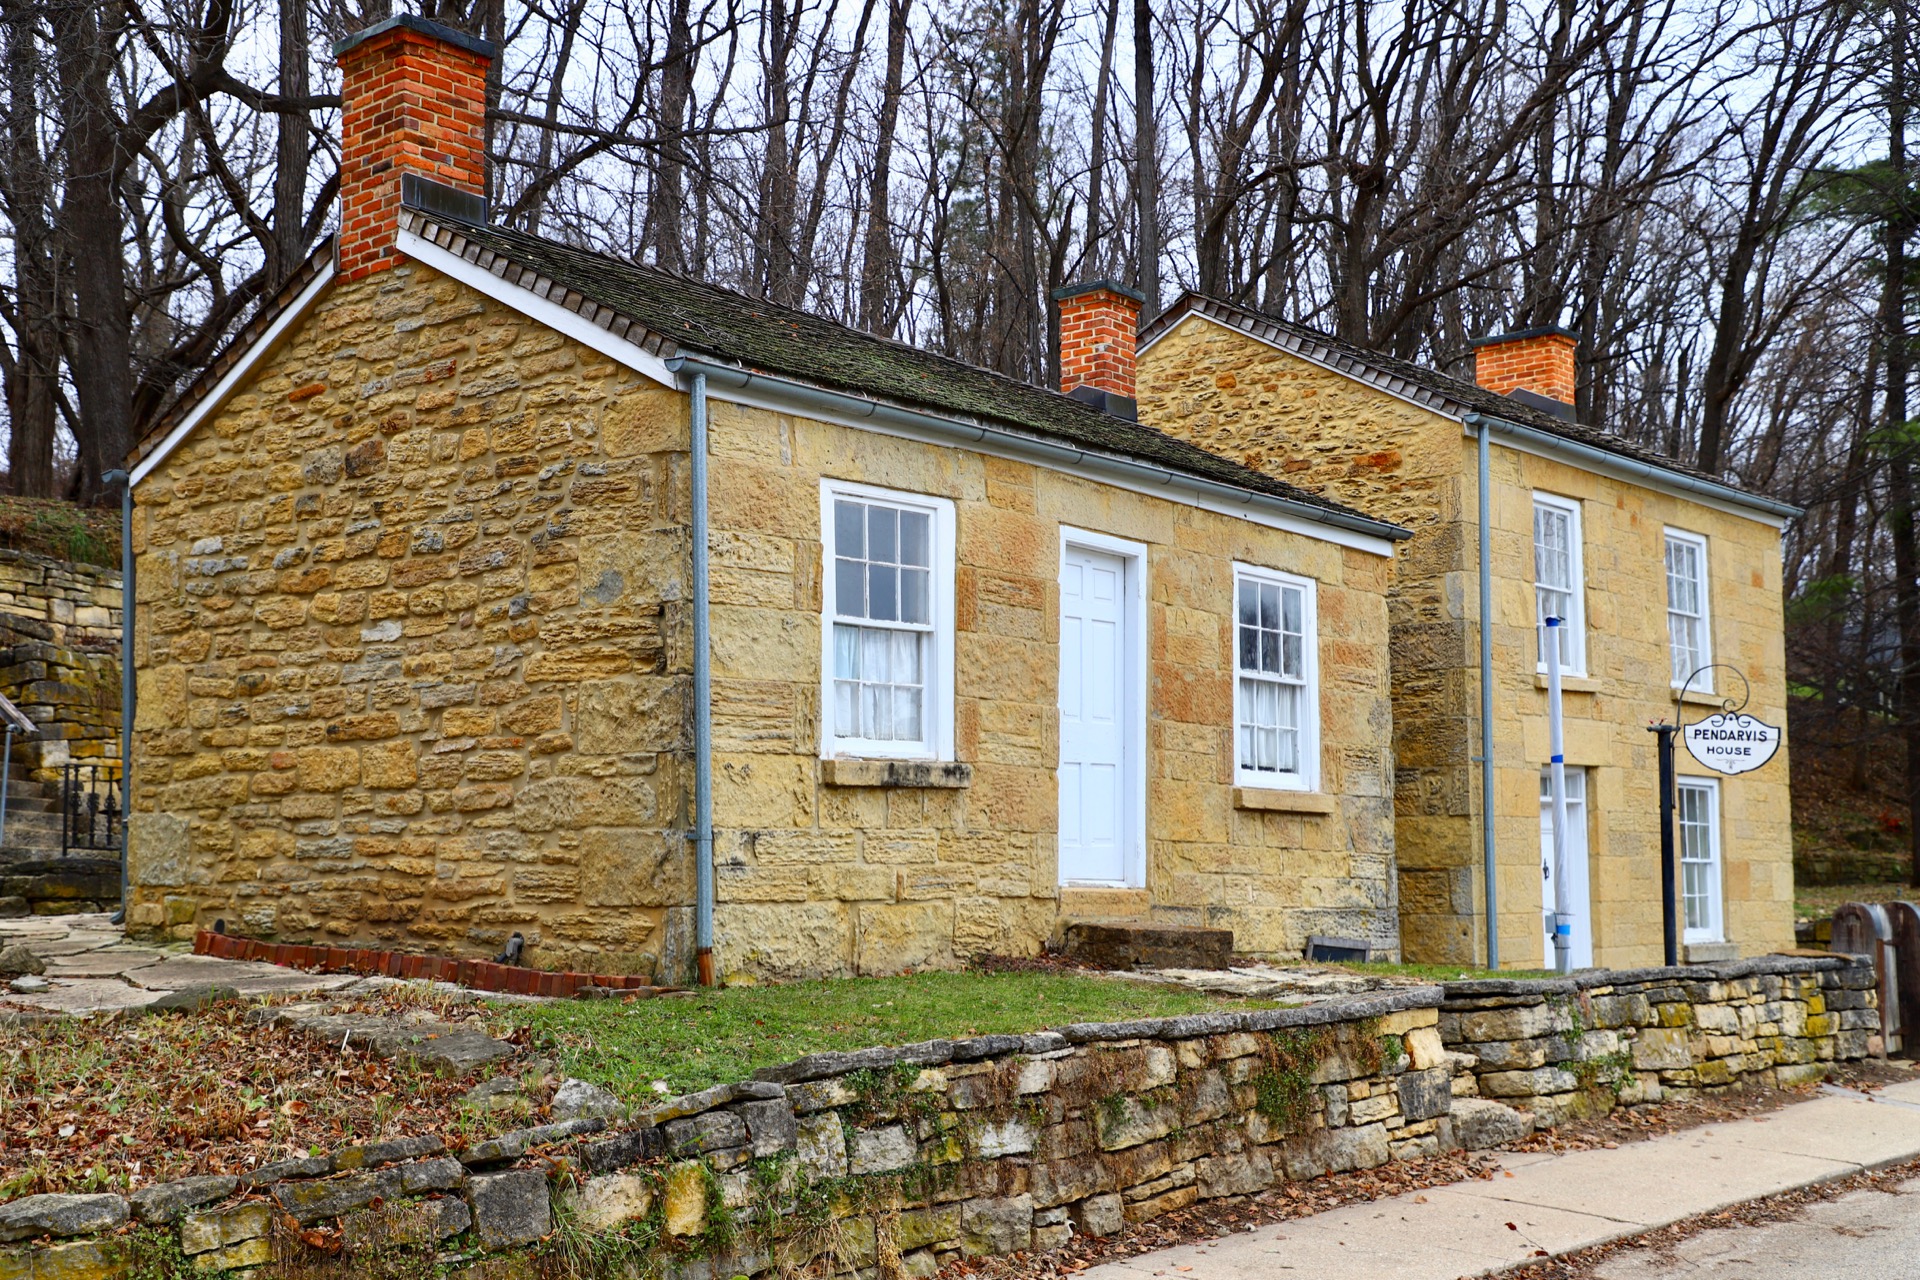
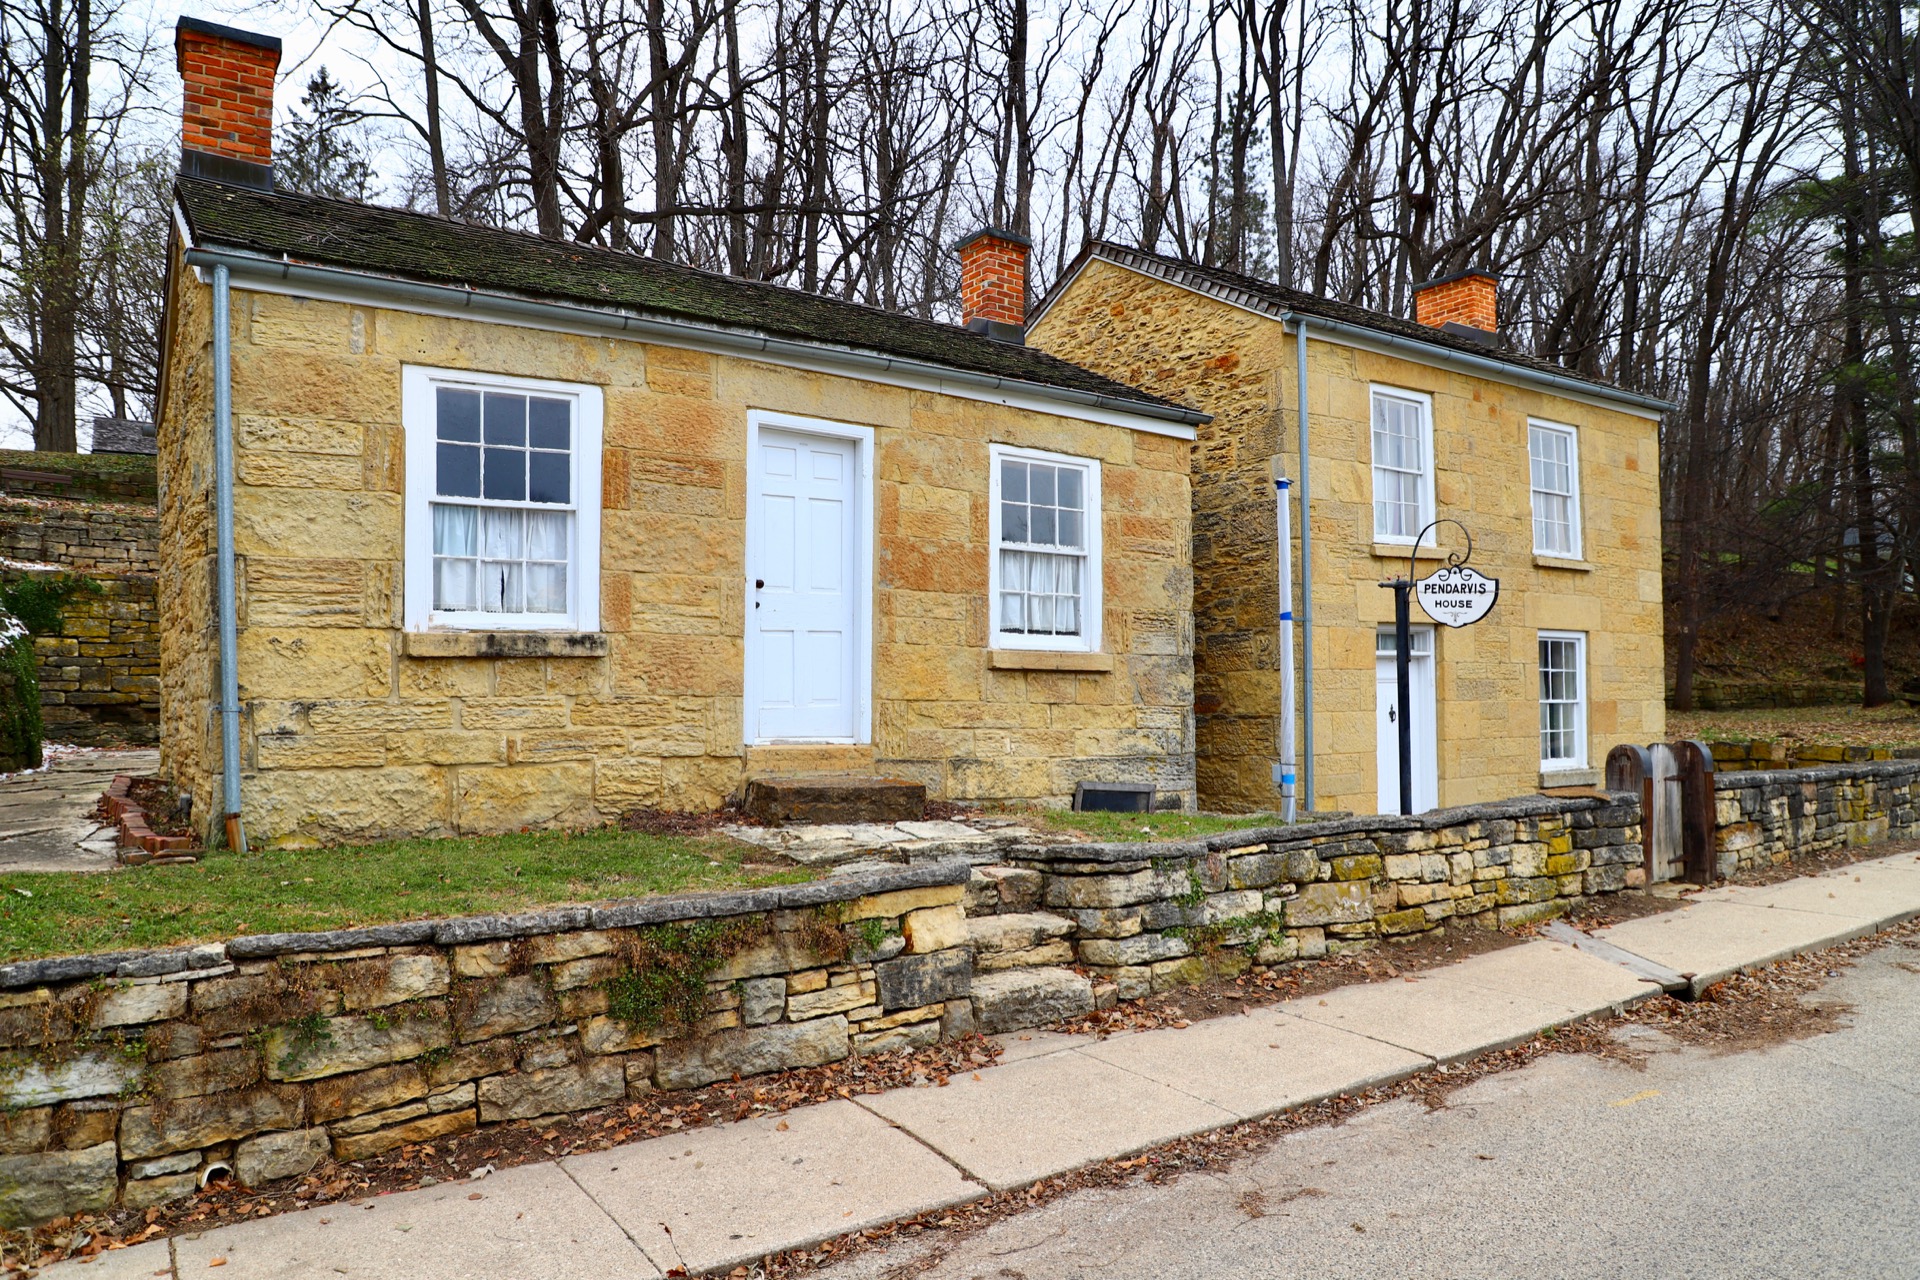
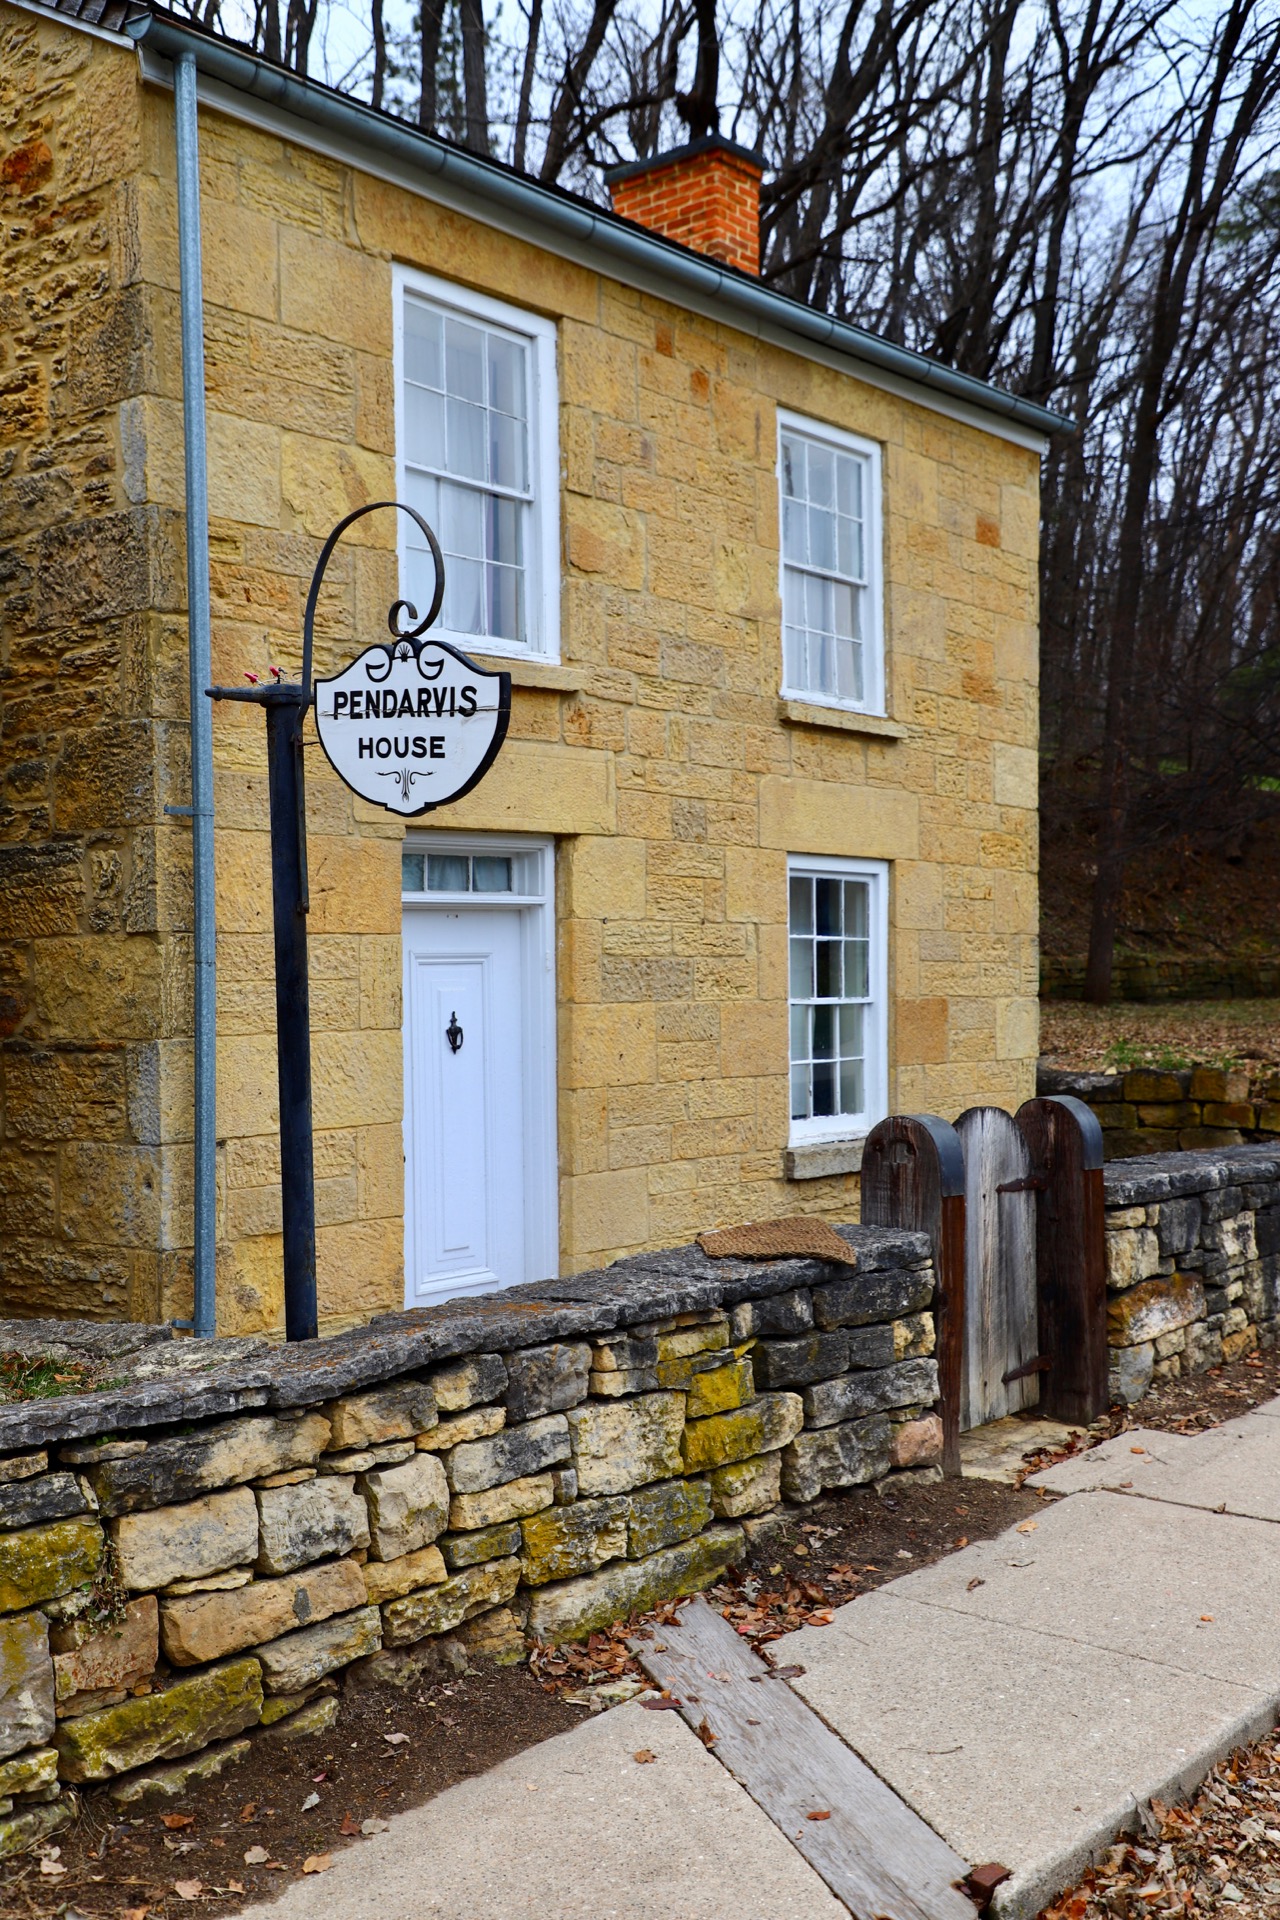
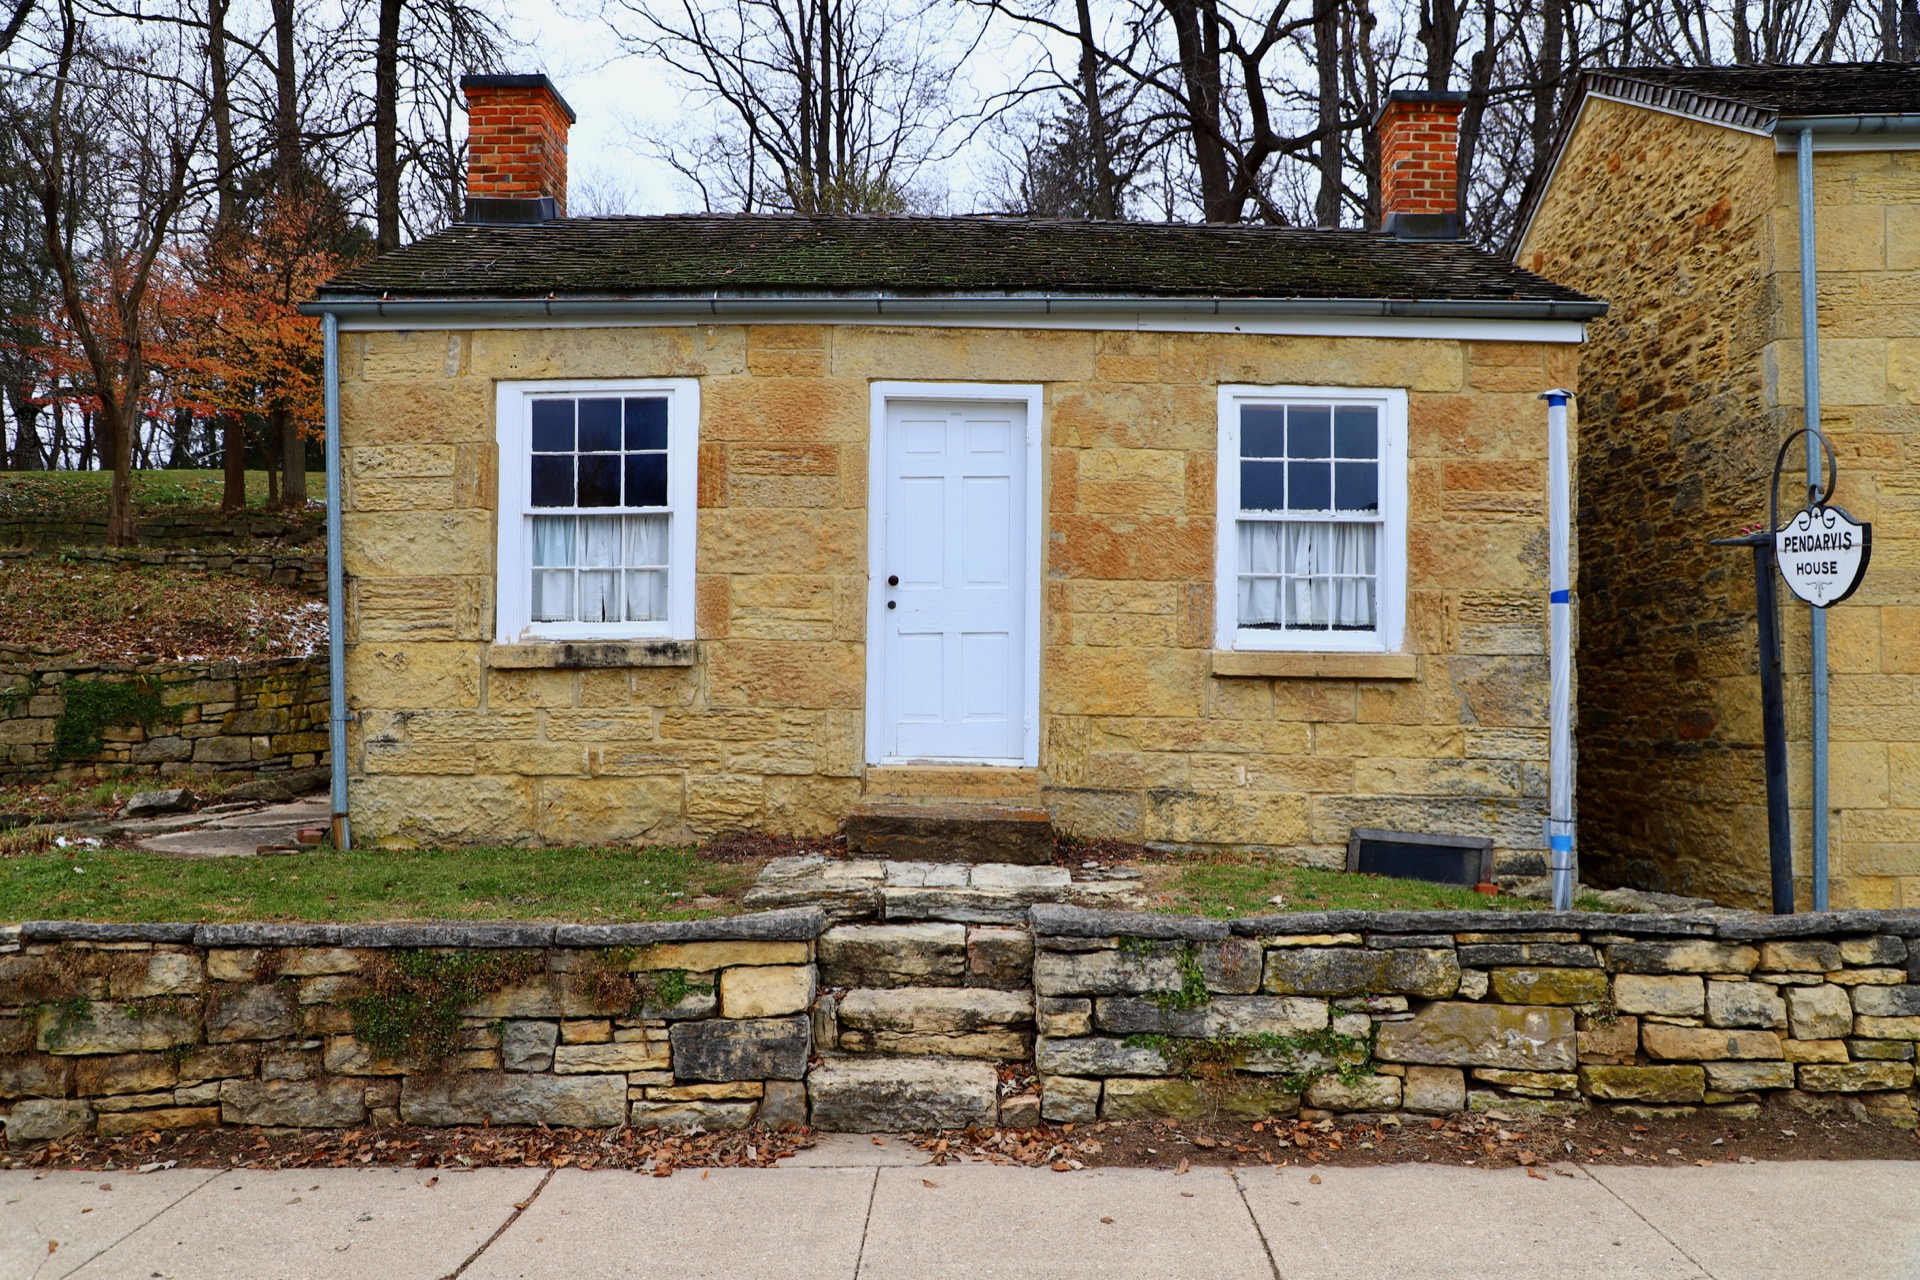
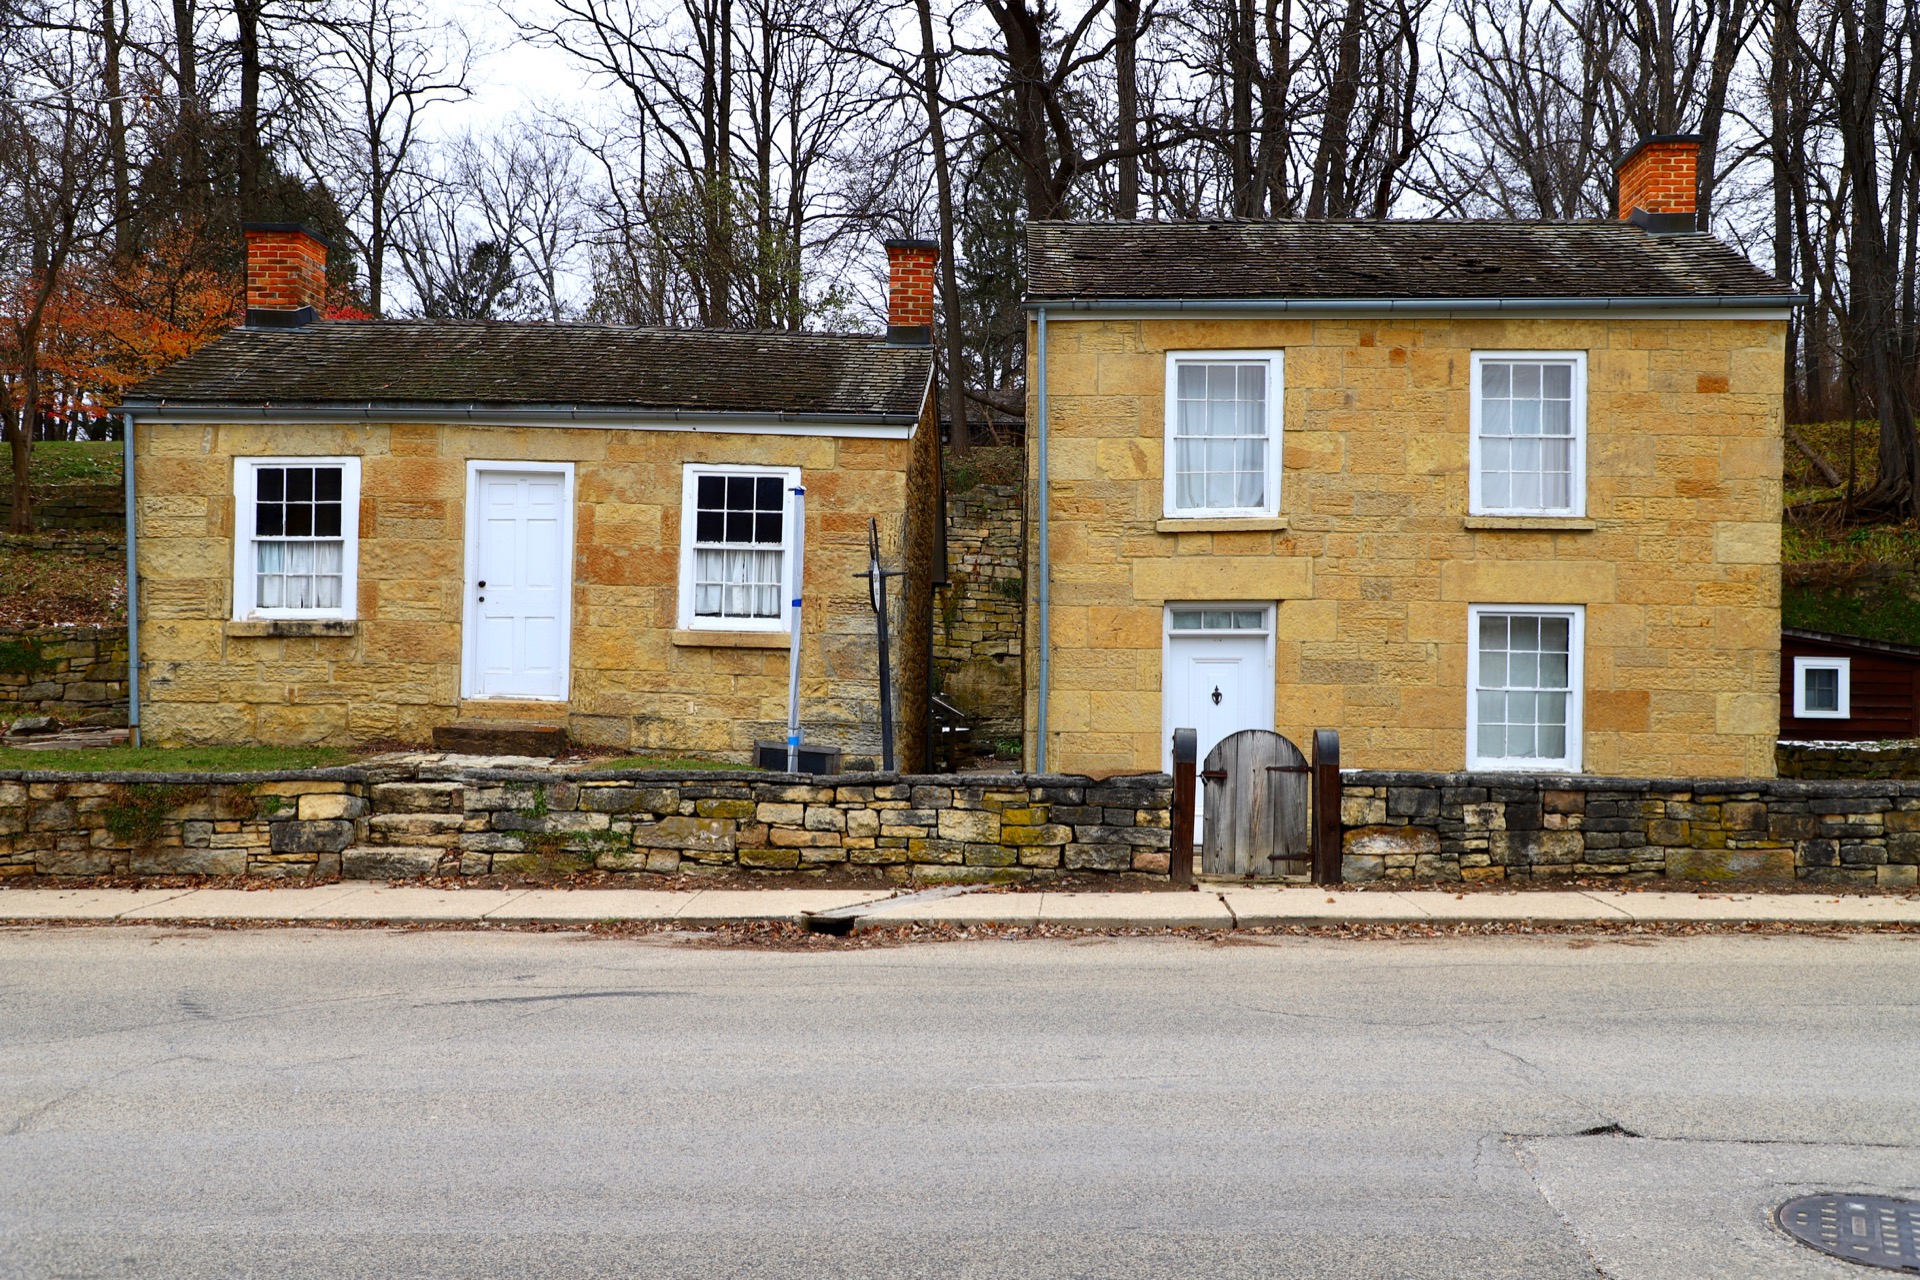
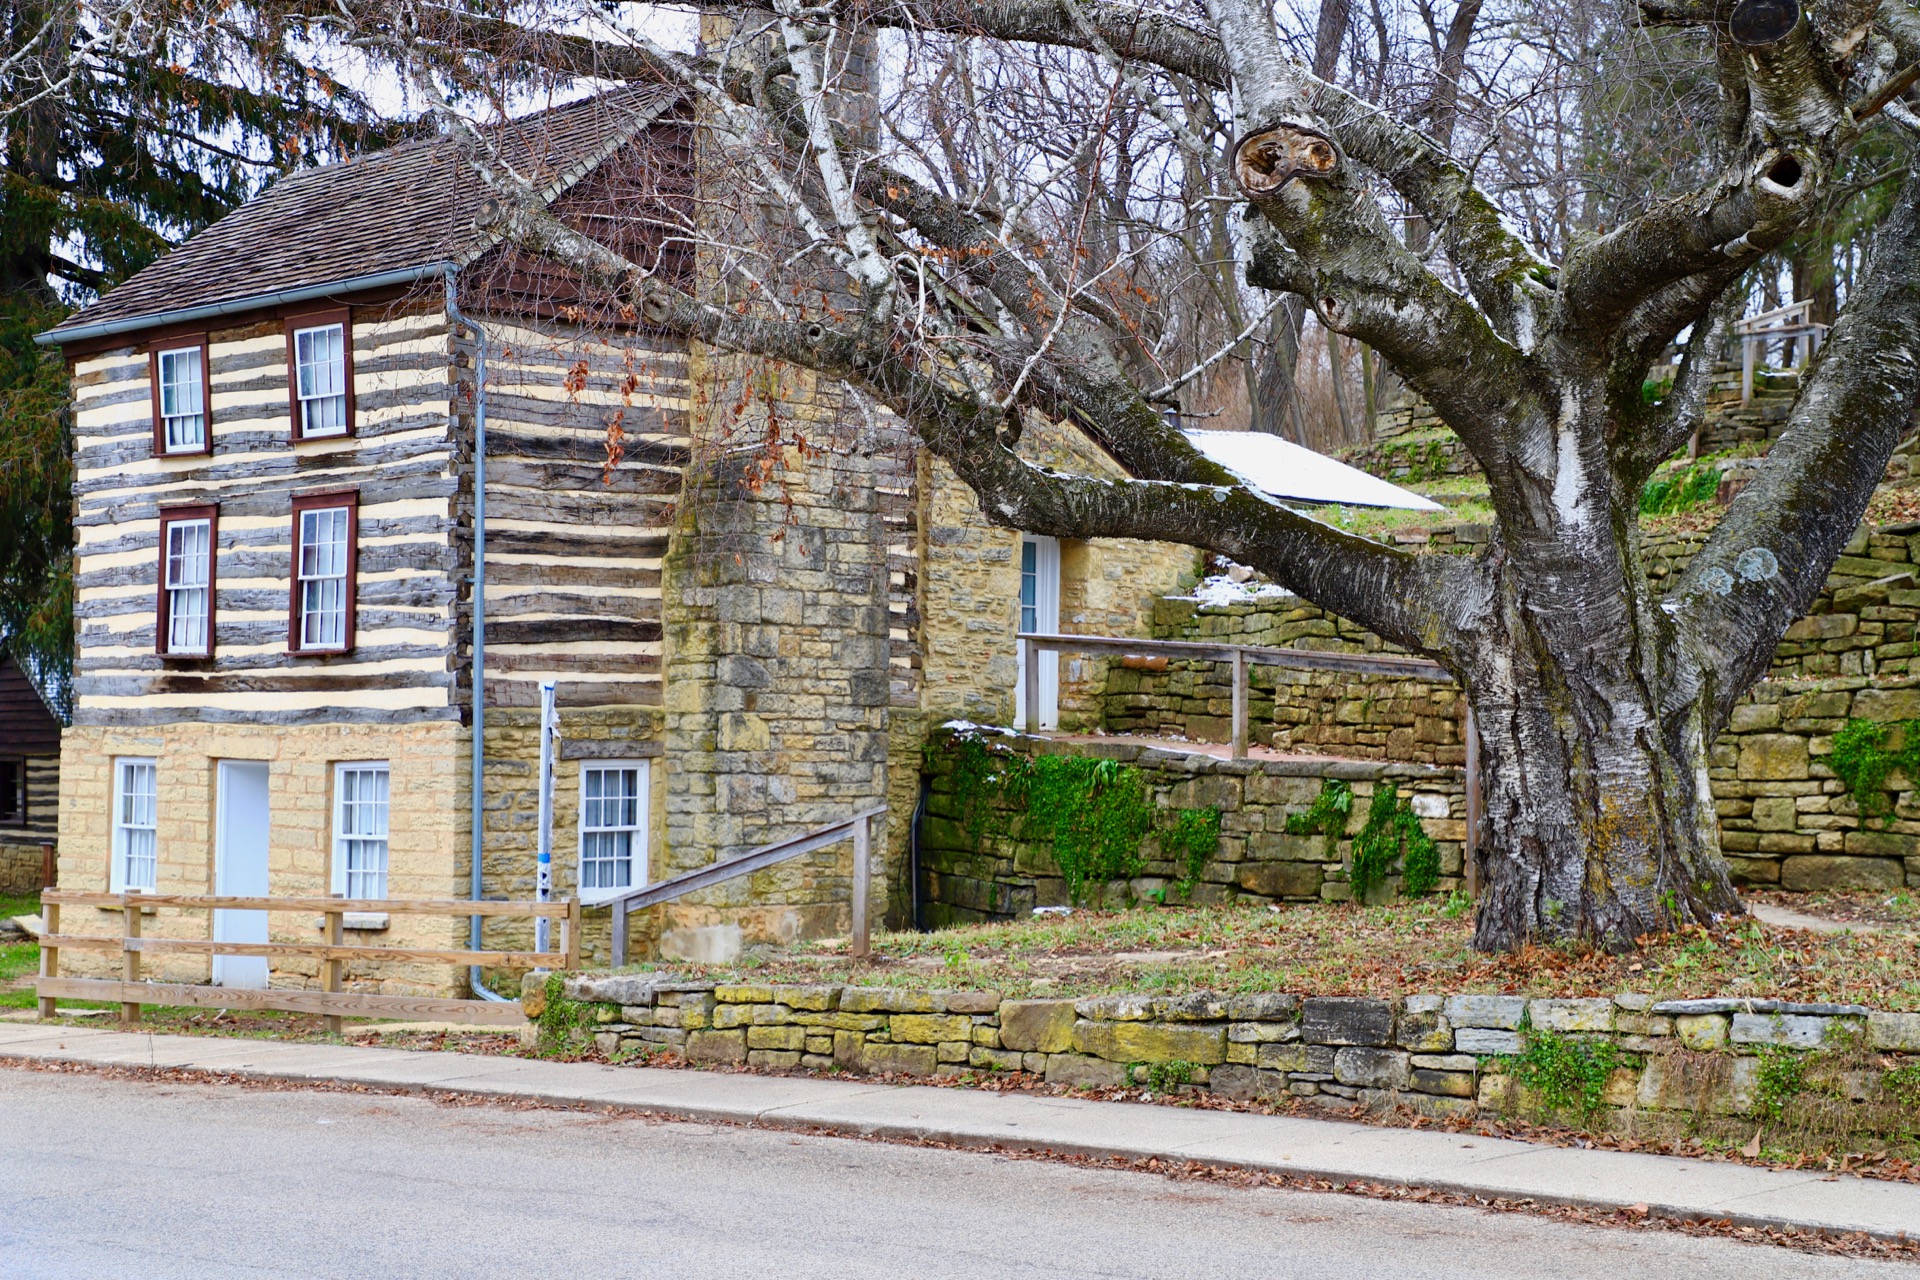
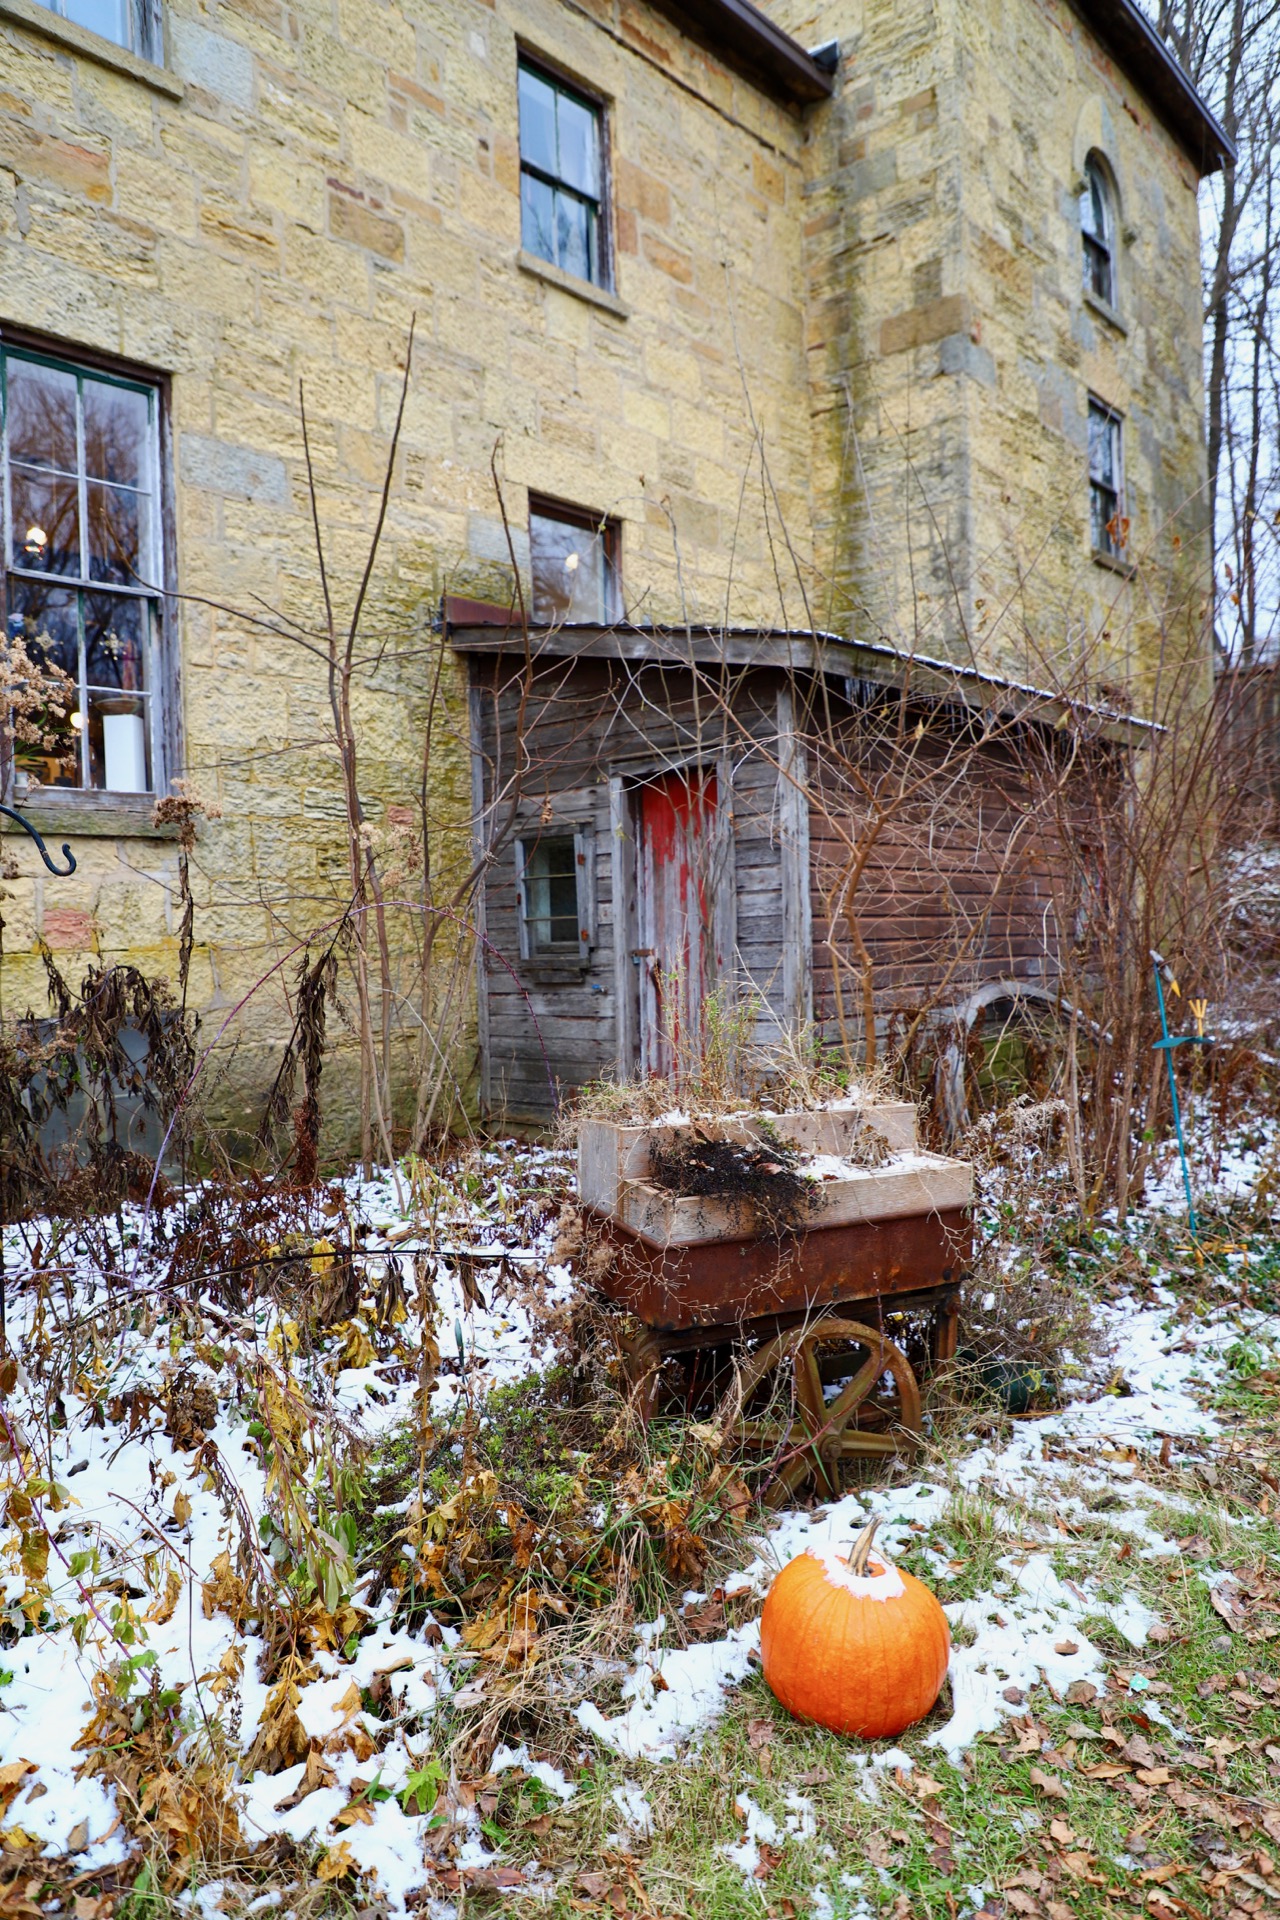
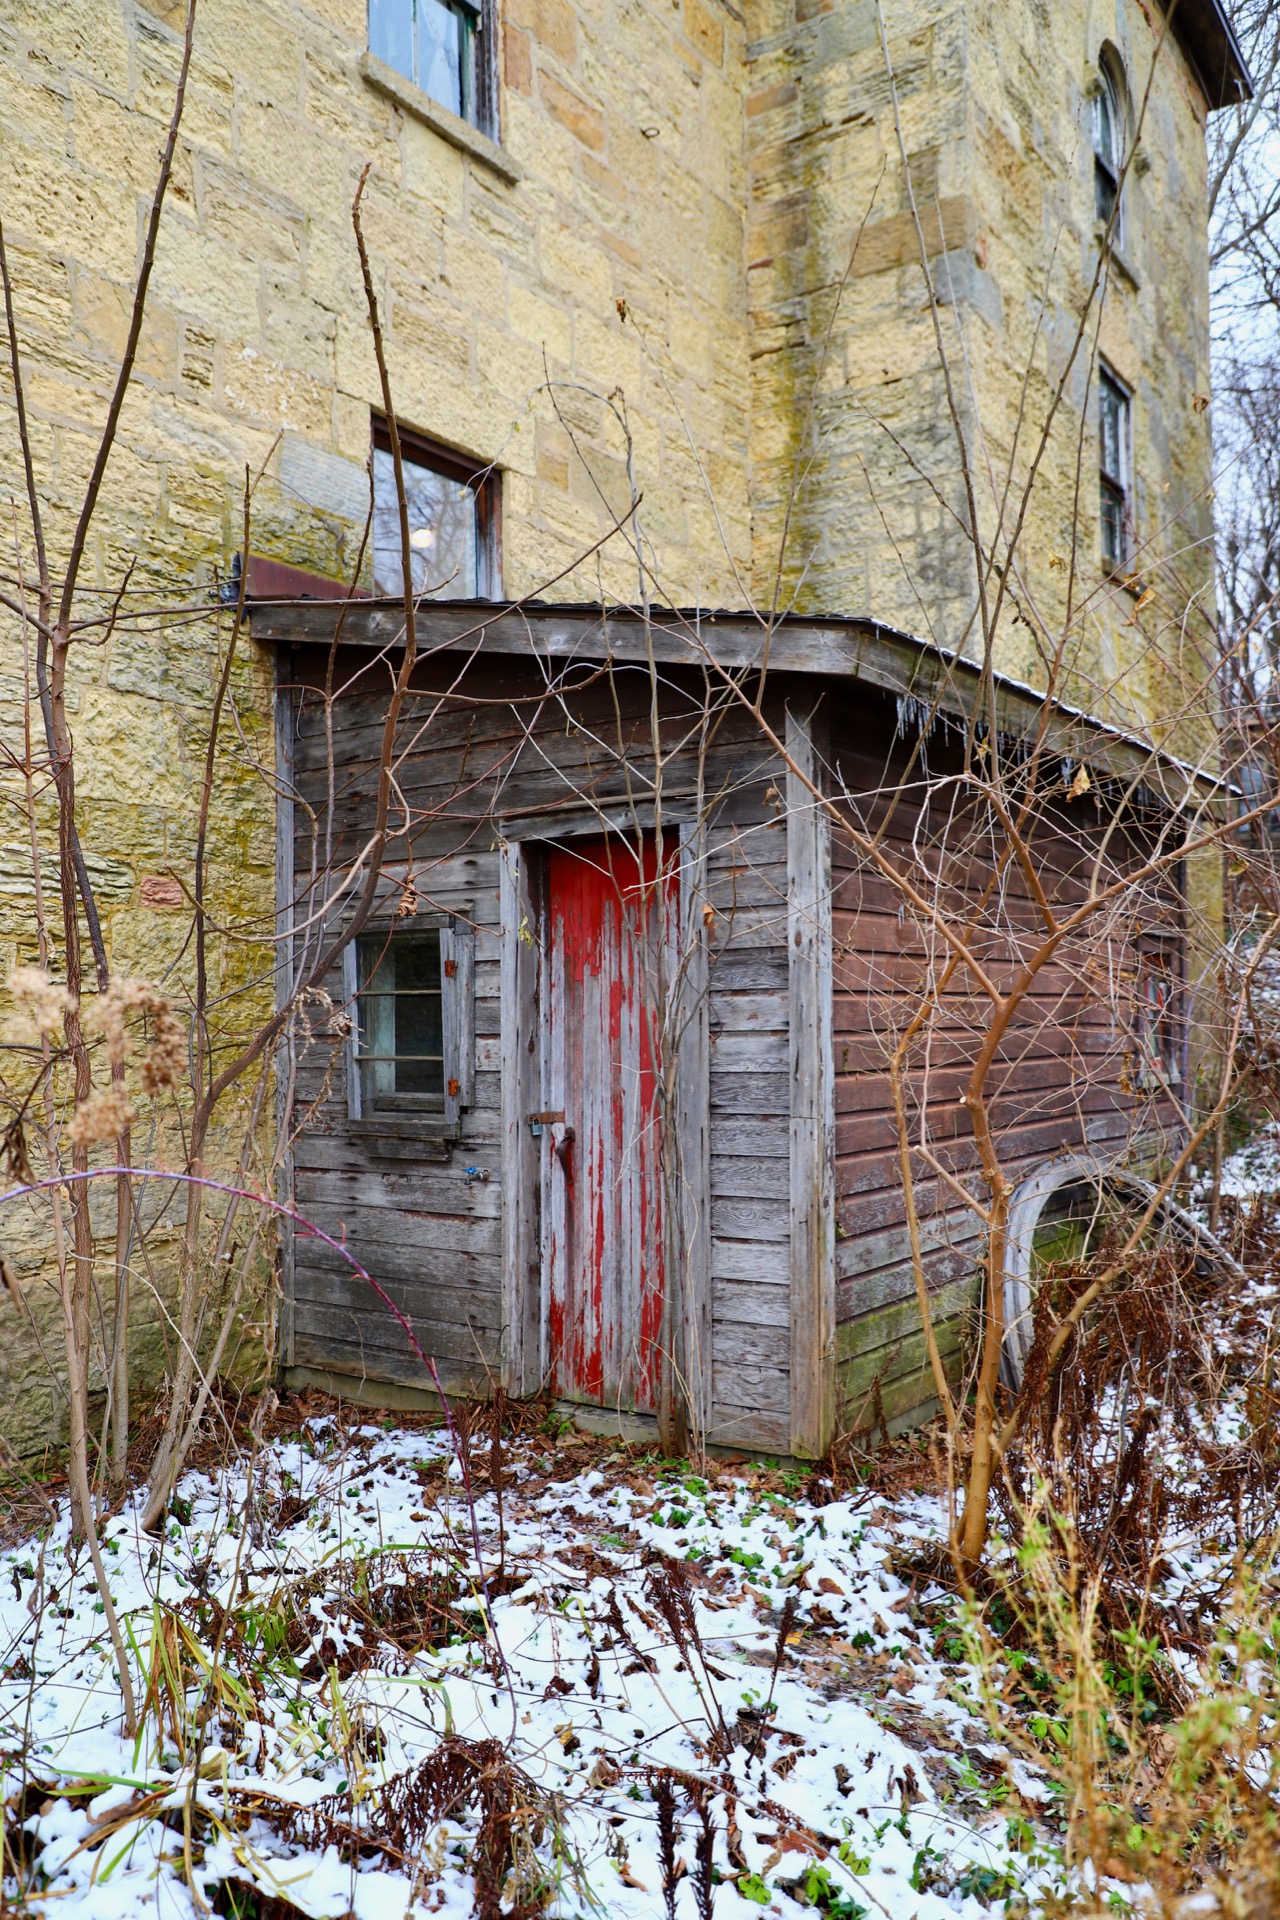
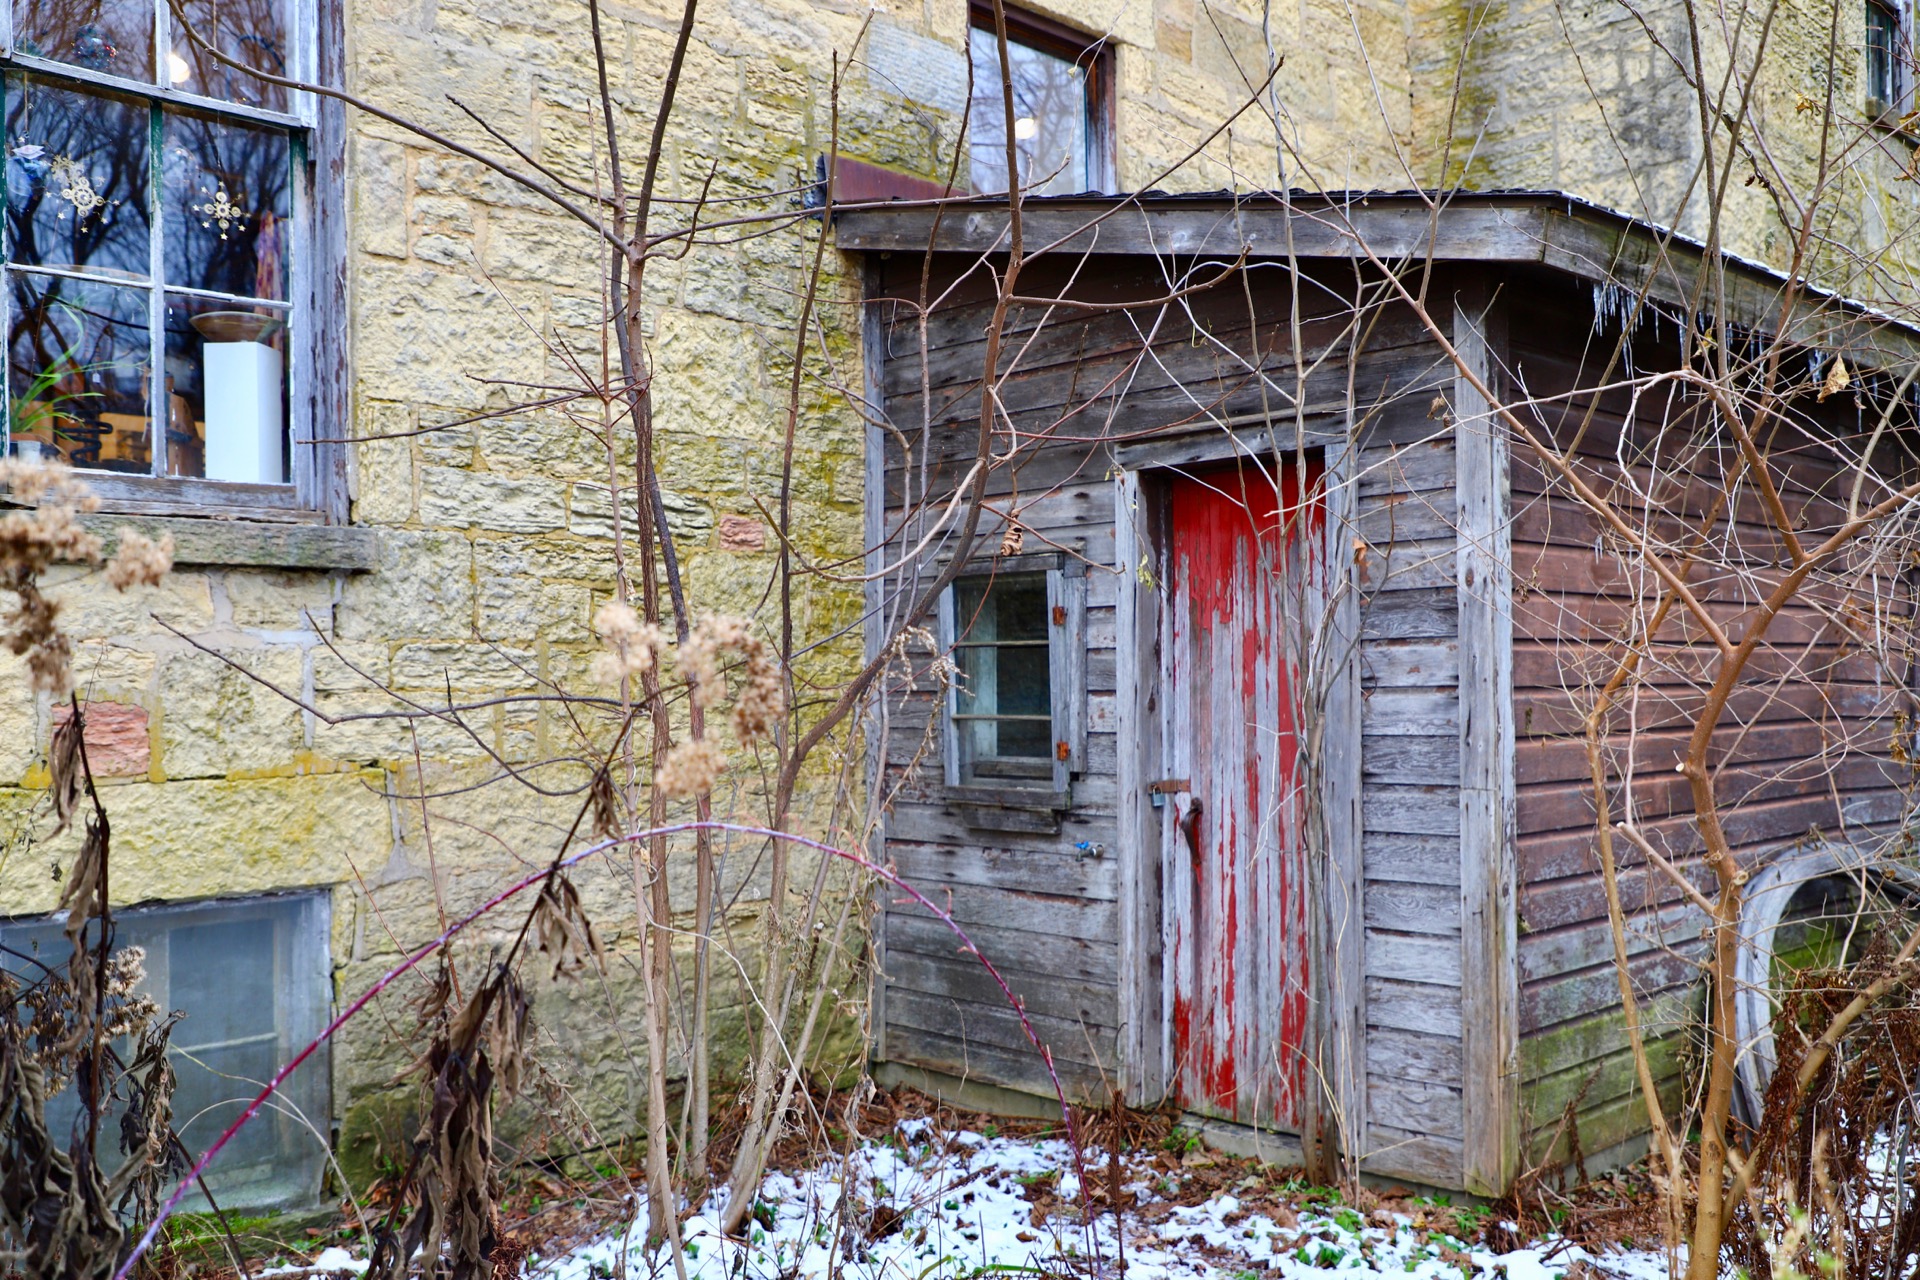
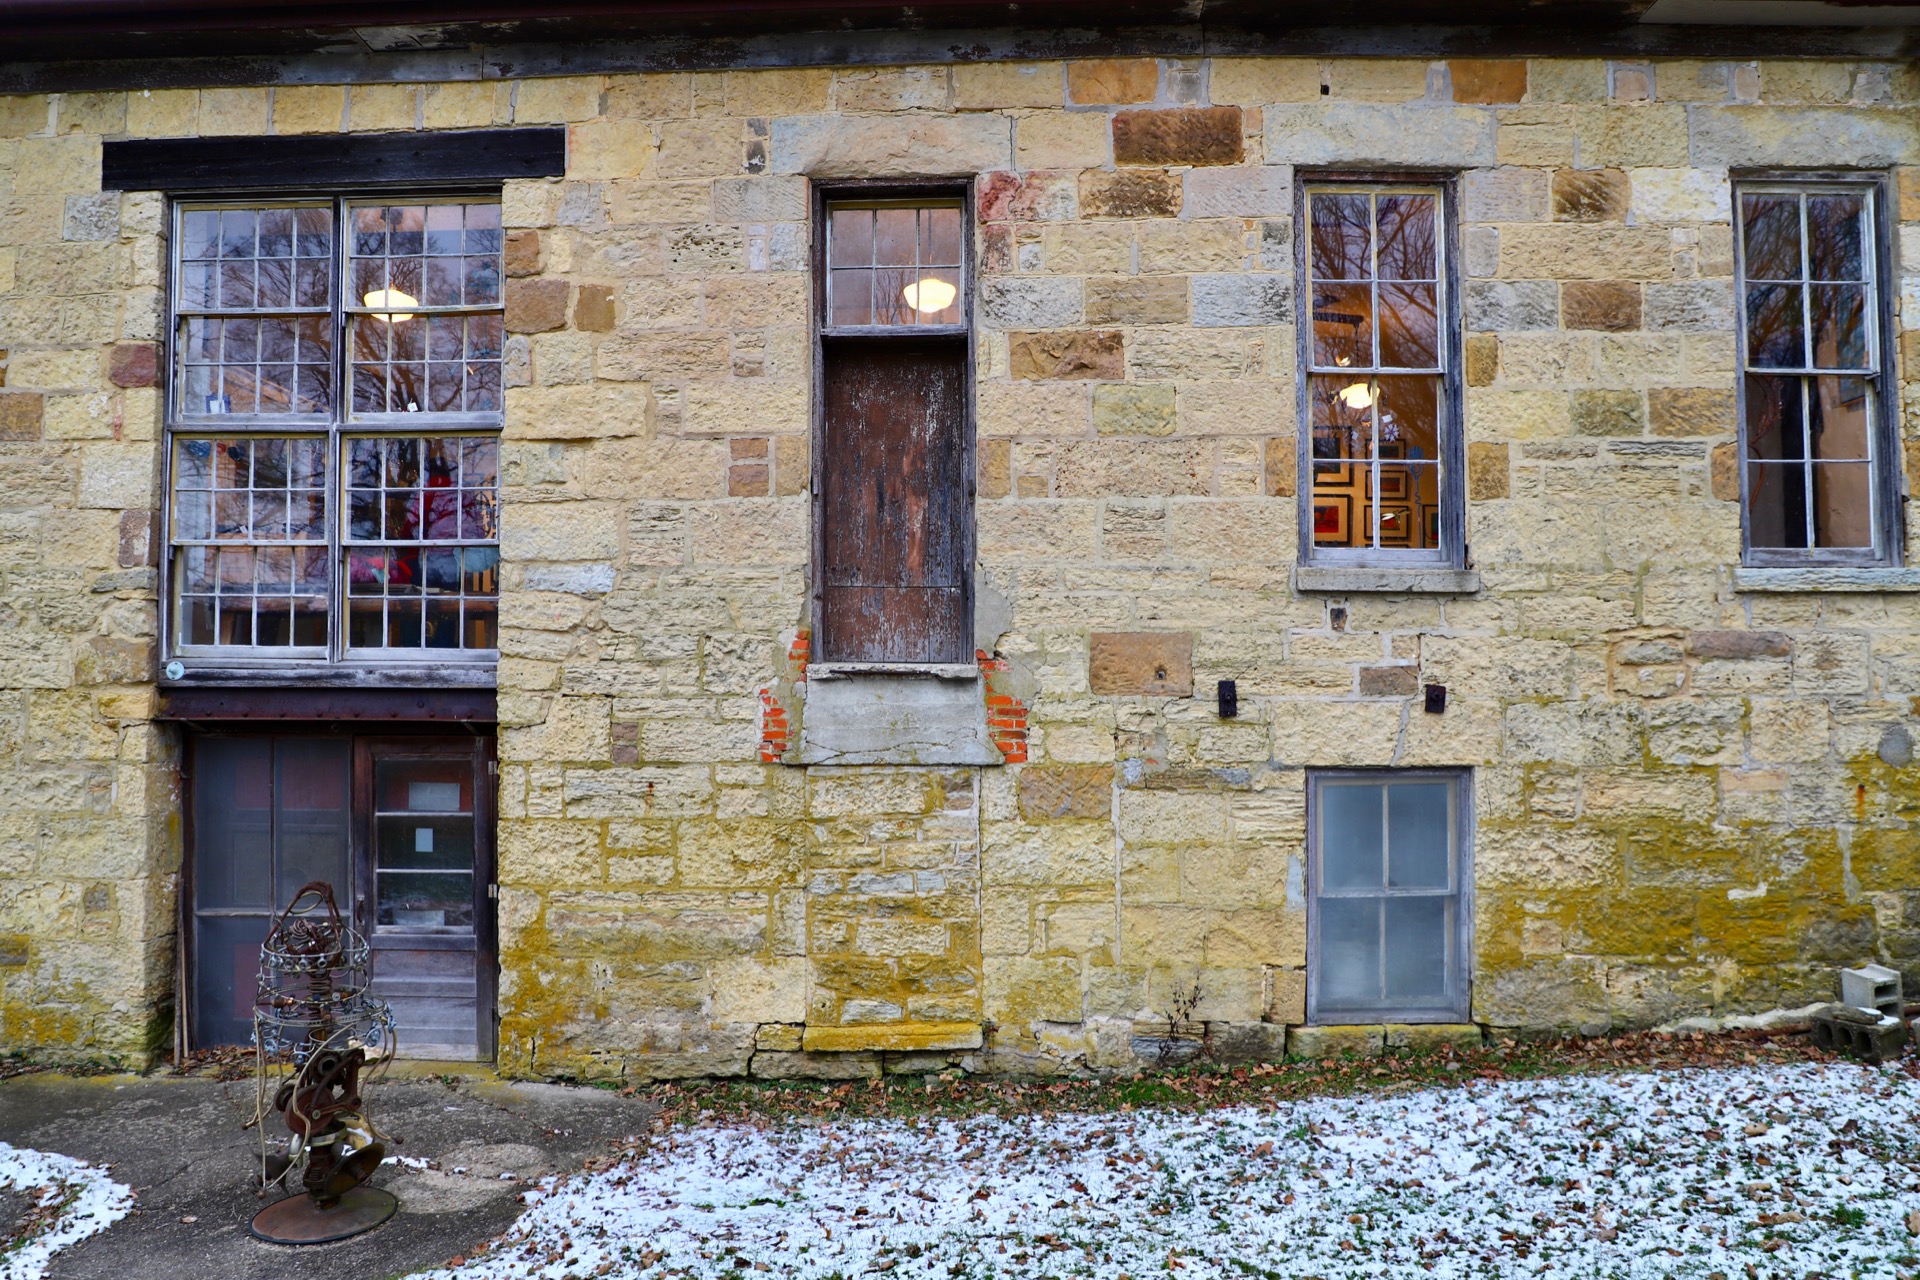
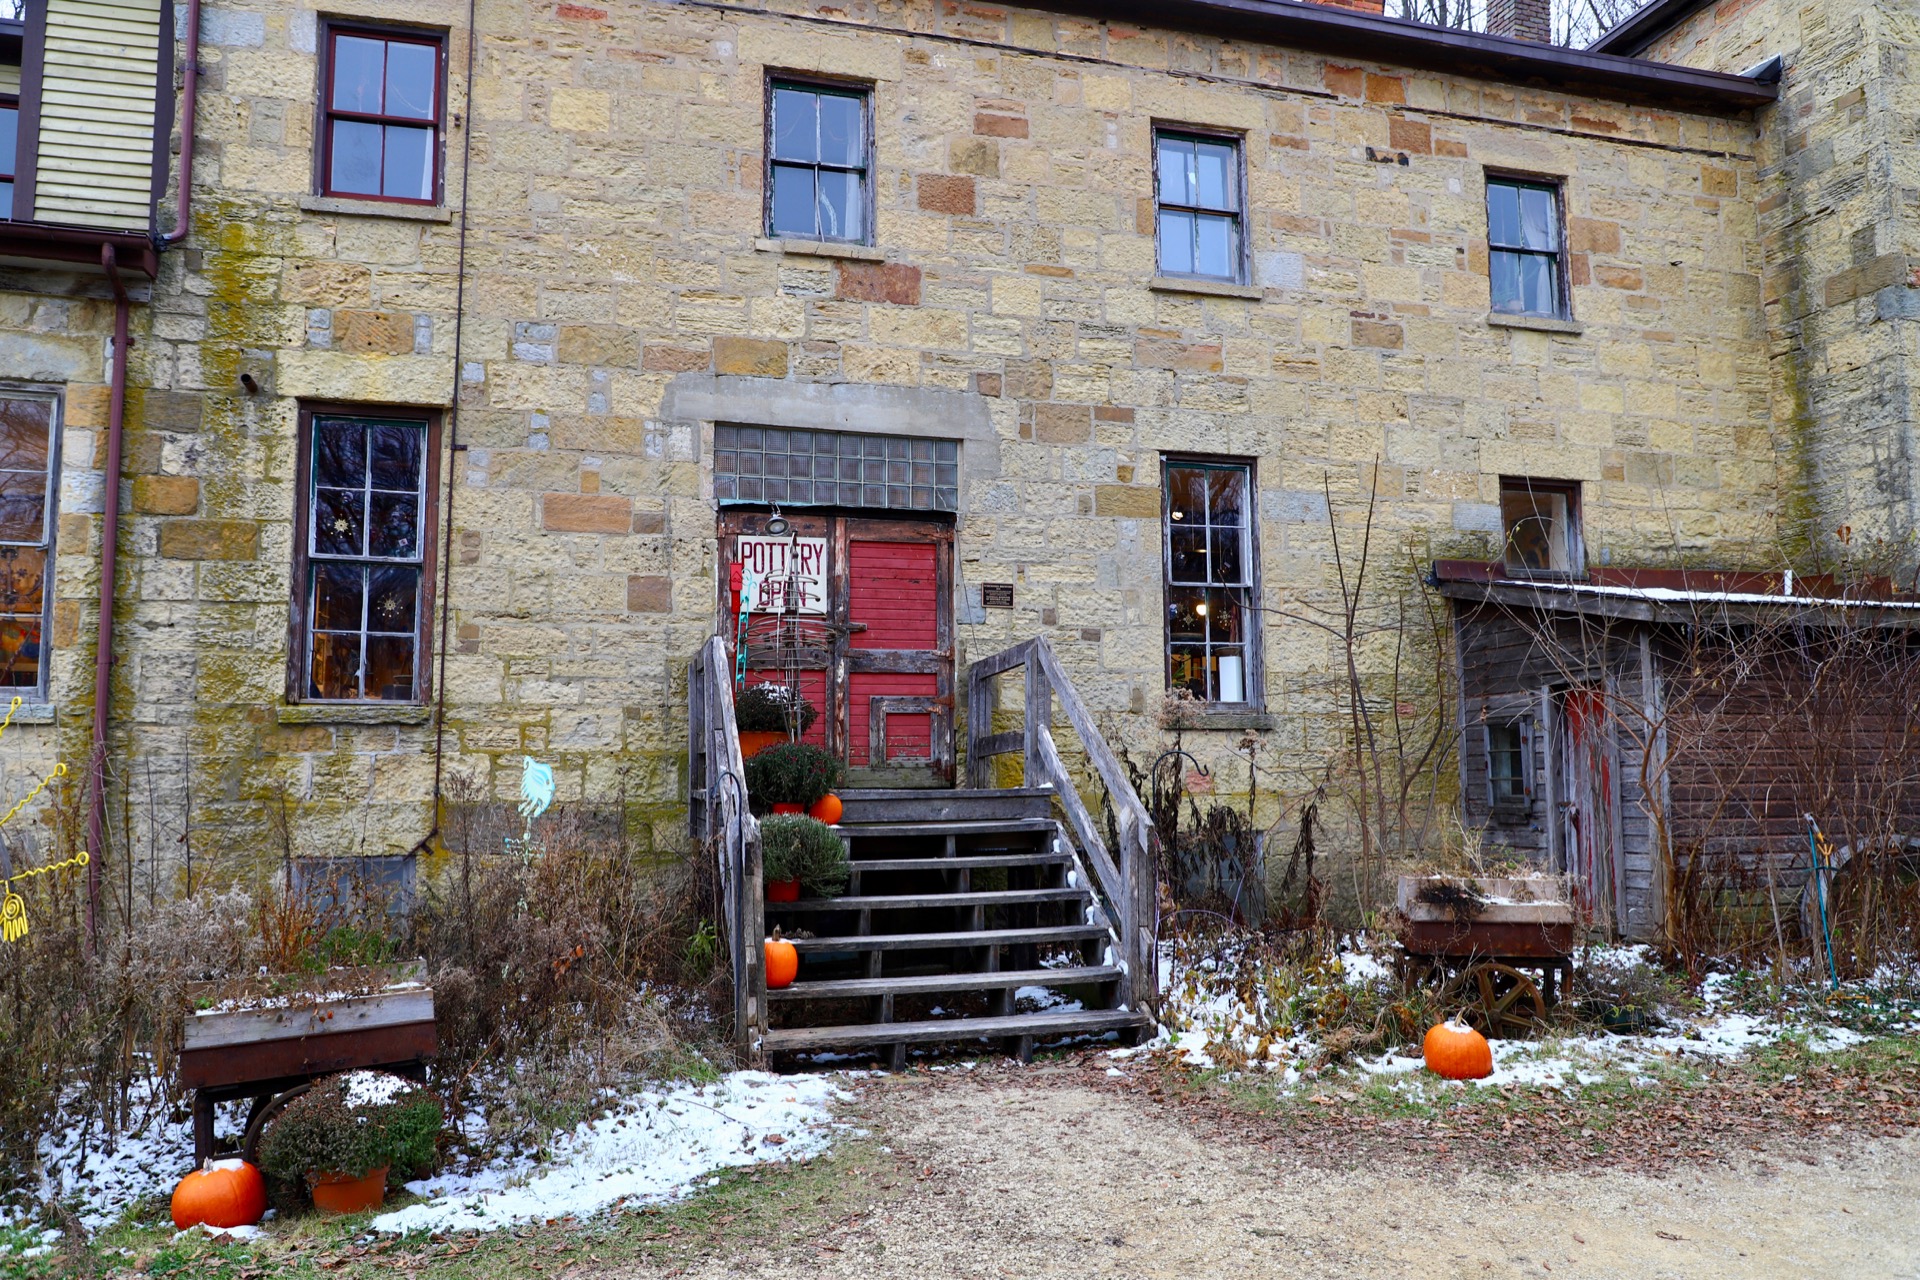
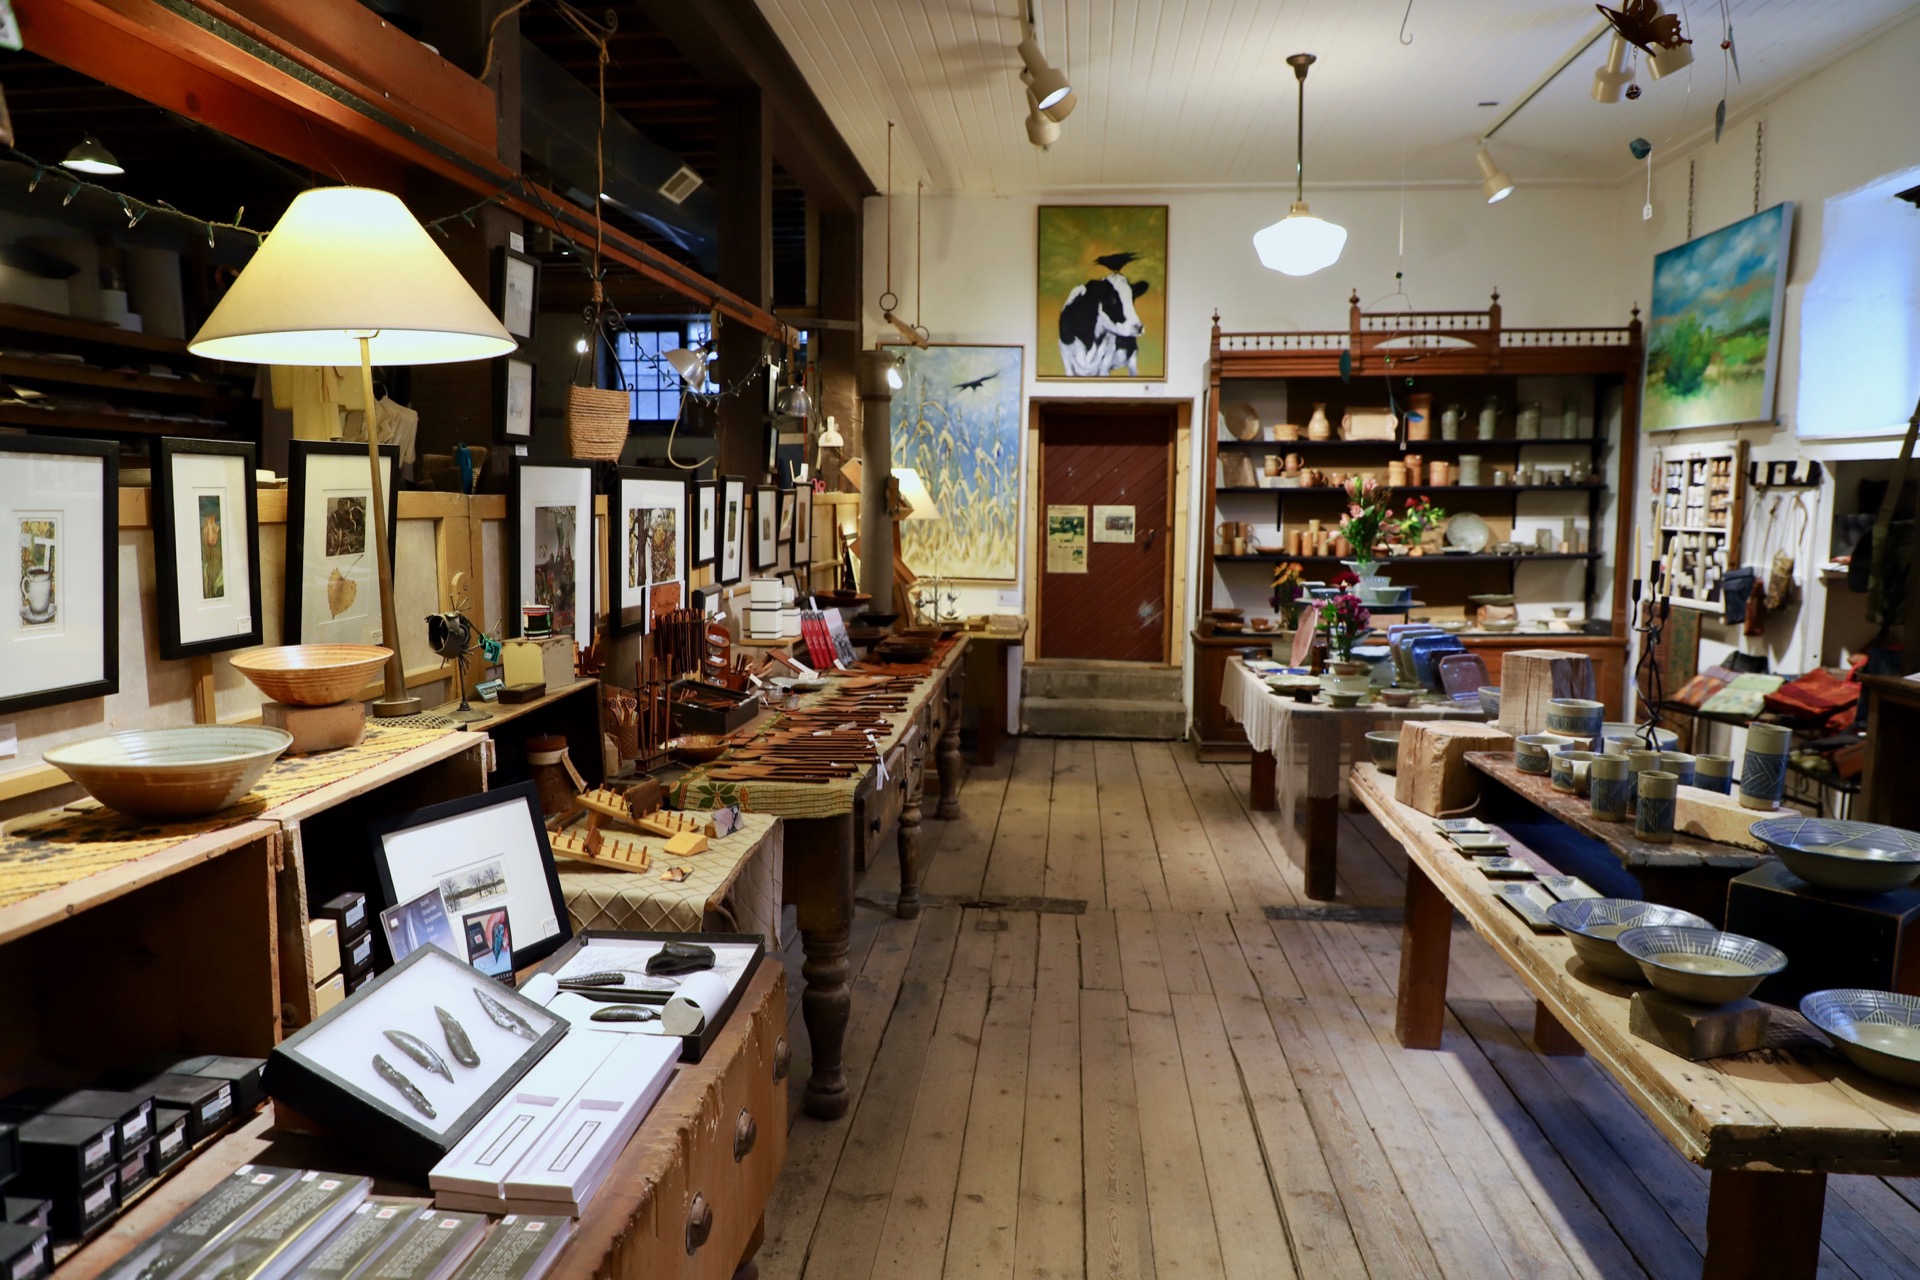
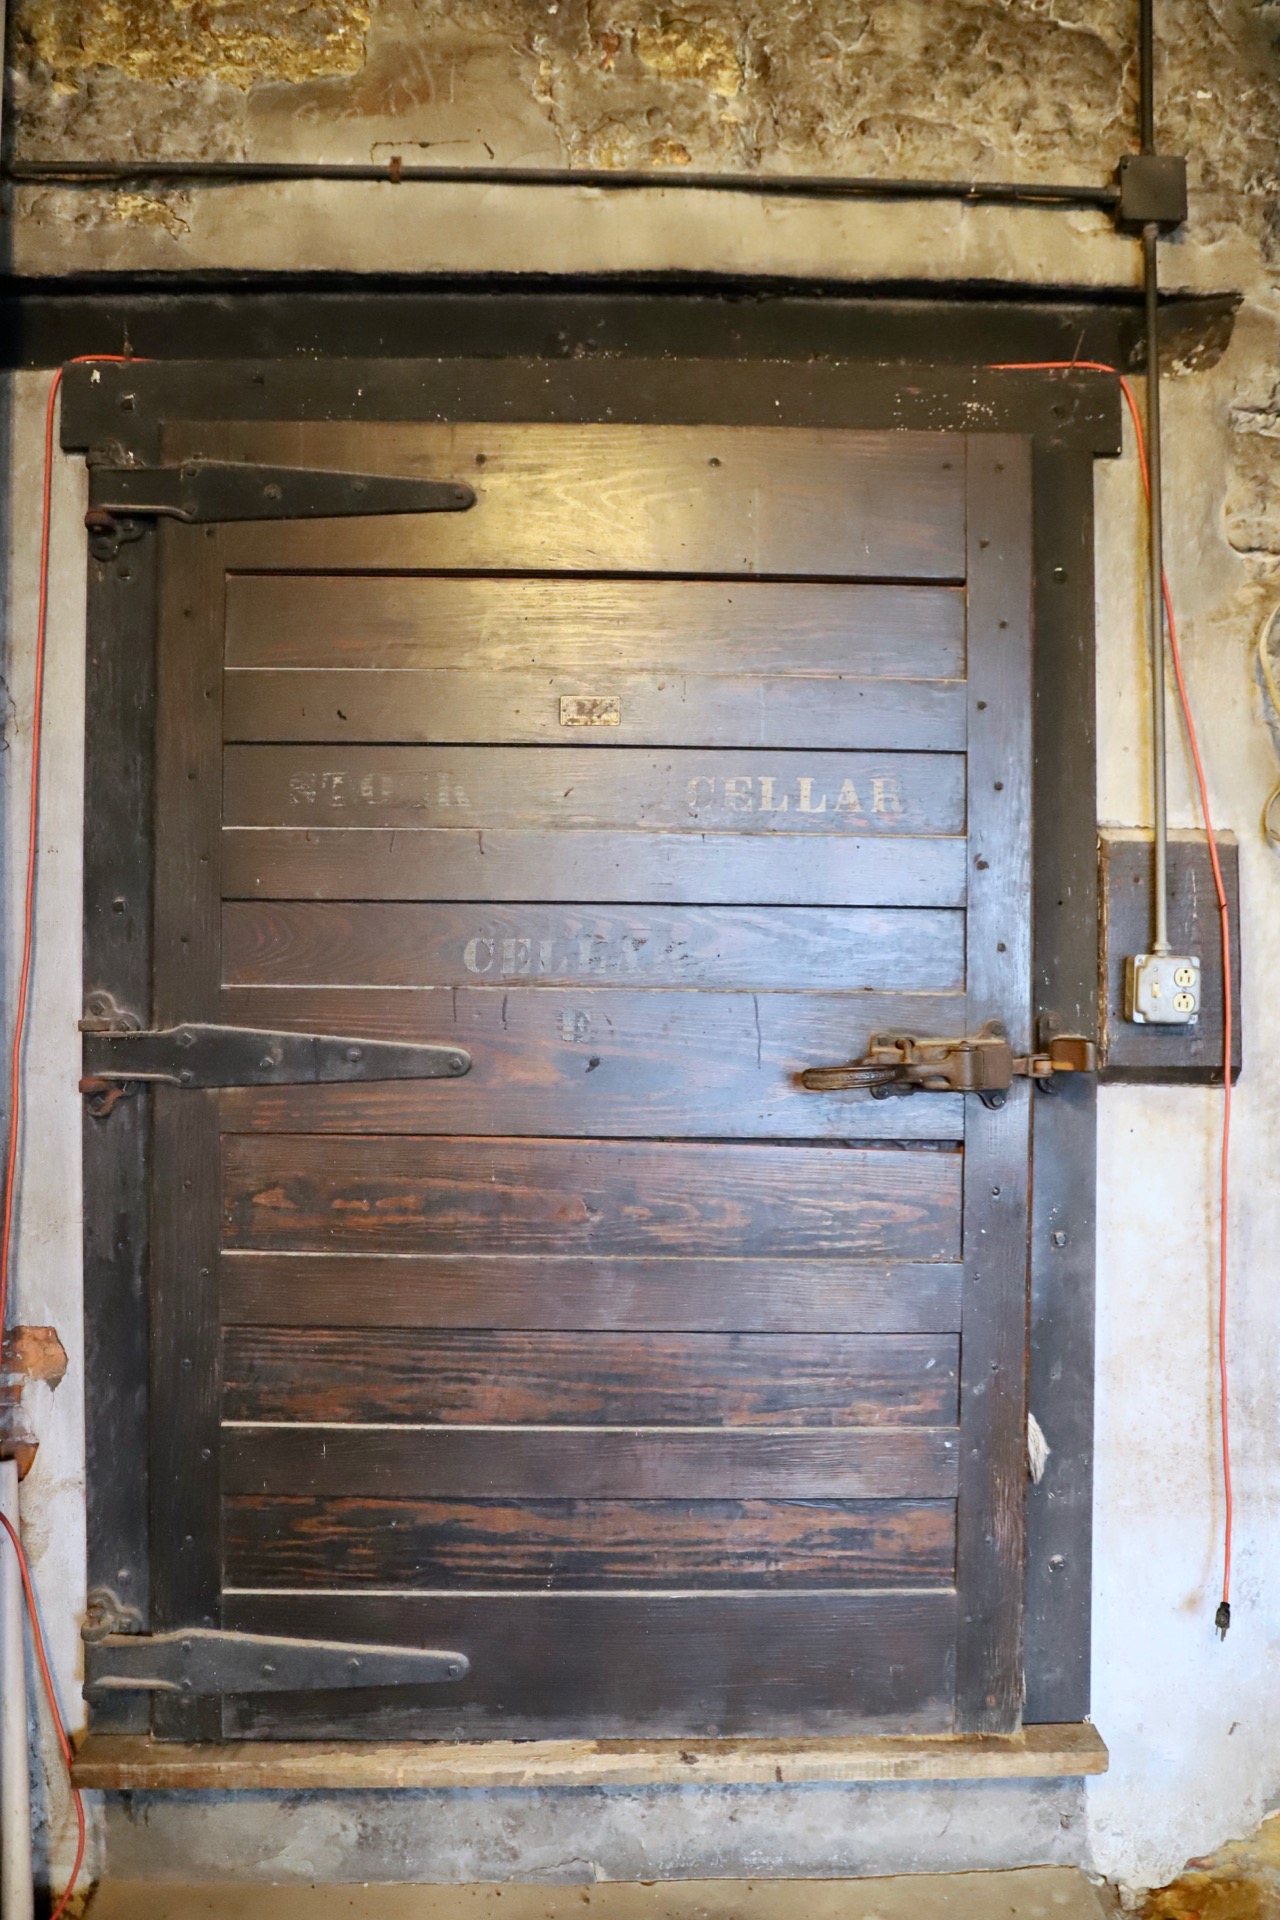
Below are some photos taken in Mineral Point on 10 Nov 2018. Here I’m sharing the 1920×1080 size versions of the photos for people use as desktop wallpaper or enjoy in other ways. They also make for fun tablet or smartphone wallpaper. If you’d like to use any of these for commercial purposes, if you’d like the originals, or have any questions about this collection of photos, feel free to contact me. Thanks!
Camera and Settings Used
I was using a Canon 6D Mark II camera. For the photos that seem to have more saturation, I had selected the Vivid or Intense options available in the CA camera setting. See page 102 of the instruction manual for further details about these features. I was using the 24-105mm USM lens that came with the camera. Although I didn’t have a tripod, the Canon Image Stabilization (second generation) seemed to work well enough.
I was able to use the automatic mode for most of the photos. The camera’s choice of aperture, speed, ISO, and focal point were acceptable. Sometimes I’d switch to manual focus and at times used Aperture Priority when I wanted more control over the shot. Learn more about Aperture Priority on page 238 of the Canon 6D II instruction manual.
Mineral Point Photos
Here’s the gallery of Mineral Point photos. However over any photo for the caption or click any image for a larger gallery view with more details. Enjoy!
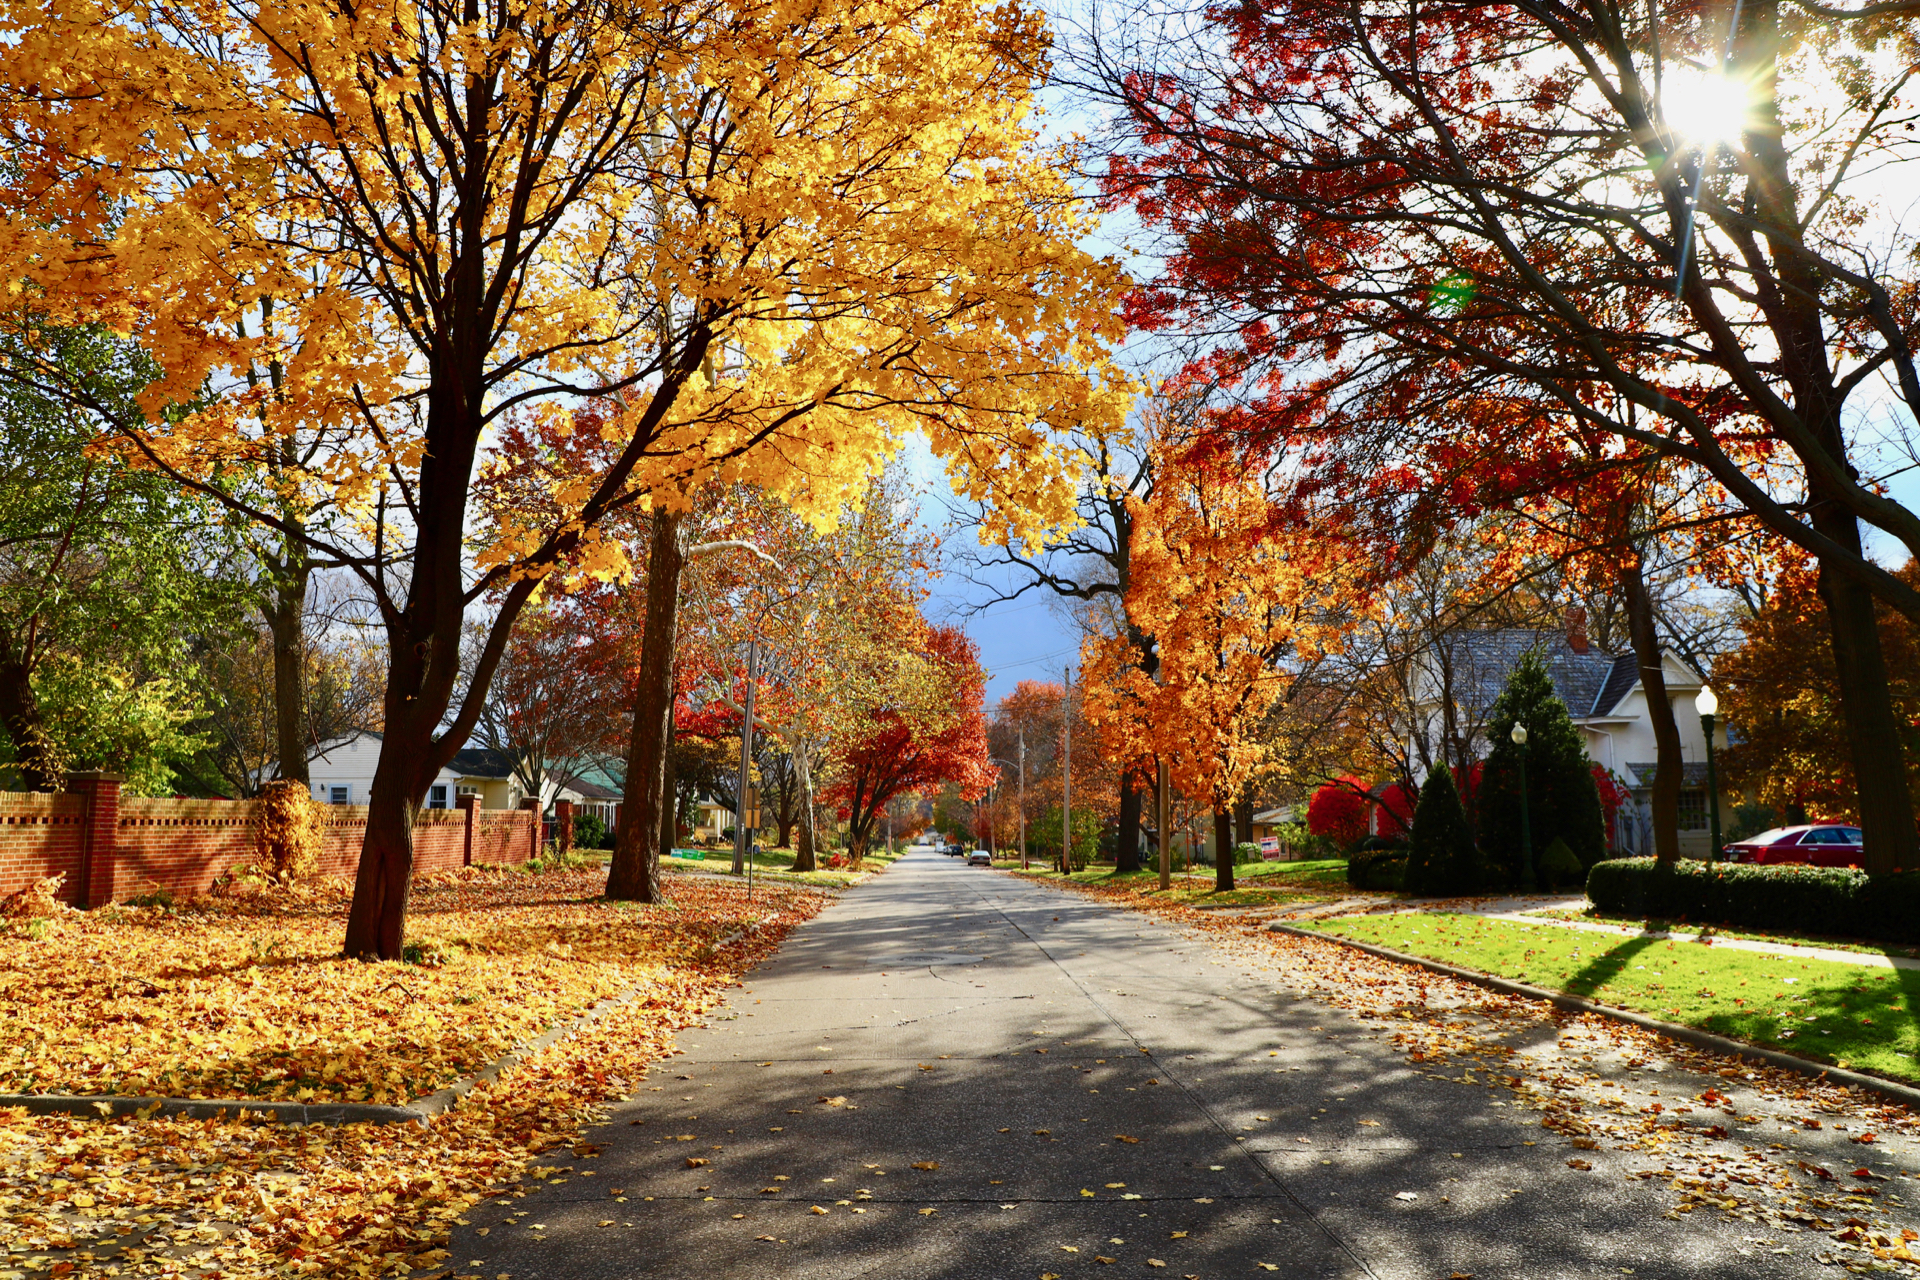
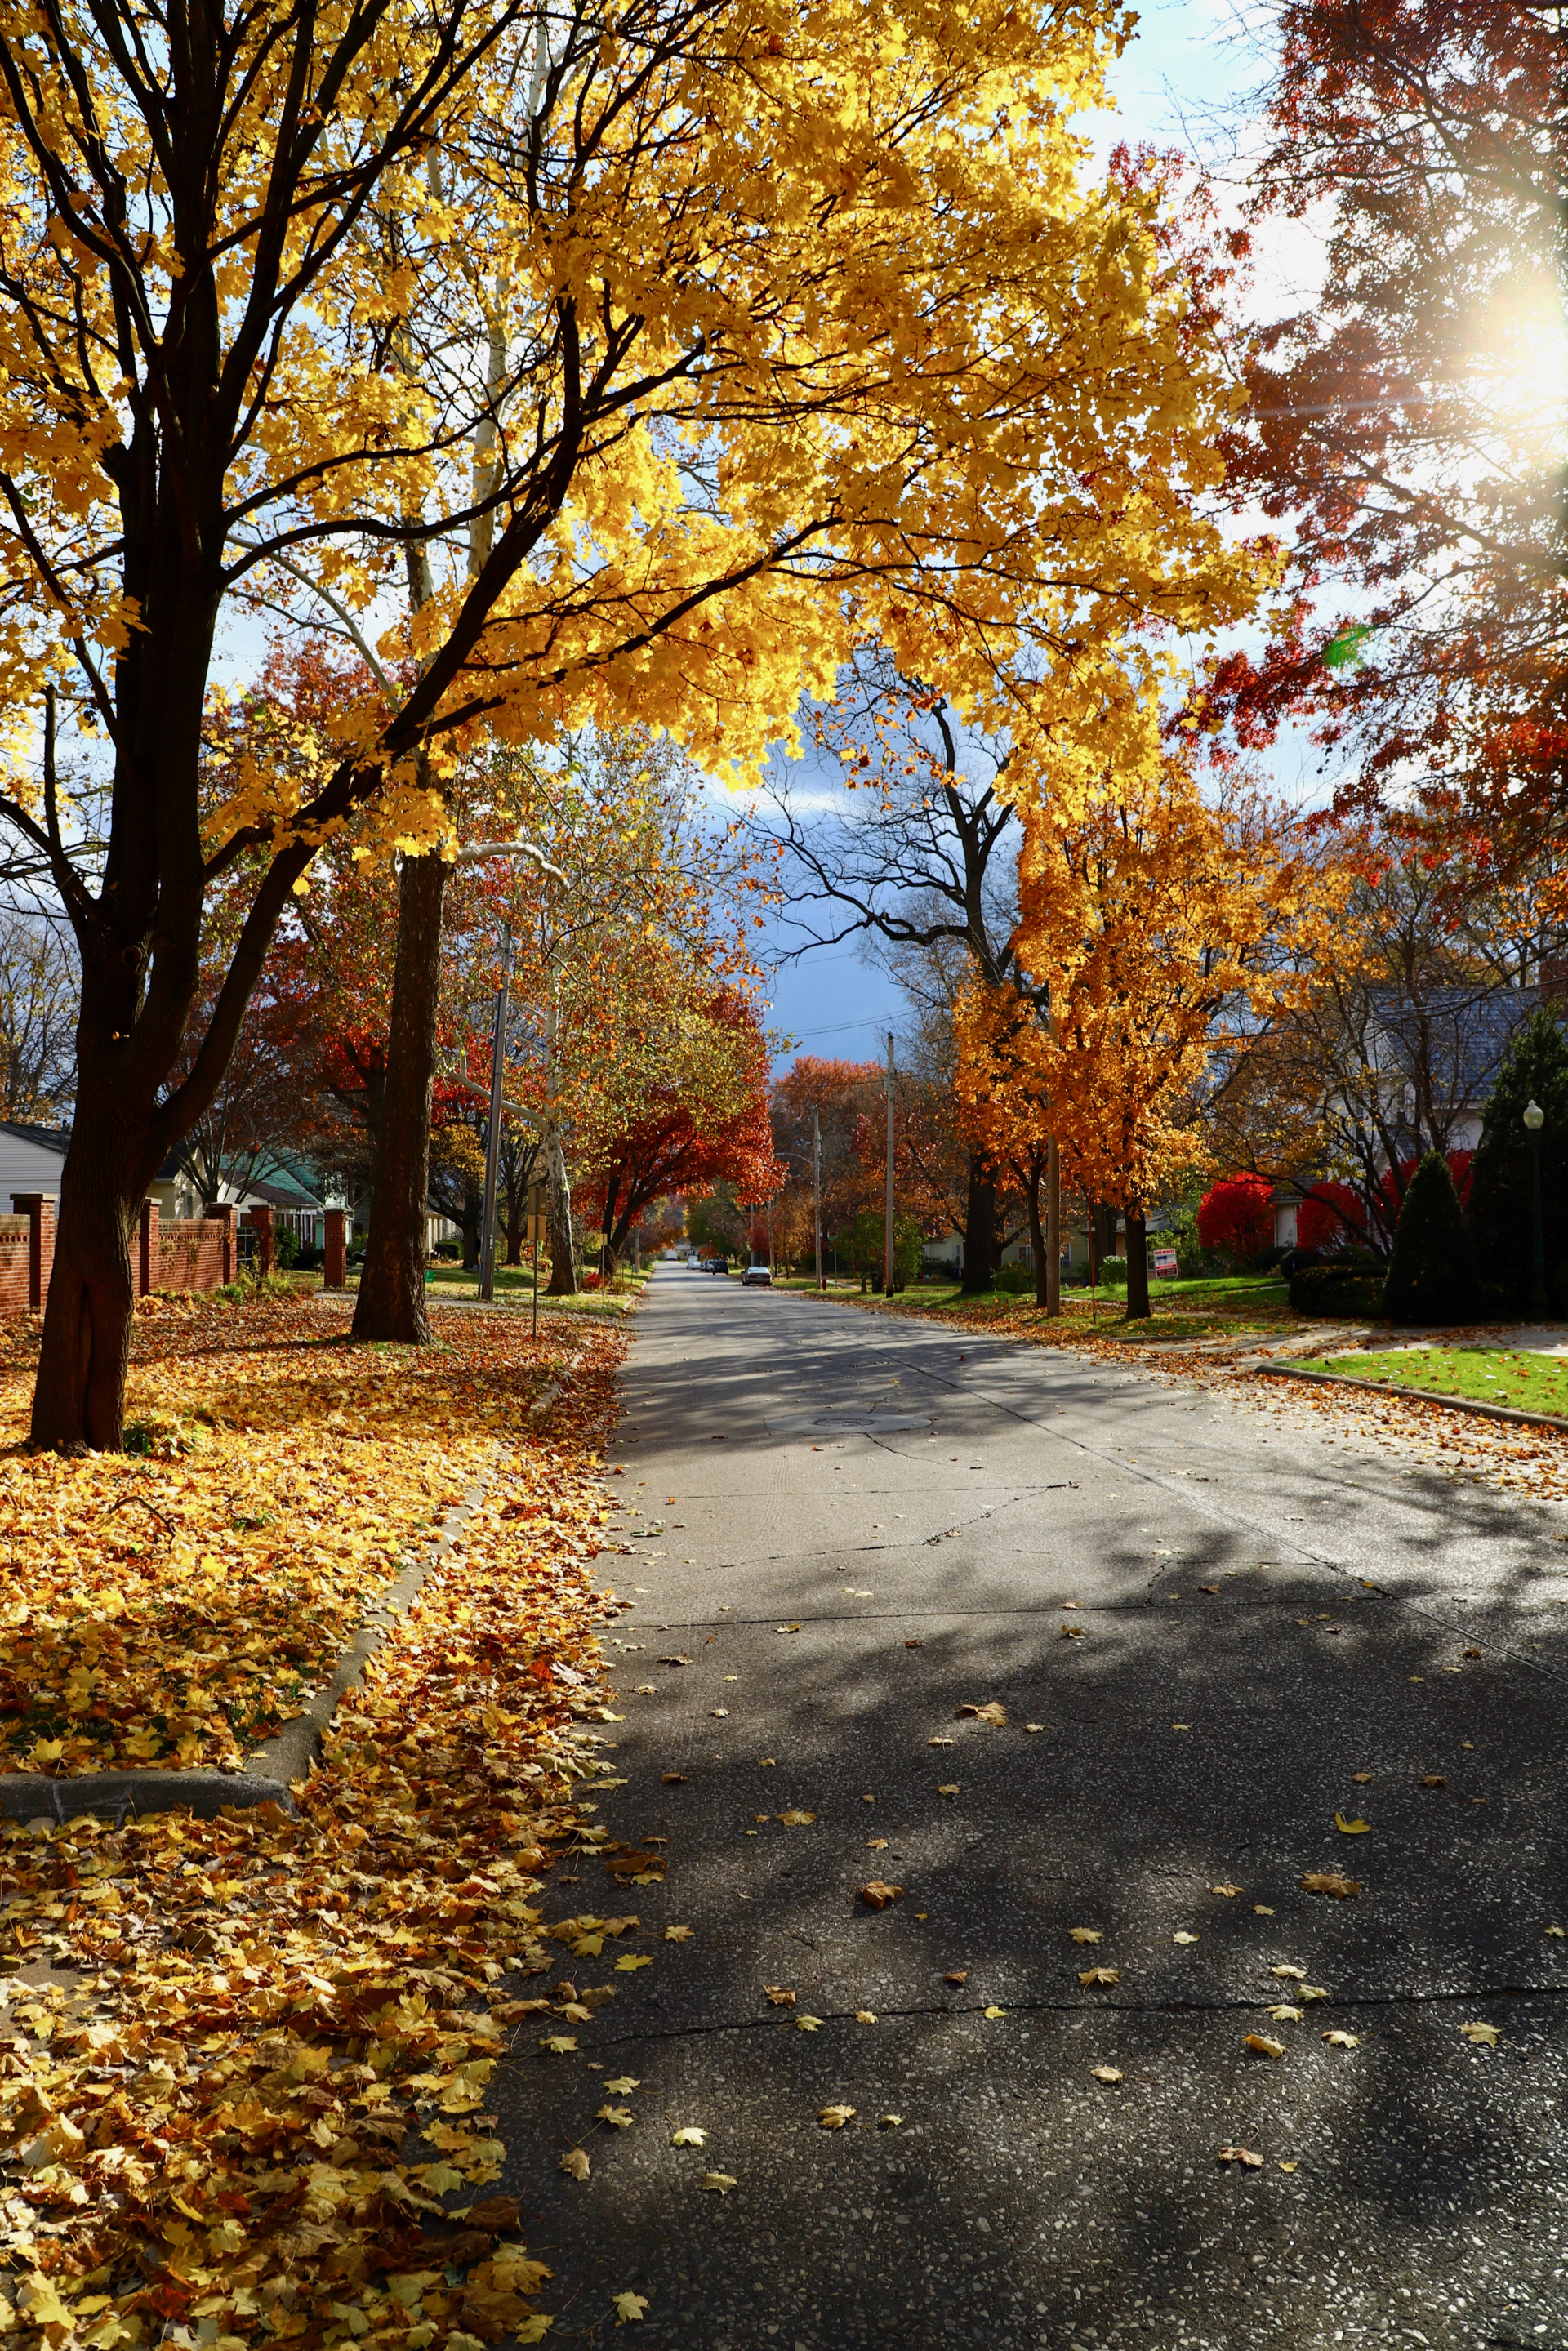
Below are some photos taken in the Iowa City area during the week ending on 2 Nov 2018. Here I’m sharing the 1920×1080 size versions of the photos for people use as desktop wallpaper, presentation backgrounds, or enjoy in other ways. They also make for fun tablet or smartphone wallpaper. If you’d like to use any of these for commercial purposes, if you’d like the originals, or have any questions about this collection of photos, feel free to contact me. Thanks!
Equipment Used
I was using a Canon 6D Mark II camera. For the photos that seem to have more saturation, I had selected the Vivid or Intense options available in the CA camera setting. See page 102 of the instruction manual for further details about these features. I was using the 24-105mm USM lens that came with the camera. Although I didn’t have a tripod, the Canon Image Stabilization (second generation) seemed to work well enough.
Camera Settings
I was able to use the automatic mode for most of the photos. The camera’s choice of aperture, speed, ISO, and focal point were acceptable. Sometimes I’d switch to manual focus and at times used Aperture Priority when I wanted more control over the shot. Learn more about Aperture Priority on page 238 of the Canon 6D II instruction manual.
The Intense color setting can result in photos that seem too dark. However, using Intense that then later using software to increase the exposure will result in photos that are less washed out than if the photo had been taken without these color enhancement options. The Vivid setting is a less saturated option, but sometimes isn’t enough.
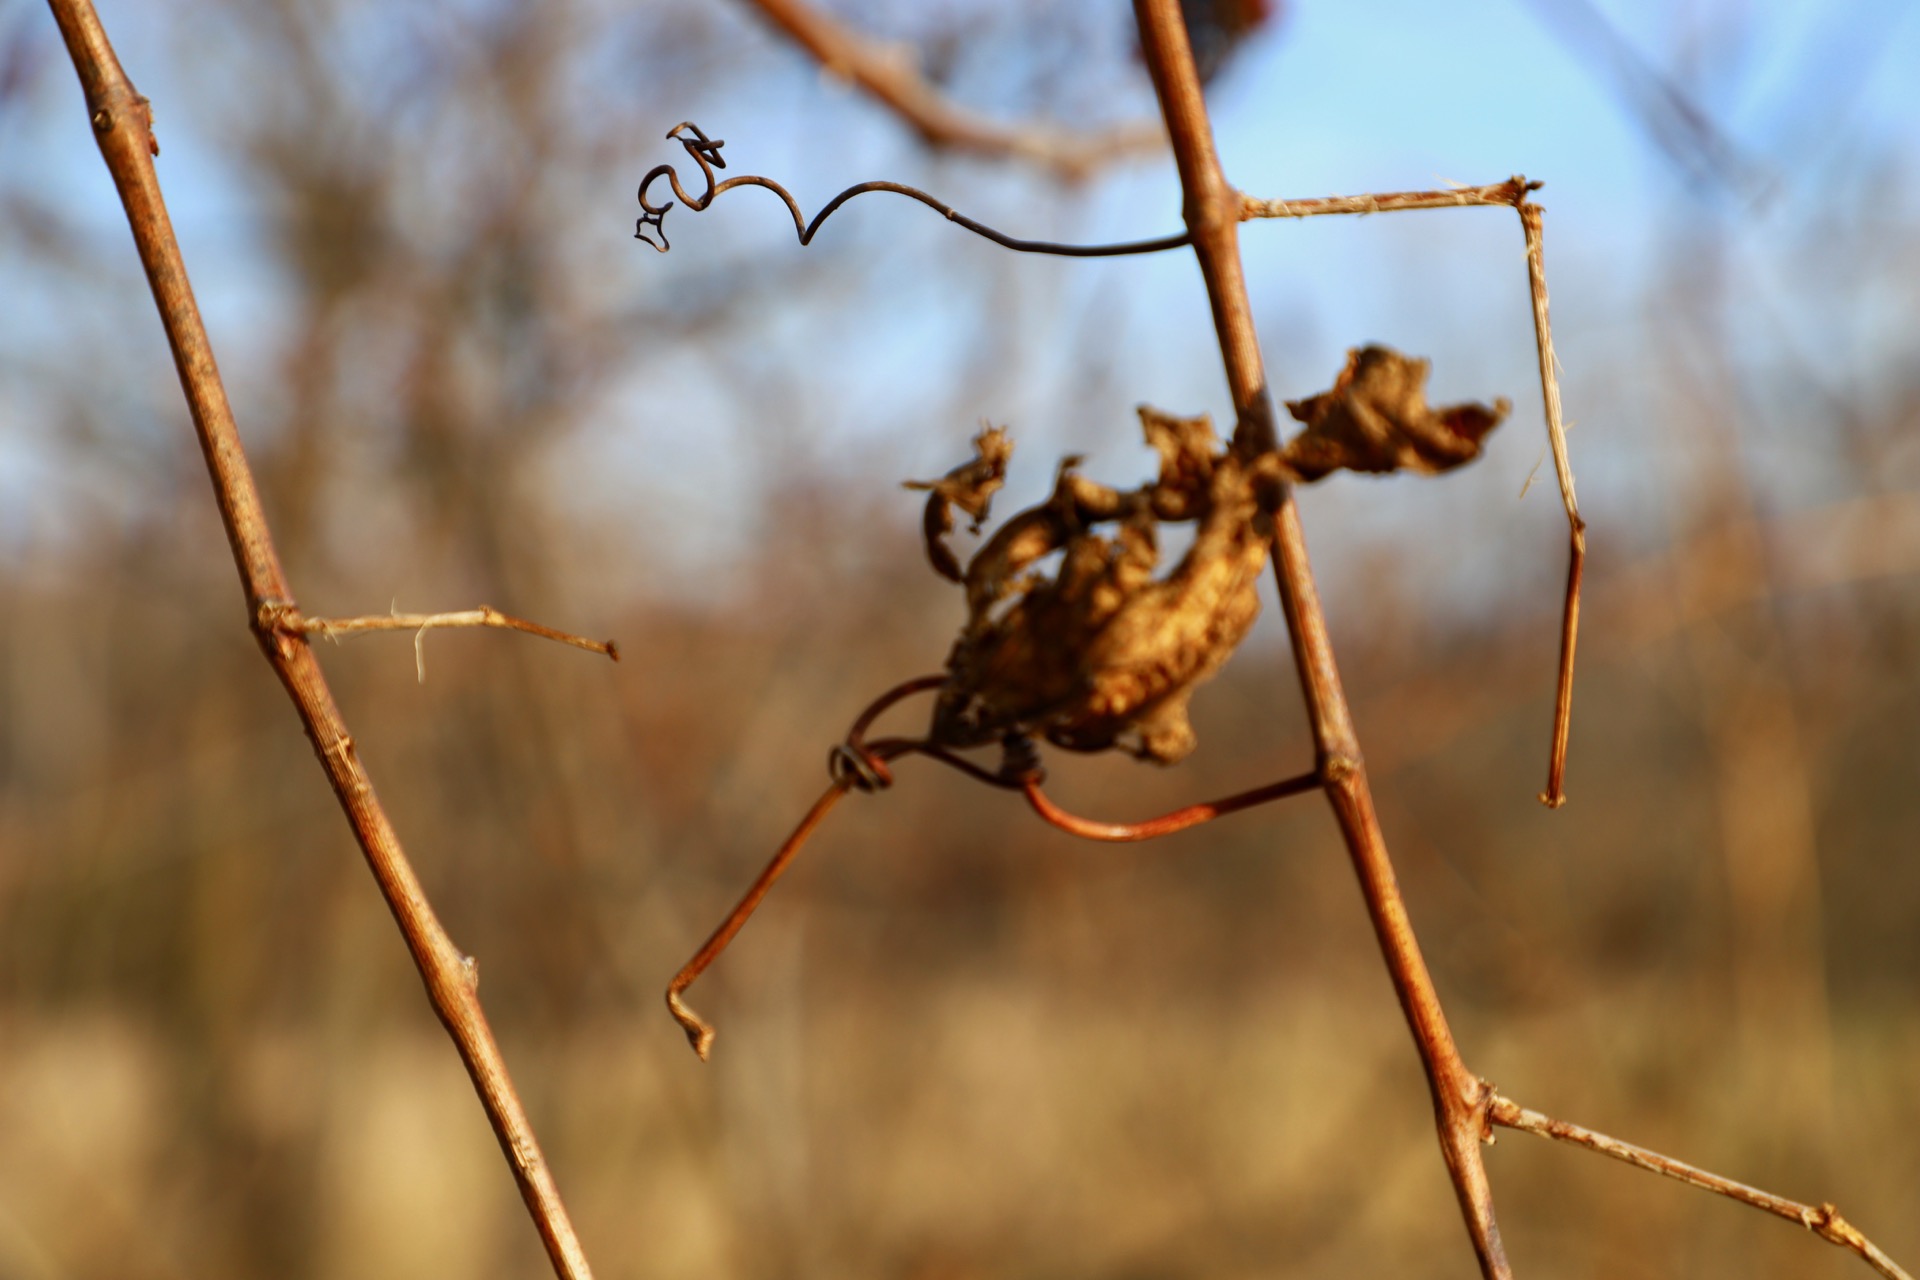
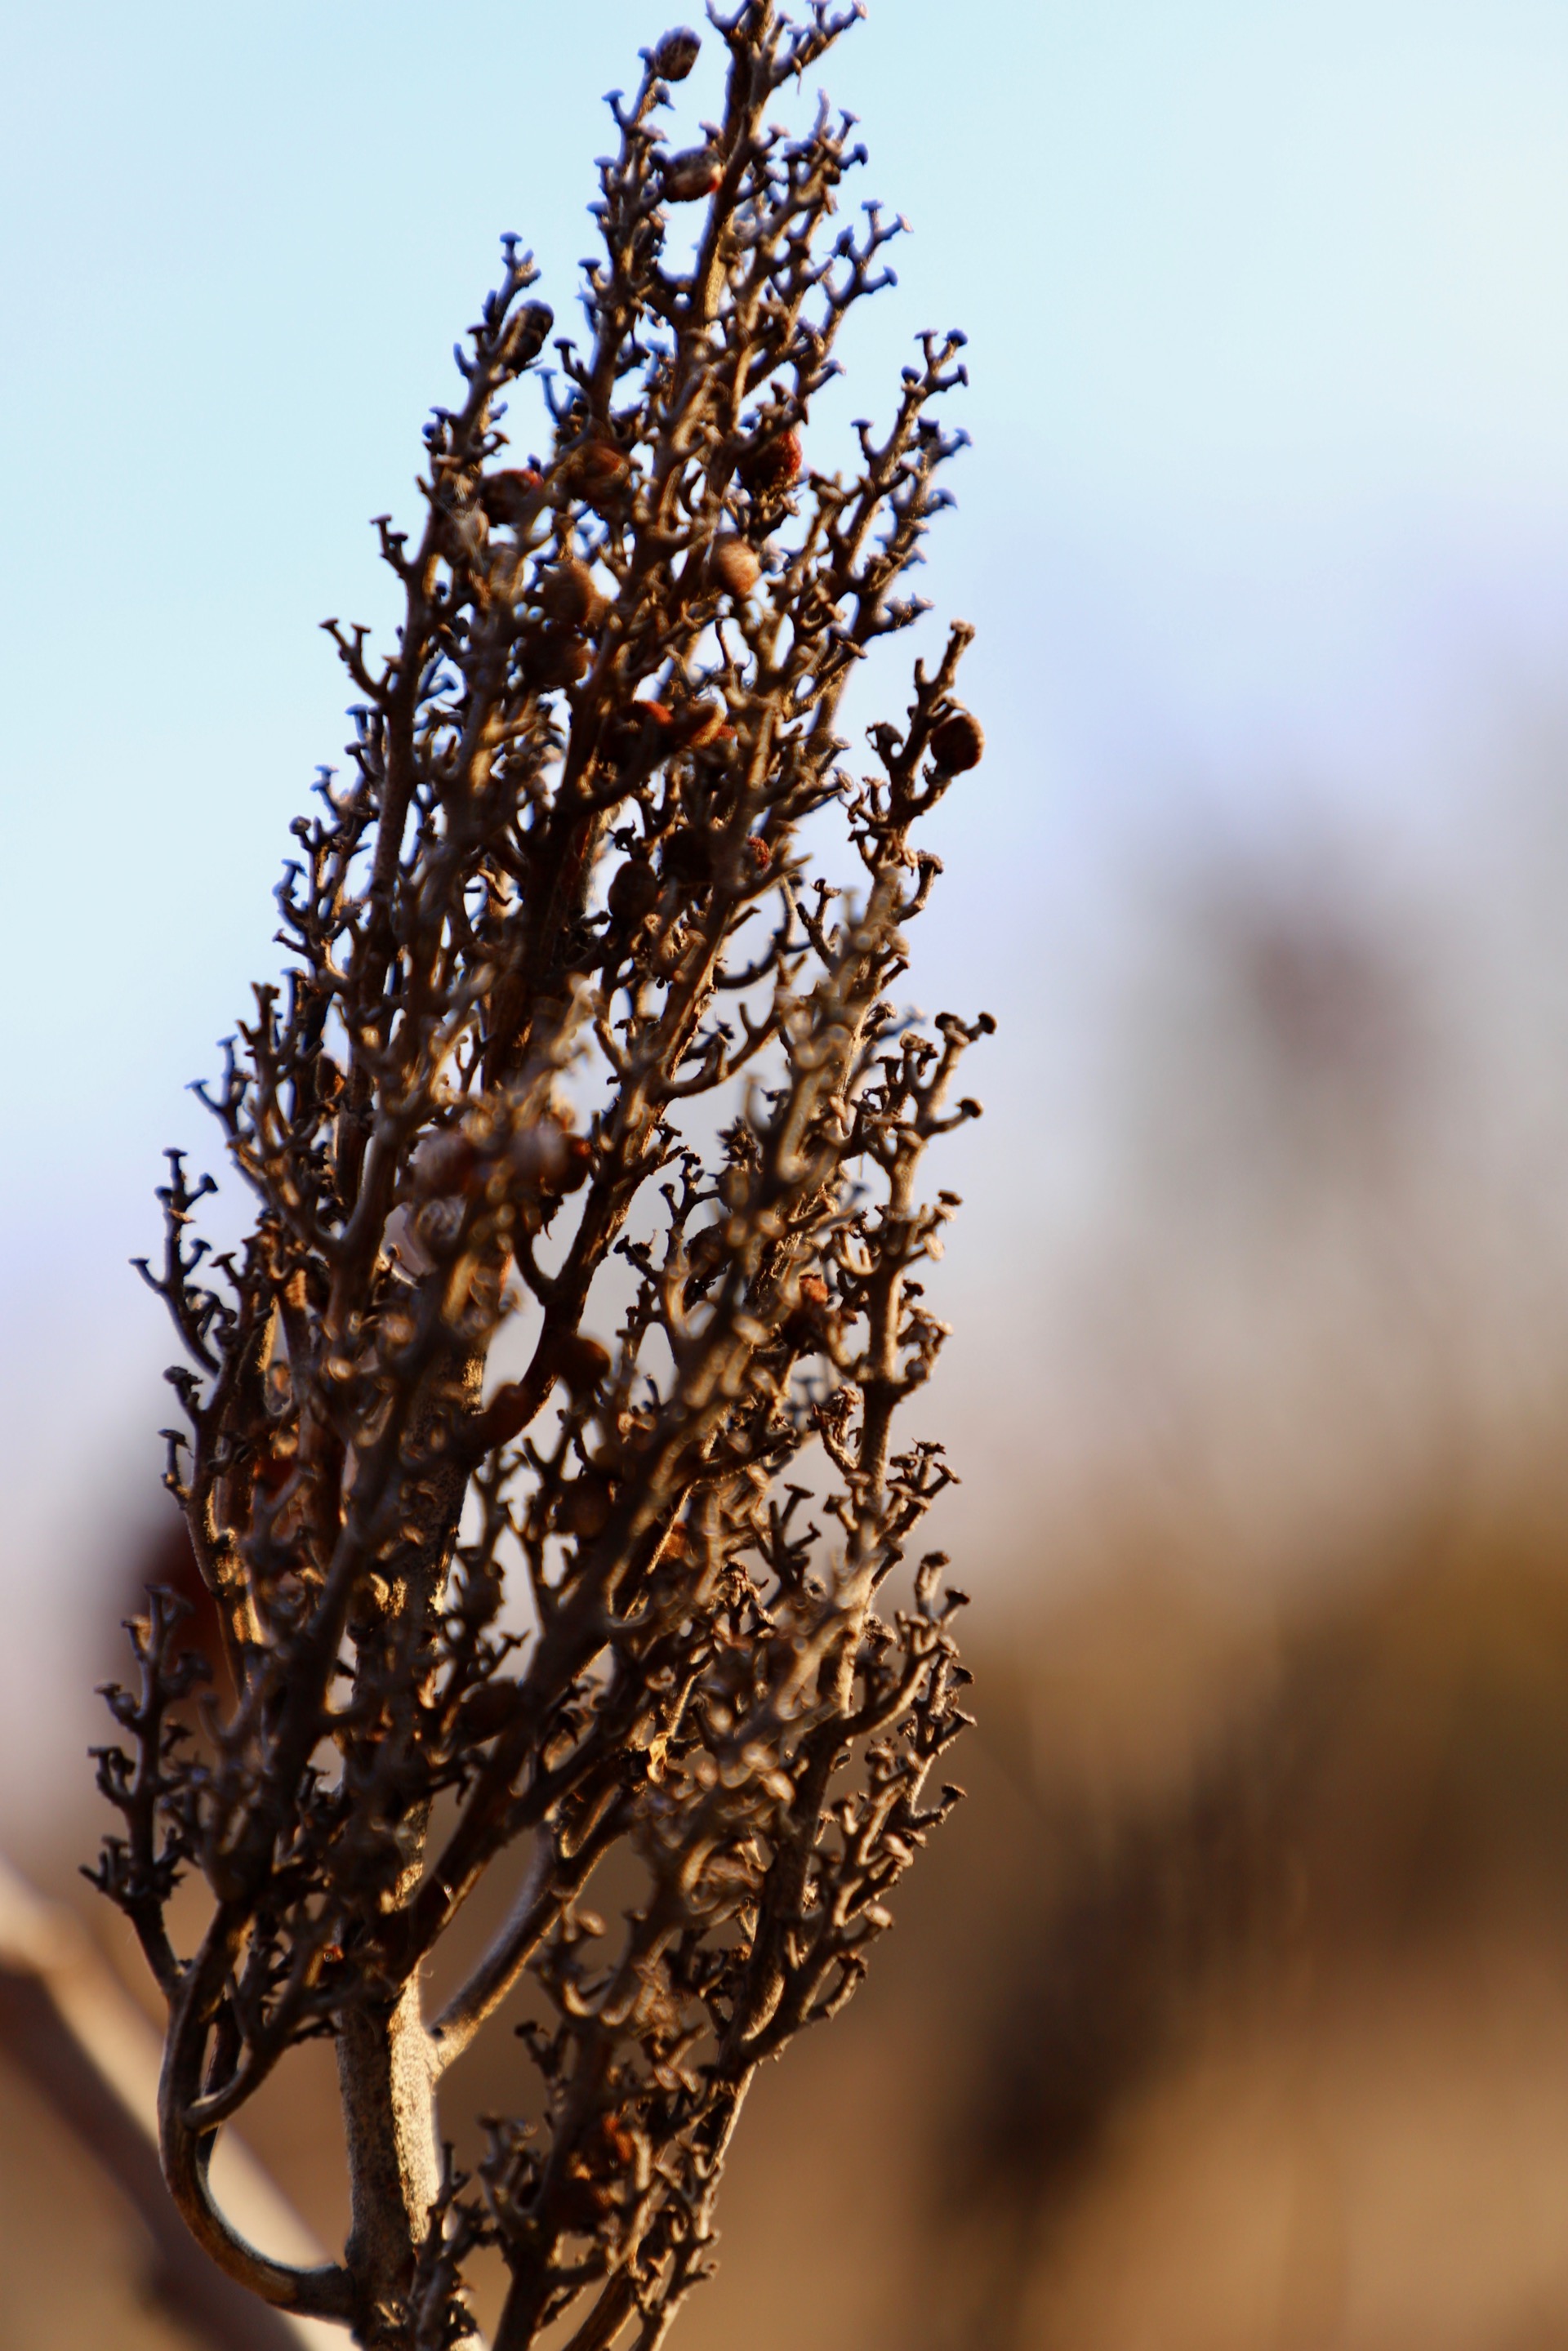
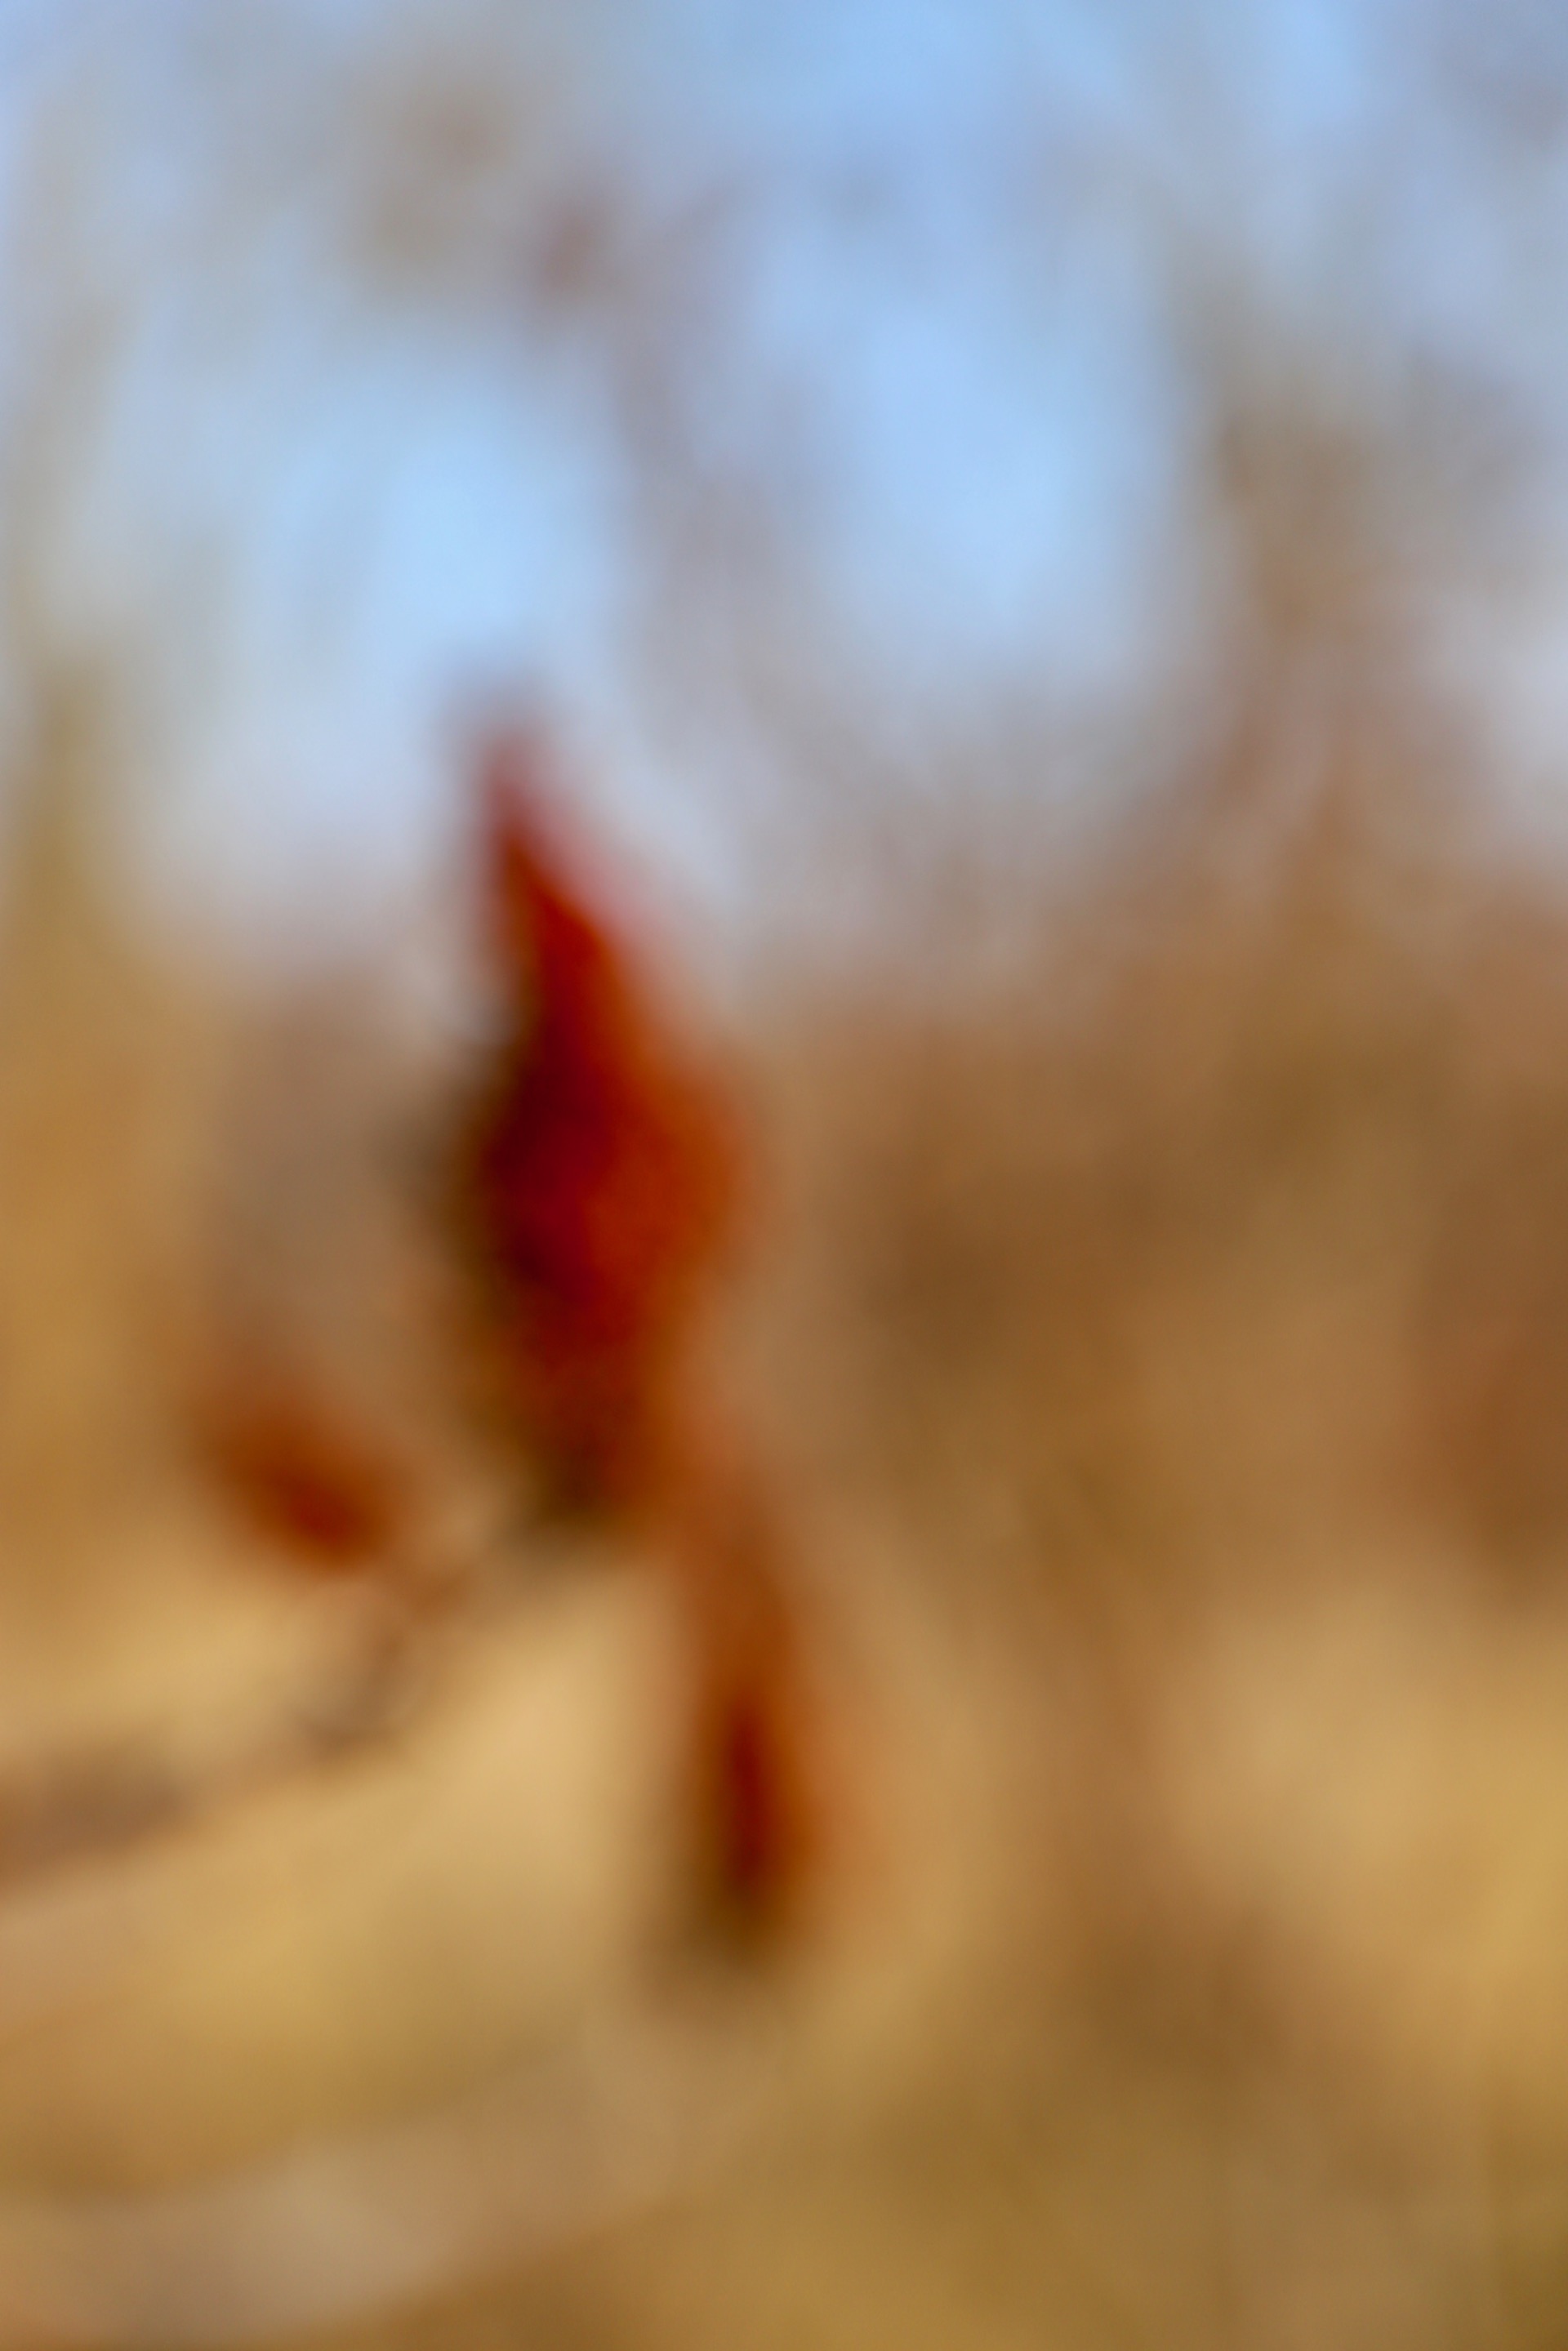
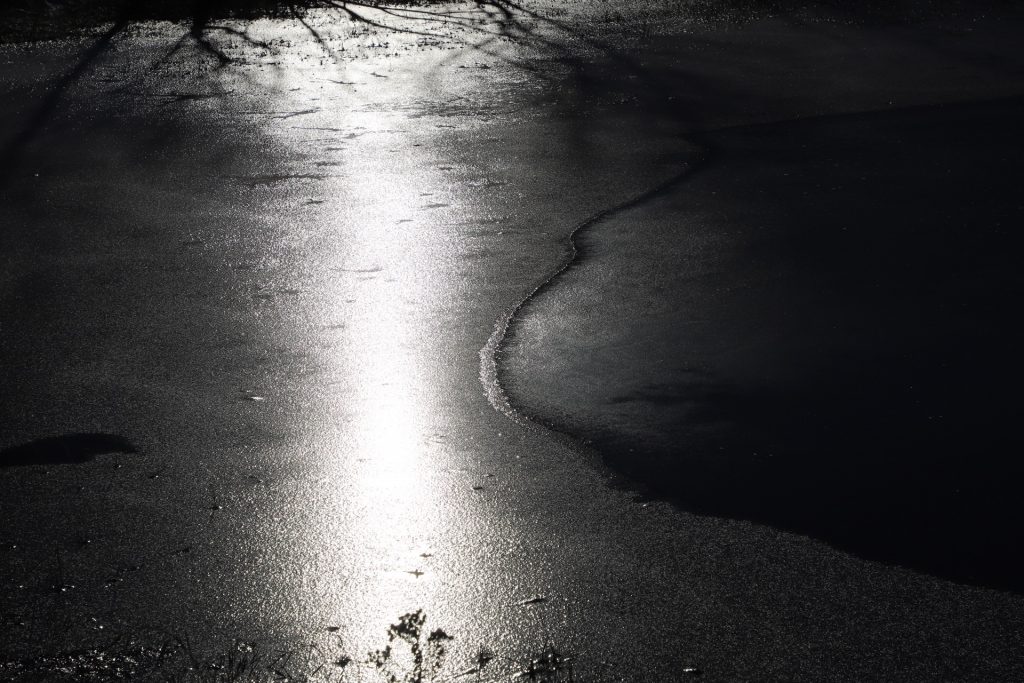
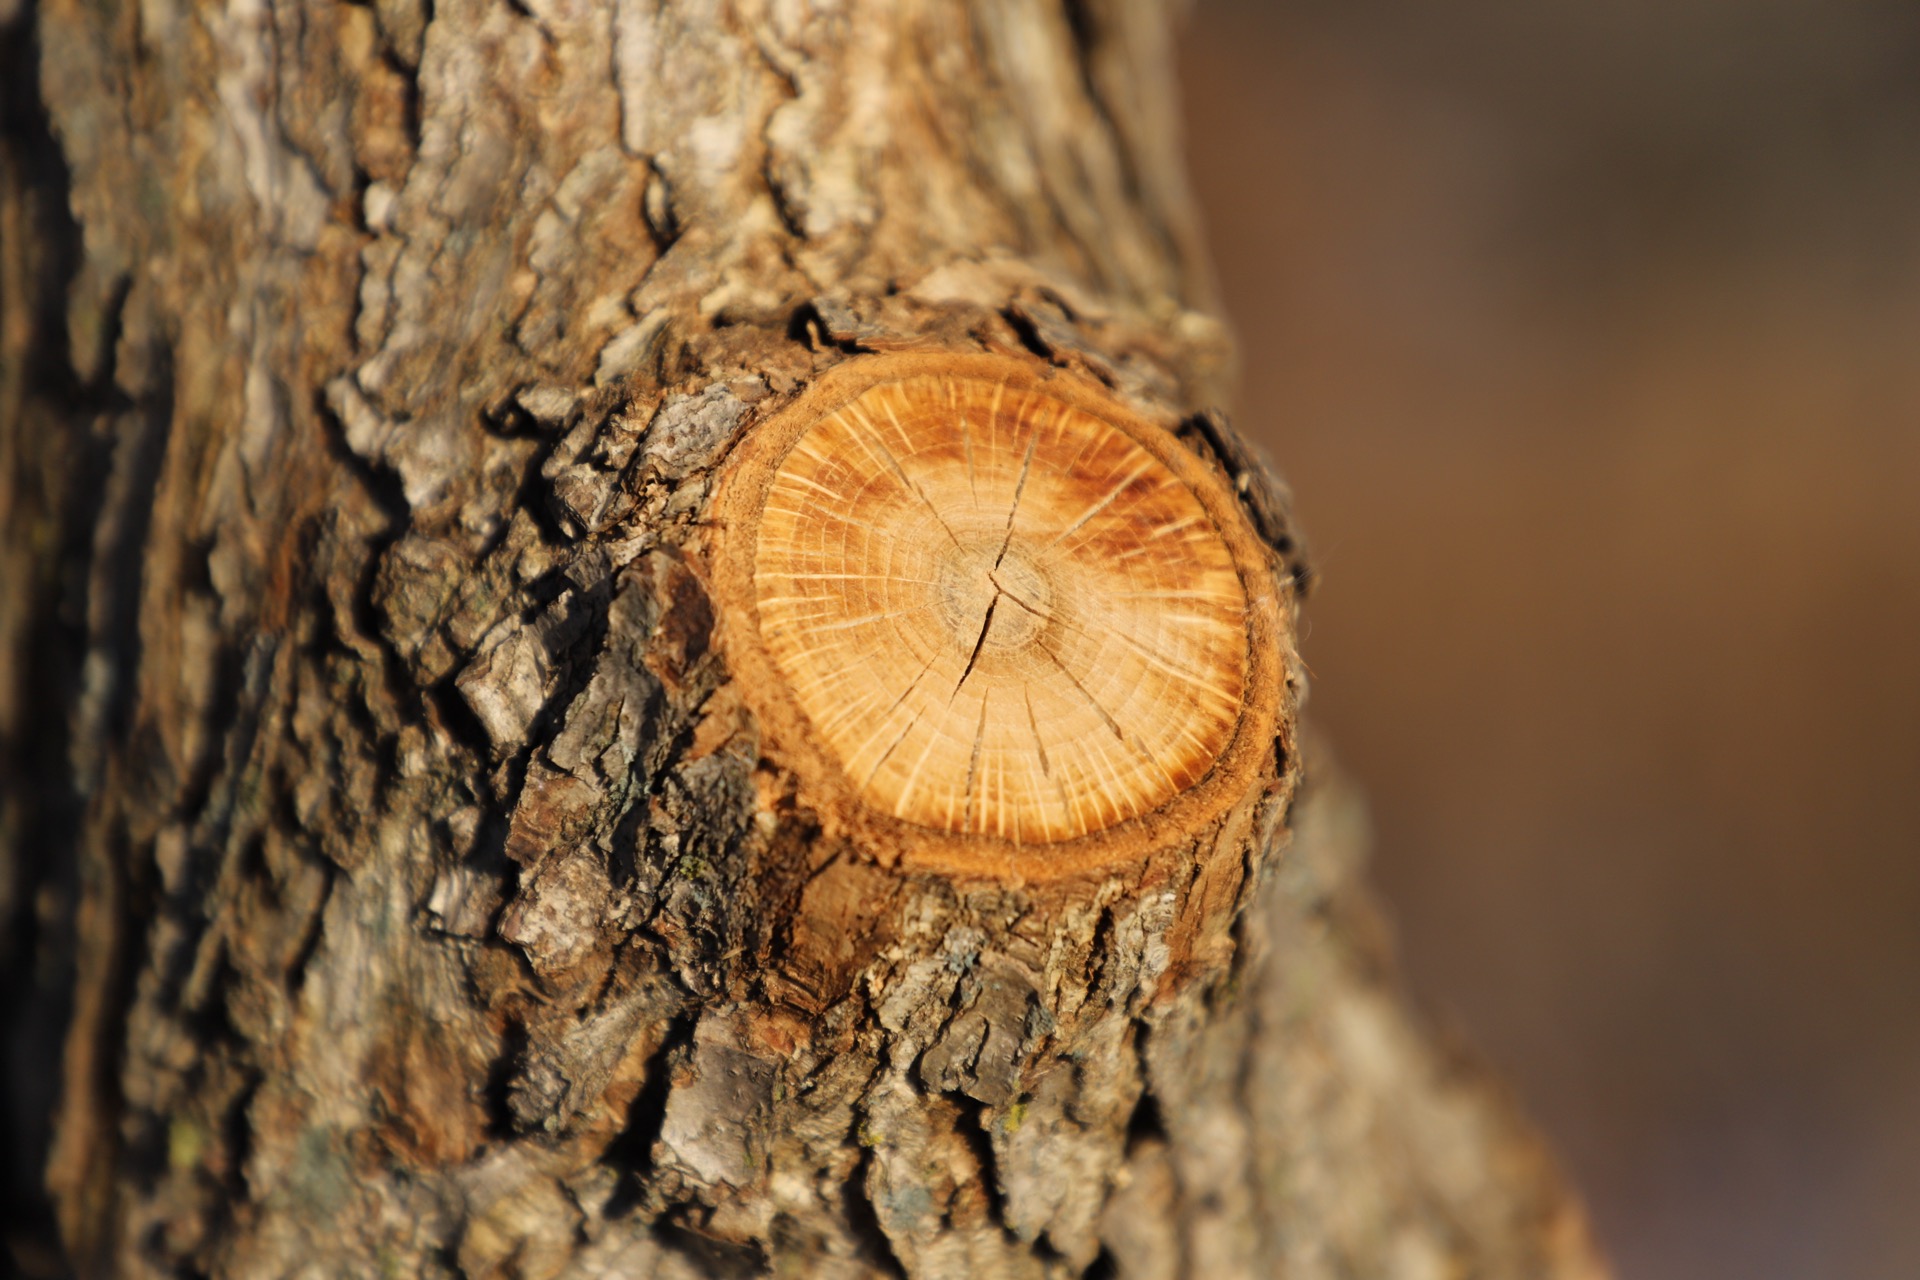
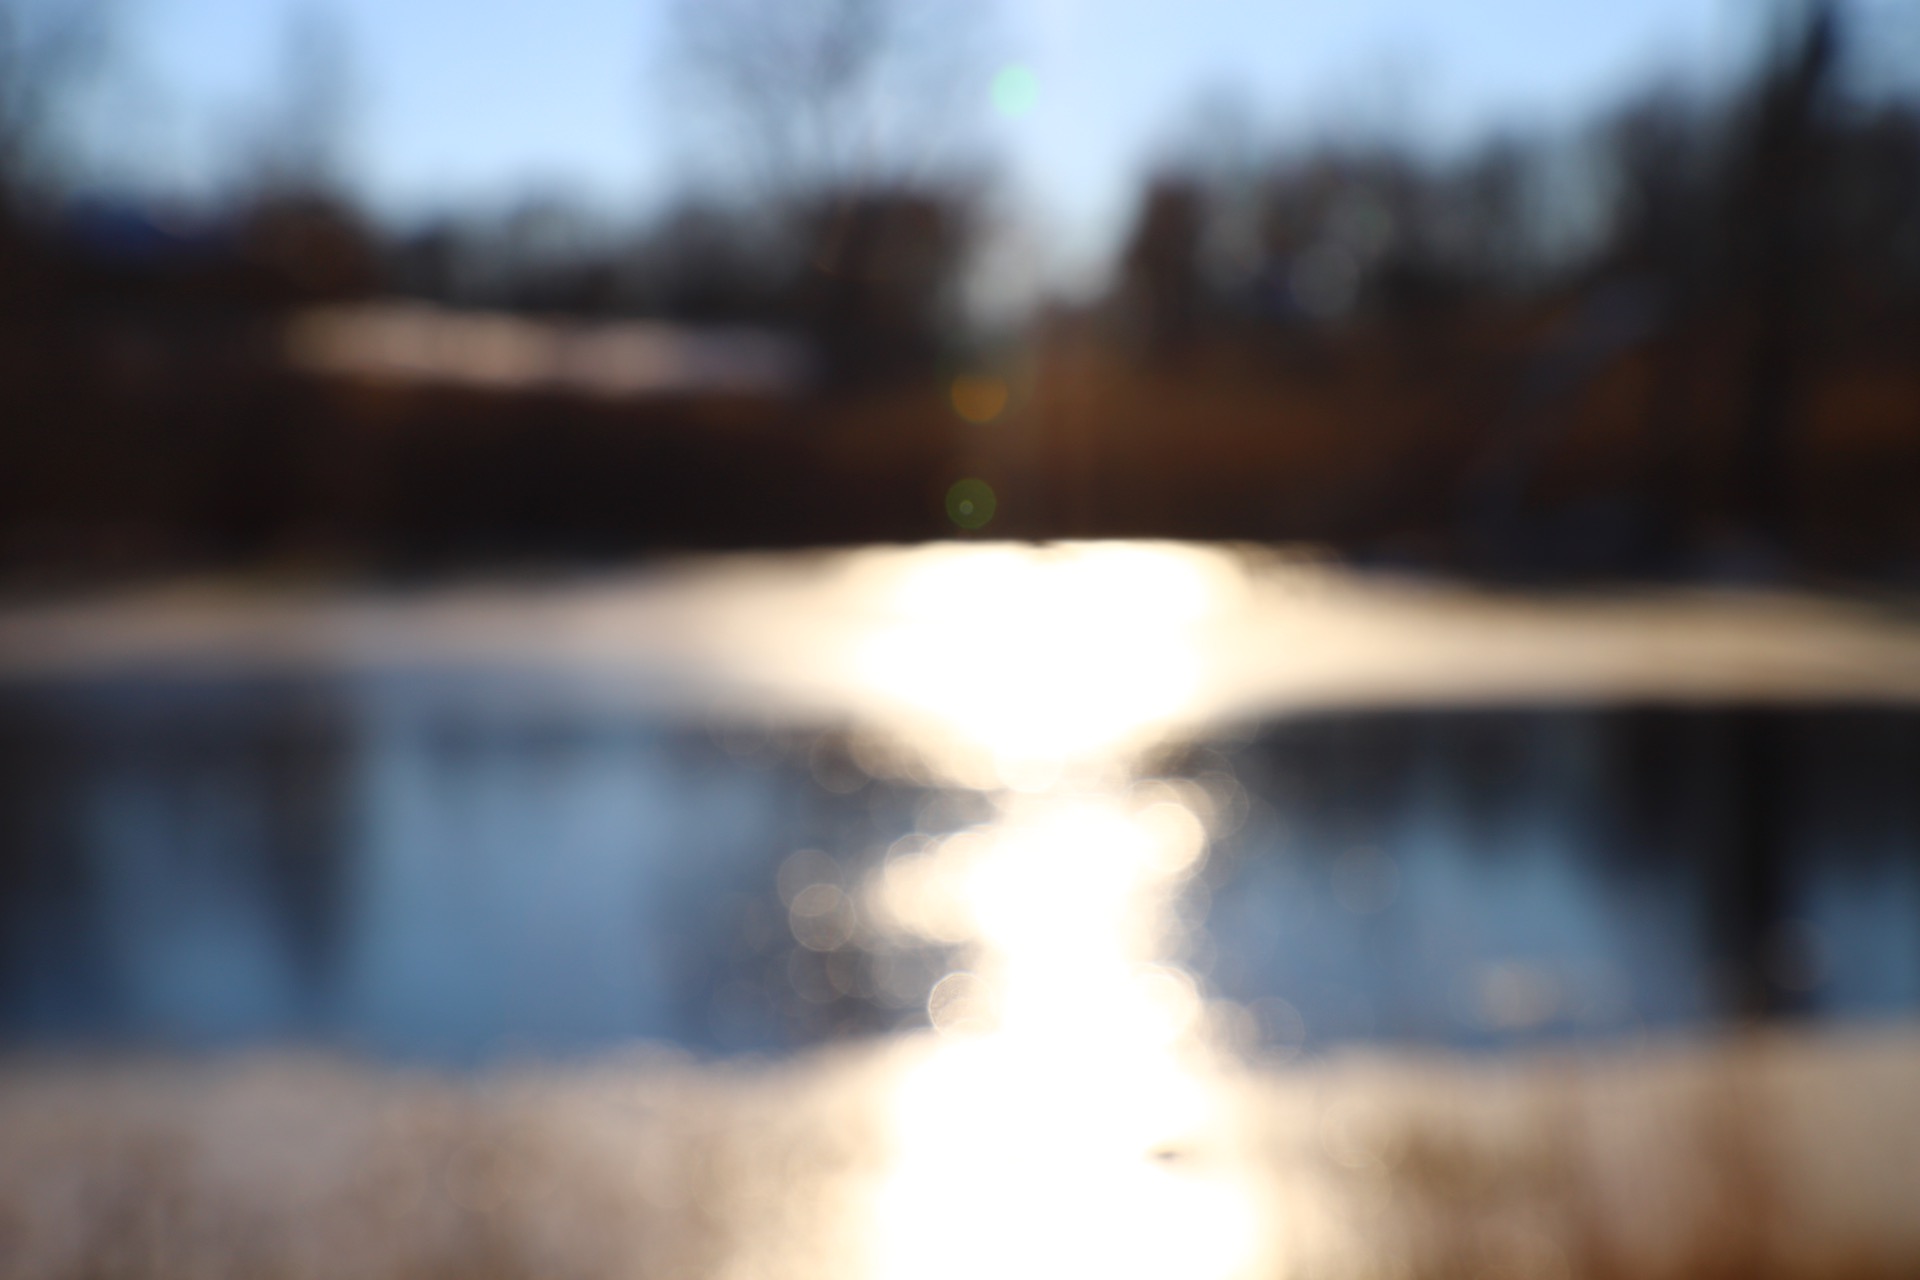
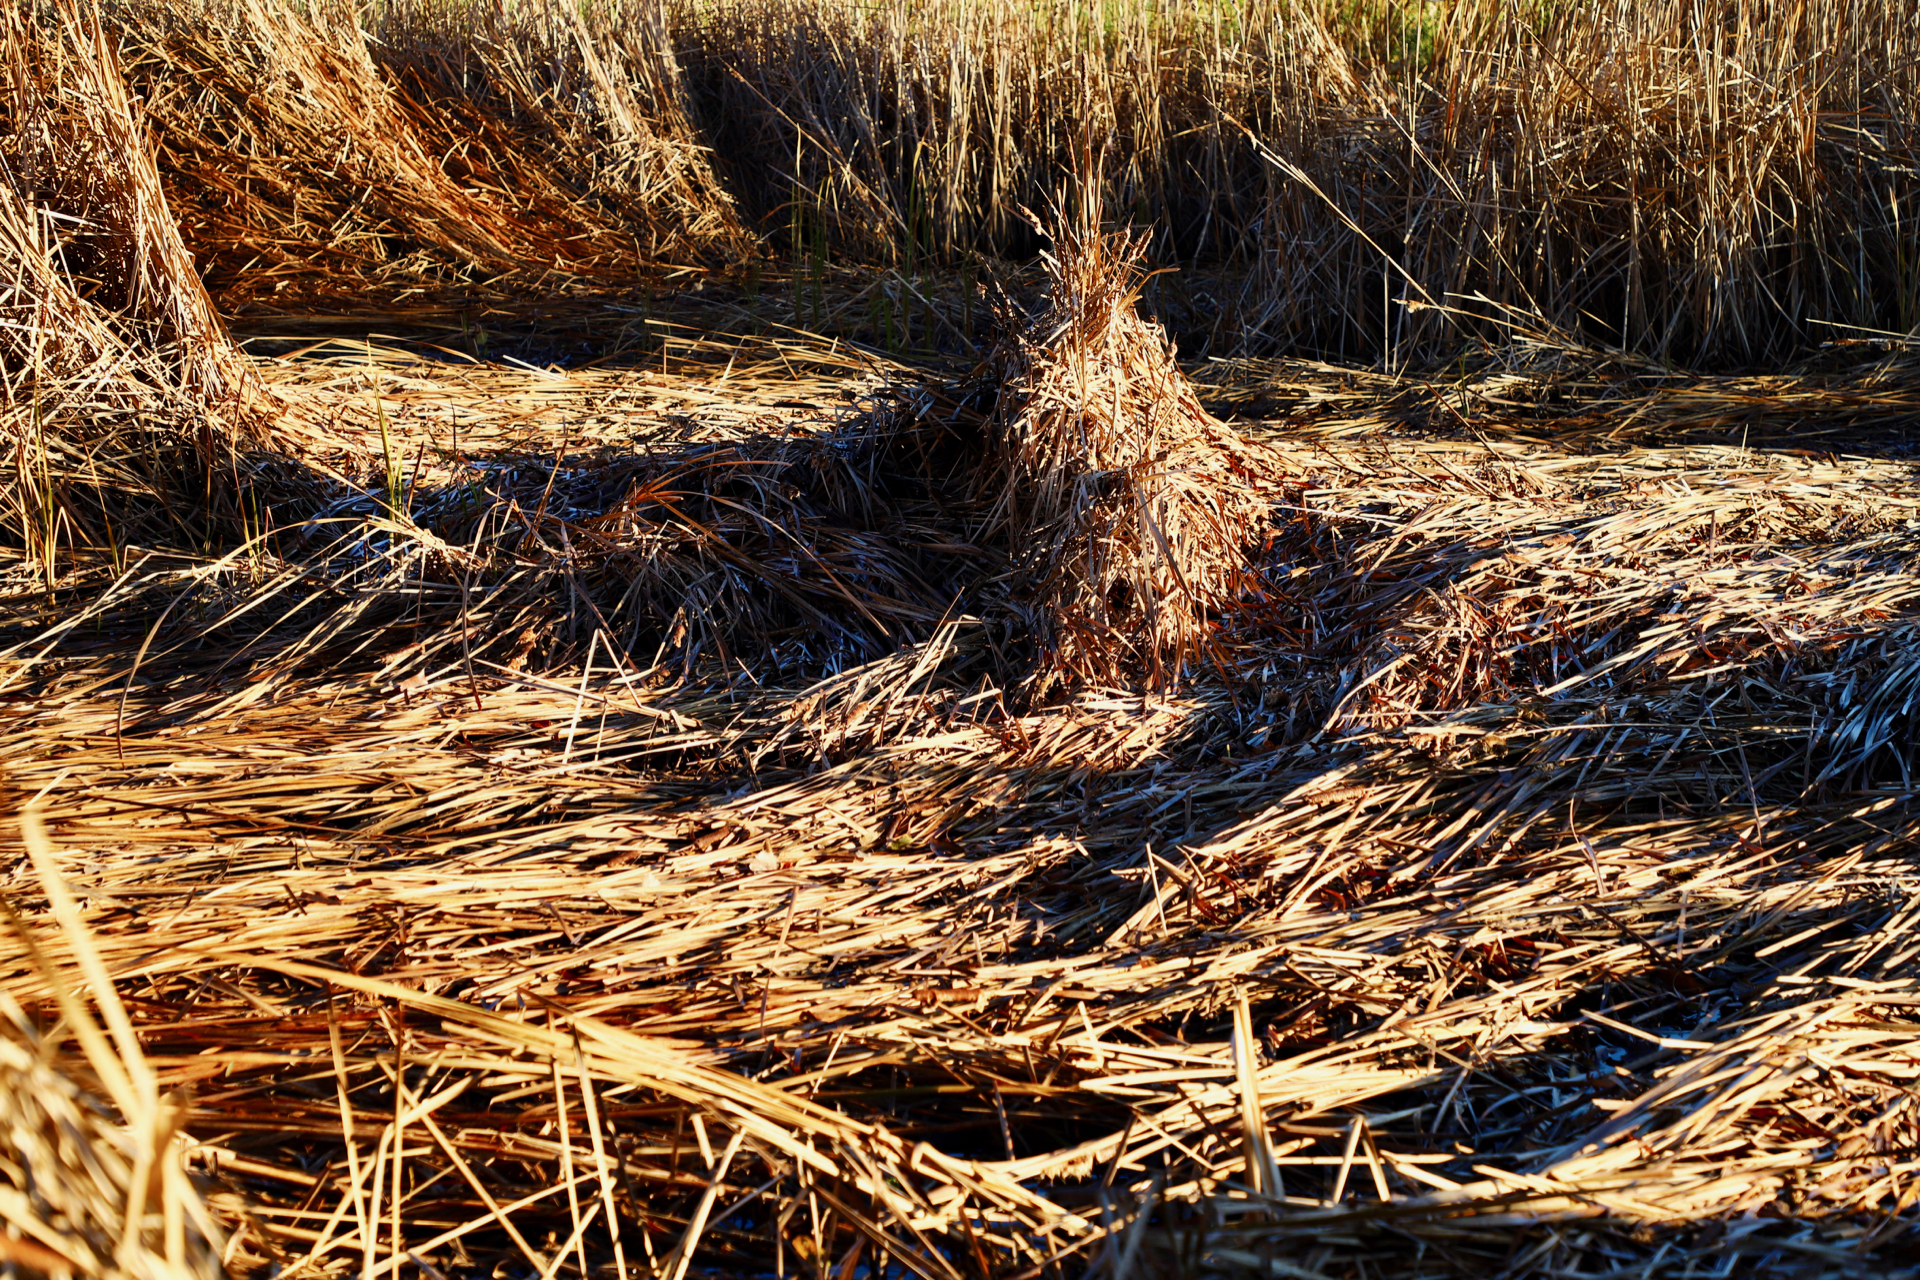
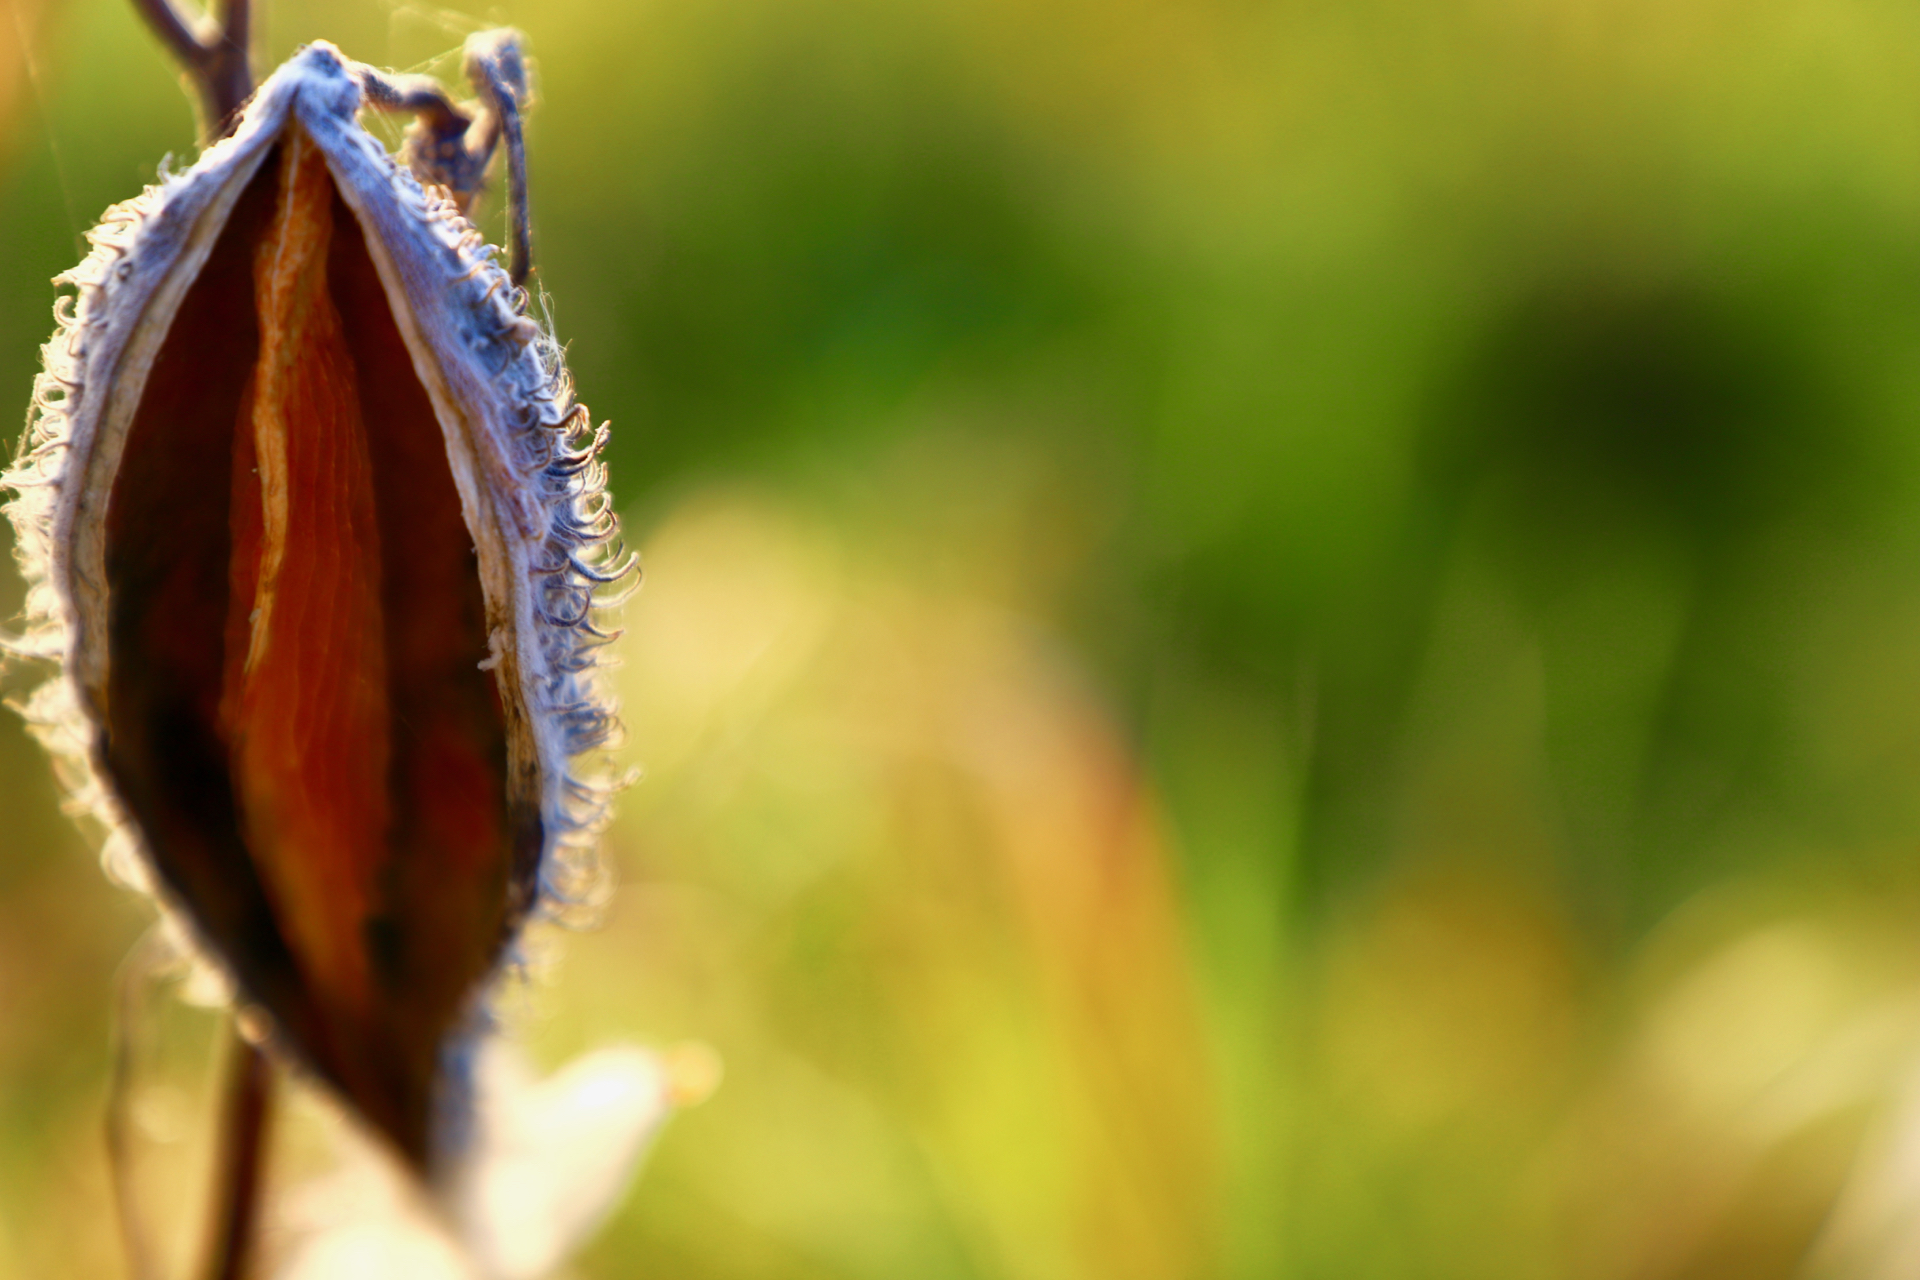
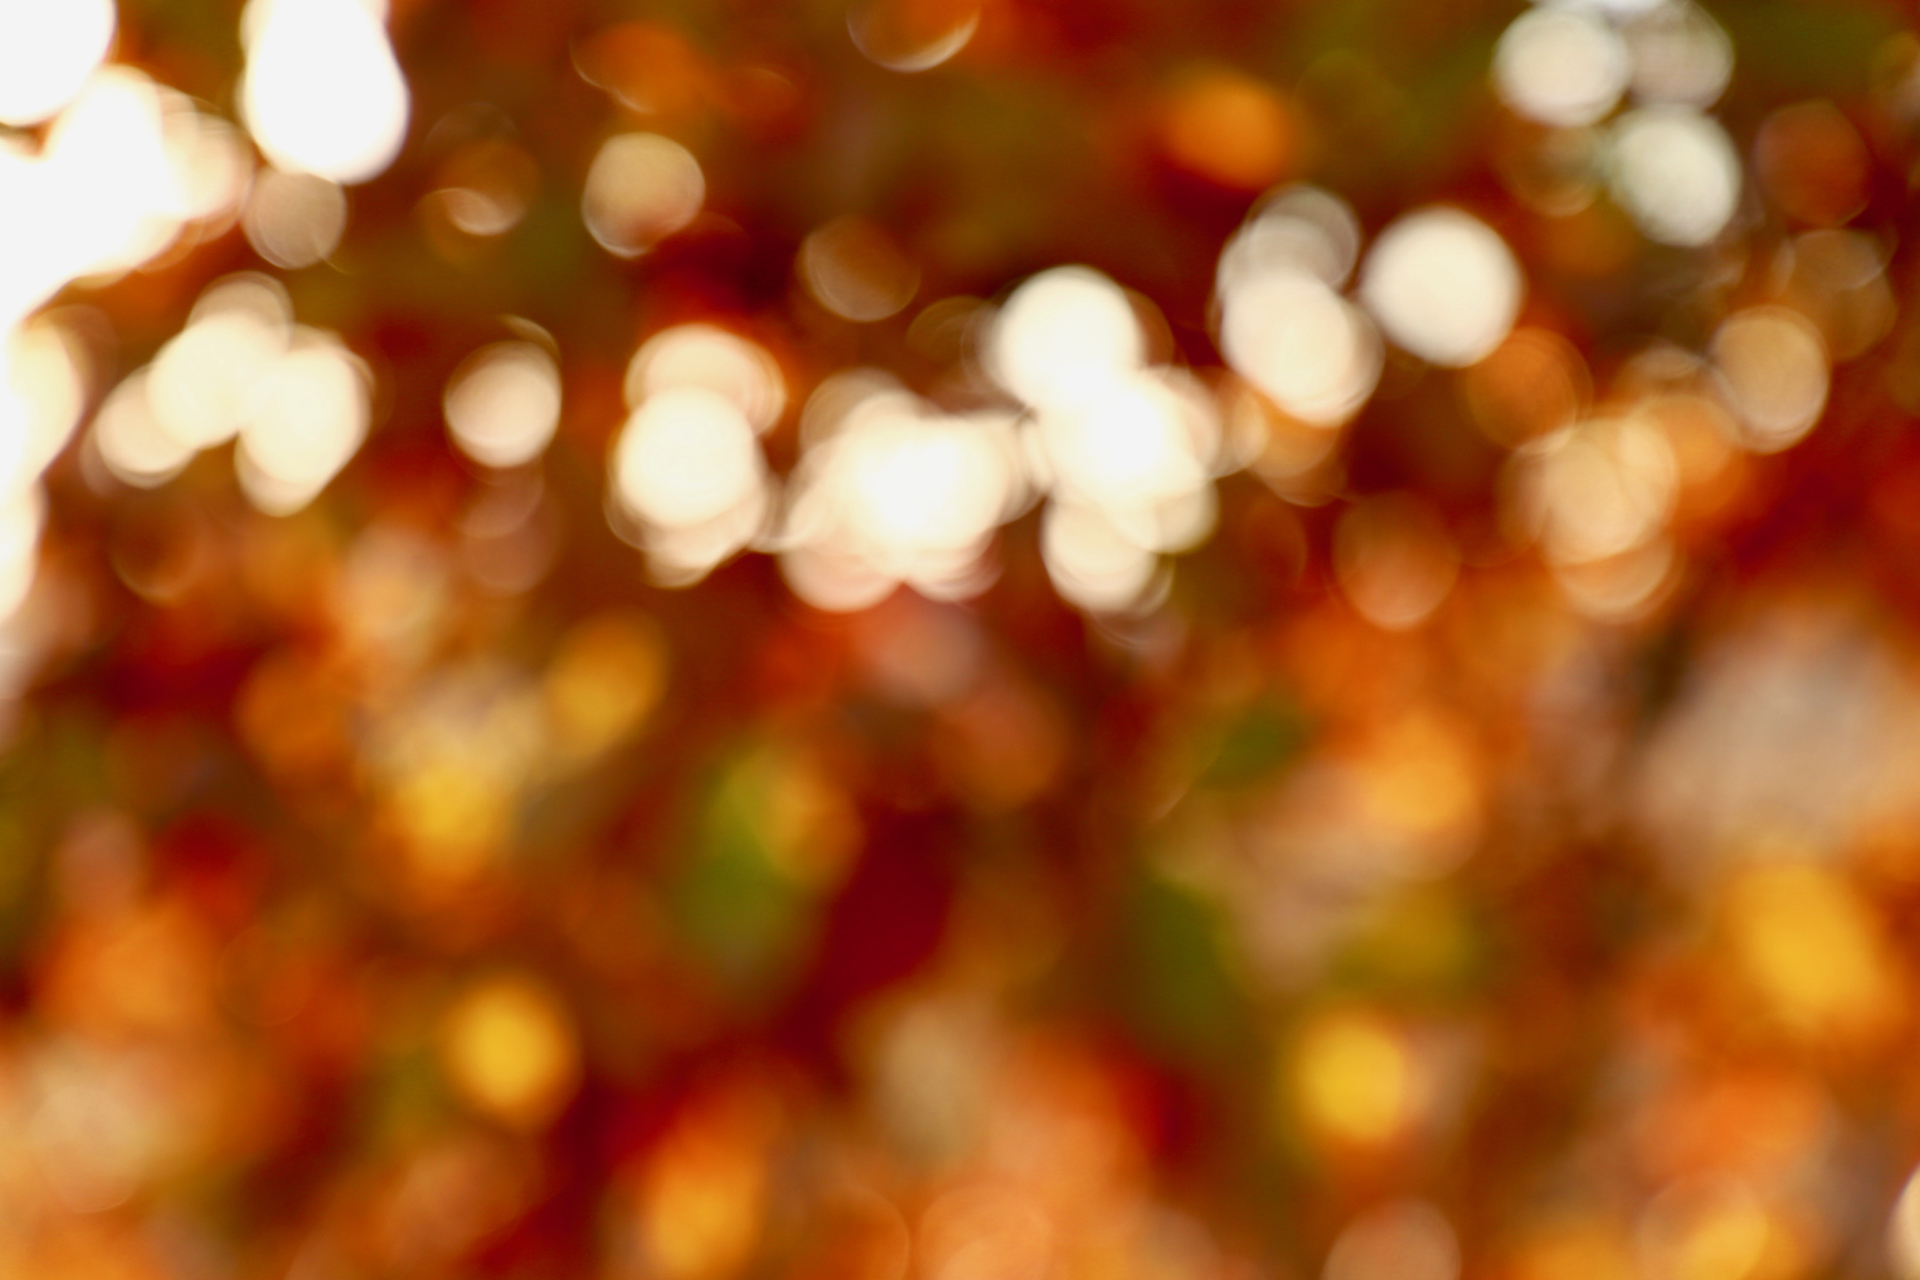
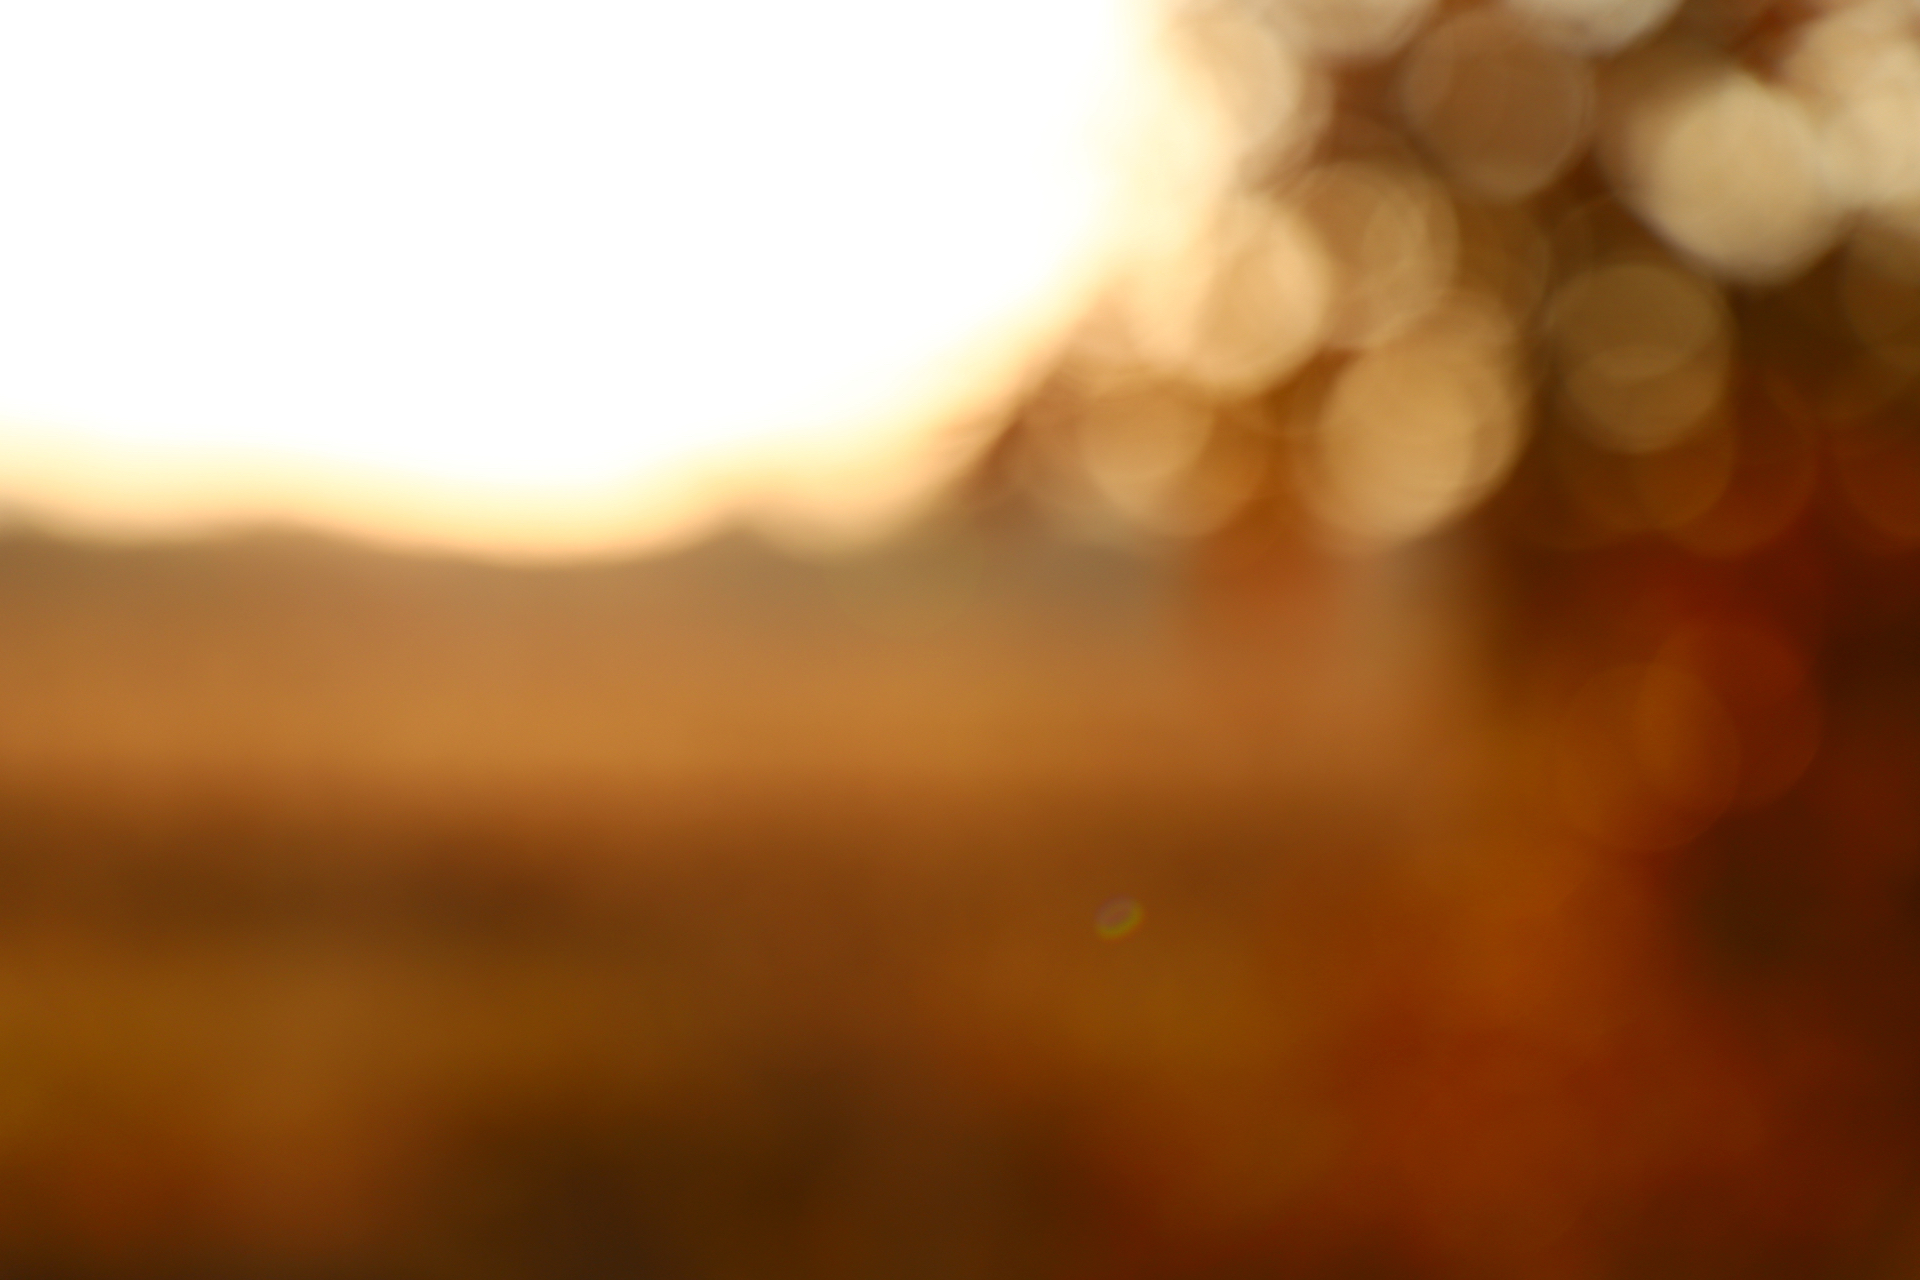
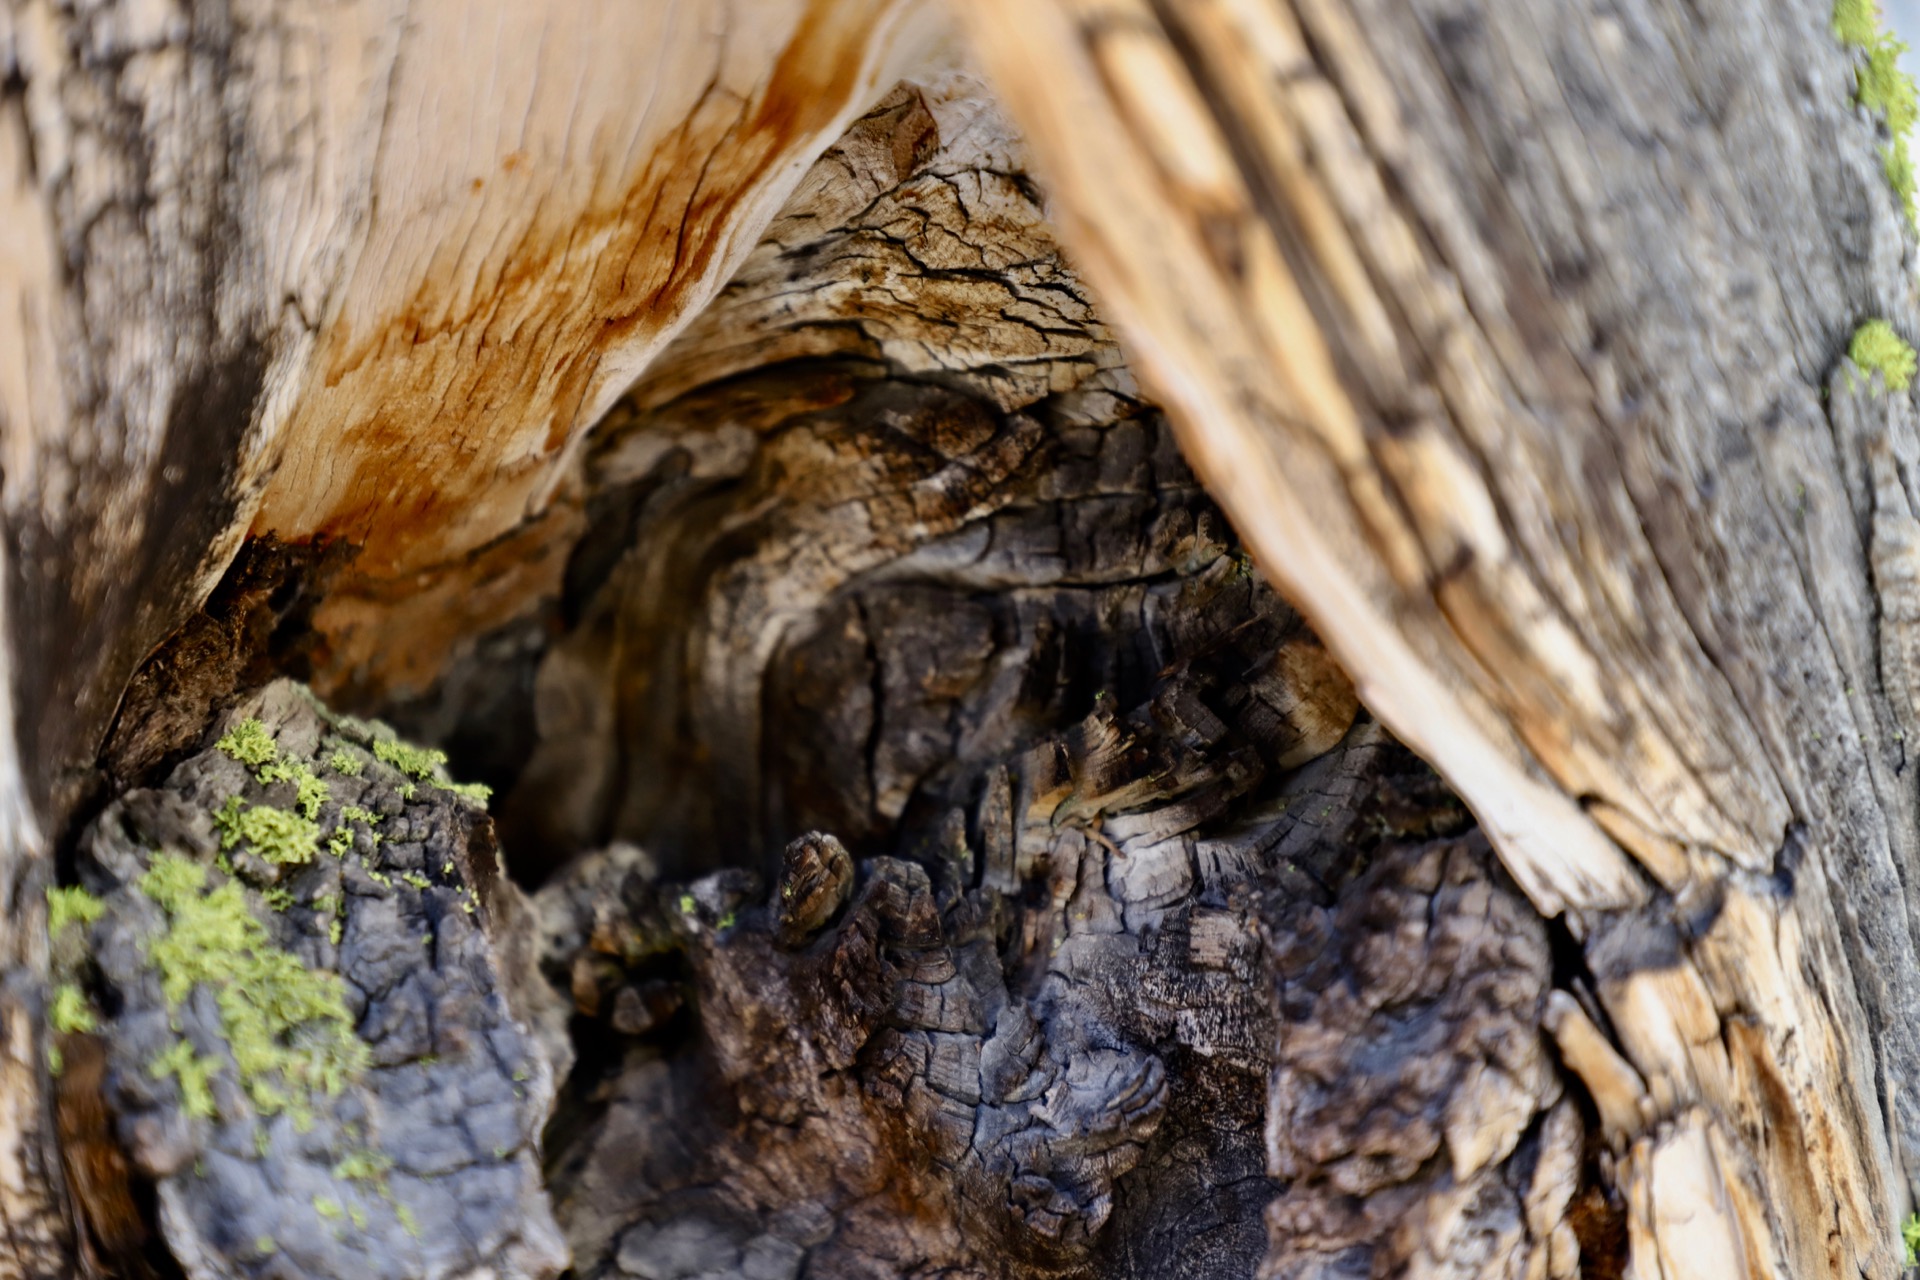
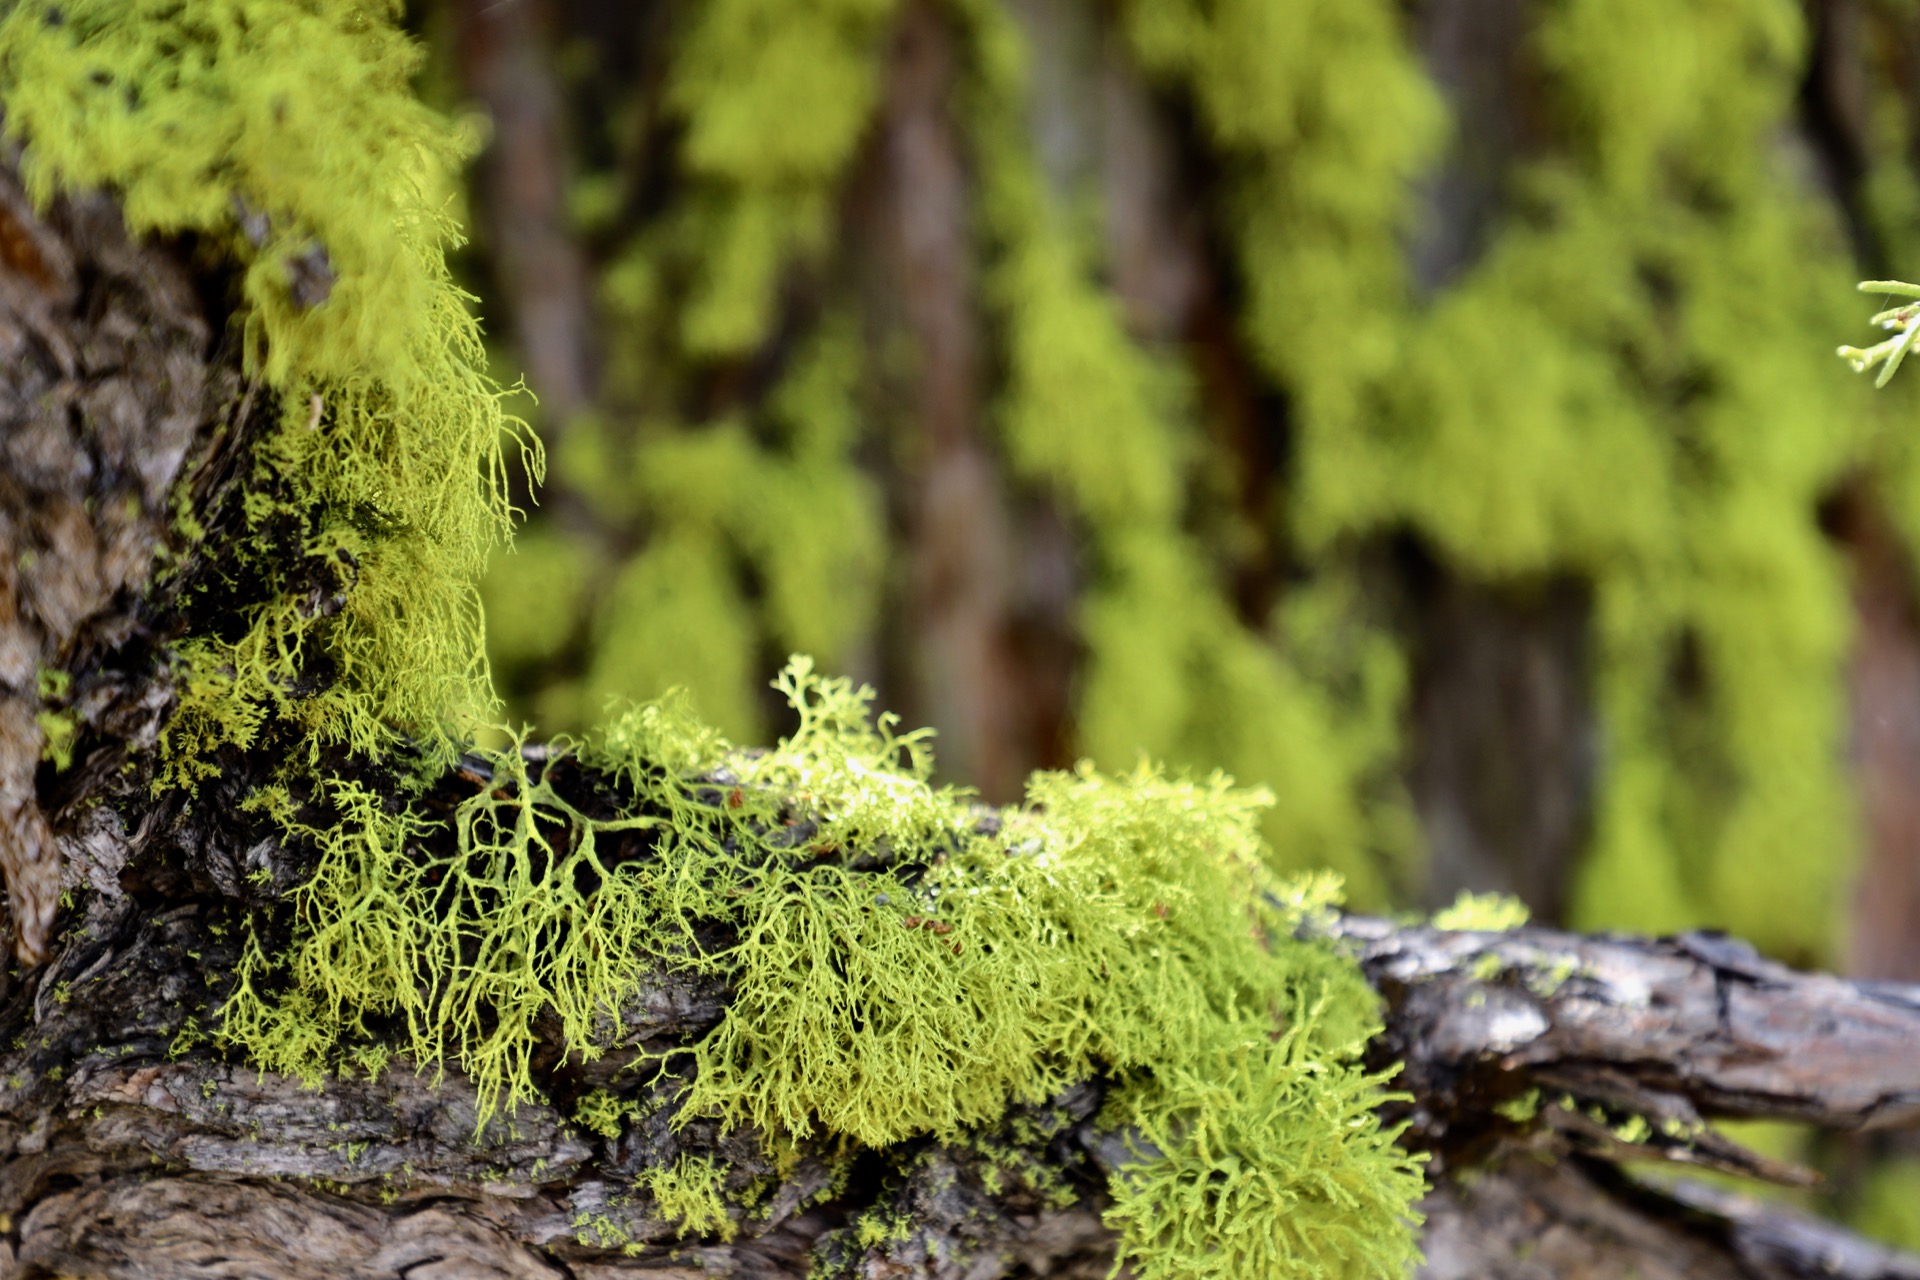
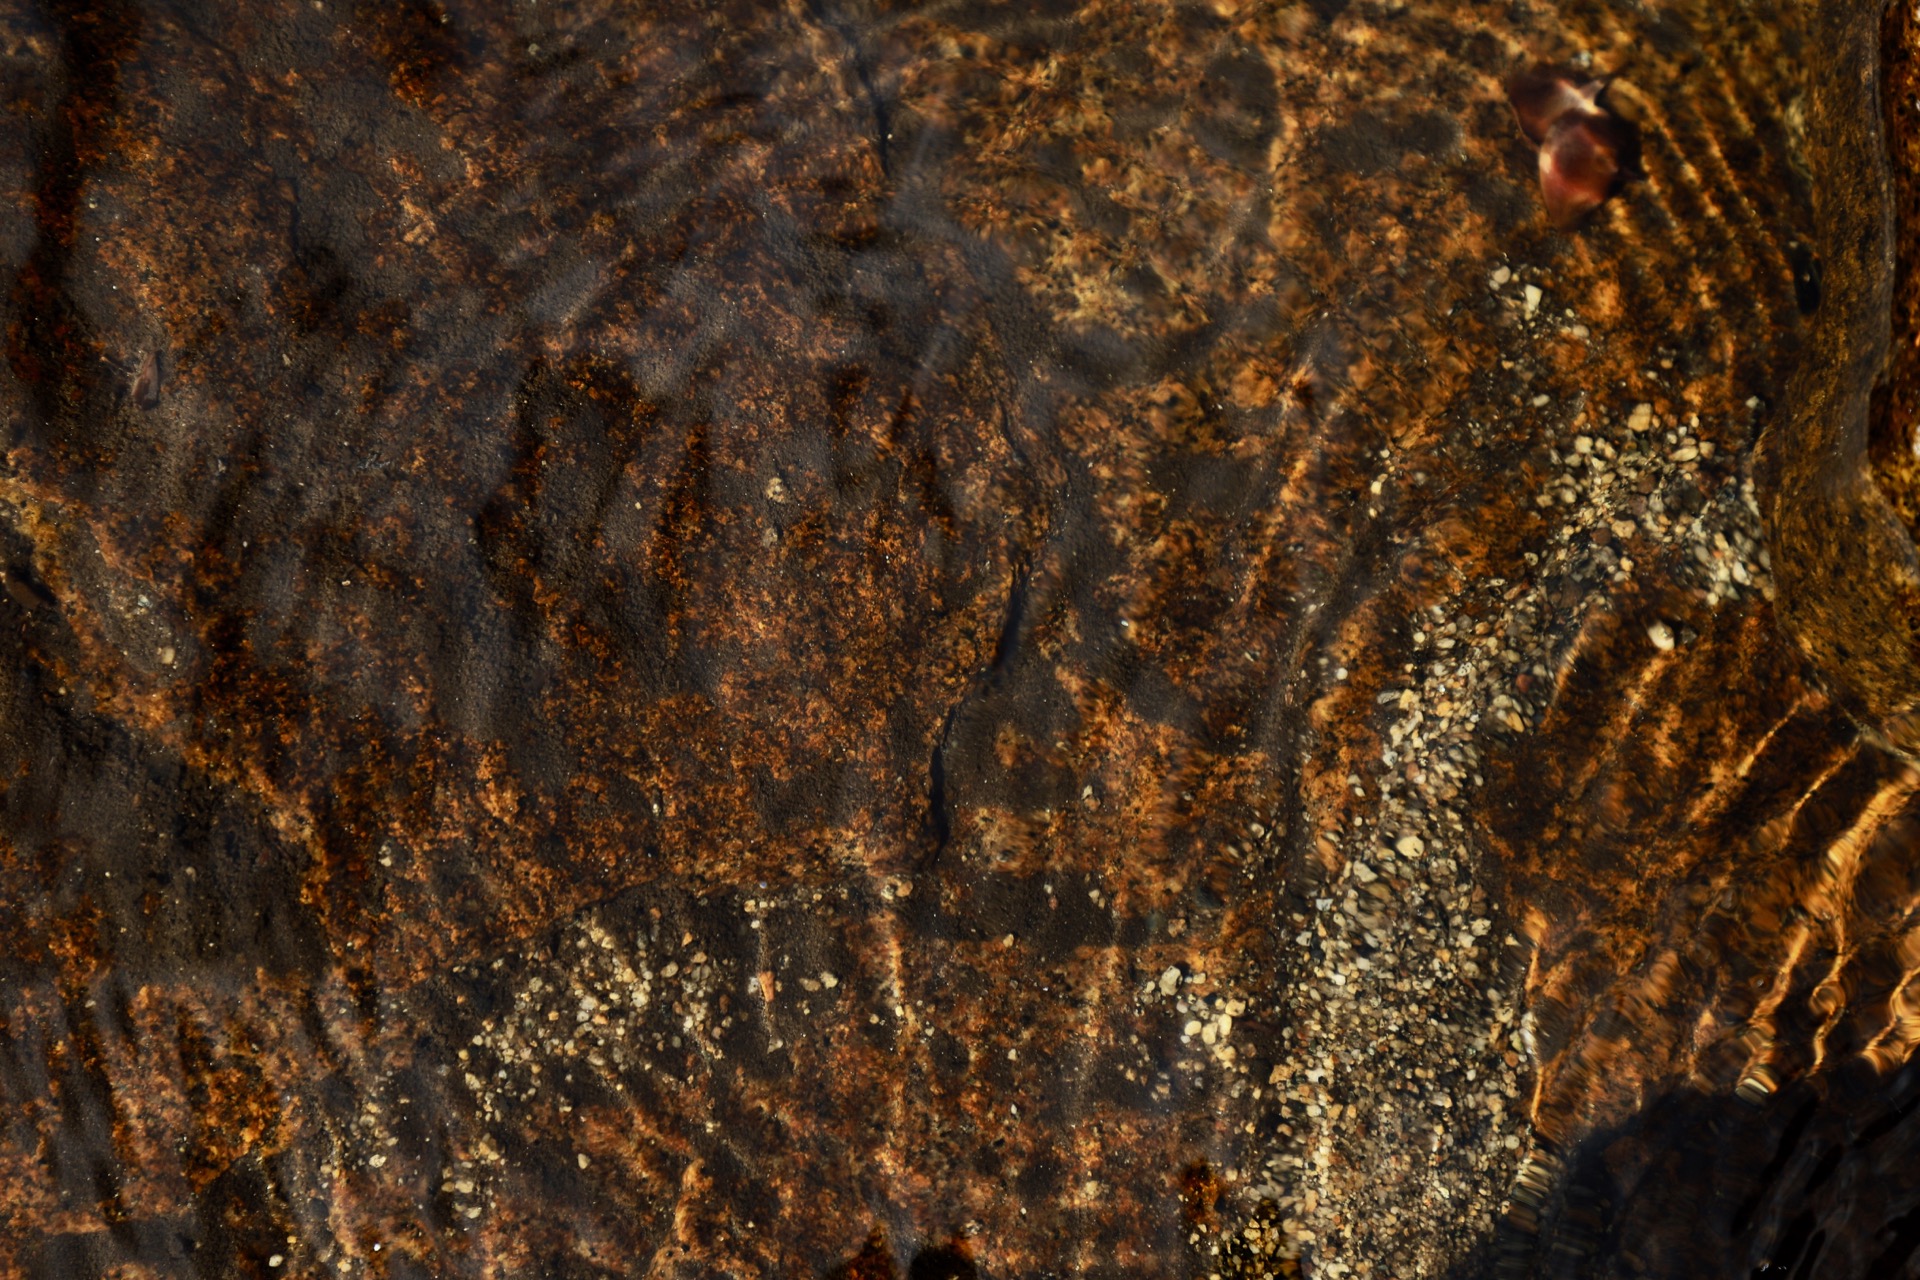
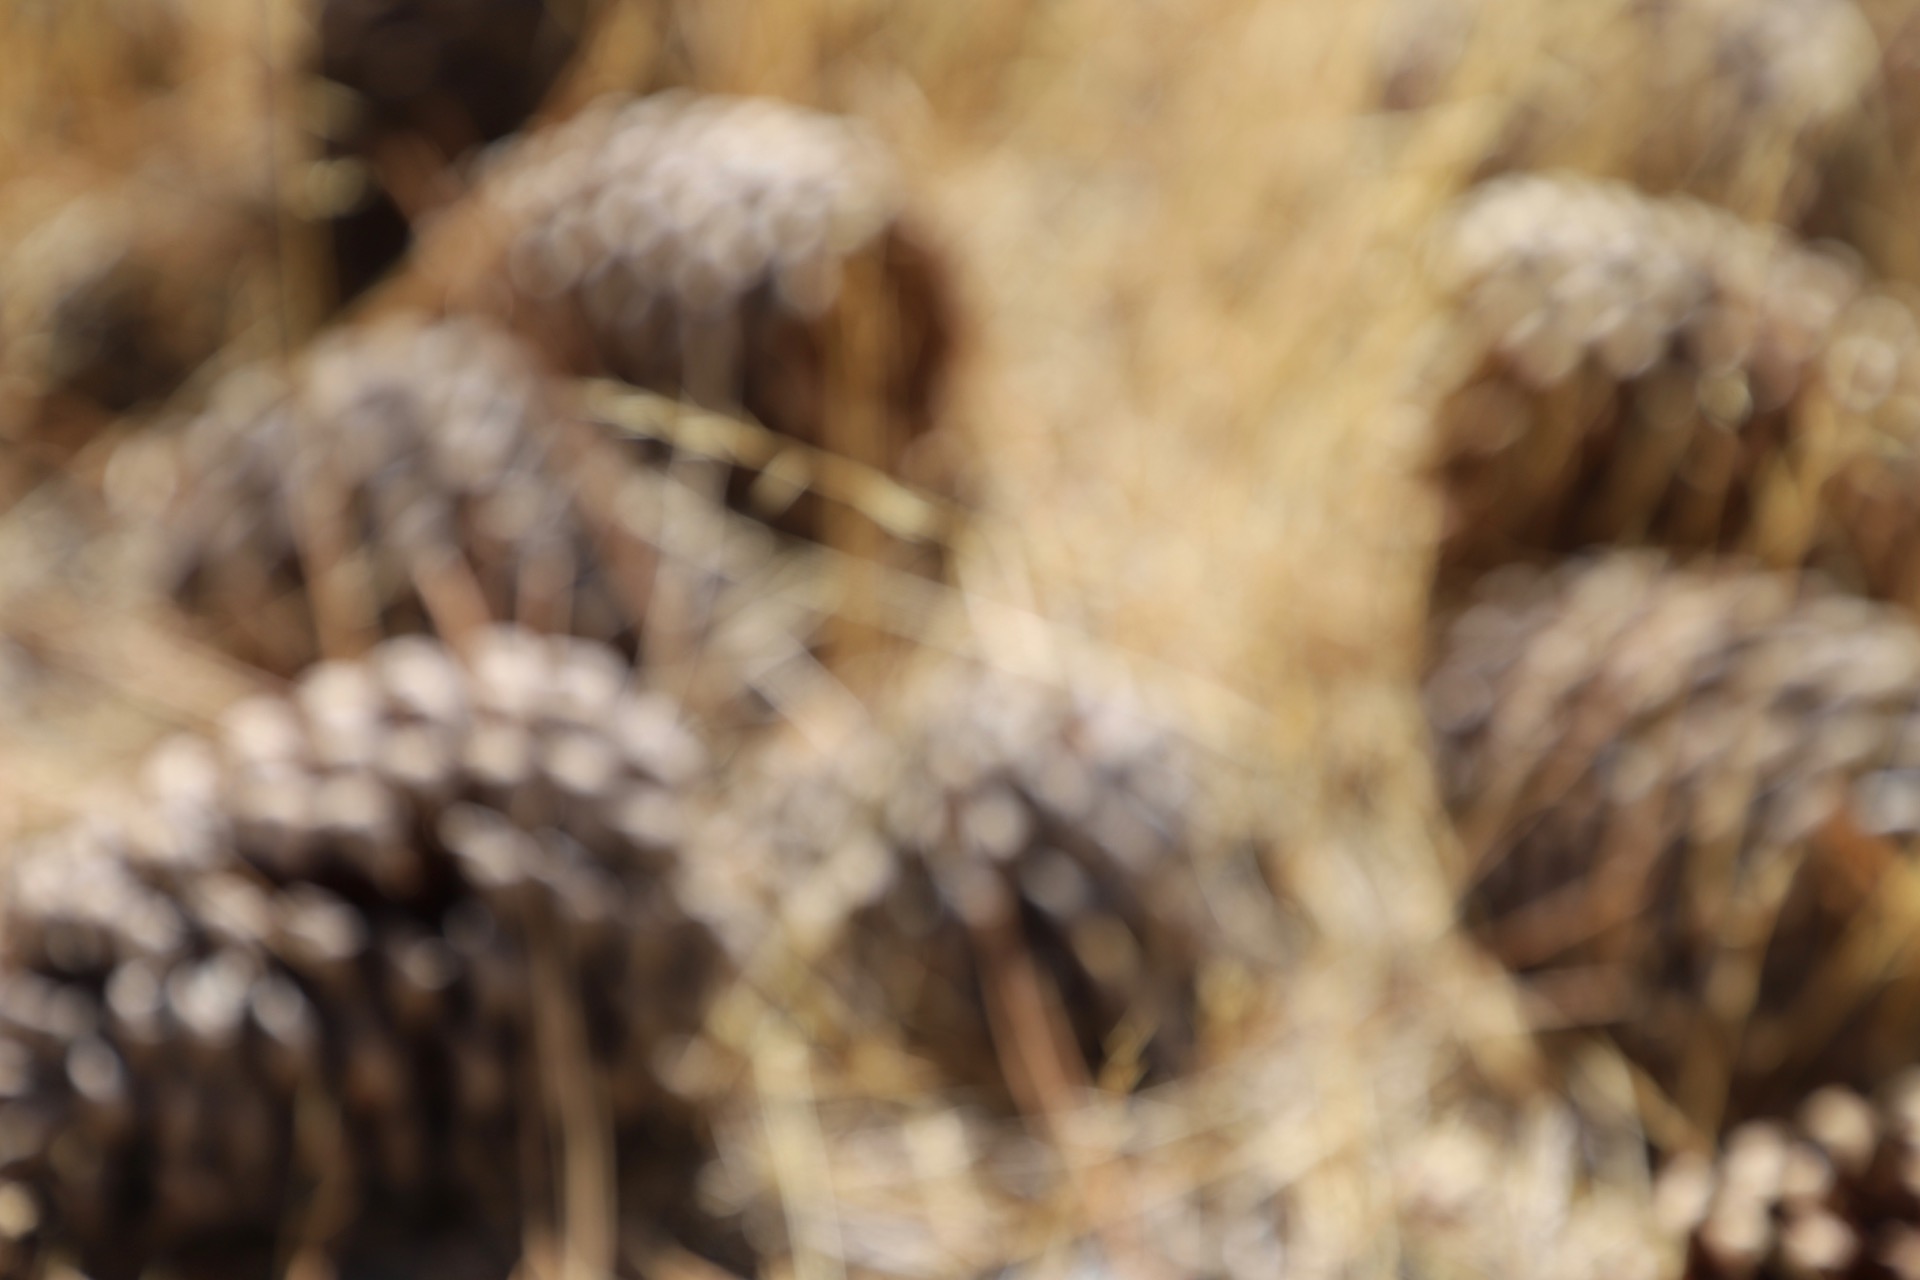
About Blurry and Abstract Images
In addition to traditionally composed photos where the subject and context are easily identified, I usually take some abstract photos as well. So, some of the photos in this collection were intentionally made blurry using manual focus to create an abstract image that could be used as a background. The in-focus version is also provided to show the subject used for the blurry photo. There are also some photos that are taken in such a way that the context is not provided, thus making the image difficult to identify. This is done intentionally.
Iowa City Area Photos
Here’s the gallery. Click any image for a larger gallery view. Enjoy!
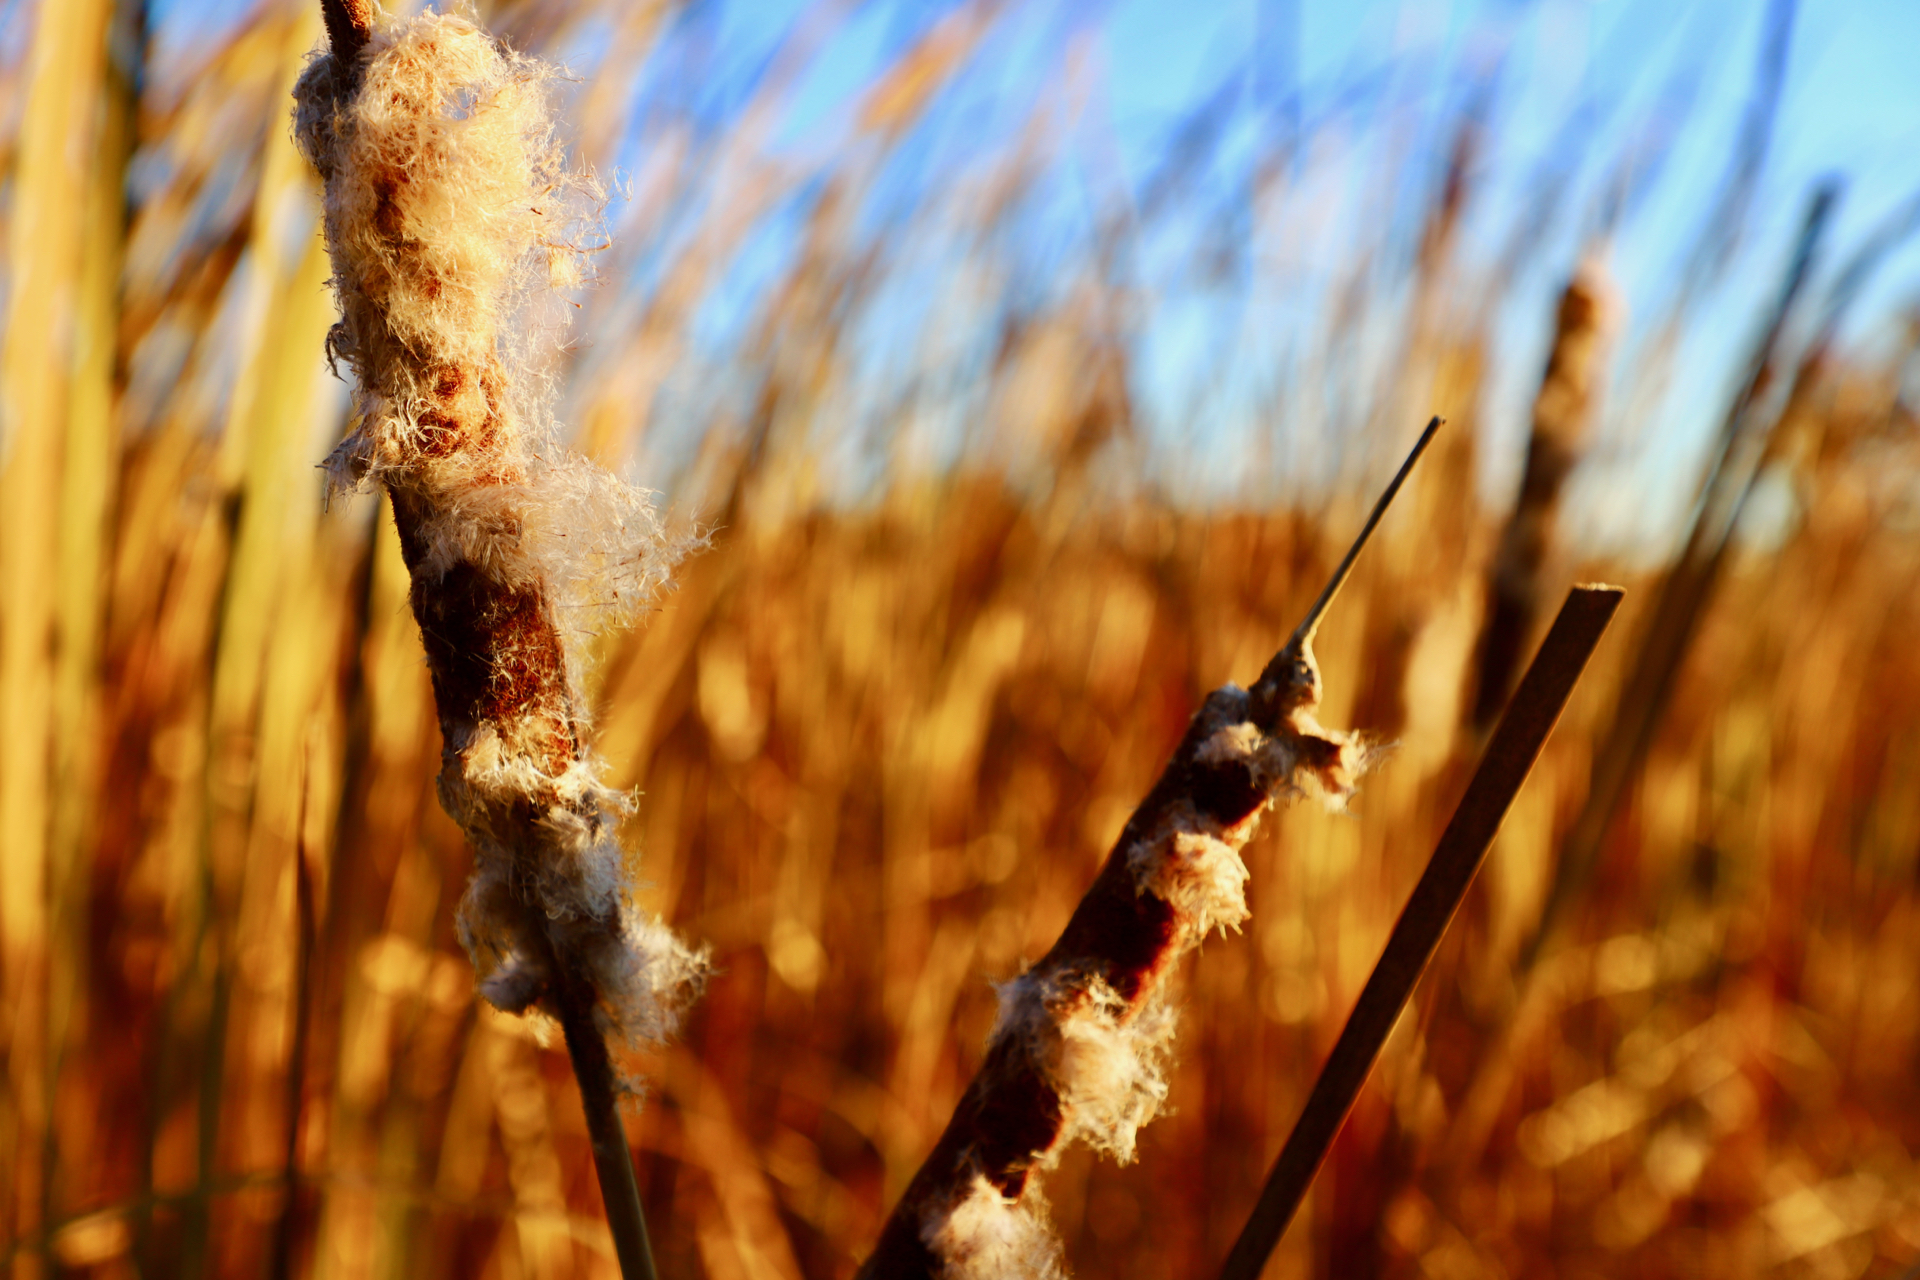
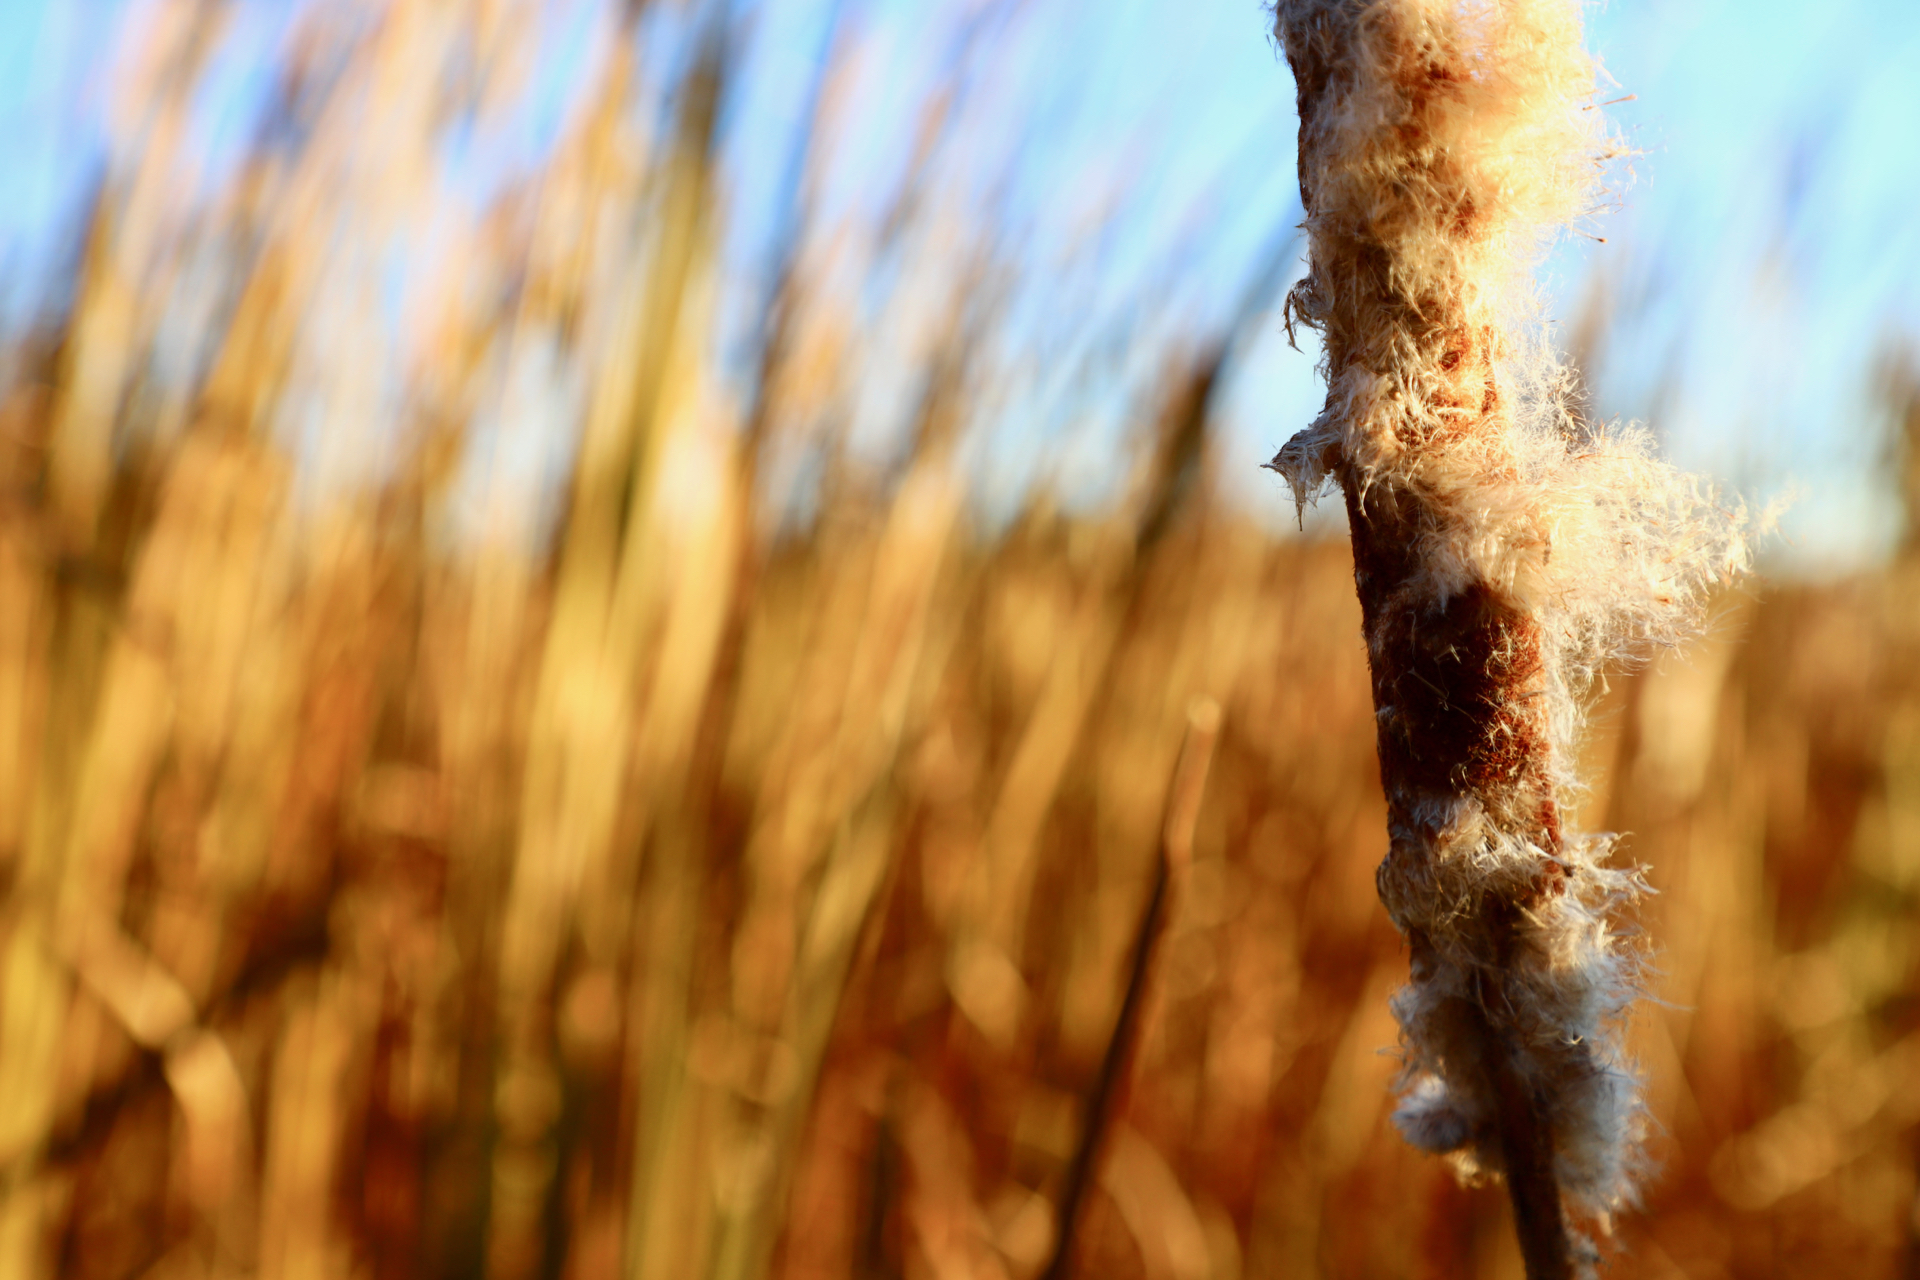
Below are some photos taken along bike trails on the west-side of Iowa City on 27 Oct 2018. Here I’m sharing the 1920×1080 size versions of the photos for people use as desktop wallpaper, presentation backgrounds, or enjoy in other ways. They also make for fun tablet or smartphone wallpaper. If you’d like to use any of these for commercial purposes, if you’d like the originals, or have any questions about this collection of photos, feel free to contact me. Thanks!
Equipment Used
I was using a Canon 6D Mark II camera. For the photos that seem to have more saturation, I had selected the Vivid or Intense options available in the CA camera setting. See page 102 of the instruction manual for further details about these features. I was using the 24-105mm USM lens that came with the camera. Although I didn’t have a tripod, the Canon Image Stabilization (second generation) seemed to work well enough.
Camera Settings
I was able to use the automatic mode for most of the photos. The camera’s choice of aperture, speed, ISO, and focal point were acceptable. Sometimes I’d switch to manual focus and at times used Aperture Priority when I wanted more control over the shot. Learn more about Aperture Priority on page 238 of the Canon 6D II instruction manual.
The Intense color setting can result in photos that seem too dark. However, using Intense that then later using software to increase the exposure will result in photos that are less washed out than if the photo had been taken without these color enhancement options. The Vivid setting is a less saturated option, but sometimes isn’t enough.
About Blurry and Abstract Images
In addition to traditionally composed photos where the subject and context are easily identified, I usually take some abstract photos as well. So, some of the photos in this collection were intentionally made blurry using manual focus to create an abstract image that could be used as a background. The in-focus version is also provided to show the subject used for the blurry photo. There are also some photos that are taken in such a way that the context is not provided, thus making the image difficult to identify. This is done intentionally.
Iowa City Area Photos
Here’s the gallery. Click any image for a larger gallery view. Enjoy!
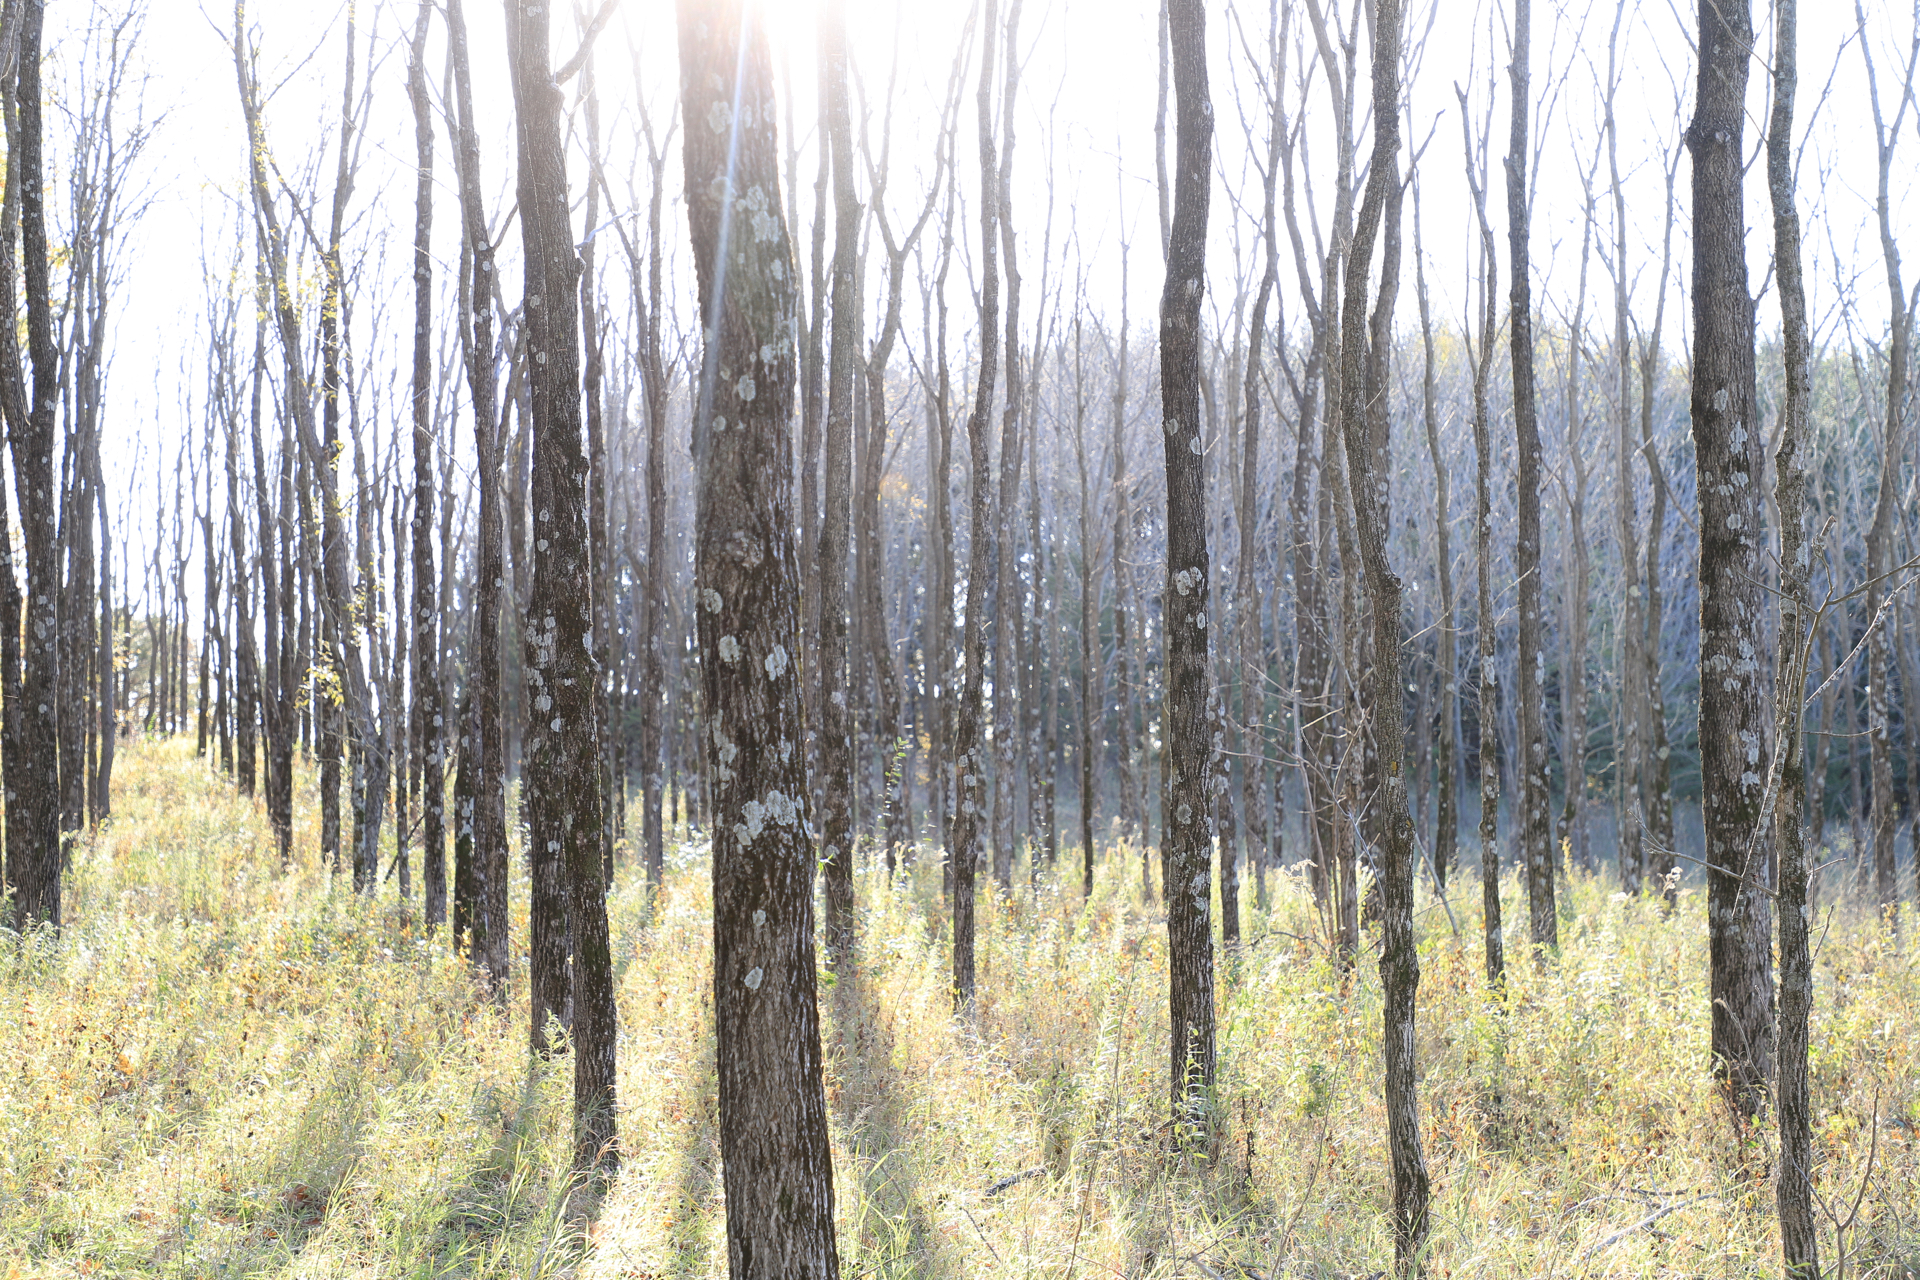
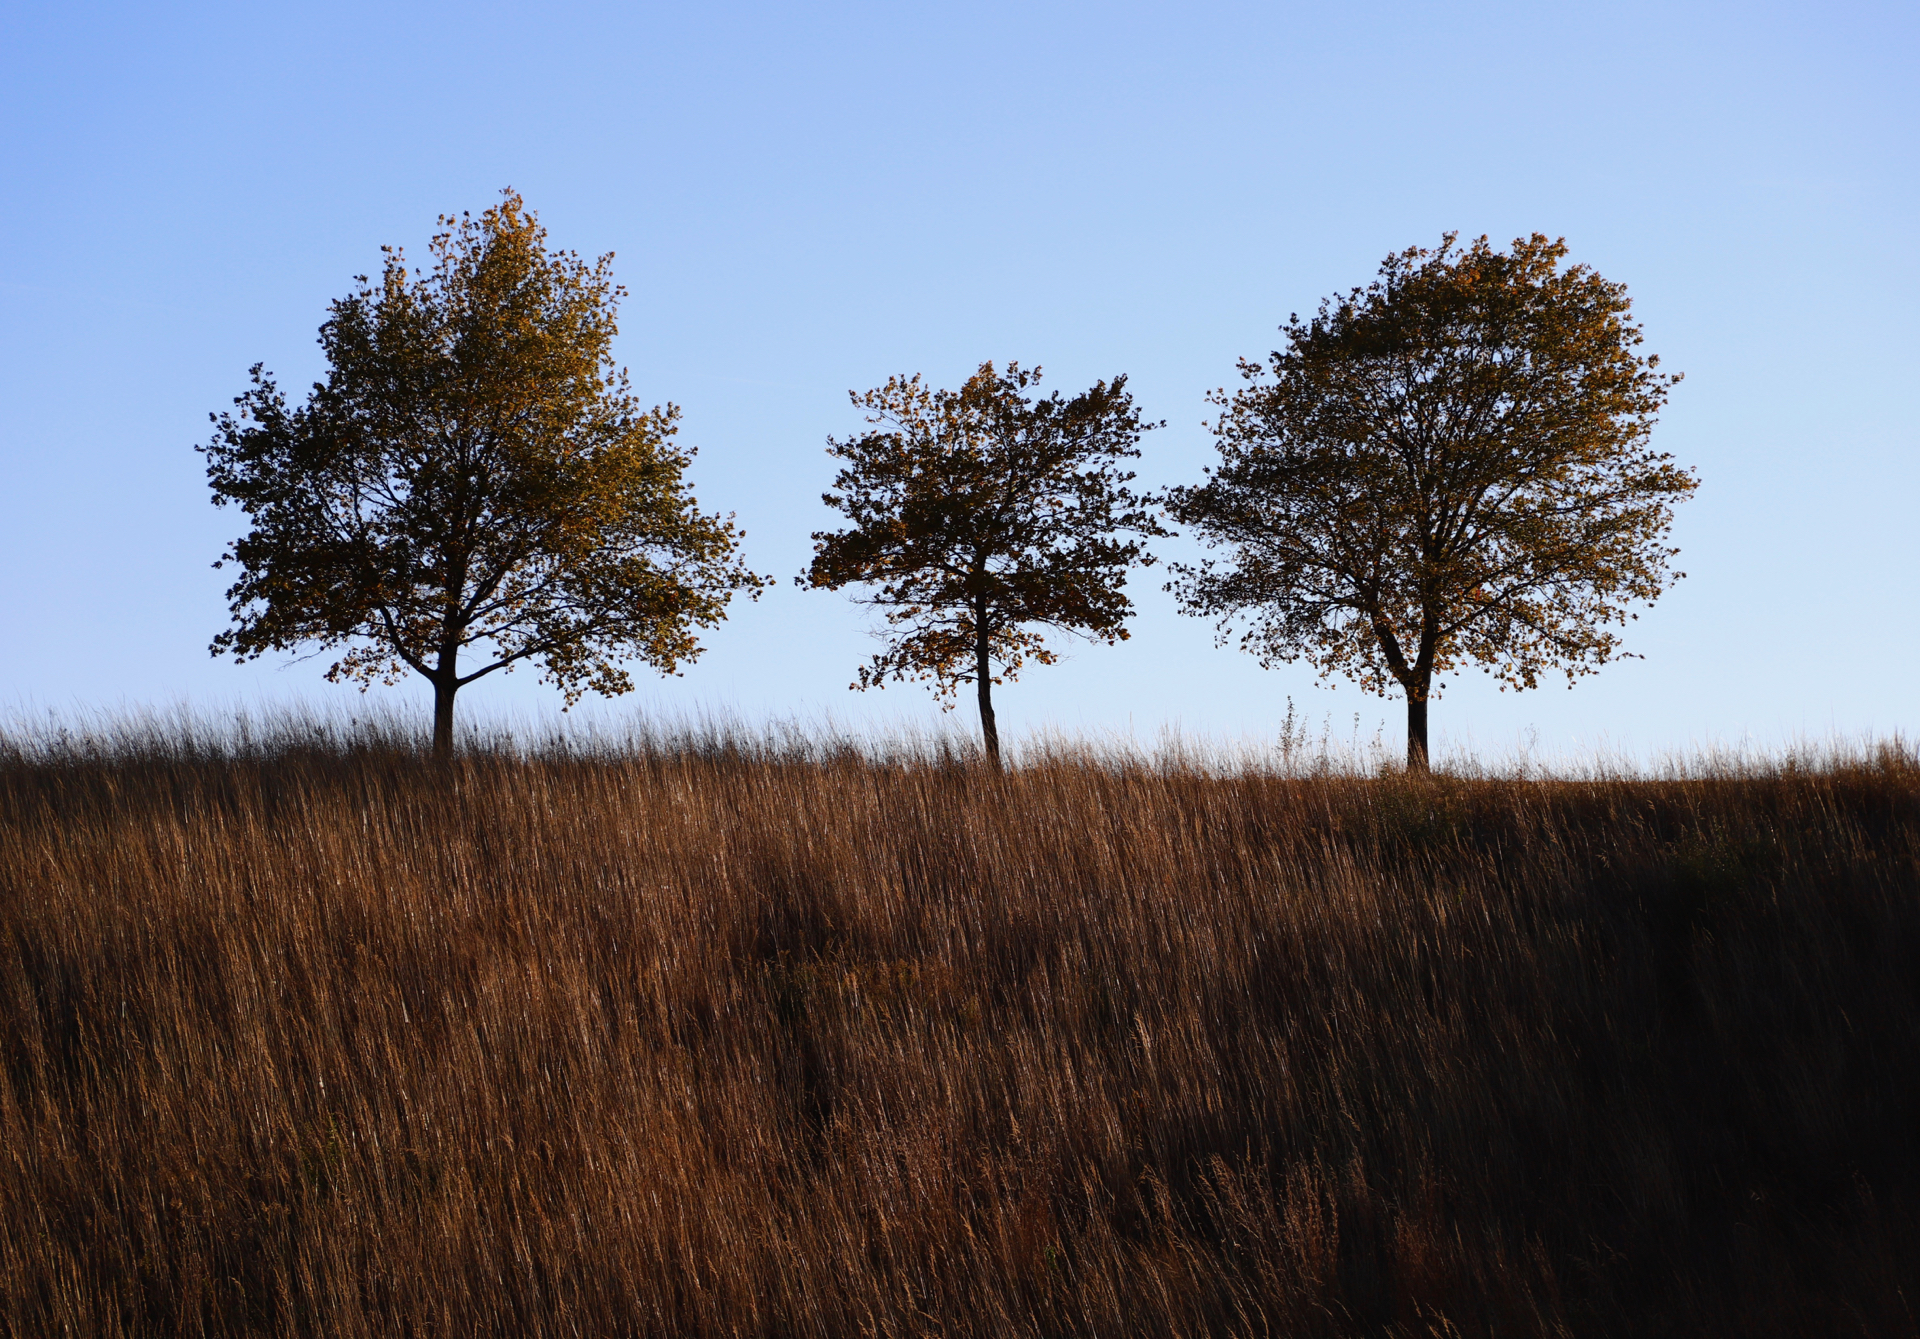
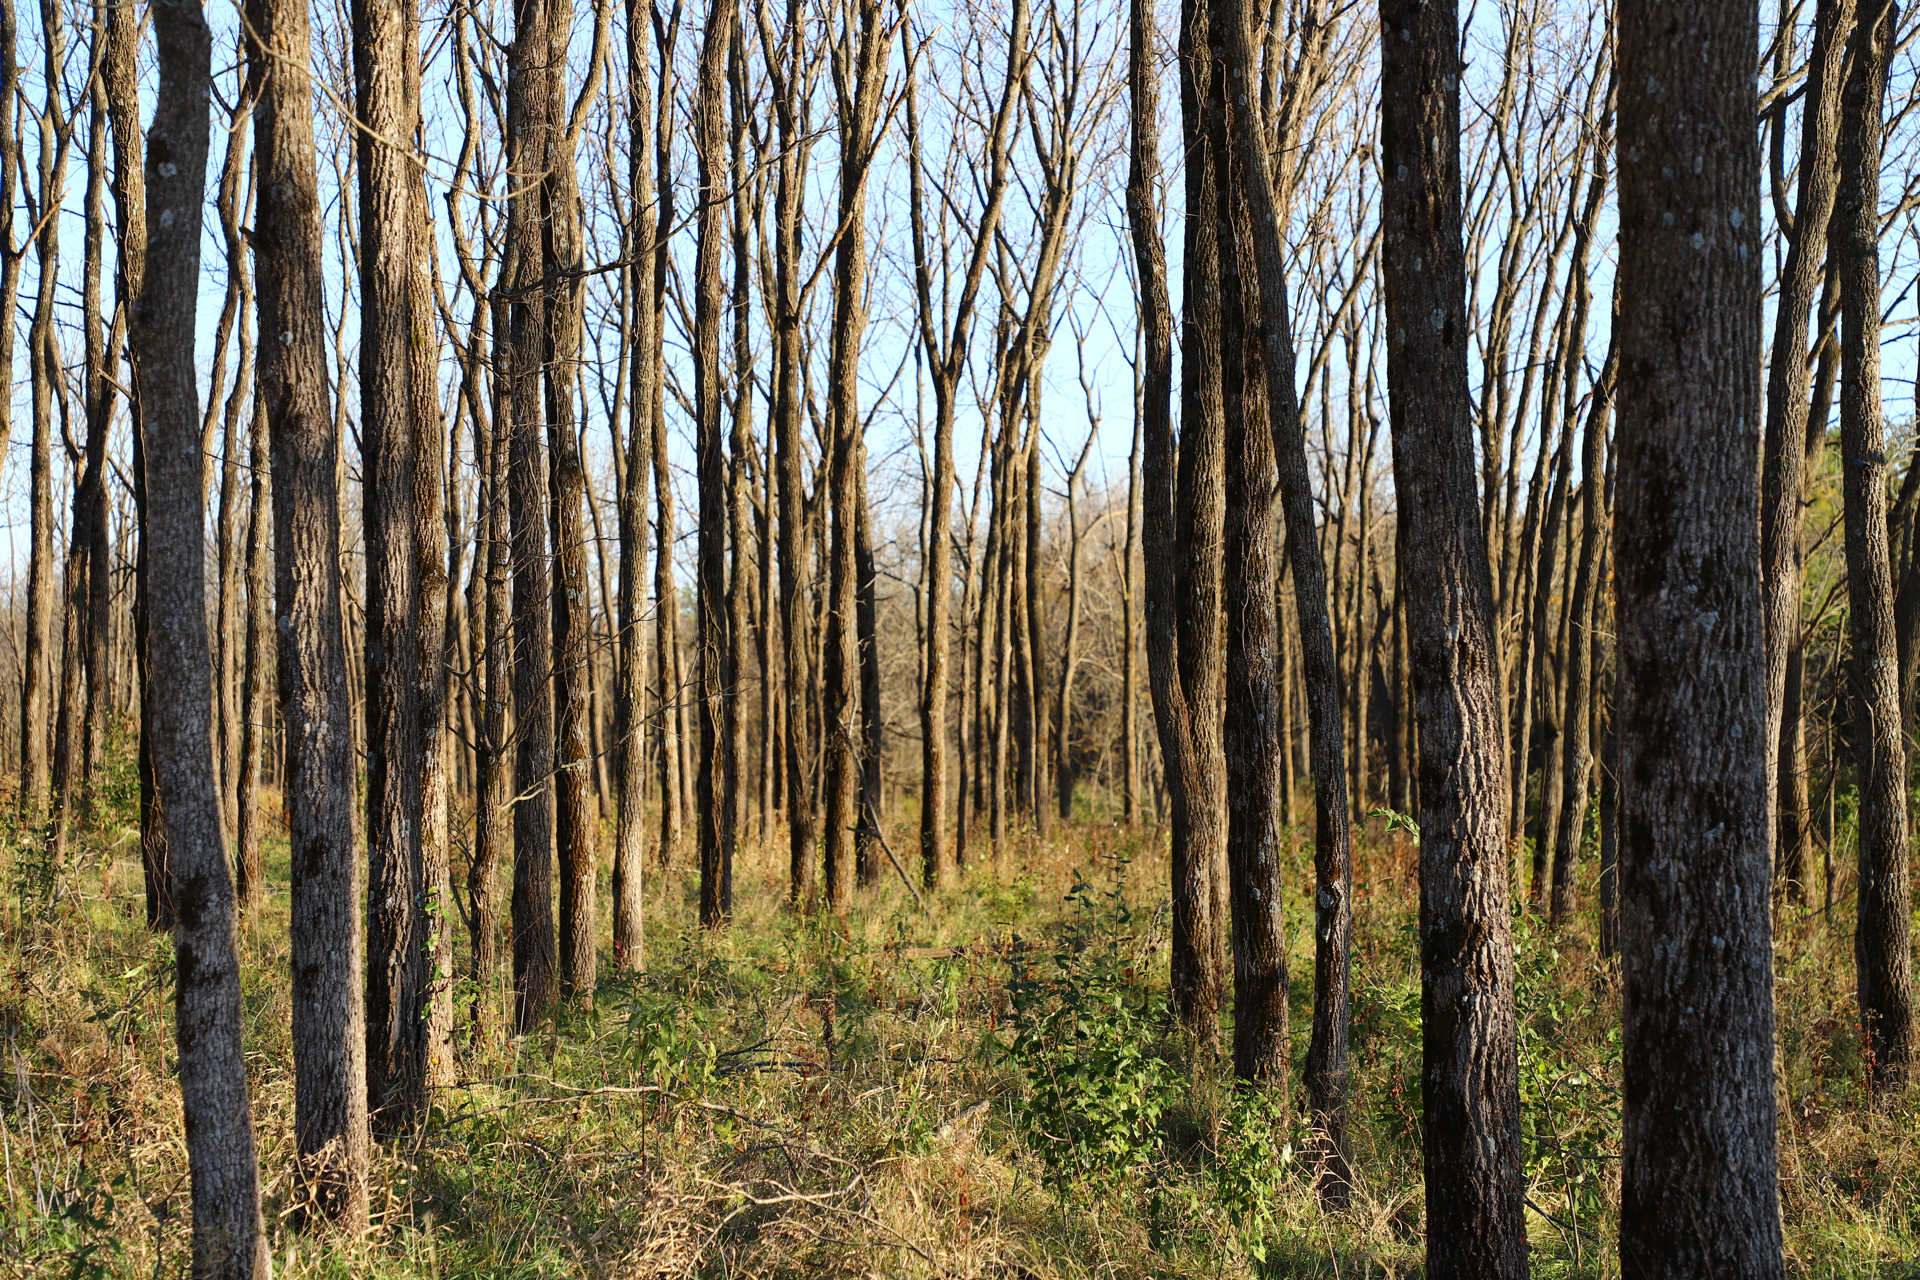
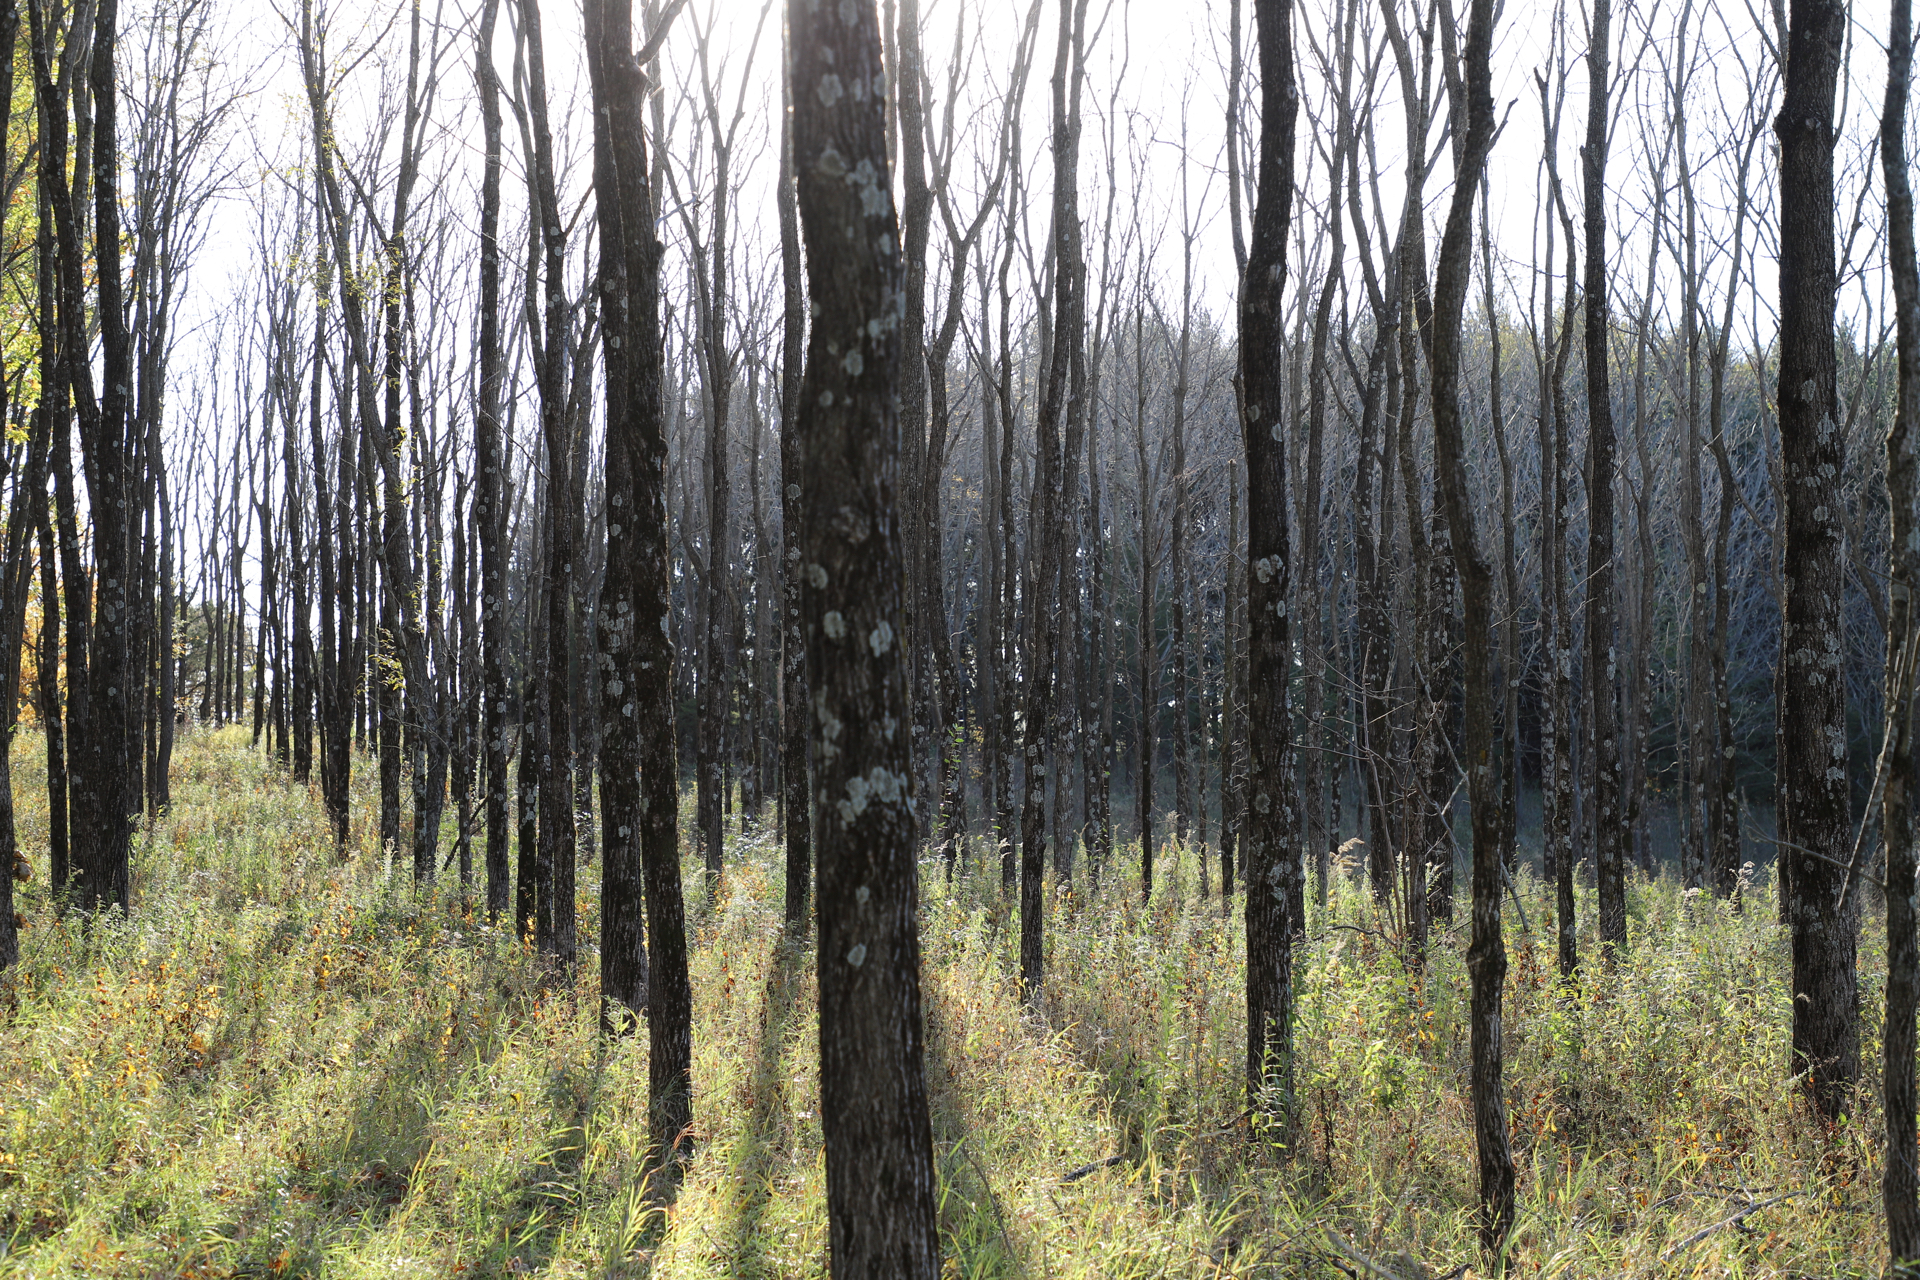
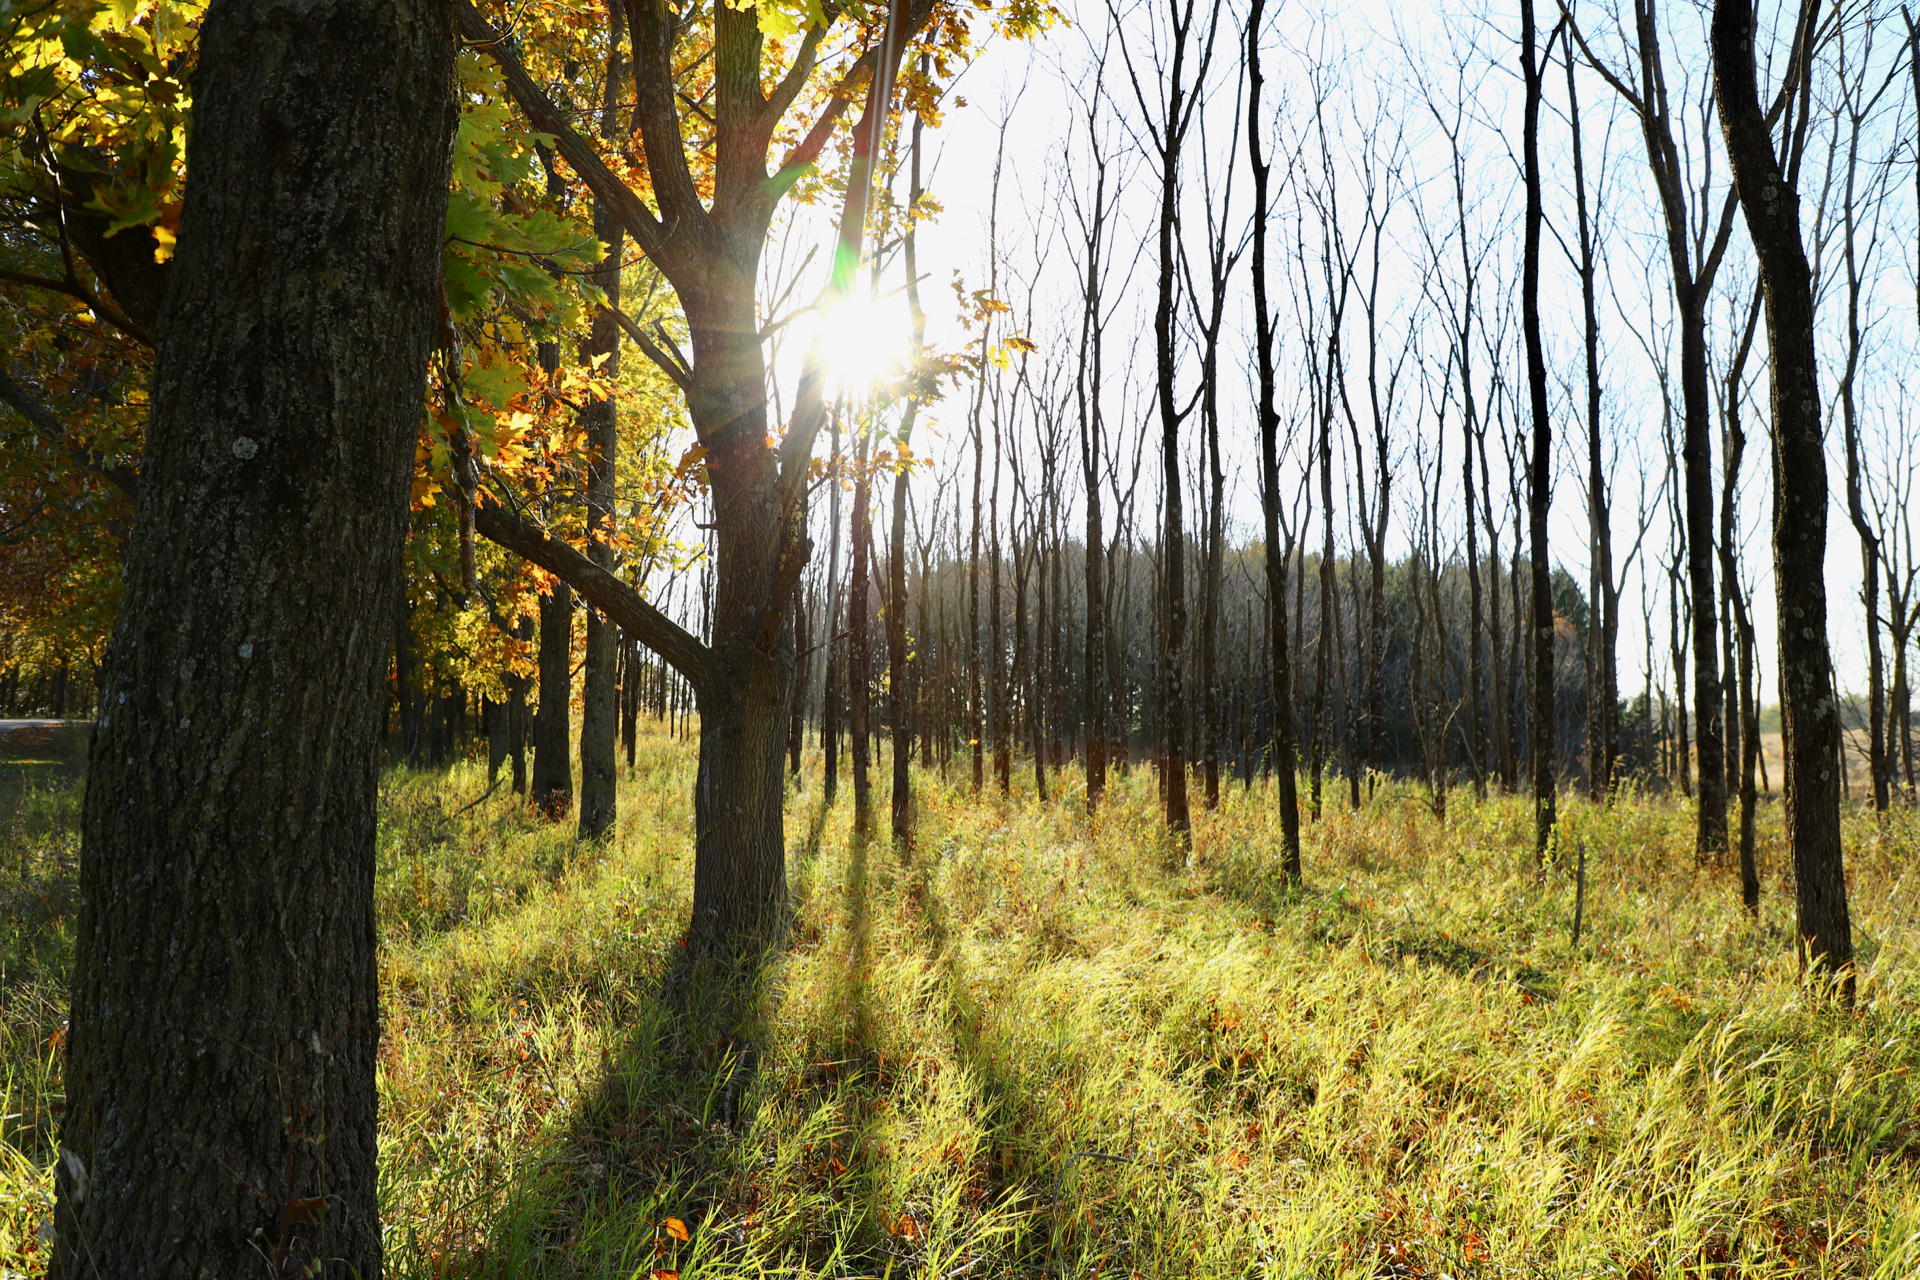
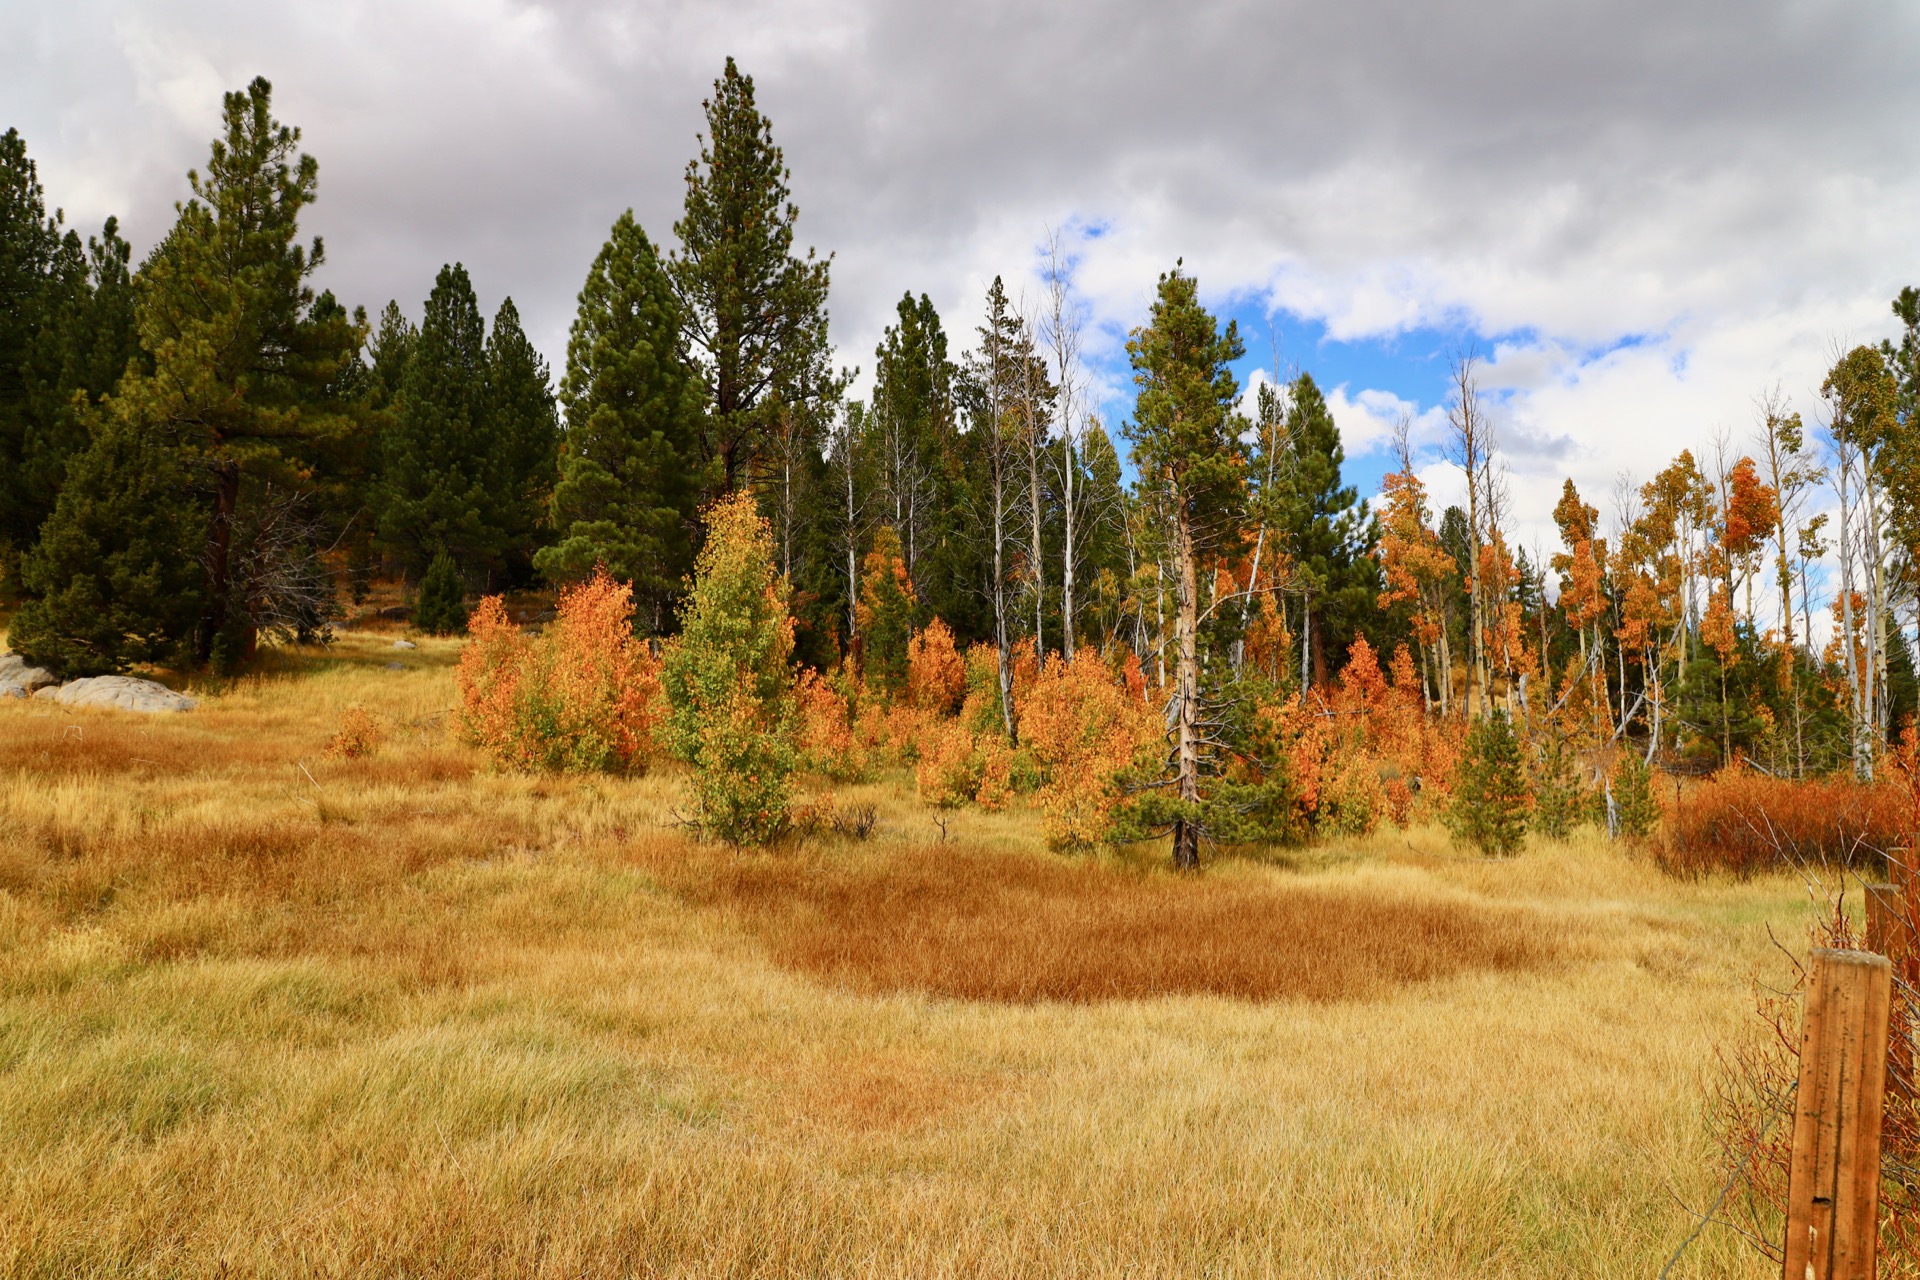
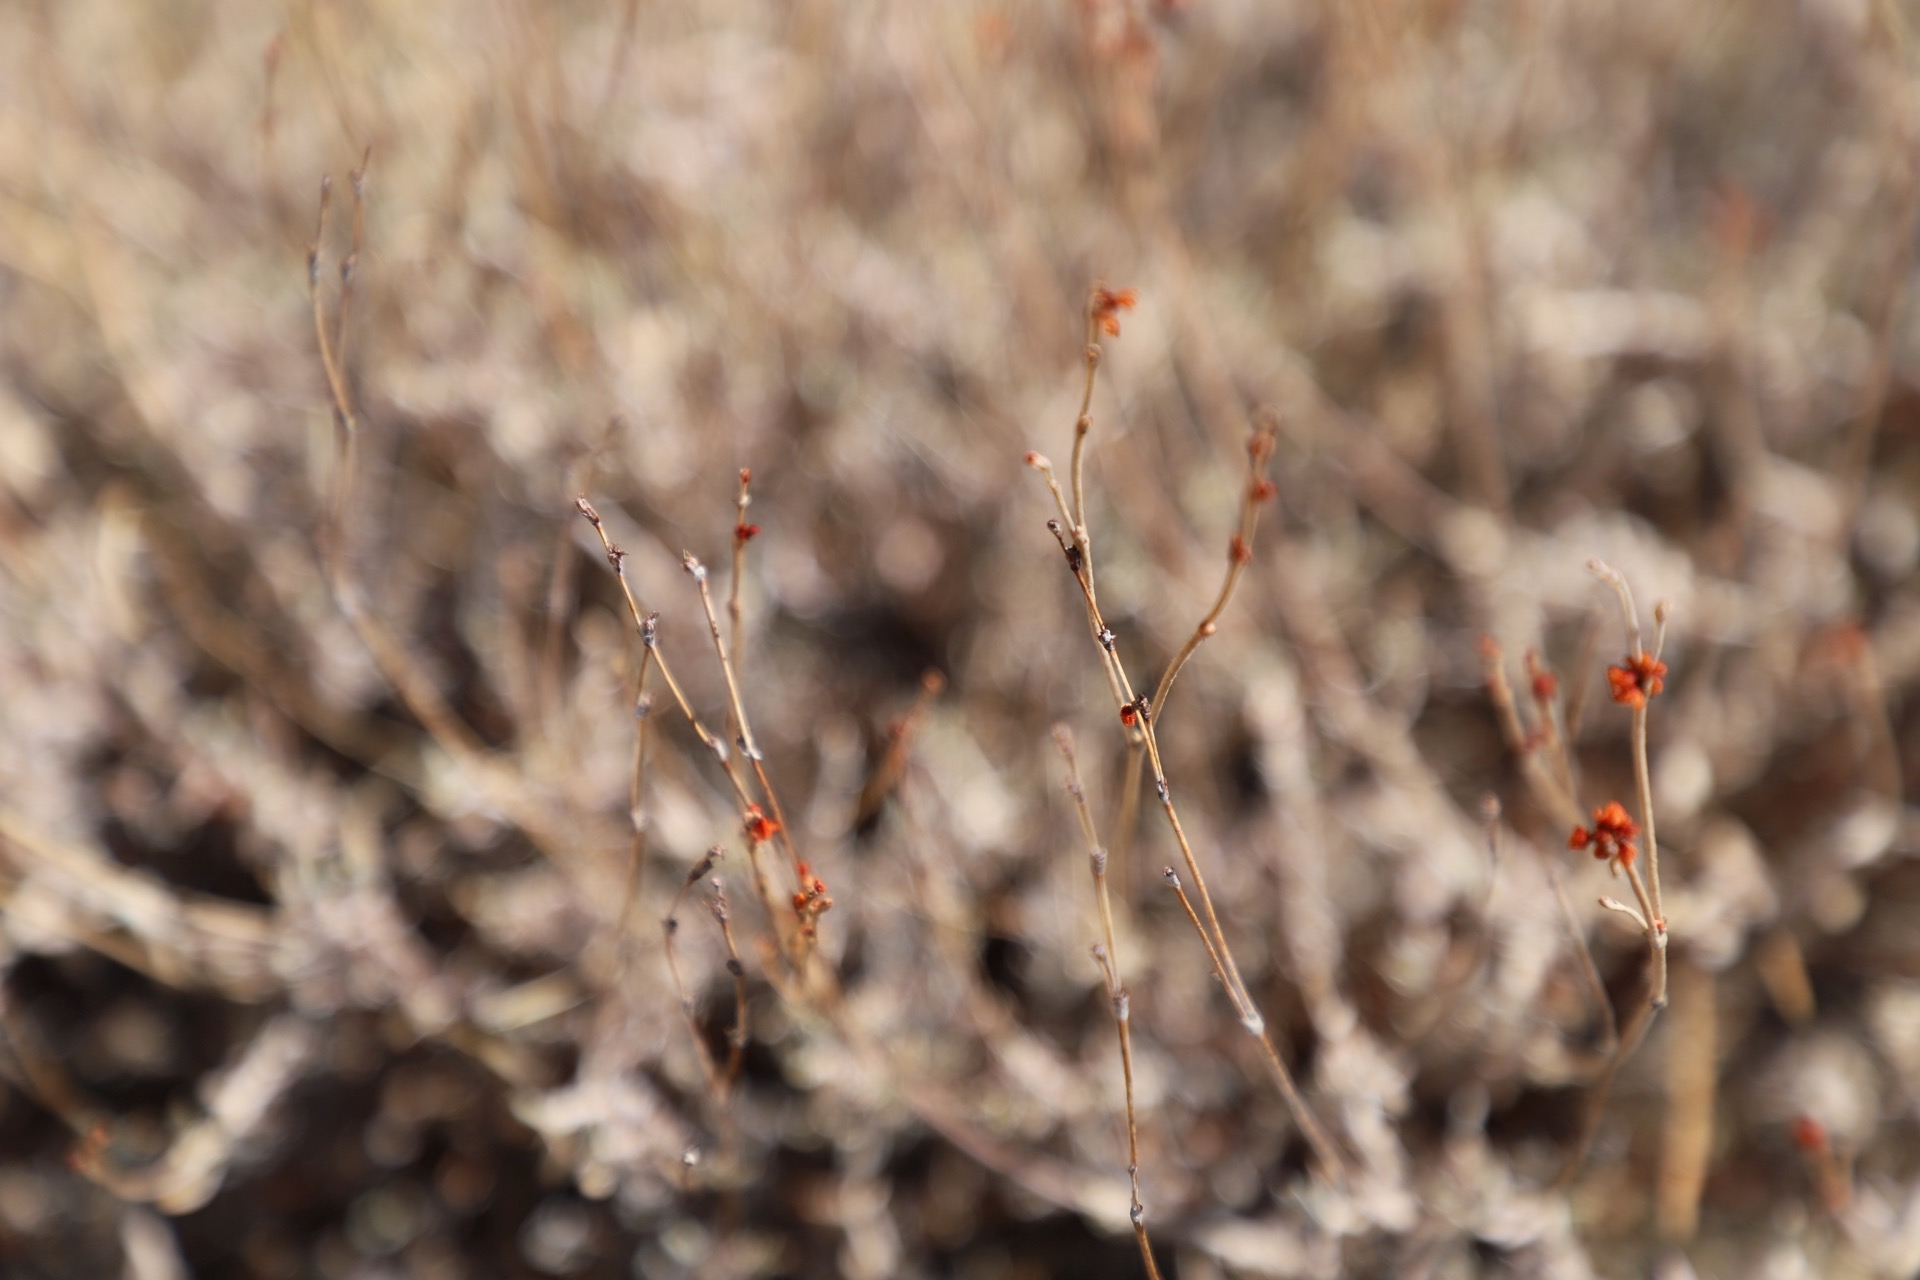
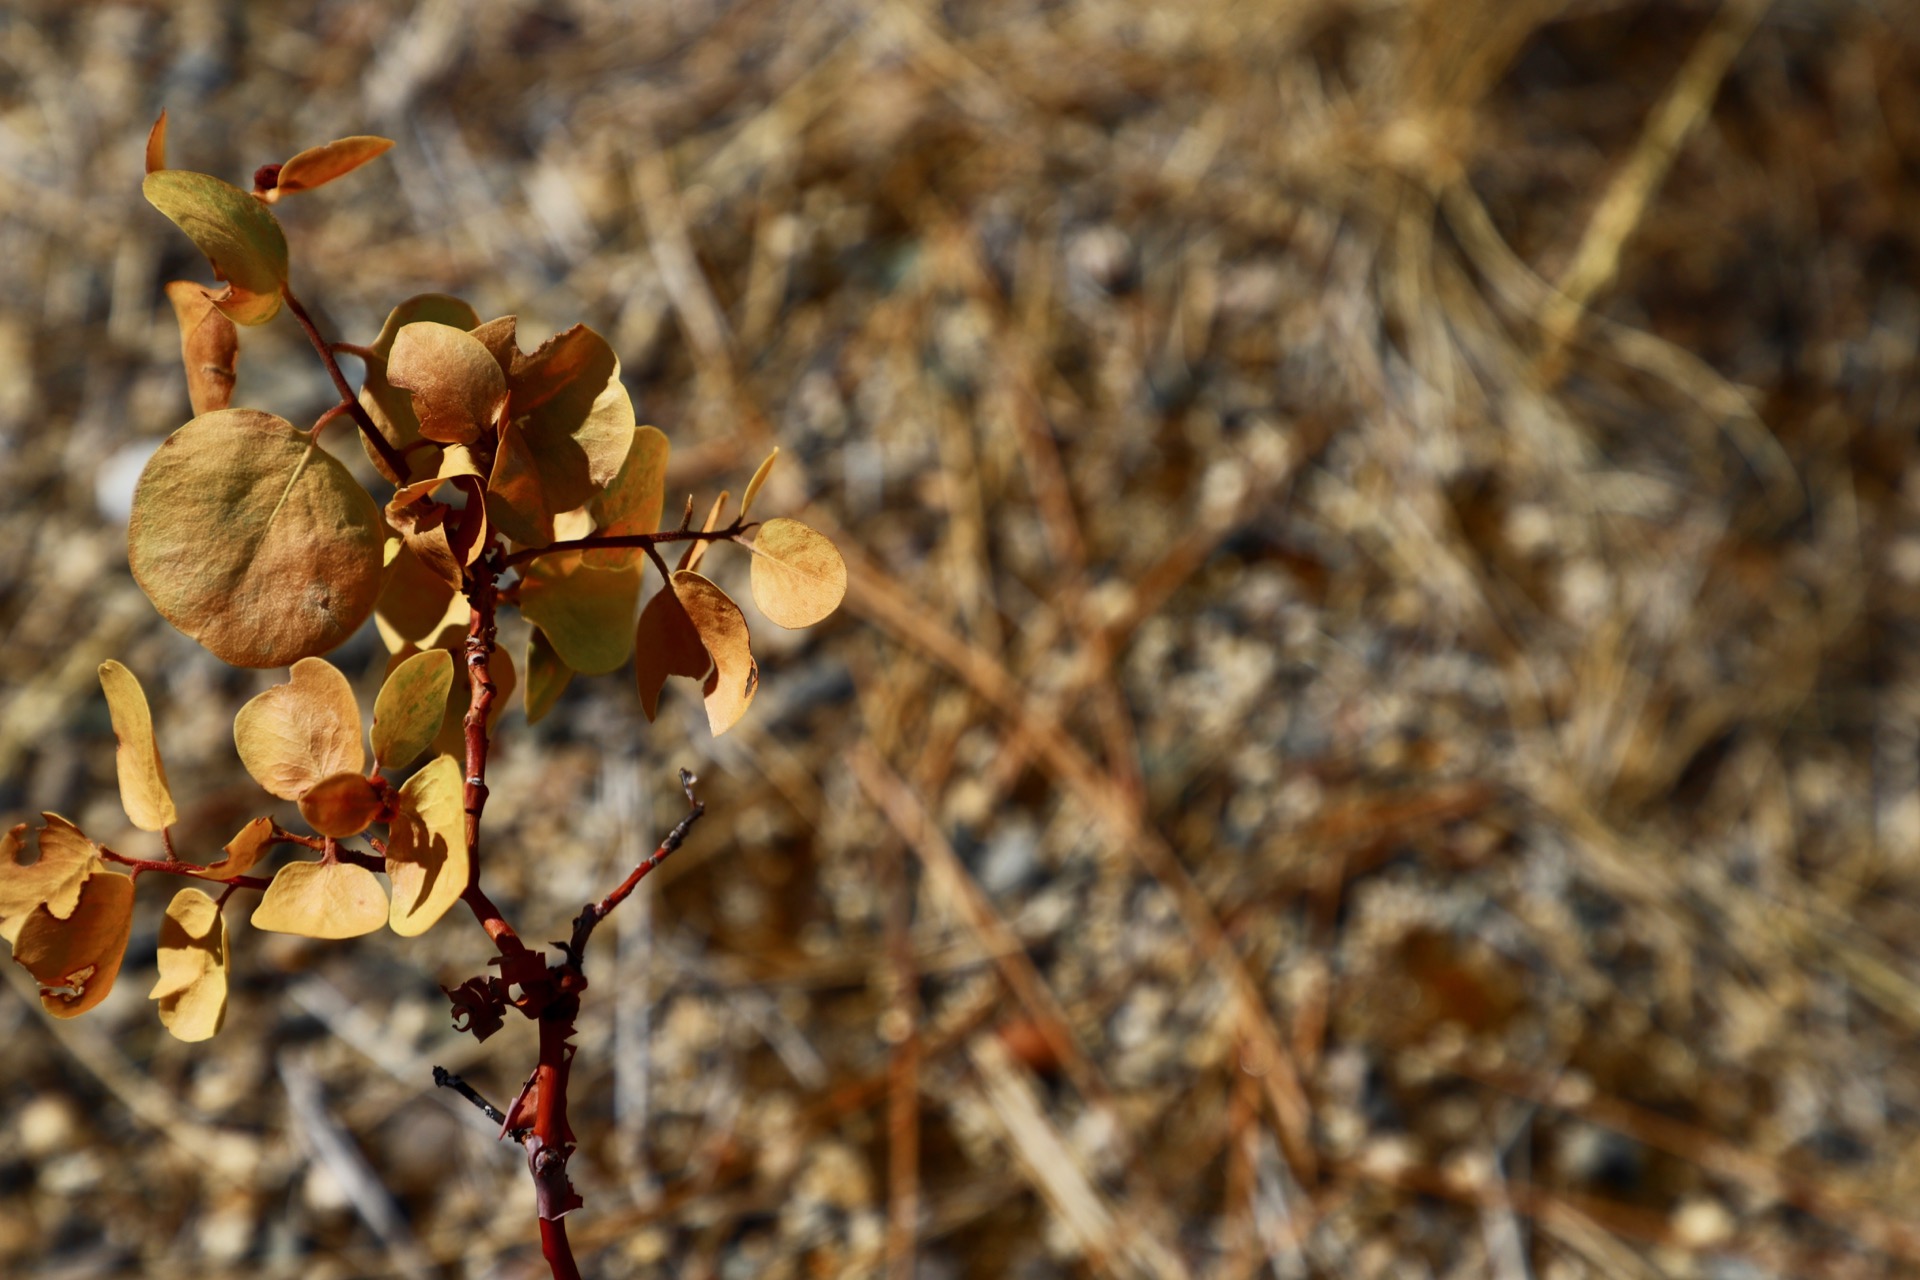
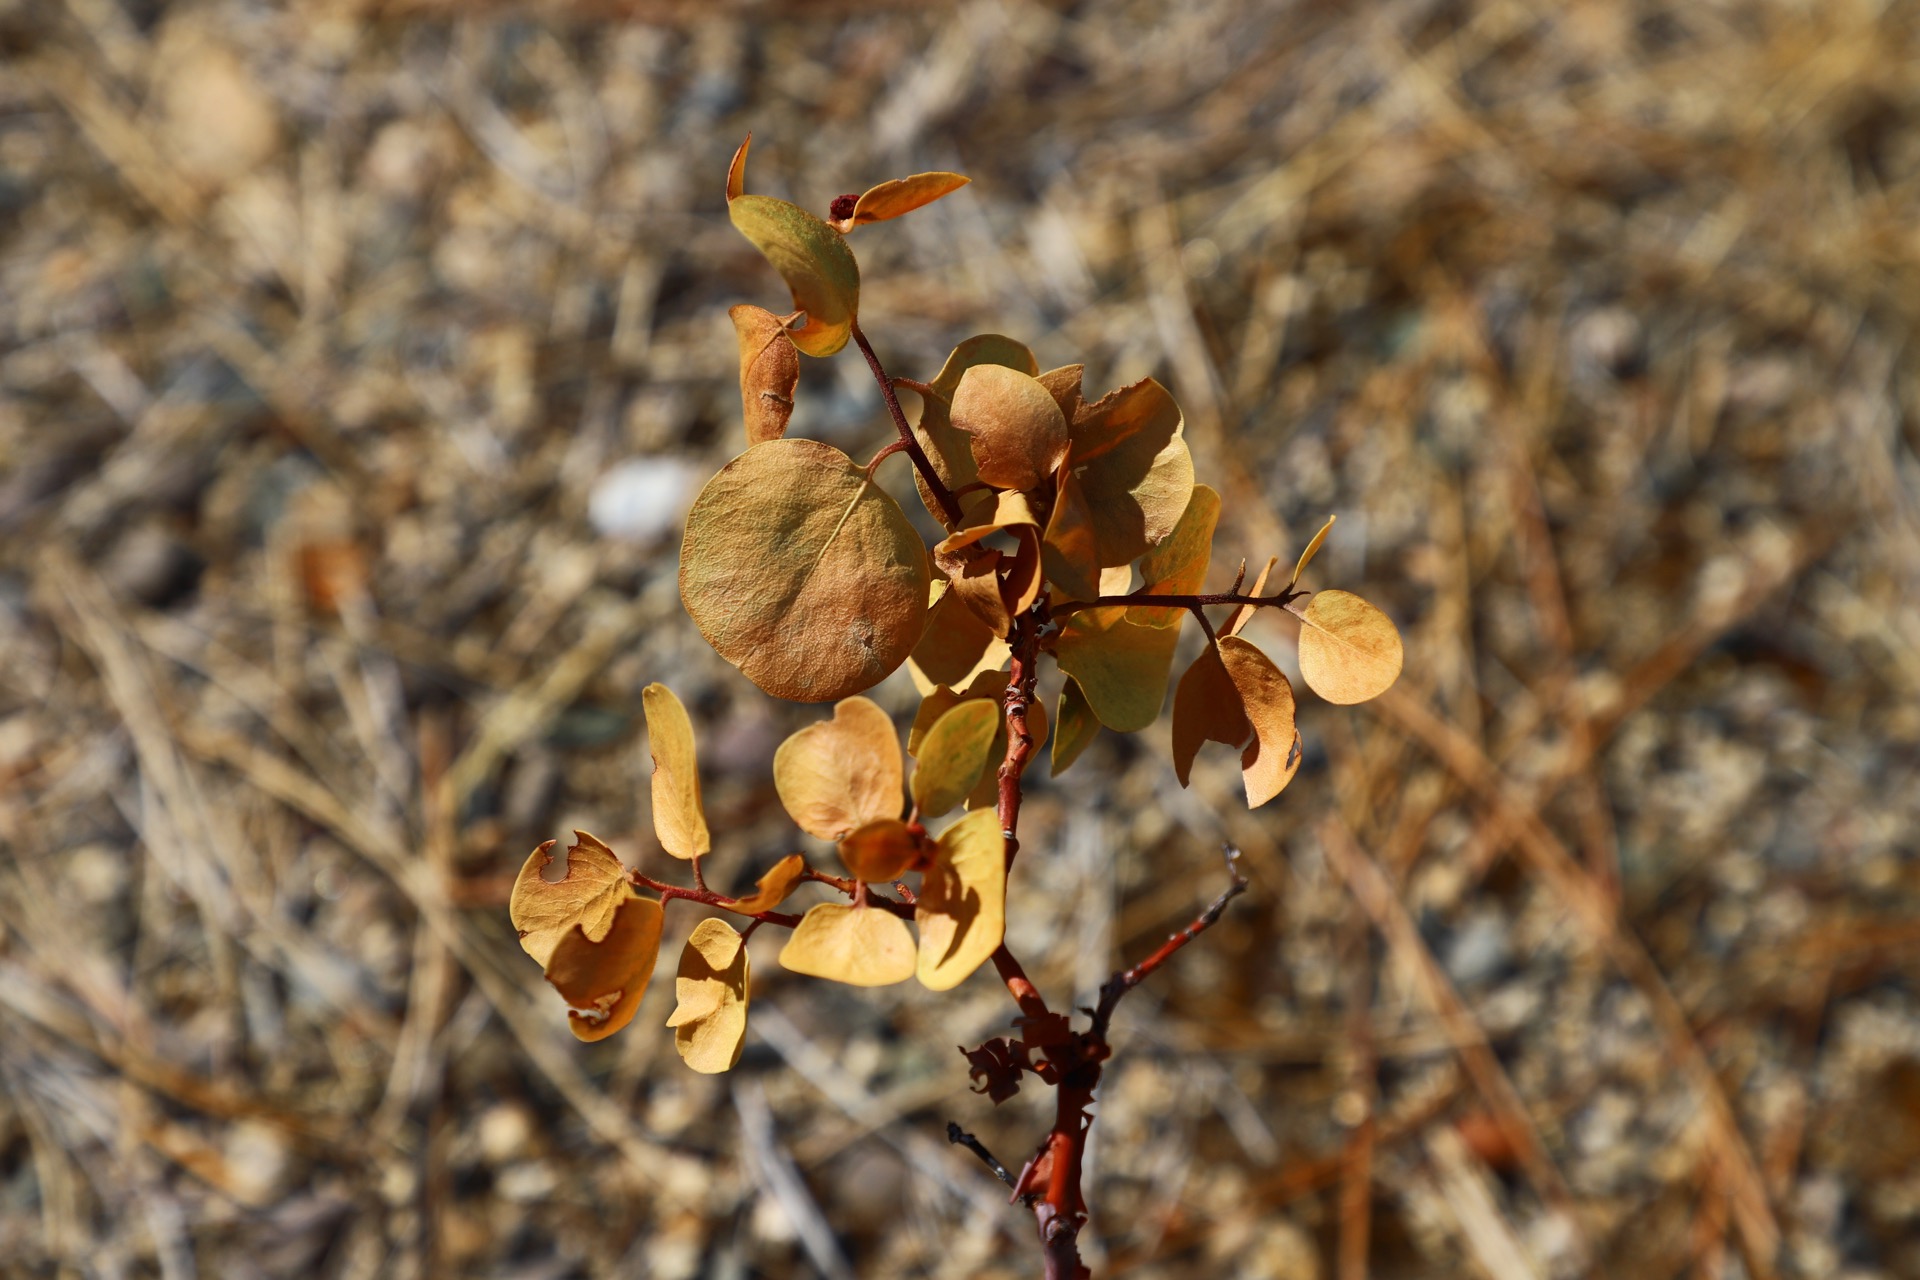
Below are some photos taken in the Kent Park area on 21 Oct 2018. These are 12 photos selected. Here I’m sharing the 1920×1080 size versions of the photos for people use as desktop wallpaper or enjoy in other ways. They also make for fun tablet or smartphone wallpaper. If you’d like to use any of these for commercial purposes, if you’d like the originals, or have any questions about this collection of photos, feel free to contact me. Thanks!
Camera and Settings Used
I was using a Canon 6D Mark II camera. For the photos that seem to have more saturation, I had selected the Vivid or Intense options available in the CA camera setting. See page 102 of the instruction manual for further details about these features. I was using the 24-105mm USM lens that came with the camera. Although I didn’t have a tripod, the Canon Image Stabilization (second generation) seemed to work well enough.
I was able to use the automatic mode for most of the photos. The camera’s choice of aperture, speed, ISO, and focal point were acceptable. Sometimes I’d switch to manual focus and at times used Aperture Priority when I wanted more control over the shot. Learn more about Aperture Priority on page 238 of the Canon 6D II instruction manual.
The Intense color setting can result in photos that seem too dark. However, using Intense that then later using software to increase the exposure will result in photos that are less washed out than if the photo had been taken without these color enhancement options. The Vivid setting is a less saturated option, but sometimes isn’t enough.
You’ll notice several similar photos showing a grove of trees. These photos were taken using slightly different framing of the shot, and also different exposure levels. It’s interesting to see how the mood of the photo changes depending on the settings.
Kent Park Area Photos
Here’s the gallery of Kent Park photos. Click any image for a larger gallery view. Enjoy!
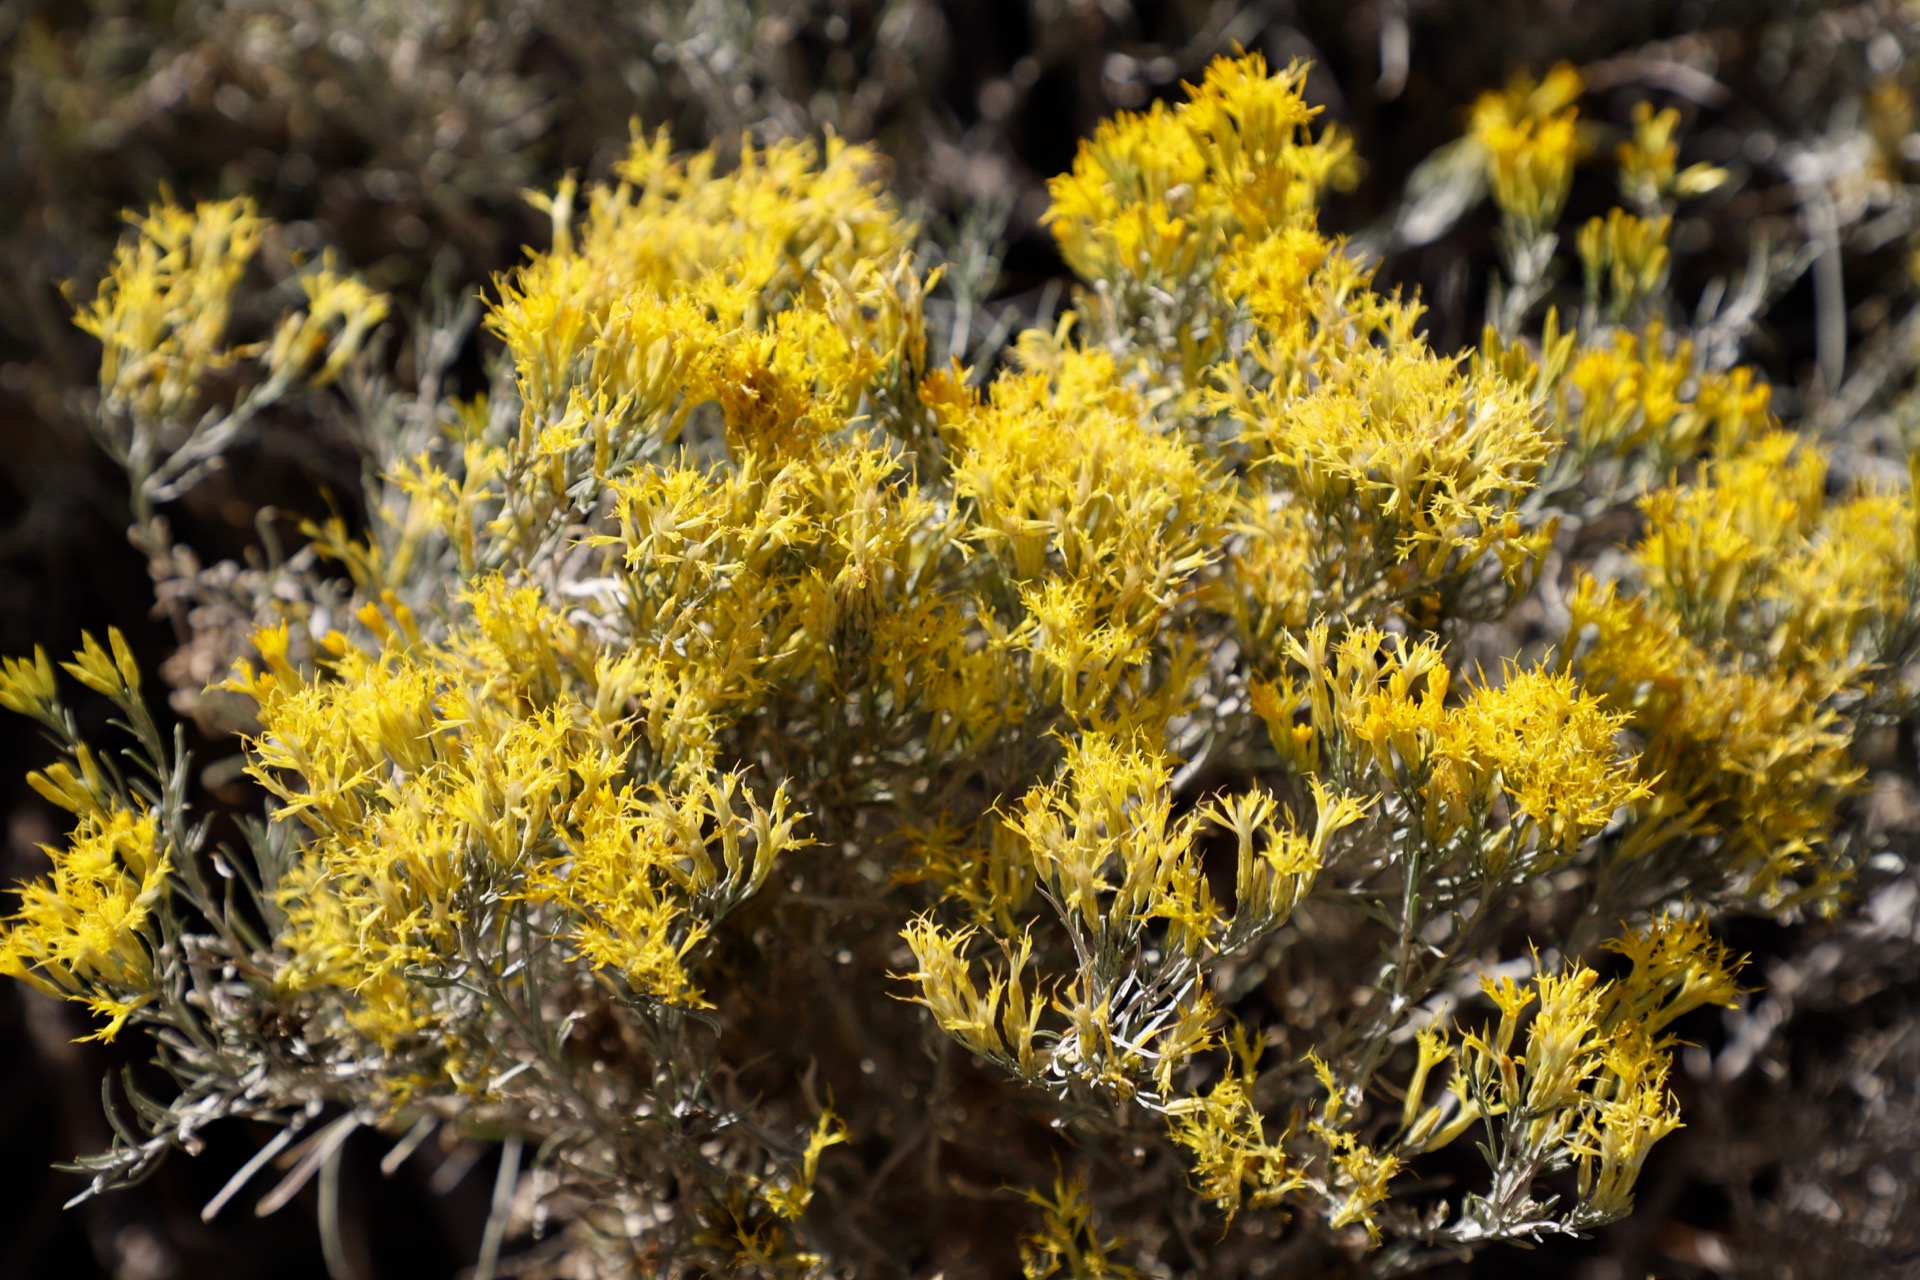
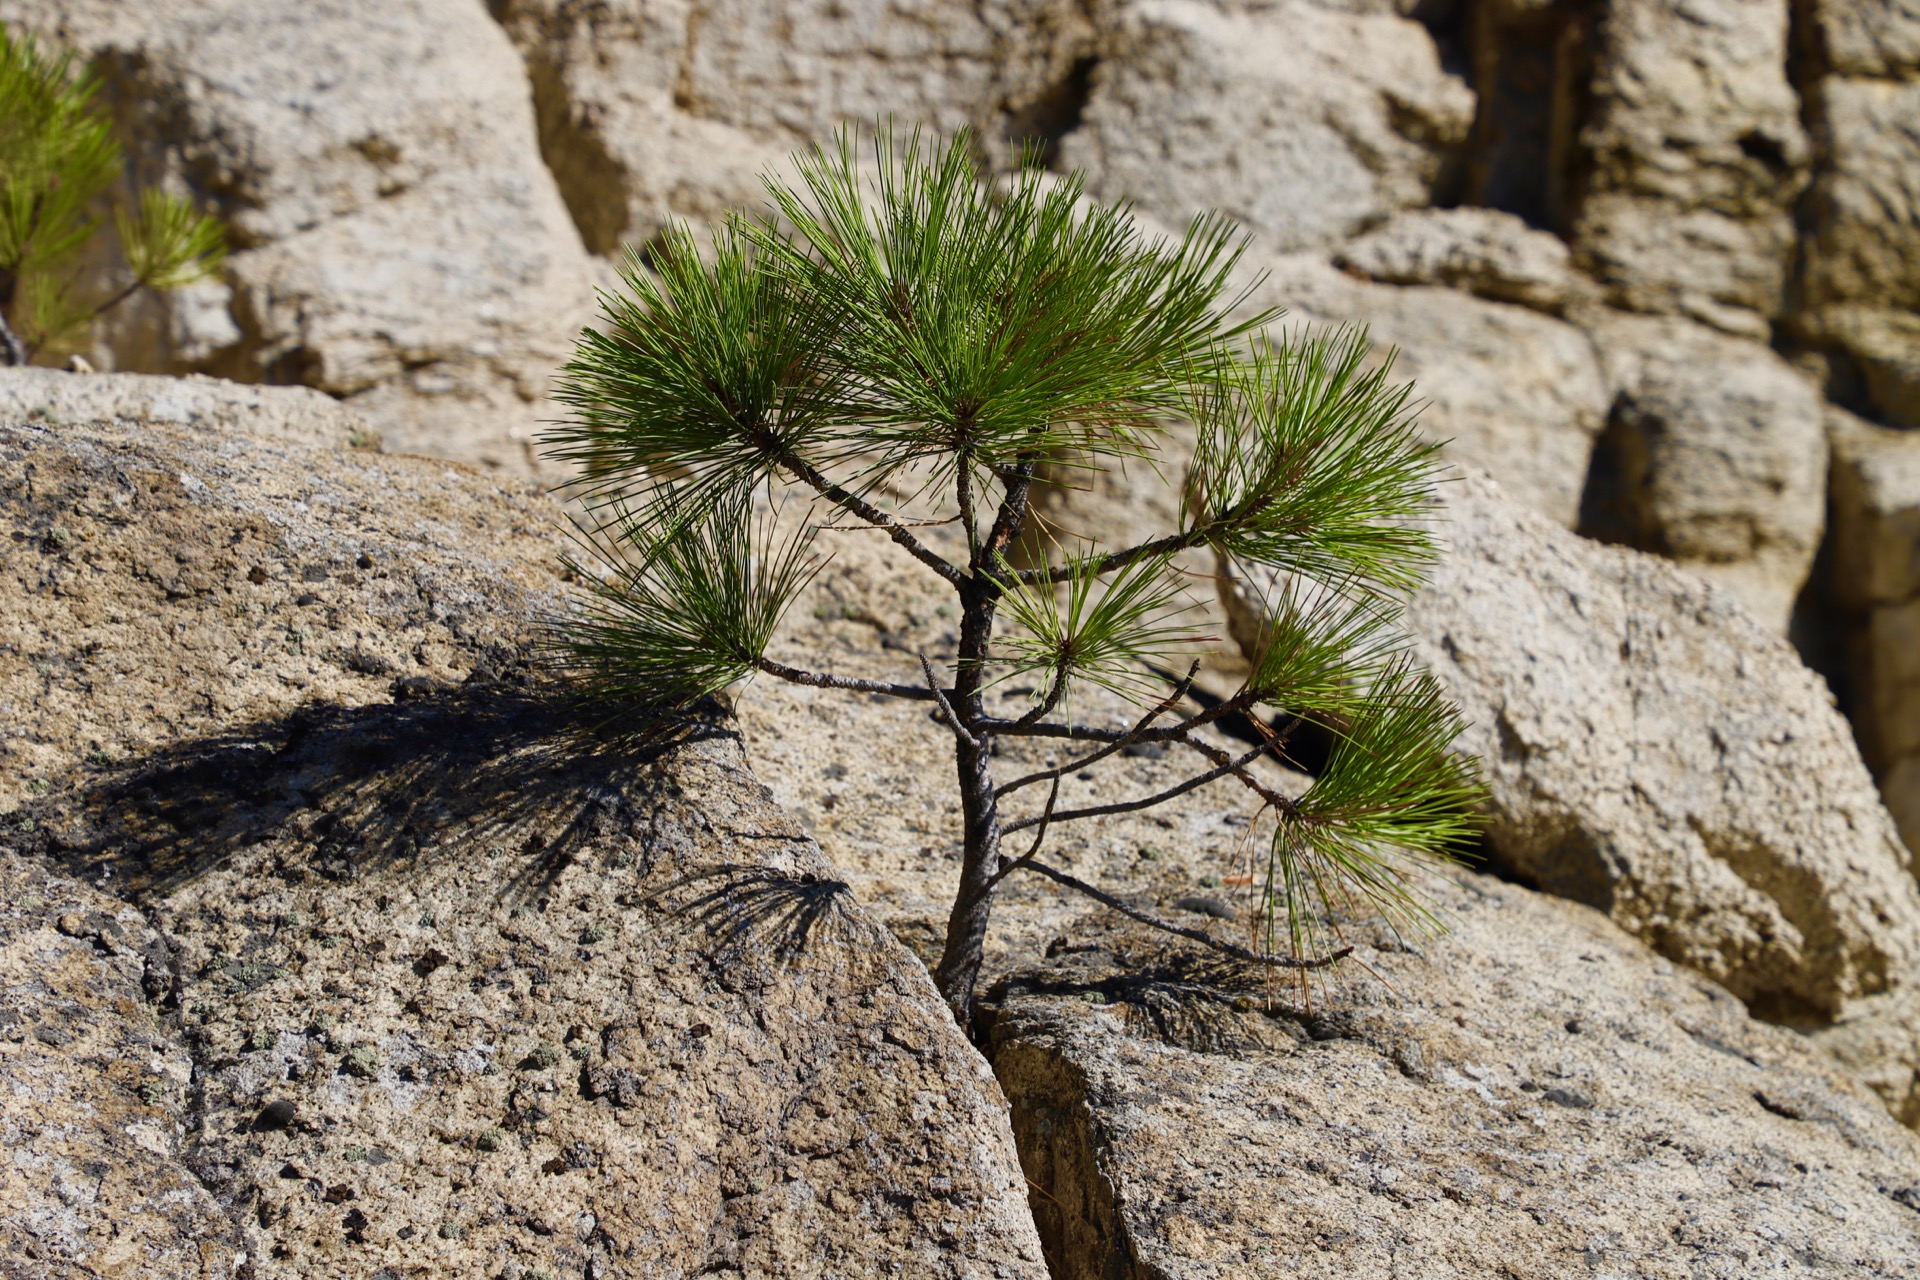
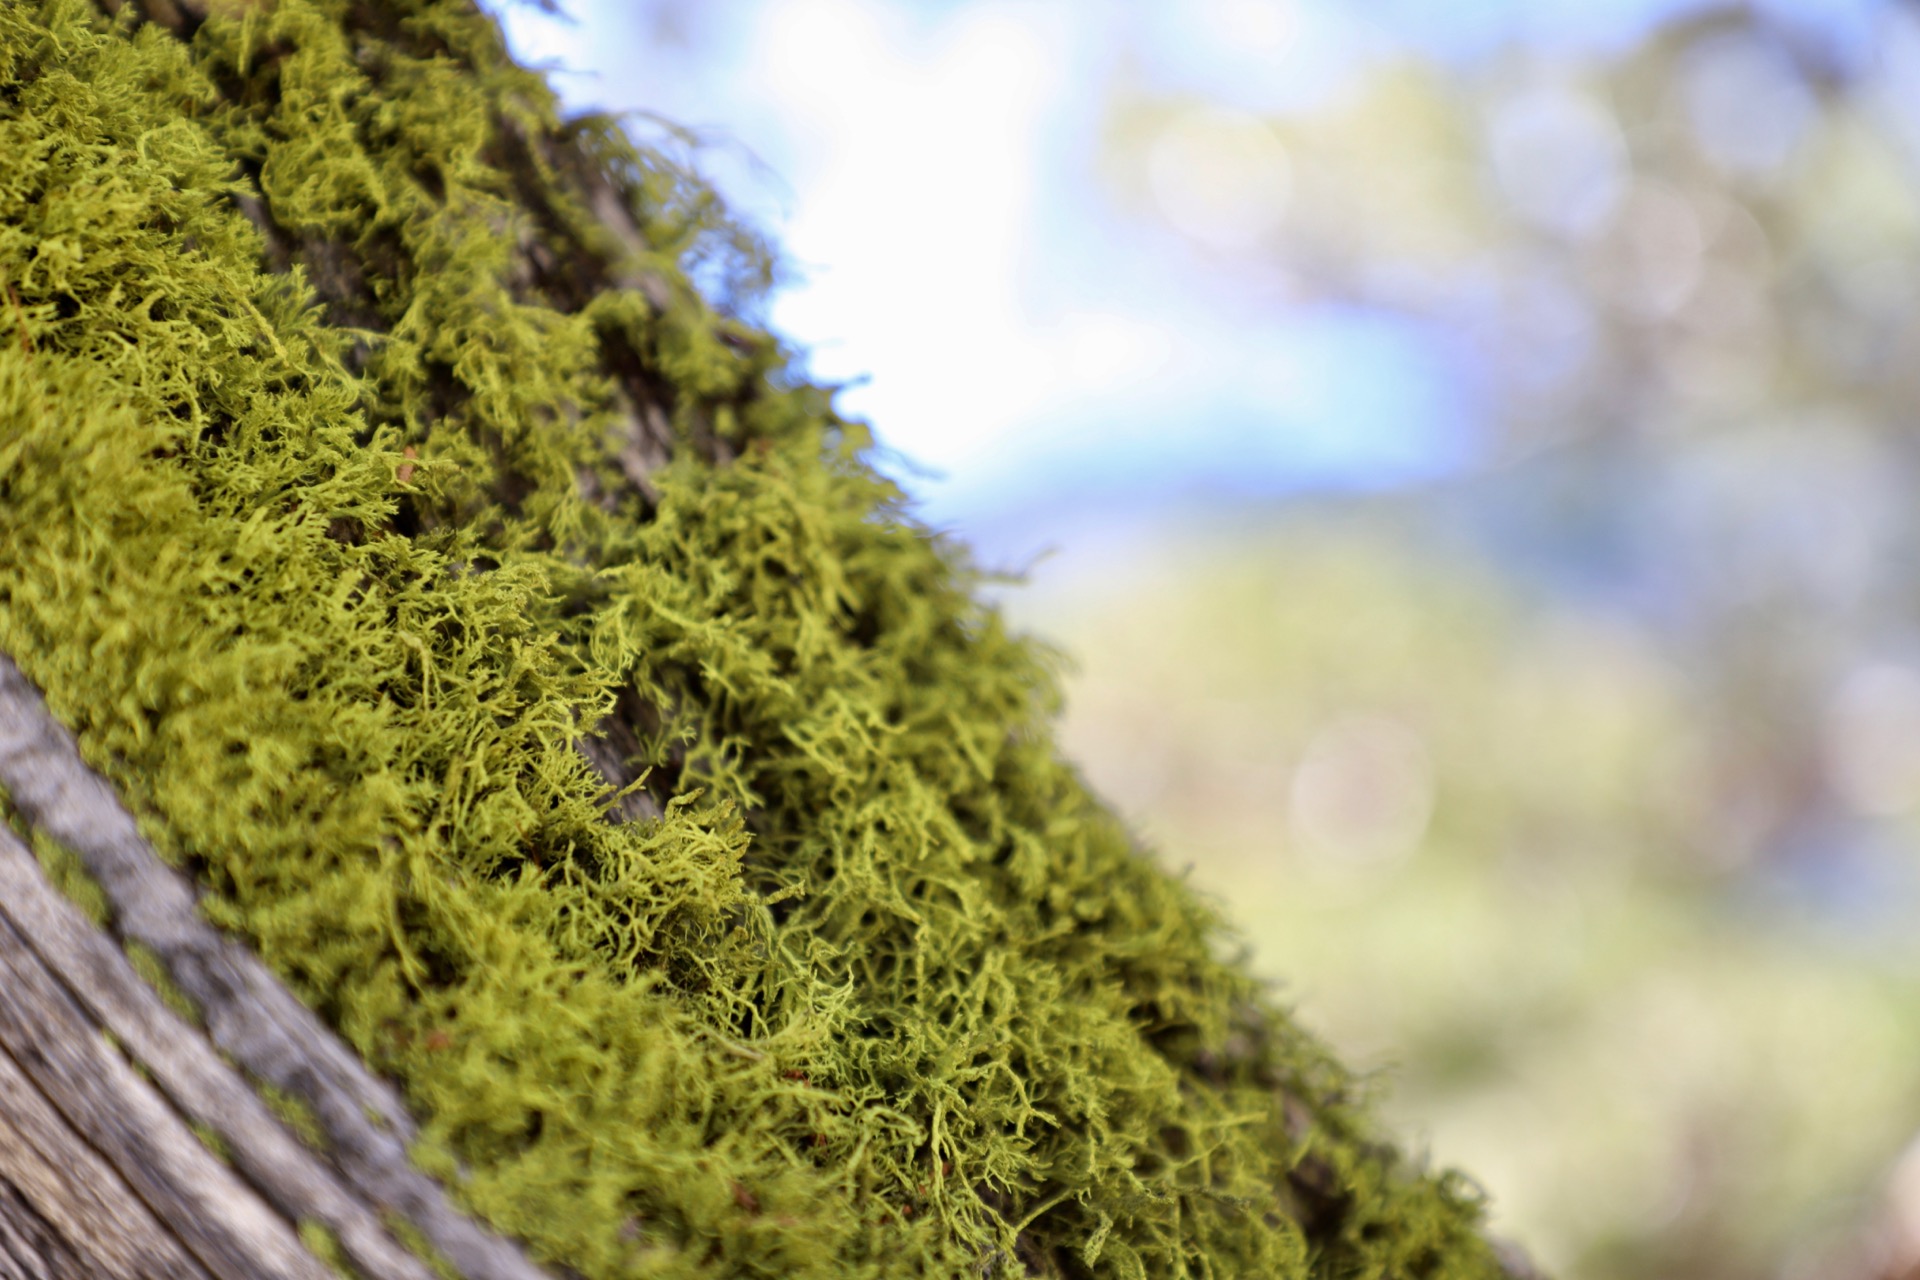
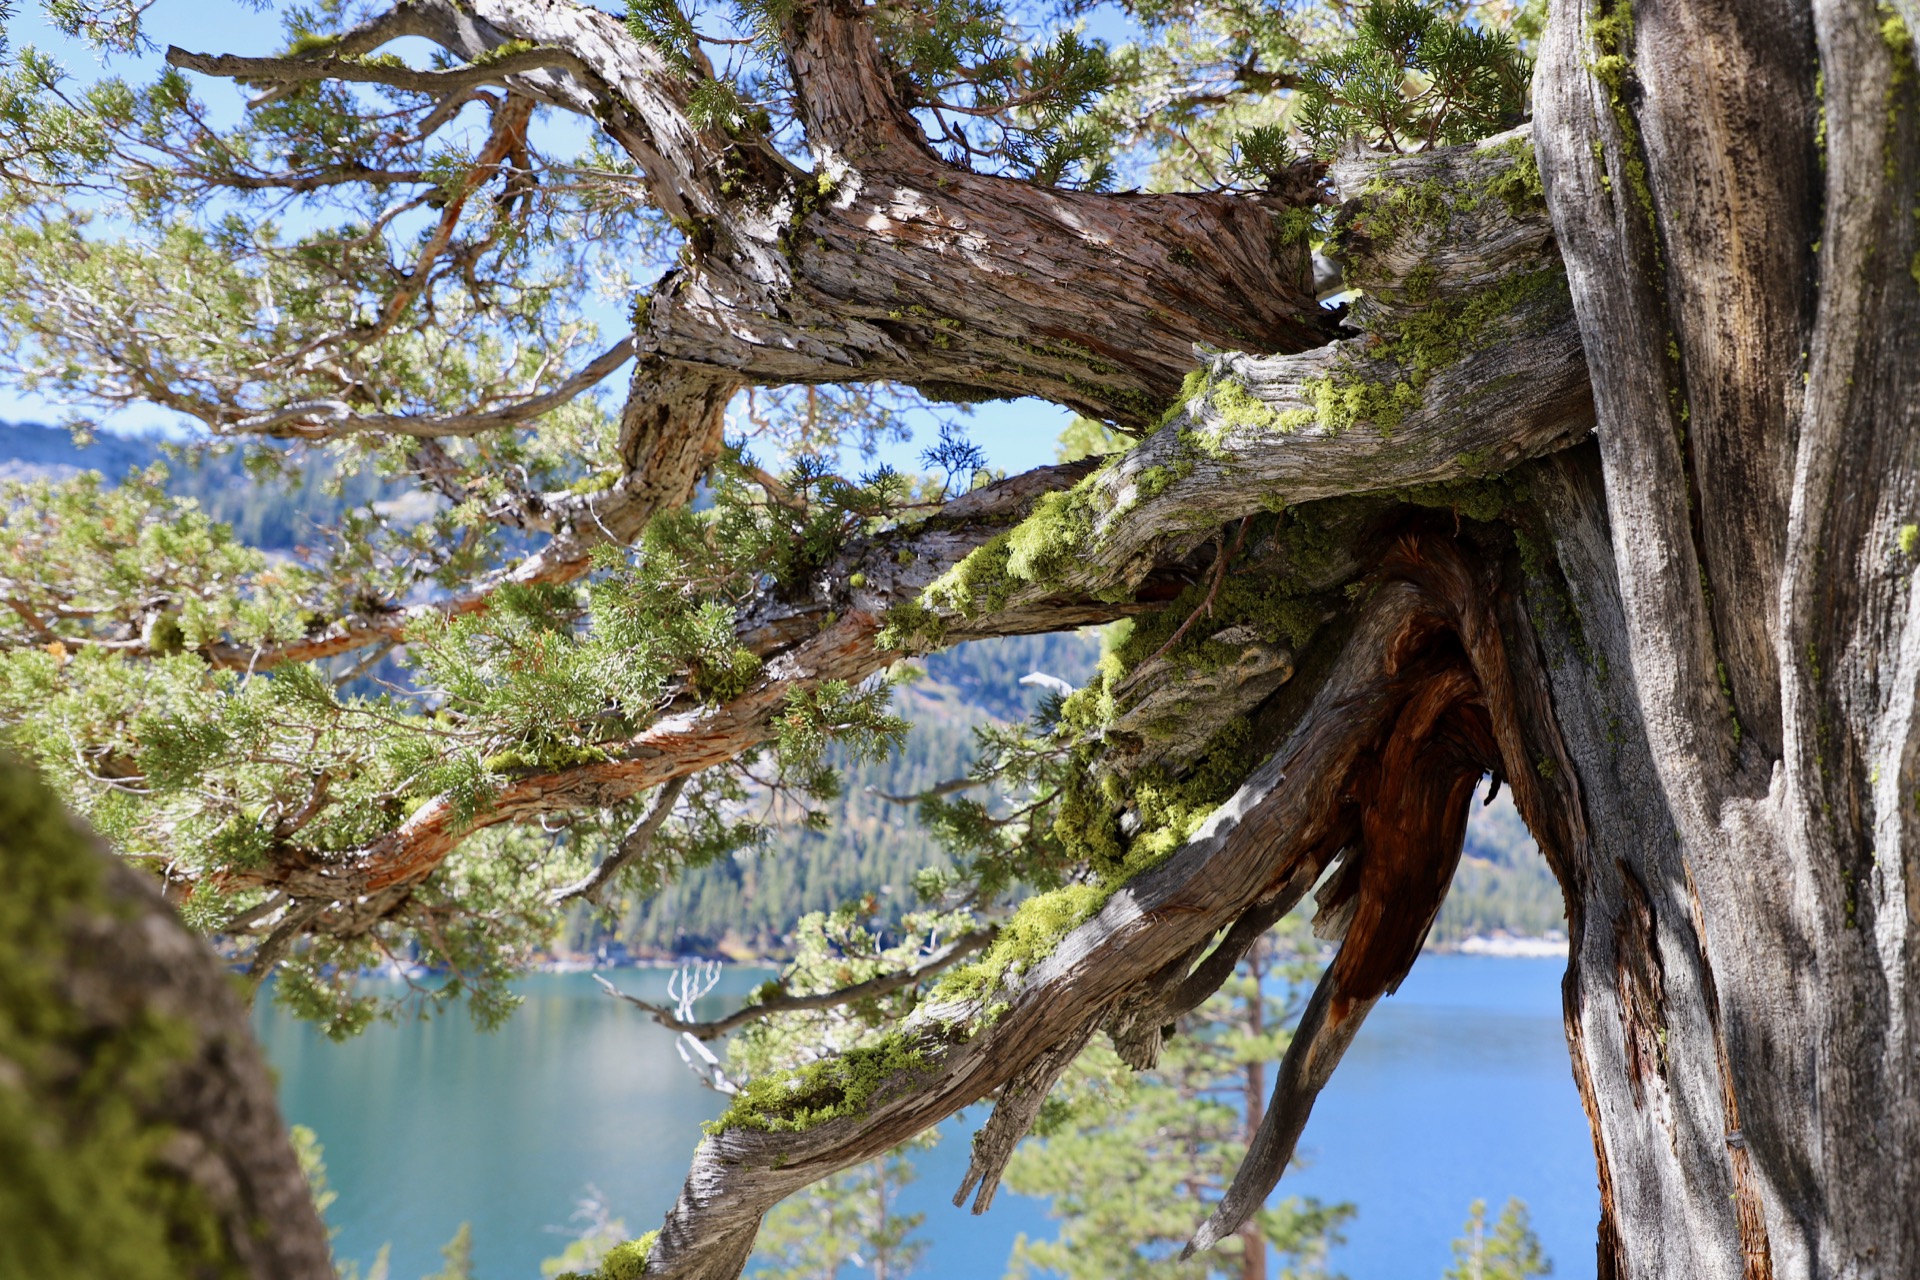
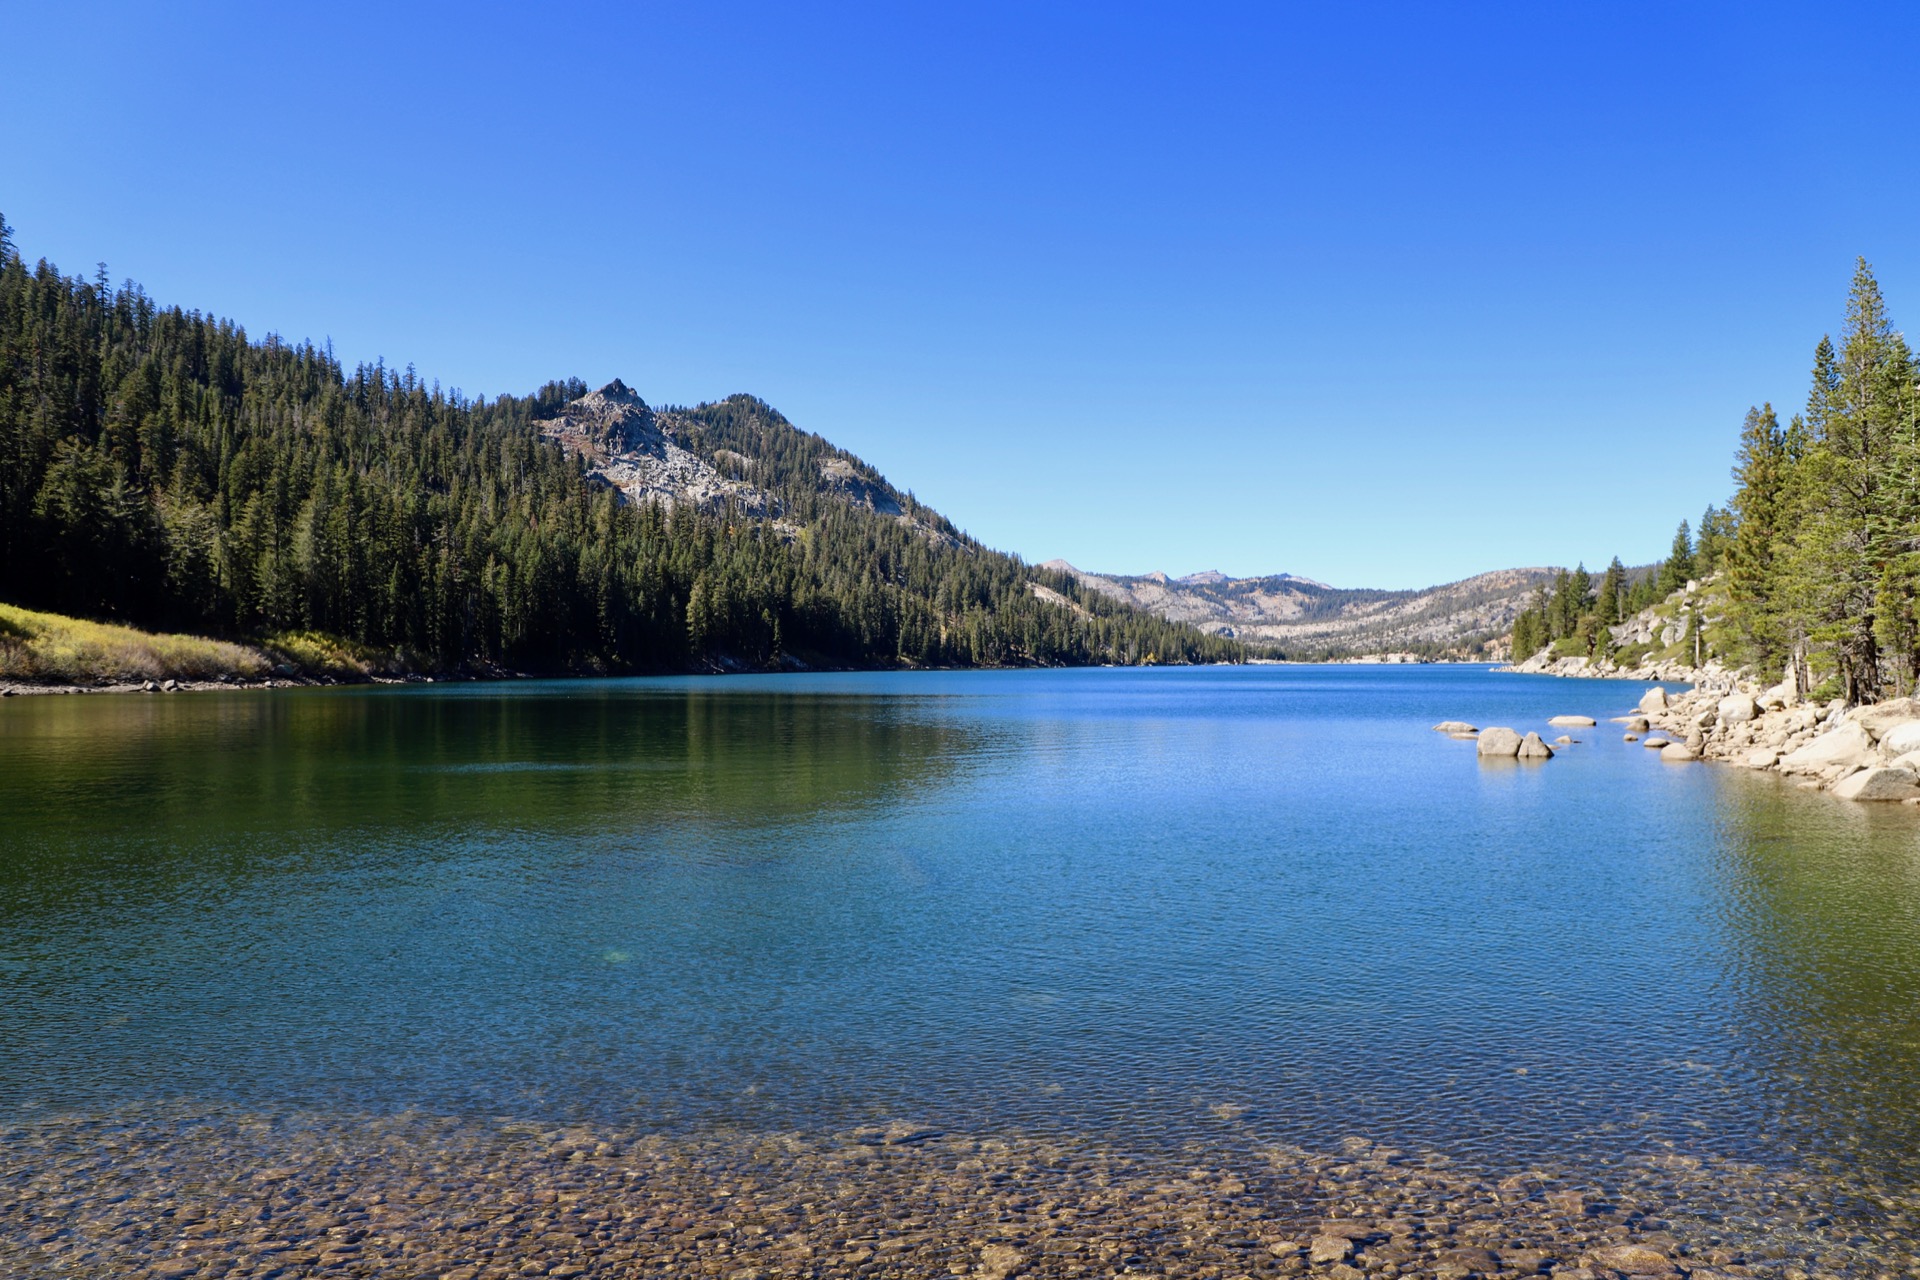
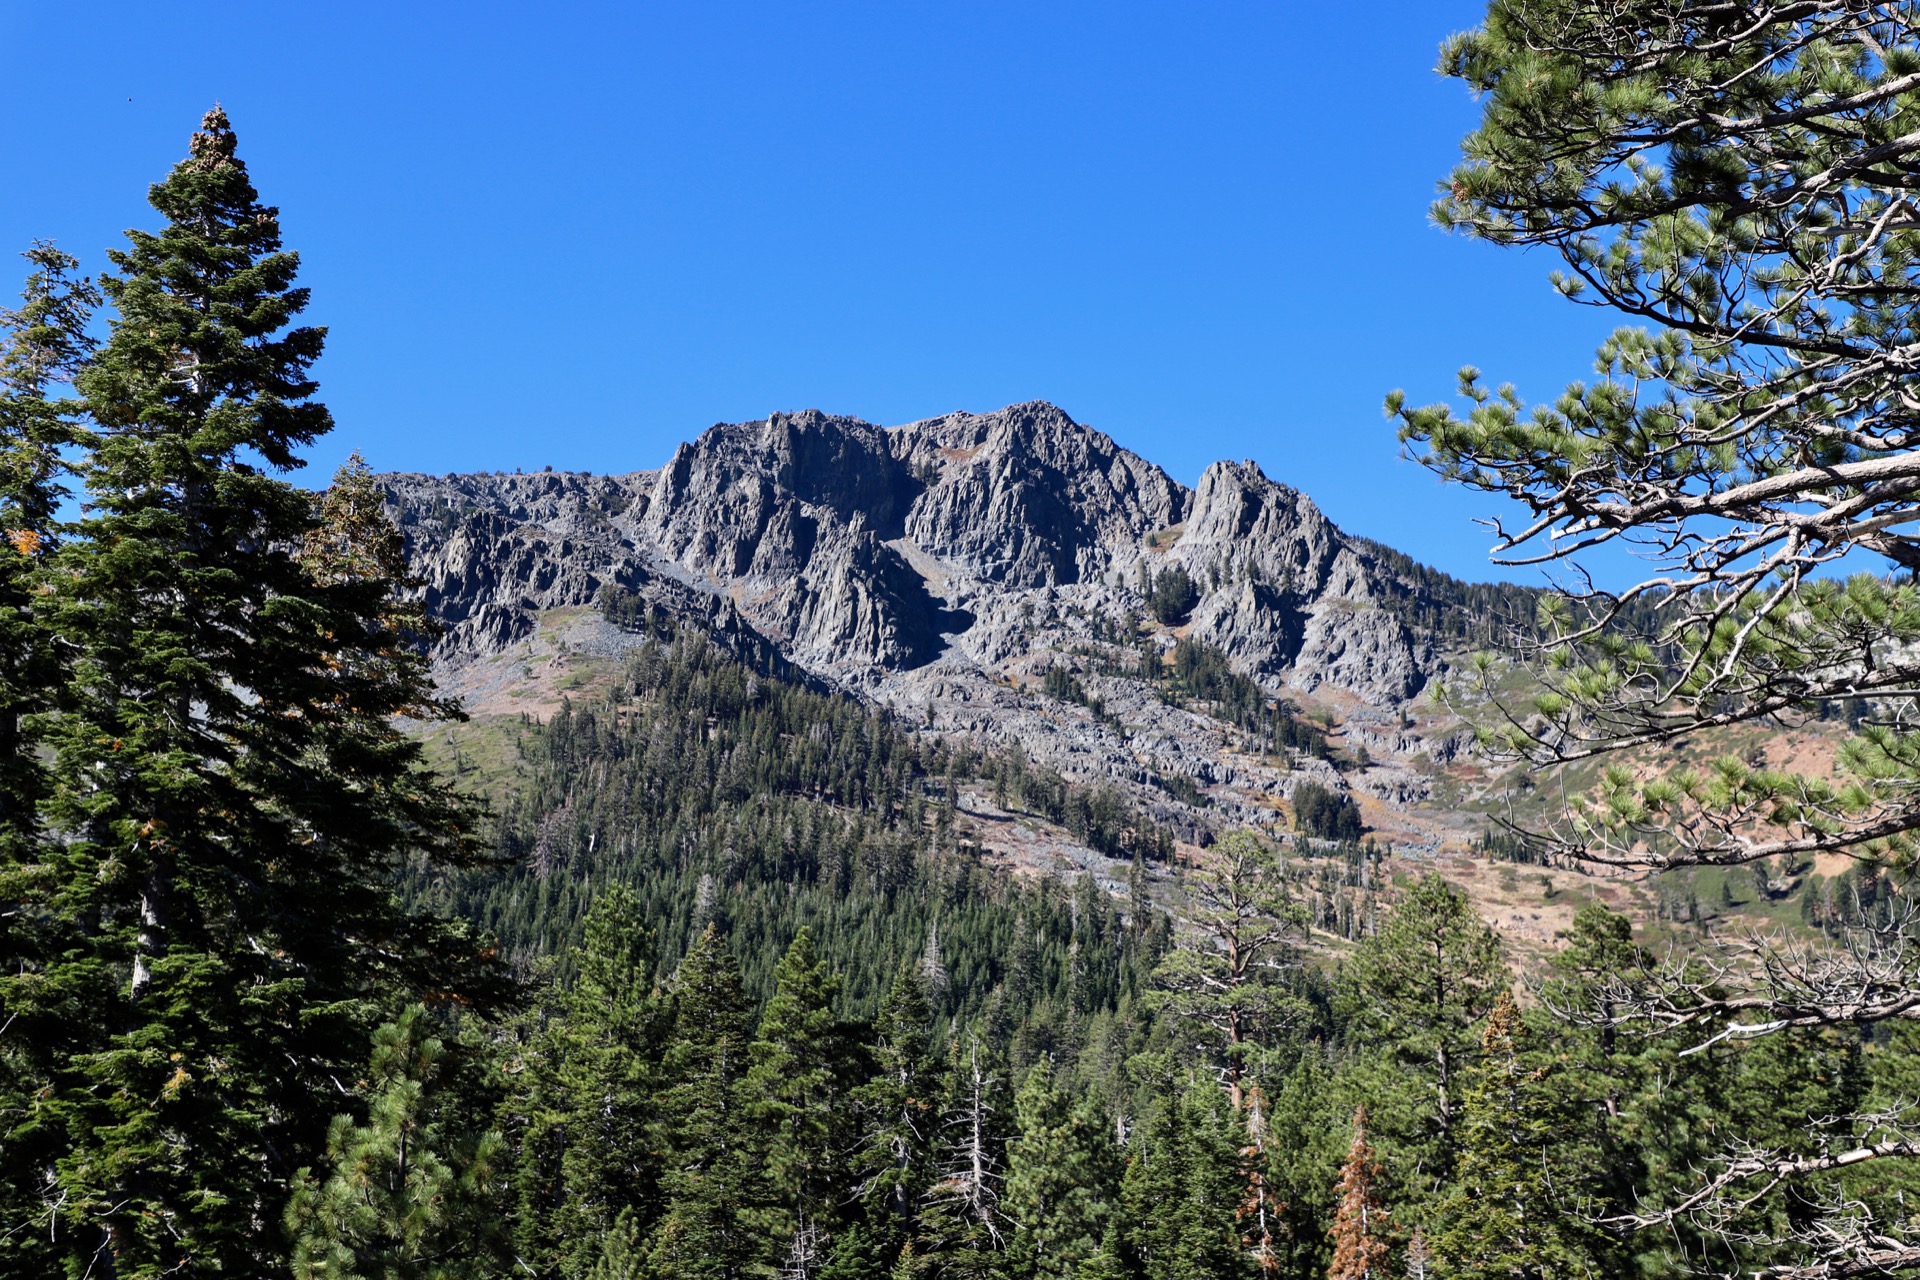
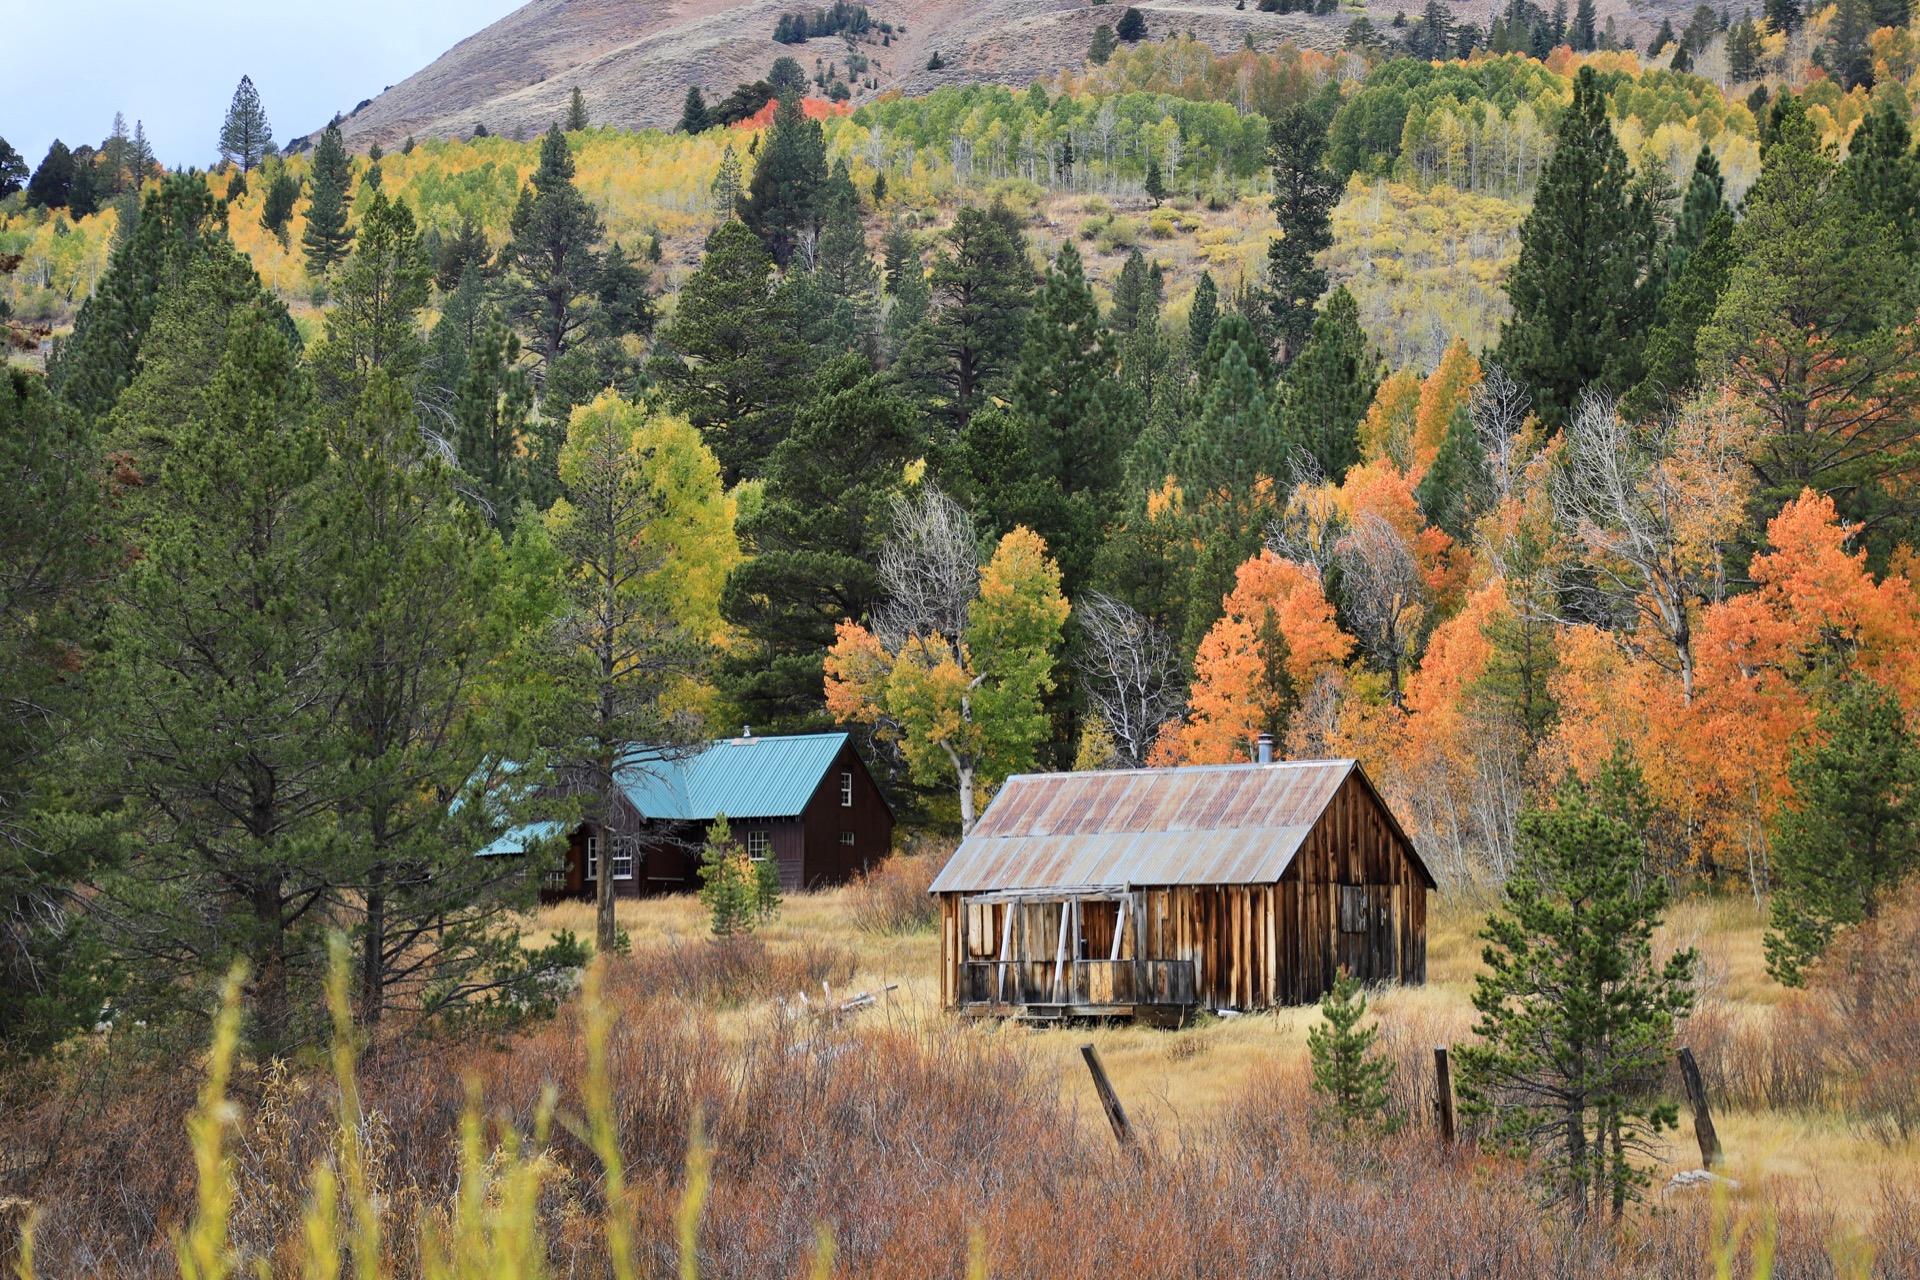
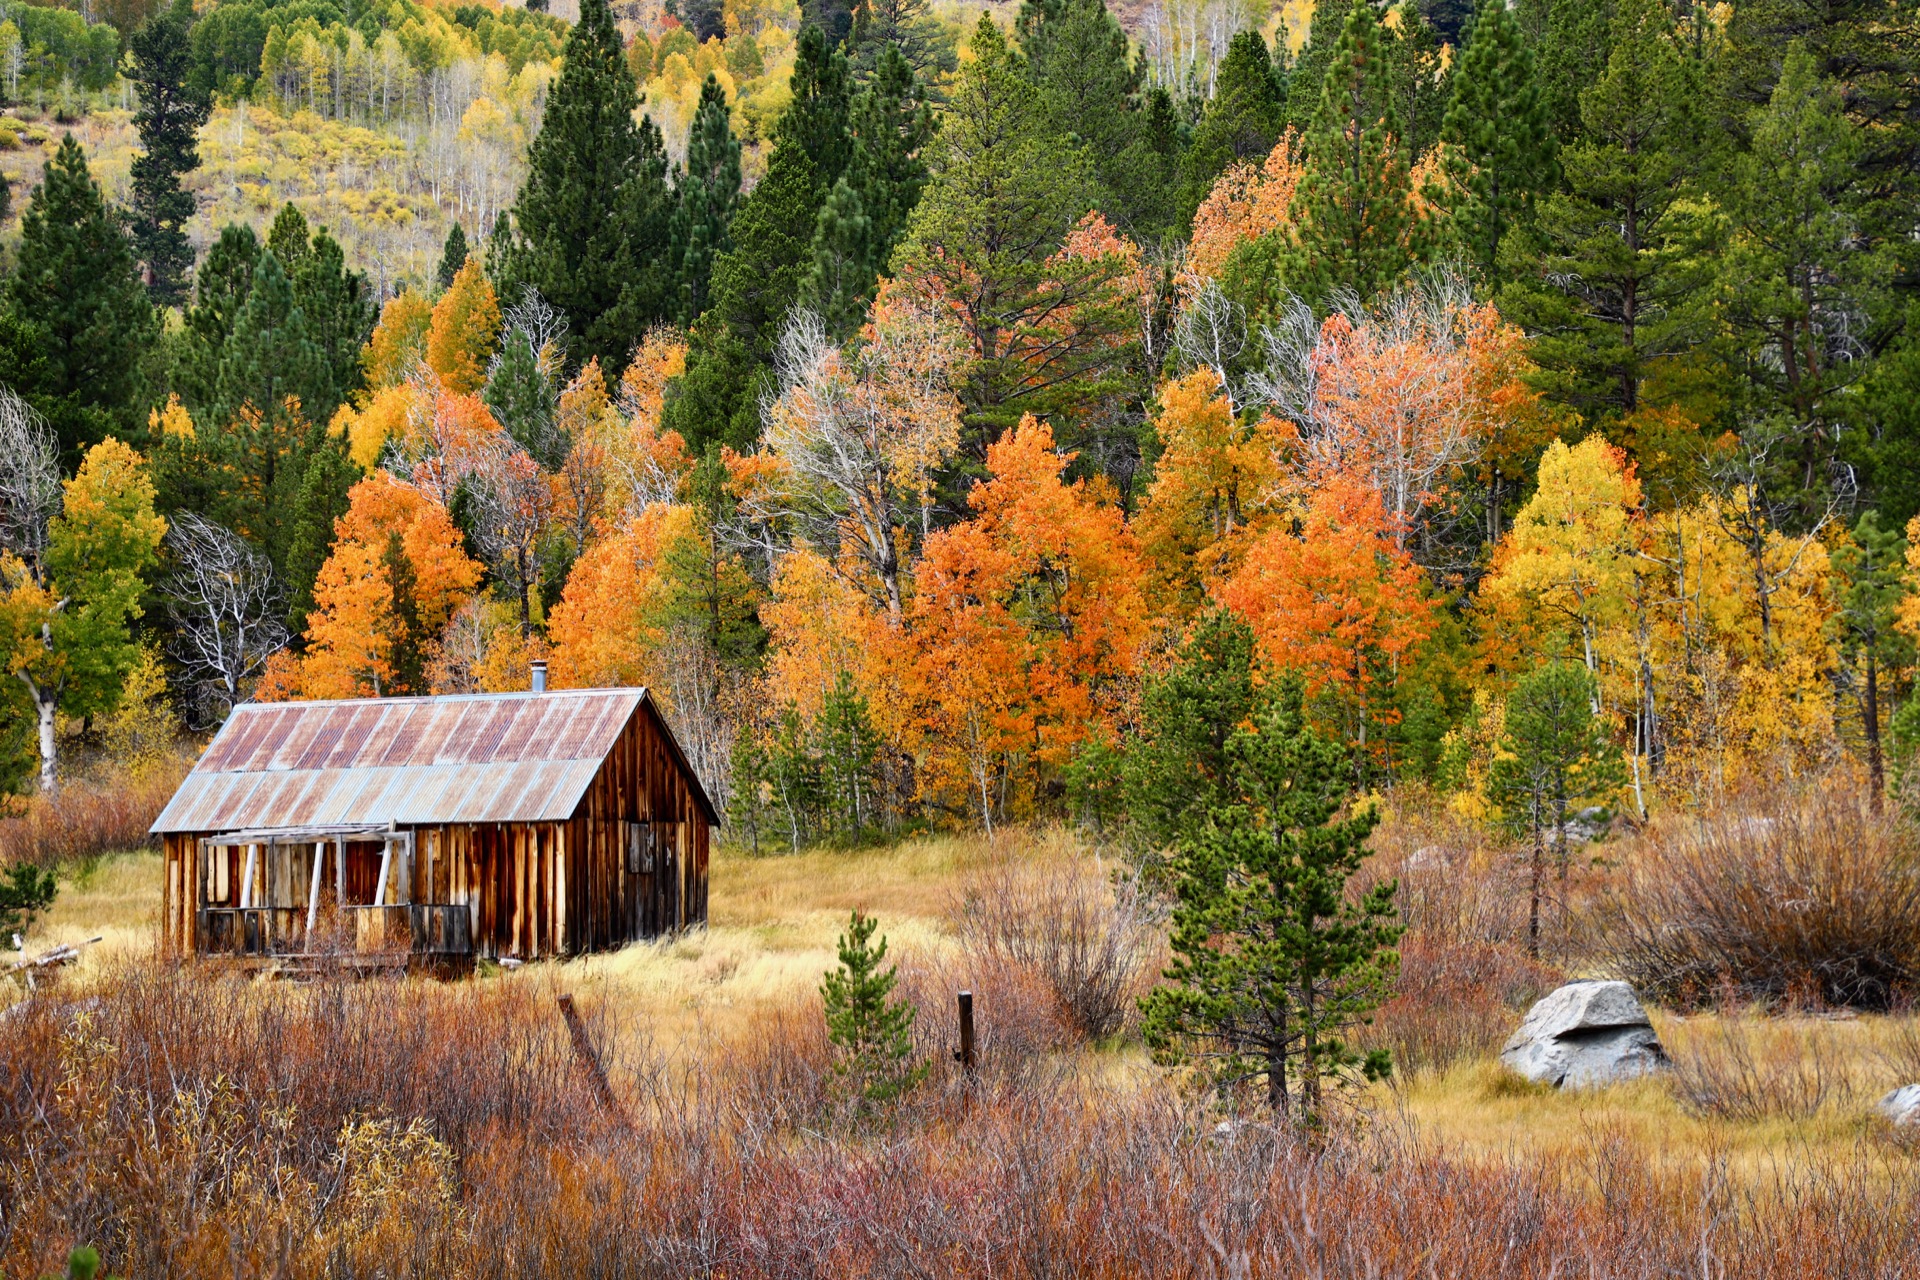
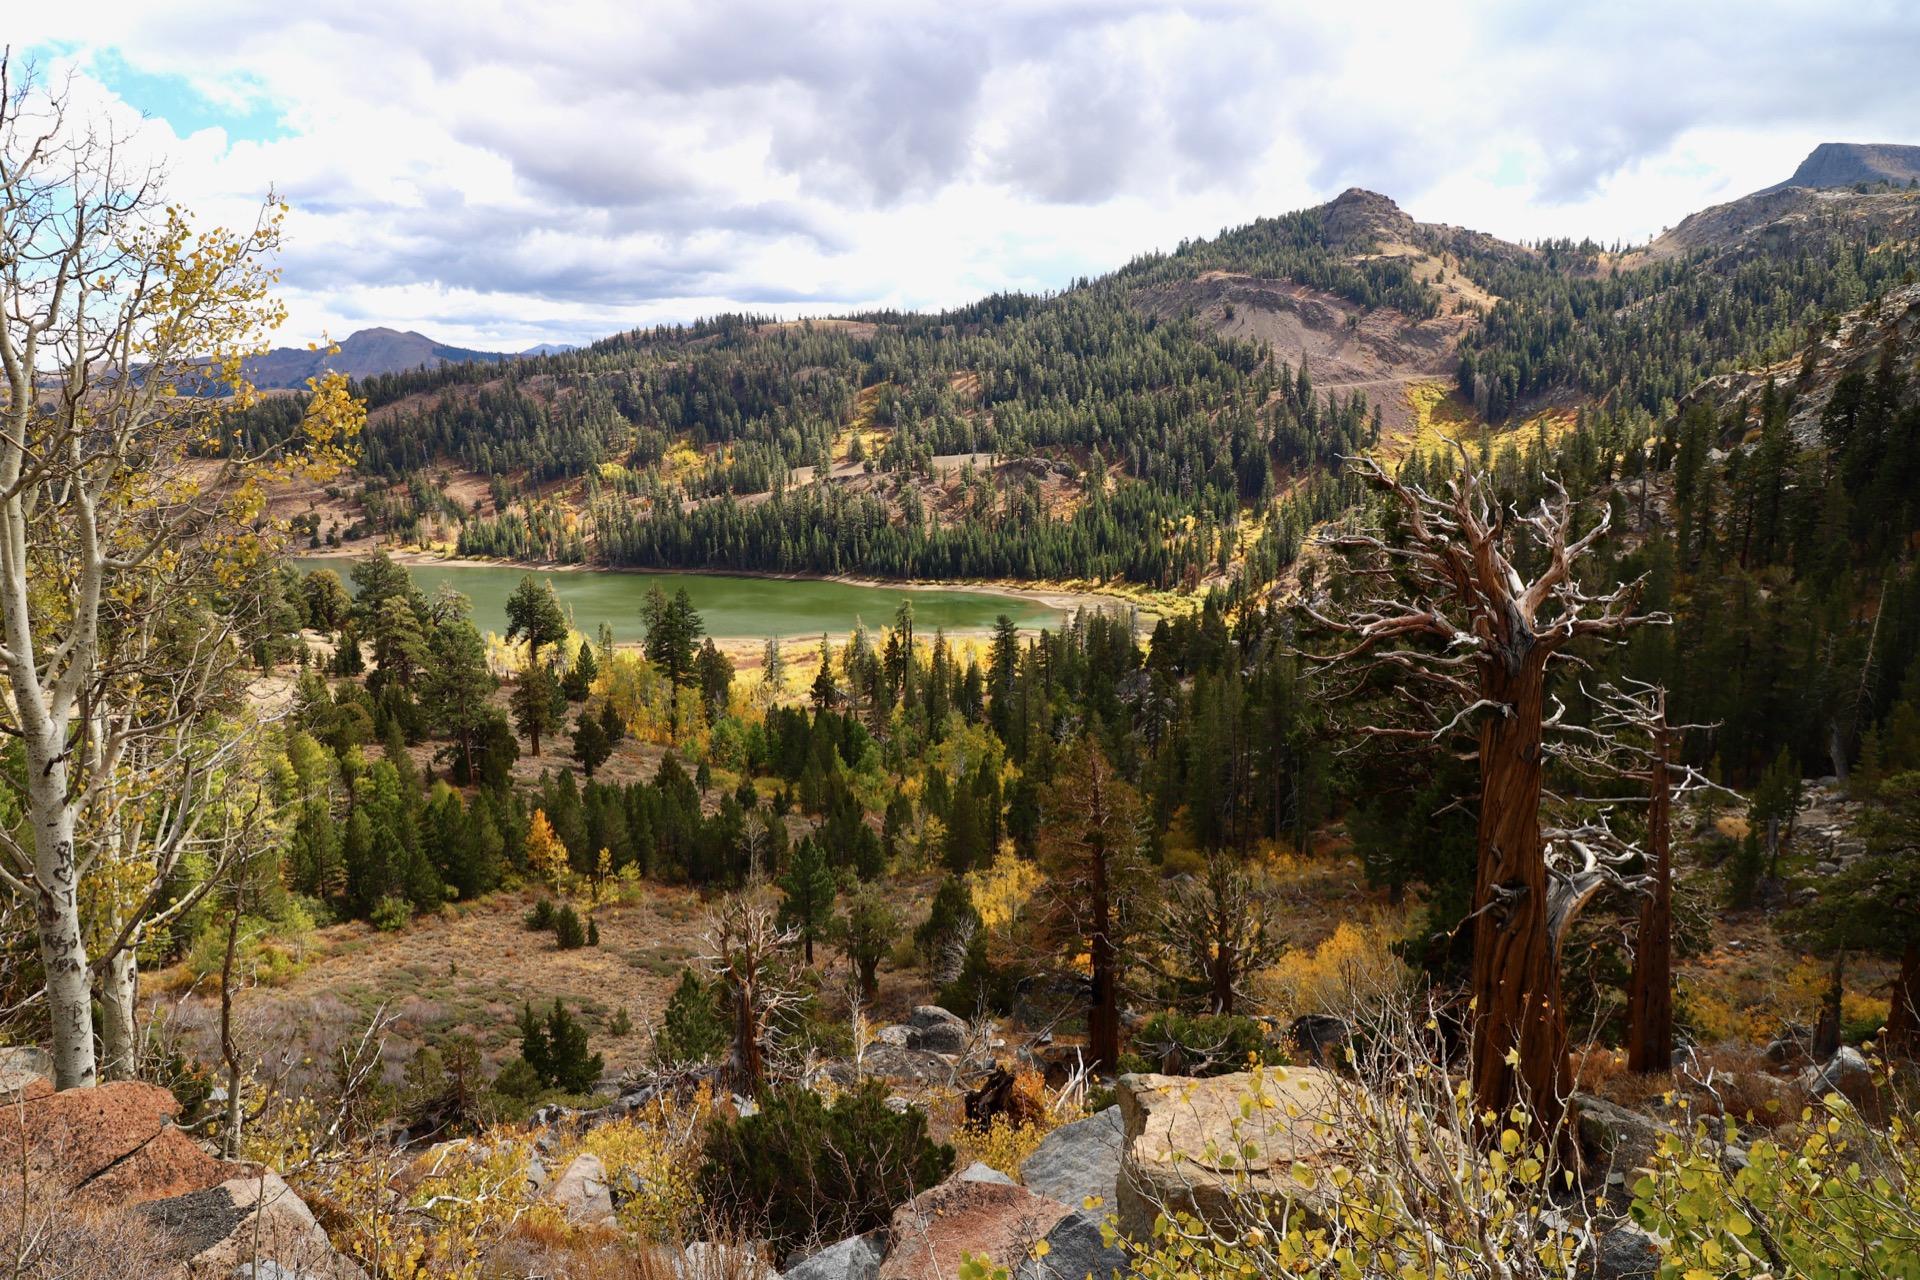
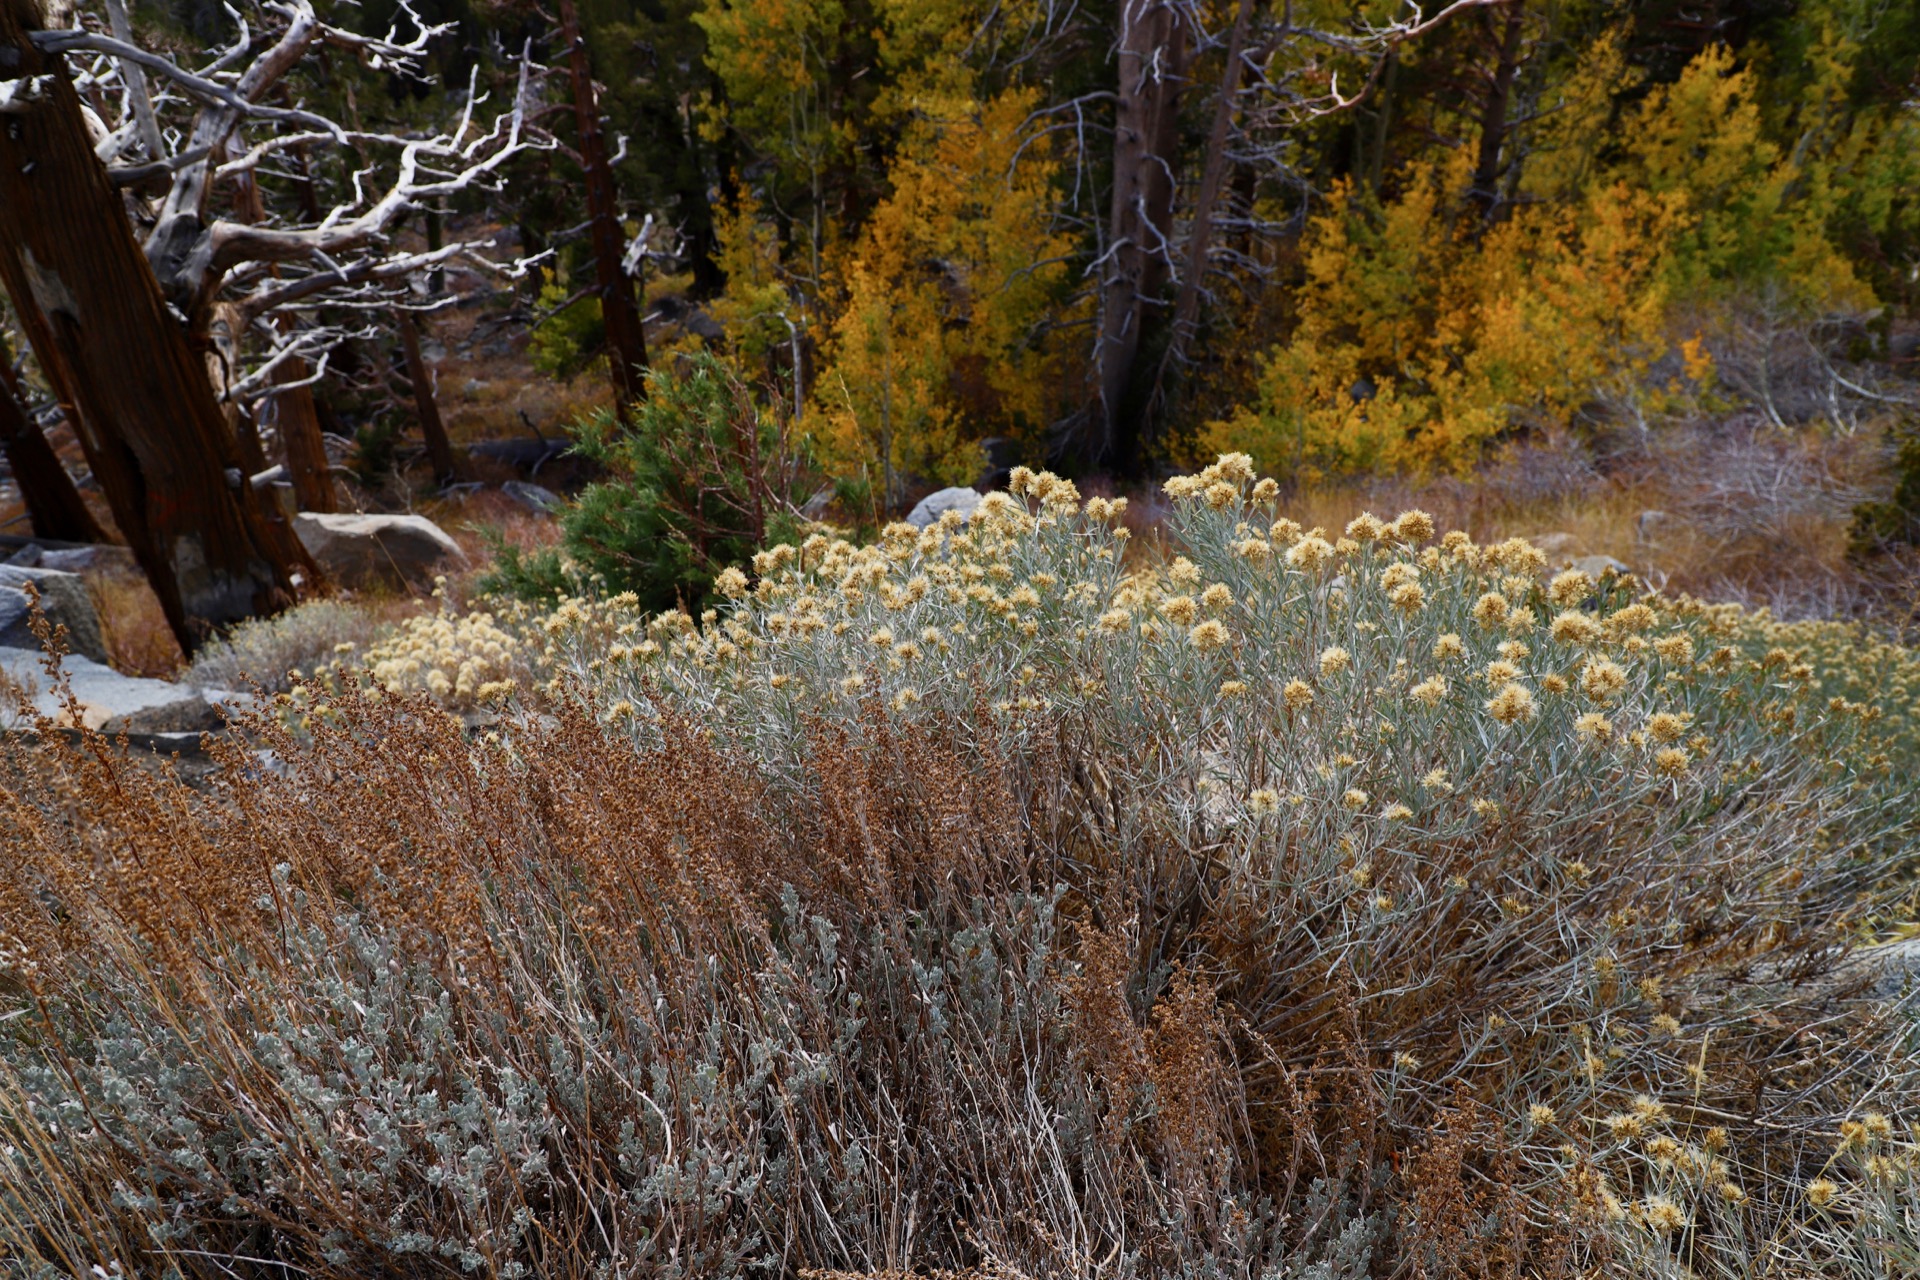
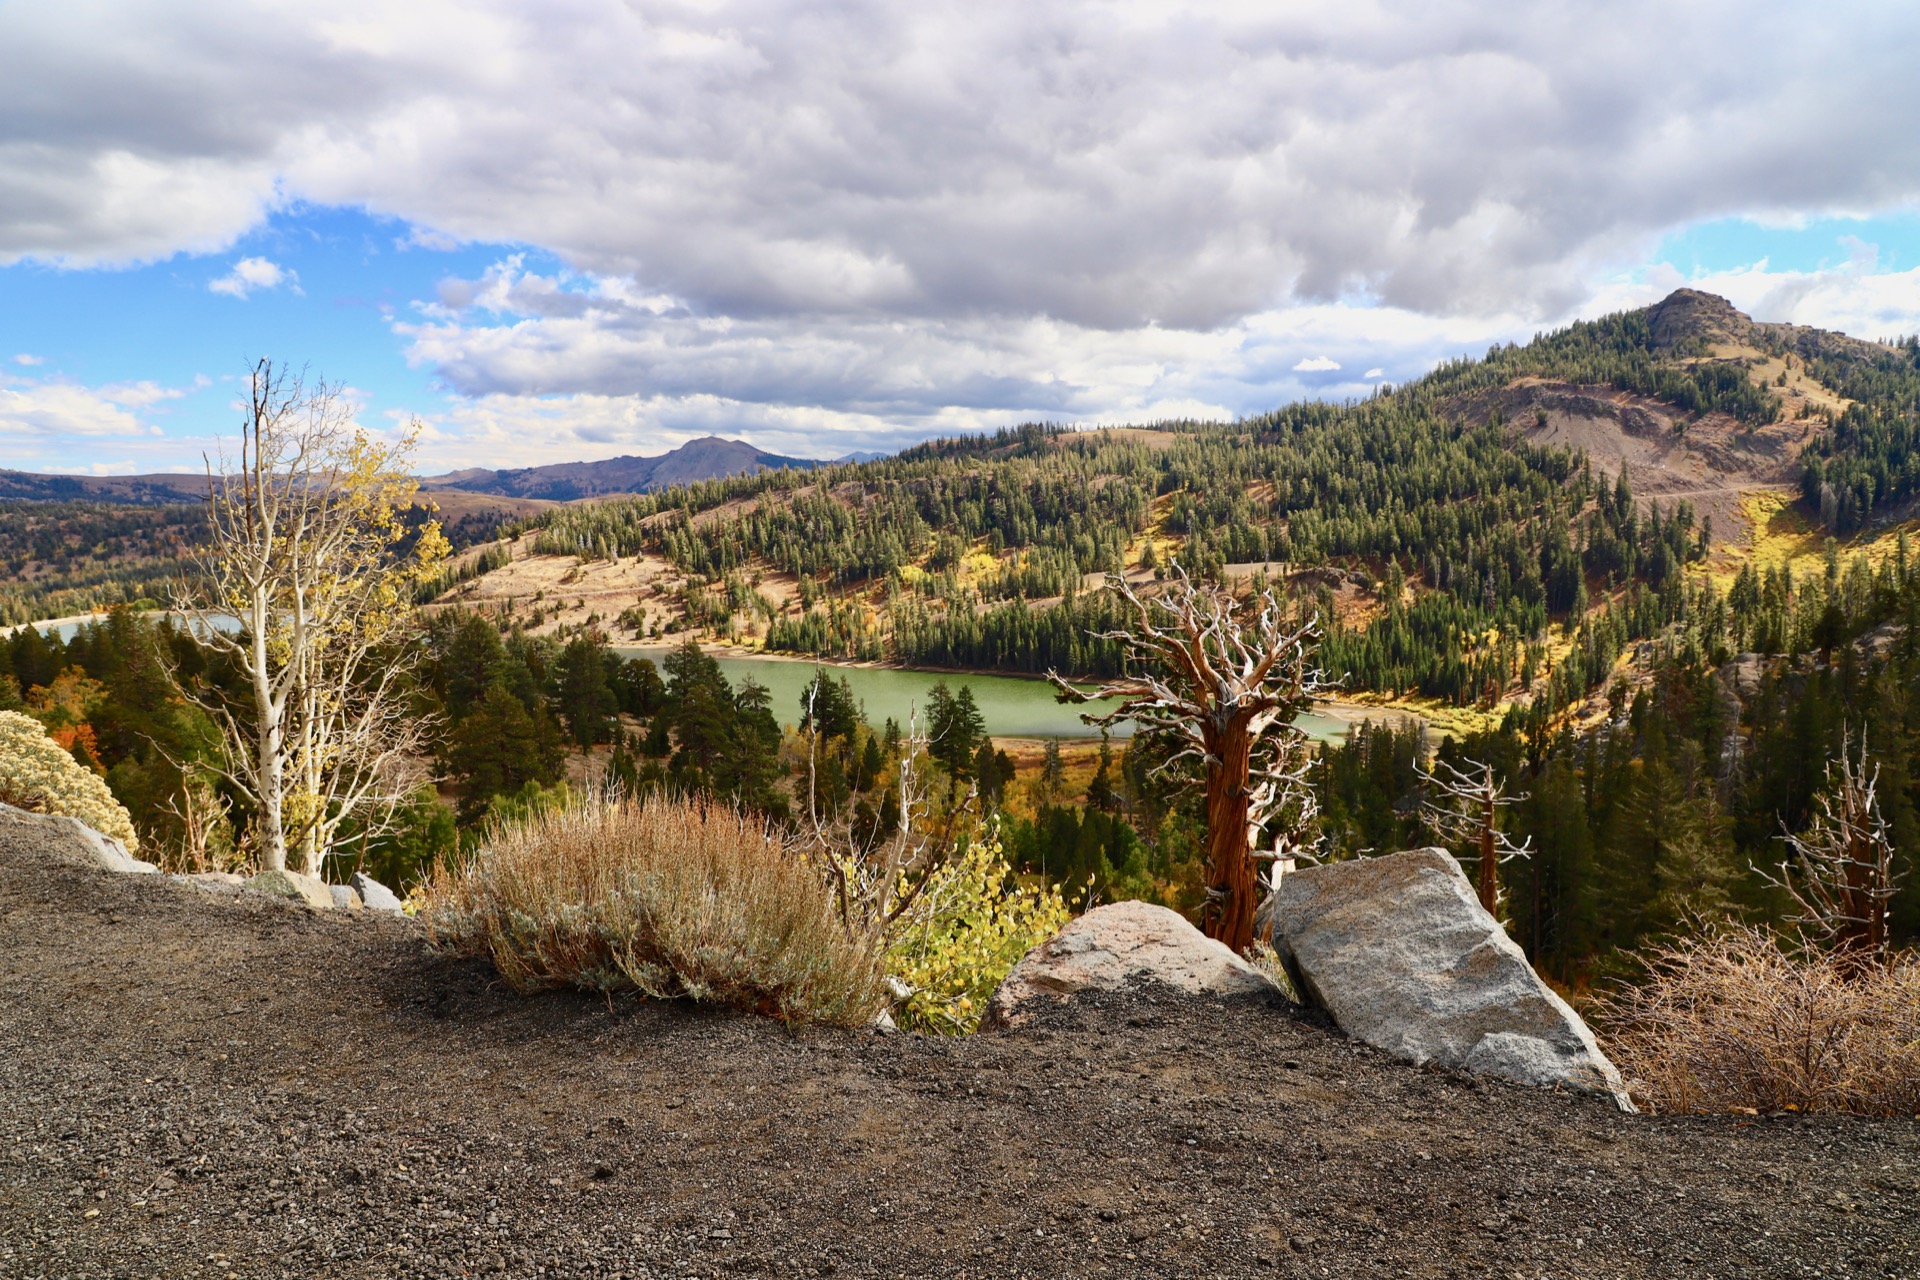
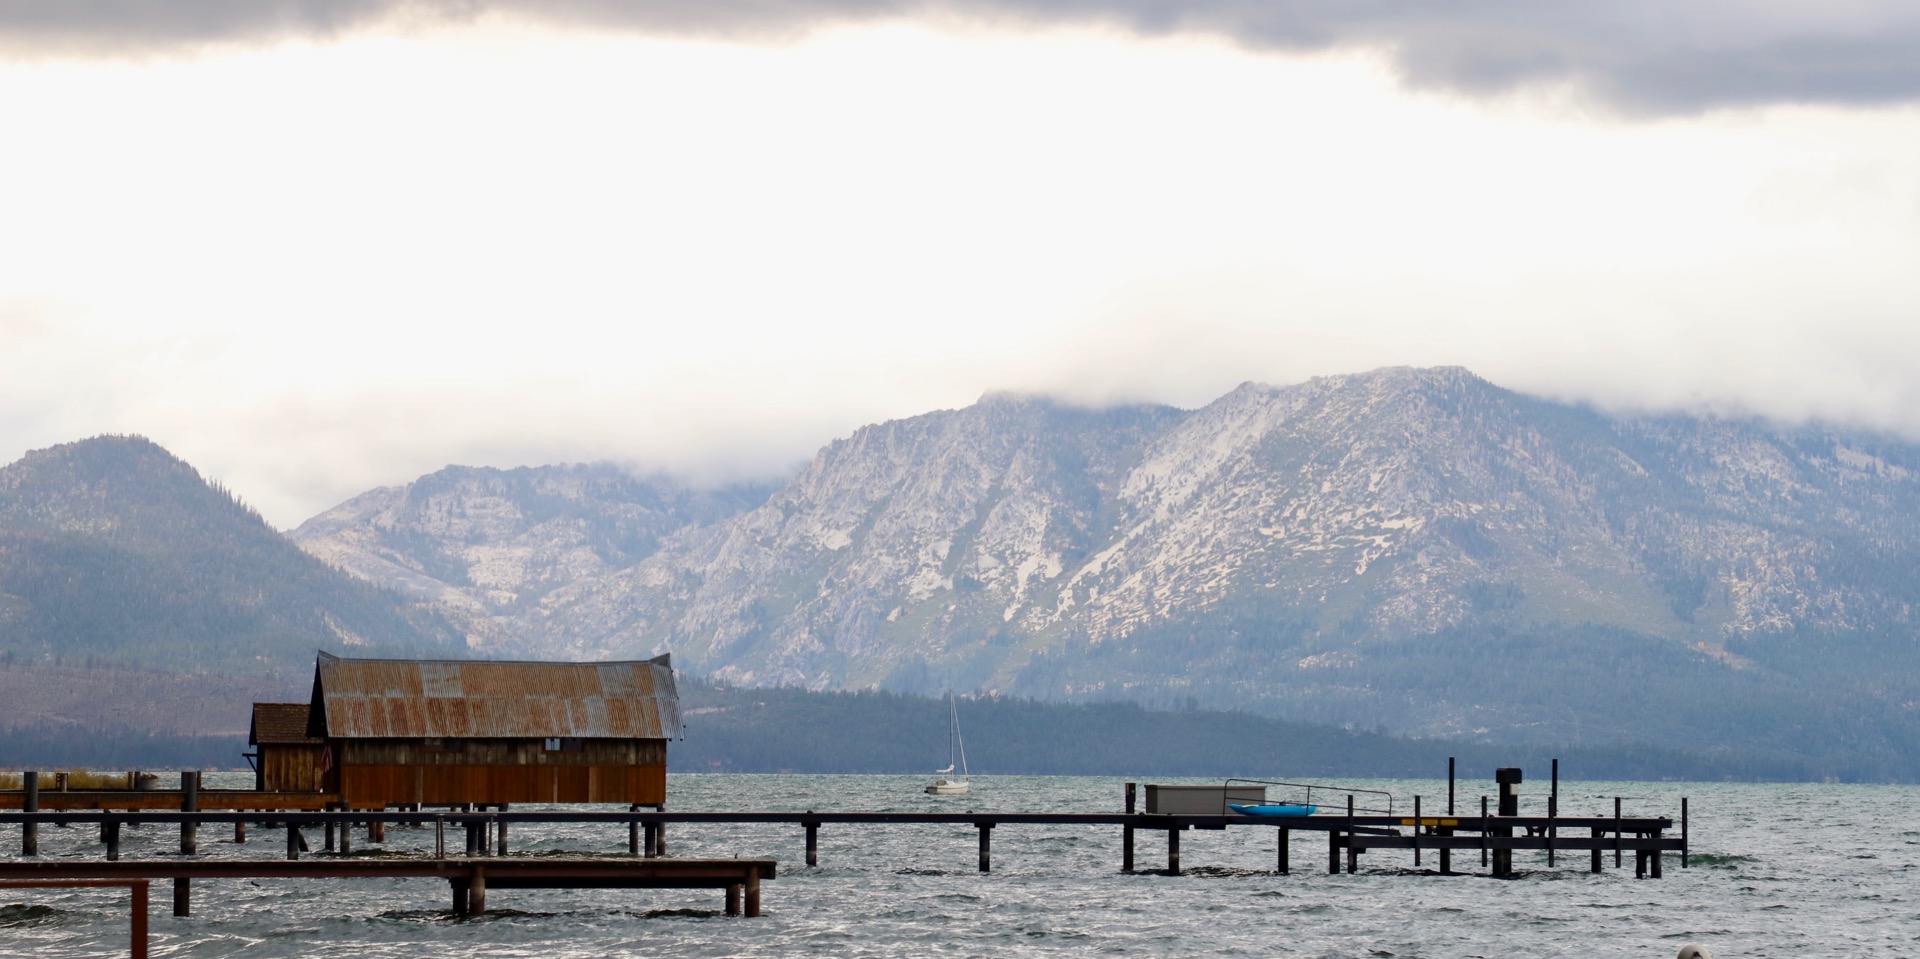
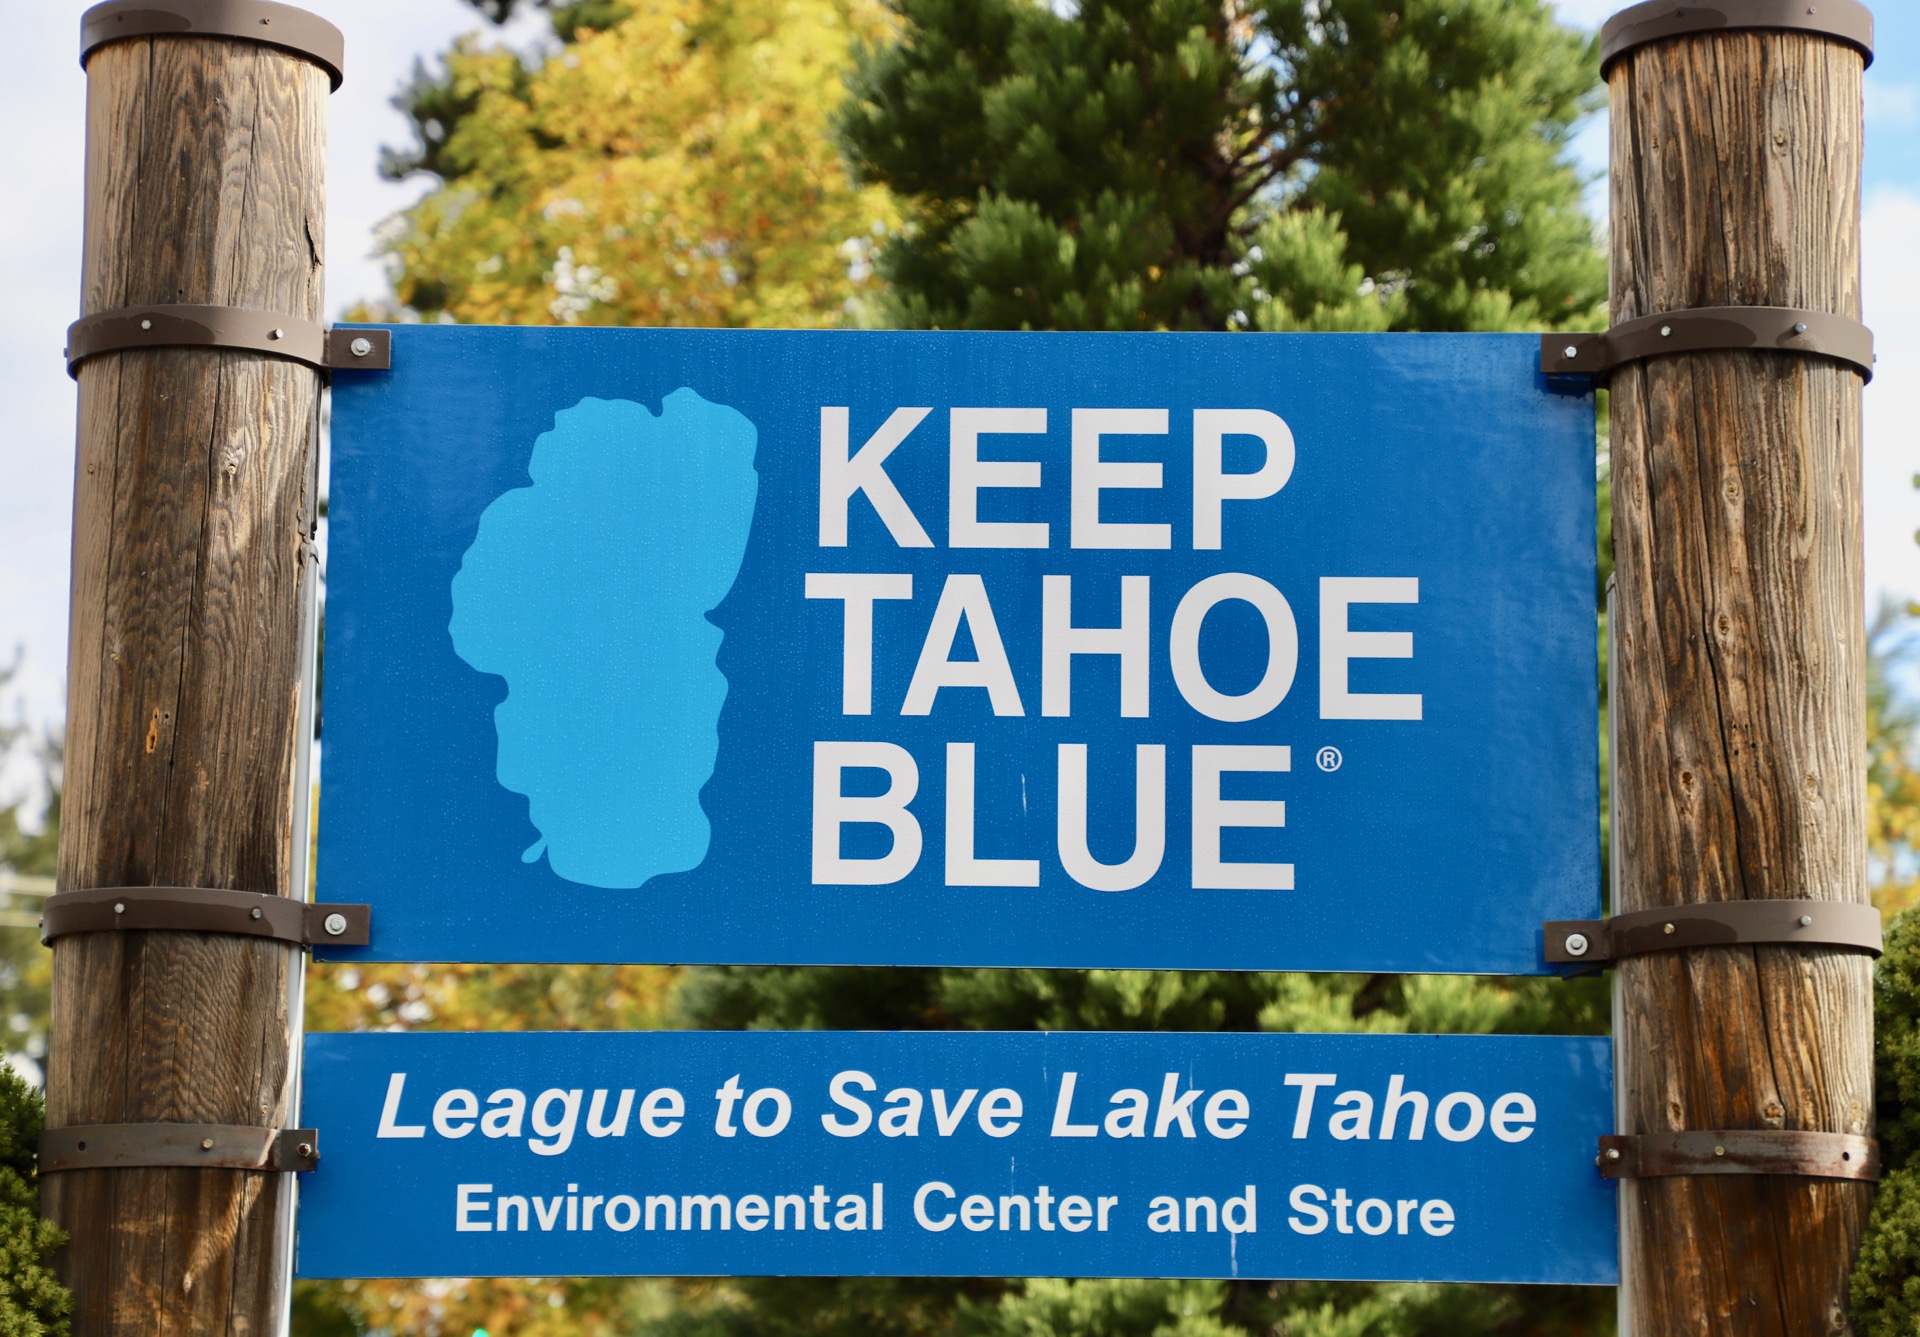
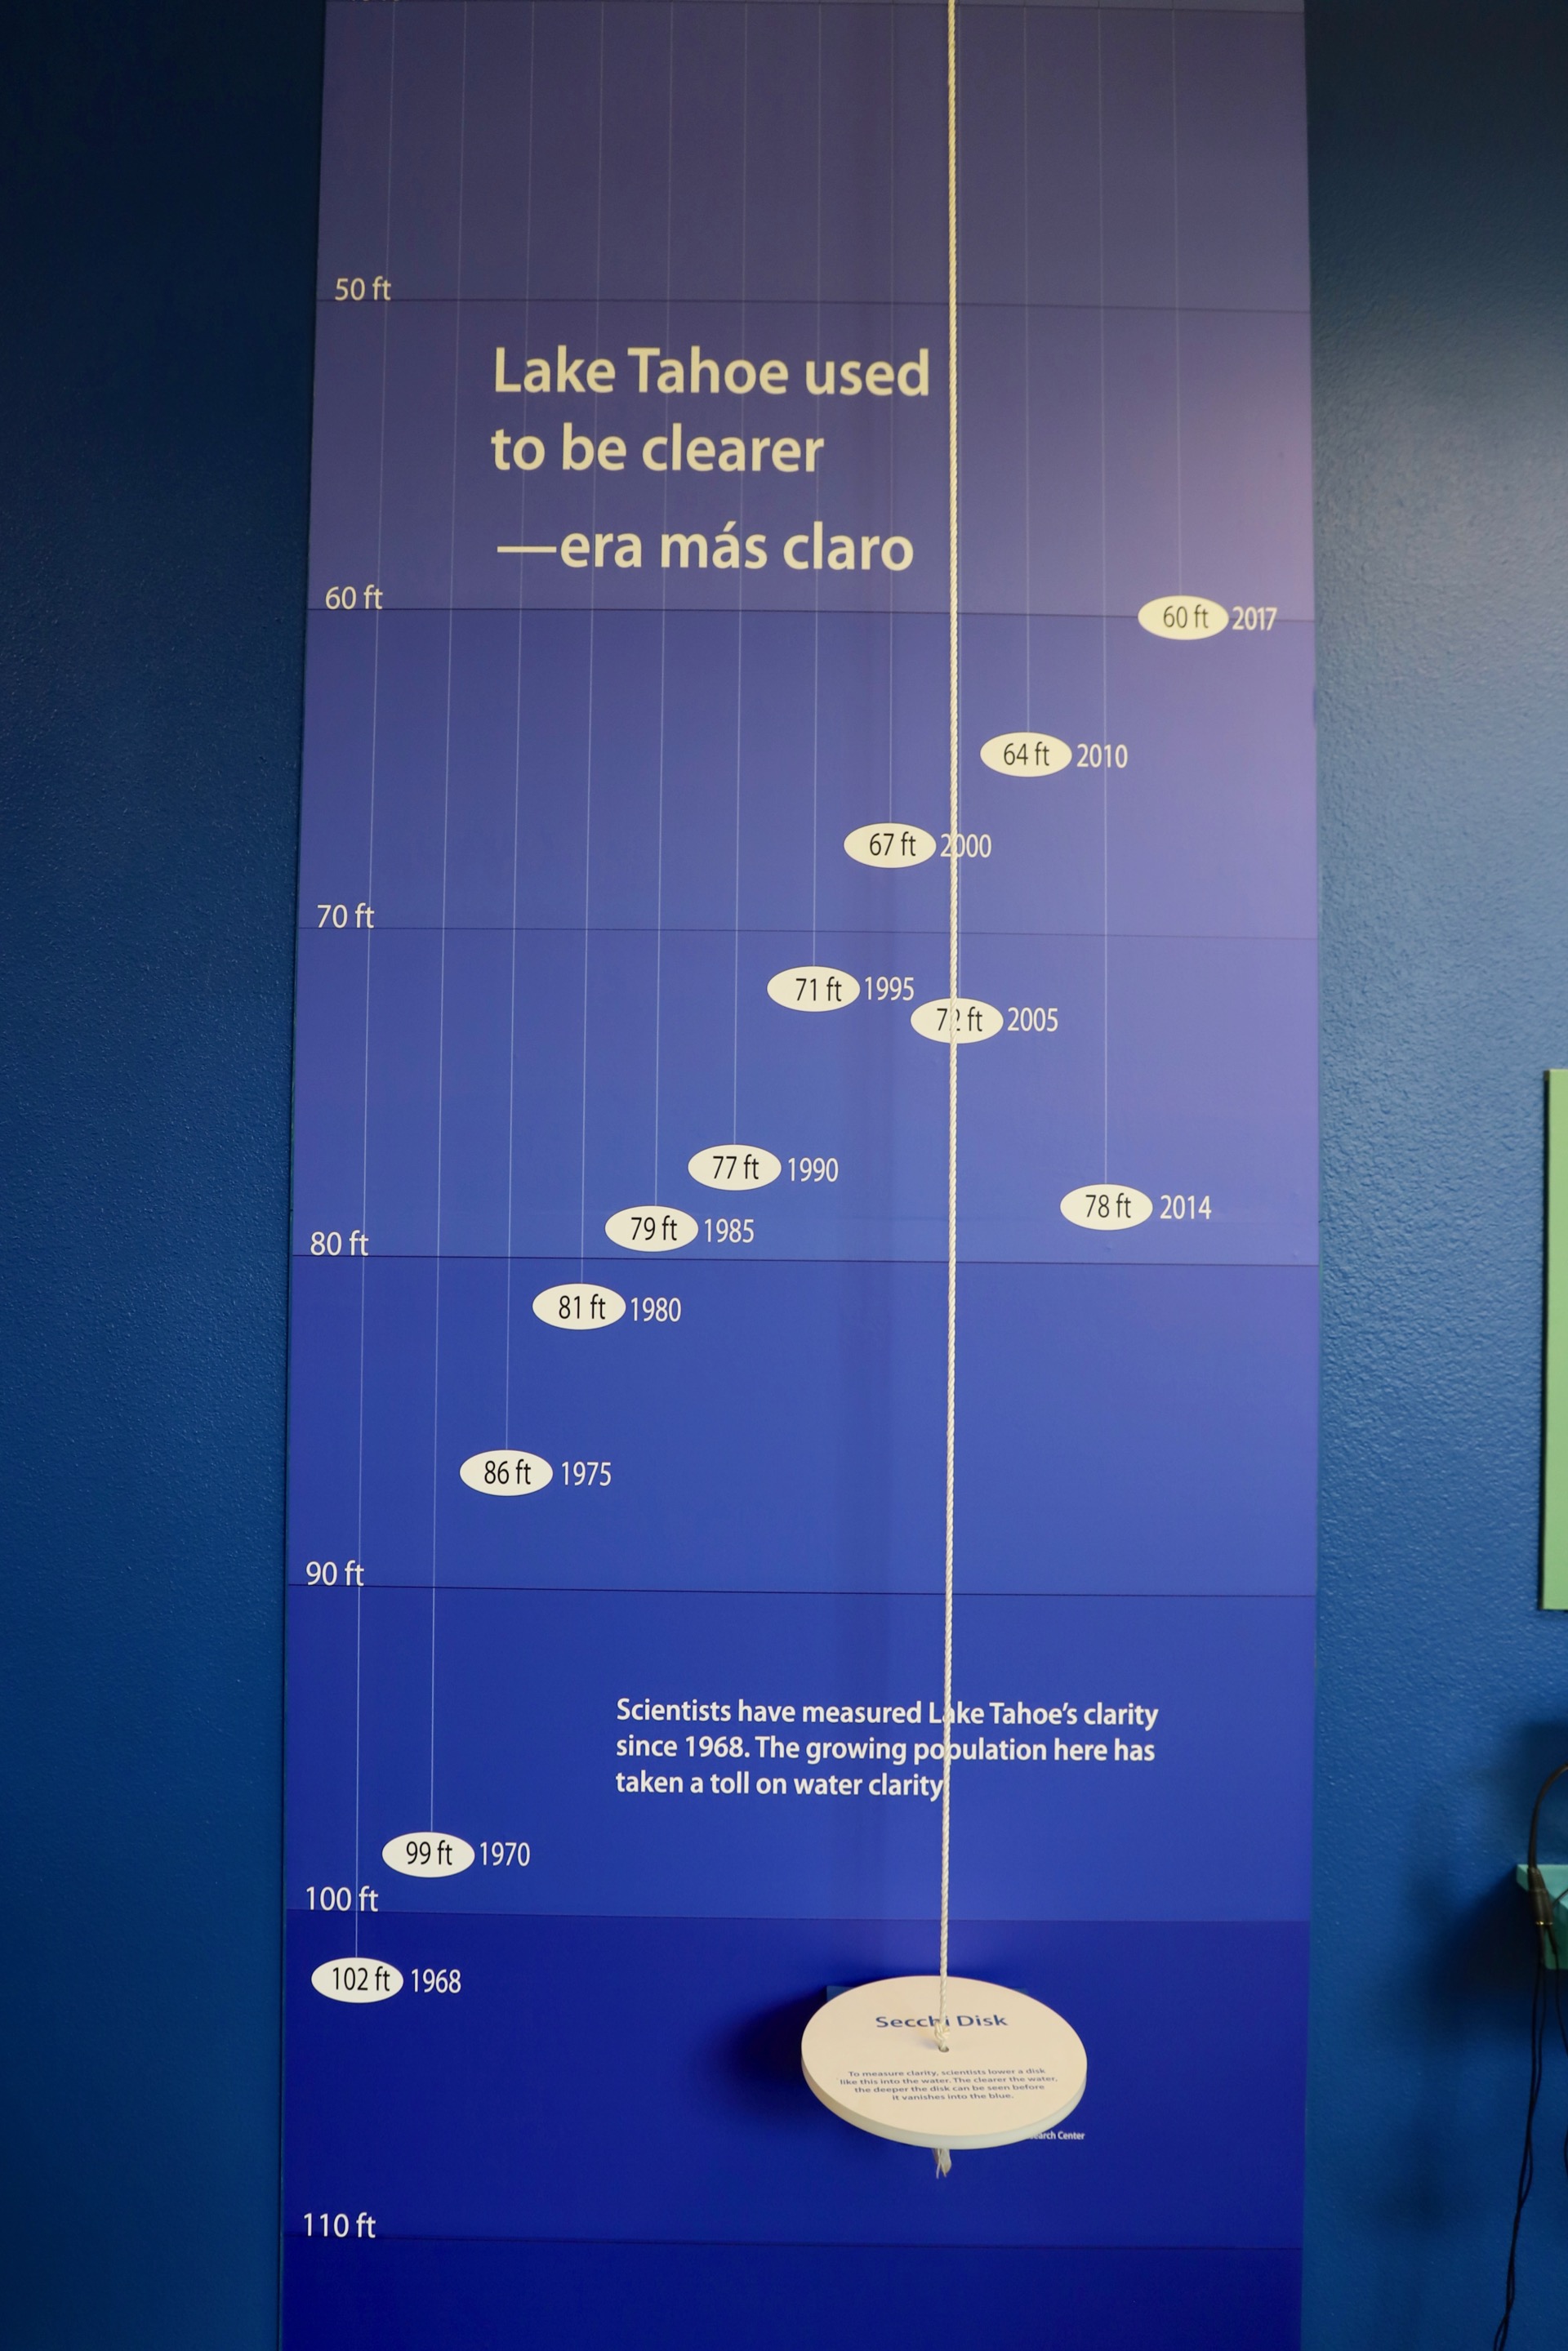
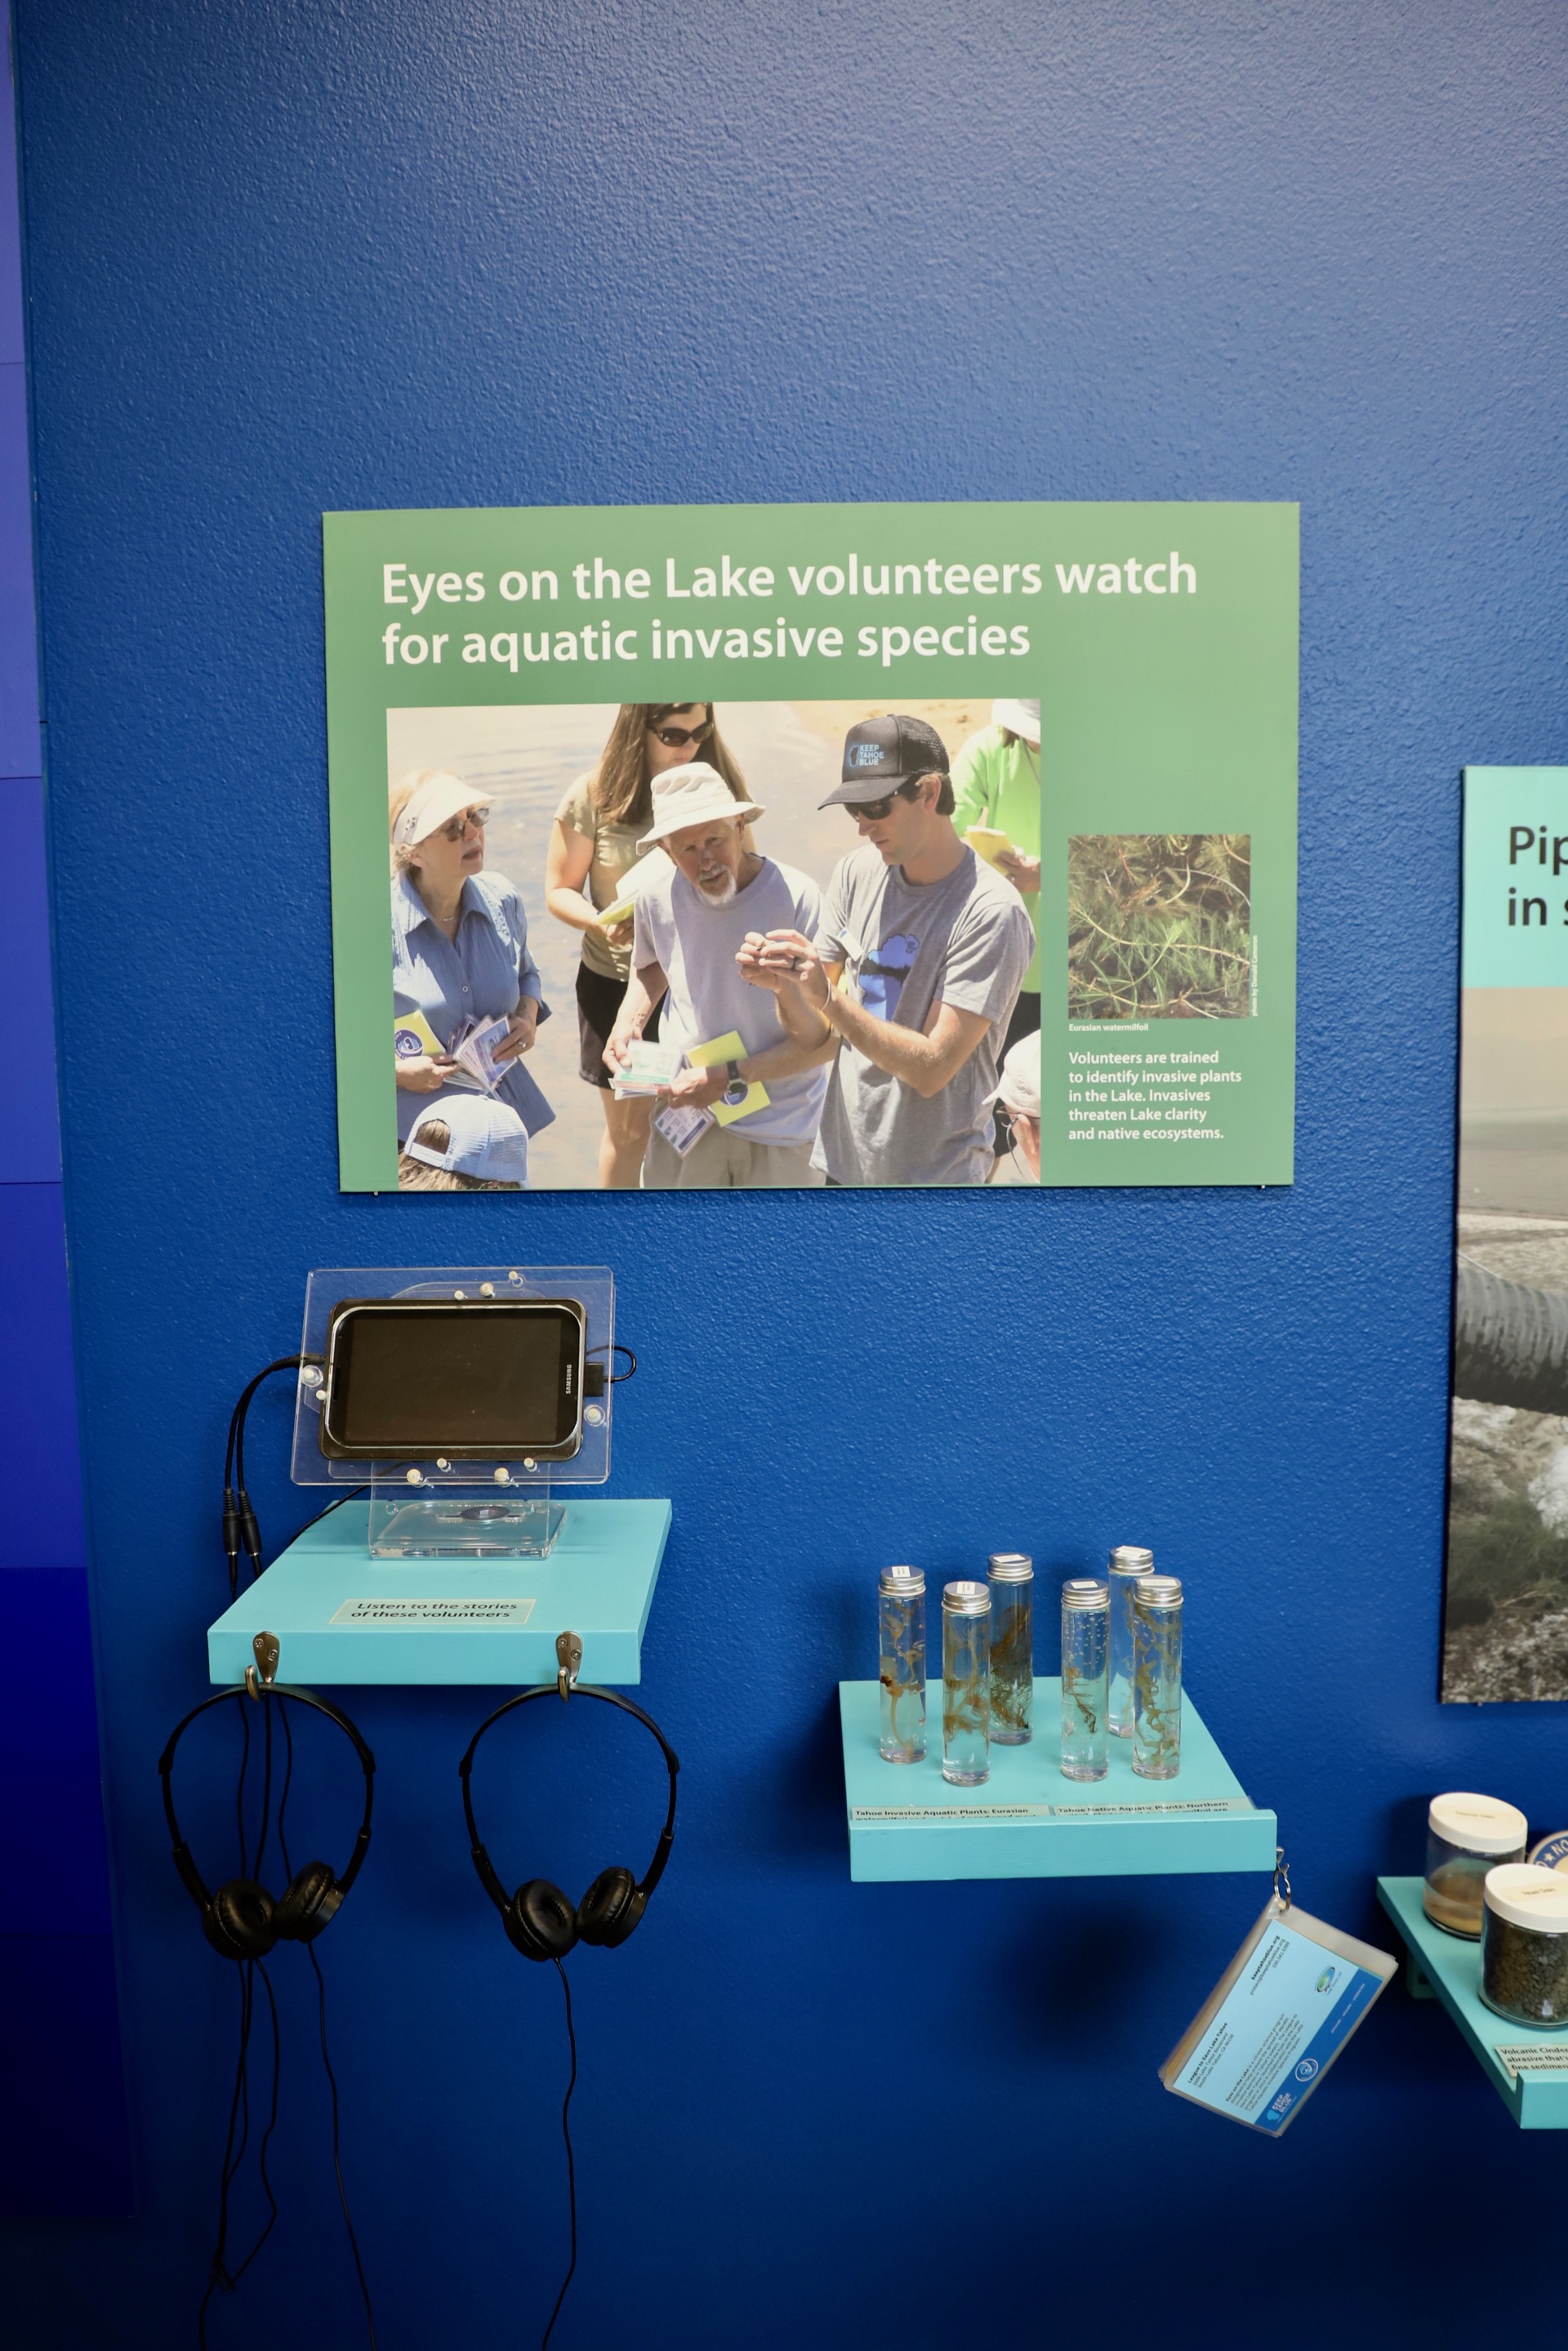
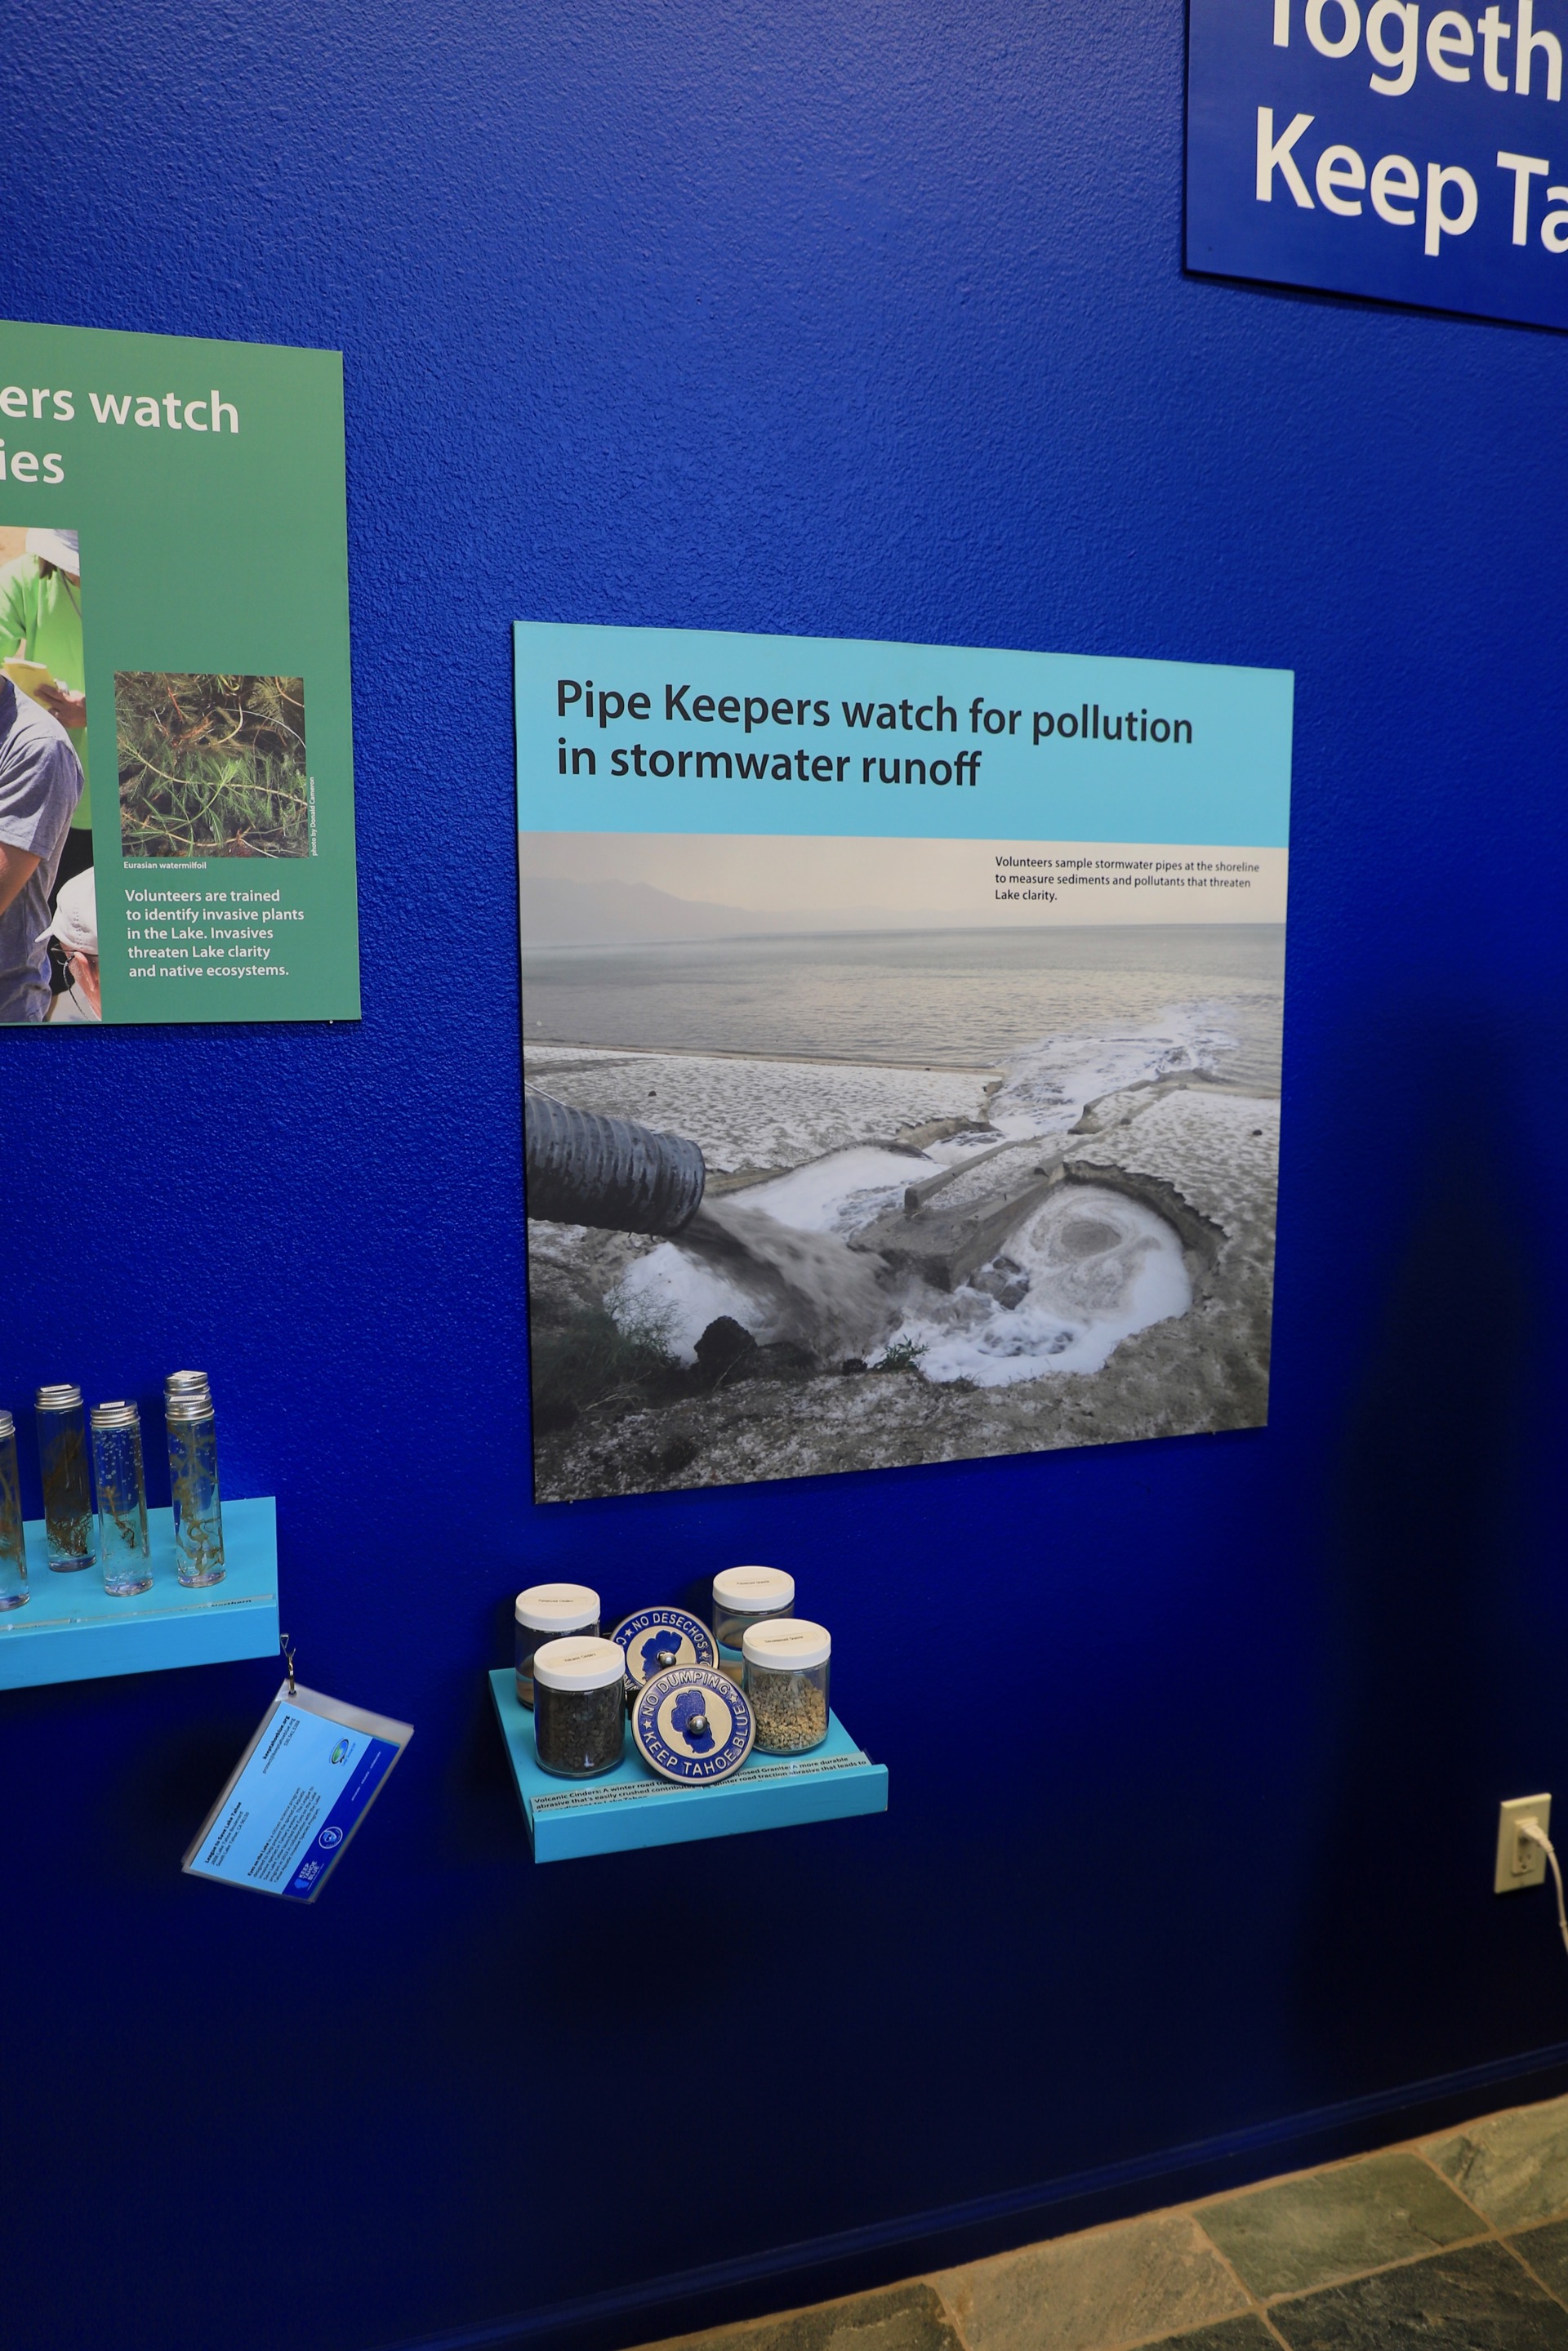
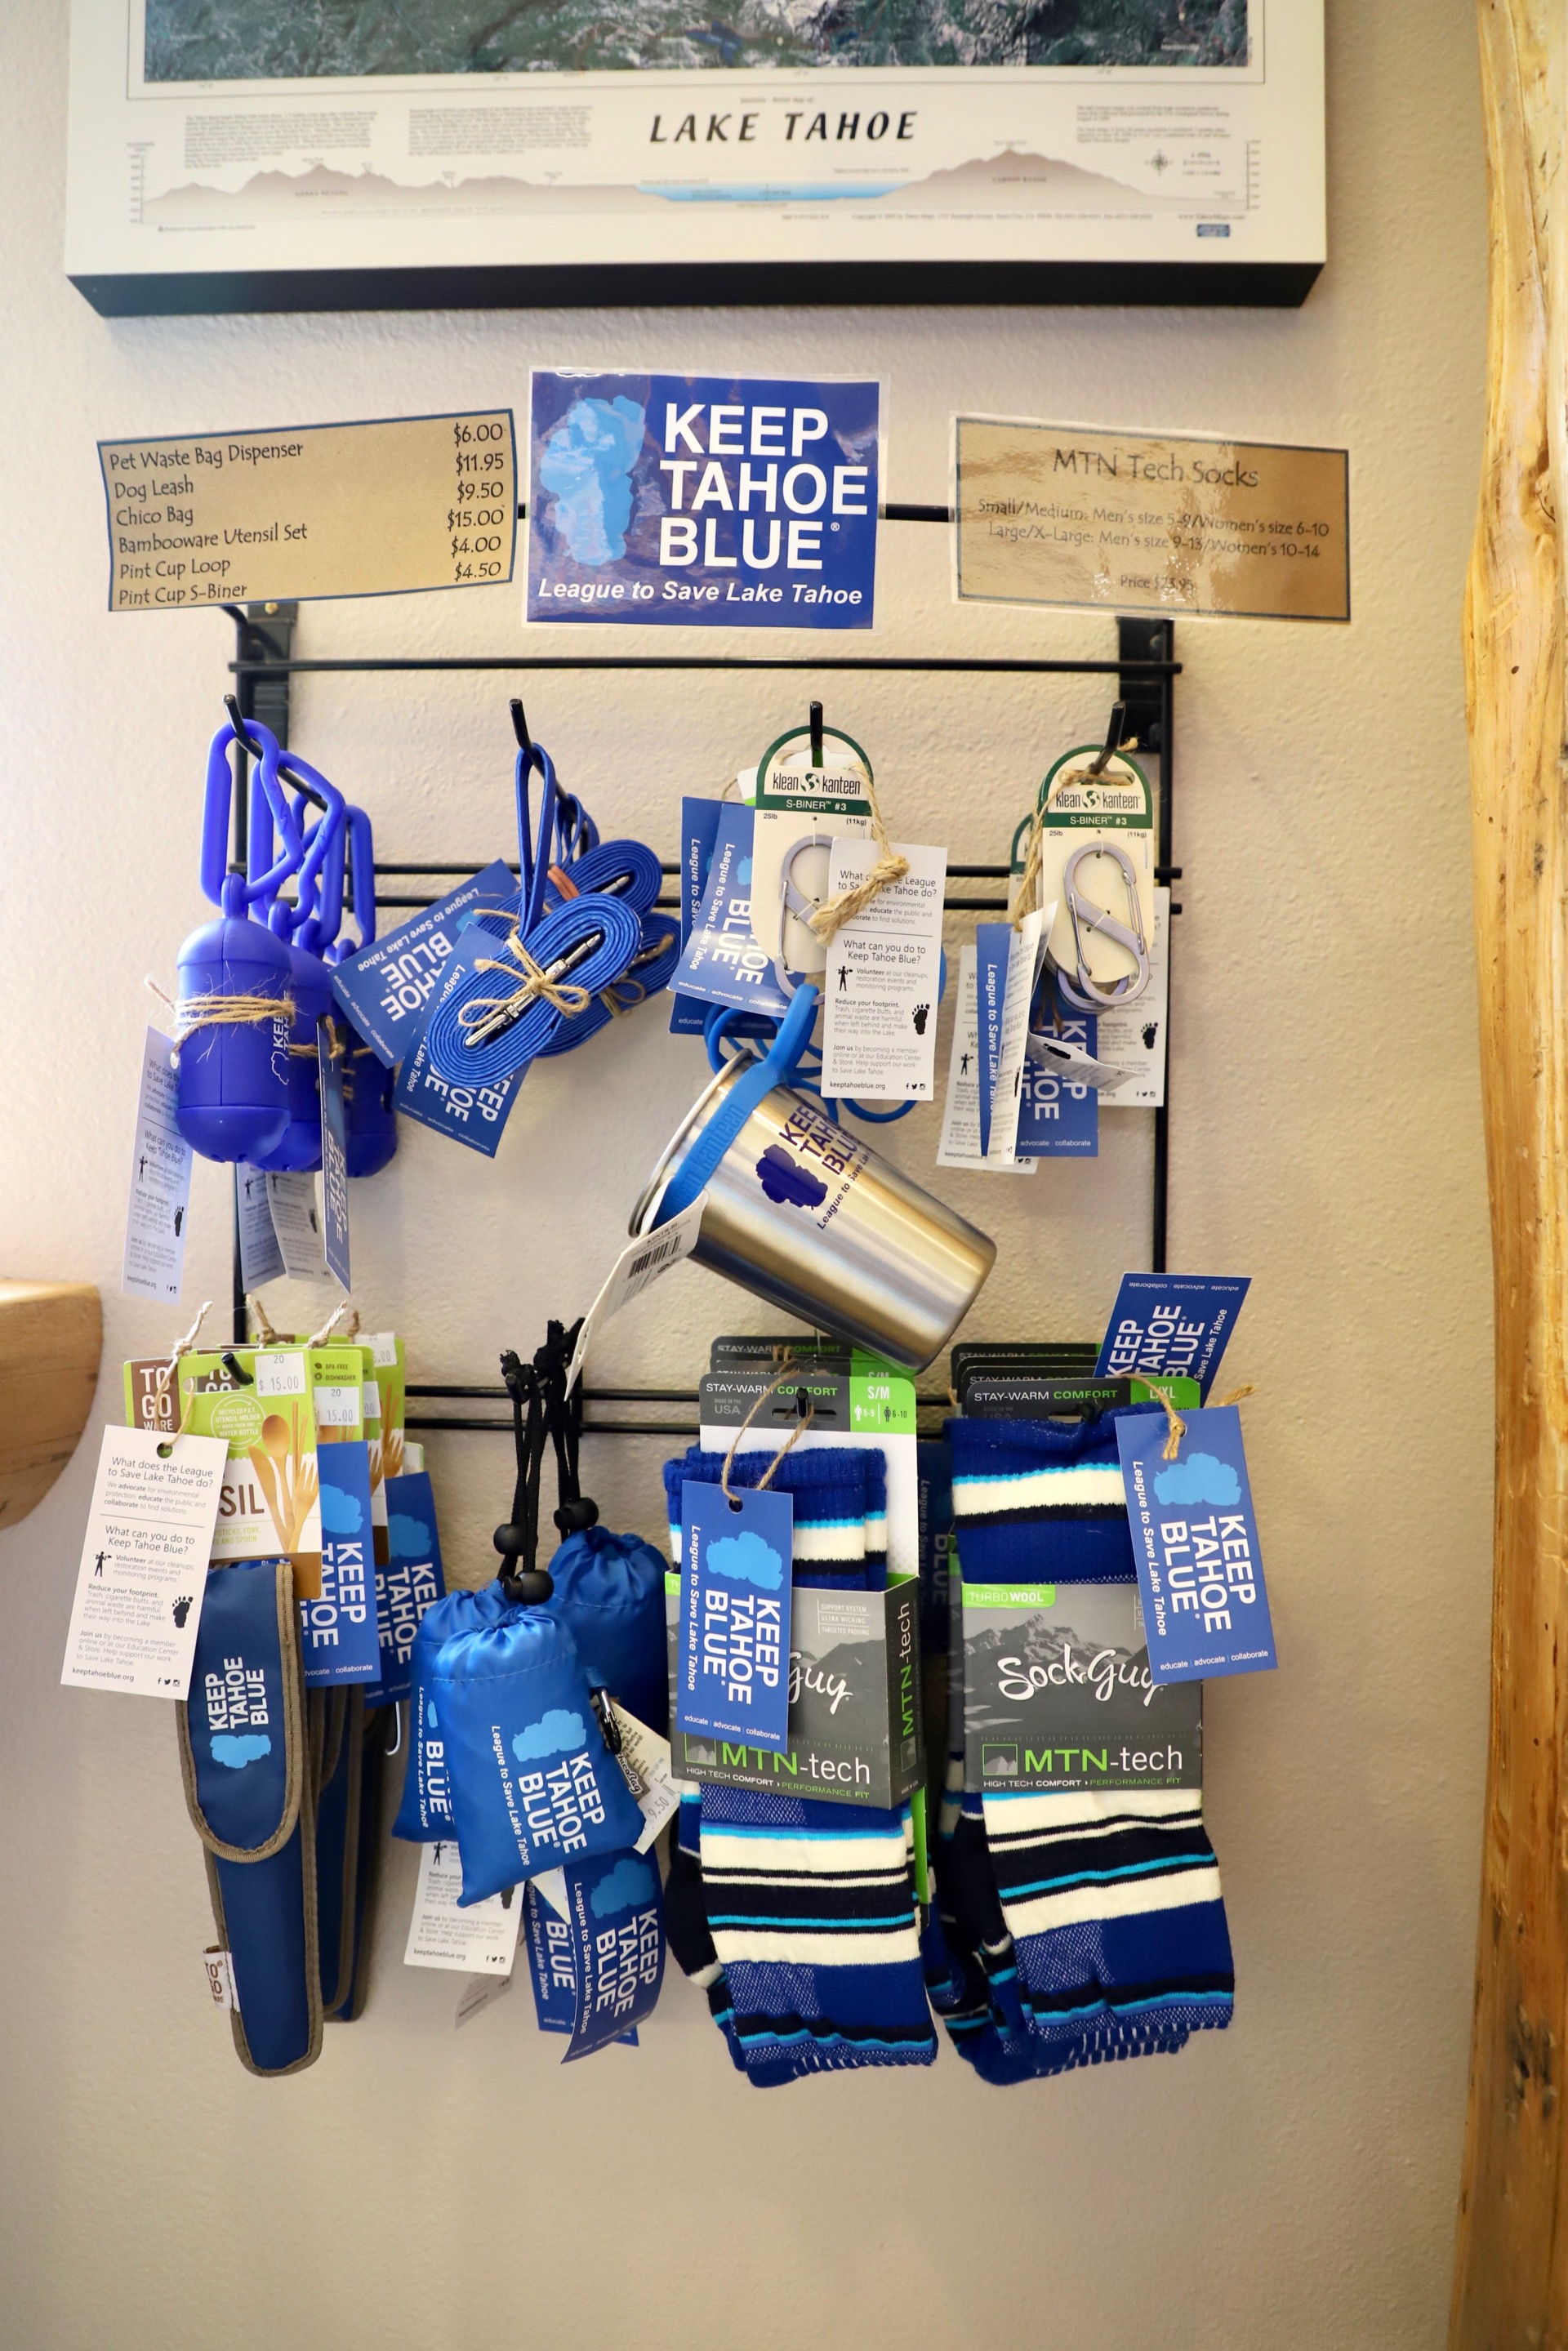
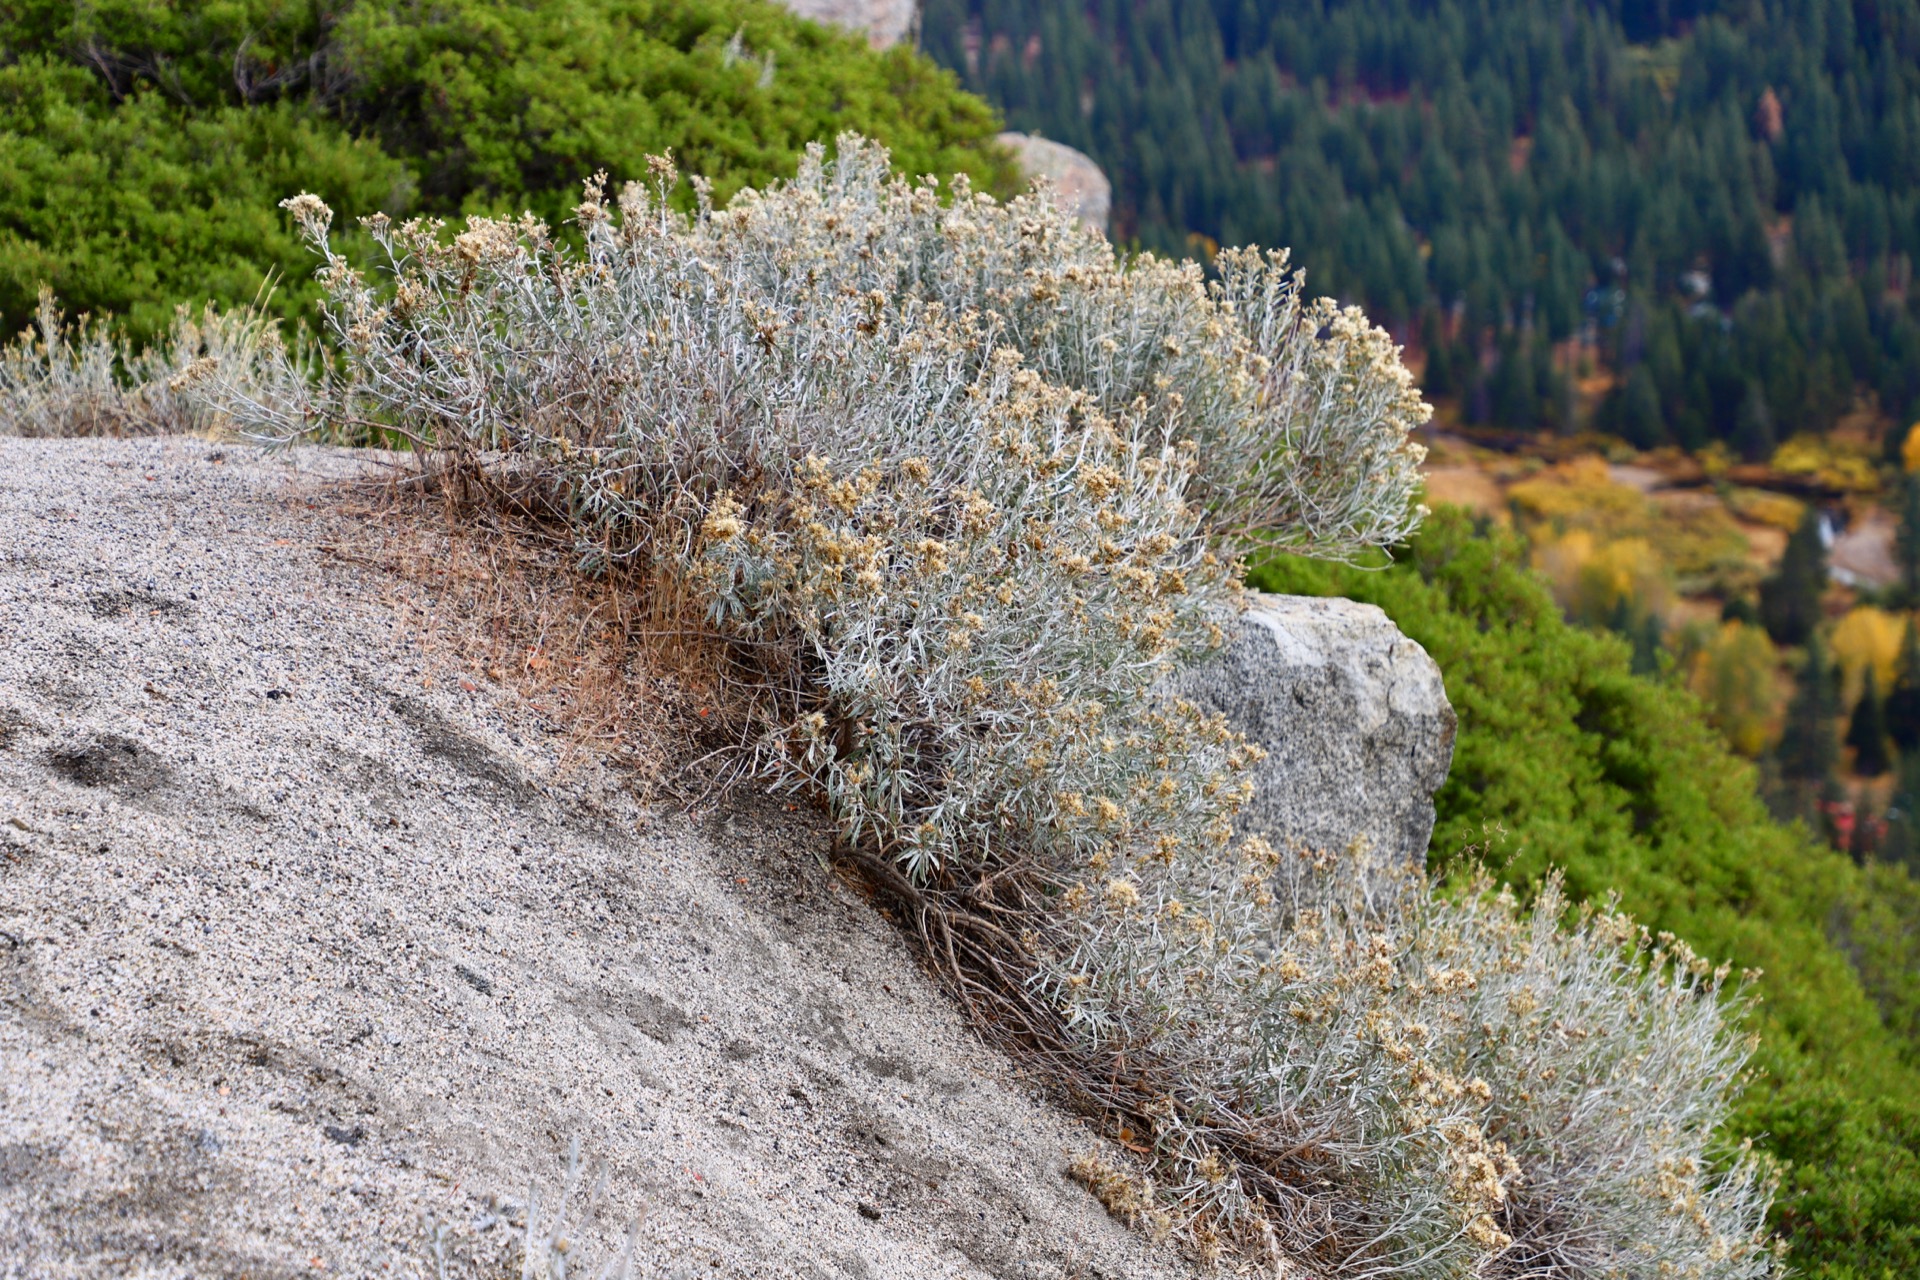
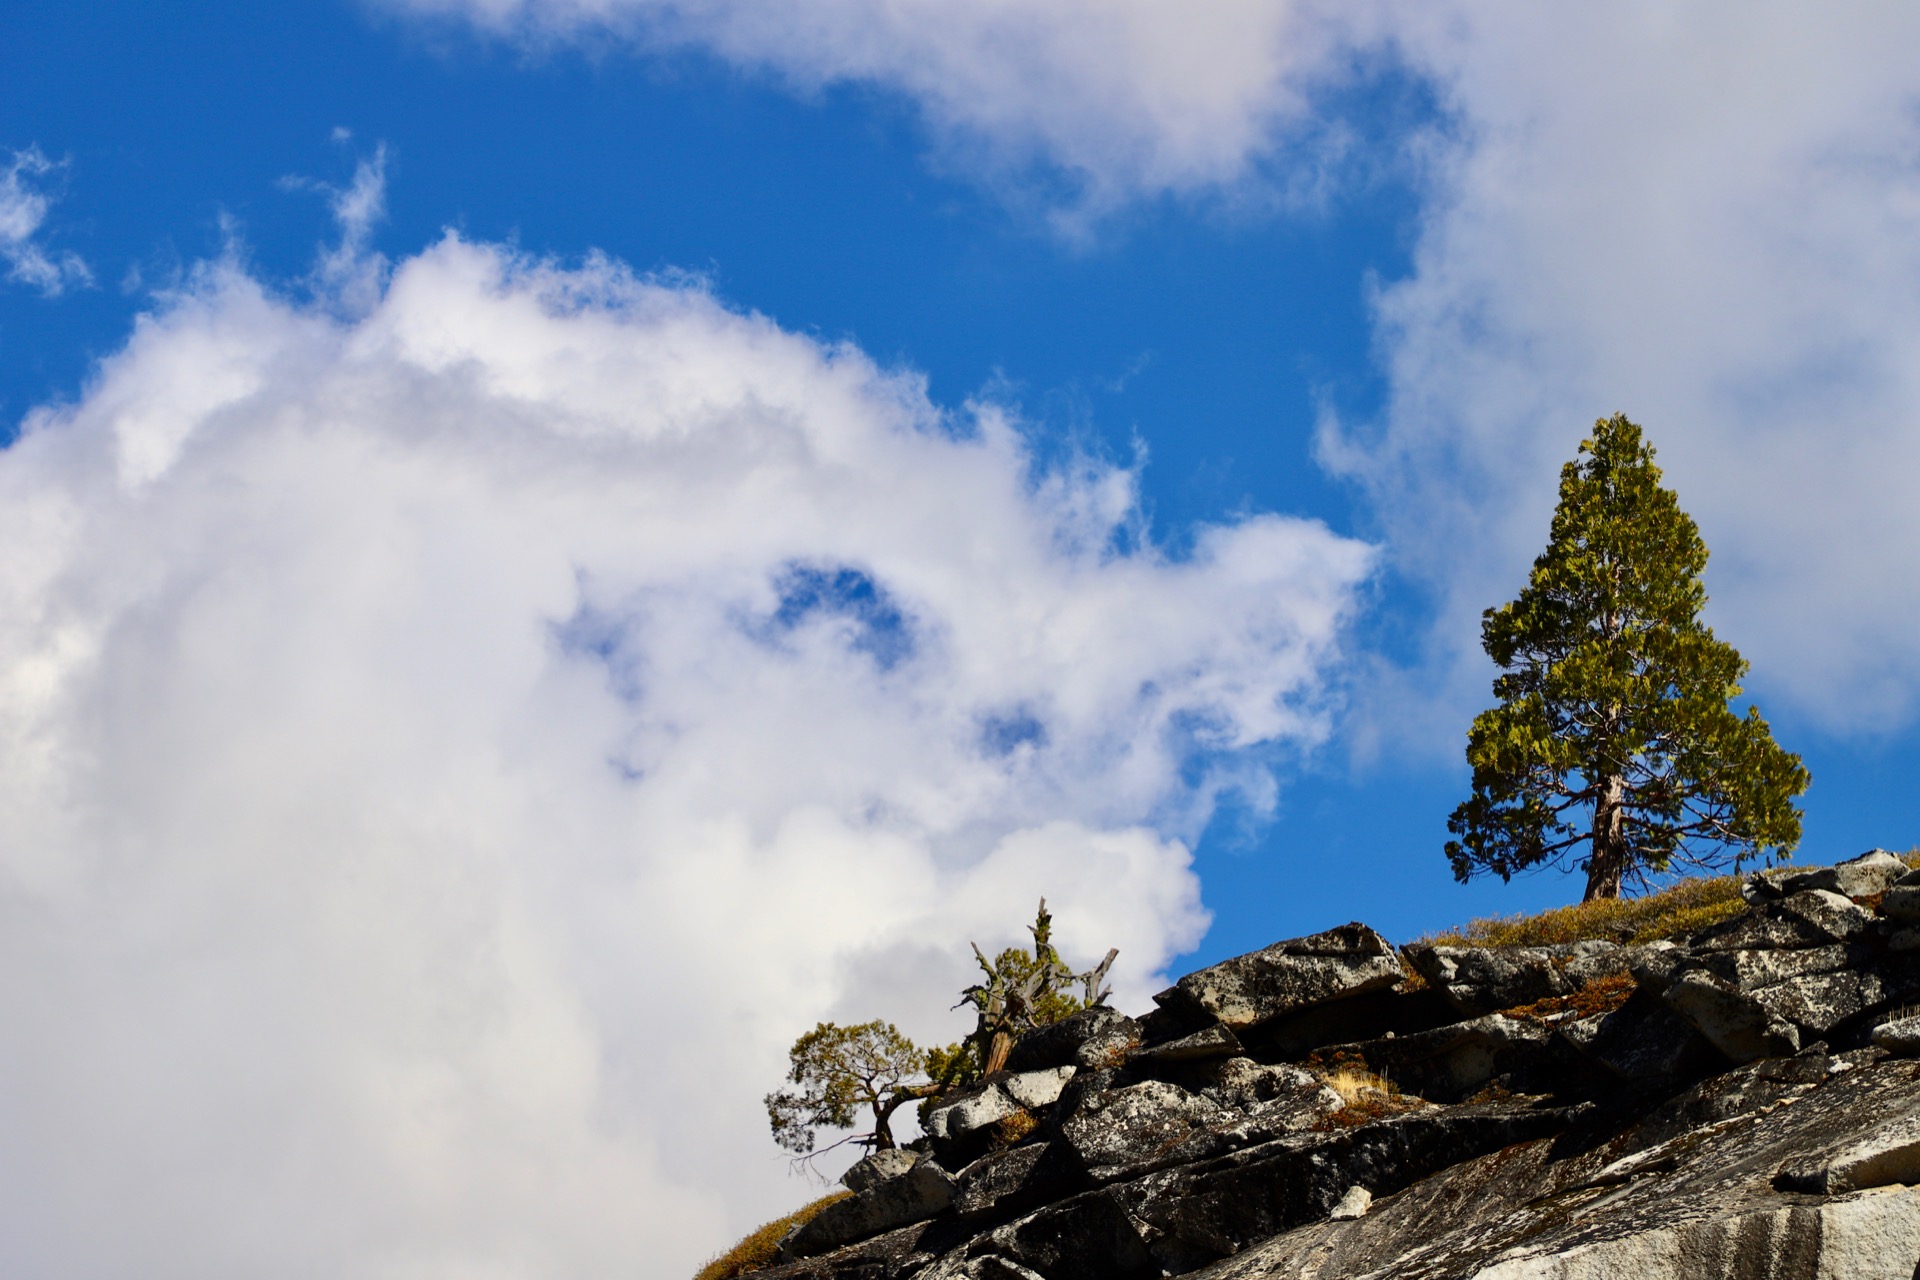
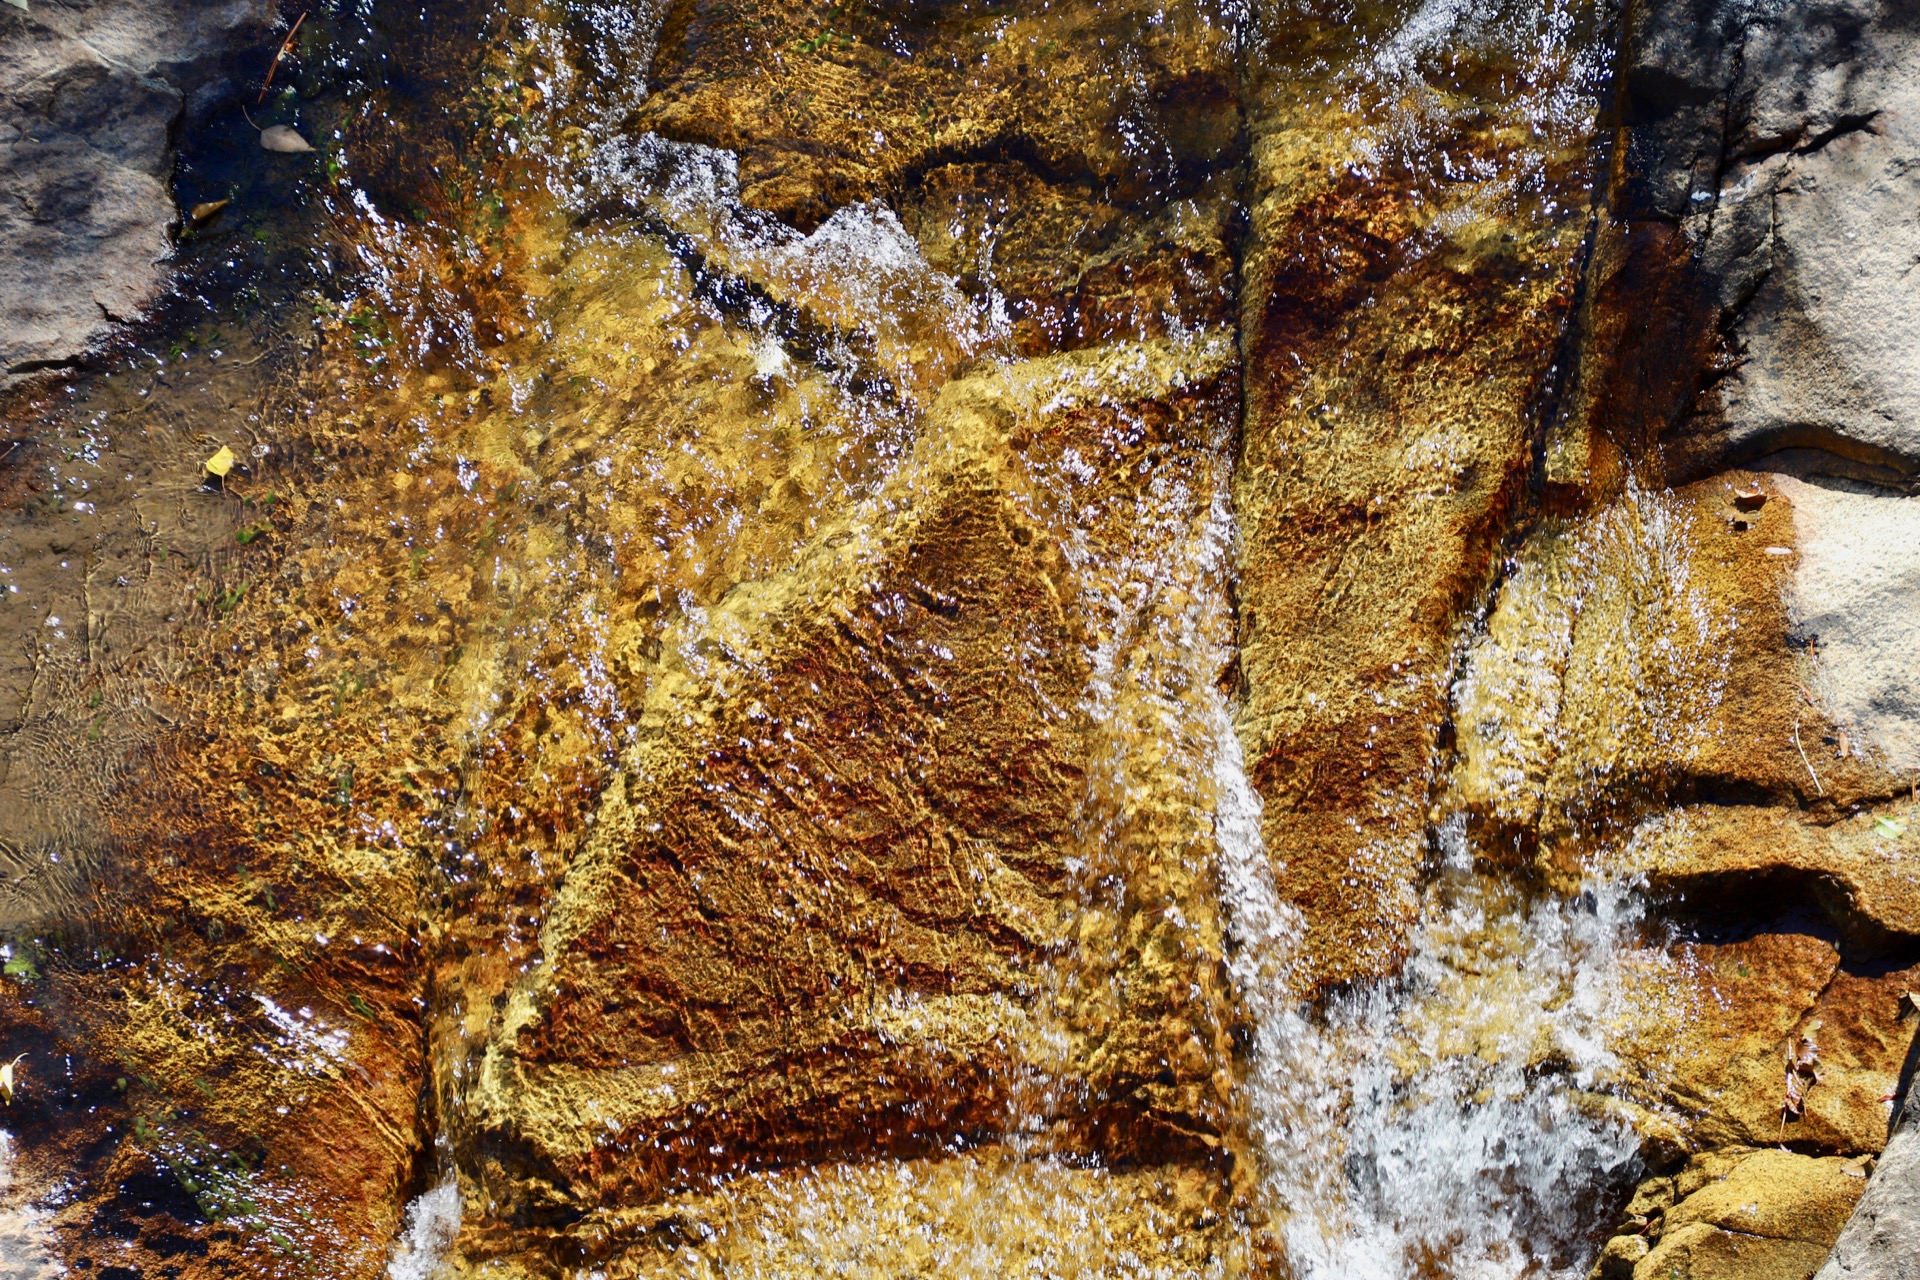
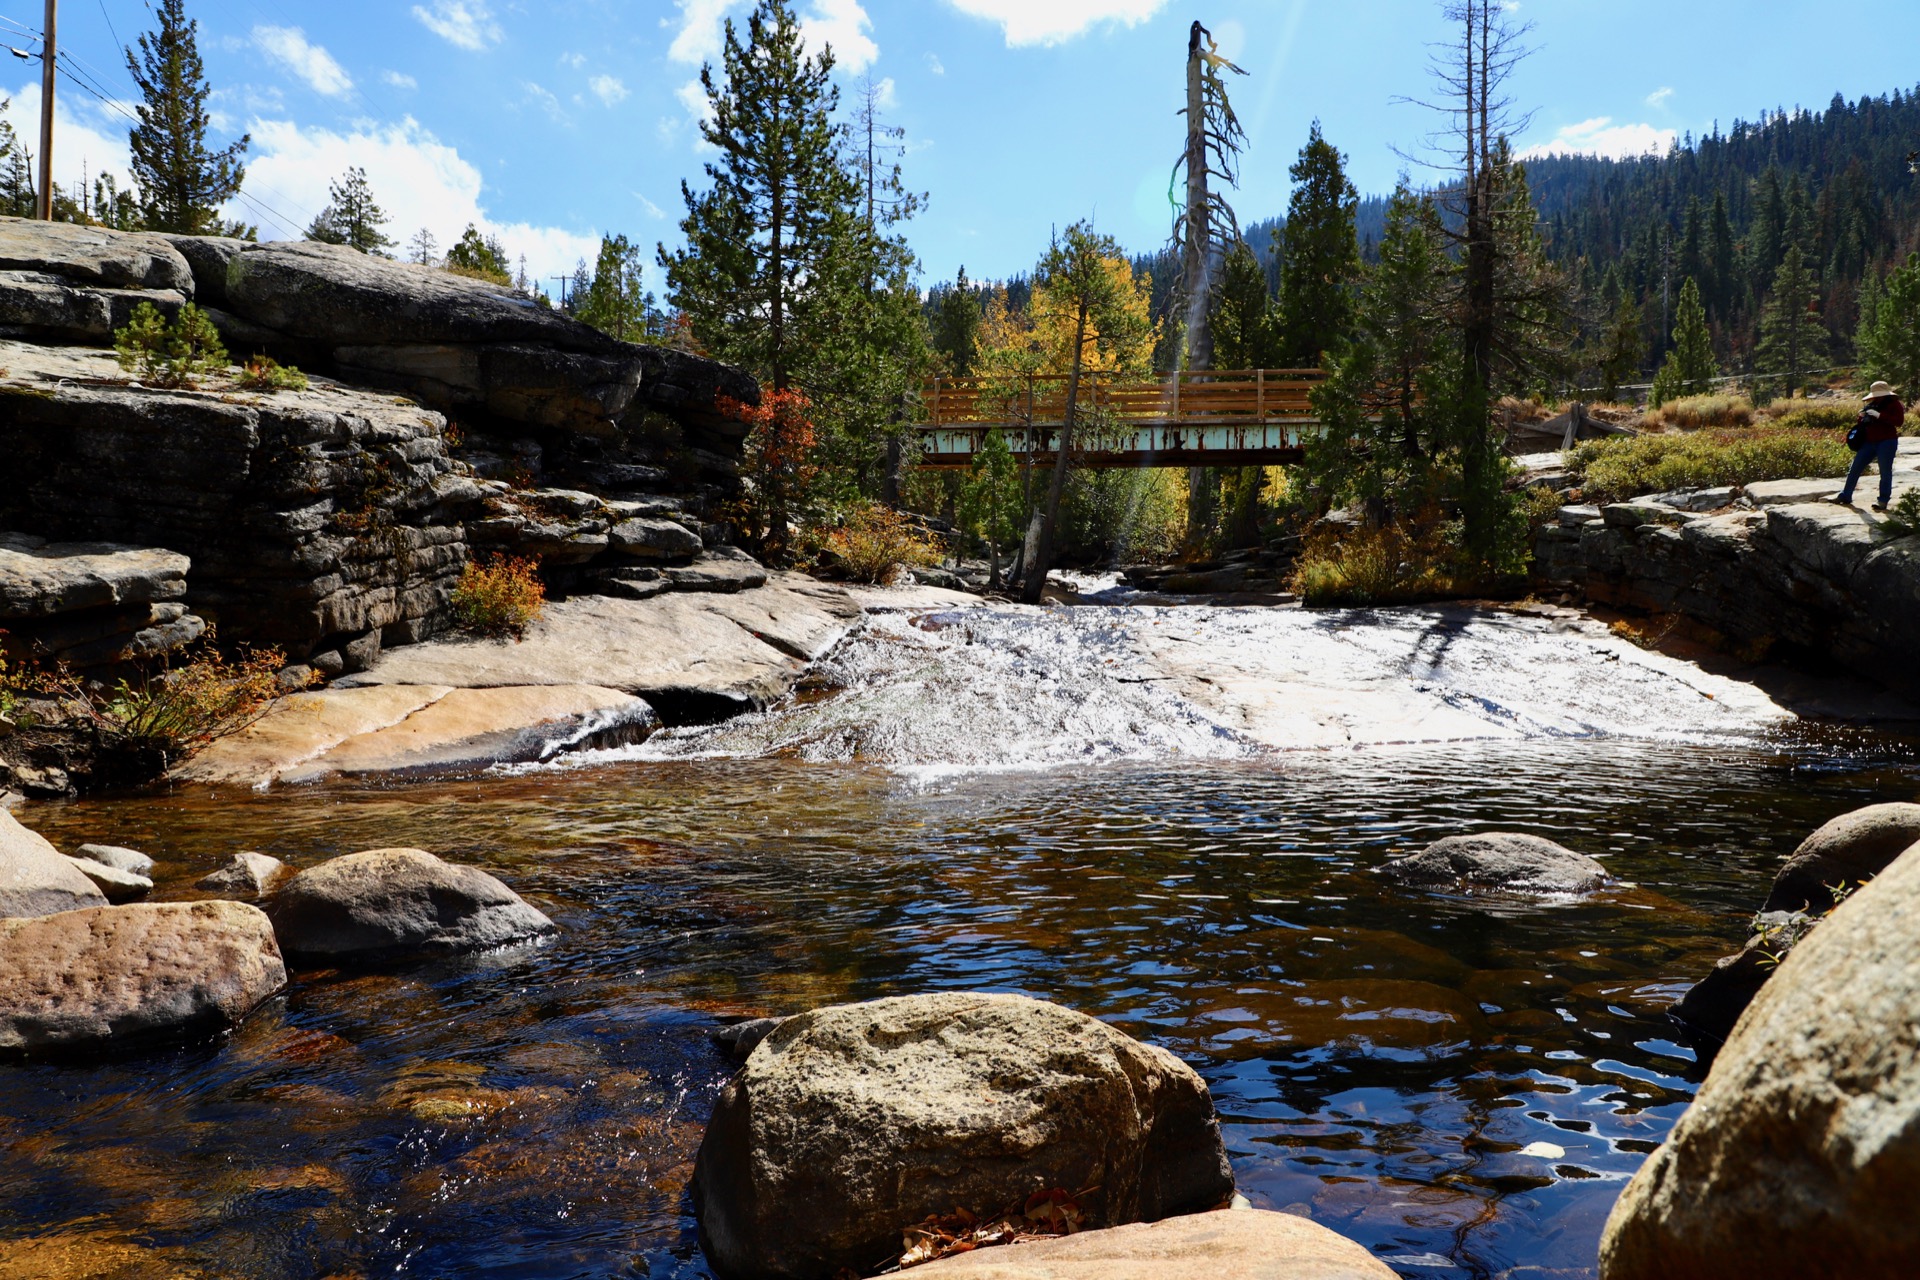
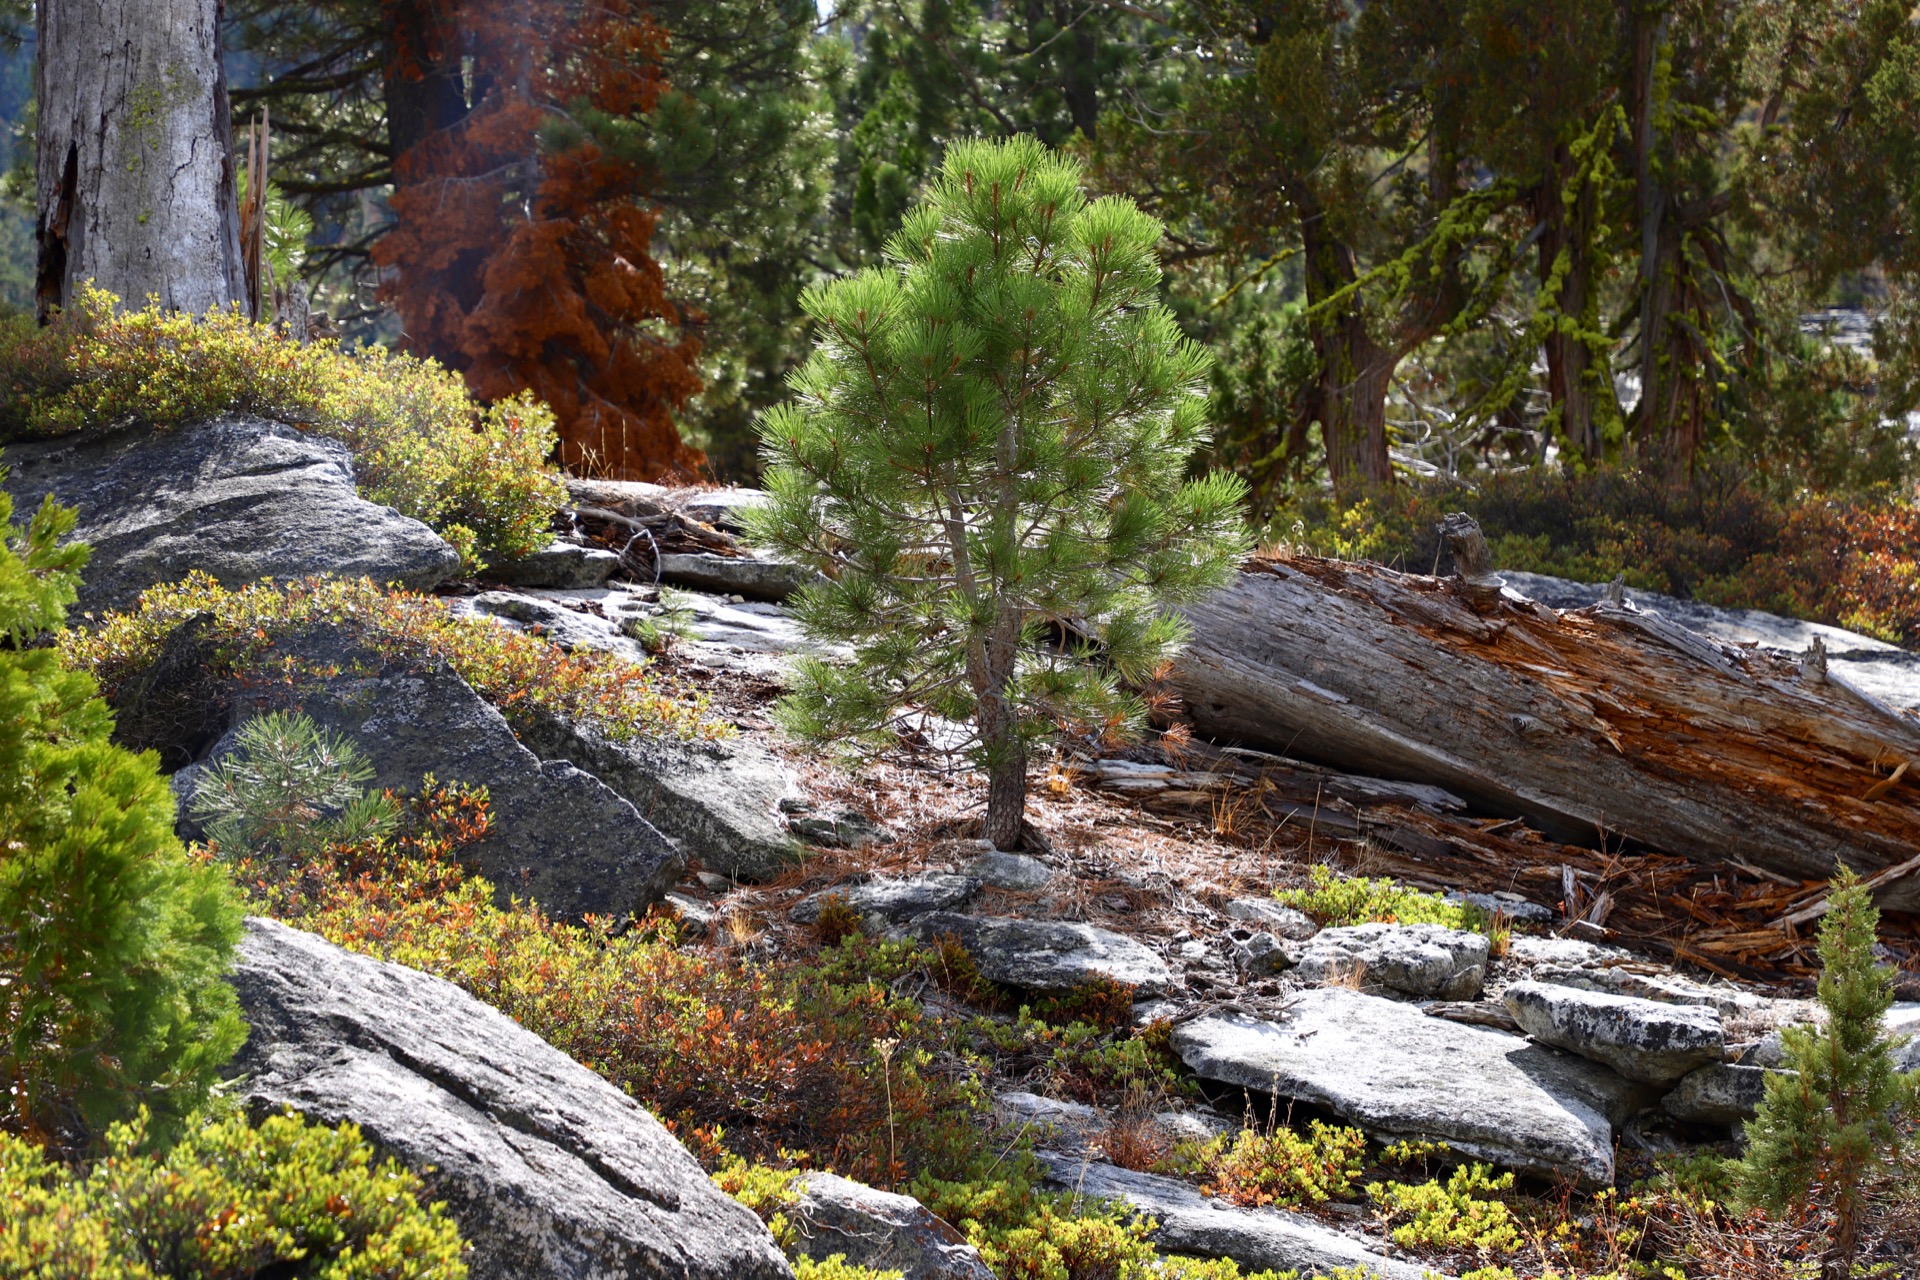
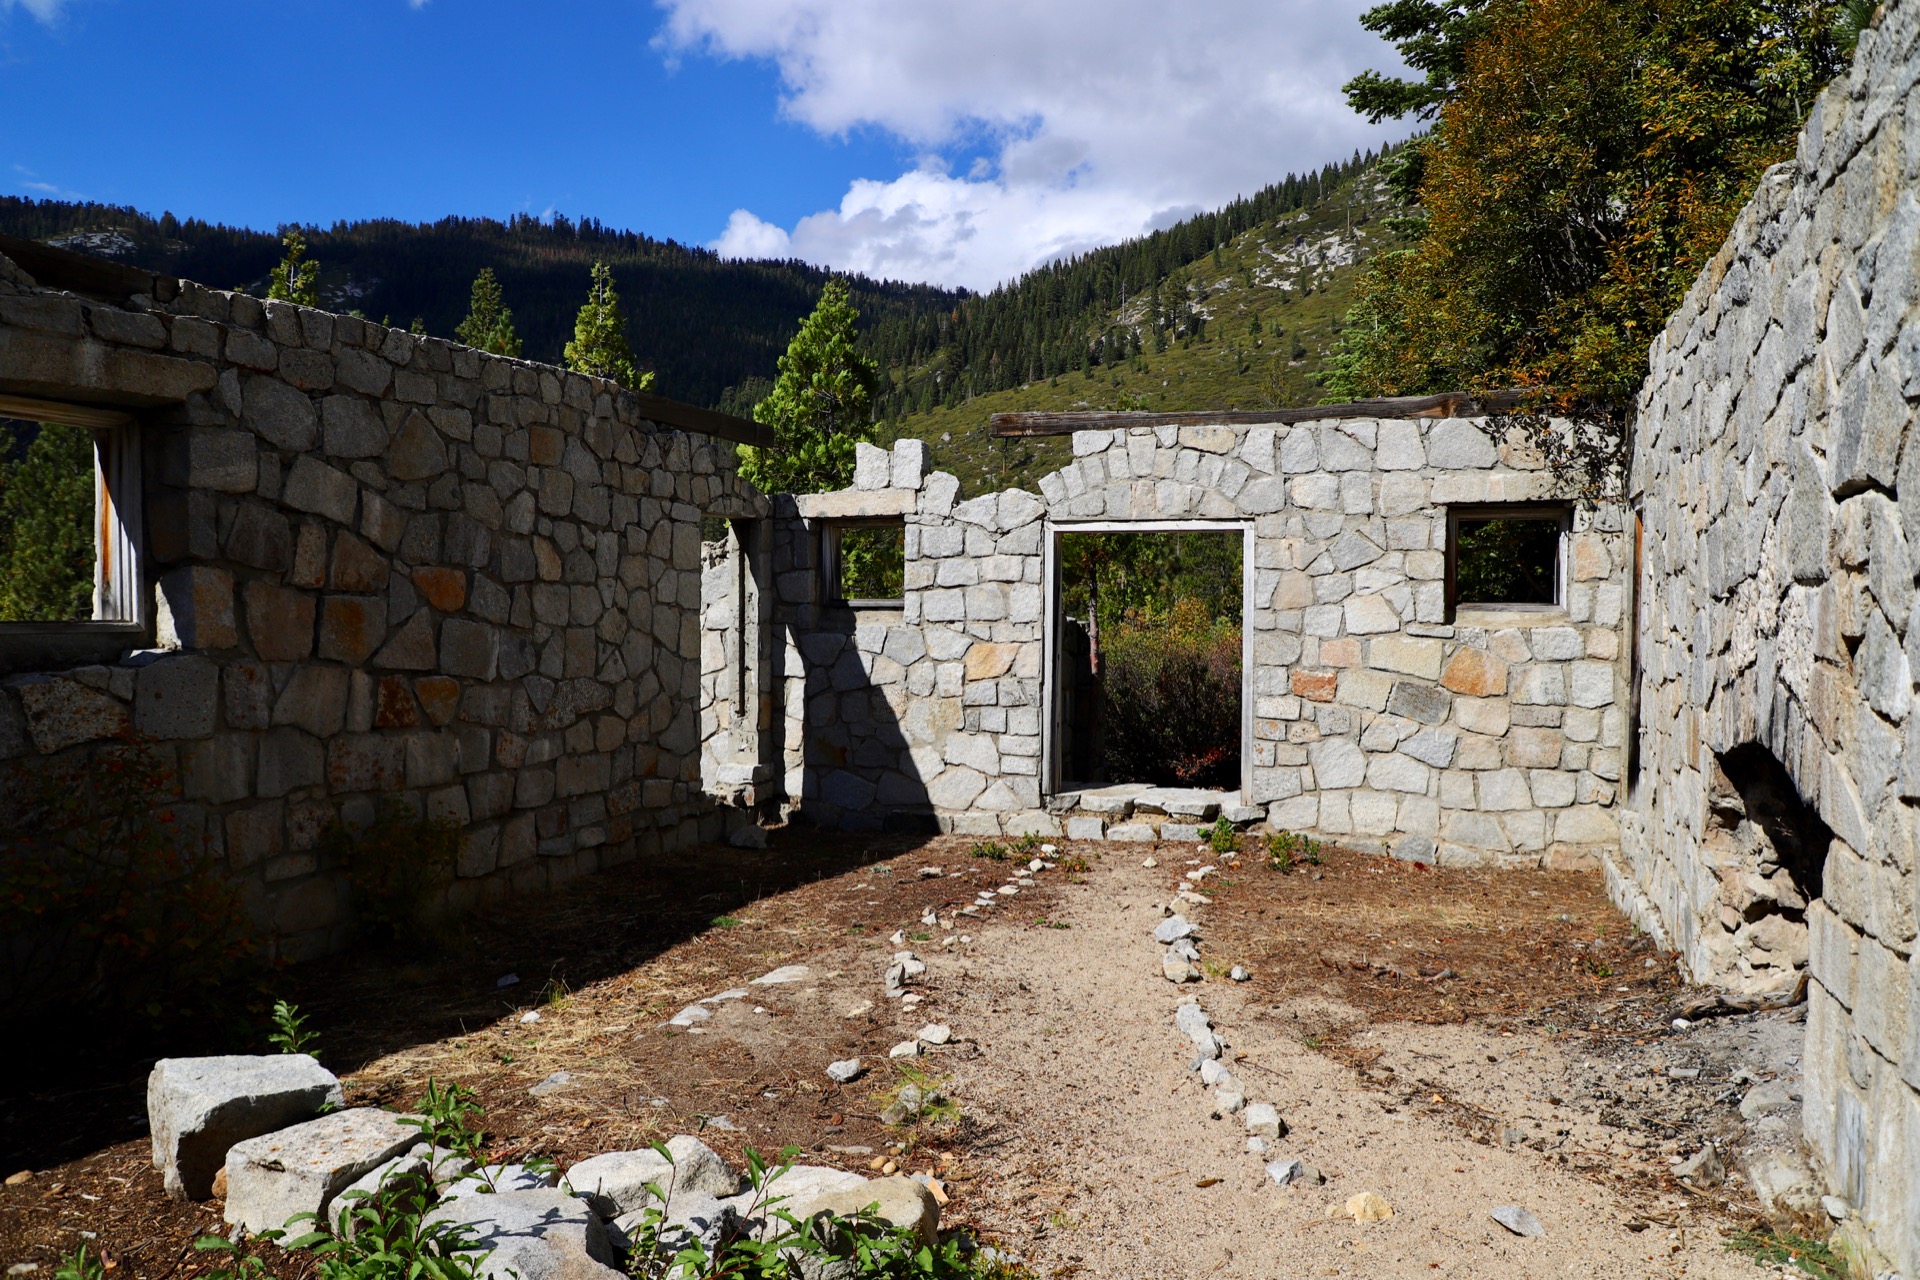
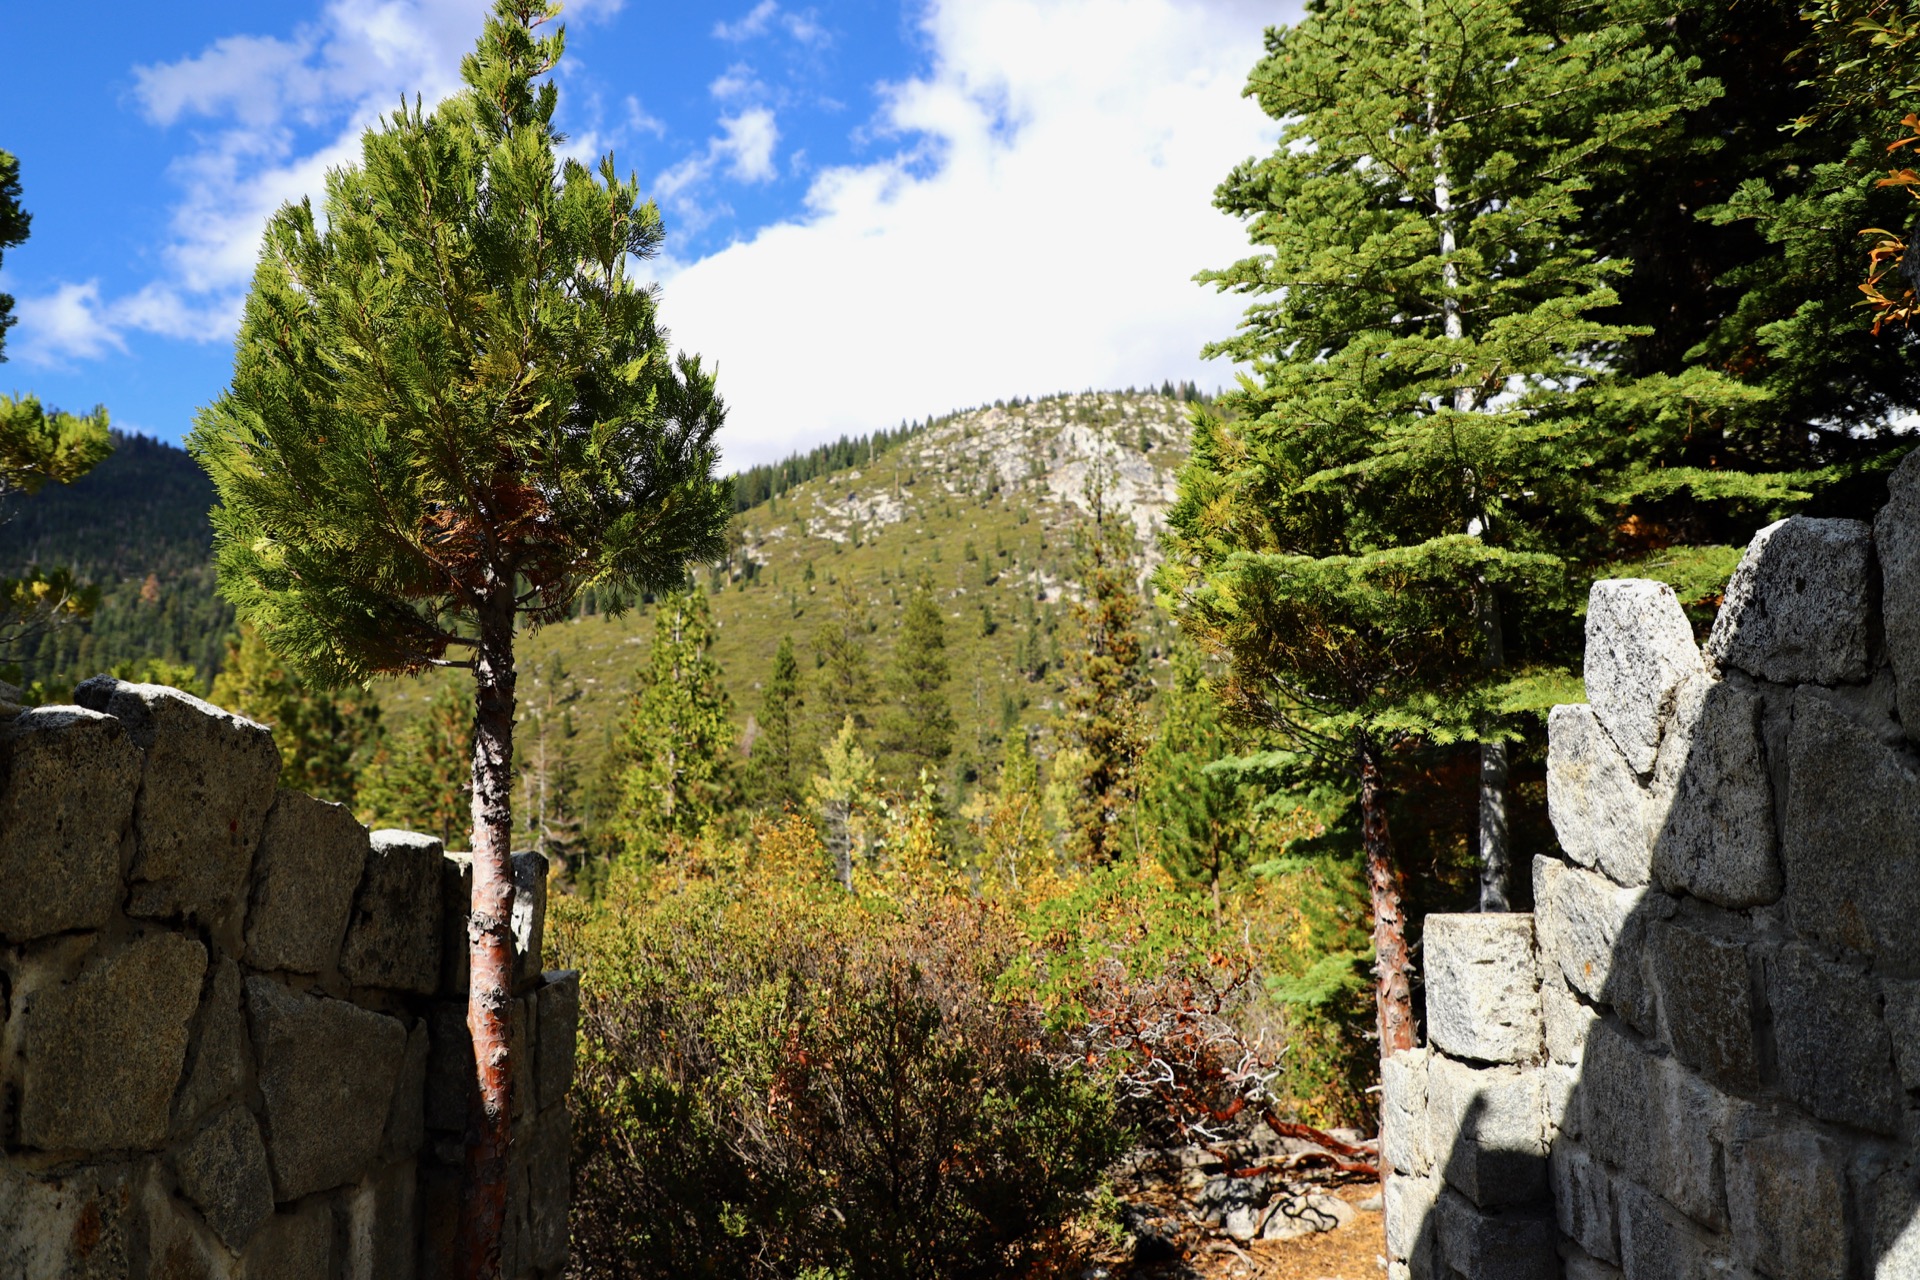
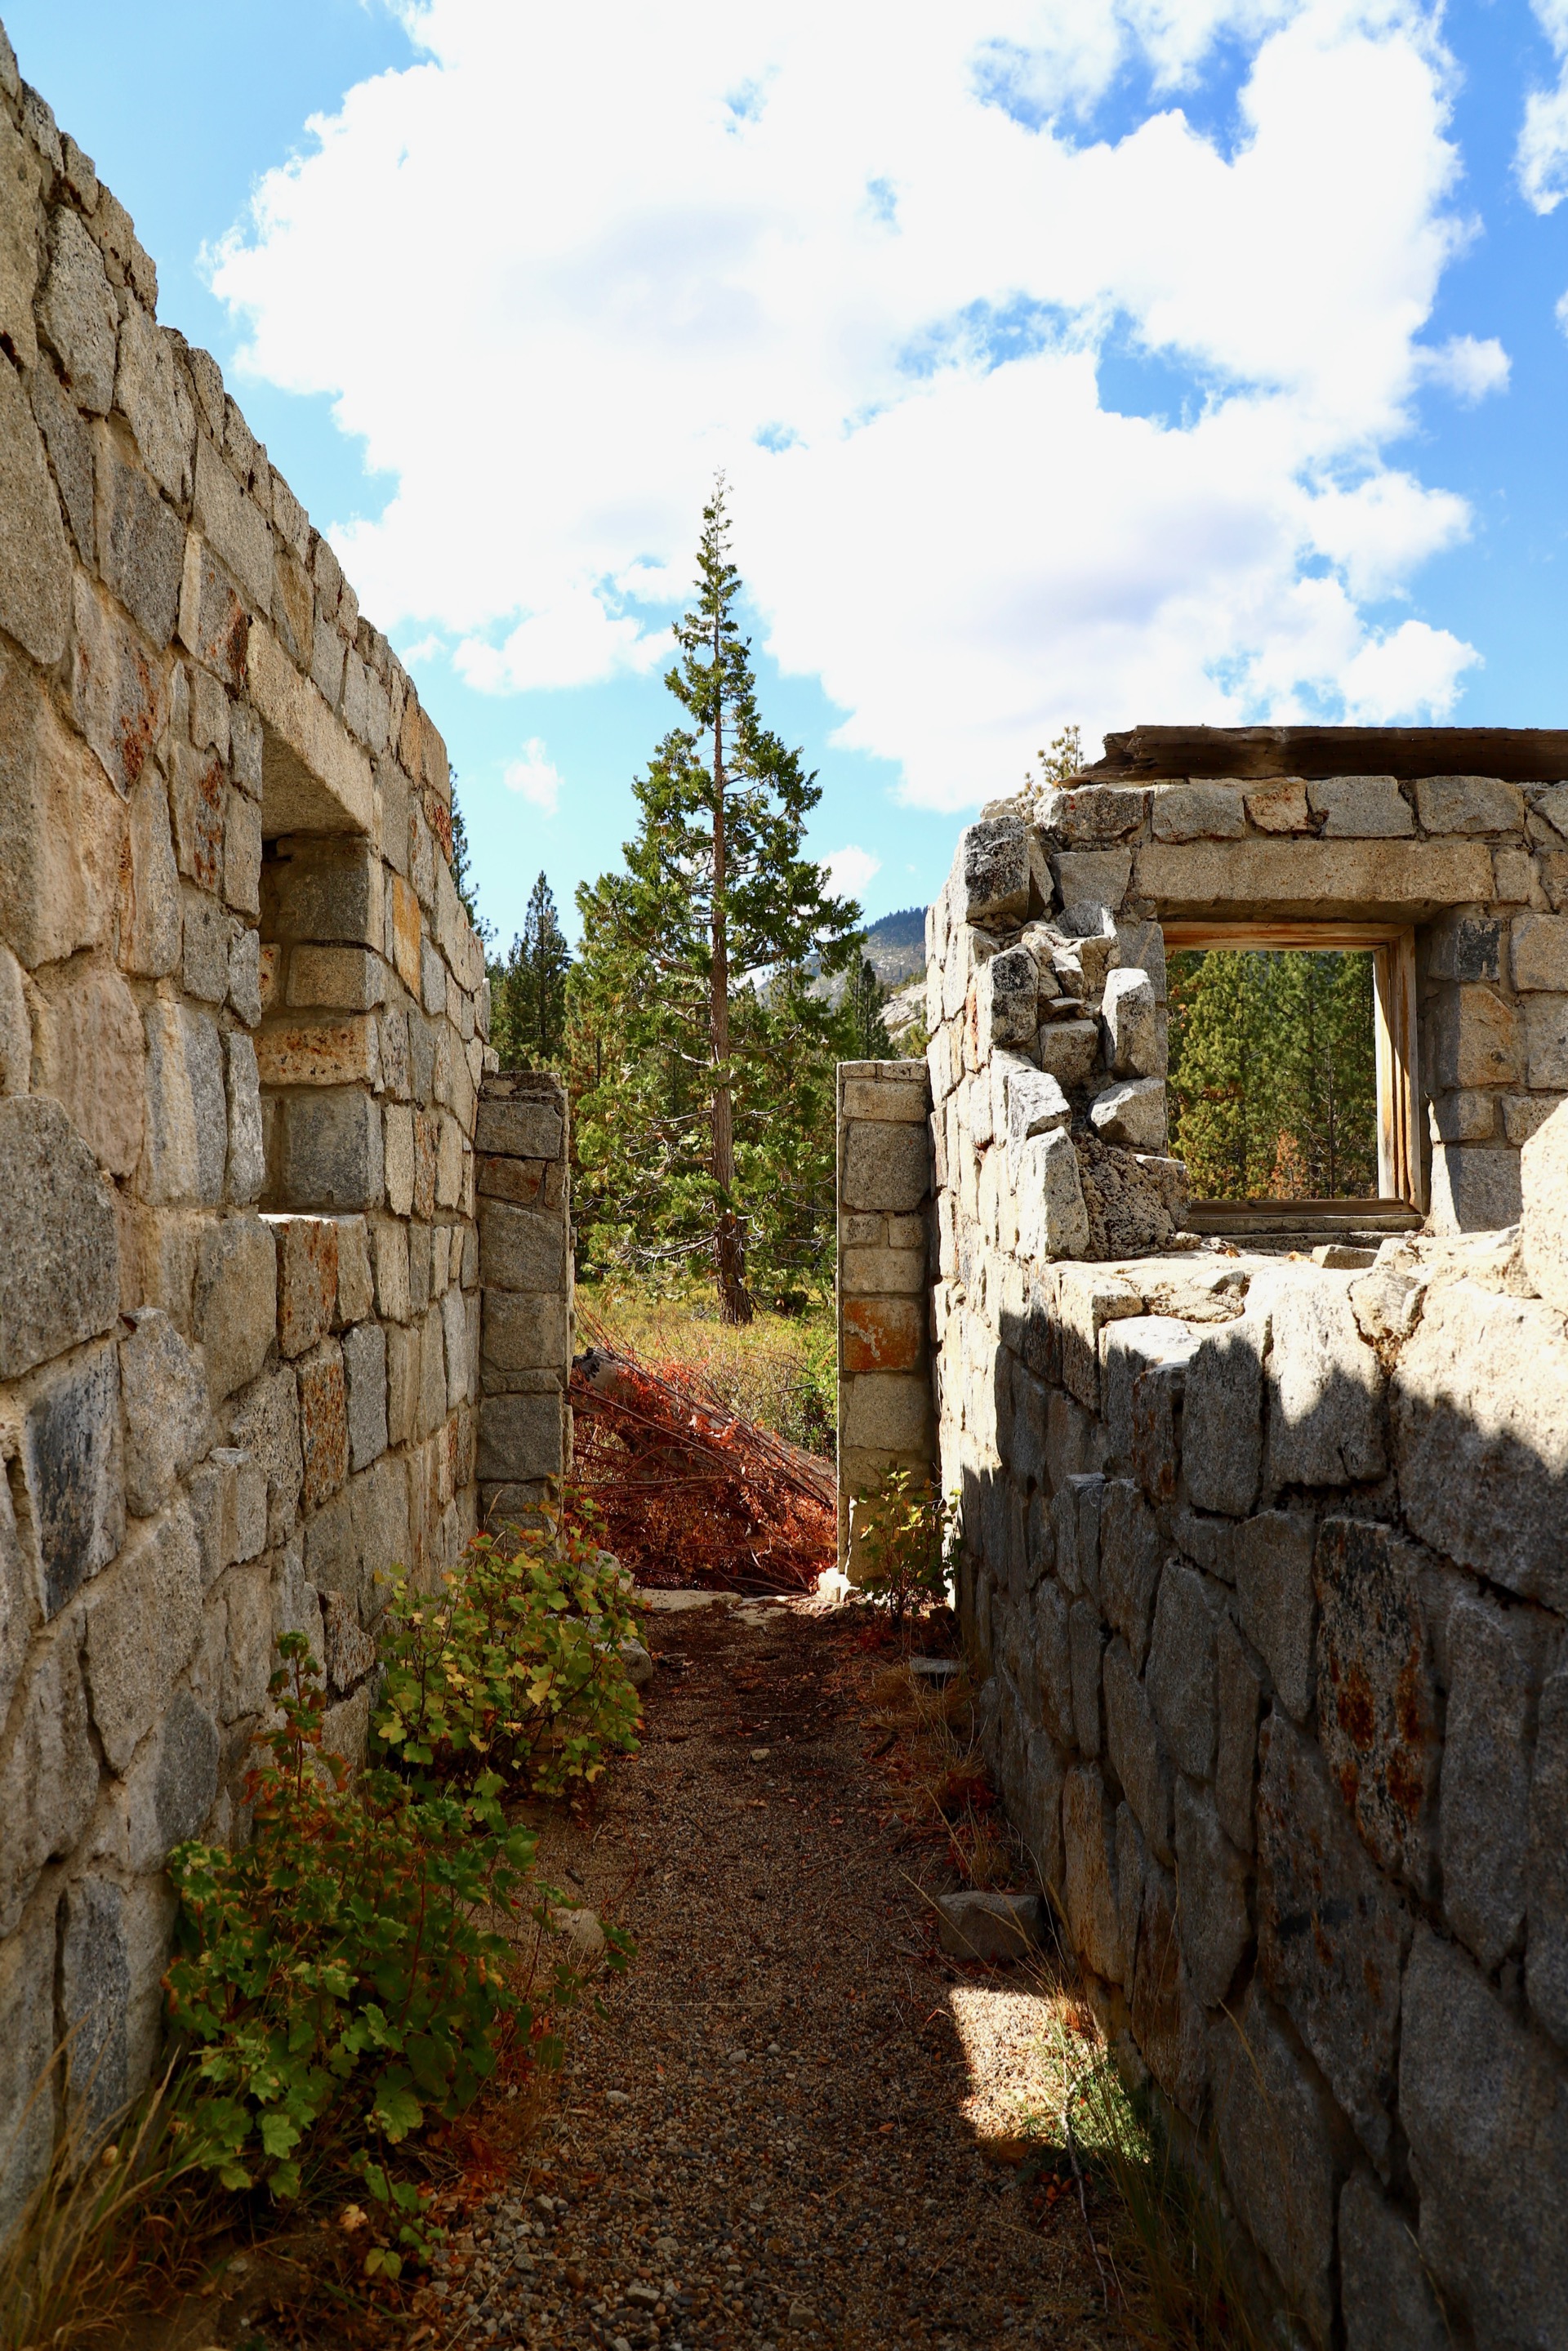
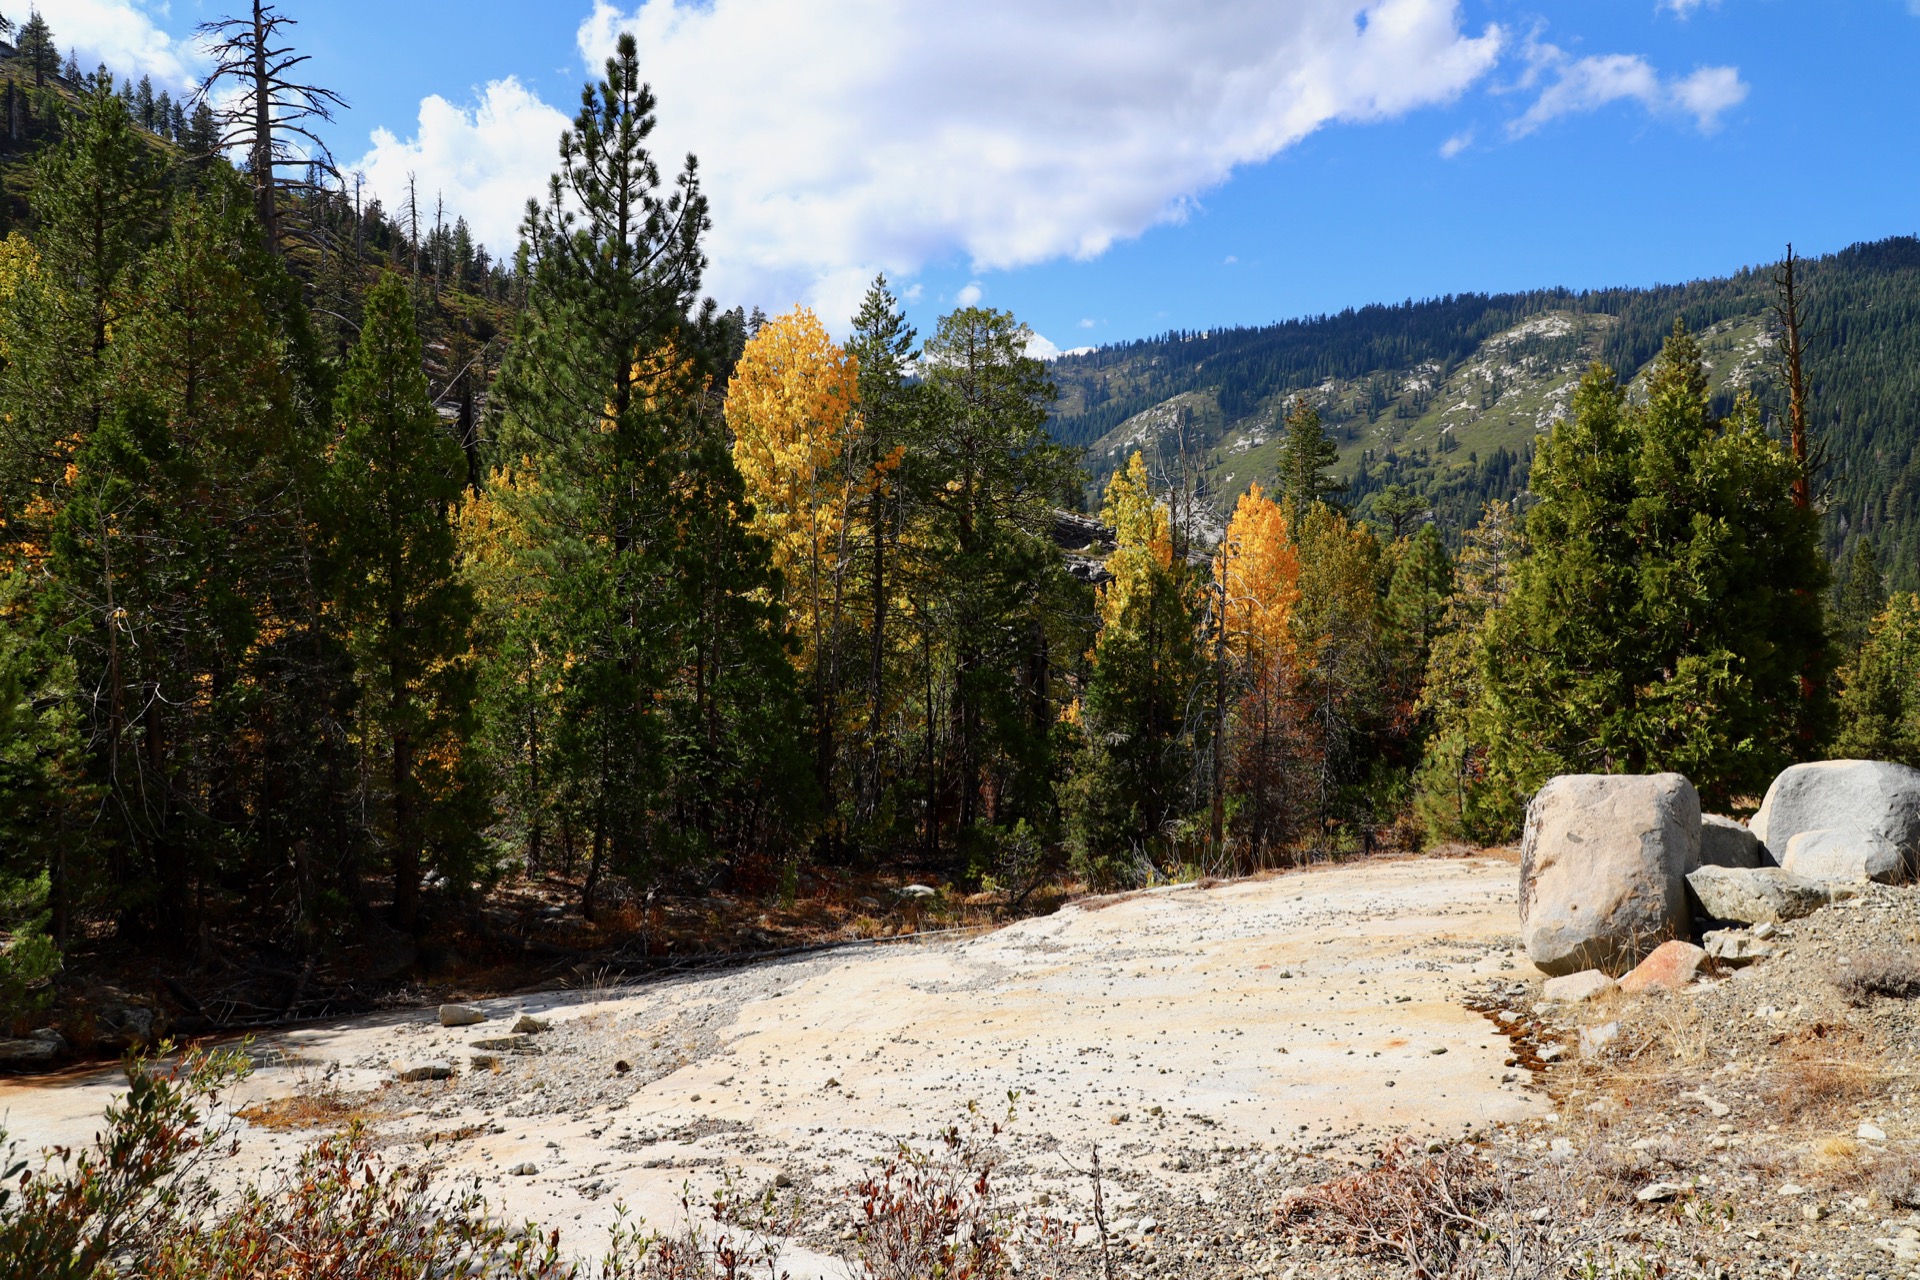
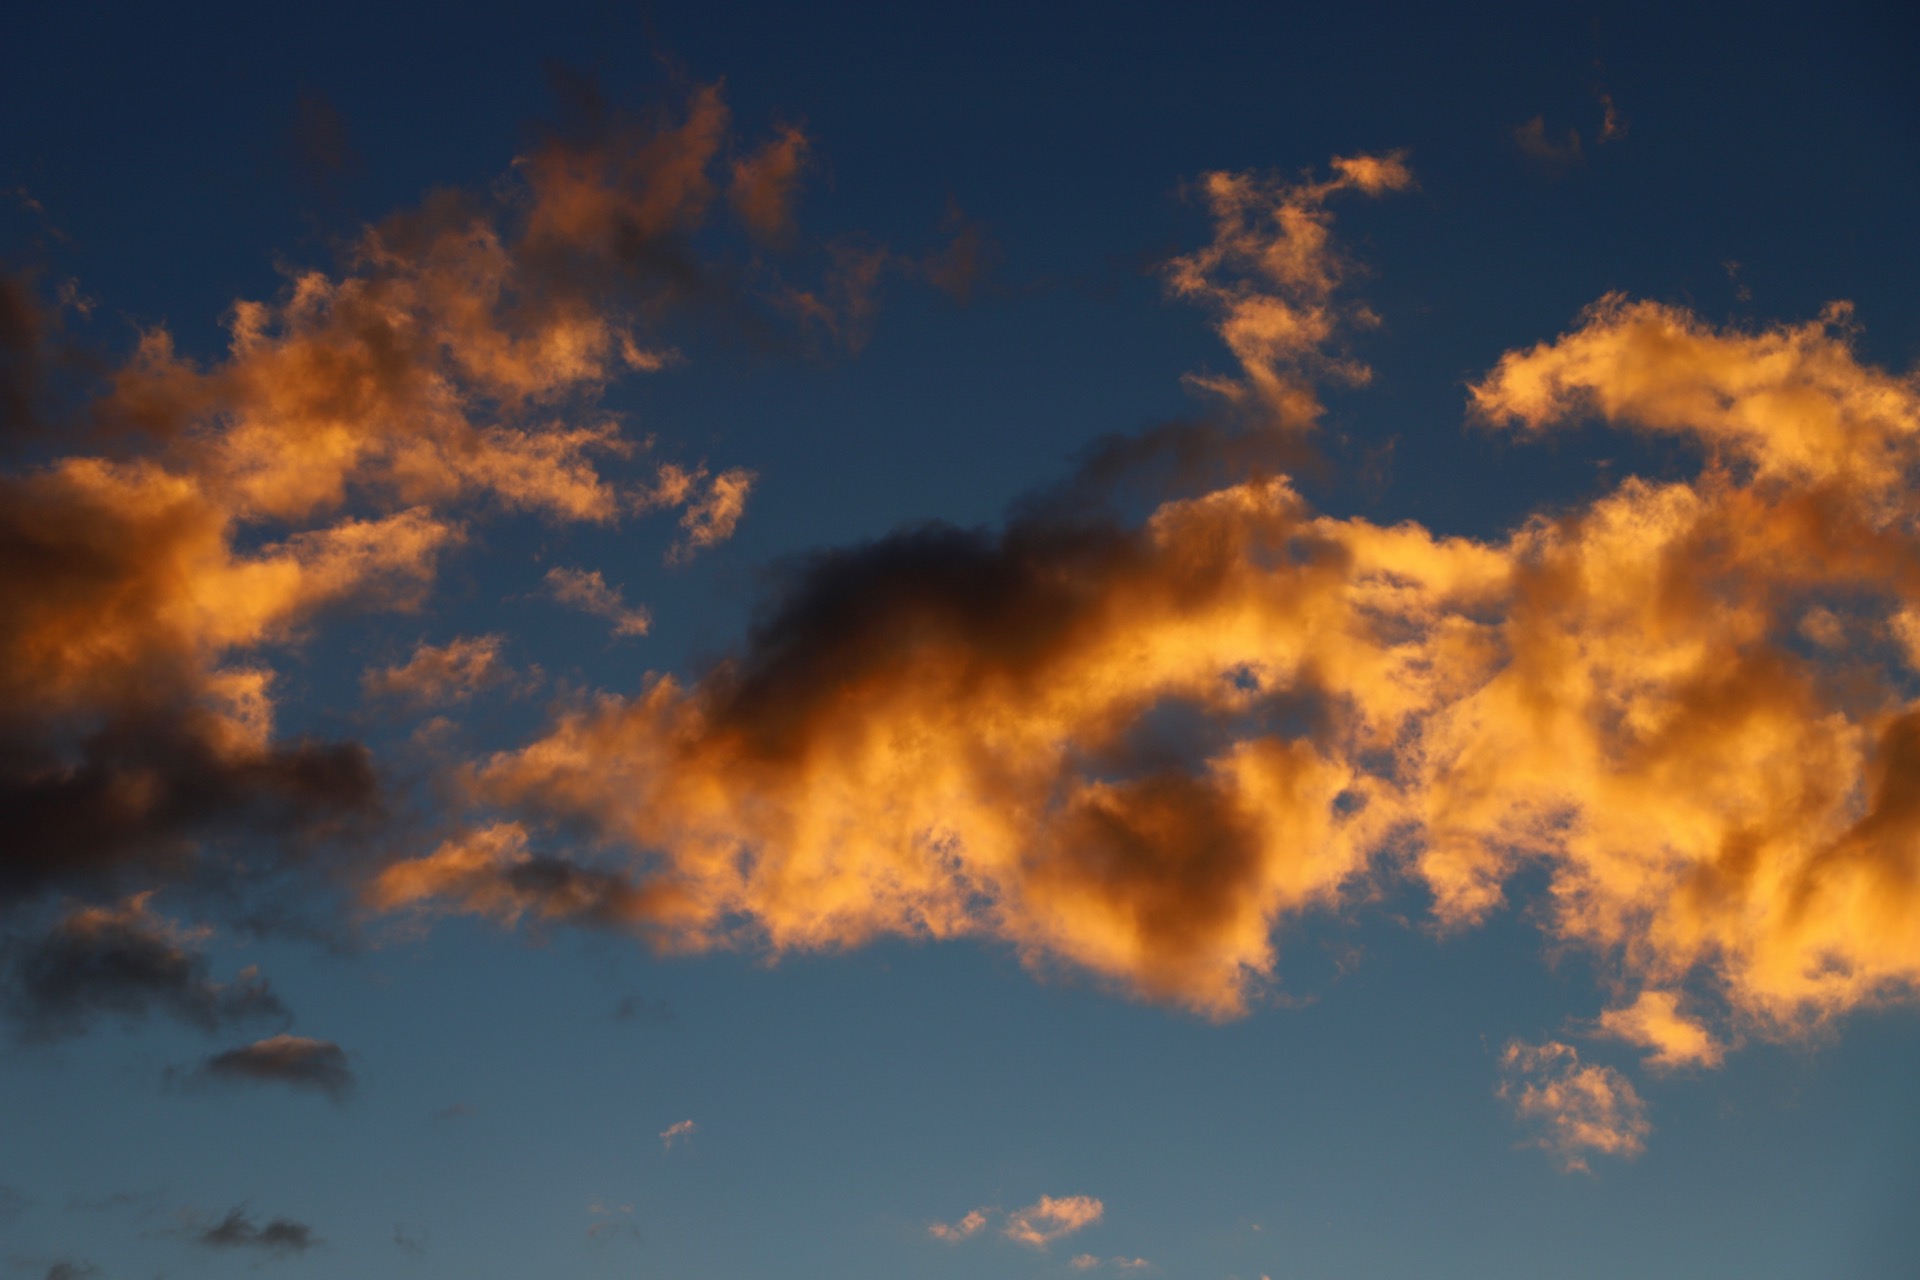
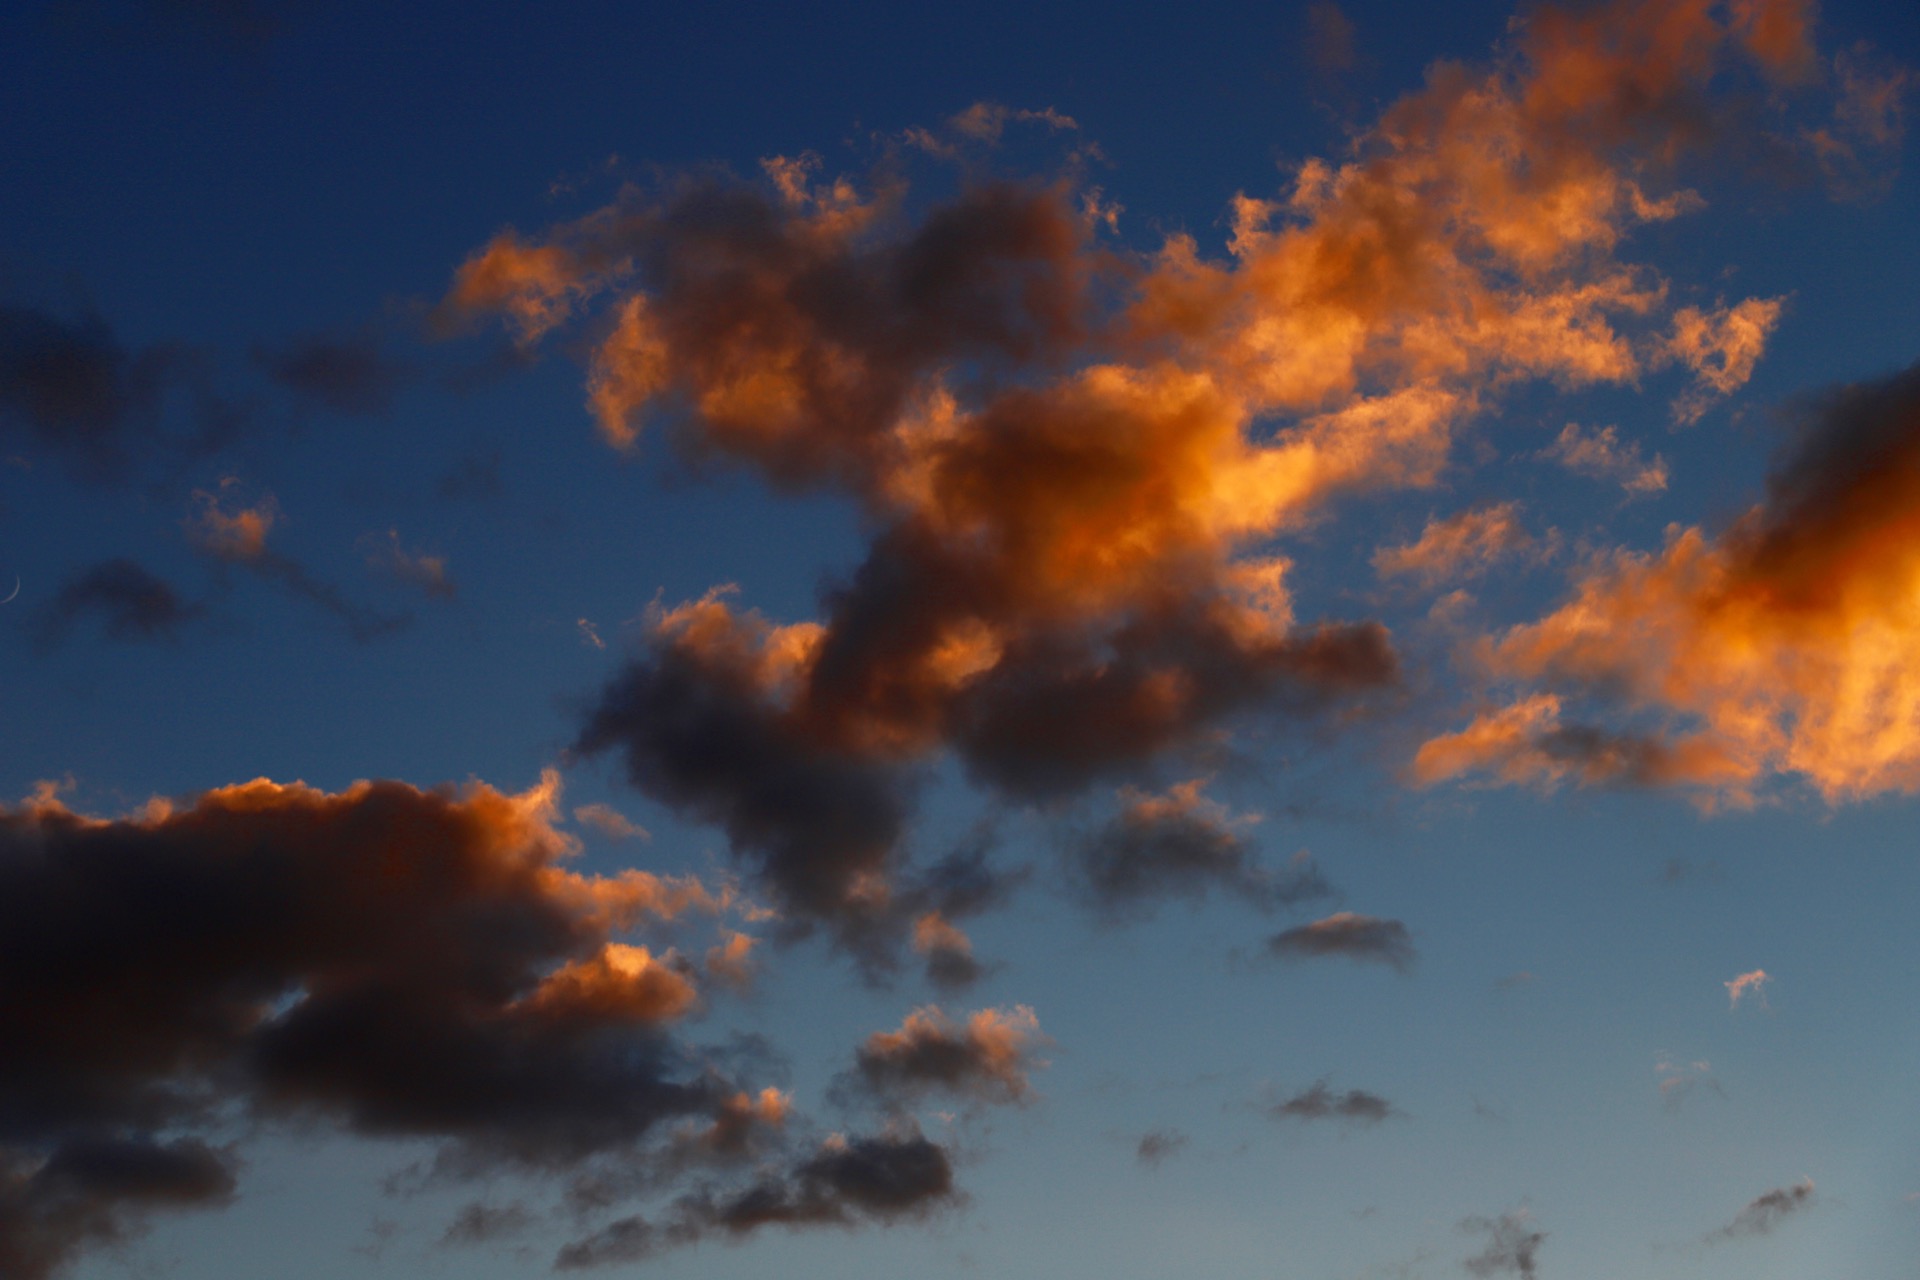
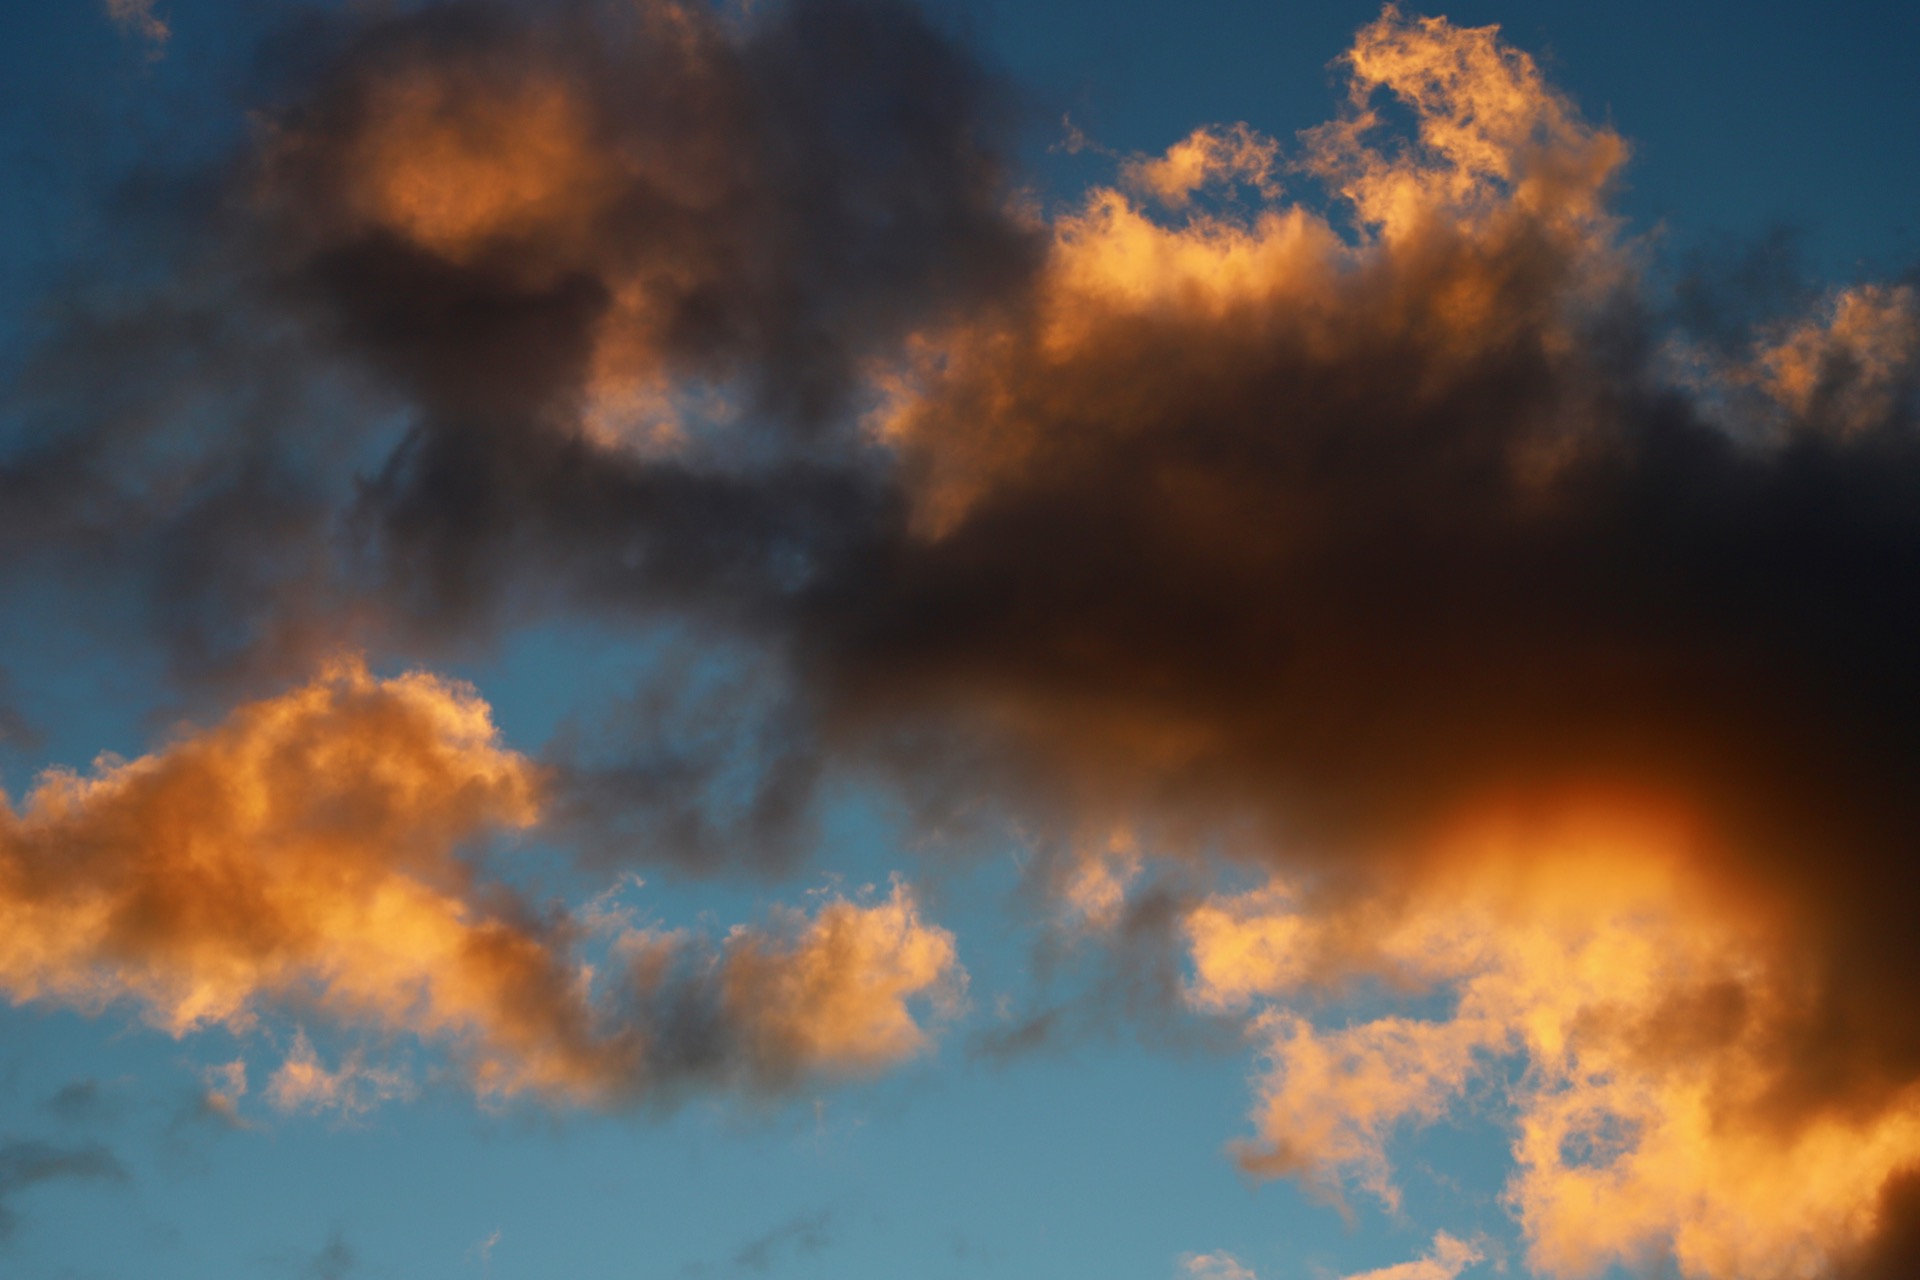
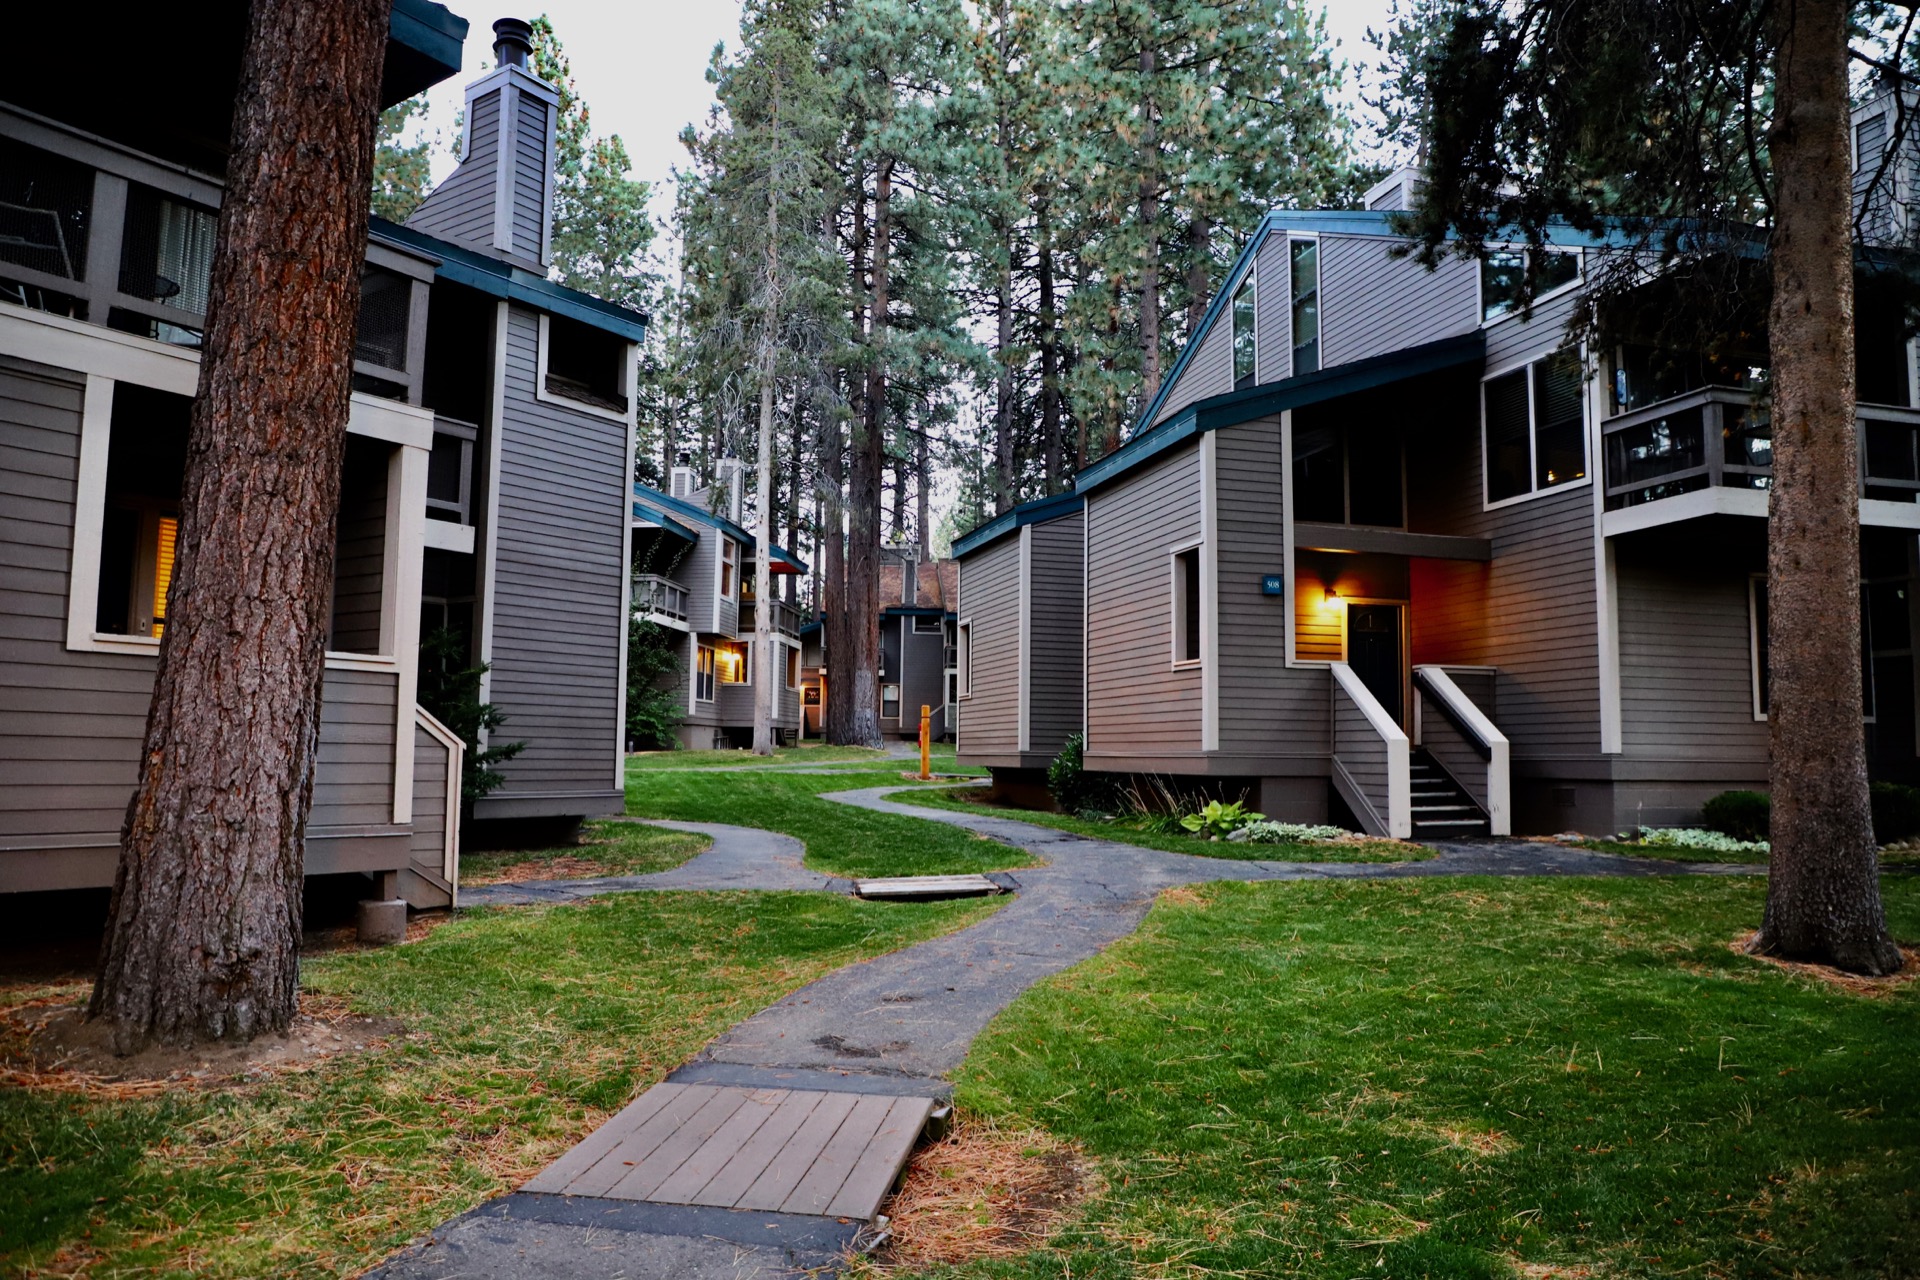
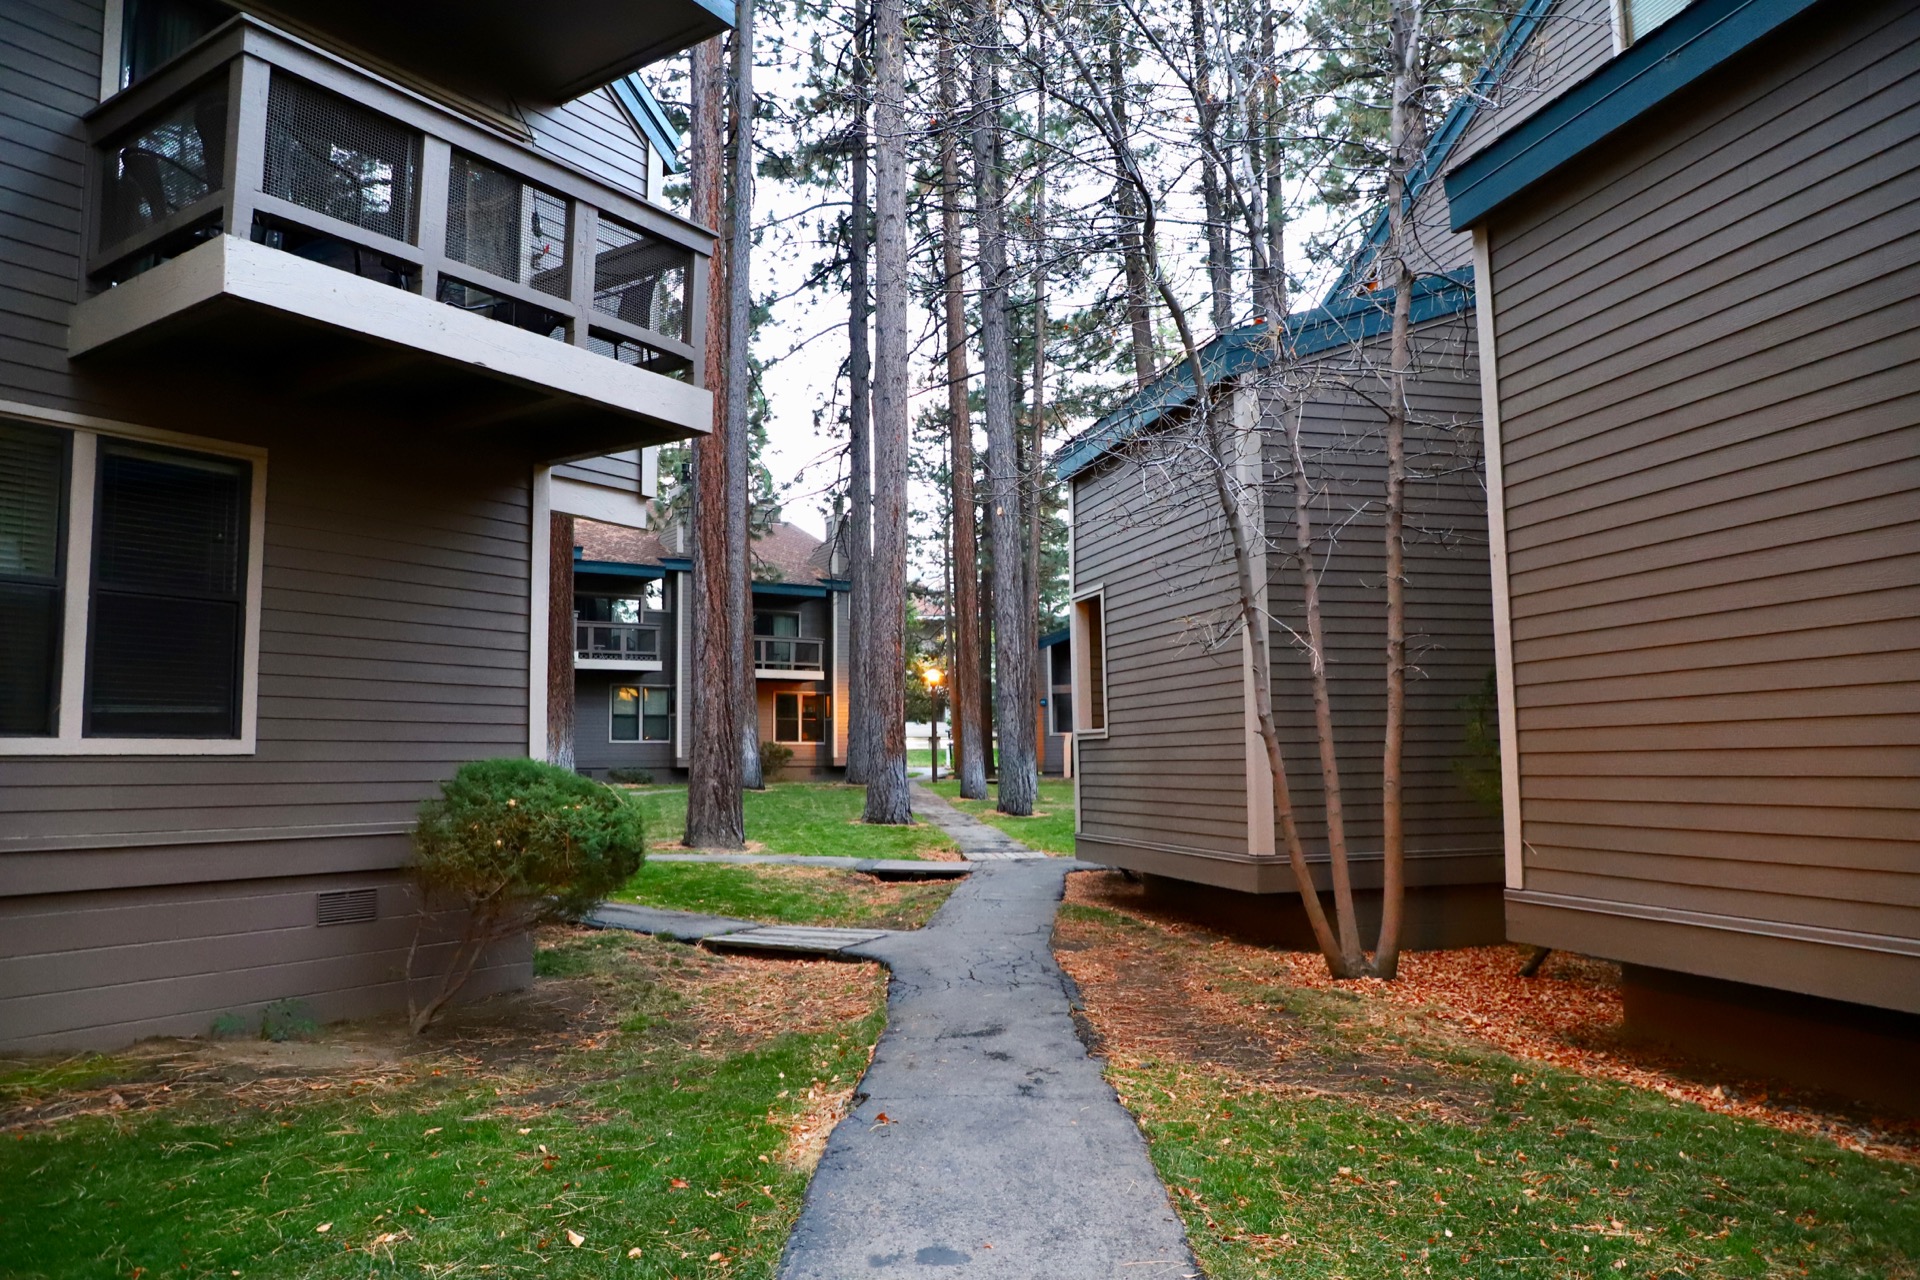
Below are some photos taken in the Lake Tahoe area while visiting there in early October 2018. These are 218 photos selected from about 1,400 total. Here I’m sharing the 1920×1080 size versions of the photos for people use as desktop wallpaper or enjoy in other ways. They also make for fun tablet or smartphone wallpaper. If you’d like to use any of these for commercial purposes, if you’d like the originals, or have any questions about this collection of photos, feel free to contact me. Thanks!
During this trip, we mostly stayed in the South Lake Tahoe area. The higher altitude phots with a view of Fallen Leaf Lake and Lake Tahoe are from a hike up Mount Tallac which is an ascent of about 3,290 from the trailhead to reach the 9,739 ft peak. We only climbed about 1,400 feet and turned back so we could get some sunset photos near the lake. Because of the steep ascent I burned about 2,000 calories round-trip on that hike according to my Apple Watch.
The Echo Lakes Trail at about 7,000 feet was another nice hike. At these higher altitudes the air is very crisp, dry, and fresh which is invigorating and energizing. Heading south from Tahoe, we found some nice trails and views along Highways 88, 89, and 50.
Equipment Used
I was using a Canon 6D Mark II camera. For the photos that seem to have more saturation, I had selected the Vivid or Intense options available in the CA camera setting. See page 102 of the instruction manual for further details about these features. I was using the 24-105mm USM lens that came with the camera. Although I didn’t have a tripod, the Canon Image Stabilization (second generation) seemed to work well enough.
Camera Settings
I was able to use the automatic mode for most of the photos. The camera’s choice of aperture, speed, ISO, and focal point were acceptable. Sometimes I’d switch to manual focus and at times used Aperture Priority when I wanted more control over the shot. Learn more about Aperture Priority on page 238 of the Canon 6D II instruction manual.
The Intense color setting can result in photos that seem too dark. However, using Intense that then later using software to increase the exposure will result in photos that are less washed out than if the photo had been taken without these color enhancement options. The Vivid setting is a less saturated option, but sometimes isn’t enough.
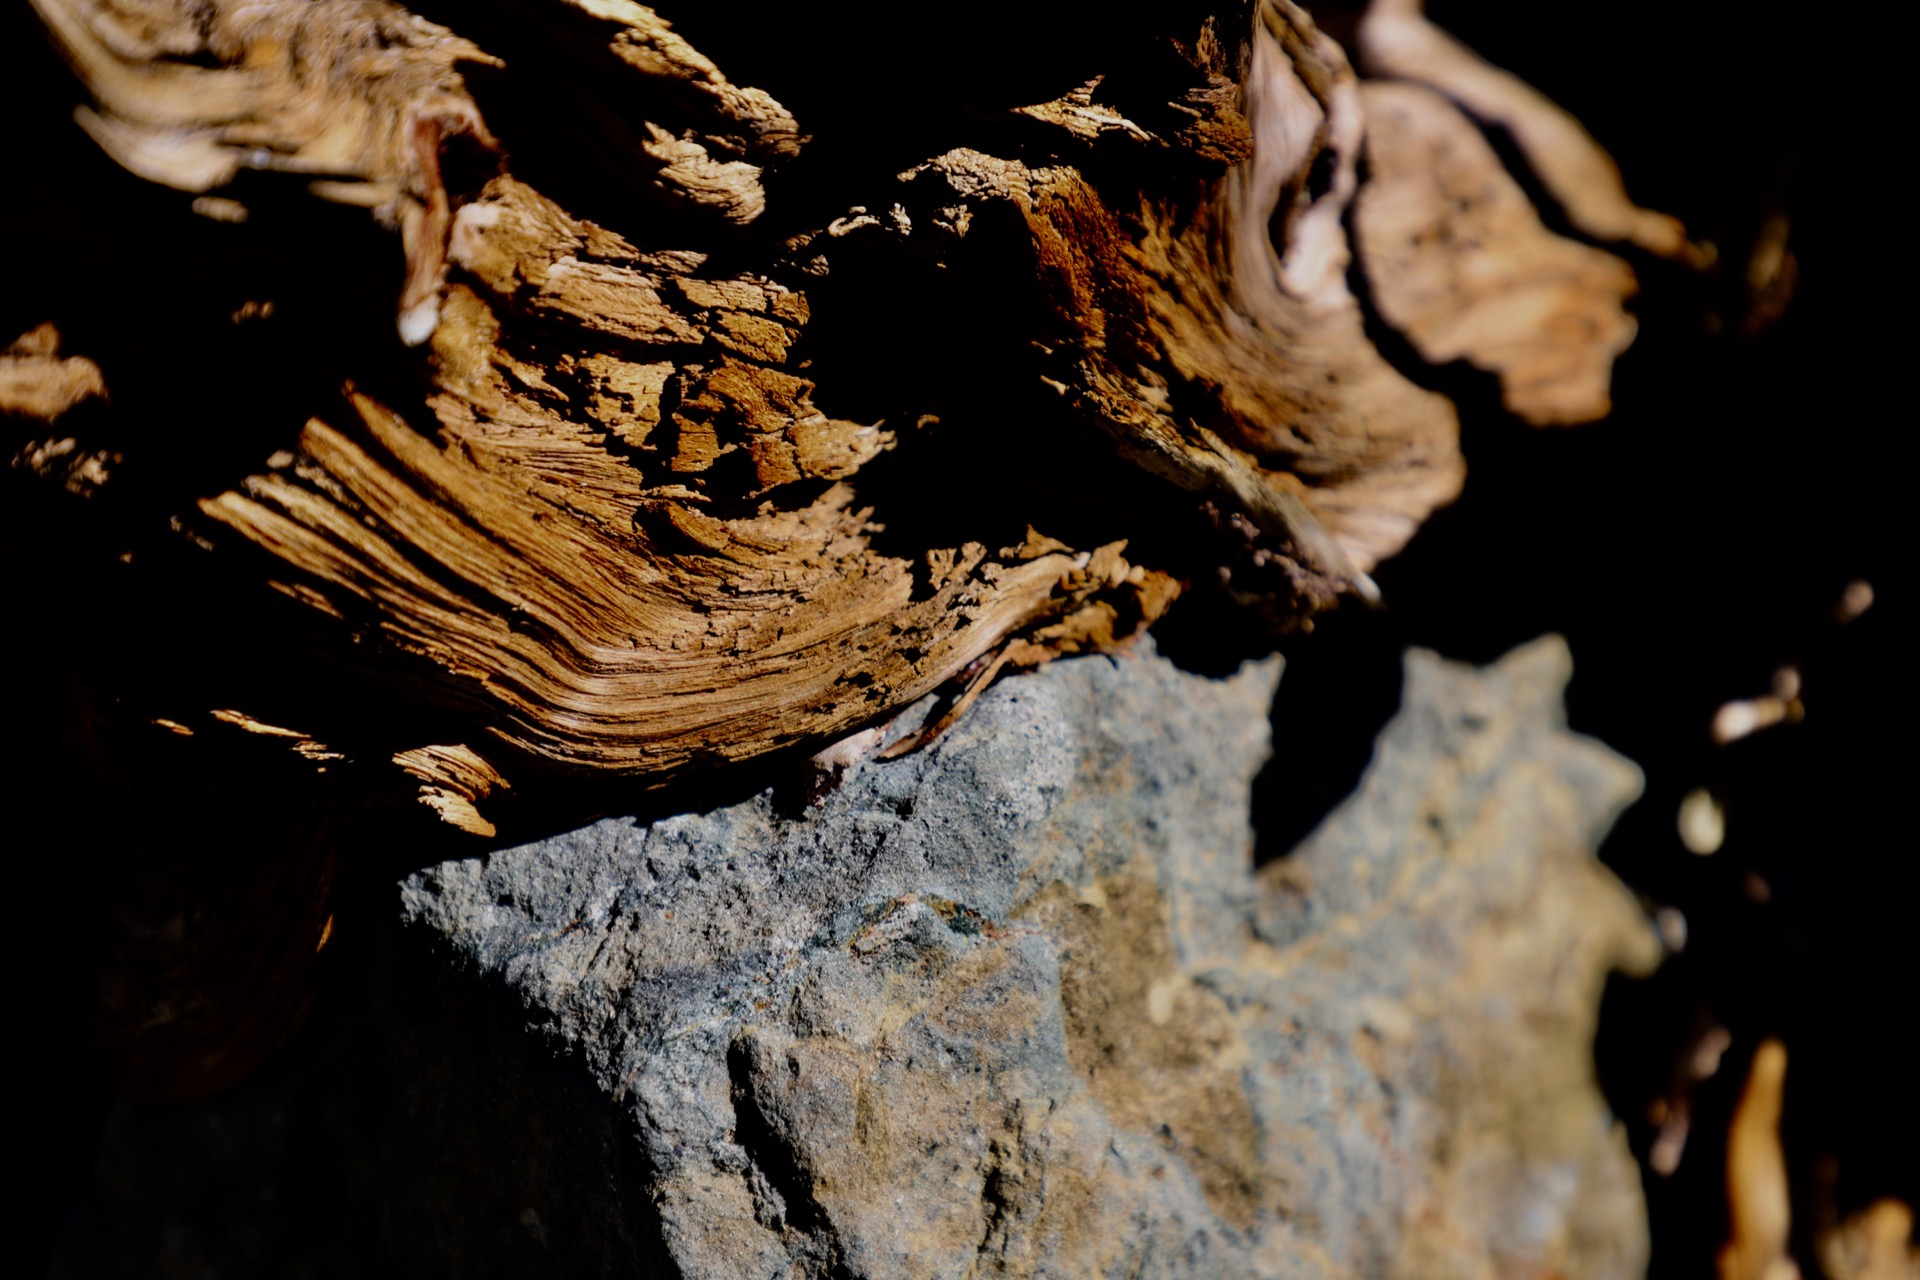
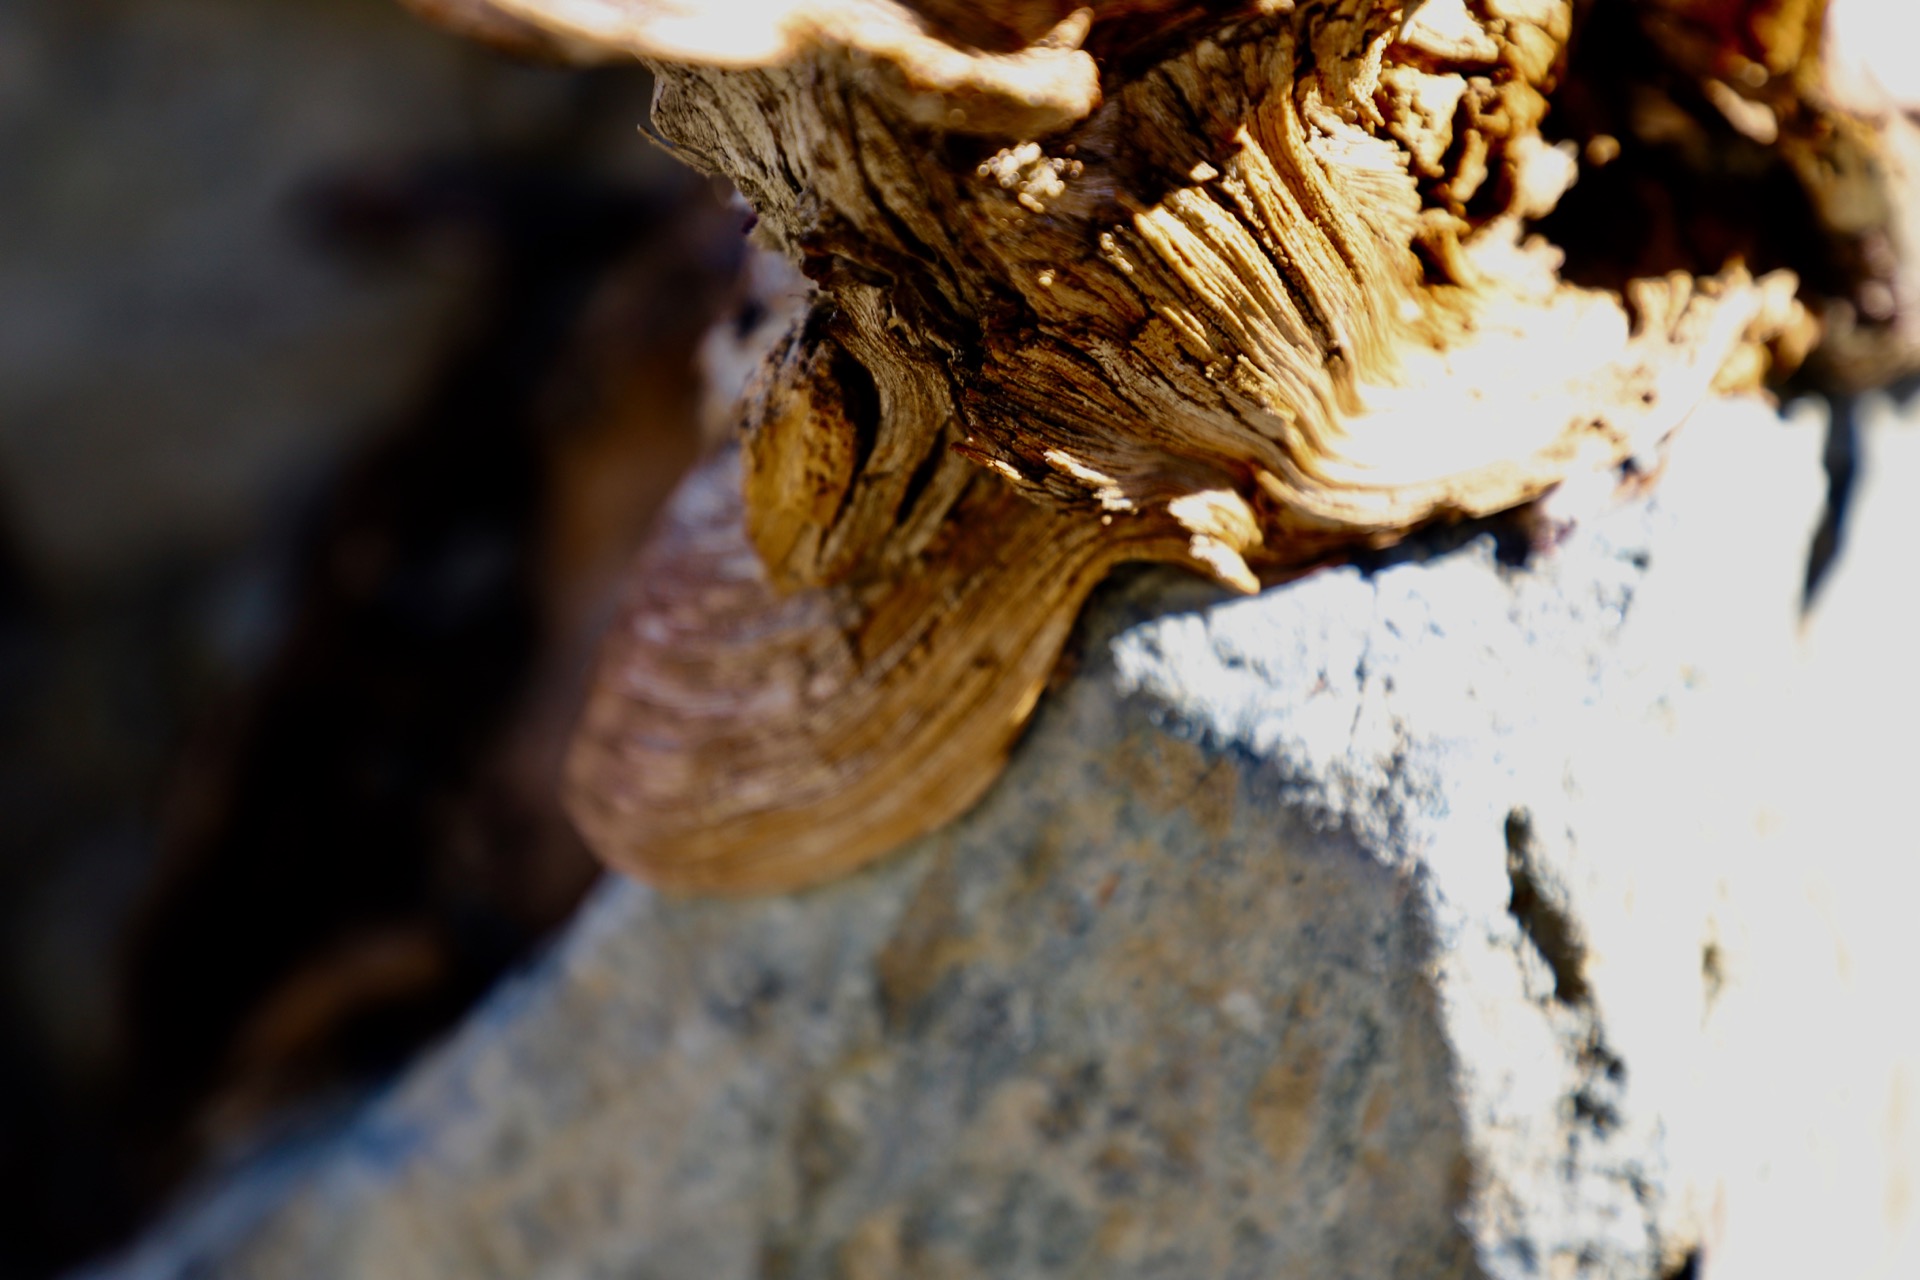
About Blurry and Abstract Images
In addition to traditionally composed photos where the subject and context are easily identified, I usually take some abstract photos as well. So, some of the photos in this collection were intentionally made blurry using manual focus to create an abstract image that could be used as a background. The in-focus version is also provided to show the subject used for the blurry photo. There are also some photos that are taken in such a way that the context is not provided, thus making the image difficult to identify. This is done intentionally.
Tahoe Area Photos
Here’s the gallery. Enjoy!
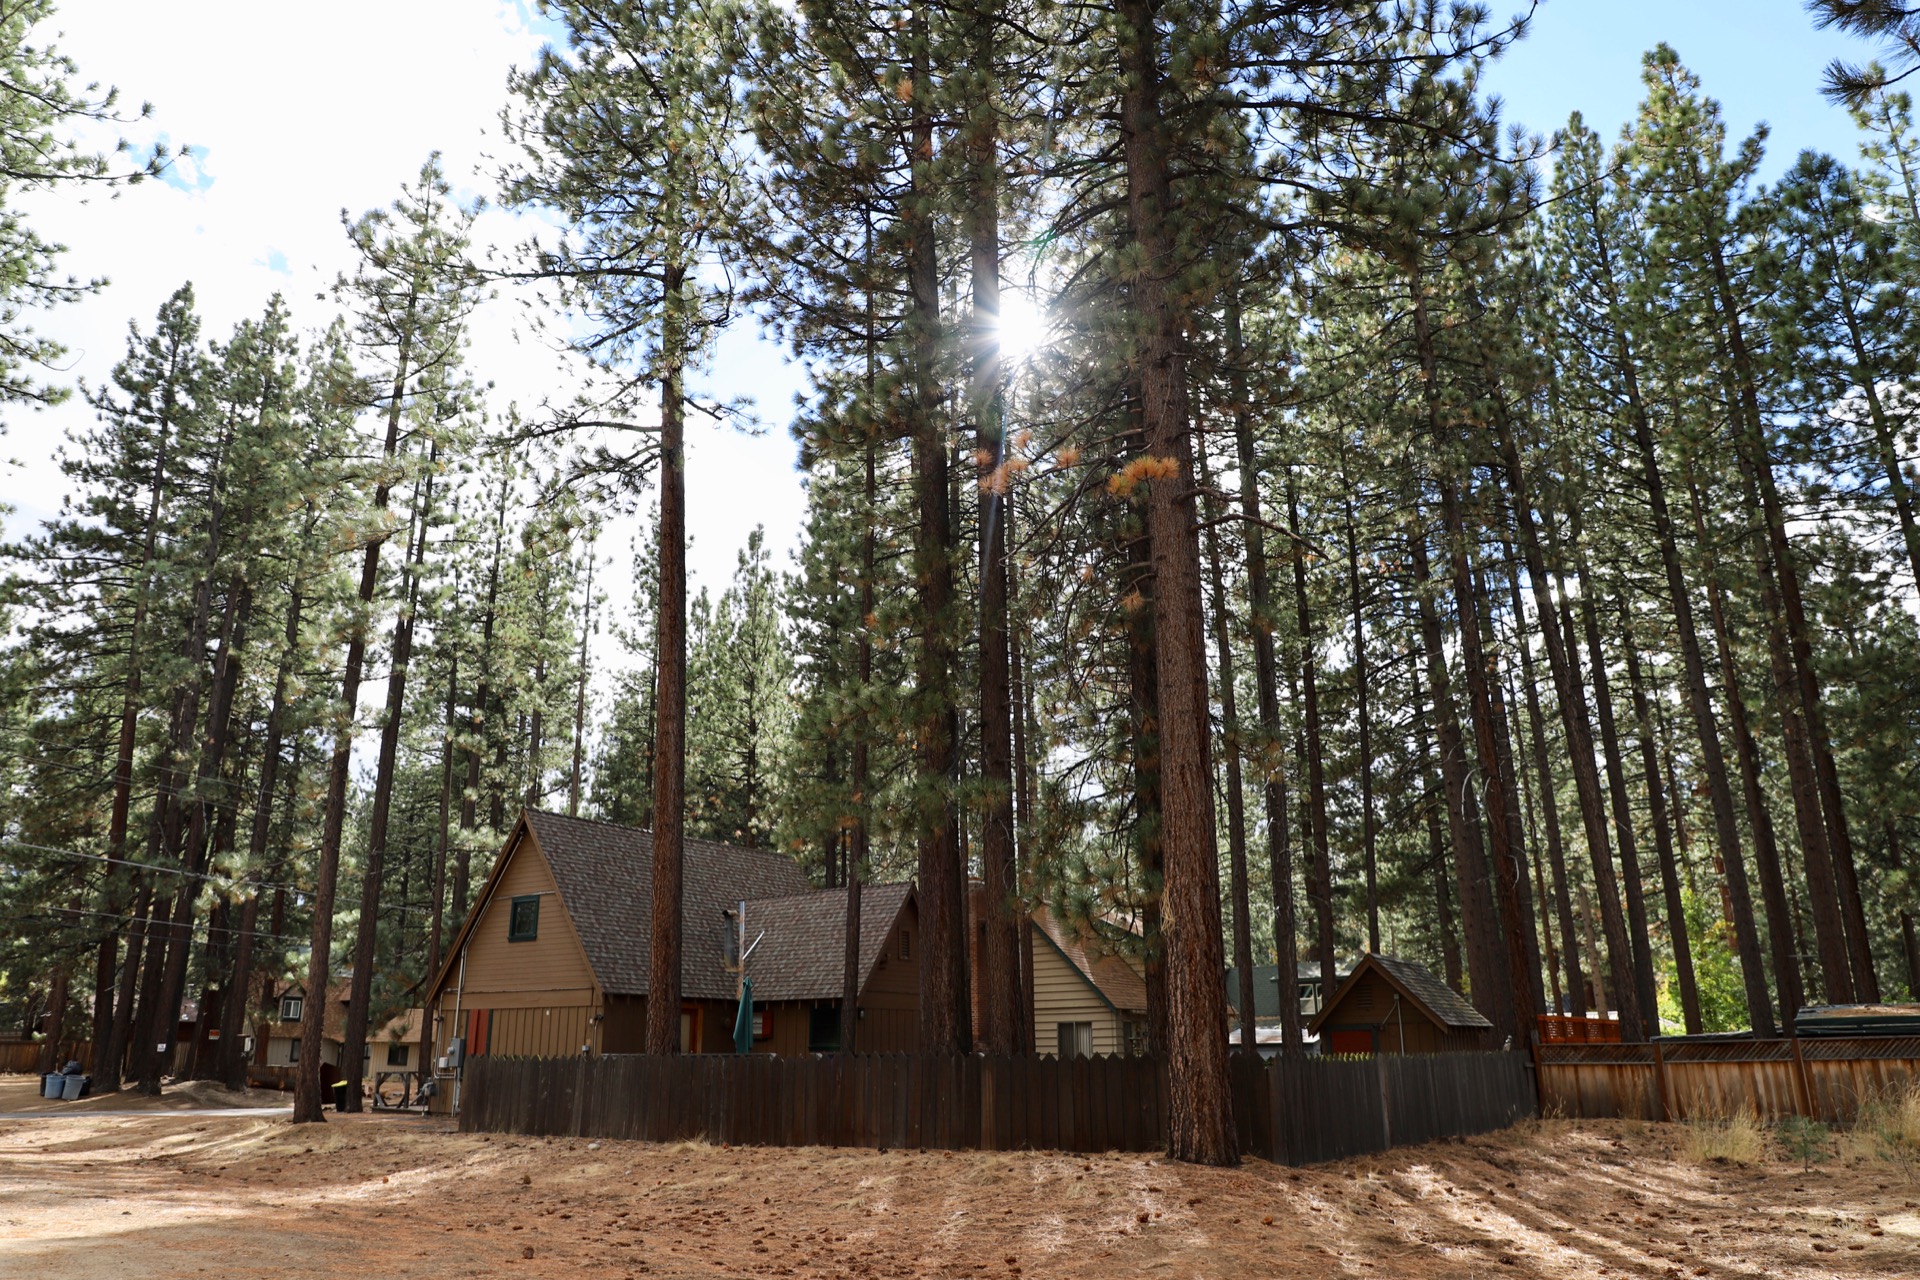
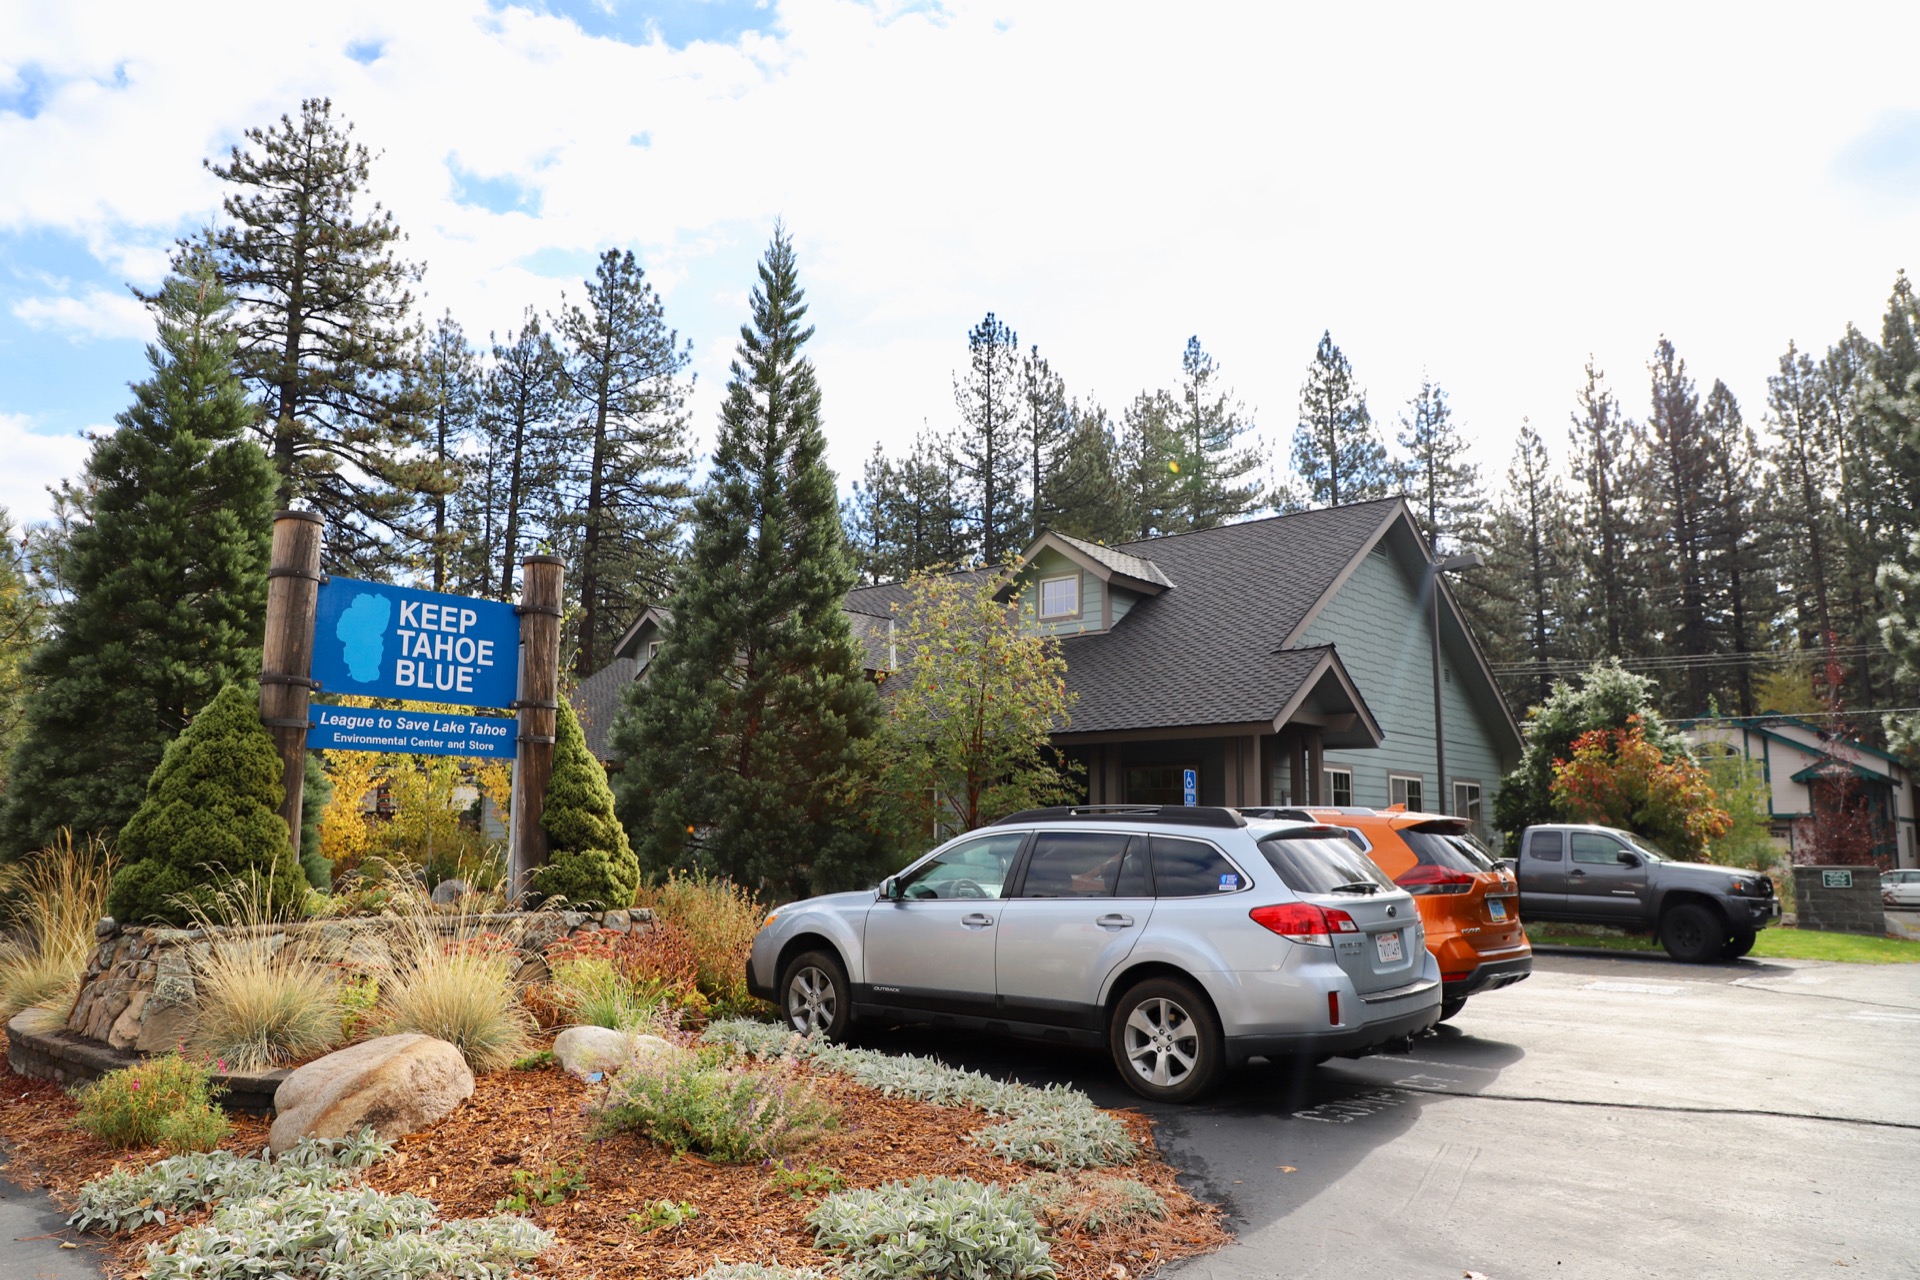
South Lake Tahoe, Riverside Ave – See Mapped: http://bit.ly/2Ot8ylc
Near Taylor Creek
Near Taylor Creek
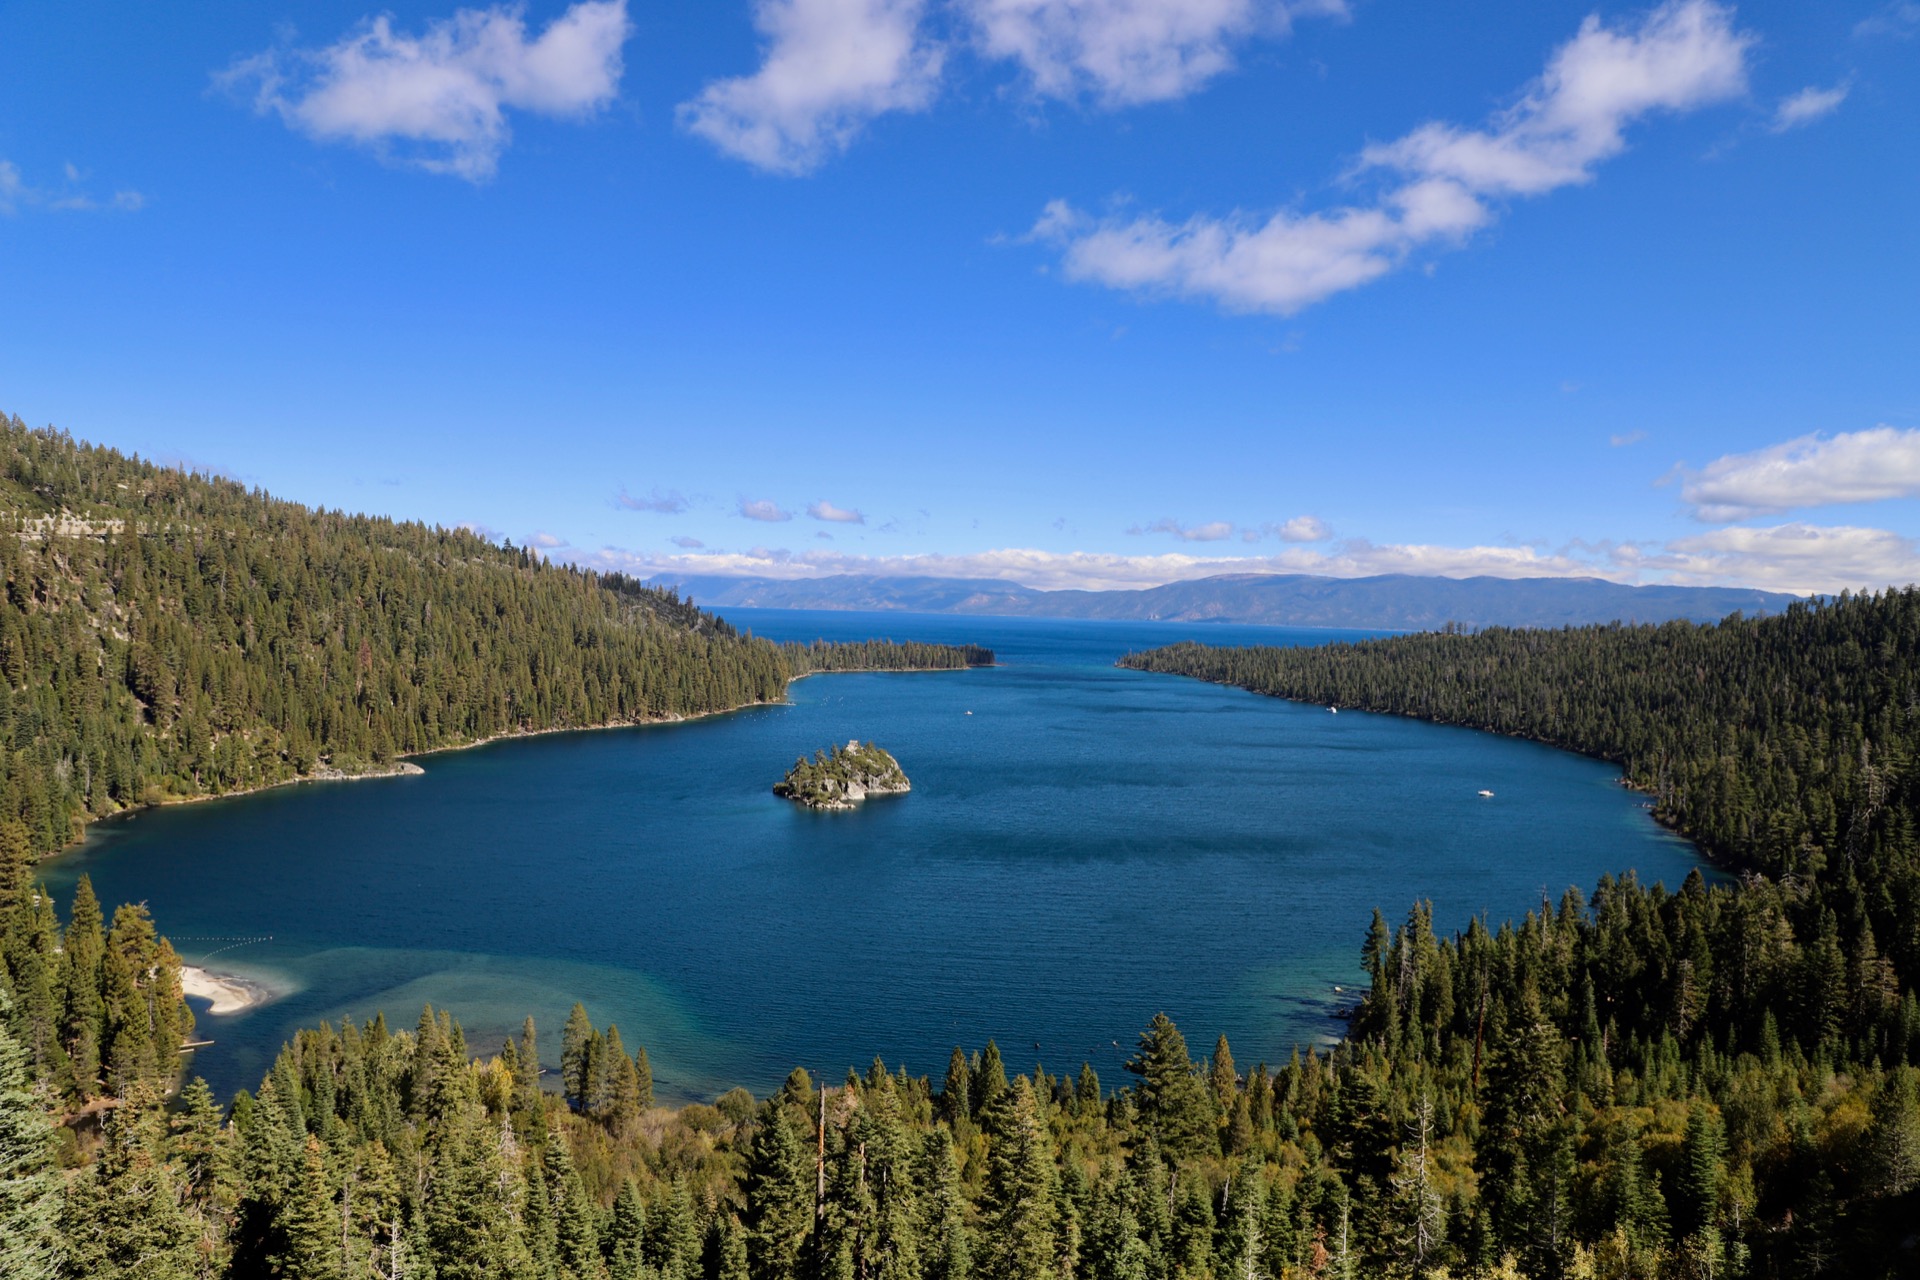
Emerald Bay Scenic View Looking Up
Emerald Bay Scenic View Looking Up – Reduced Exposure
Emerald Bay Scenic View Looking Up – Reduced Exposure
Emerald Bay Scenic View Looking Up
View from Emerald Bay Road
View from Emerald Bay Road
View Entering Incline Village on Hwy 28
View Entering Incline Village on Hwy 28
Along Hwy 28 Entering Incline Village
Along Hwy 28 Entering Incline Village
Along Hwy 28 Entering Incline Village
Along Hwy 28 Entering Incline Village
Along Hwy 28 Entering Incline Village
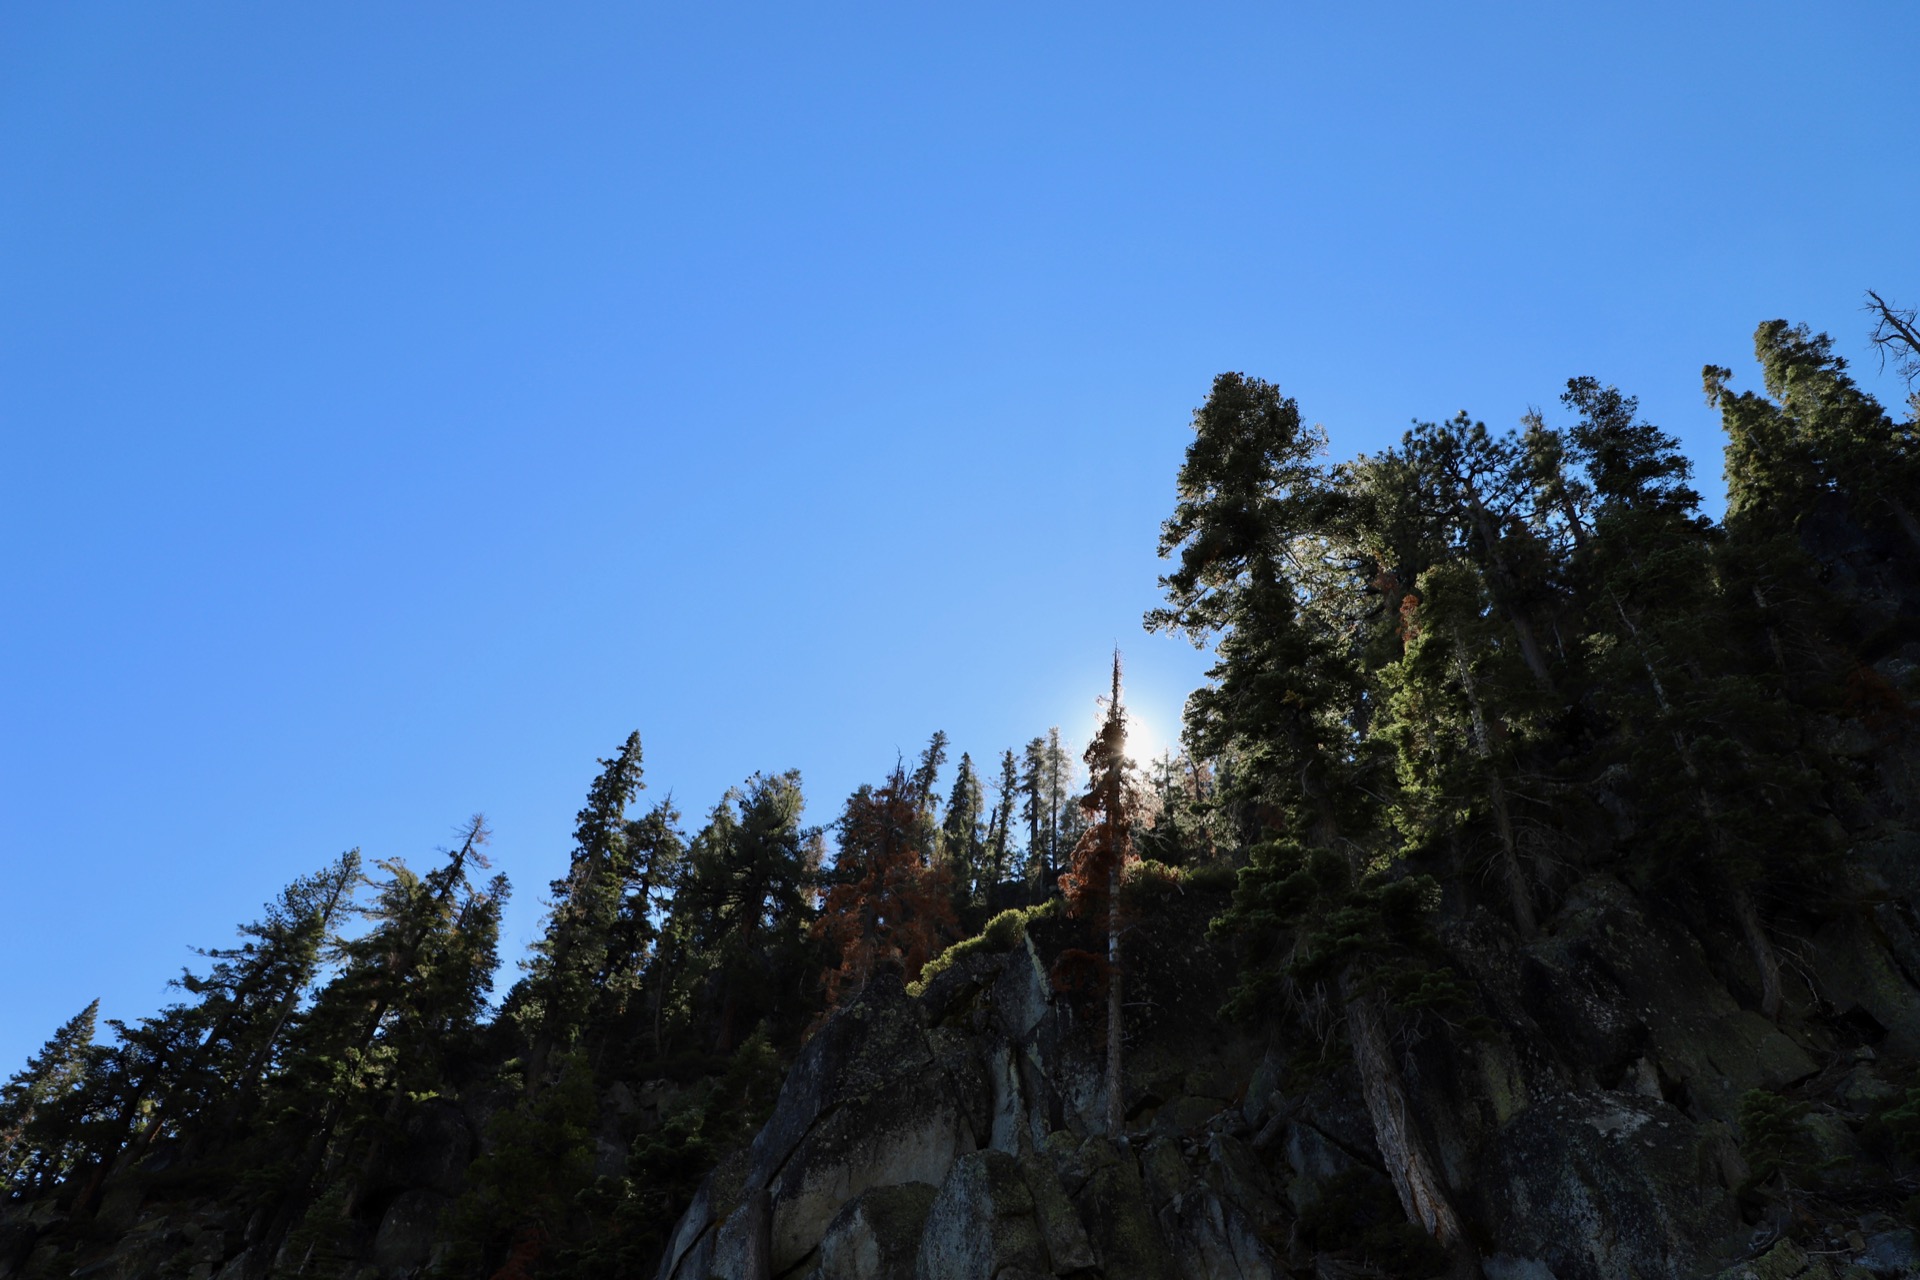
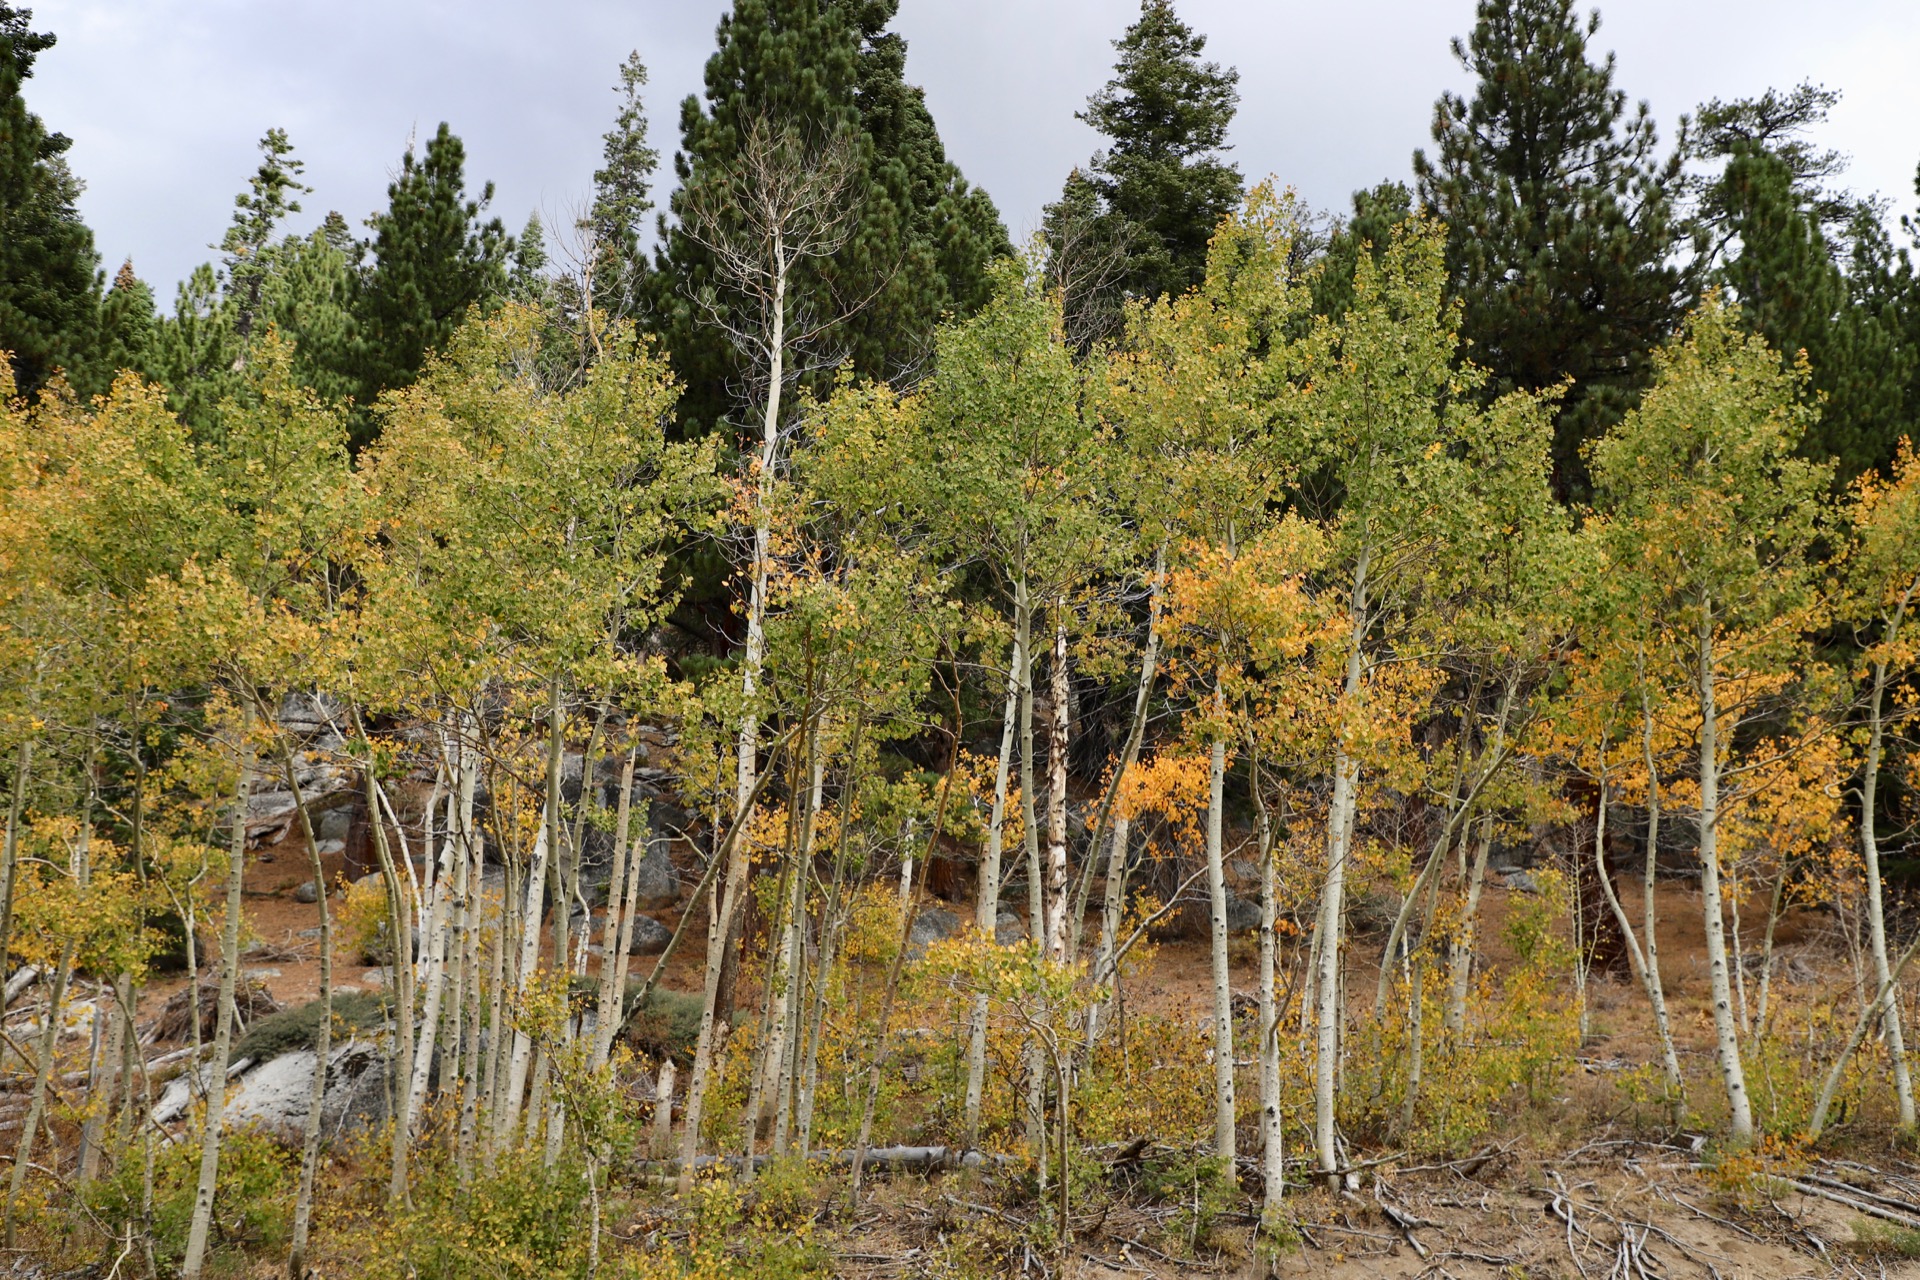
Echo Lakes Trail Hike
Echo Lakes Trail Hike
Echo Lakes Trail Hike
Echo Lakes Trail Hike
Echo Lakes Trail Hike
Echo Lakes Trail Hike
Echo Lakes Trail Hike
Echo Lakes Trail Hike
Echo Lakes Trail Hike
Echo Lakes Trail Hike
Echo Lakes Trail Hike
Along Hwy 88 Near Fredericksburg
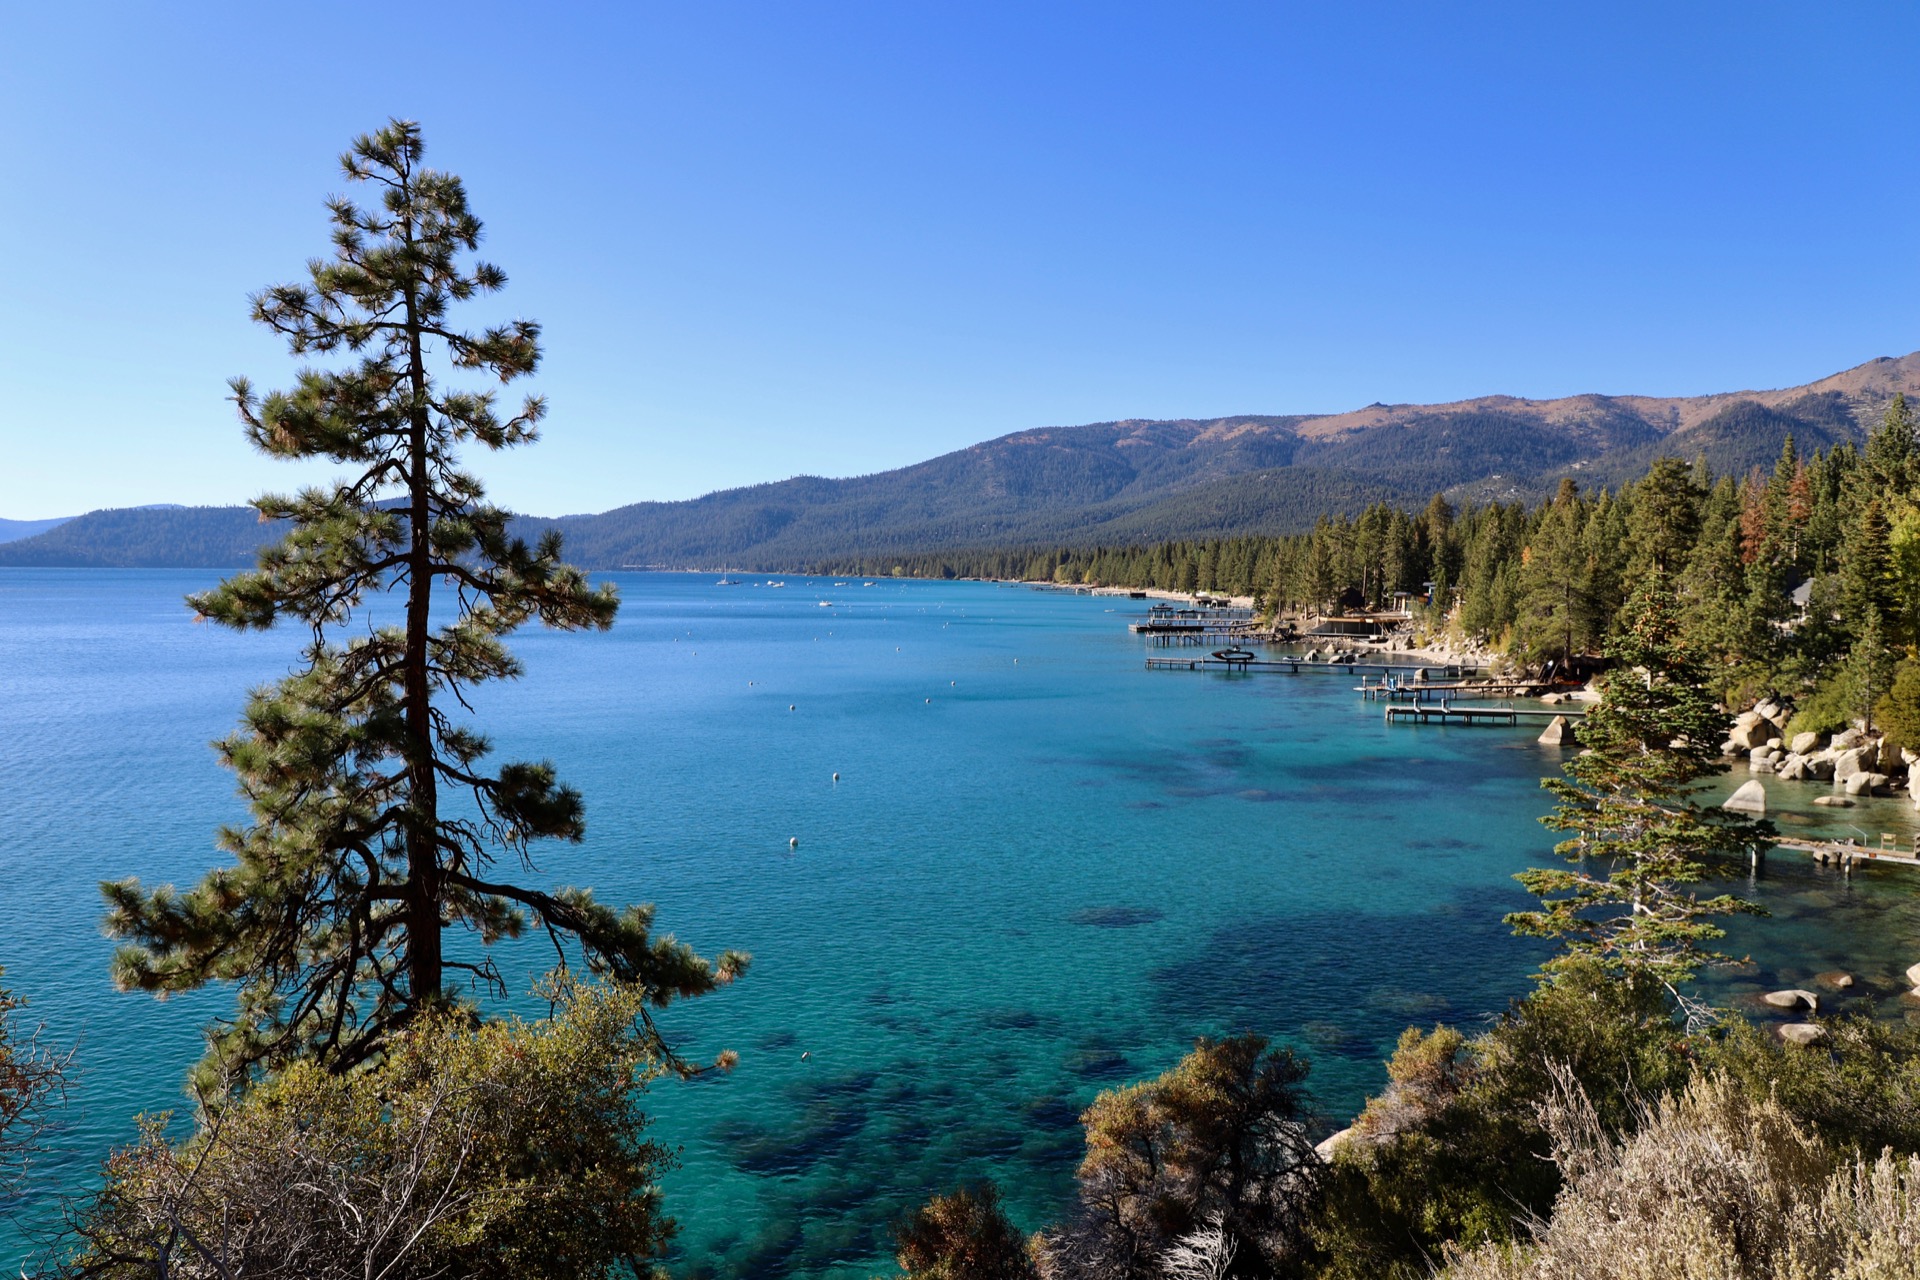
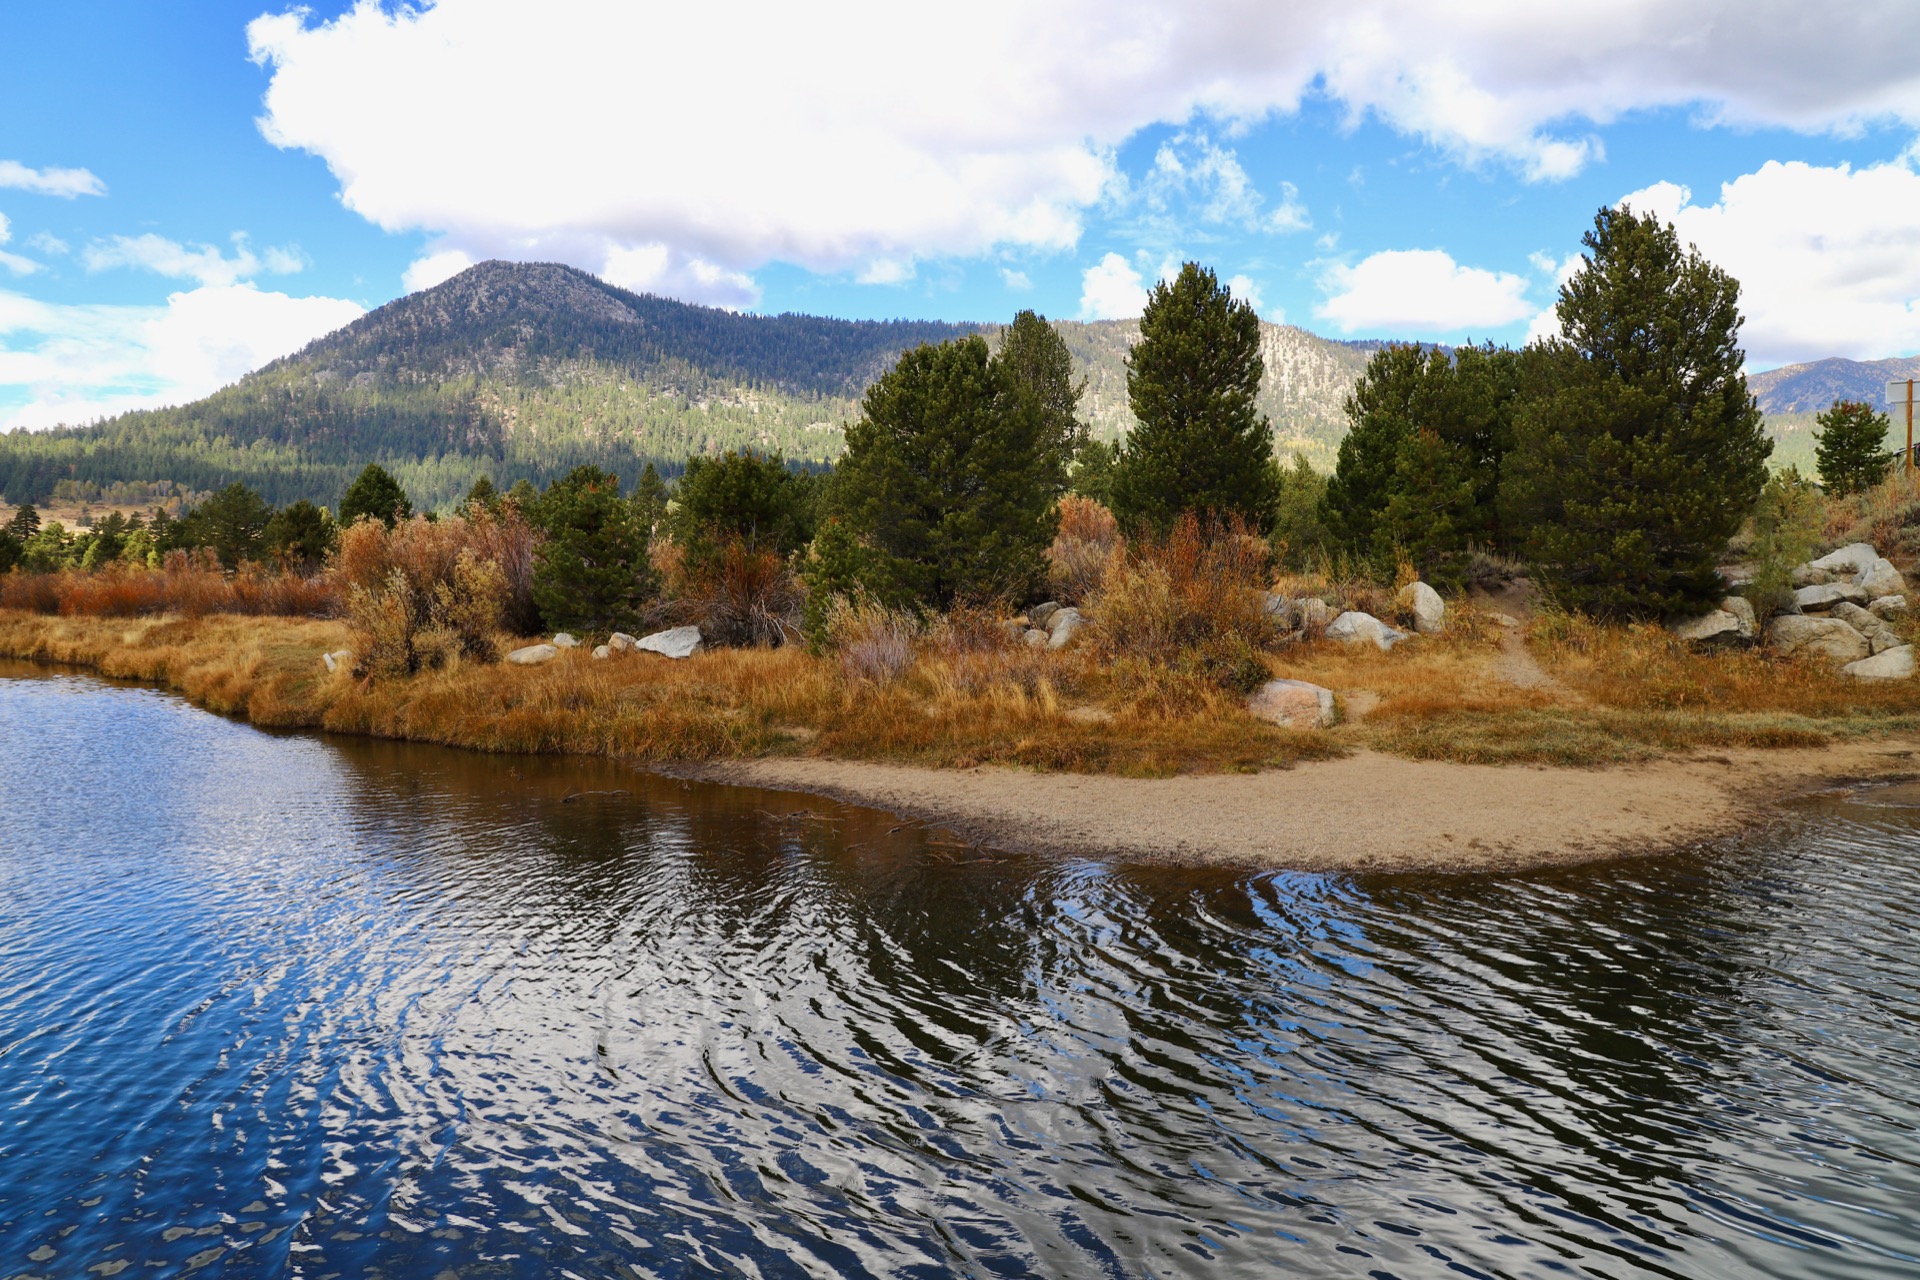
Zephyr Cove – Lake Tahoe
Zephyr Cove – Lake Tahoe
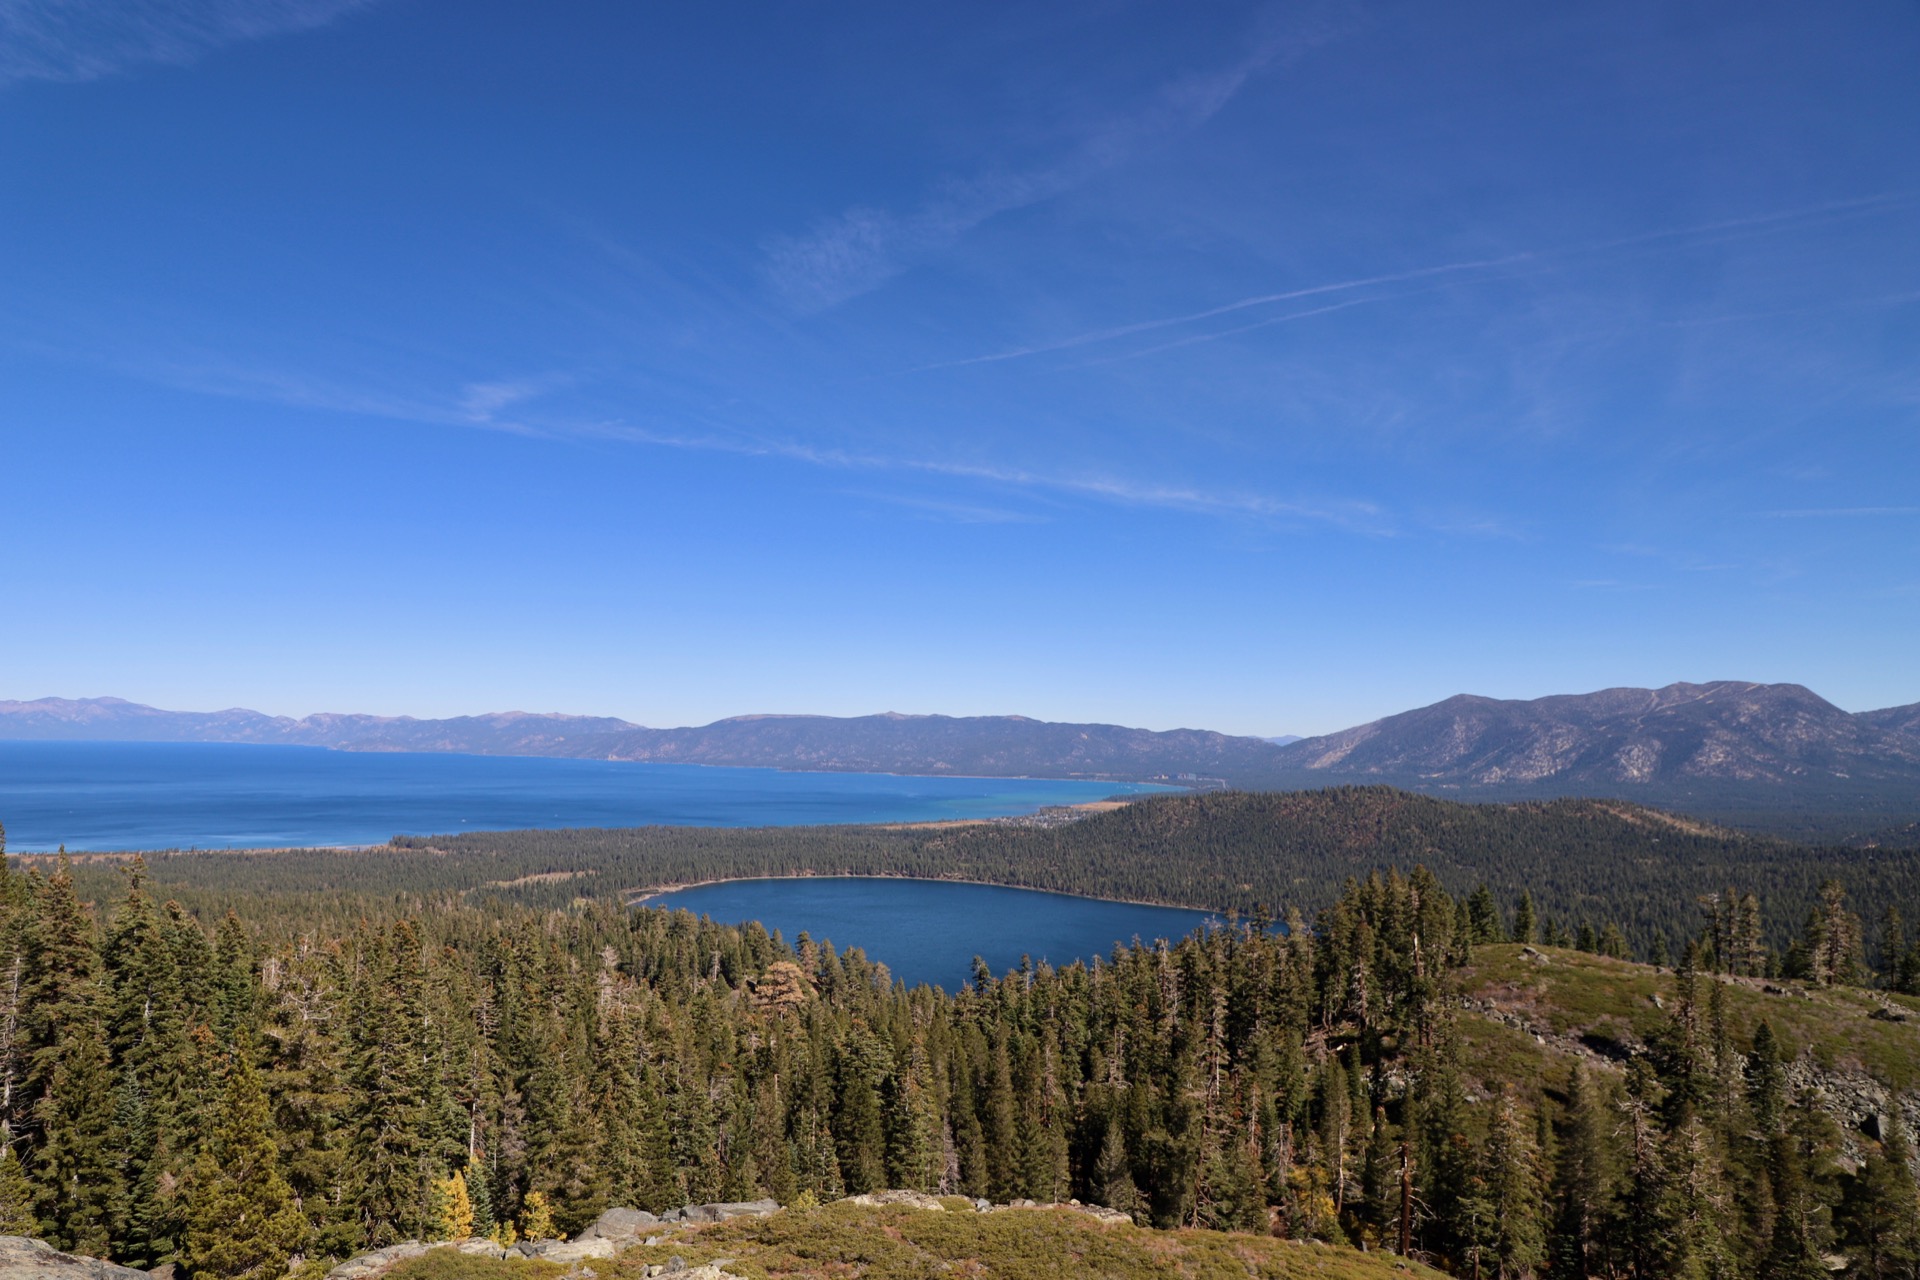
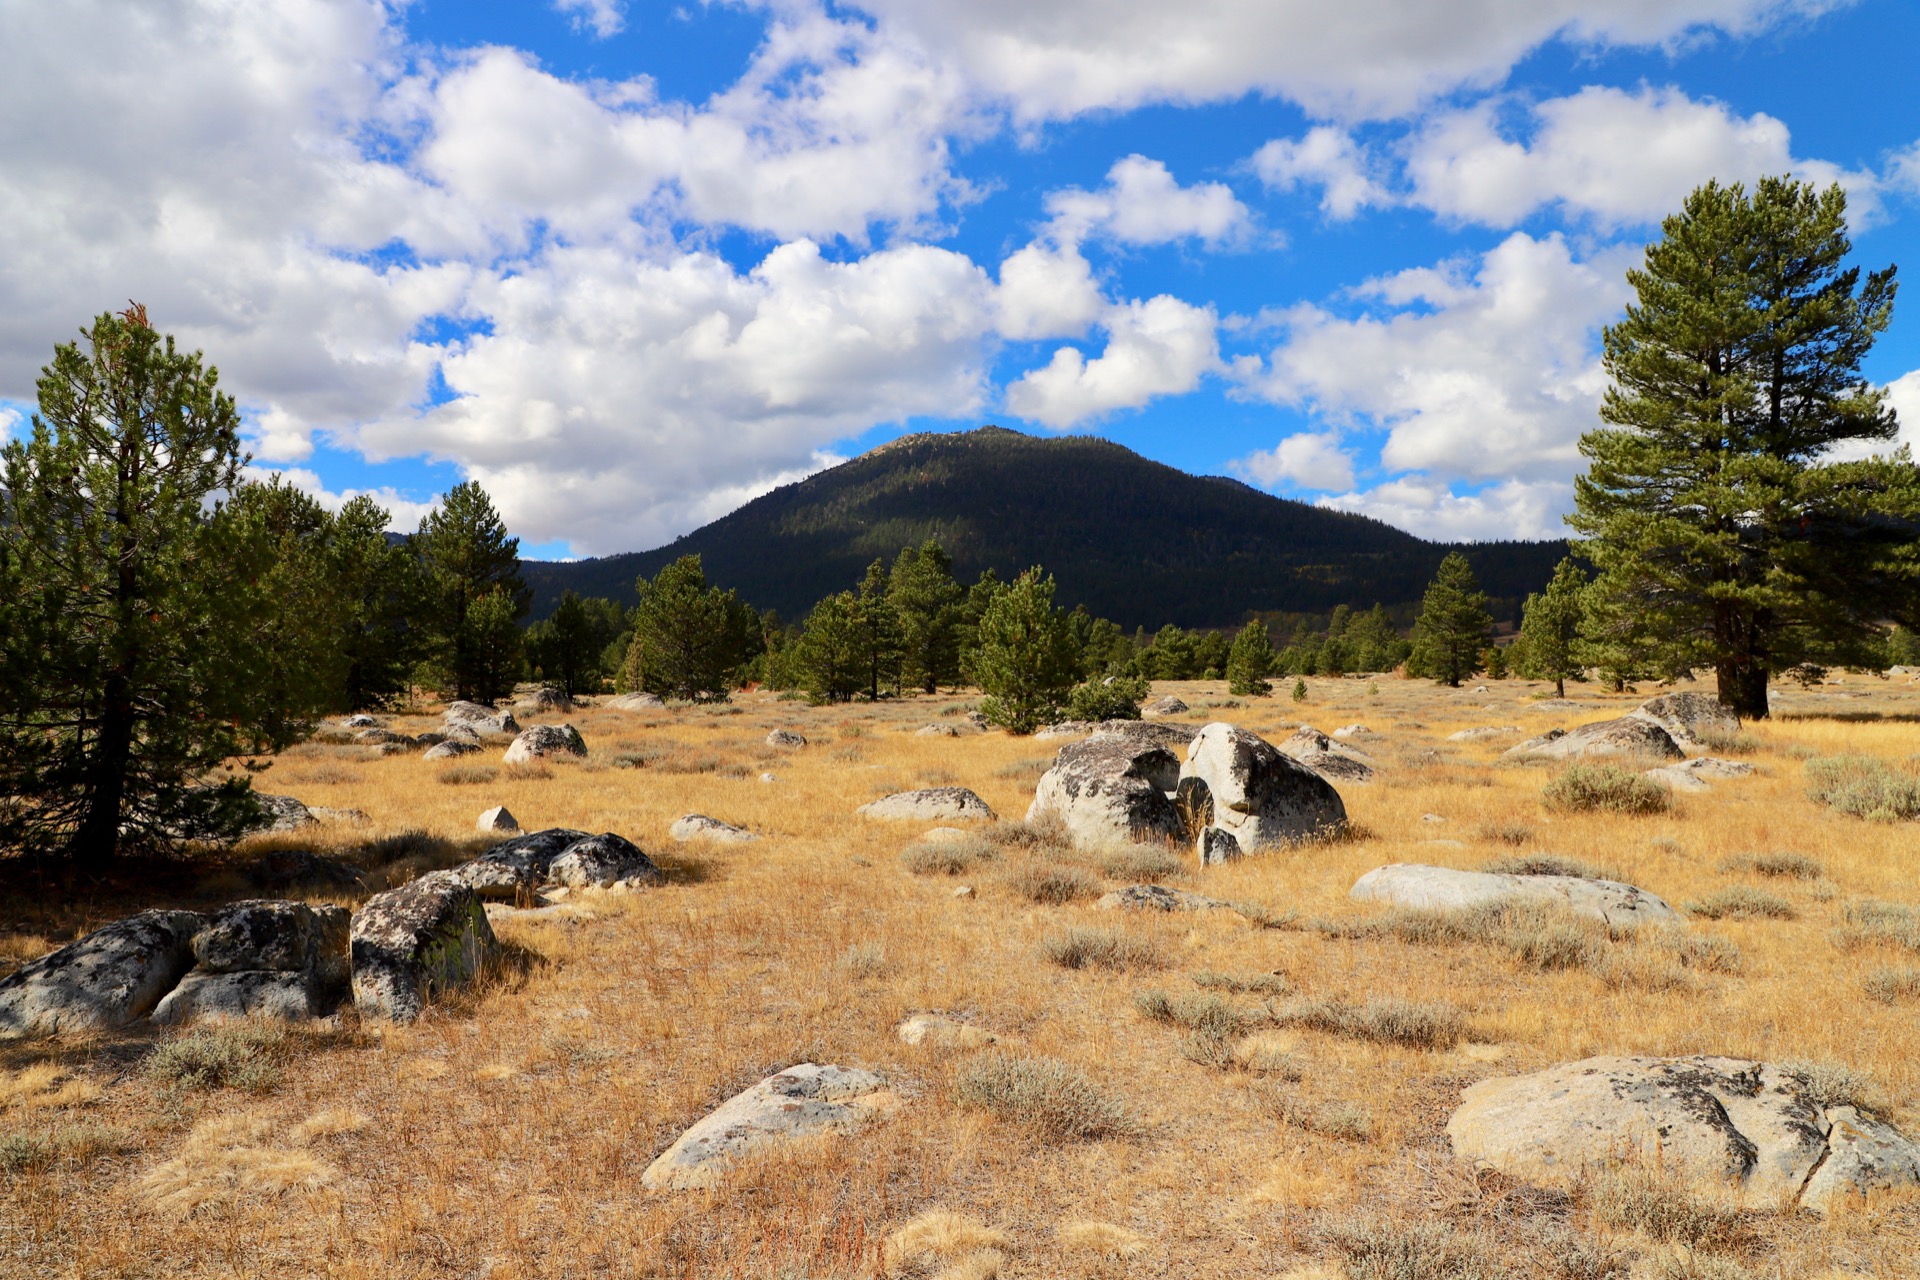
Mount Tallac Trail Hike
Mount Tallac Trail Hike
Mount Tallac Trail Hike
Mount Tallac Trail Hike
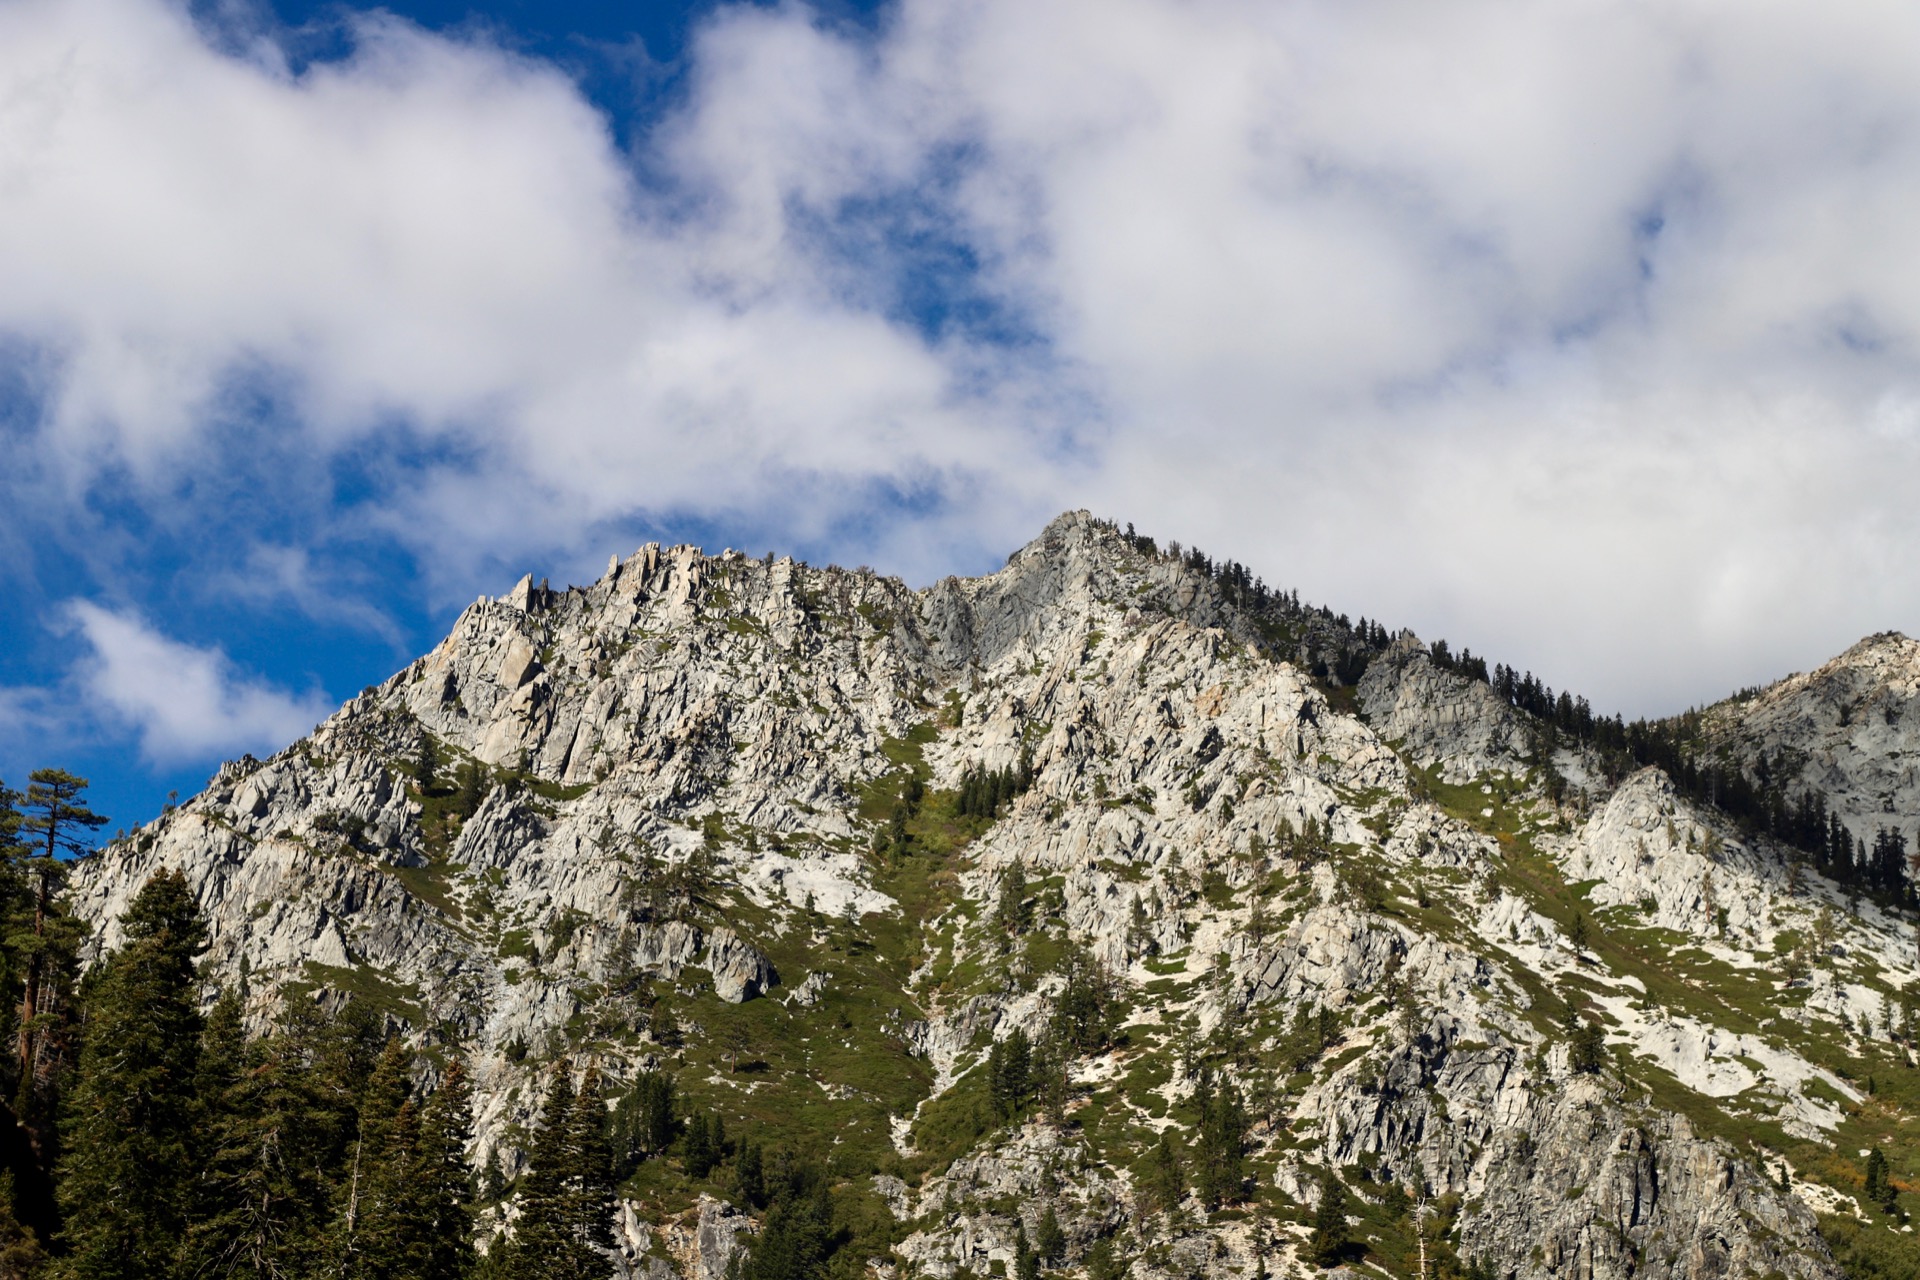
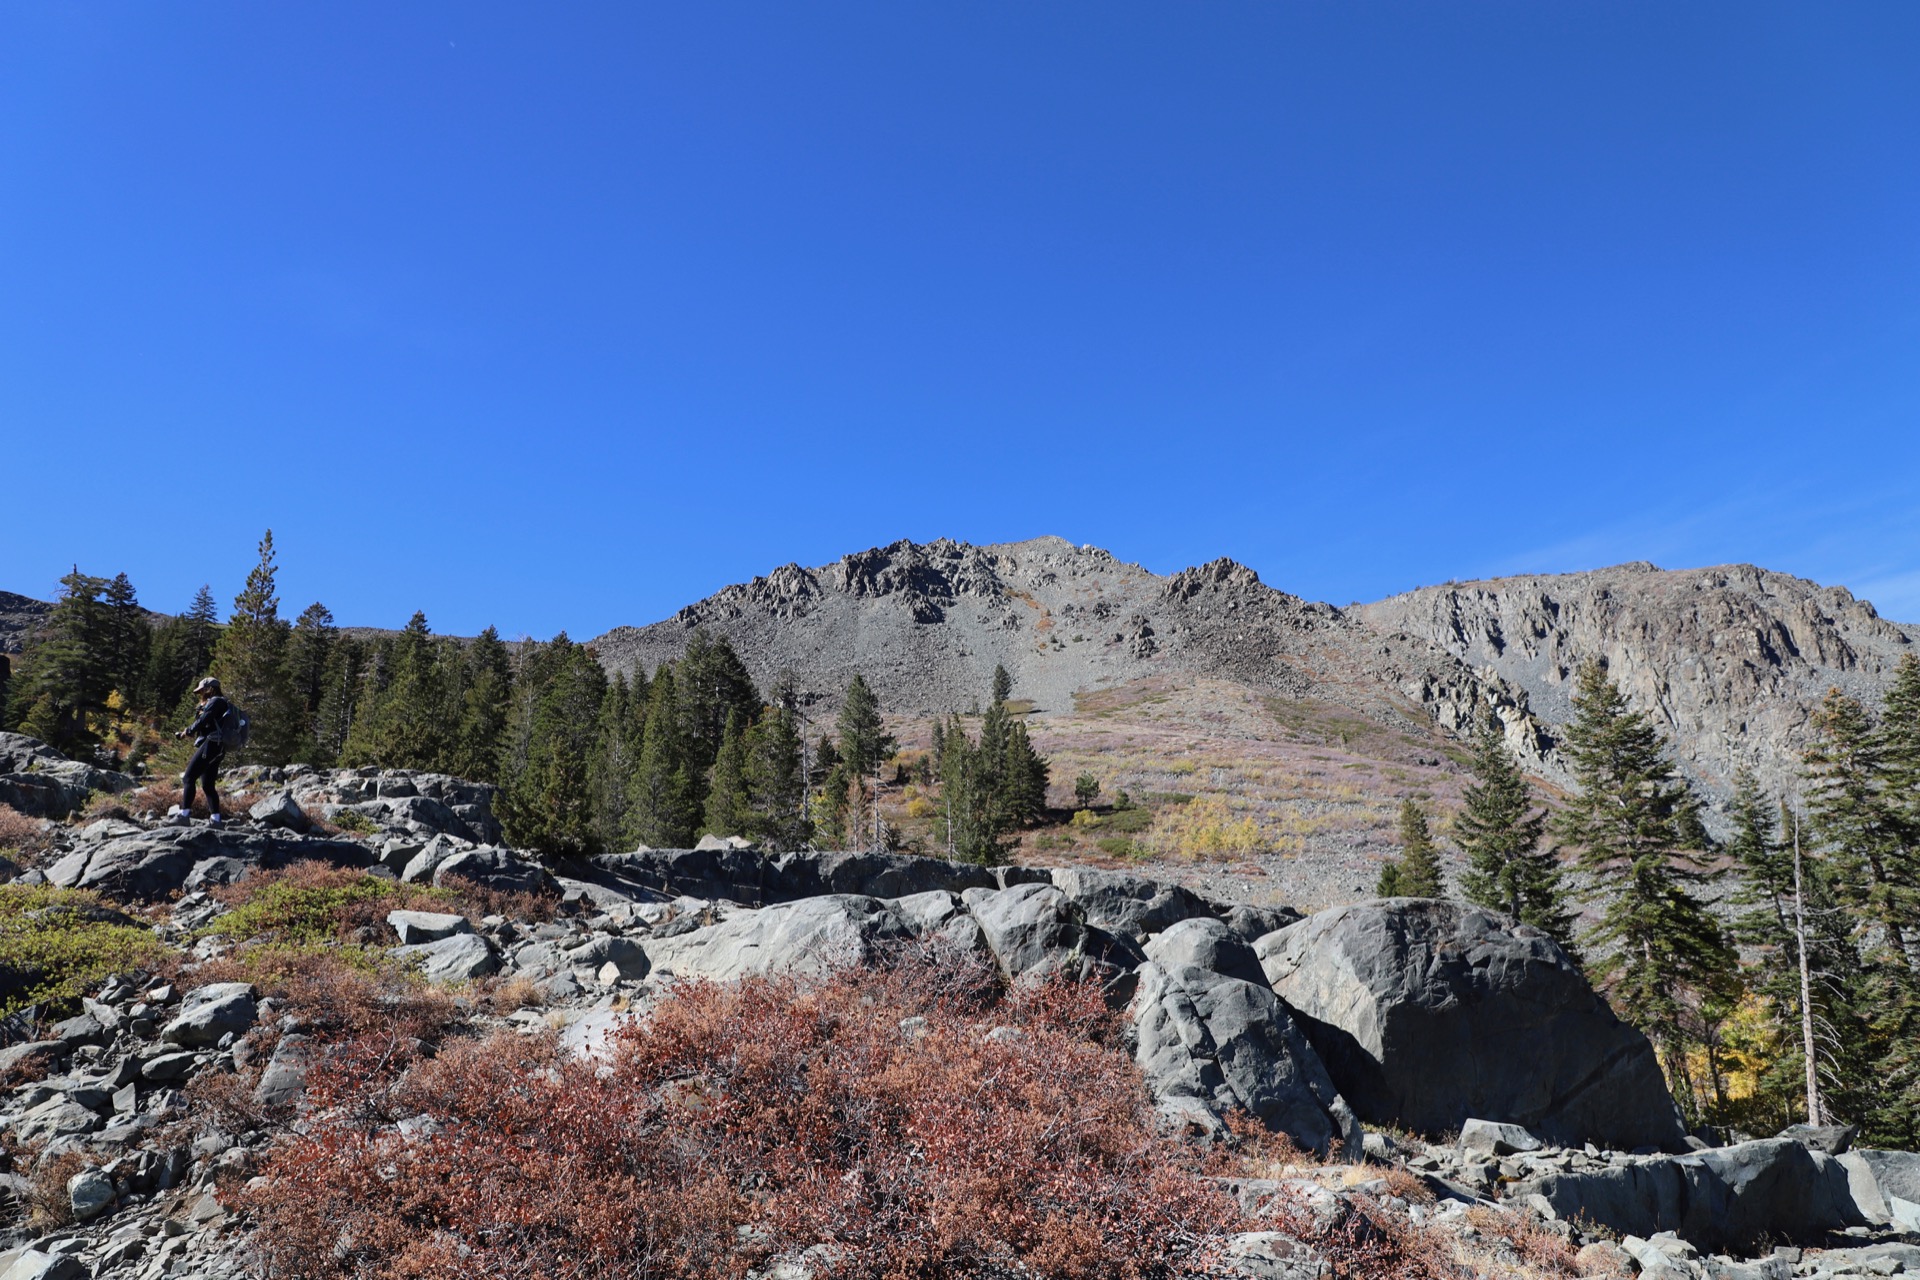
Mount Tallac Trail Hike – Steep and Rugged Path
Mount Tallac Trail Hike – Steep and Rugged Path
Mount Tallac Trail Hike
Mount Tallac Trail Hike
Mount Tallac Trail Hike
Mount Tallac Trail Hike
Mount Tallac Trail Hike
Mount Tallac Trail Hike
Near Lakeland Village
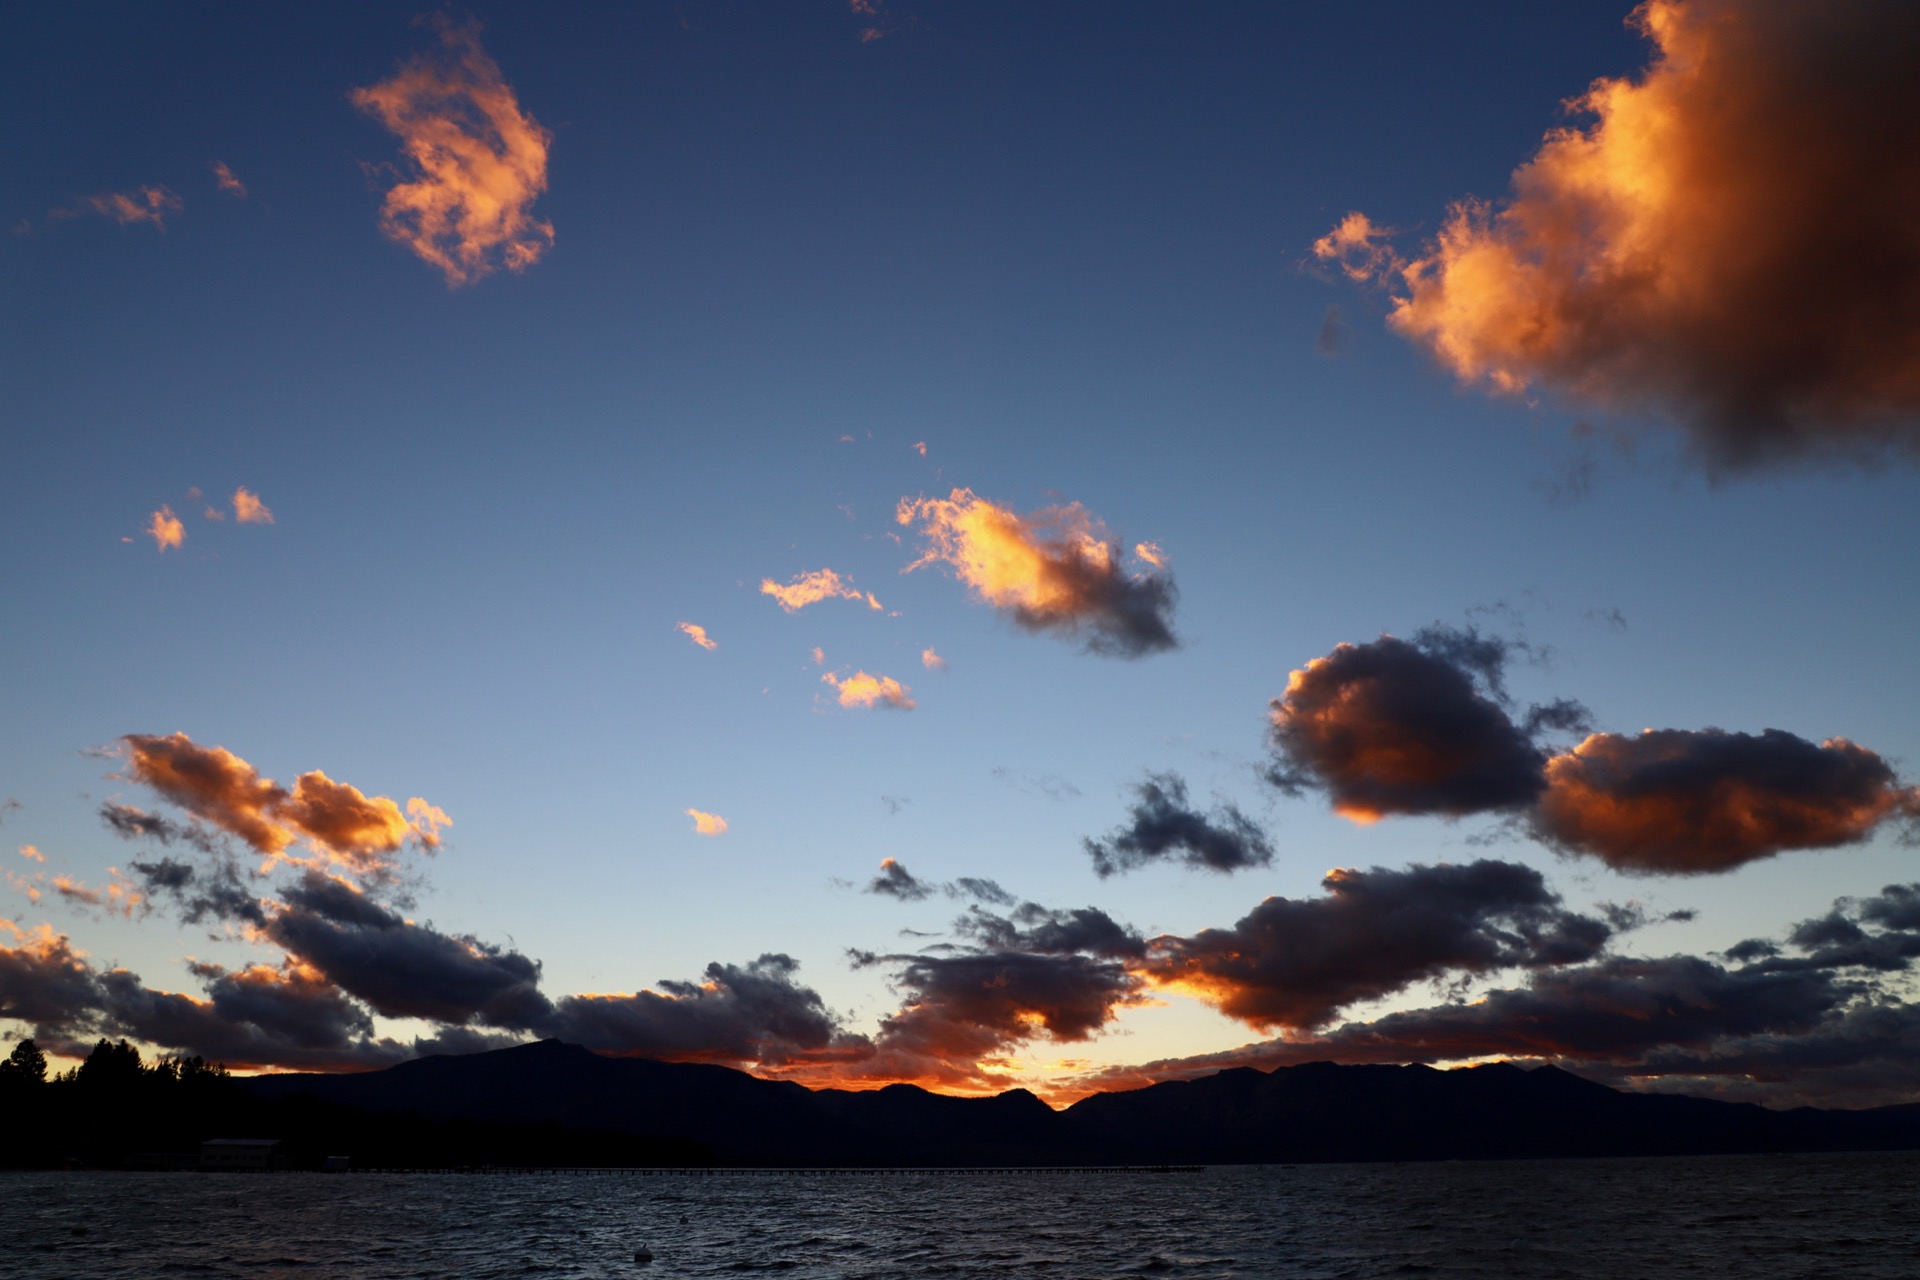
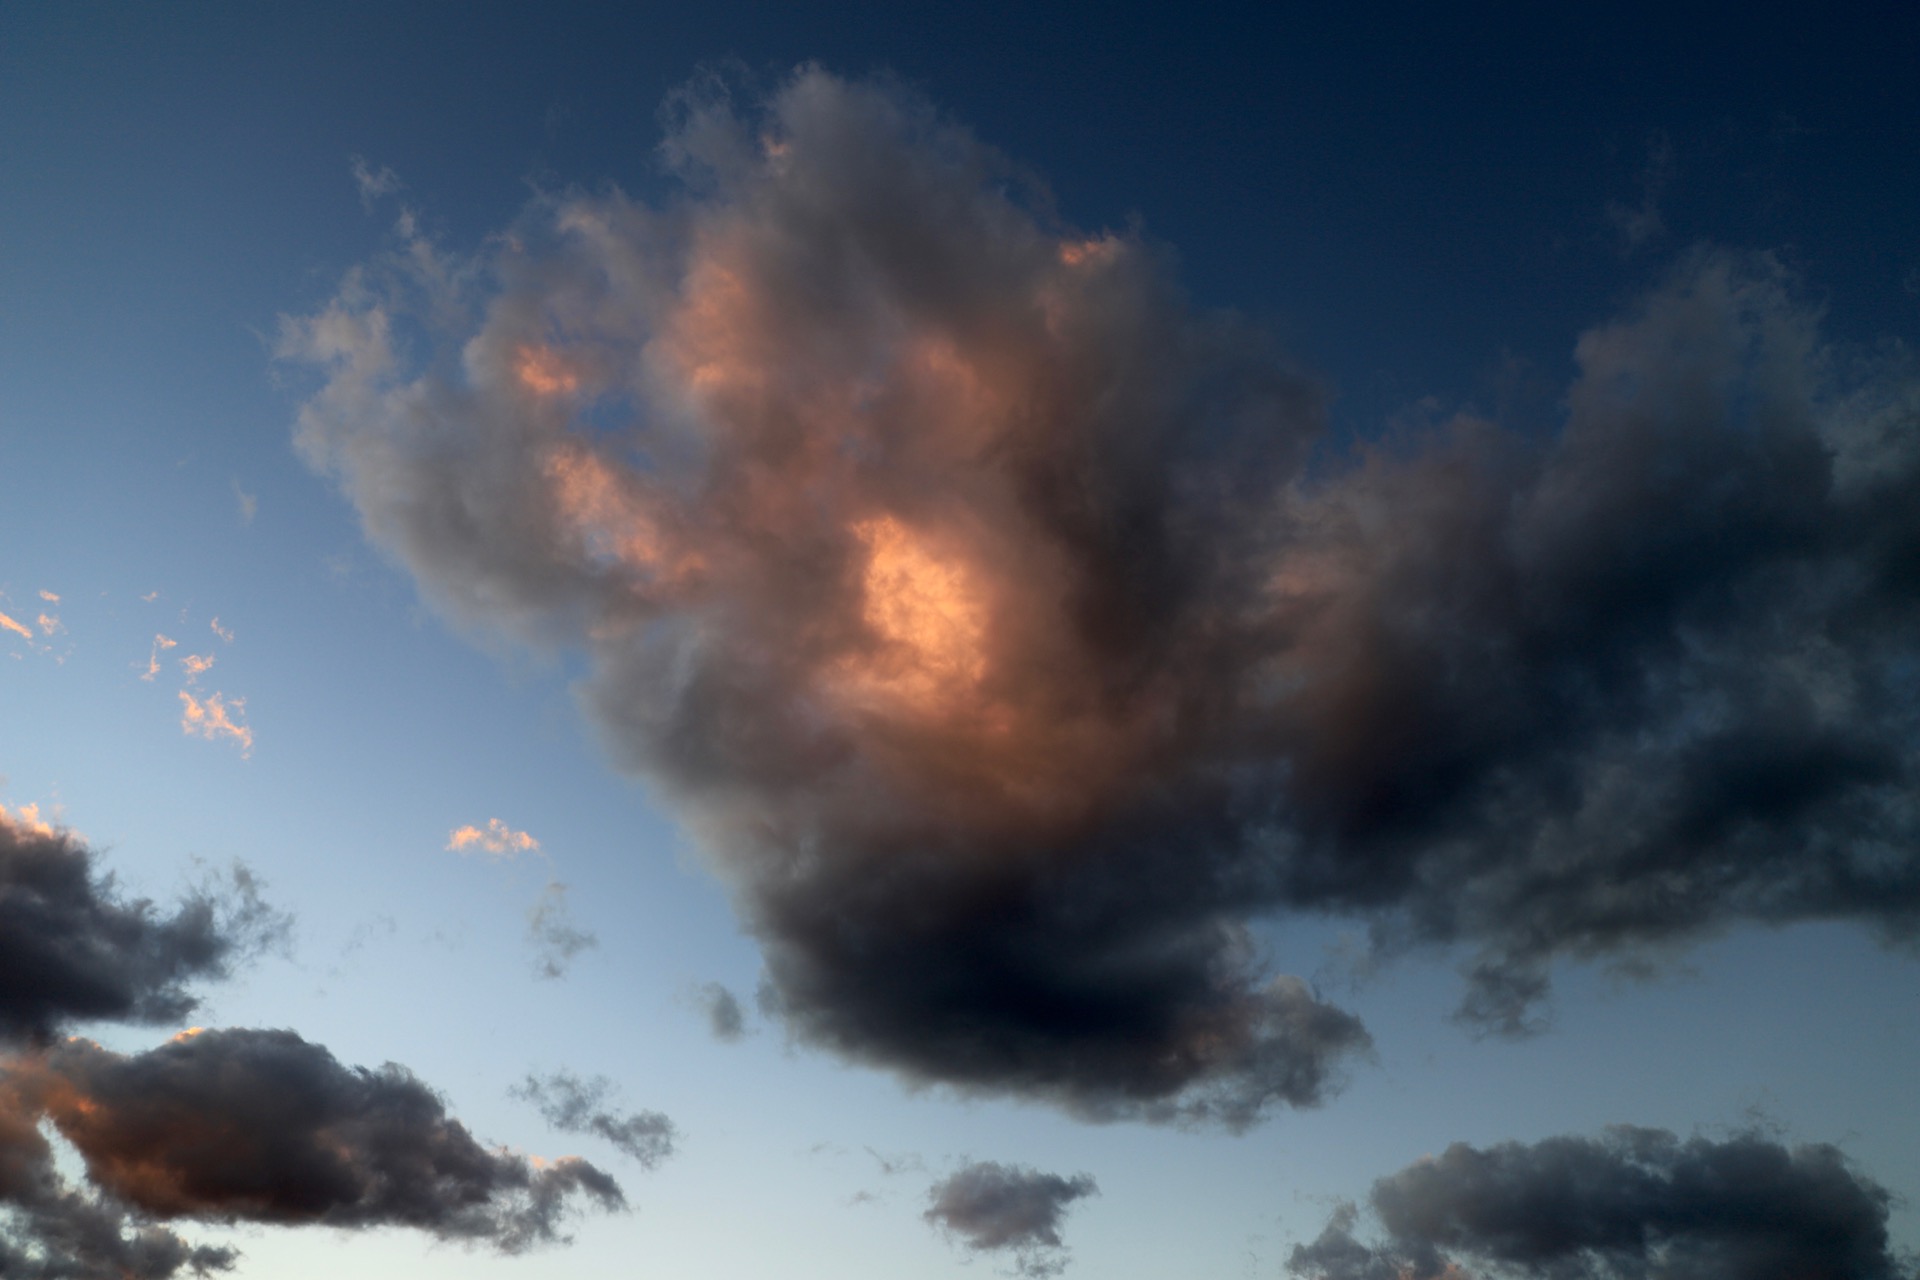
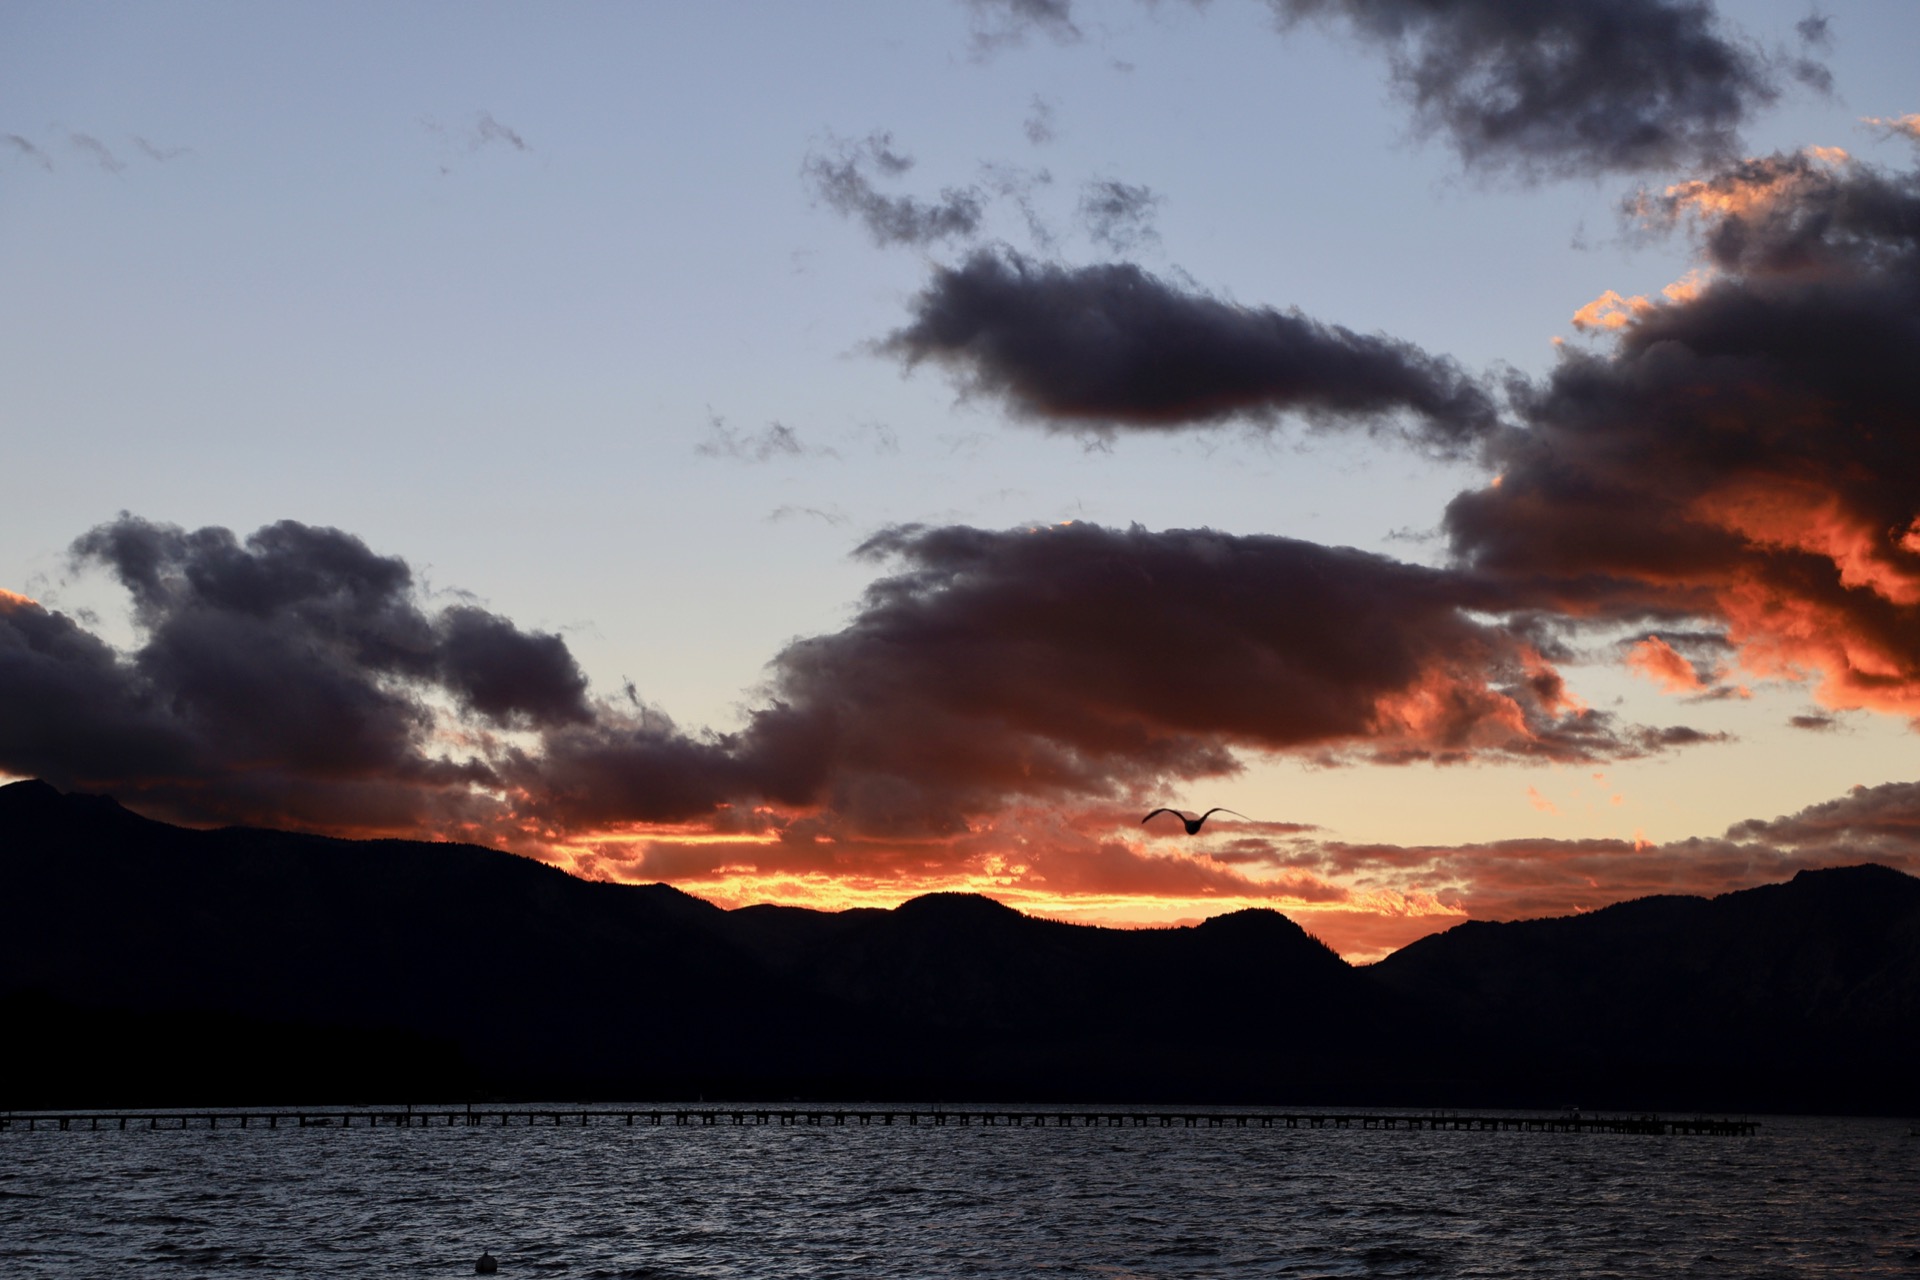
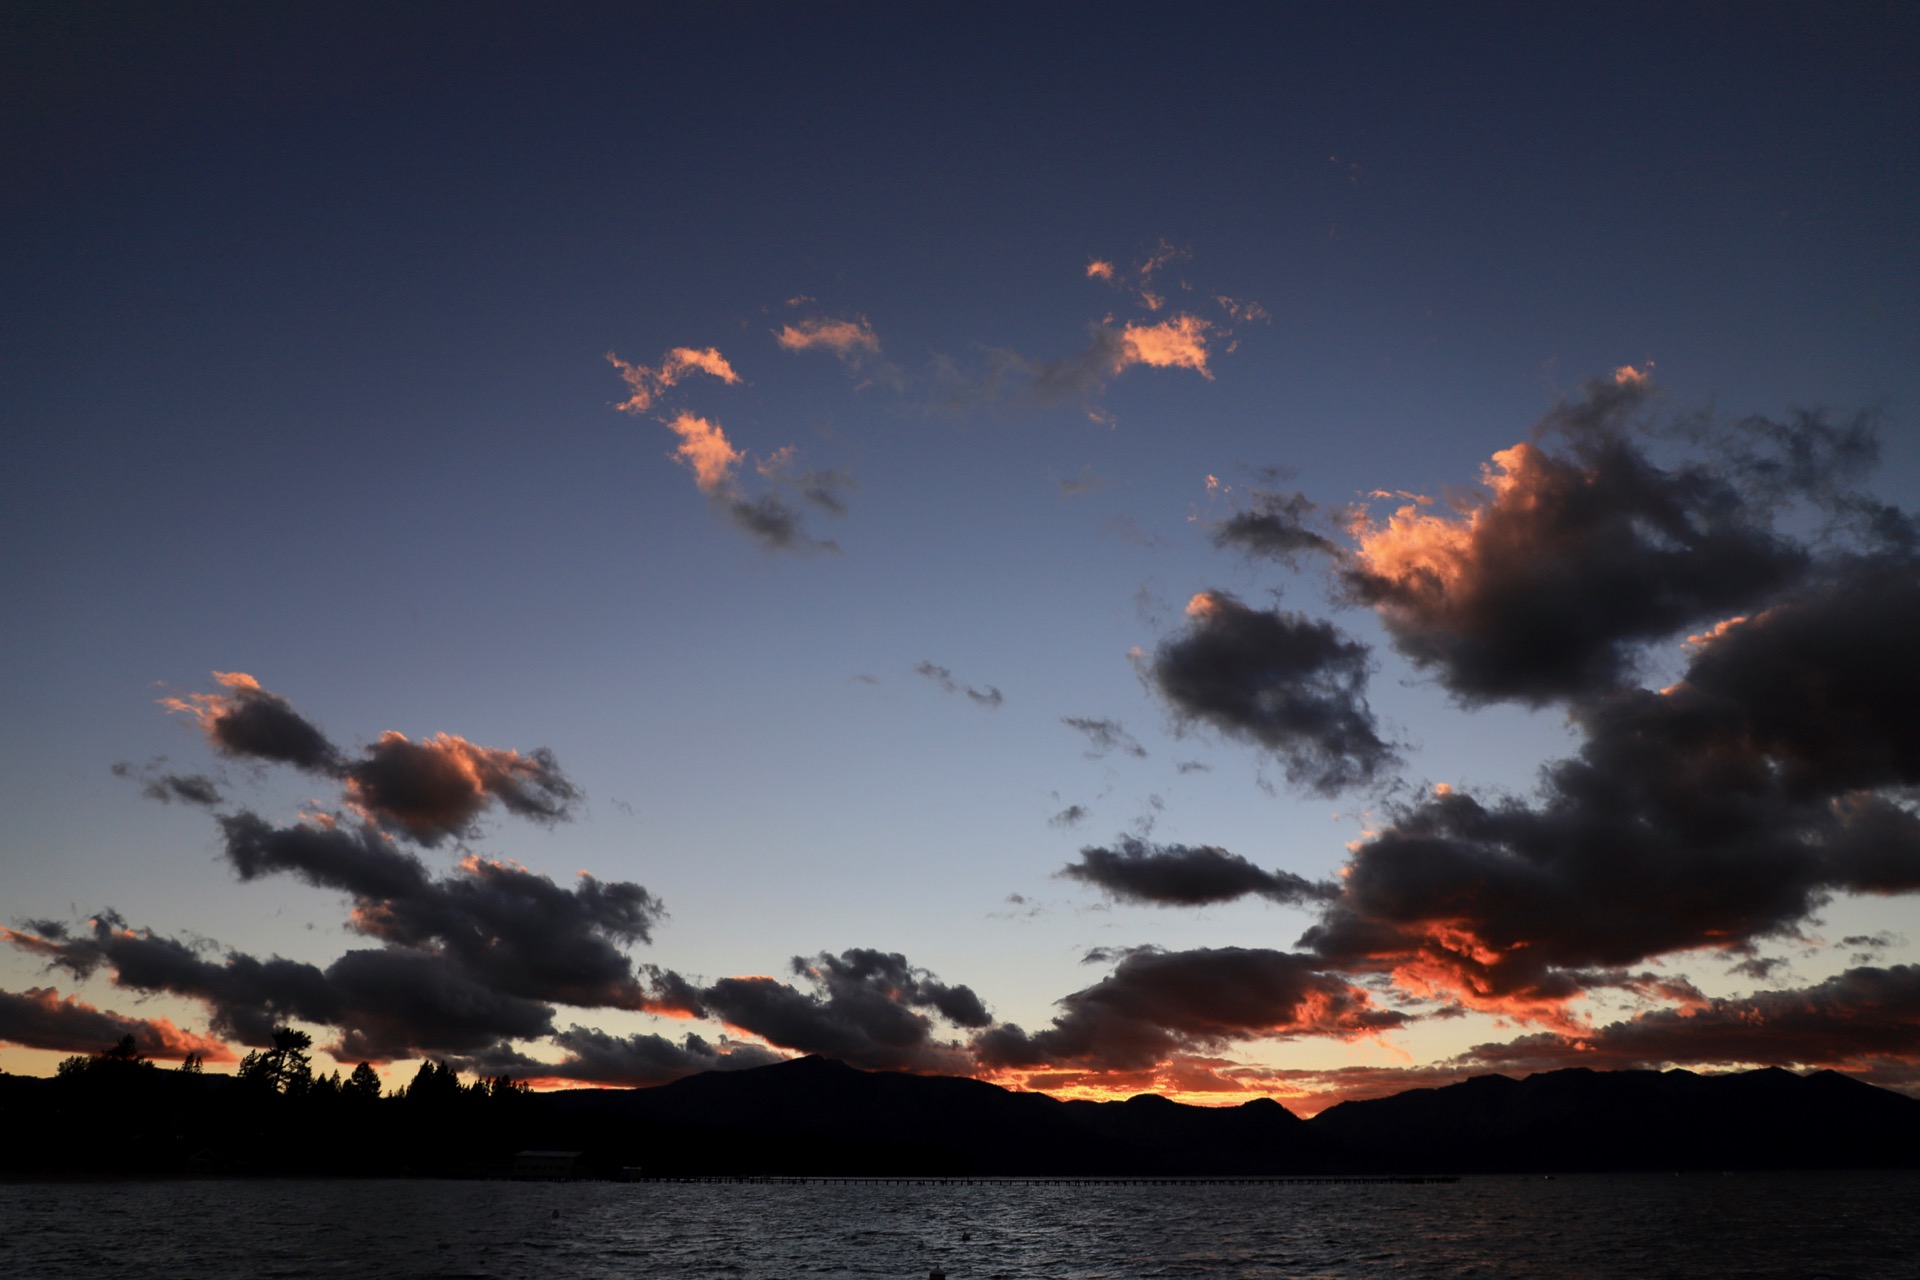
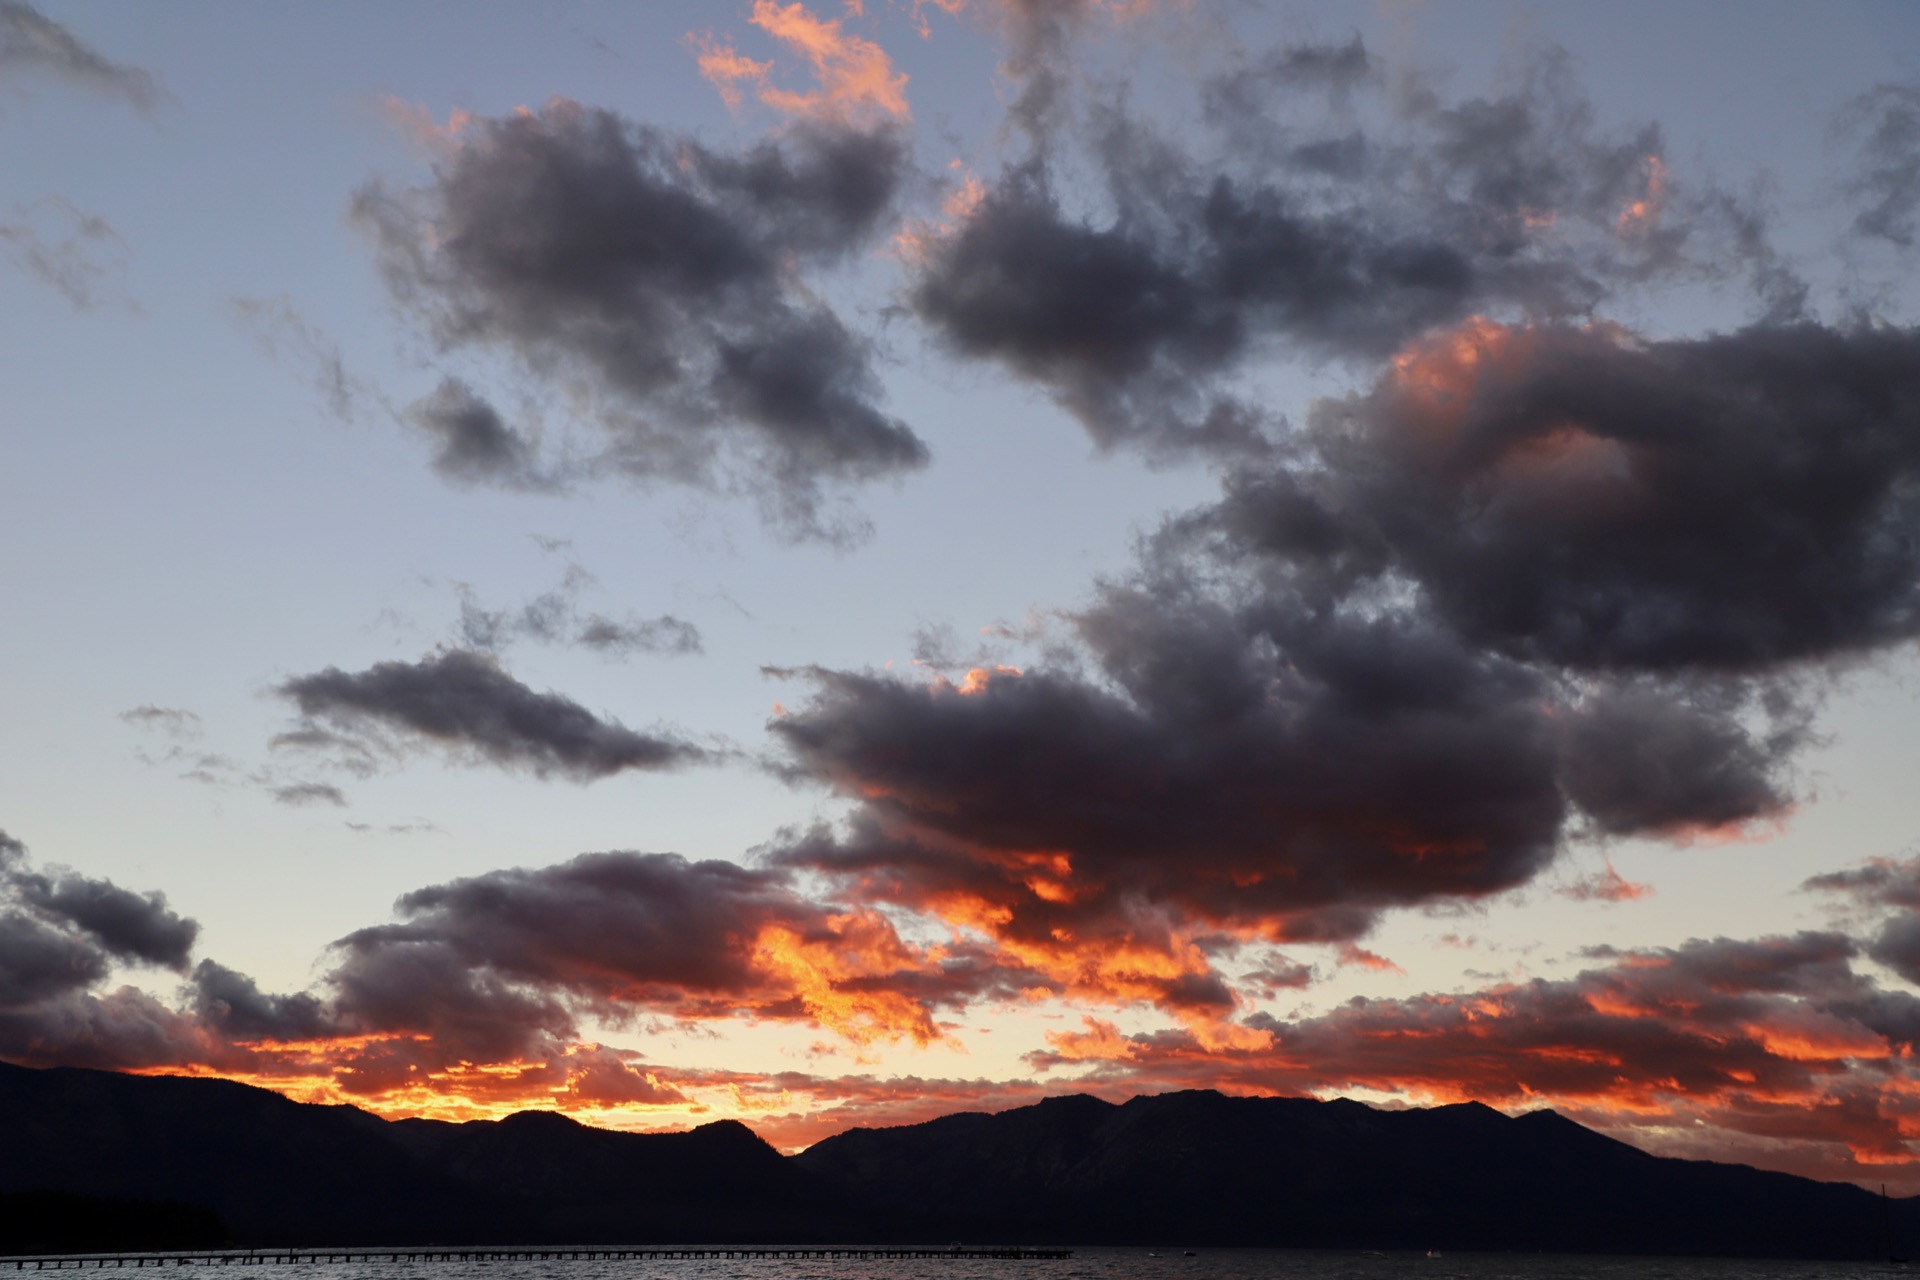
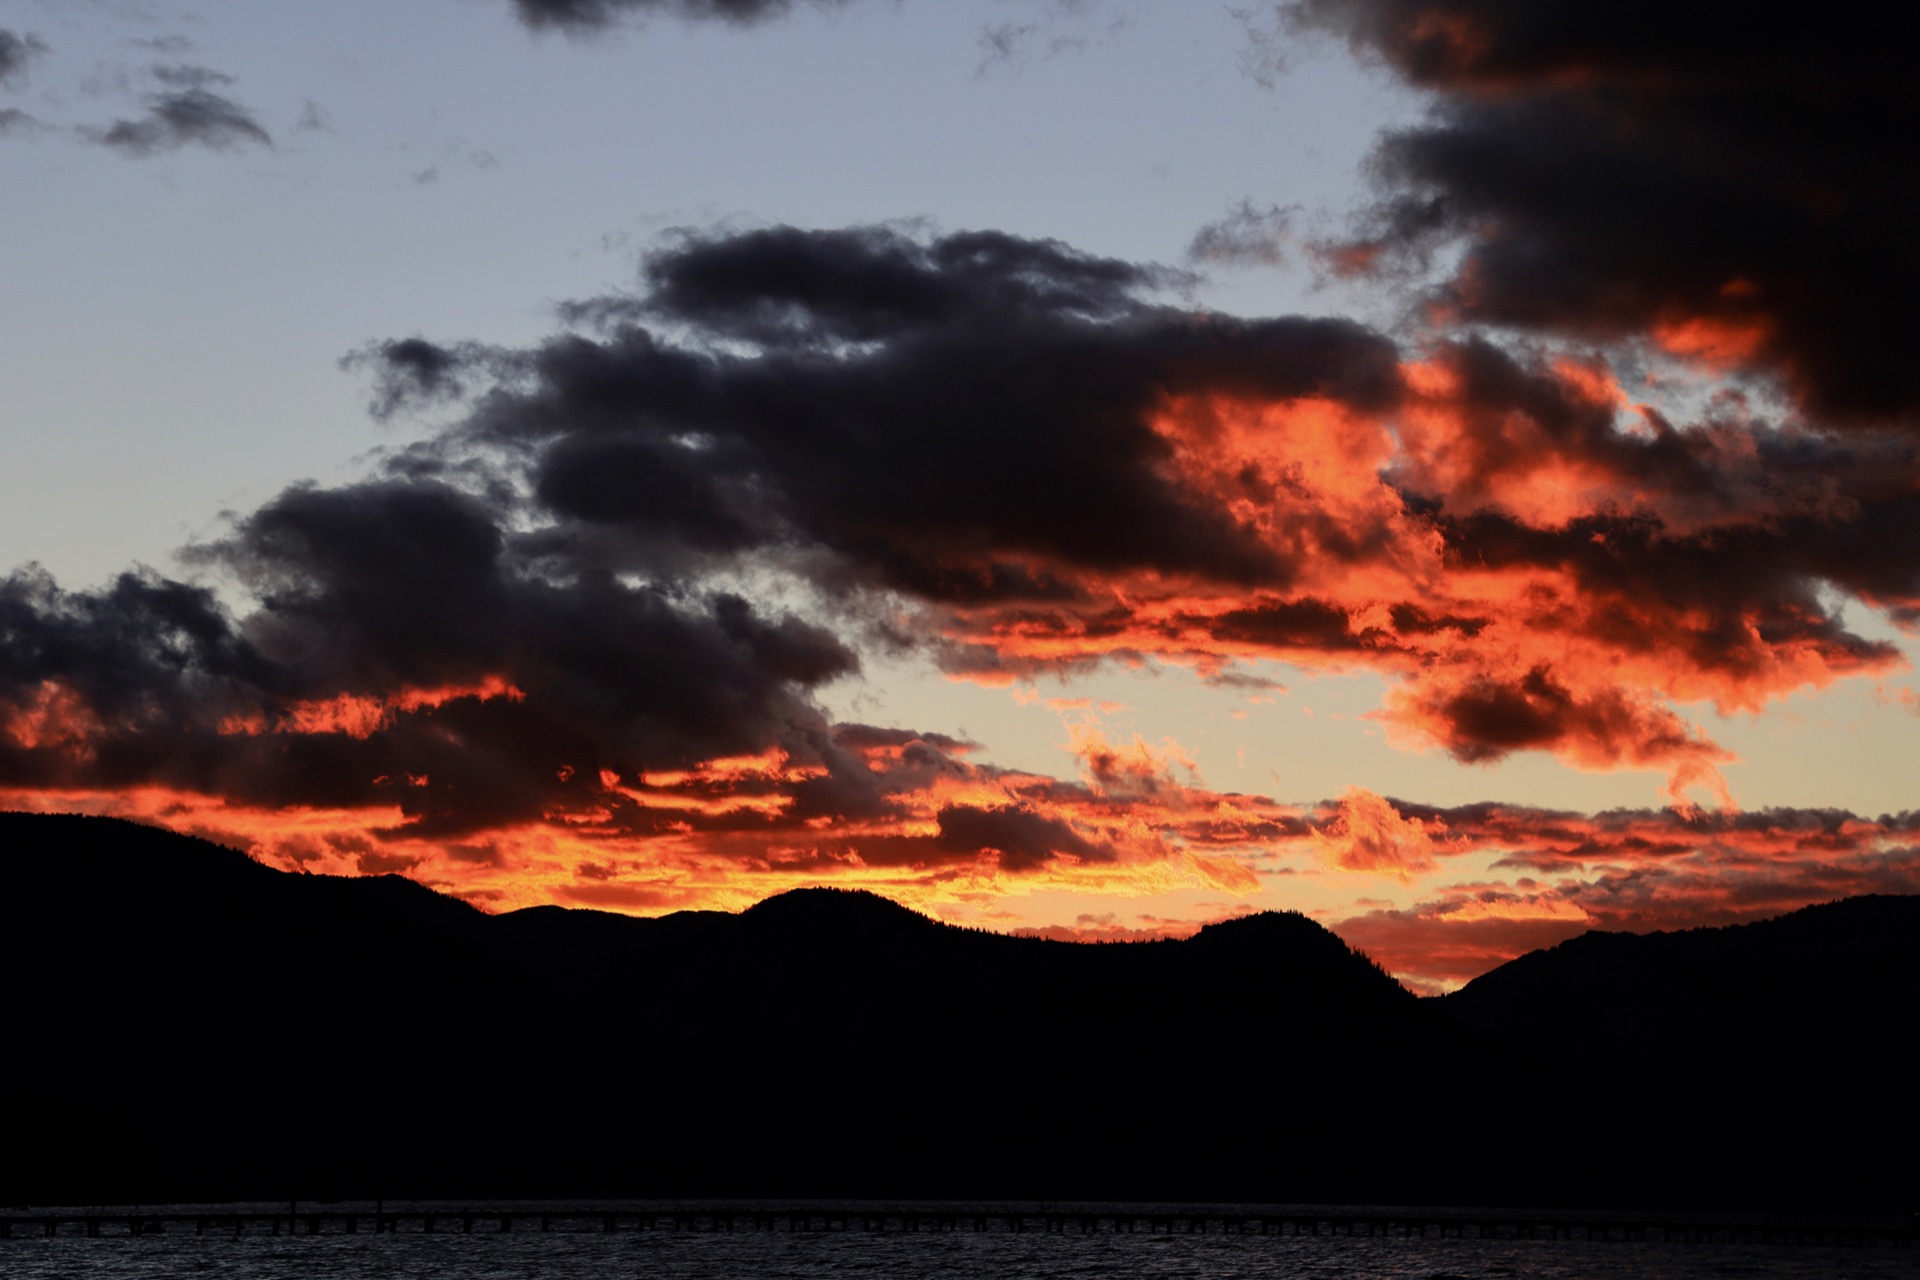
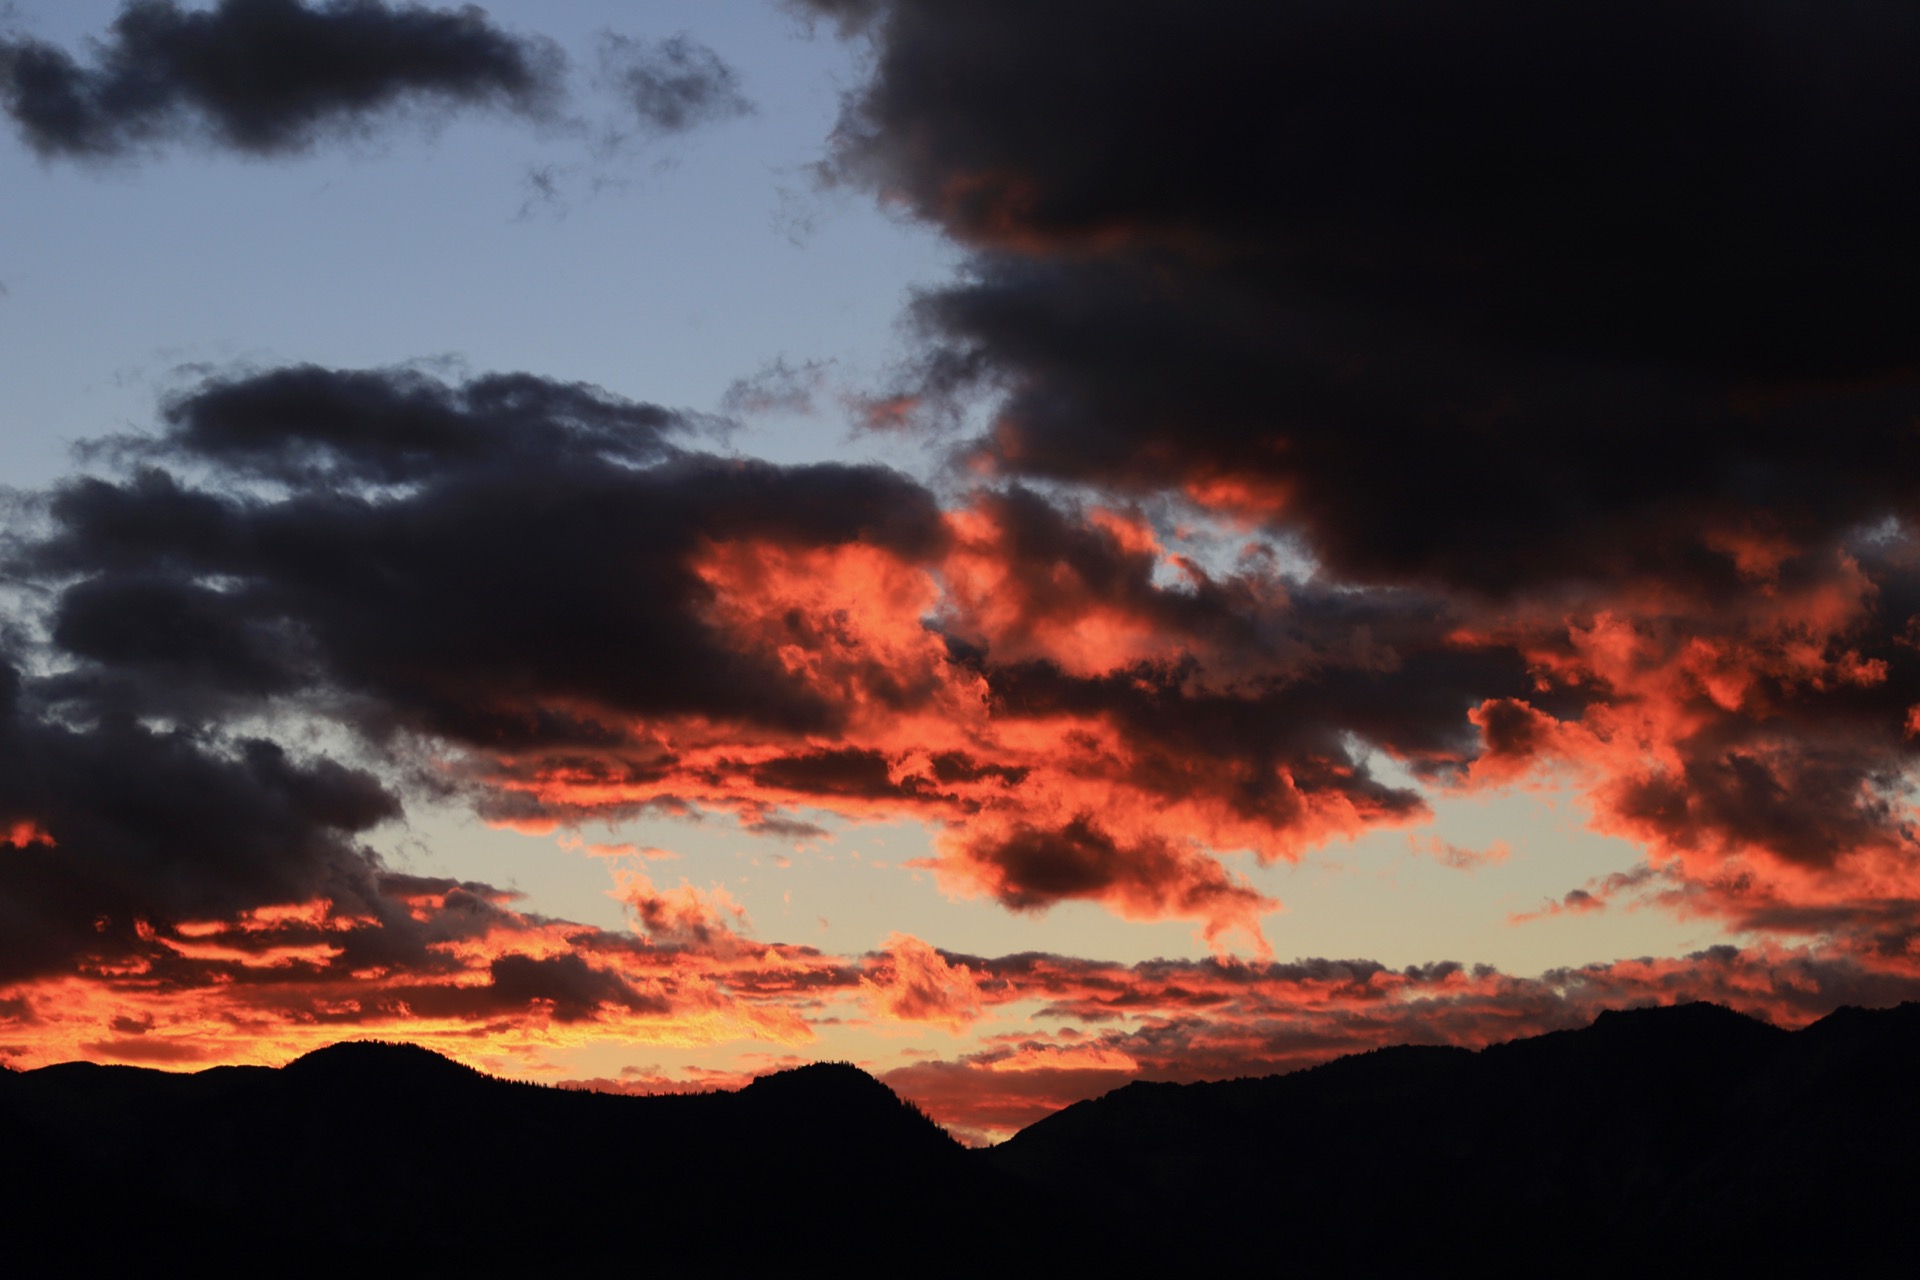
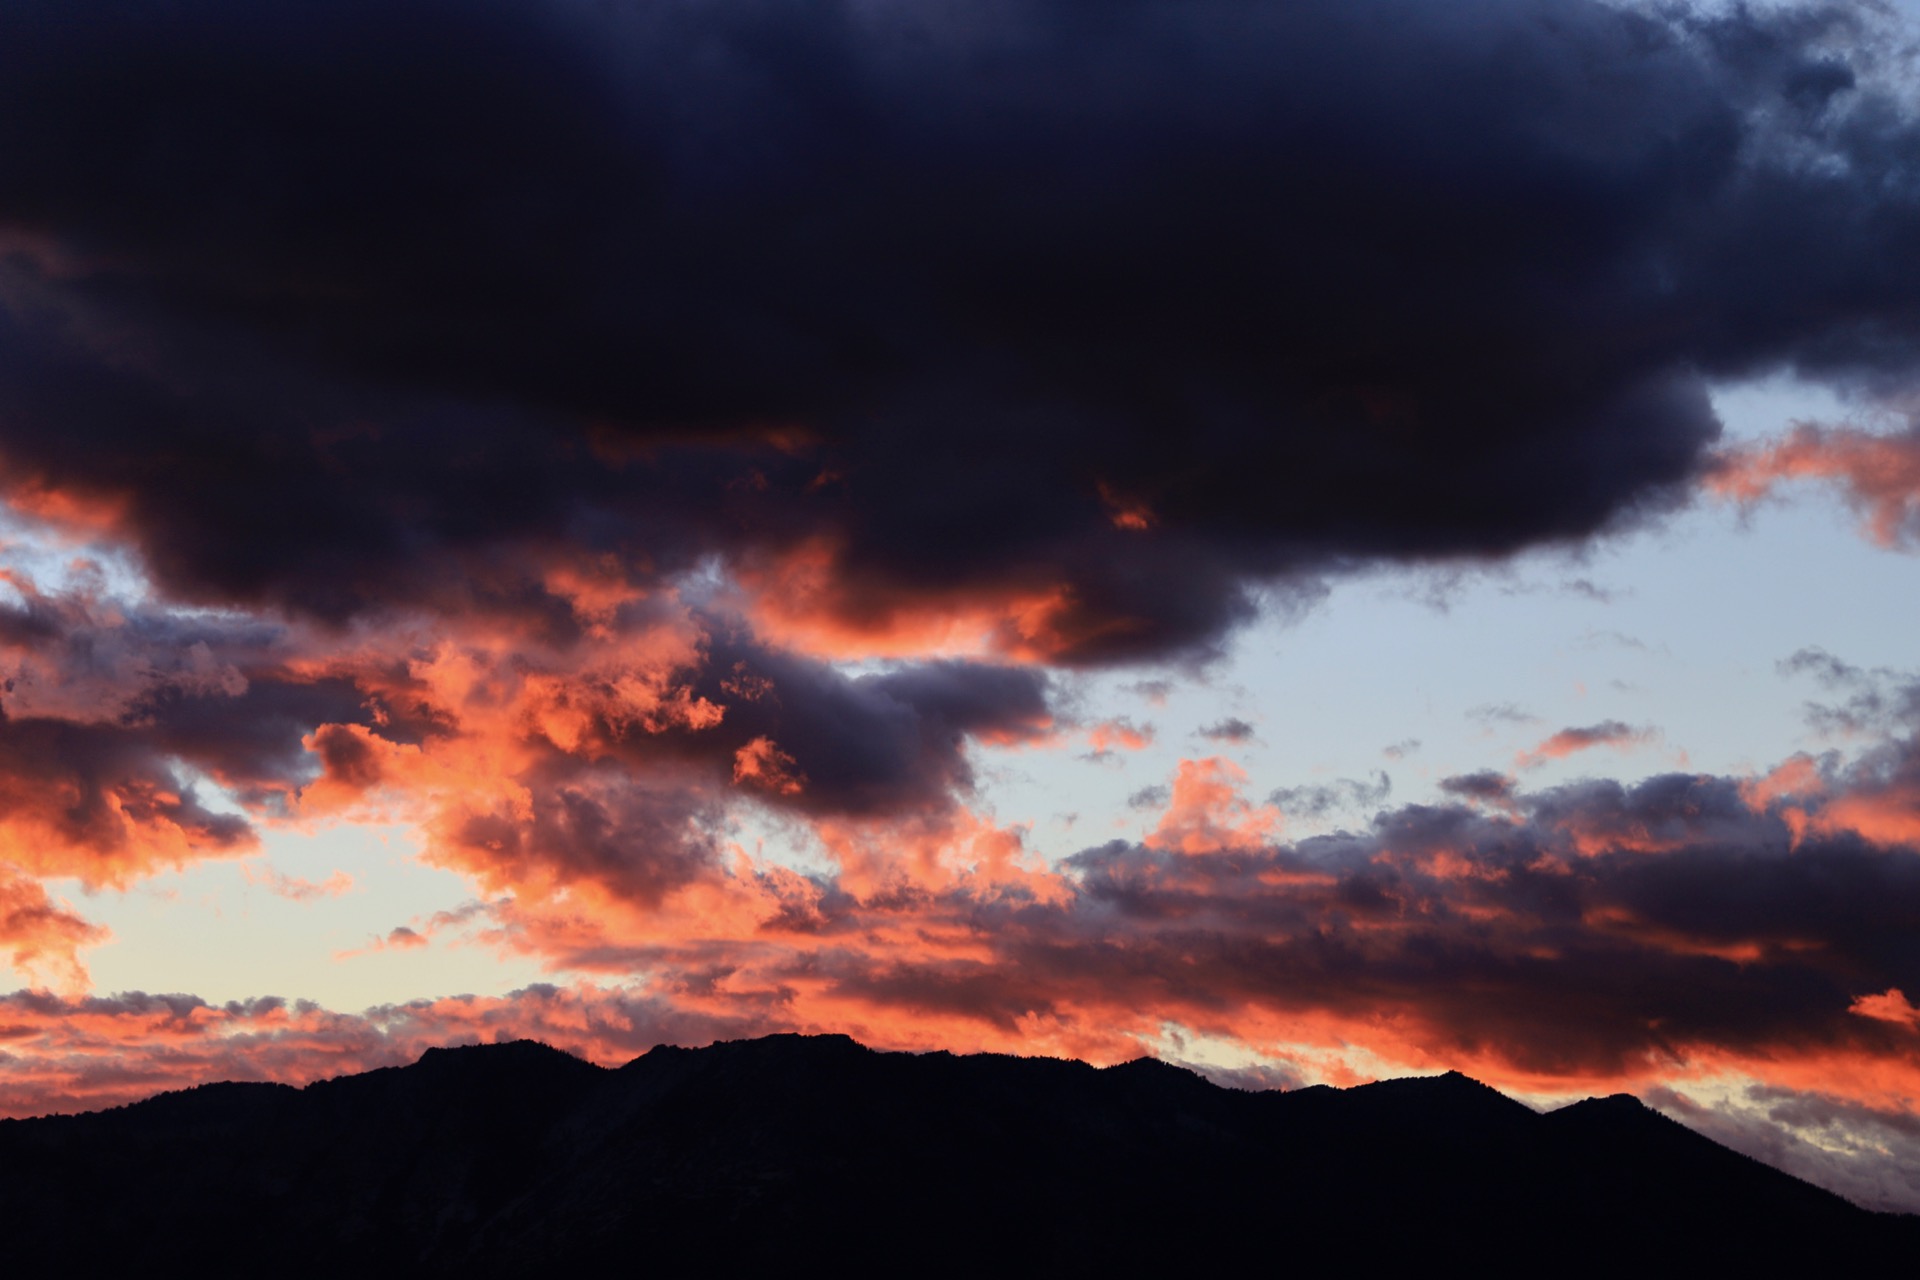
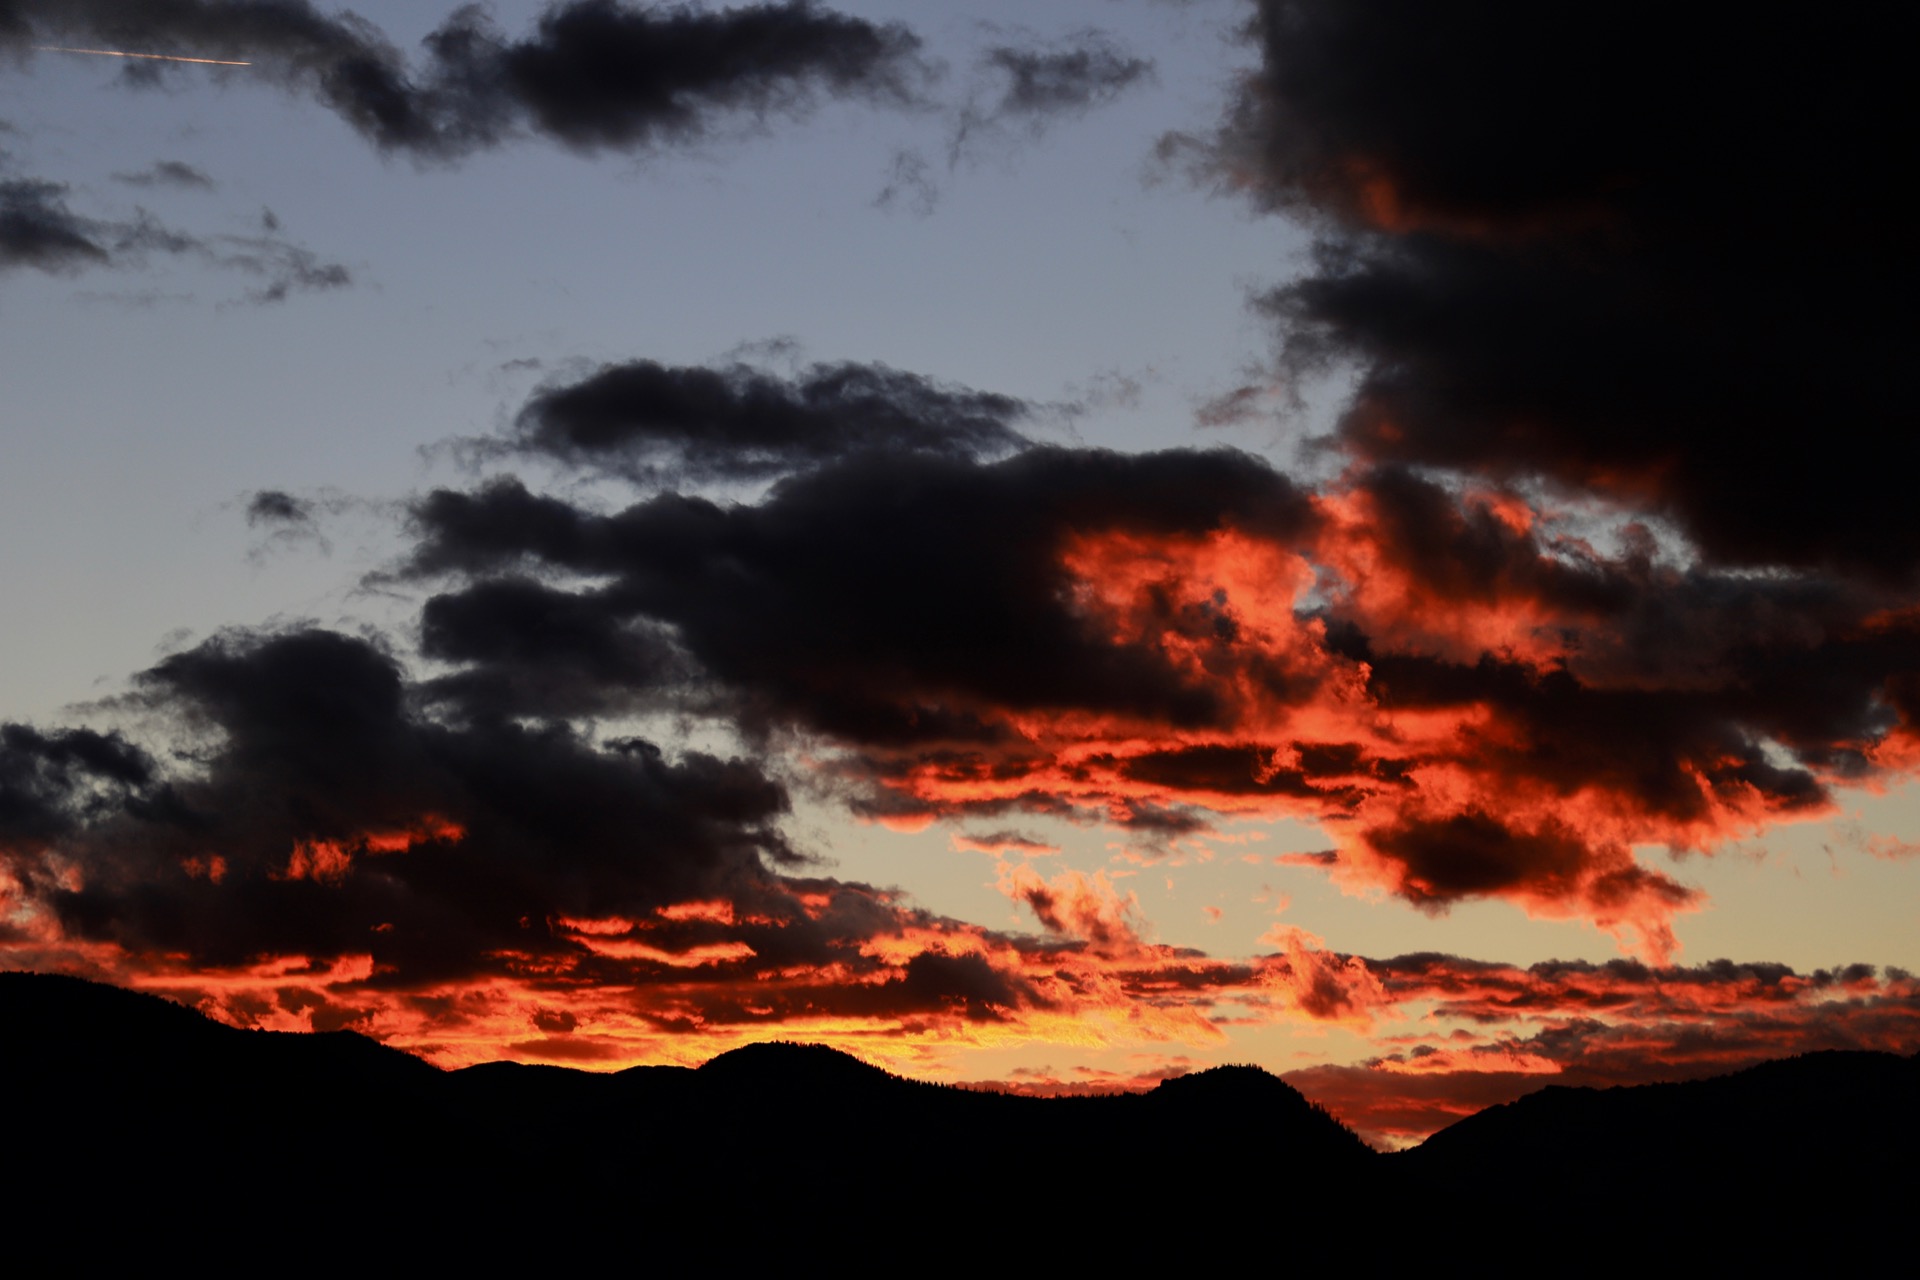
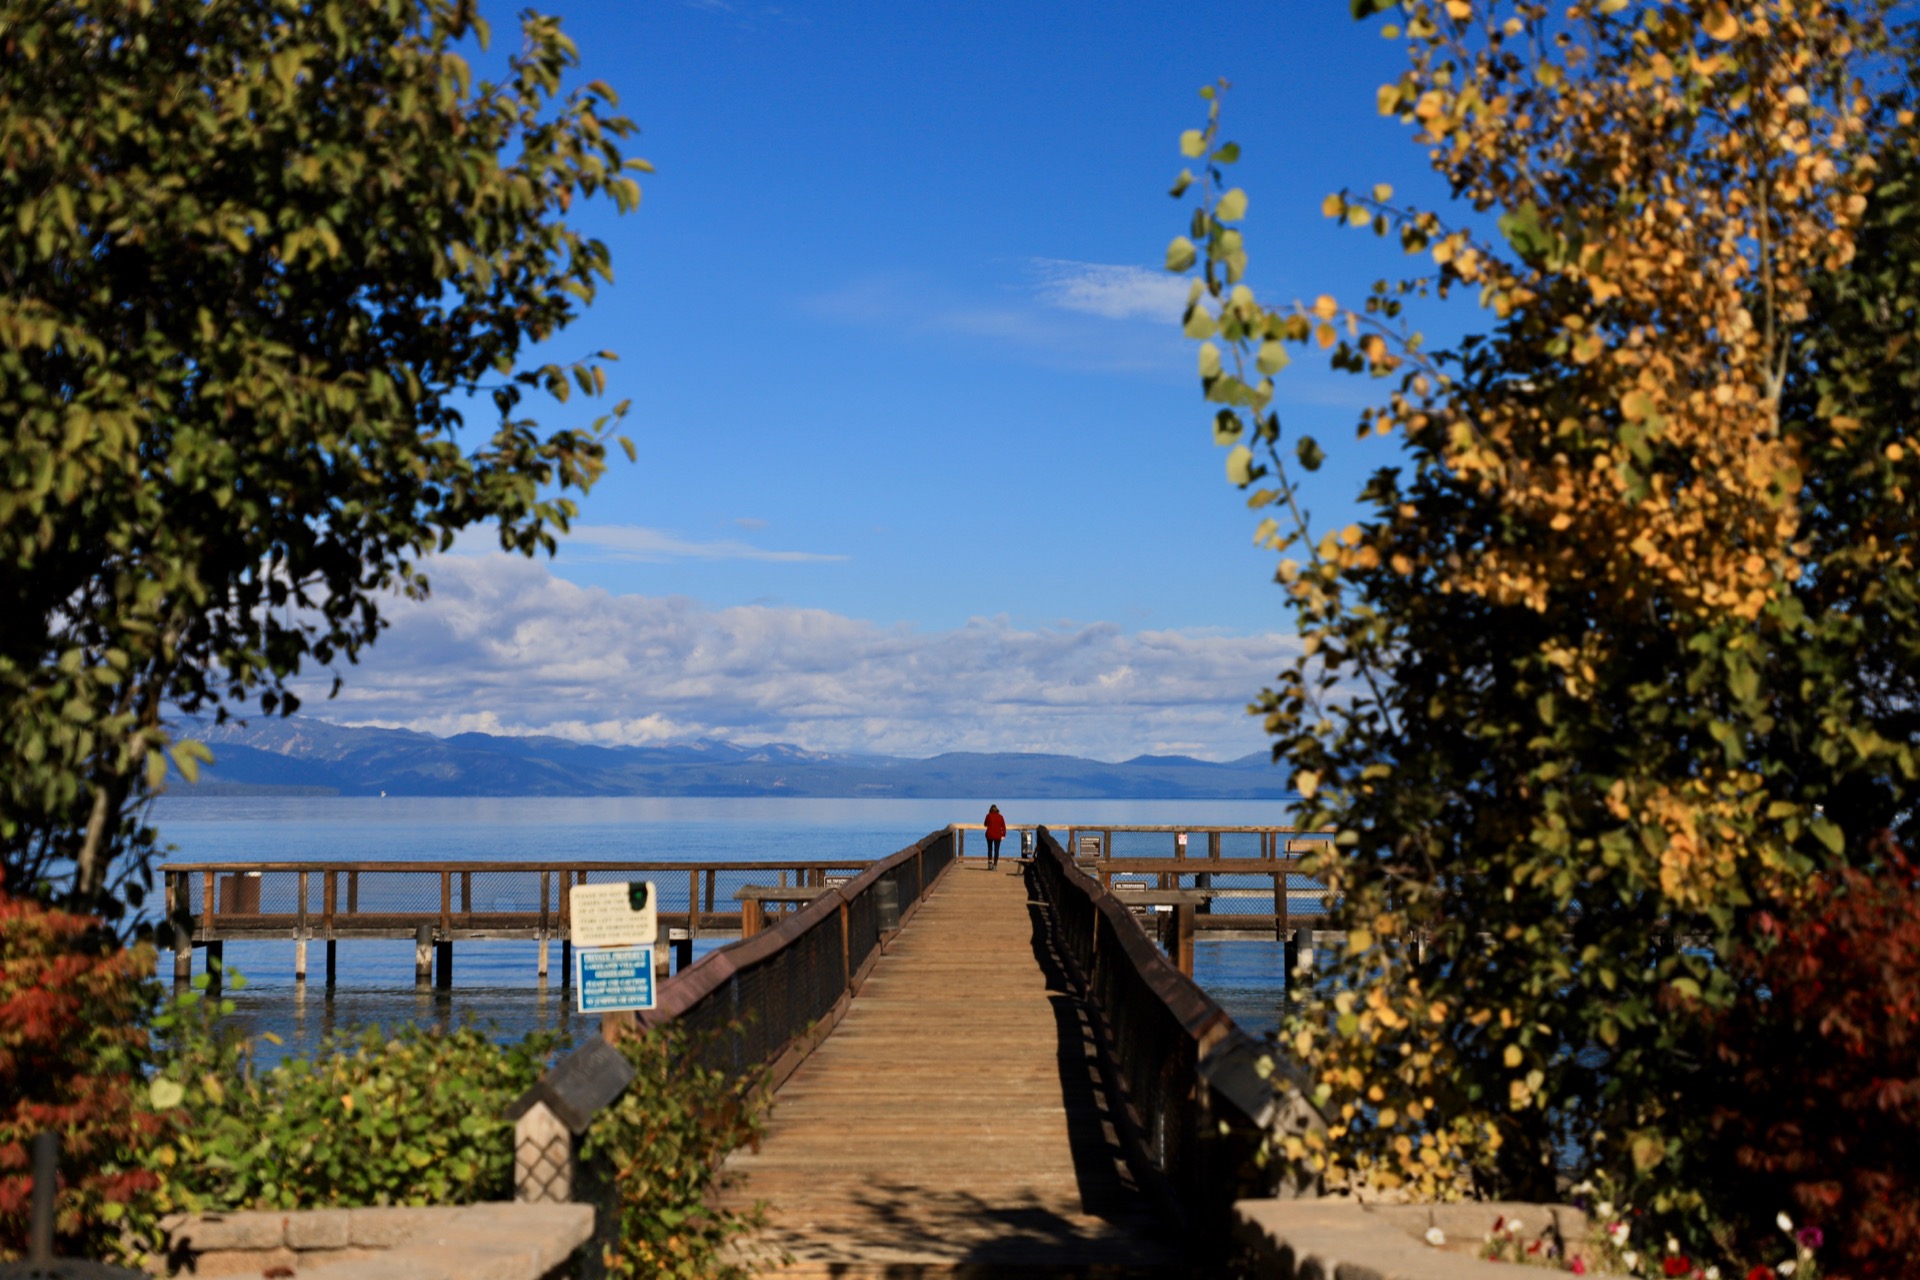
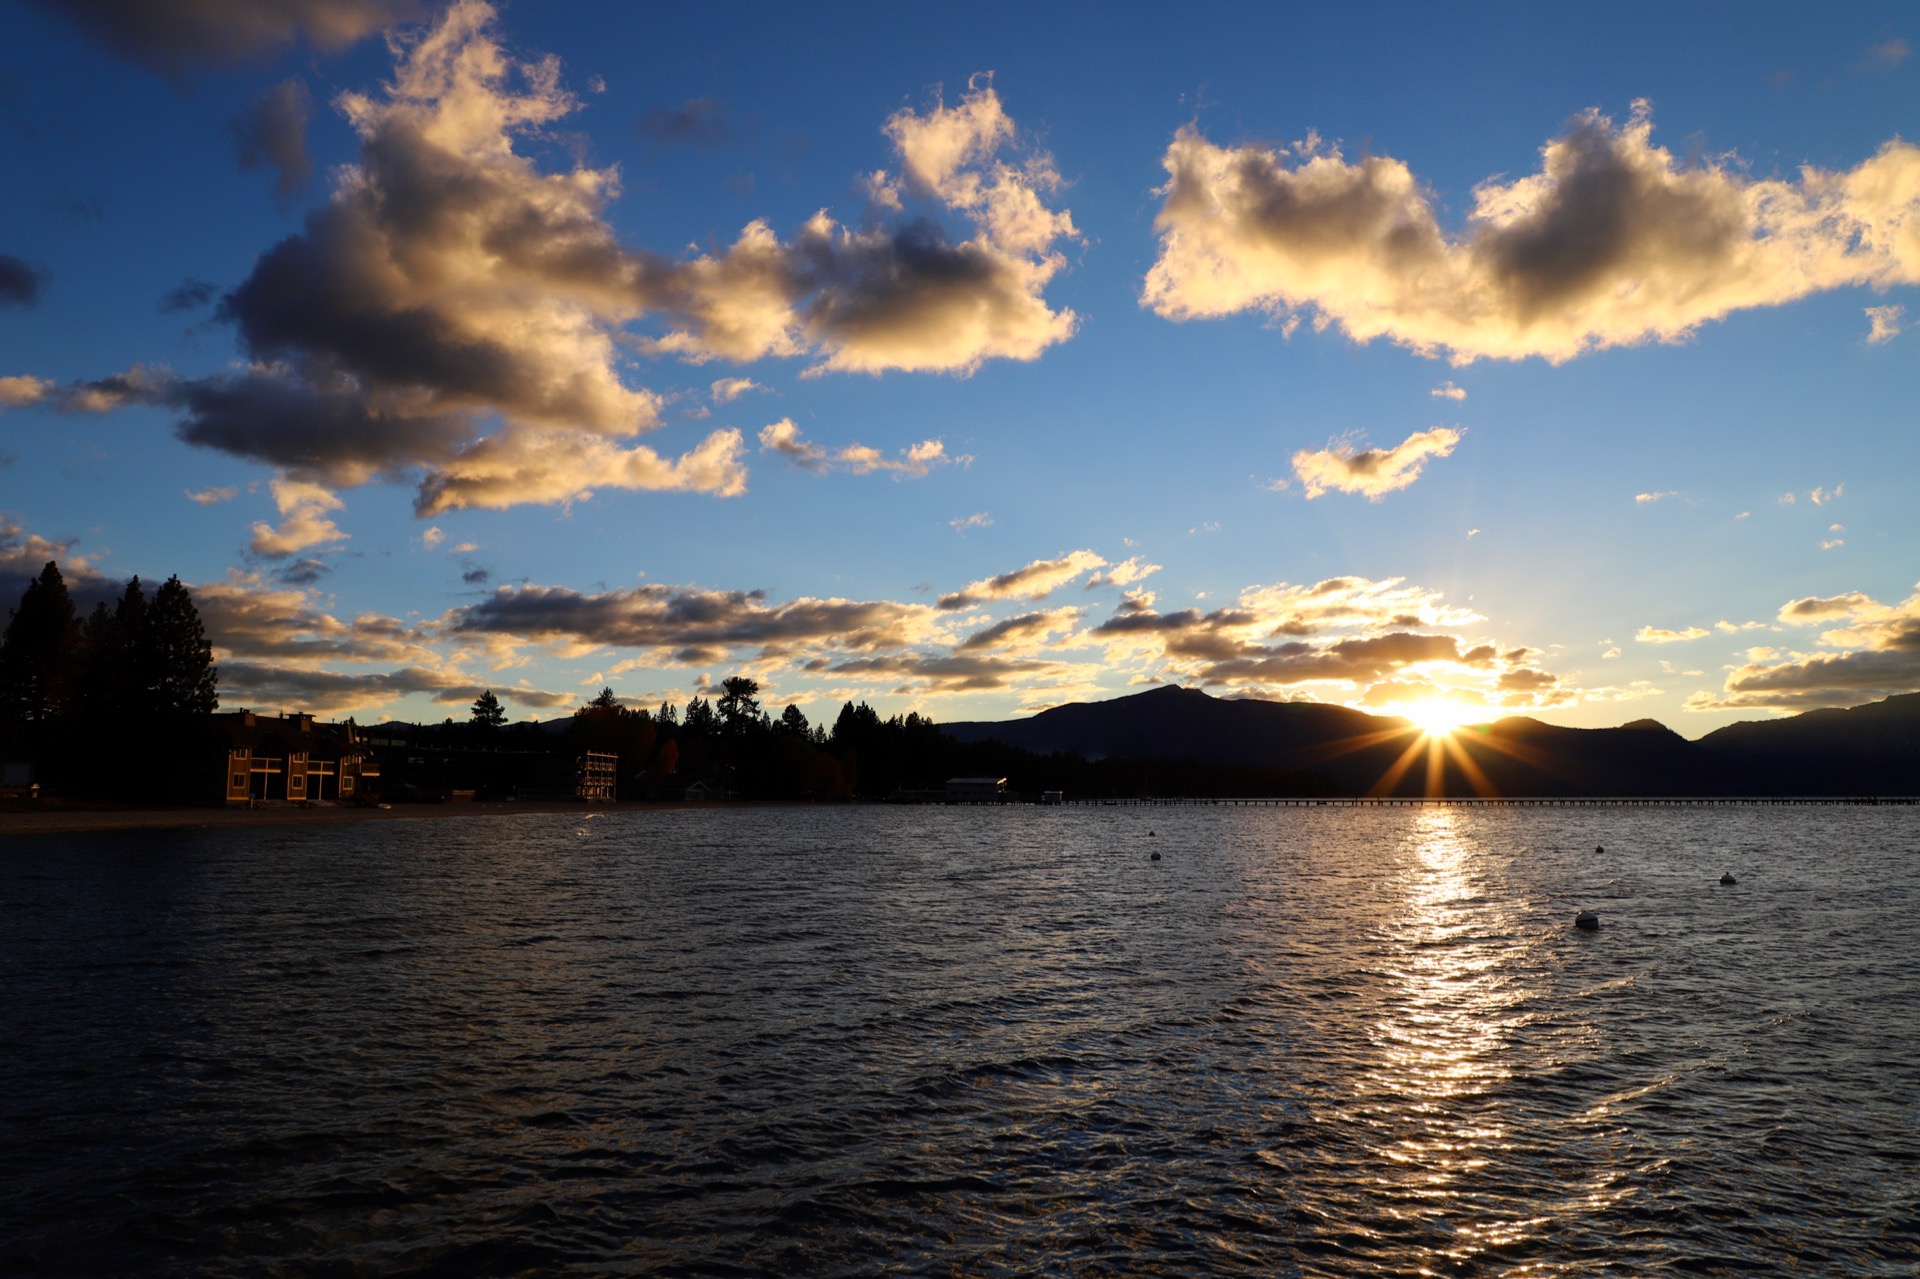
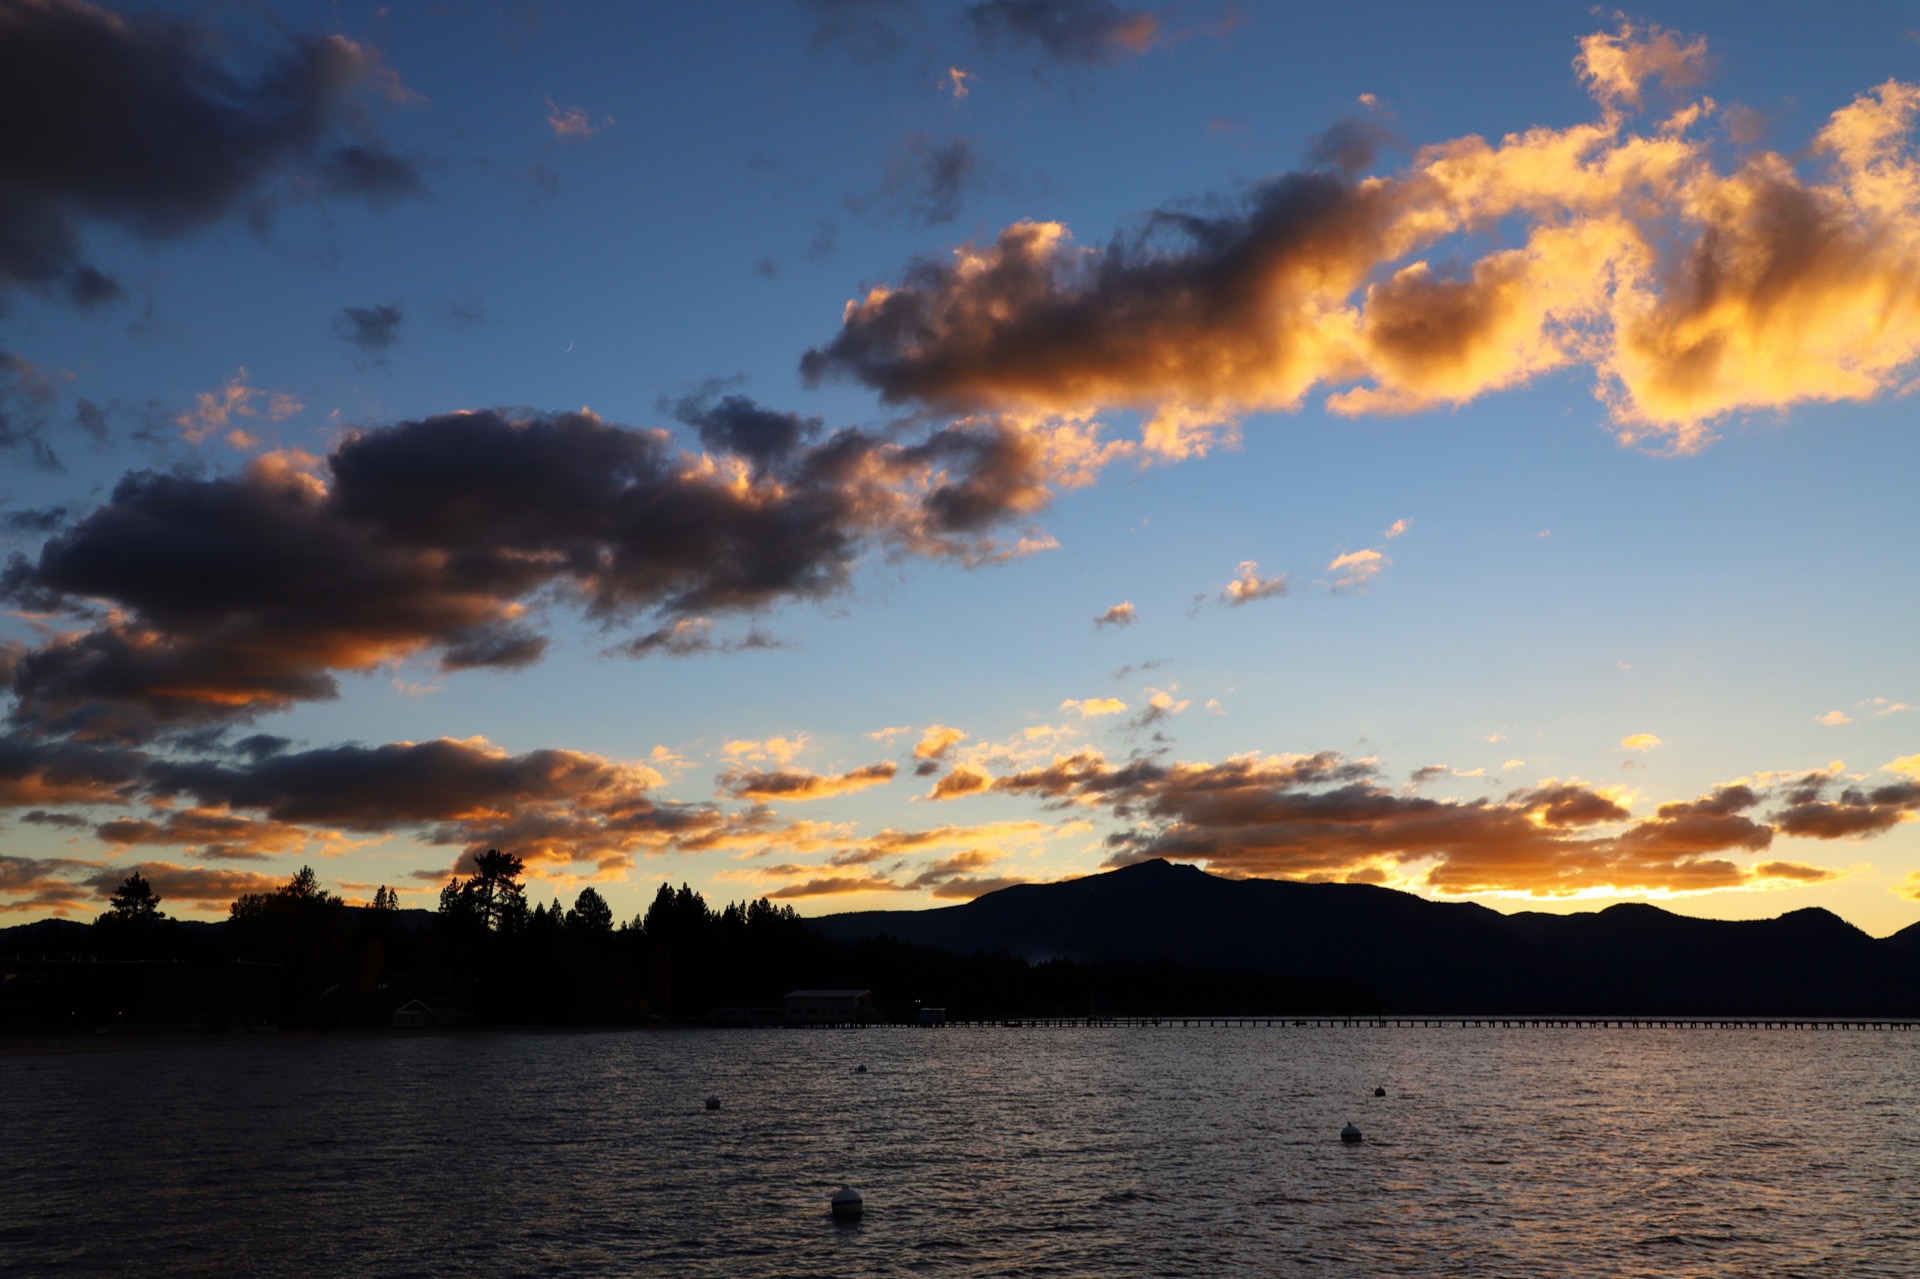
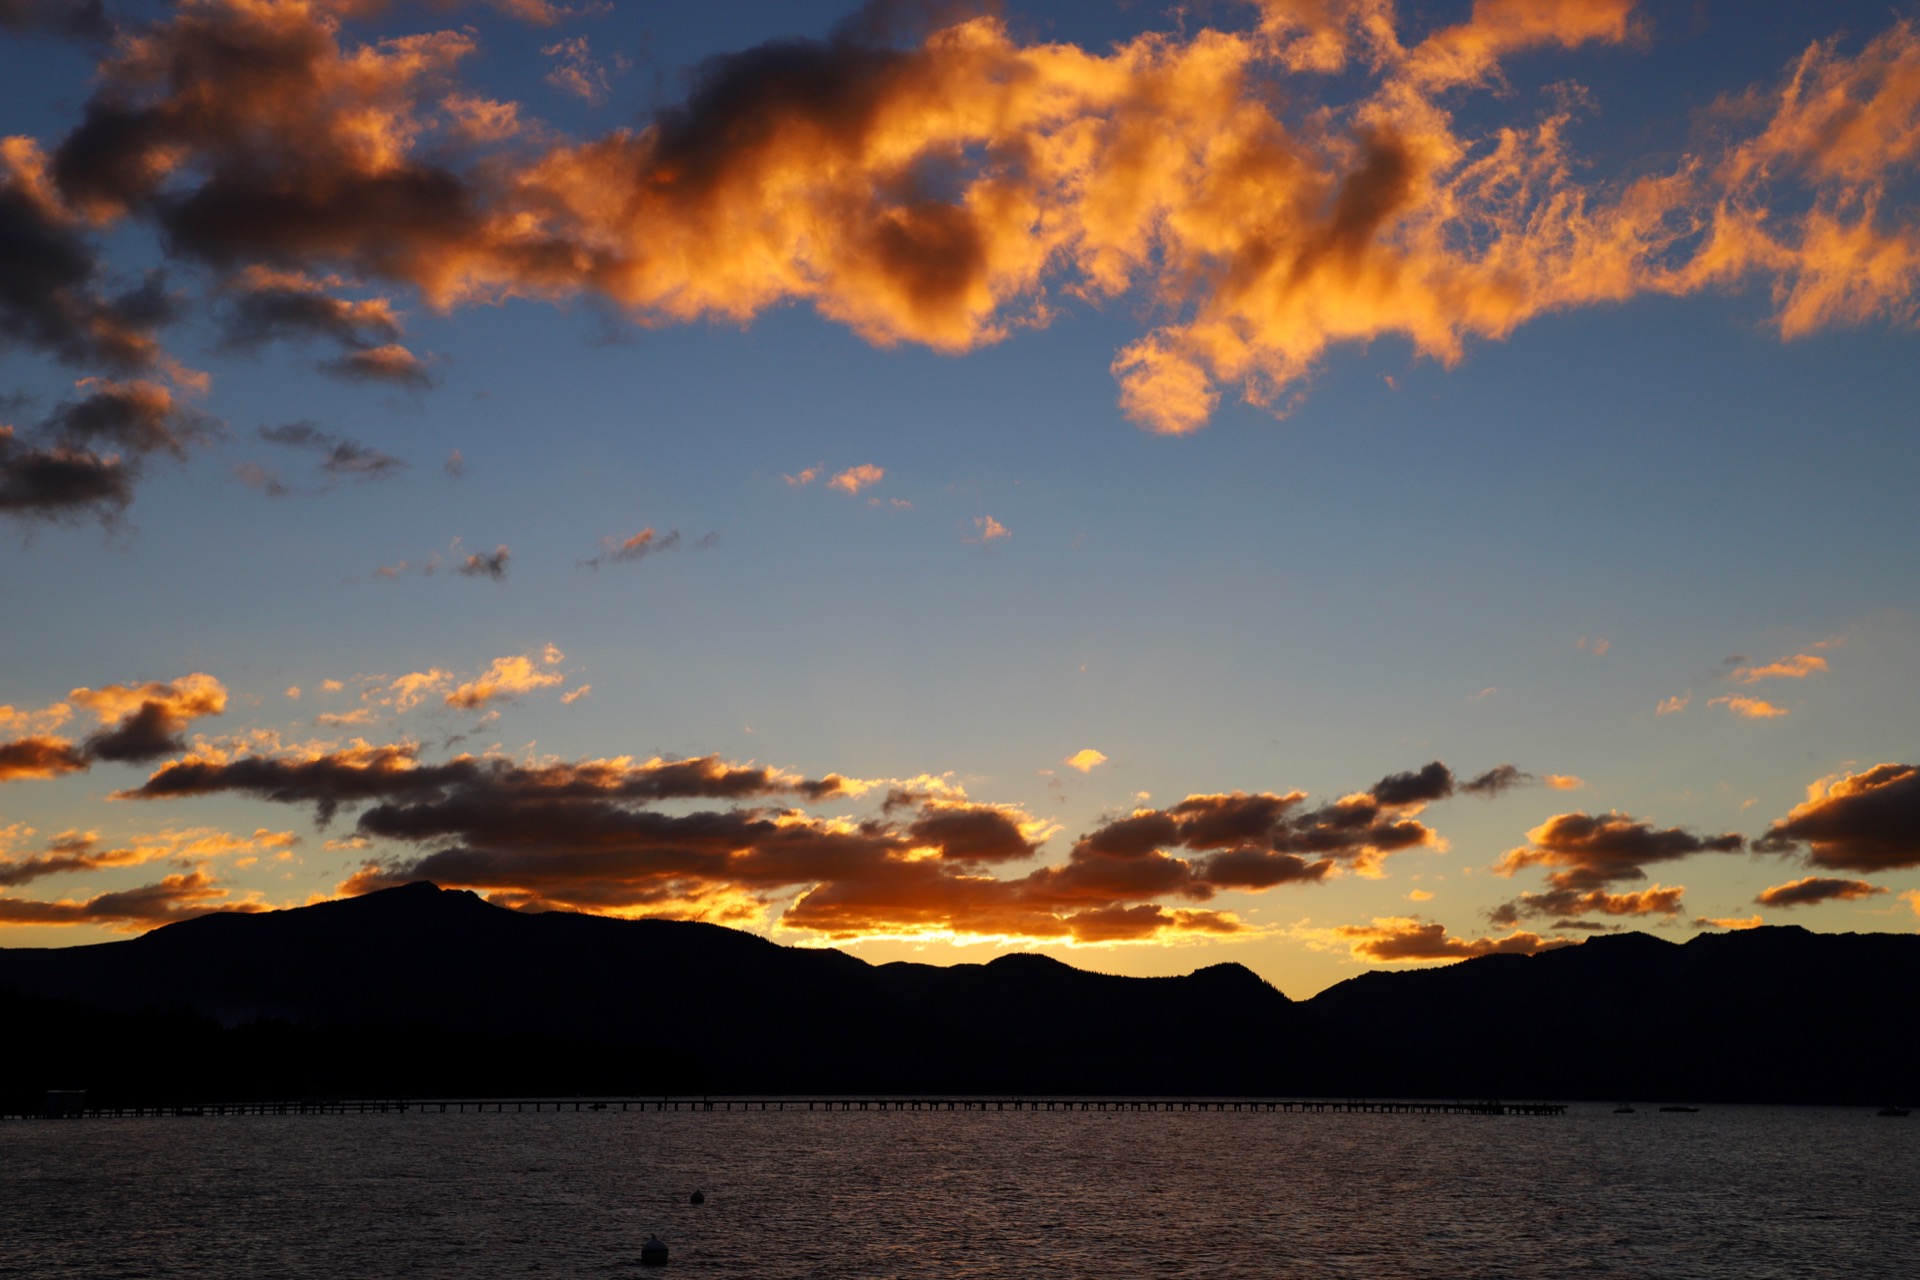
Sunset View from Lakeland Village Pier
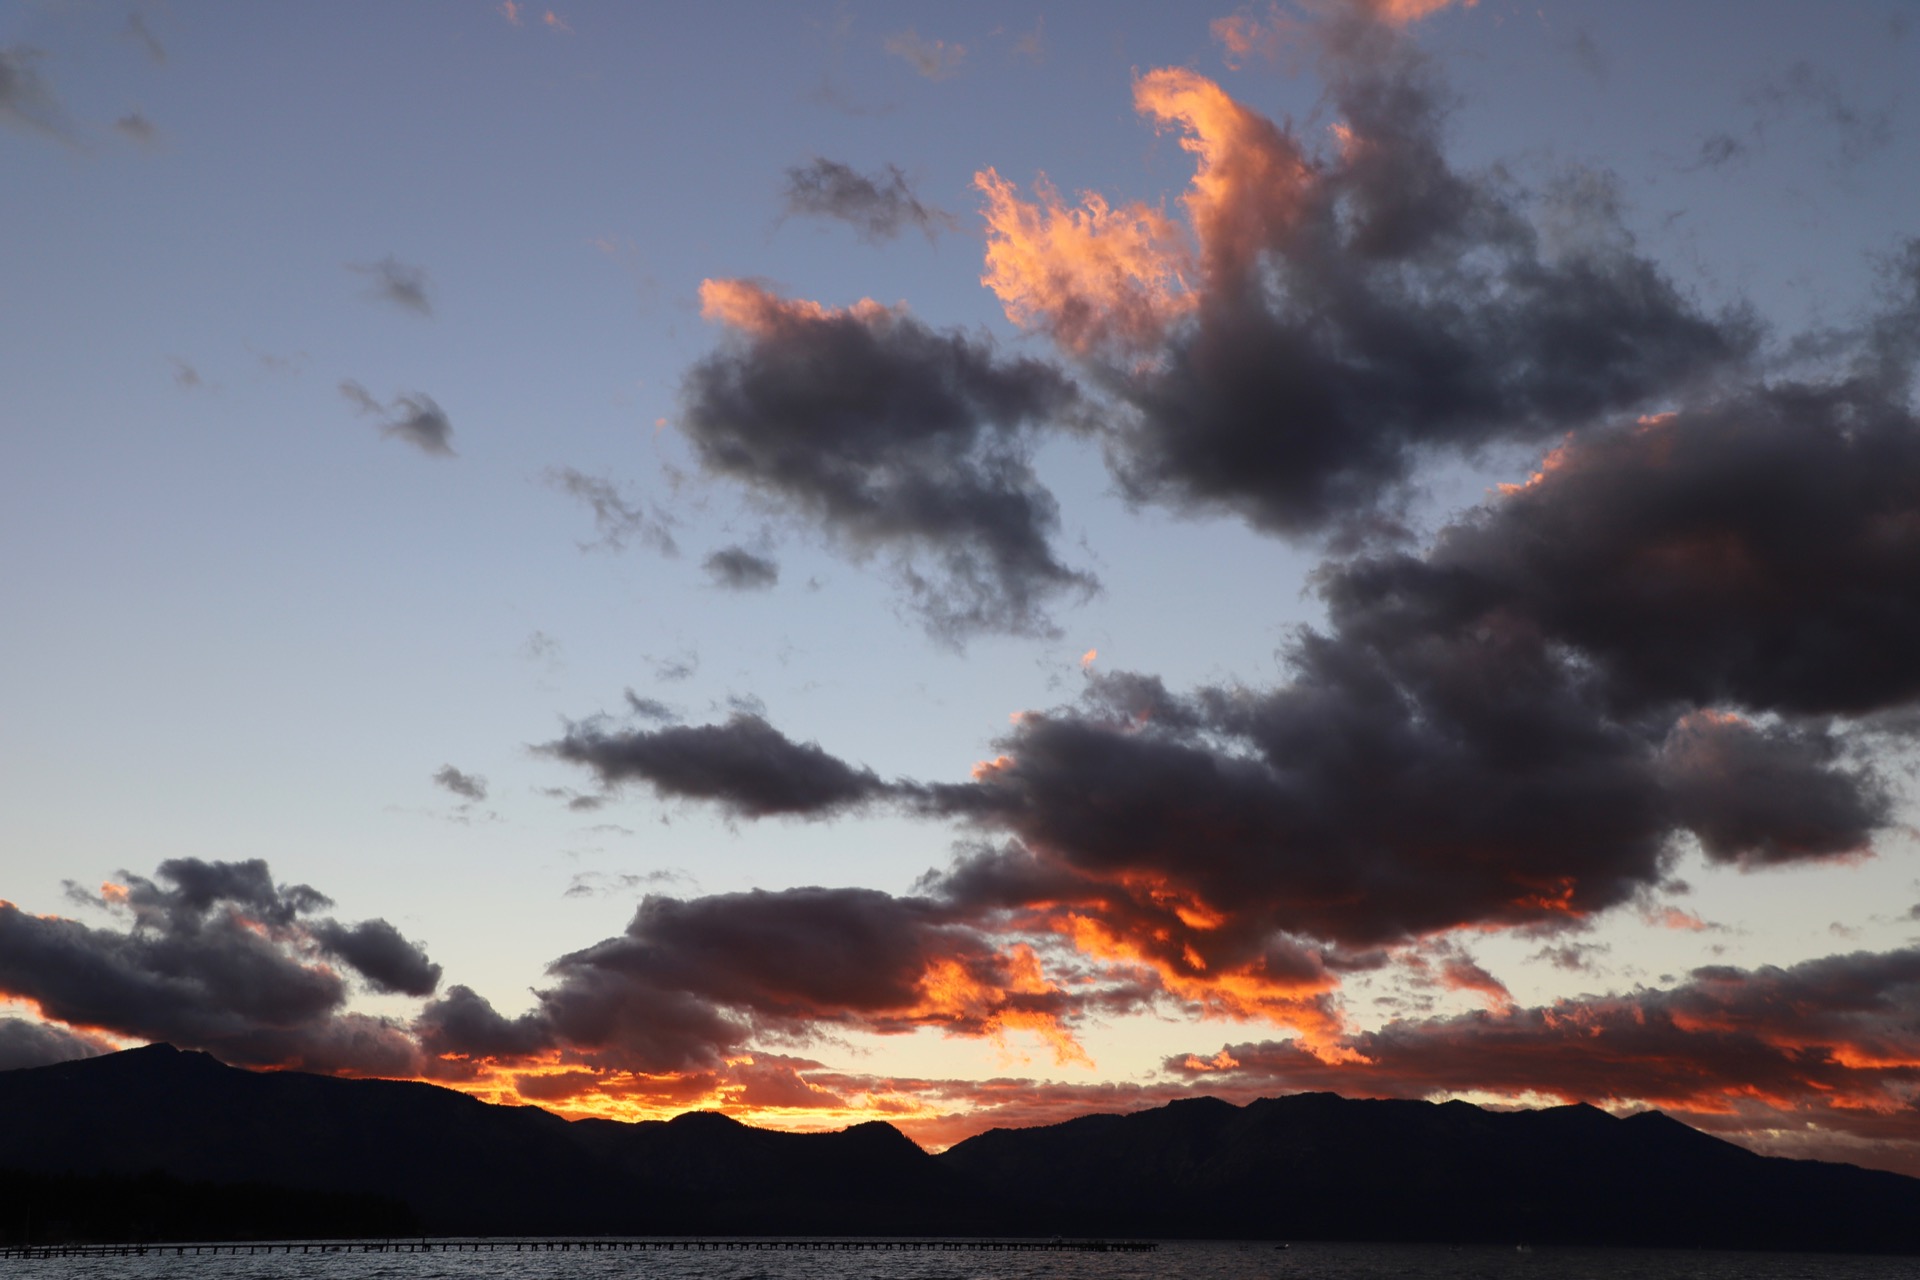
Sunset View from Lakeland Village Pier
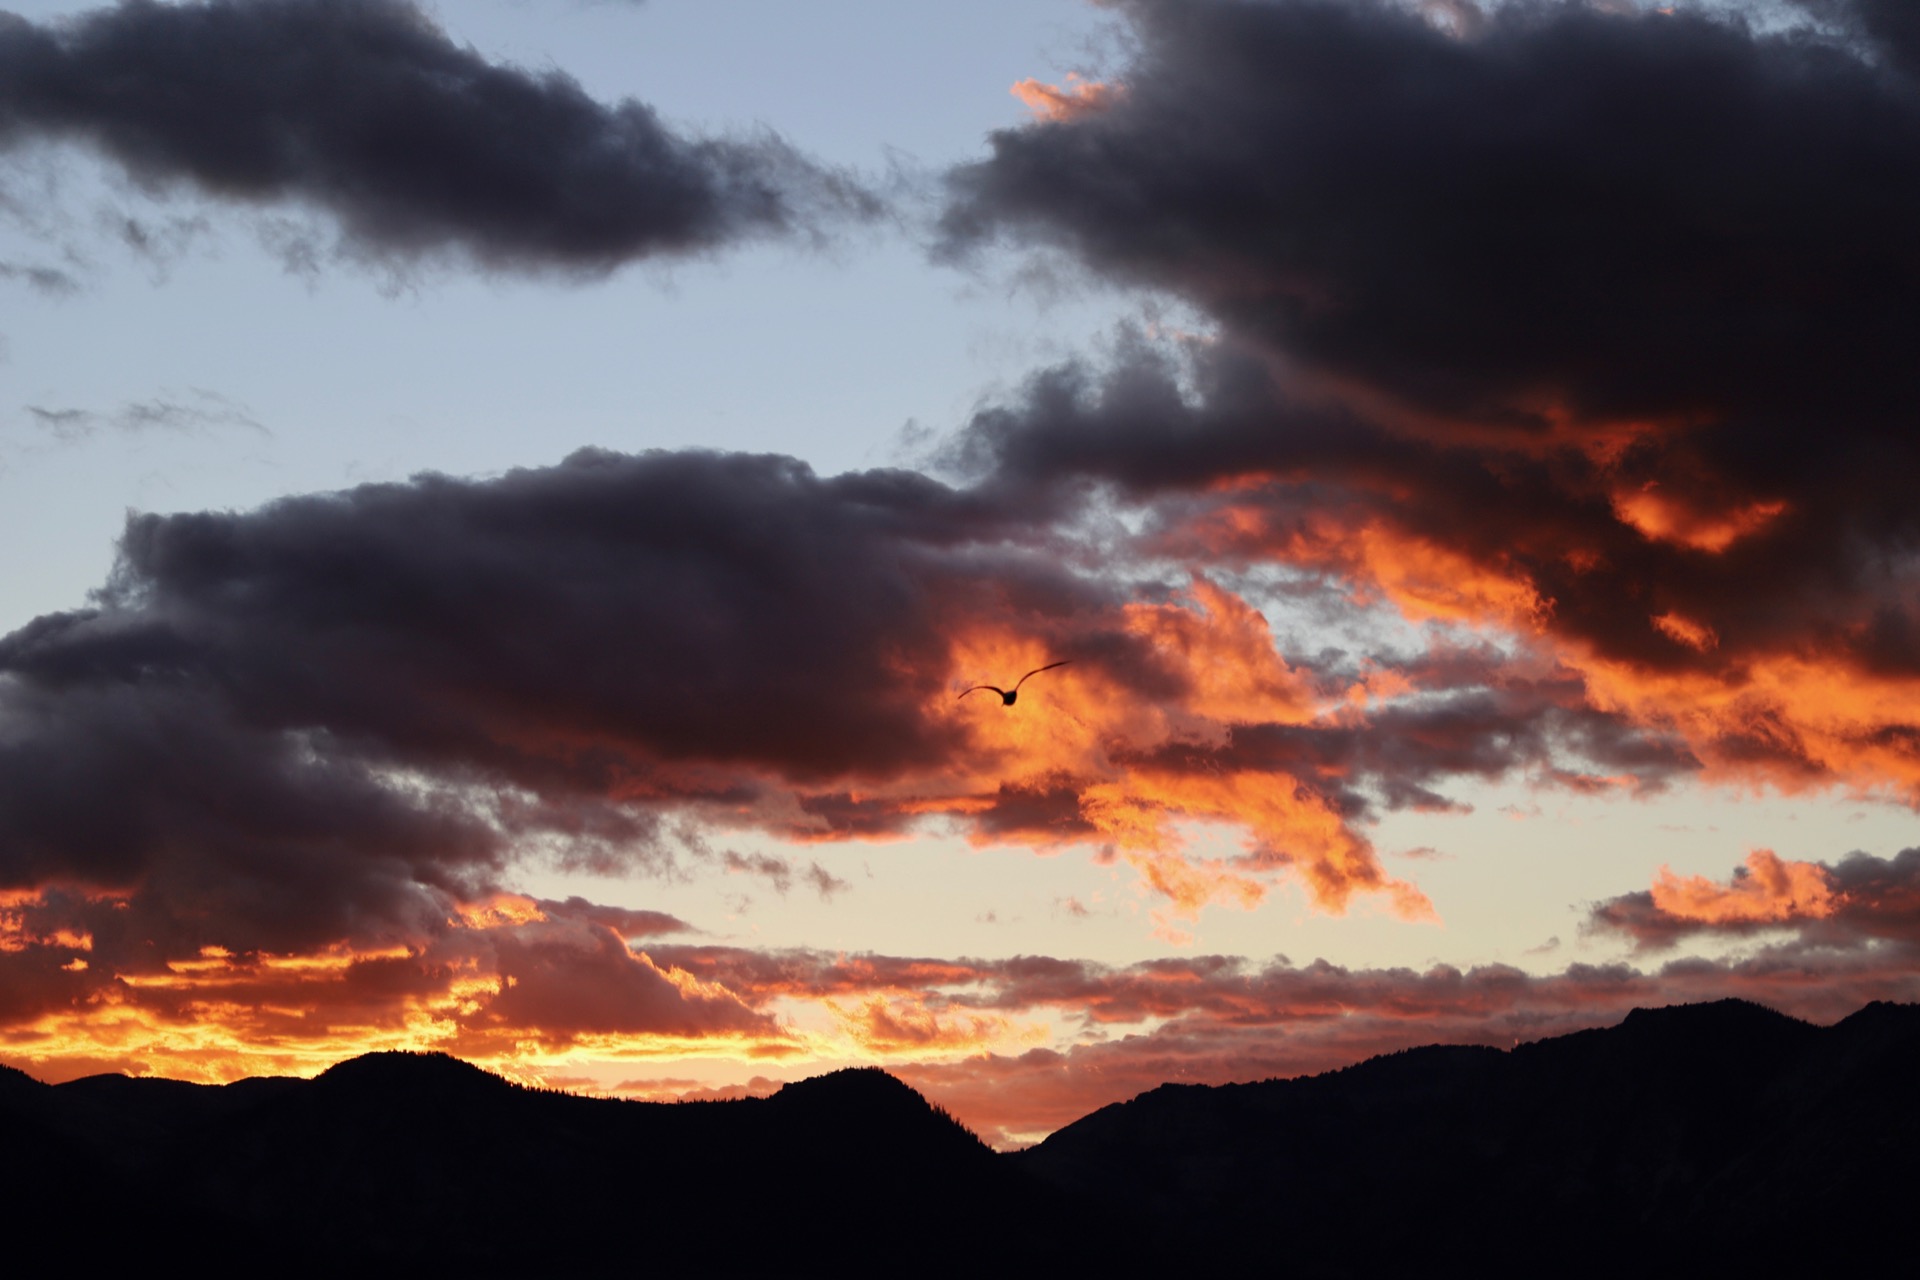
Sunset View from Lakeland Village Pier
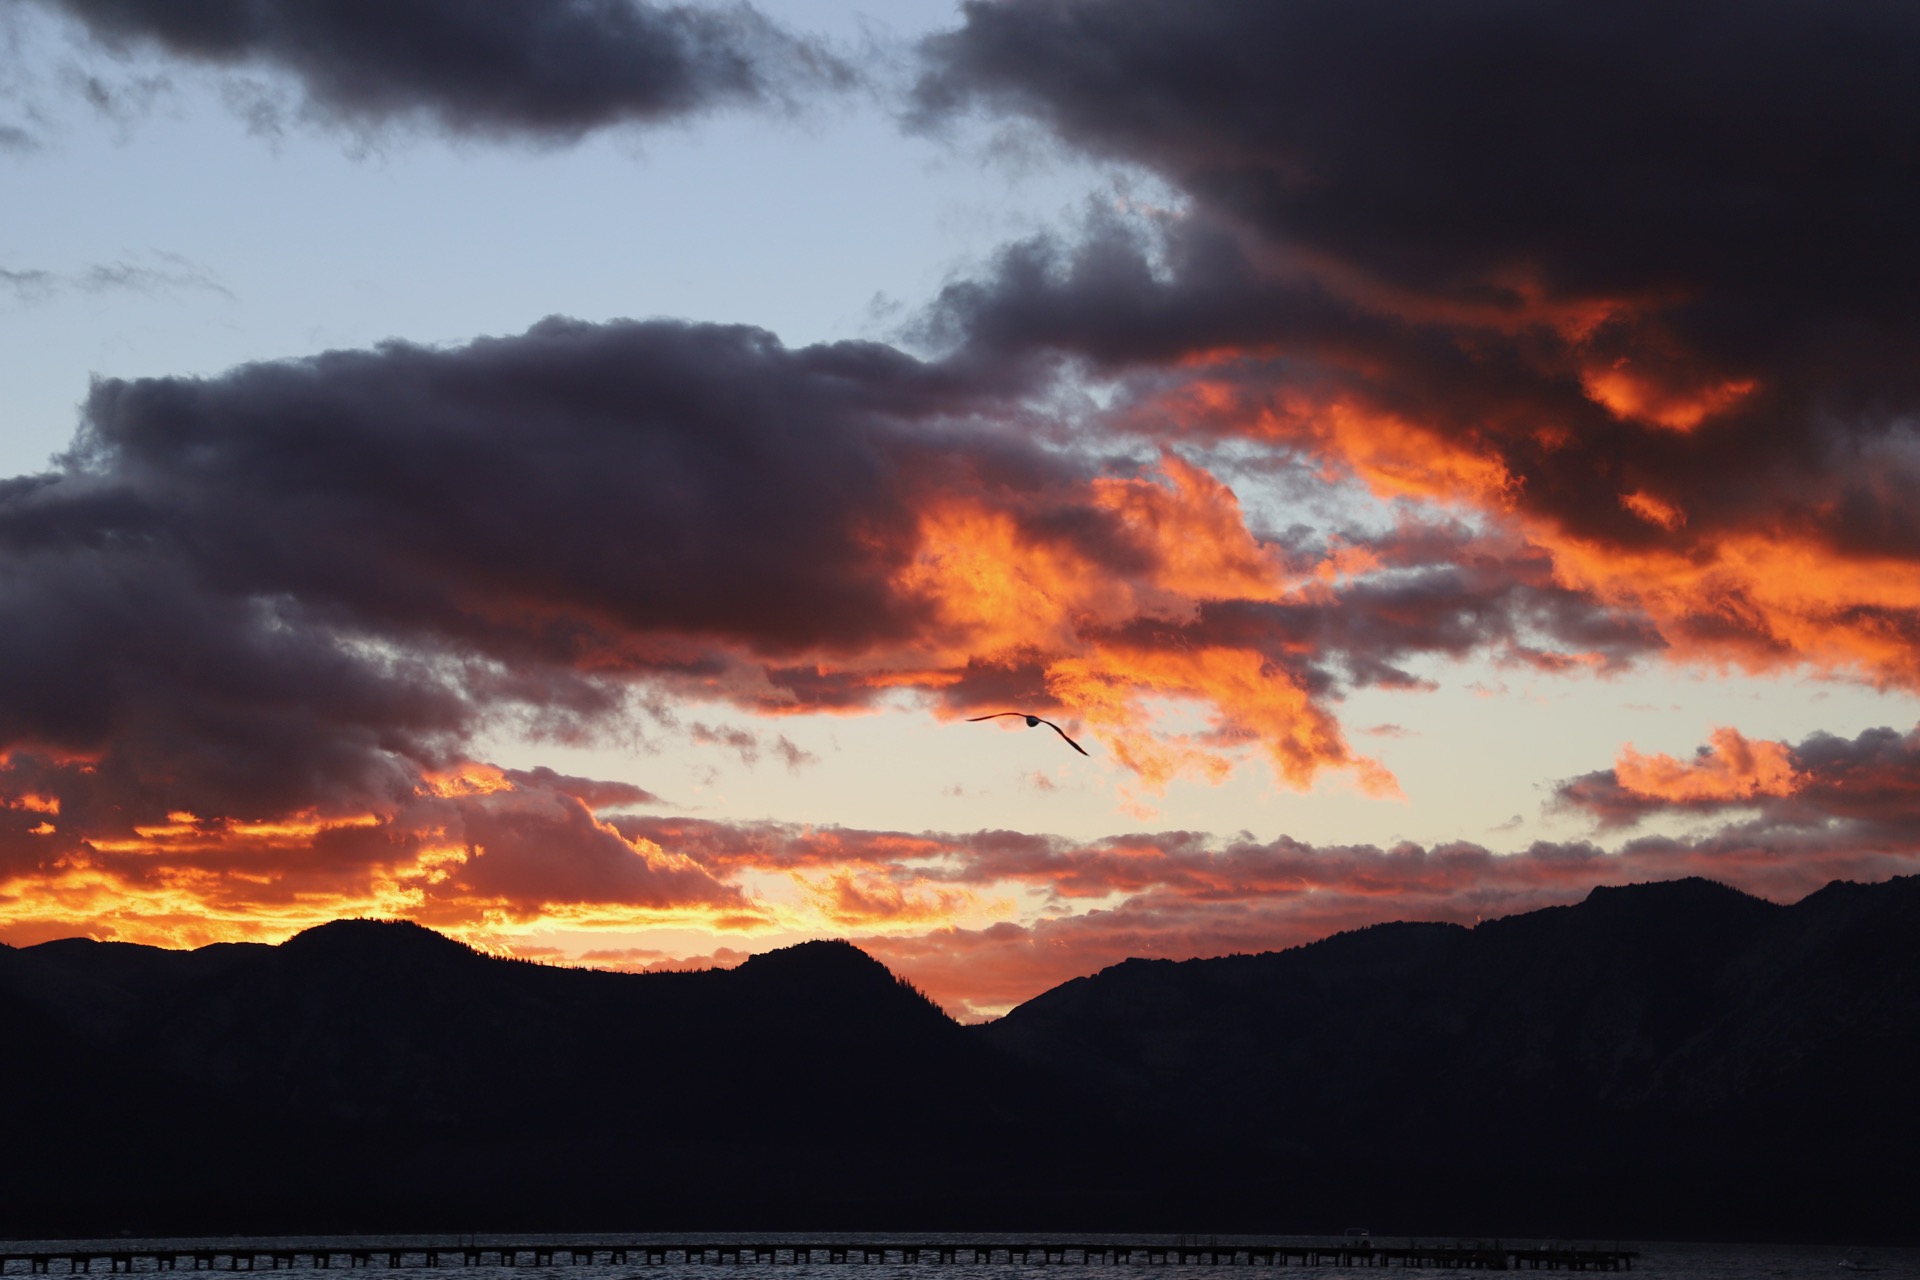
Sunset View from Lakeland Village Pier
Sunset View from Lakeland Village Pier
Sunset View from Lakeland Village Pier
Sunset View from Lakeland Village Pier
Sunset View from Lakeland Village Pier
Sunset View from Lakeland Village Pier
Sunset View from Lakeland Village Pier
Sunset View from Lakeland Village Pier
Sunset View from Lakeland Village Pier
Sunset View from Lakeland Village Pier
Sunset View from Lakeland Village Pier
Sunset View from Lakeland Village Pier
Sunset View from Lakeland Village Pier
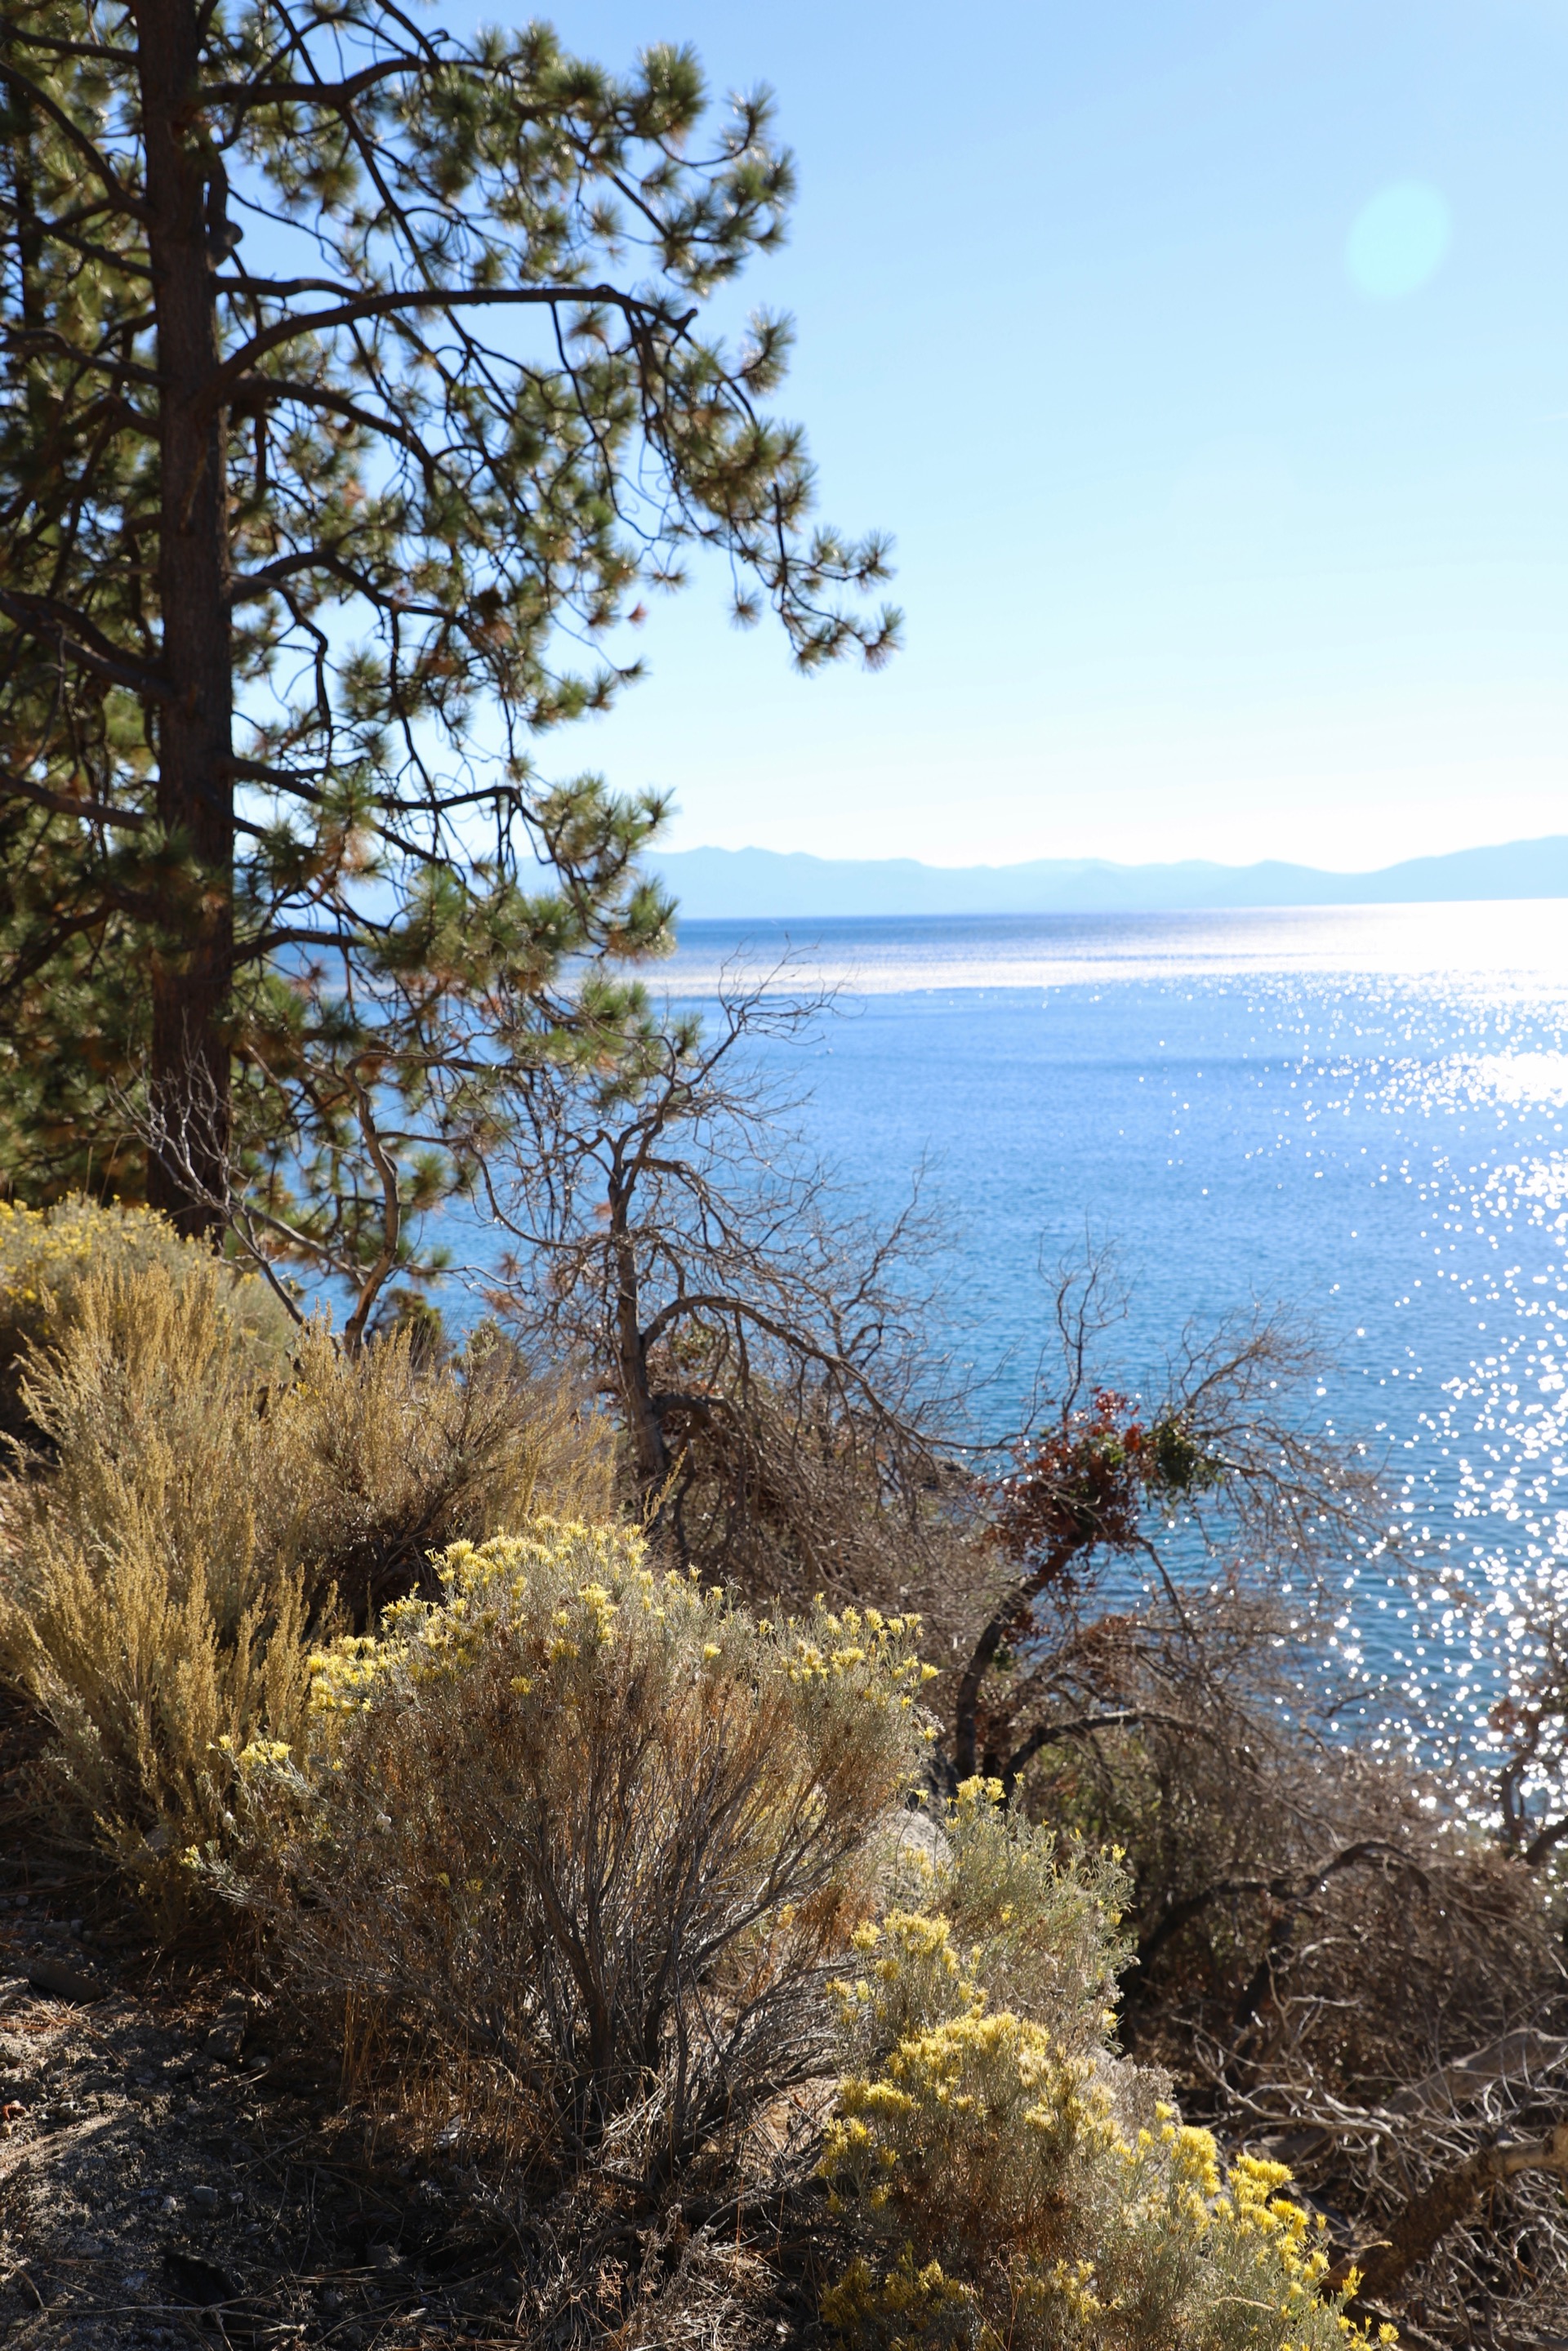
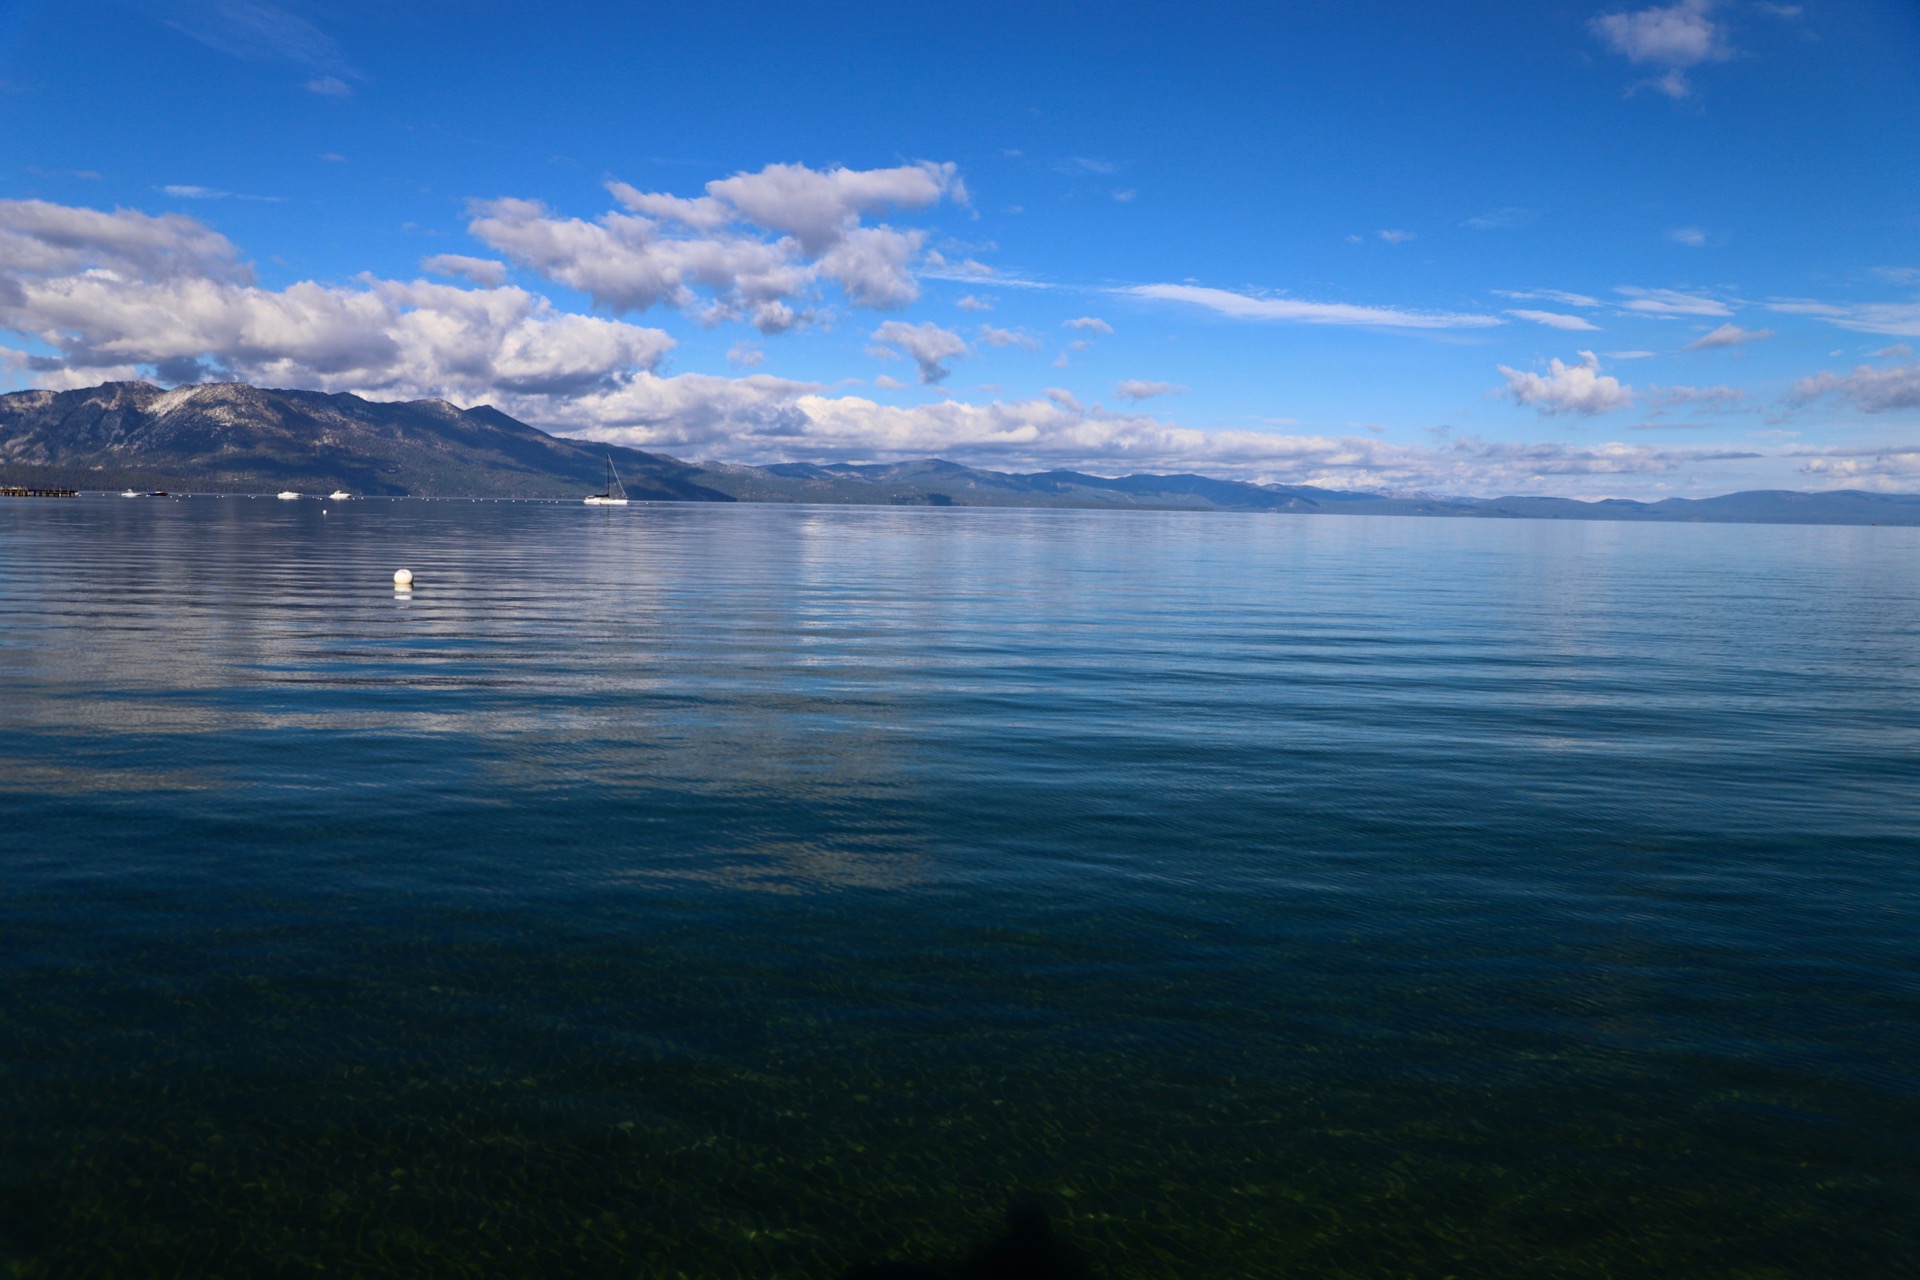
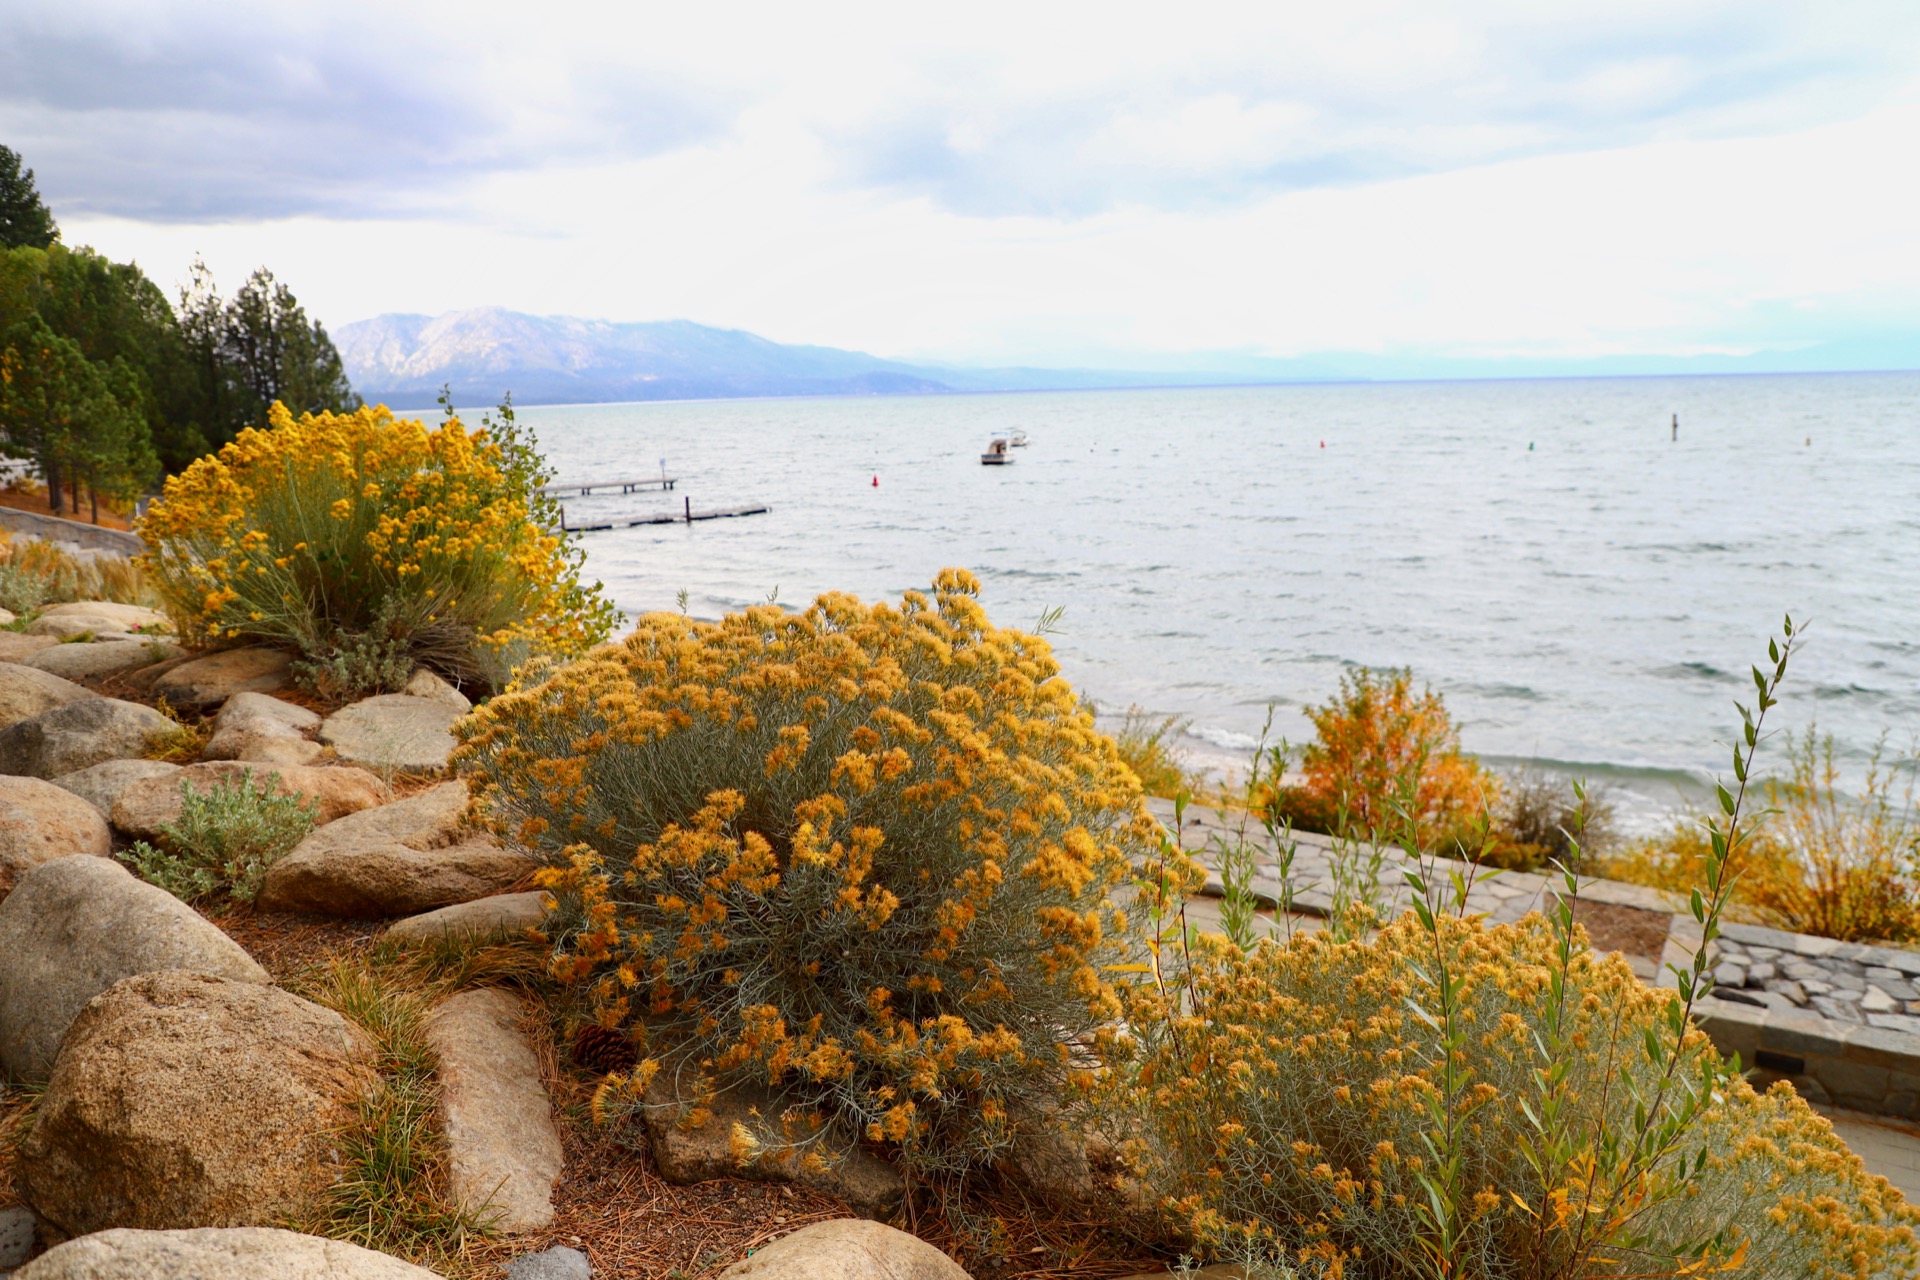
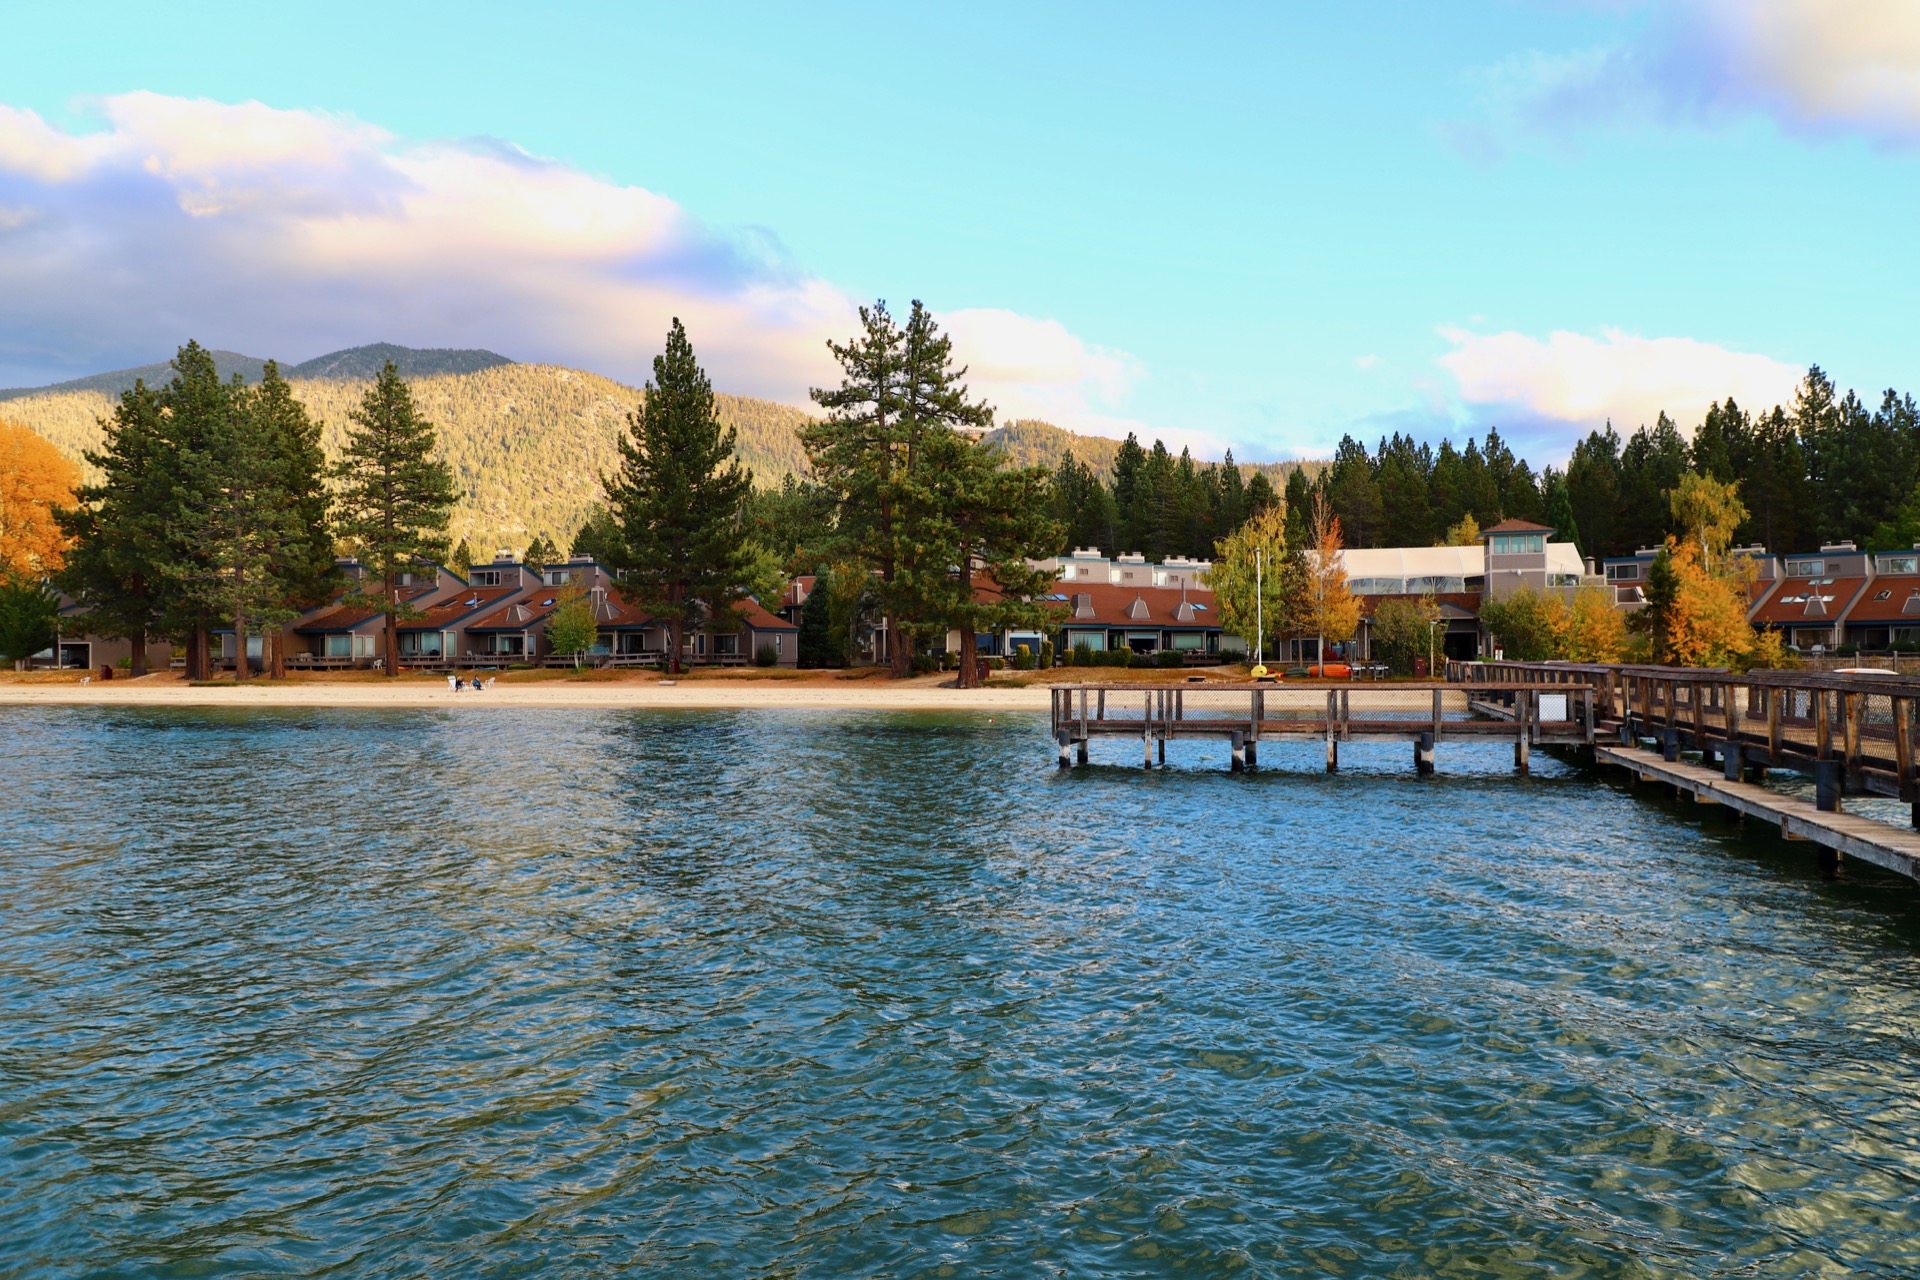
Lake Tahoe View from Lakeland Village
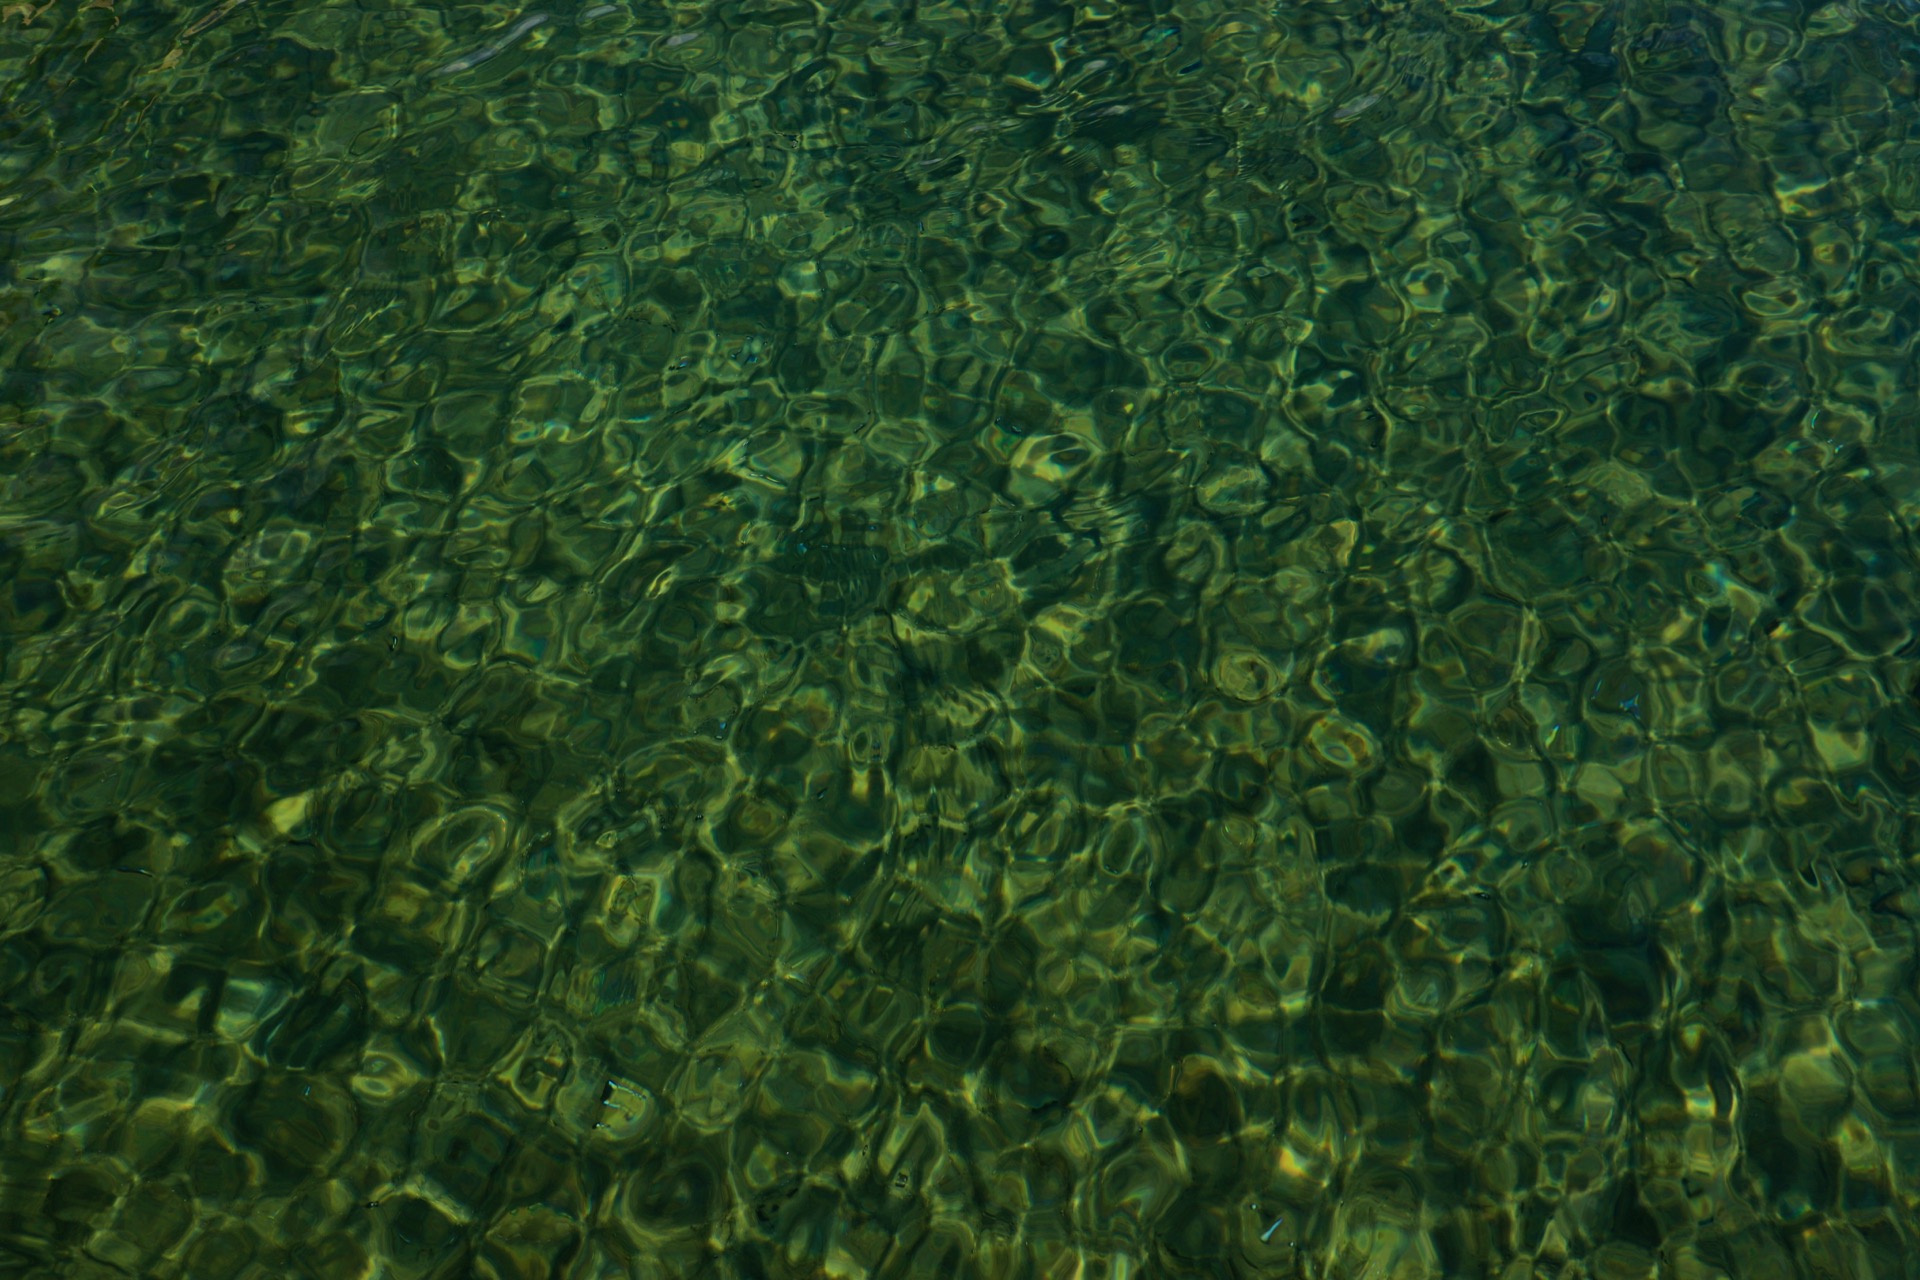
Lake Tahoe Water at Lakeland Village
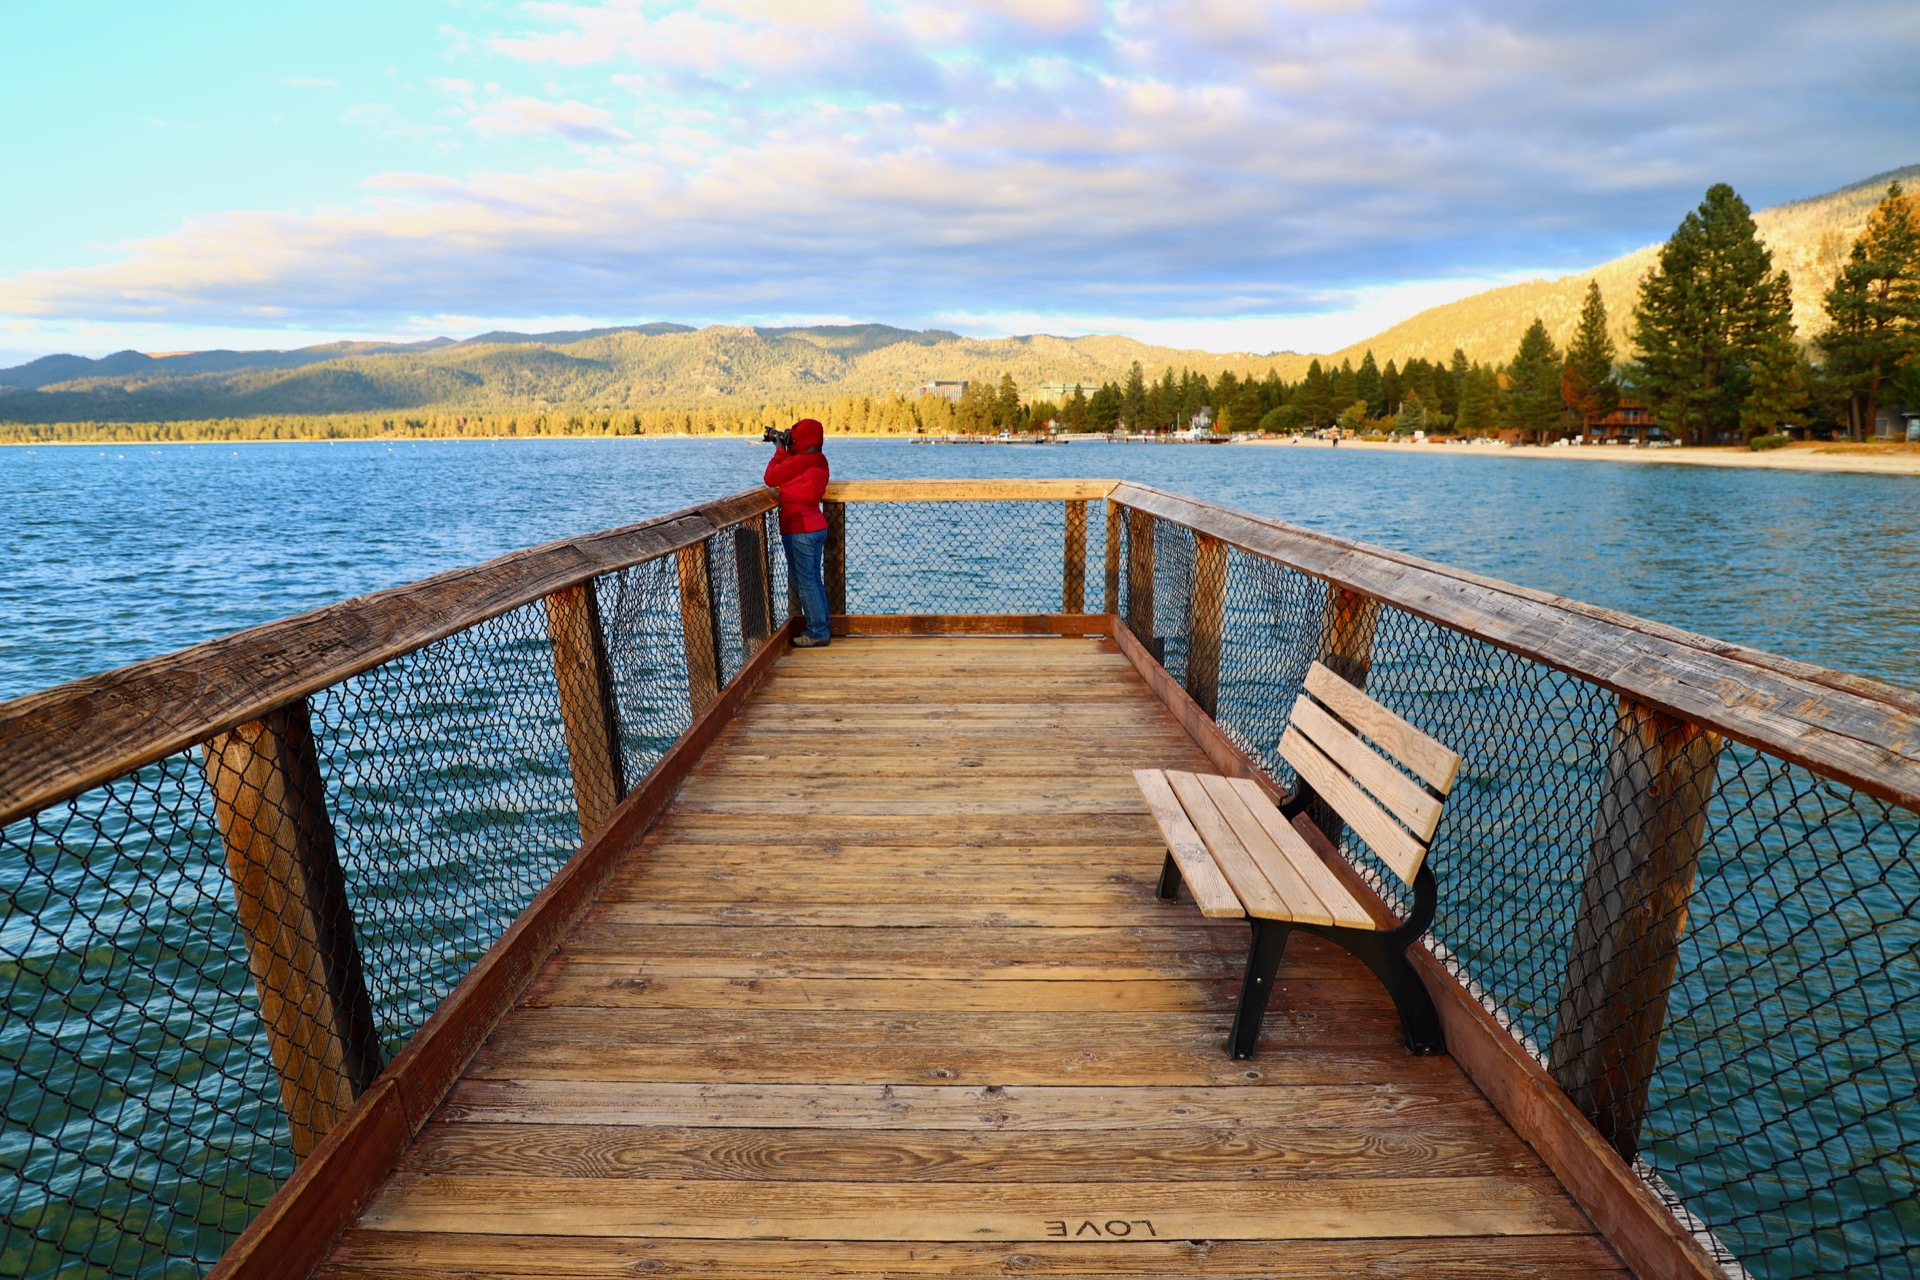
Pier at Lakeland Village
Lake Tahoe Water at Lakeland Village
Beach at Lakeland Village
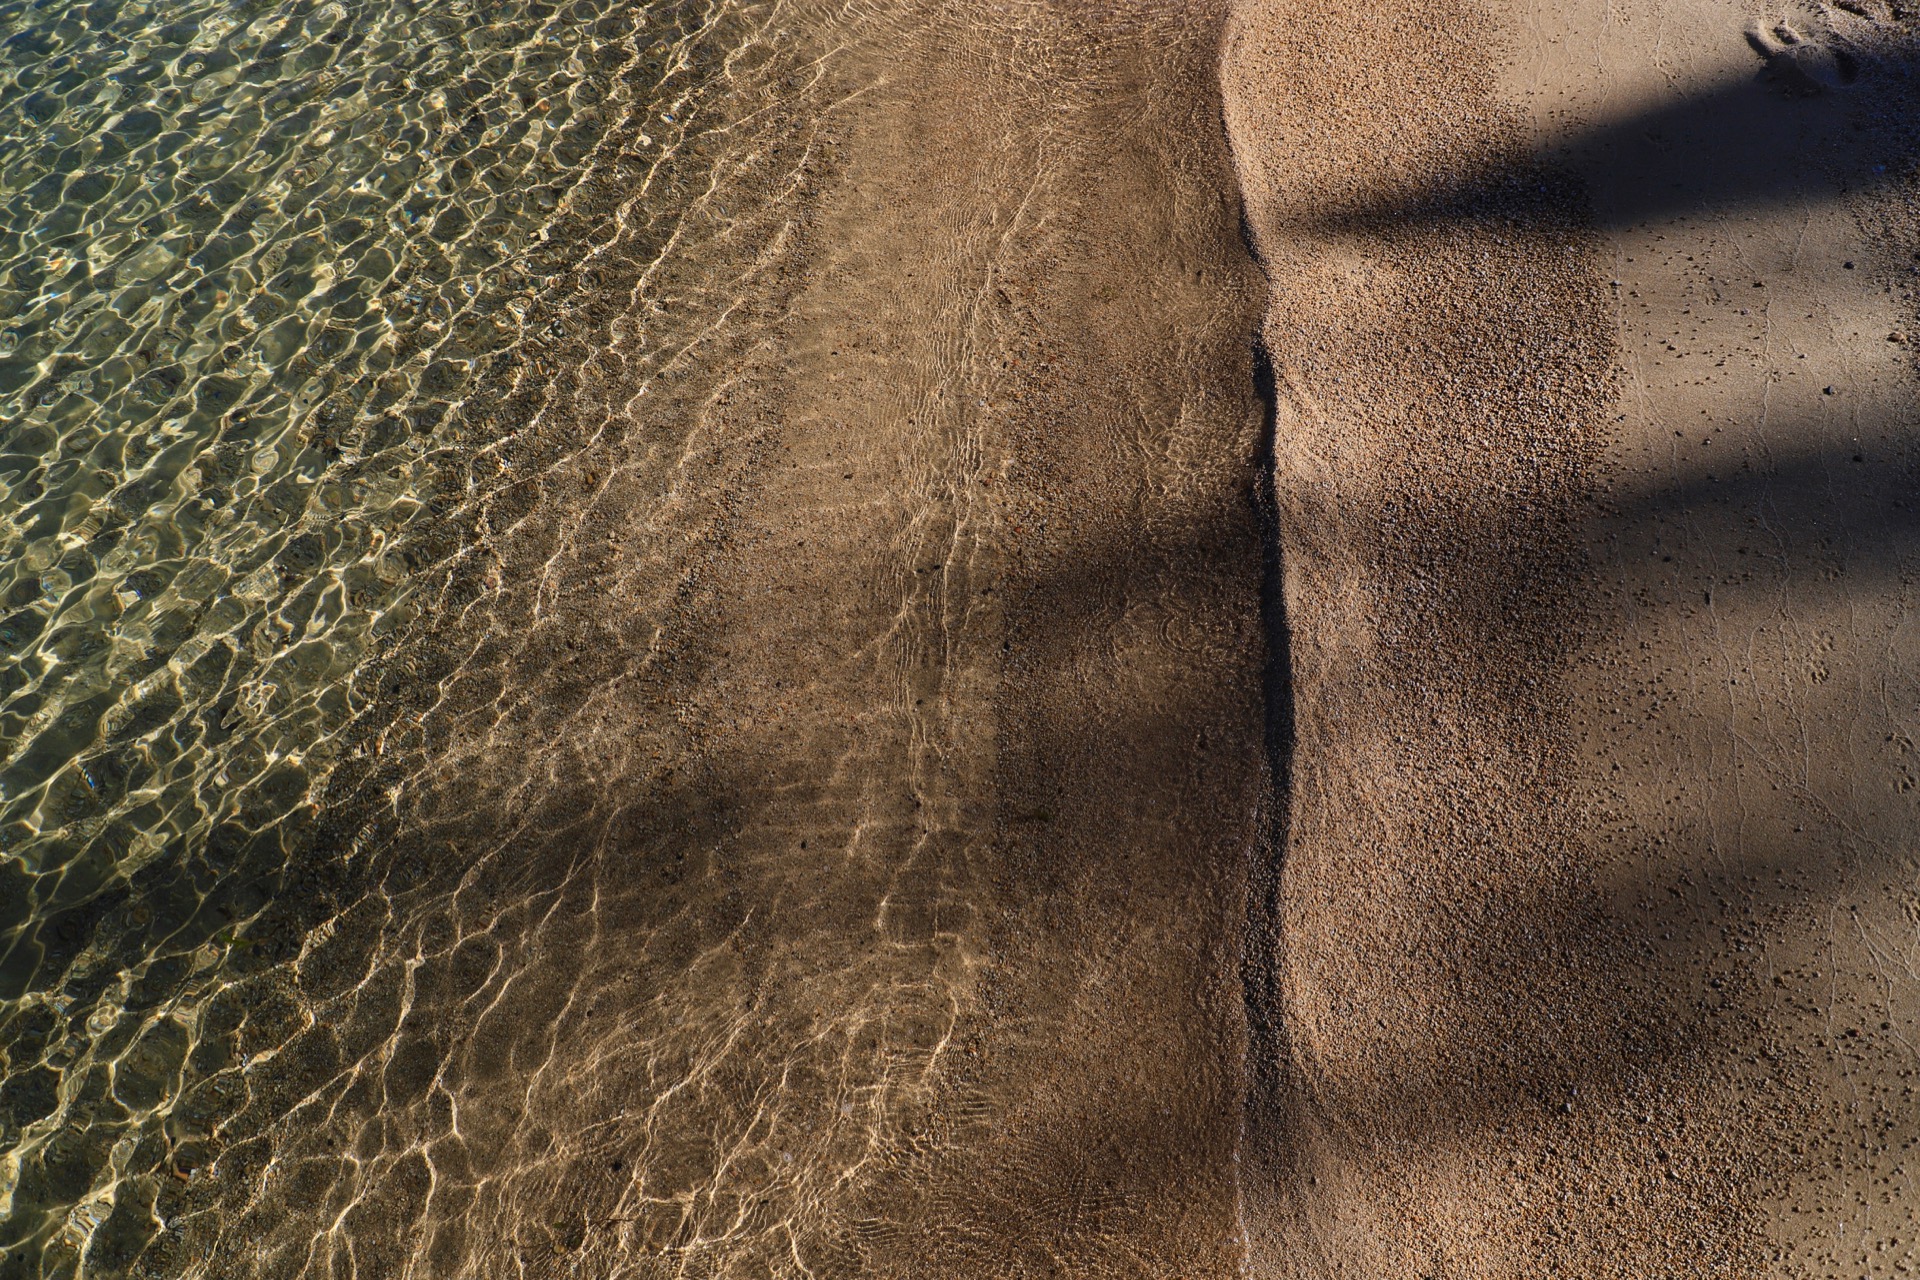
Water Meets Sand at Lakeland Village
Water Meets Sand at Lakeland Village
Pier at Lakeland Village
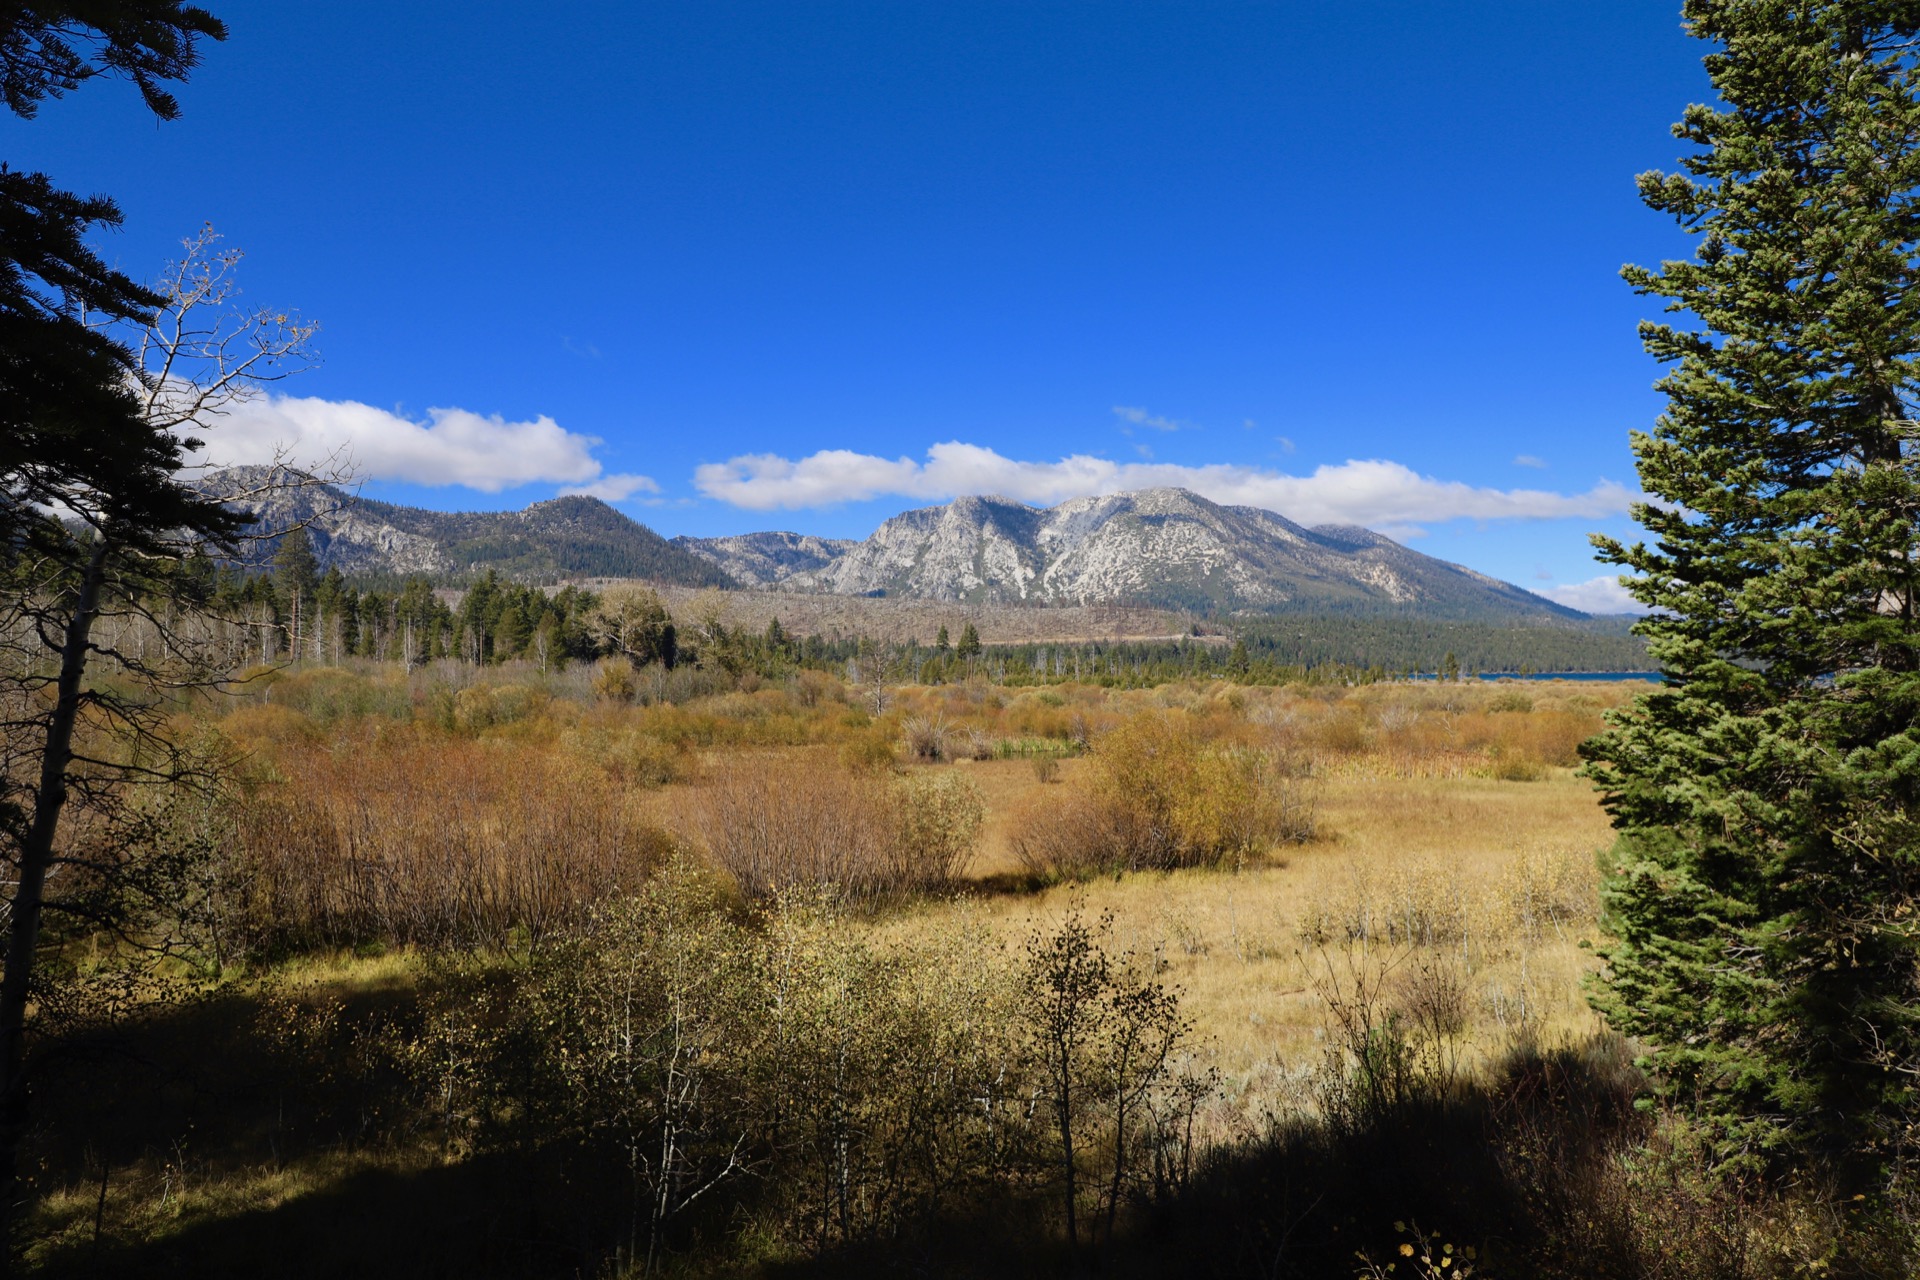
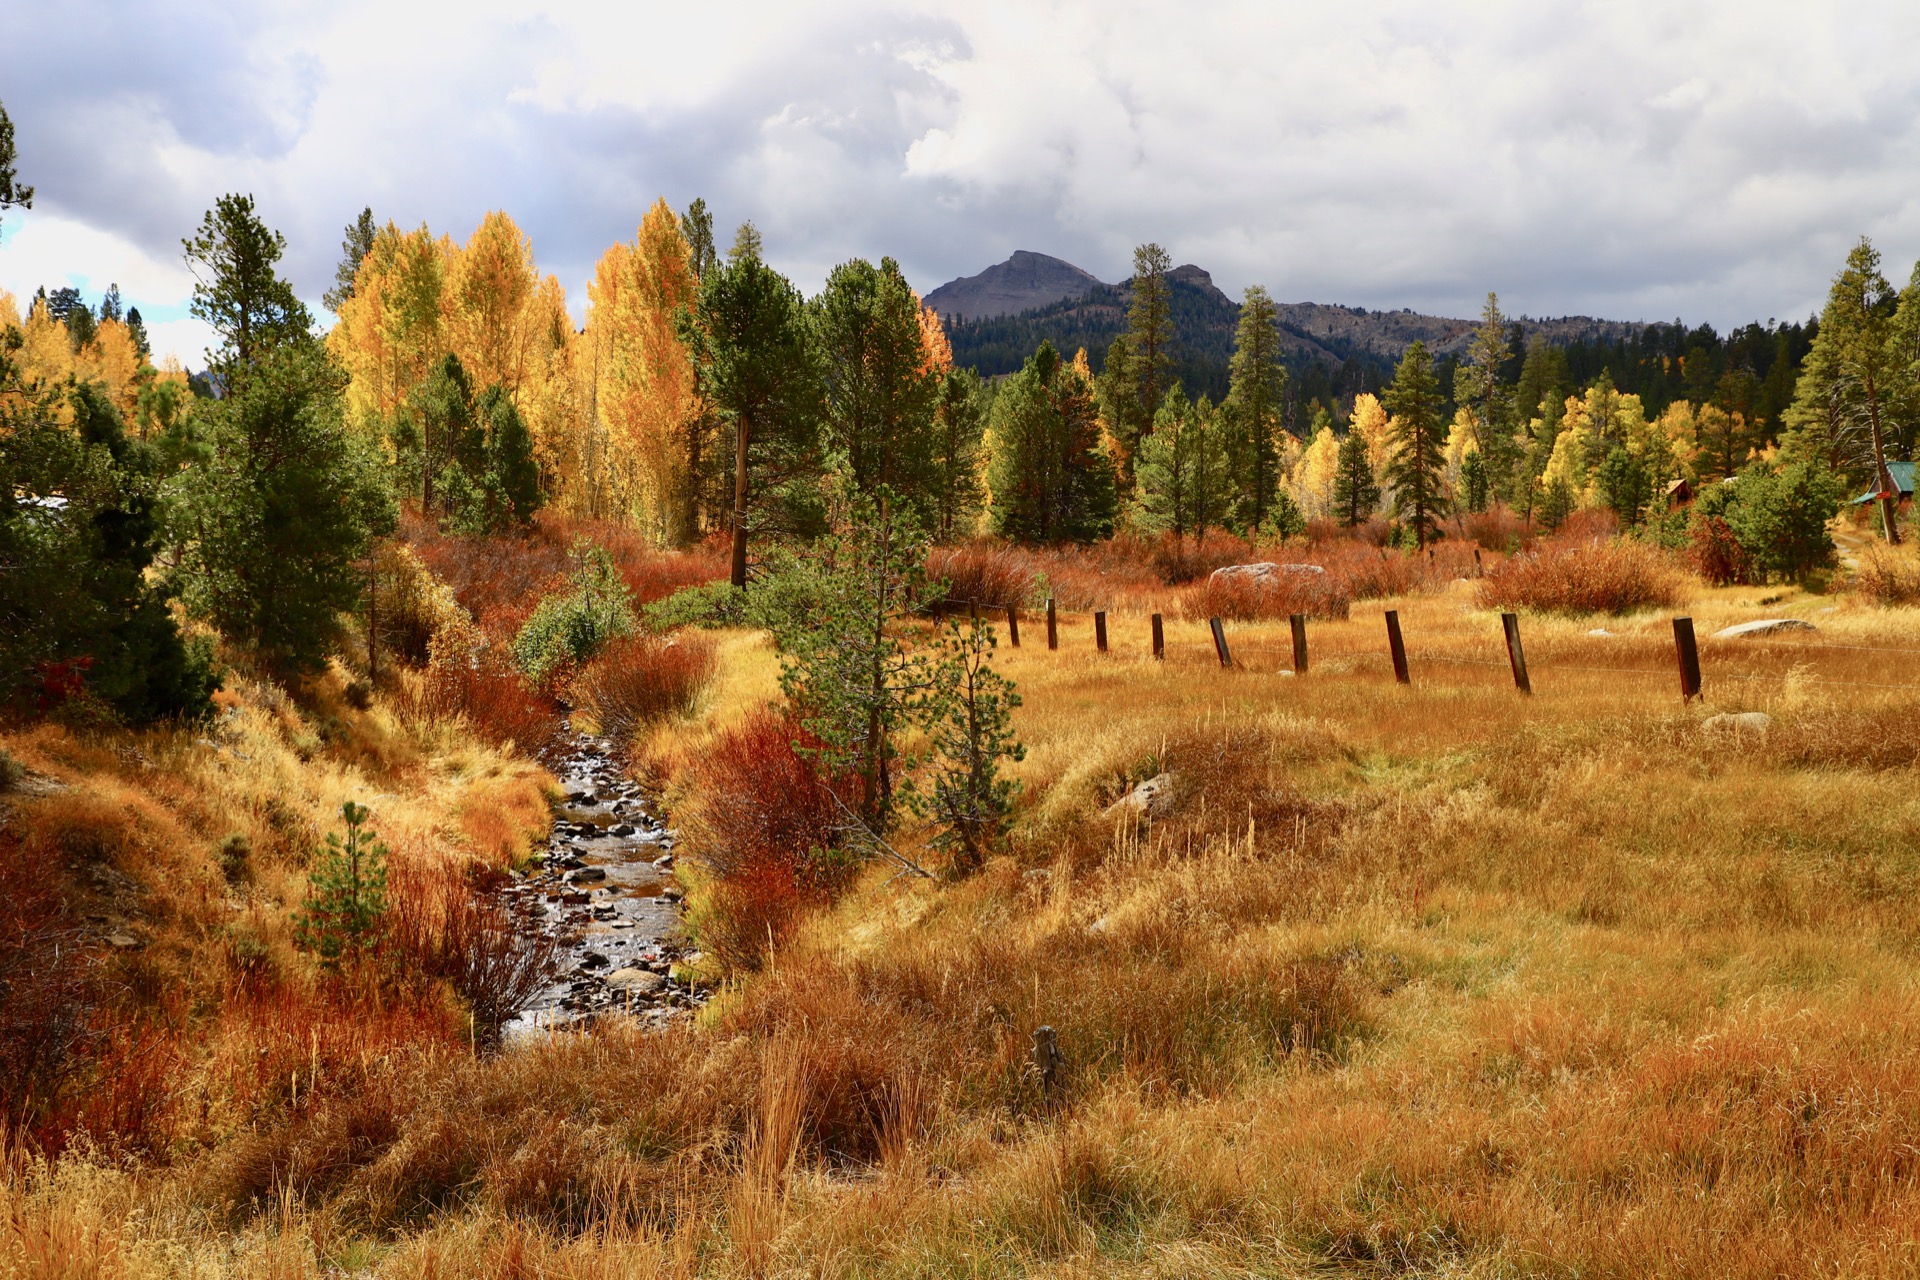
View North from Luther Pass Road Near Grass Lake
Trees on Hwy 89 at Grass Lake Creek
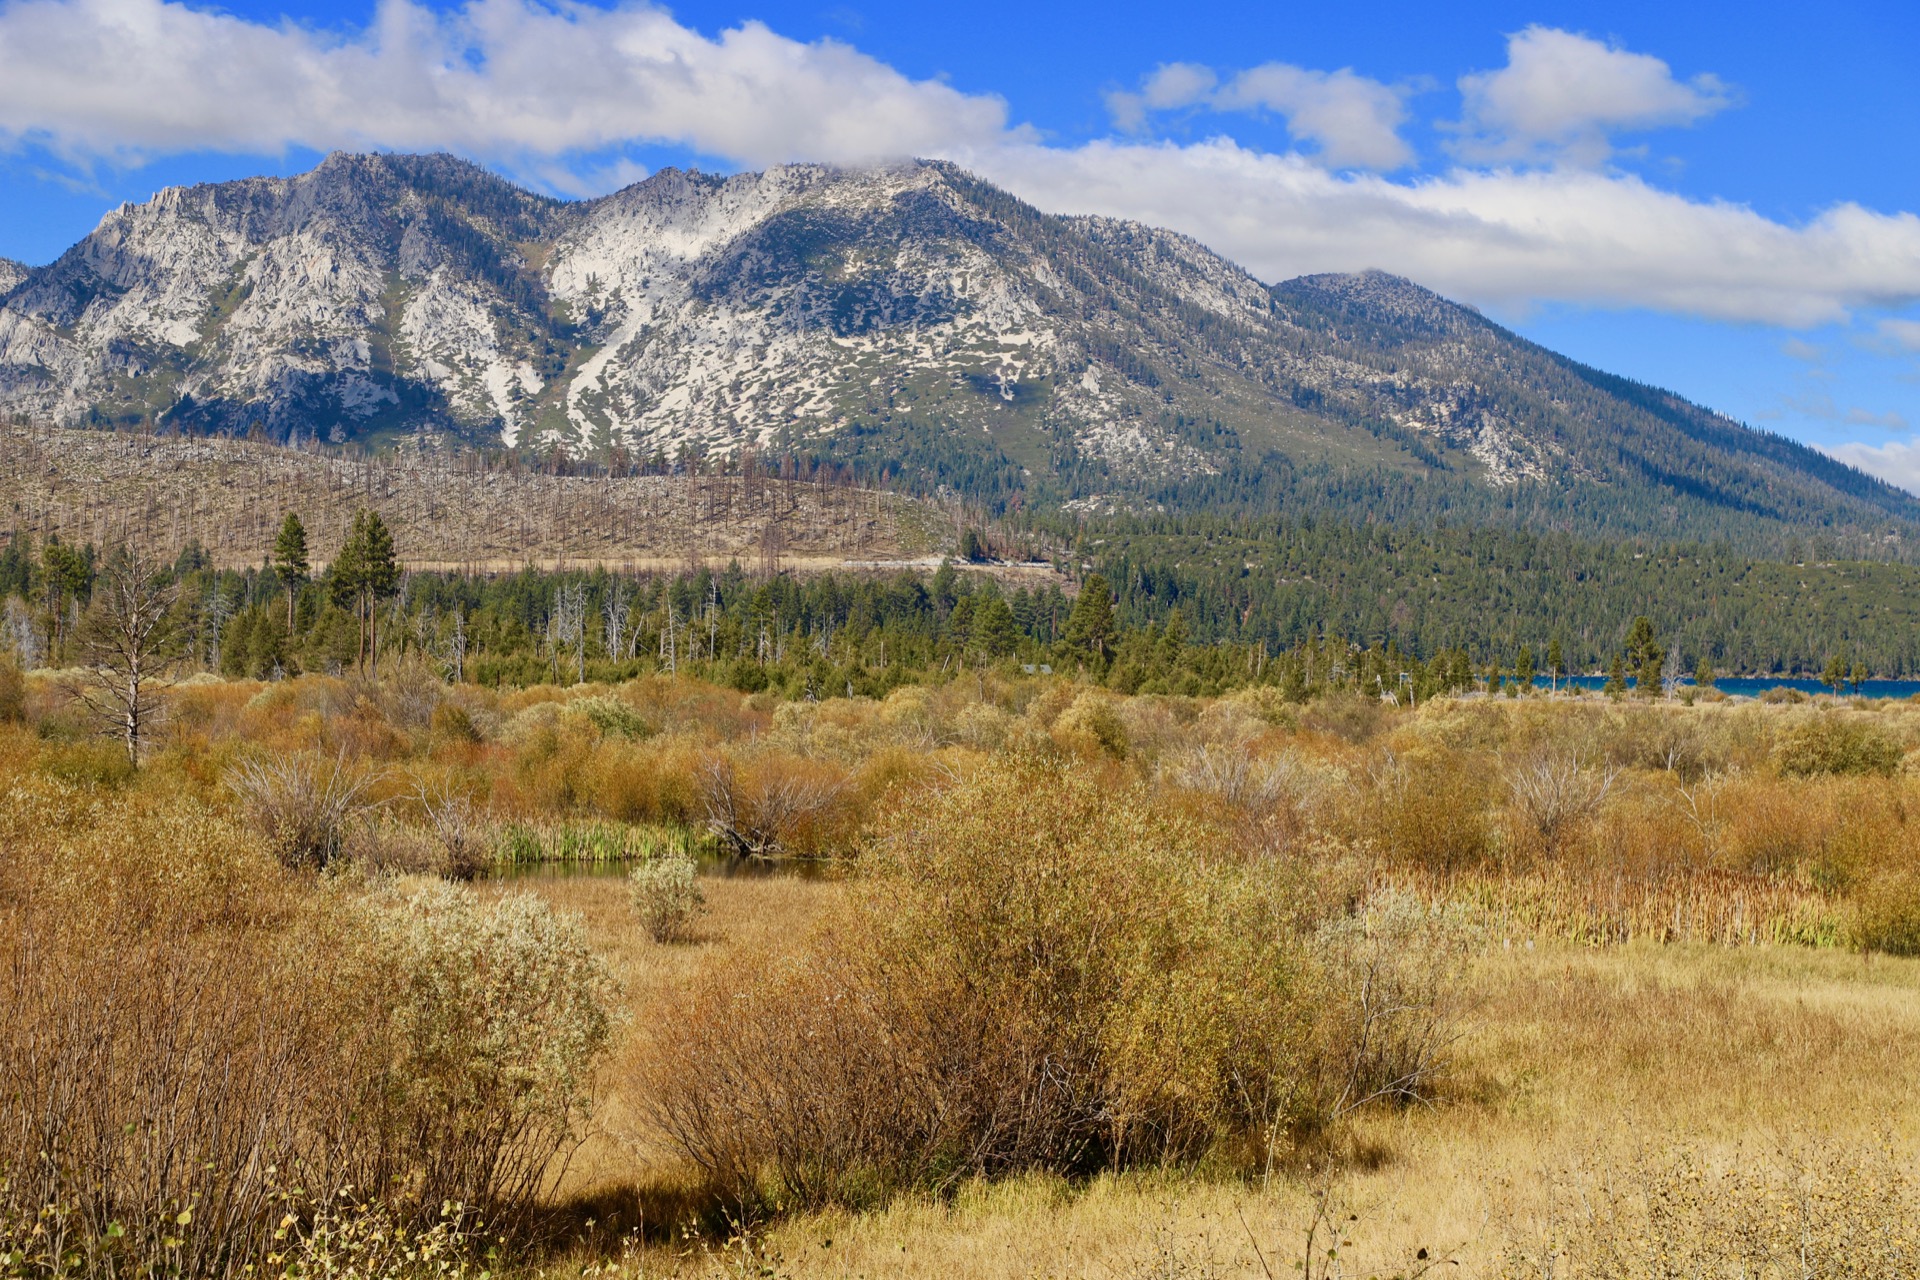
View West from Hwy 89 North of Hope Valley
View West from Hwy 89 North of Hope Valley
View West from Hwy 89 North of Hope Valley
View West from Hwy 89 North of Hope Valley
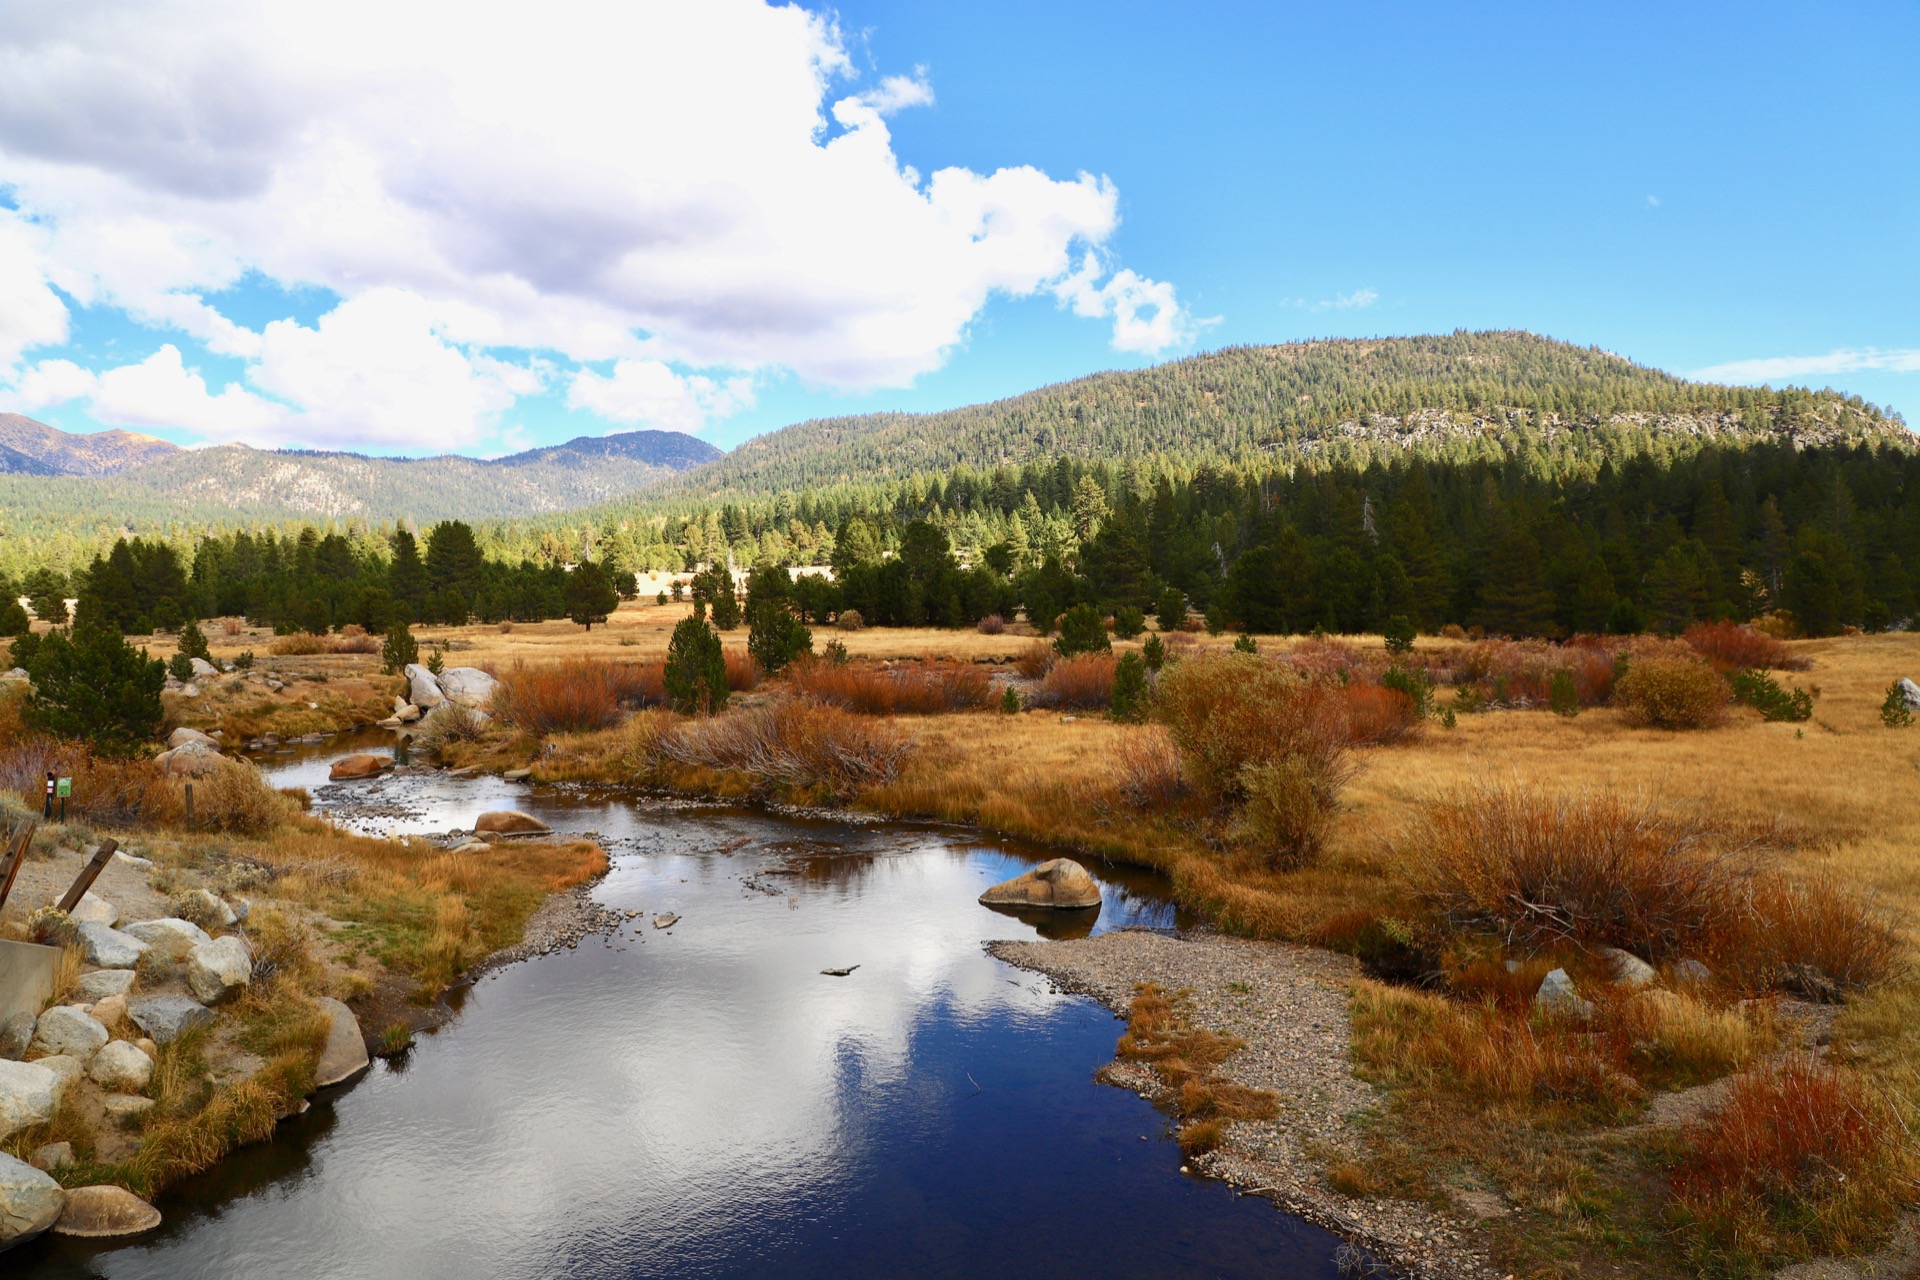
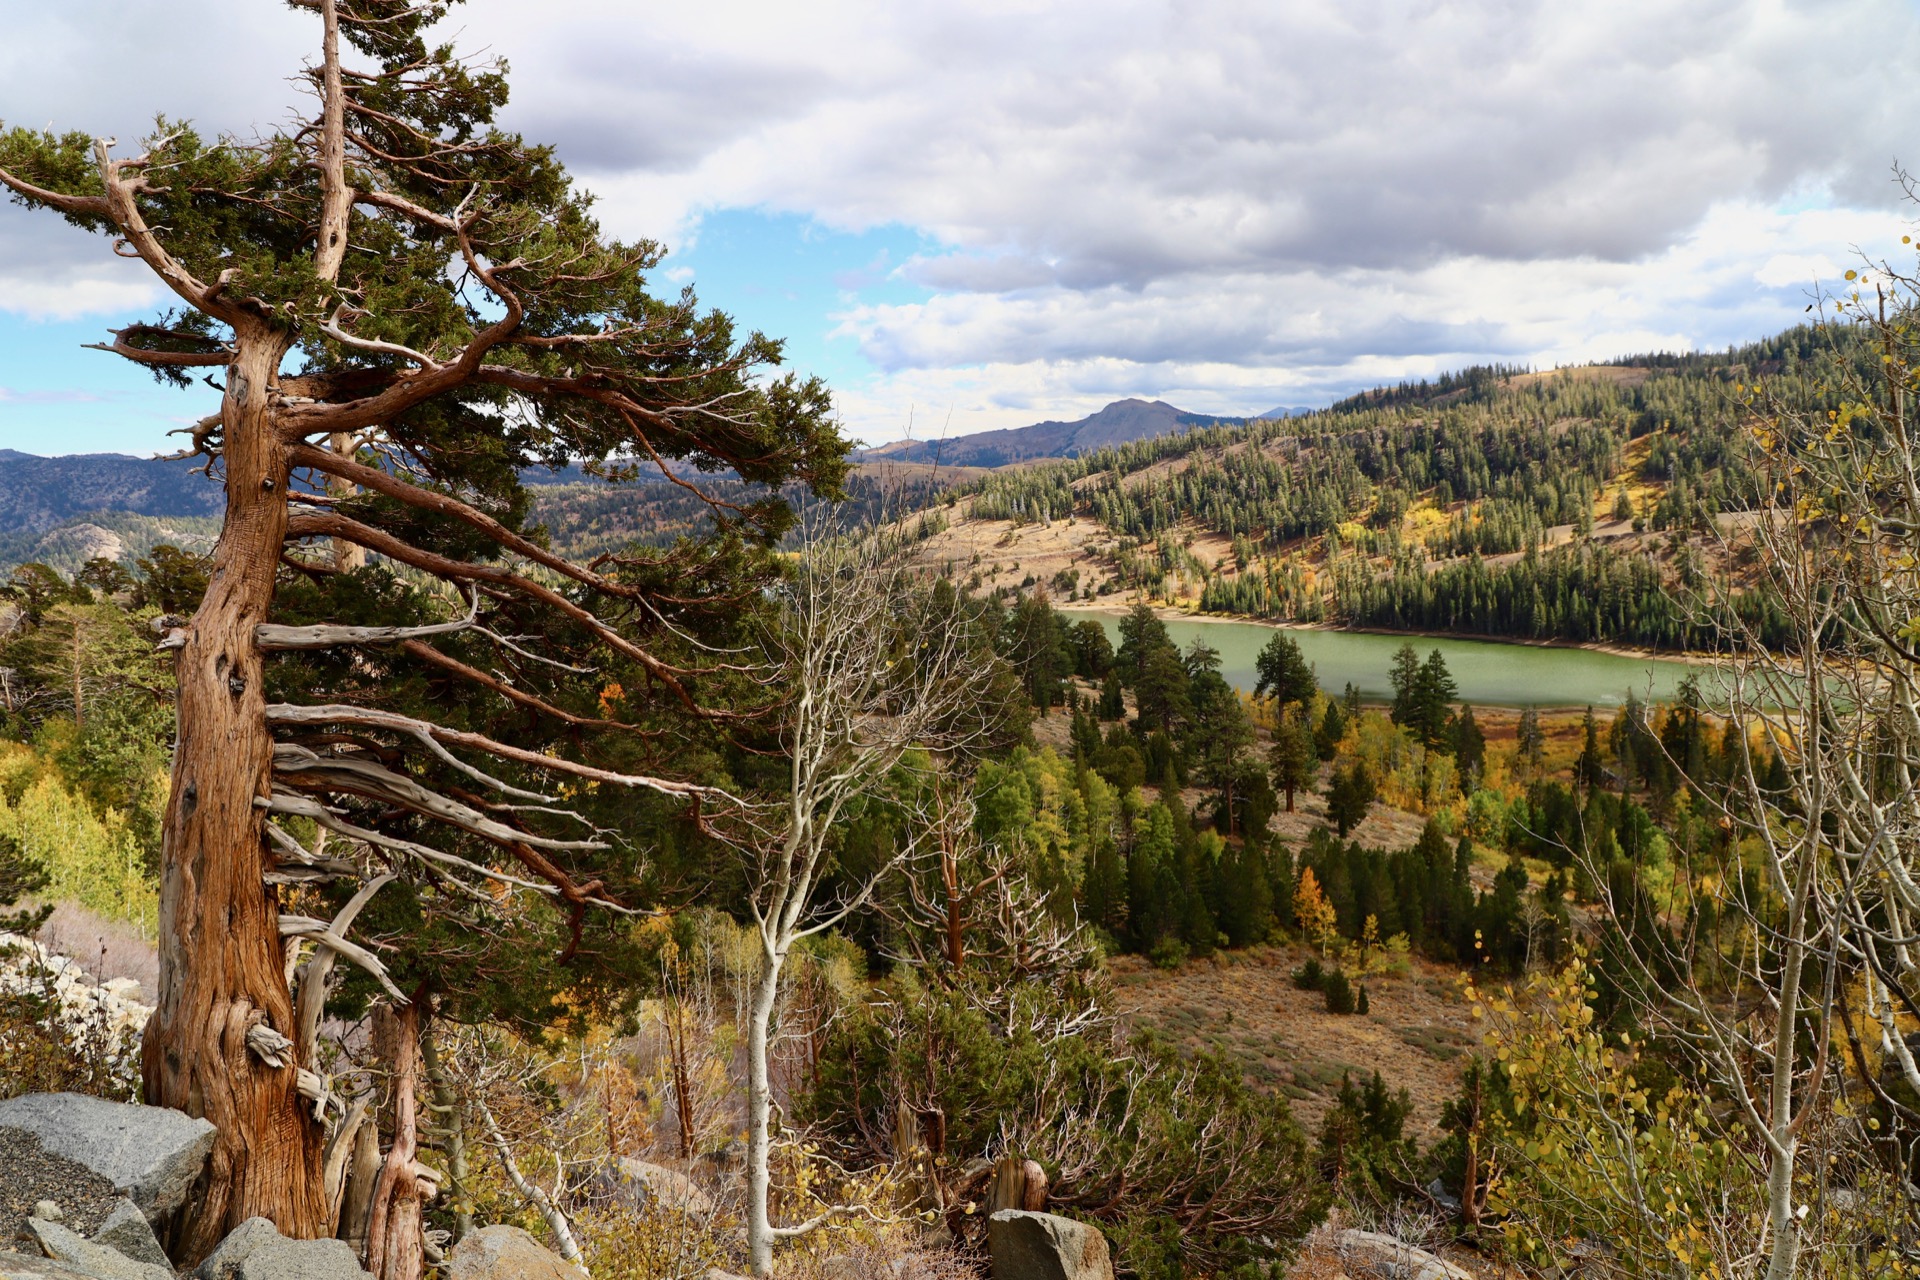
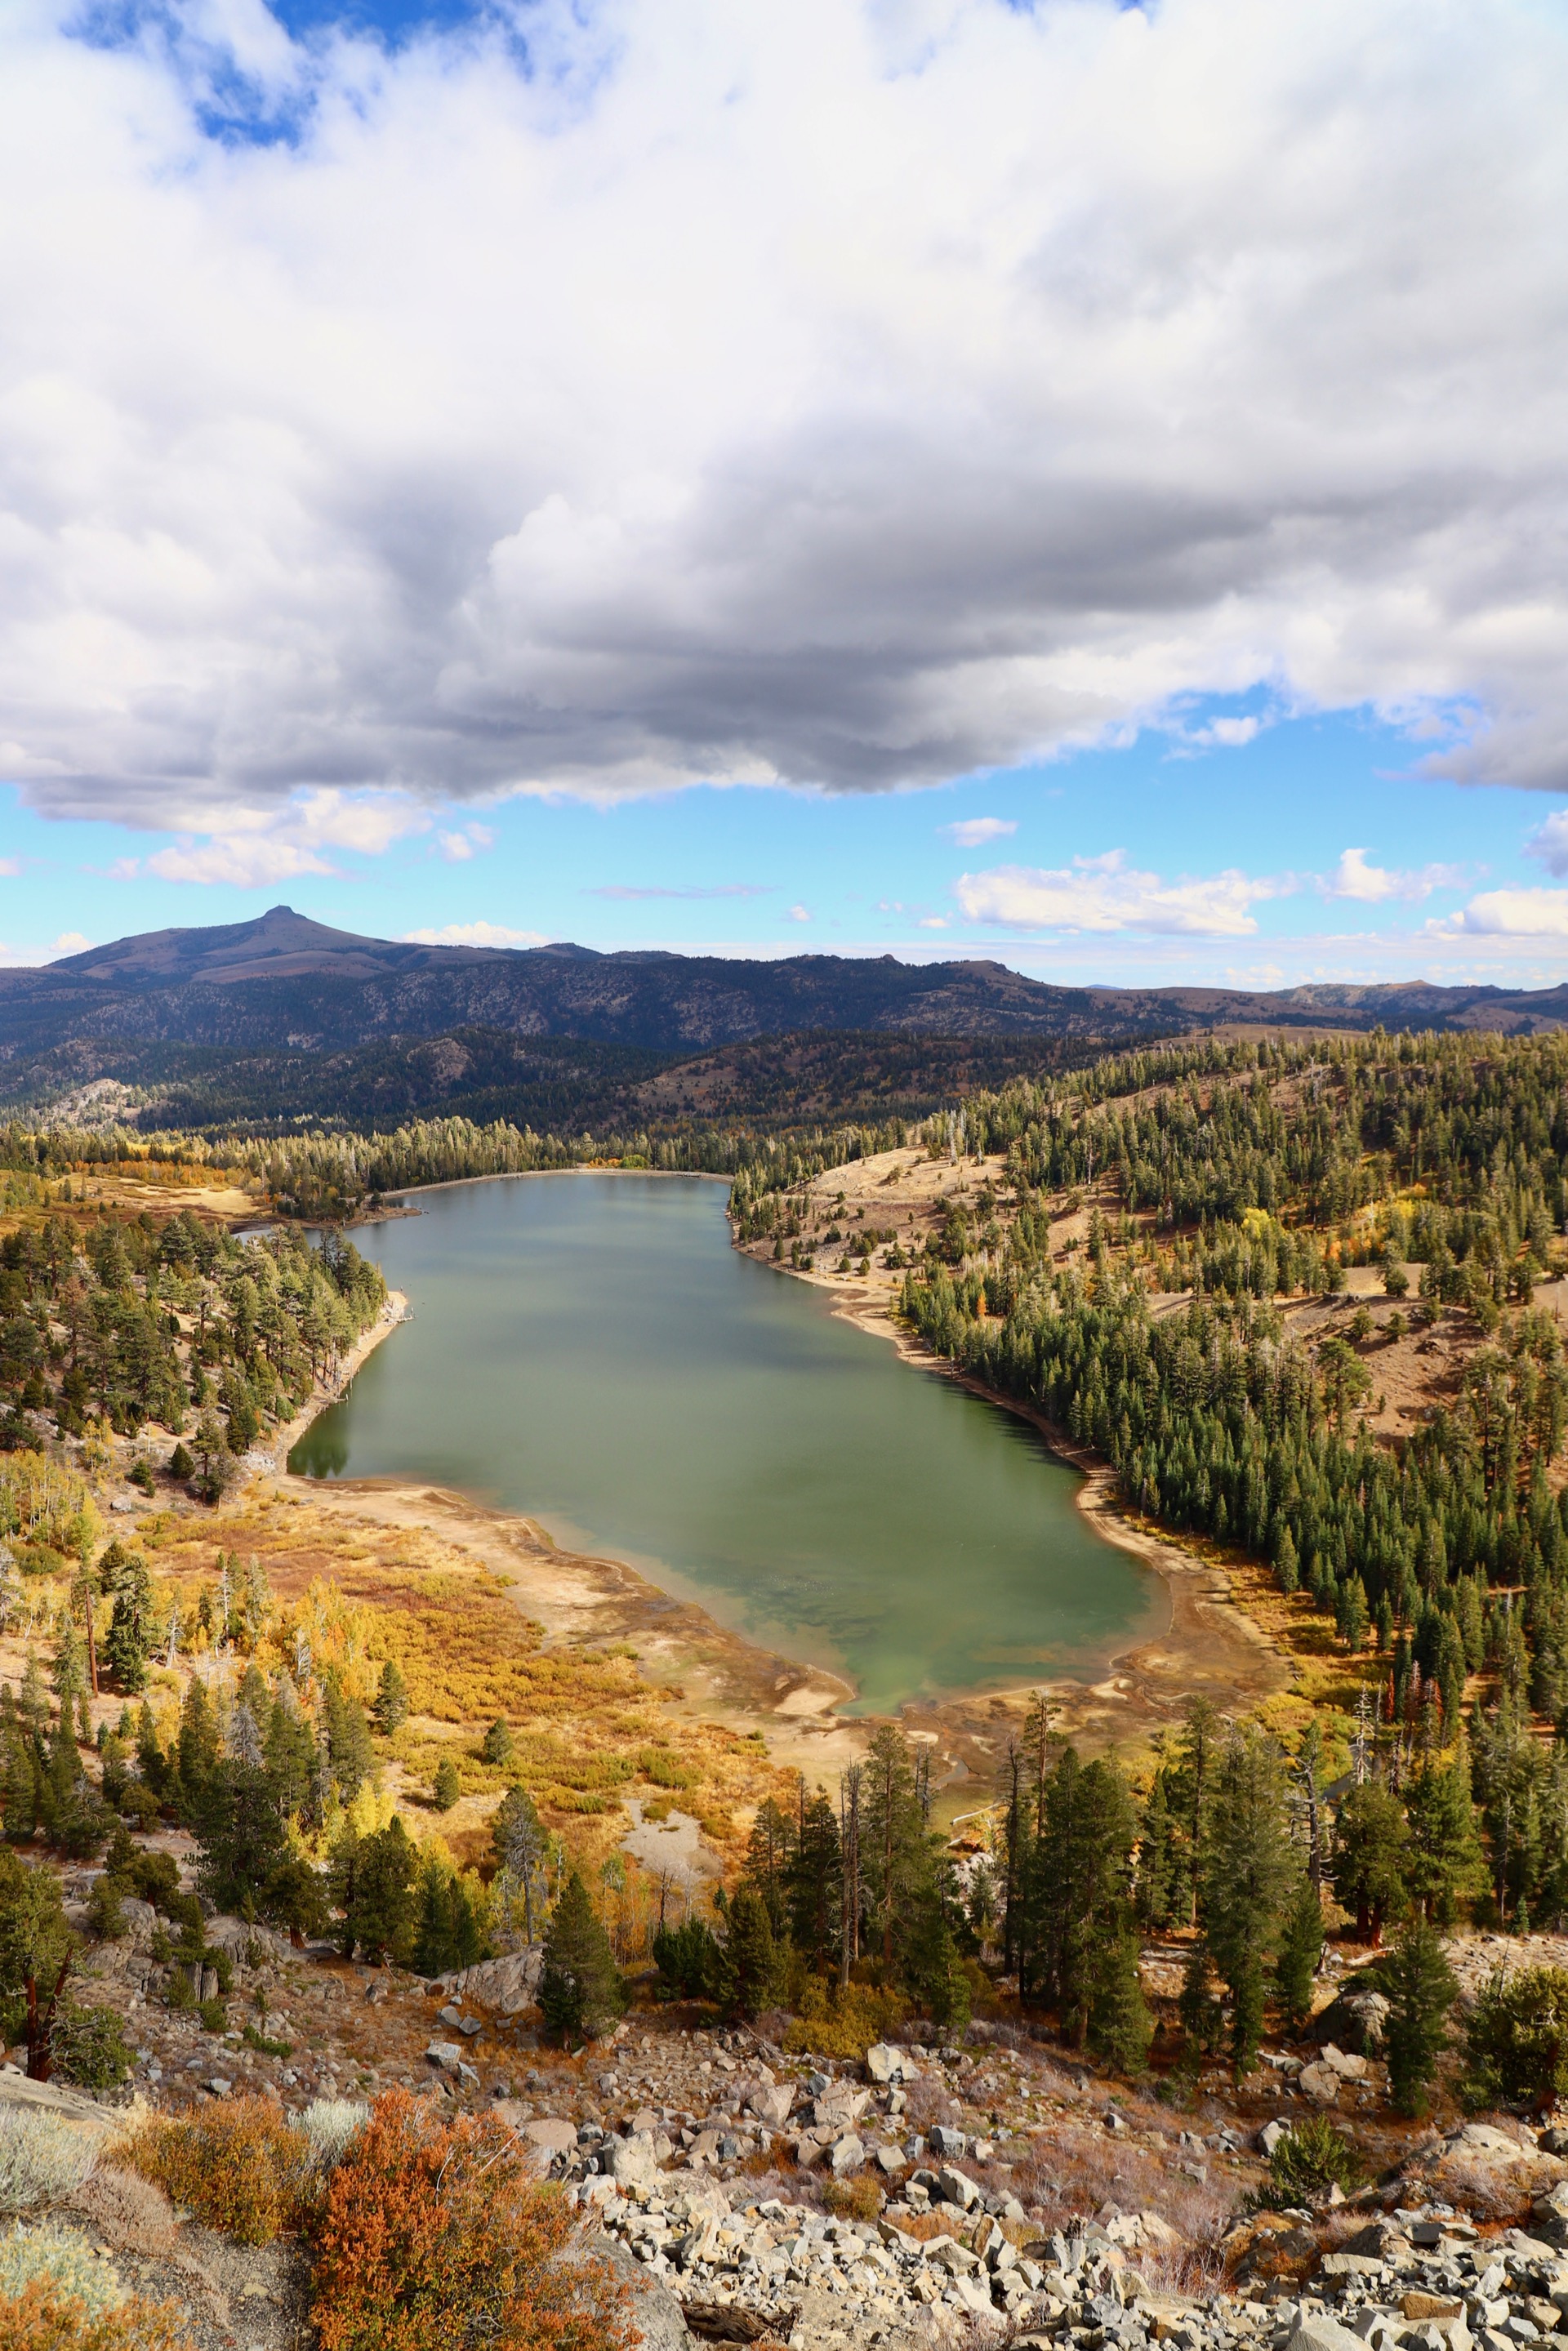
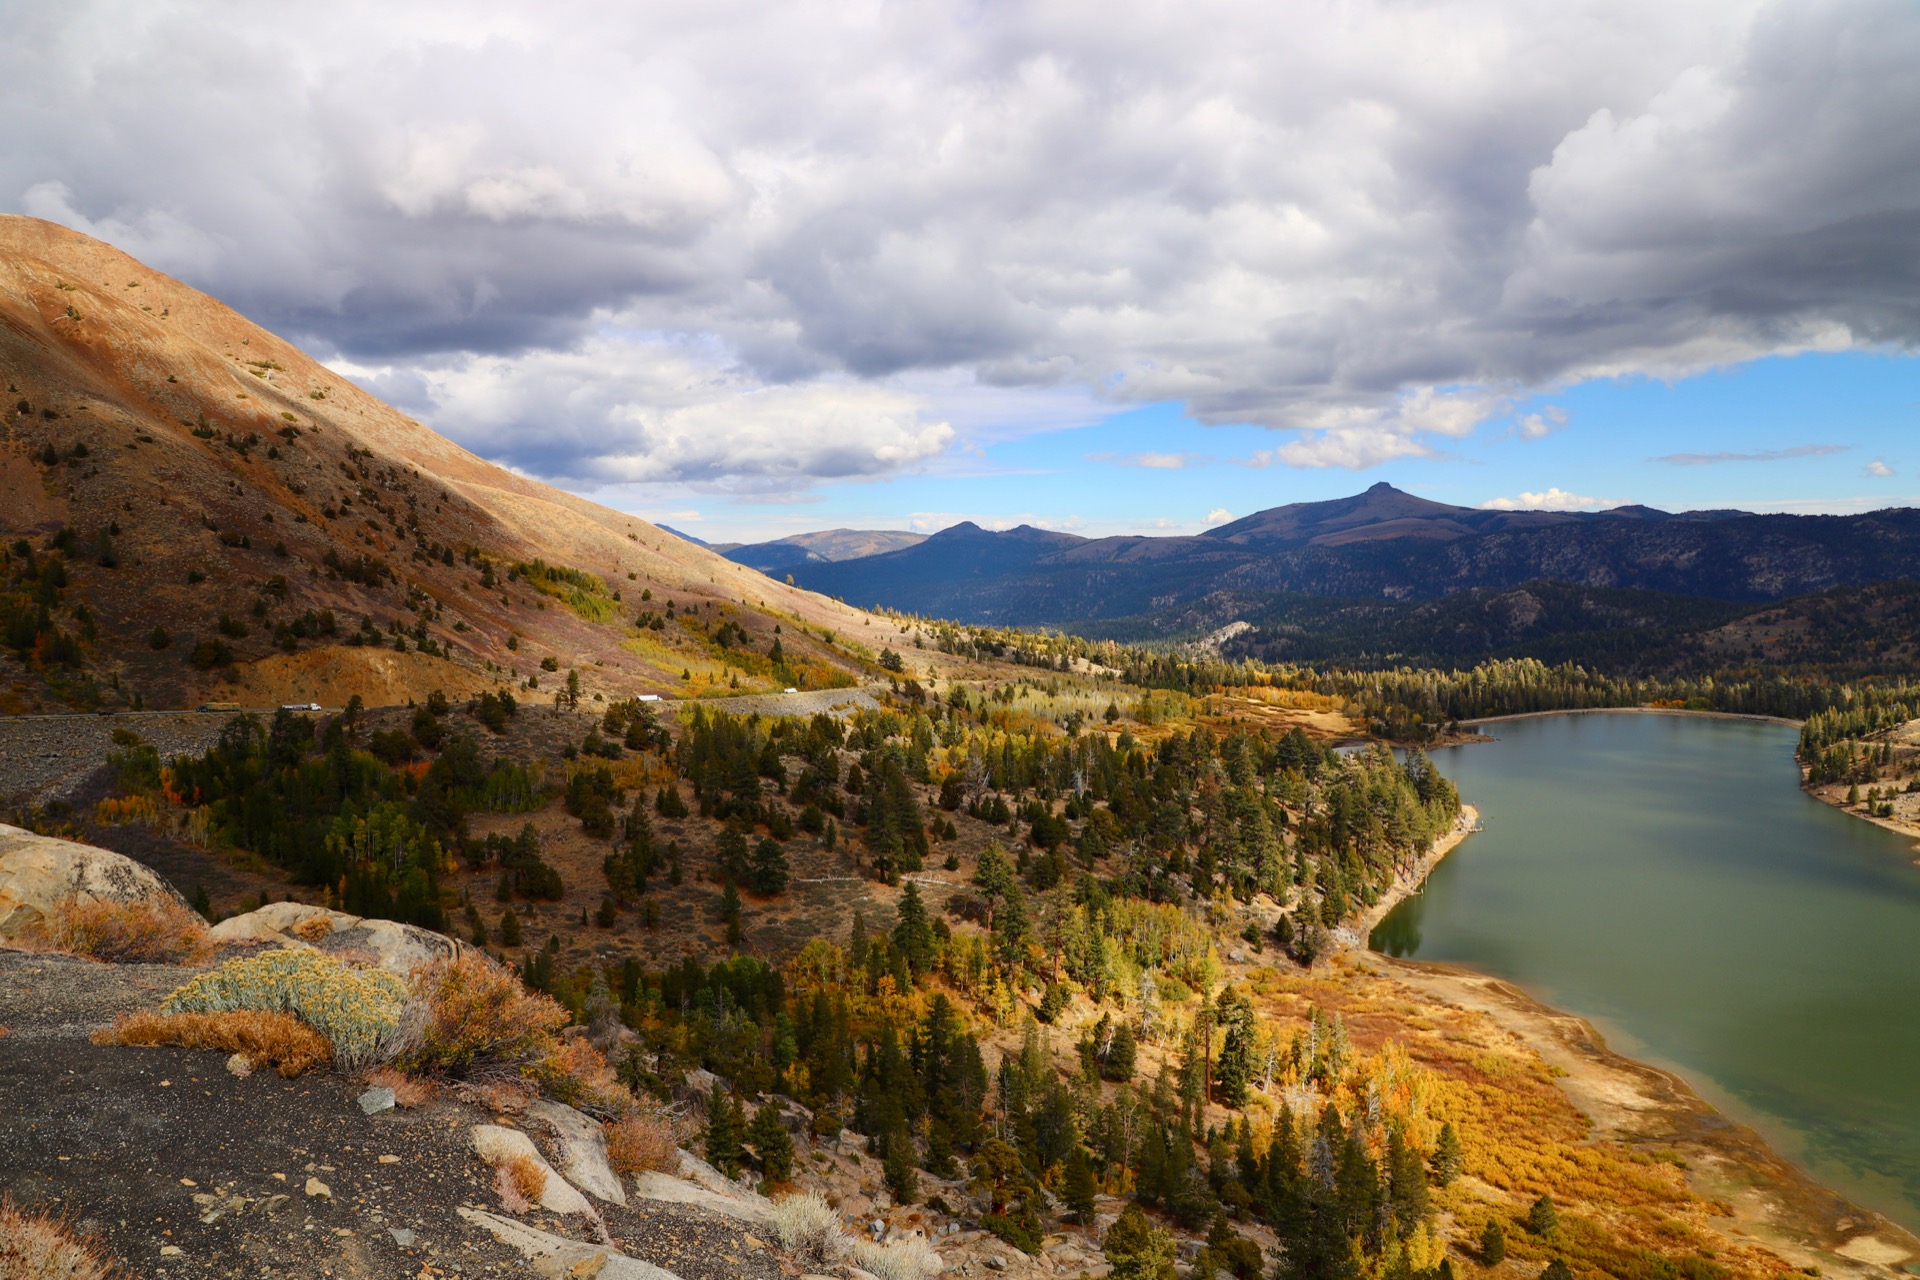
View West from Hwy 88 at Red Lake Creek Crossing – Map http://bit.ly/2NIZG5y
View West from Hwy 88 at Red Lake Creek Crossing – Map http://bit.ly/2NIZG5y
View West from Hwy 88 at Red Lake Creek Crossing – Map http://bit.ly/2NIZG5y
View West from Hwy 88 at Red Lake Creek Crossing – Map http://bit.ly/2NIZG5y
View West from Hwy 88 at Red Lake Creek Crossing – Map http://bit.ly/2NIZG5y
View West from Hwy 88 at Red Lake Creek Crossing – Map http://bit.ly/2NIZG5y
View West from Hwy 88 at Red Lake Creek Crossing – Map http://bit.ly/2NIZG5y
View West from Hwy 88 at Red Lake Creek Crossing – Map http://bit.ly/2NIZG5y
View West from Hwy 88 at Red Lake Creek Crossing – Map http://bit.ly/2NIZG5y